Topic how to make an anime character in blender: Embark on a creative journey to bring your anime visions to life with Blender. This guide will walk you through each step, making it simple for beginners to craft their very own anime character.
Table of Content
- How can I create an anime character in Blender?
- Understanding Blender\"s Interface and Basic Tools
- Setting Up Your Workspace for Anime Character Design
- Sketching and Planning Your Anime Character
- Modeling the Basic Shape of Your Character
- Refining the Model with Sculpting Tools
- Texturing and Material Setup for Anime Characters
- YOUTUBE: Creating an Anime Character in 3D
- Creating Hair and Clothing for Your Character
- Rigging Your Character for Animation
- Animating Your Anime Character
- Lighting and Rendering Your Final Character
- Adding Final Touches and Post-Processing
- Tips and Tricks for More Efficient Workflow
- Resources for Further Learning and Inspiration
How can I create an anime character in Blender?
To create an anime character in Blender, follow these steps:
- Start by familiarizing yourself with Blender\'s interface and tools. You can find numerous beginner tutorials on YouTube or websites like Blender Guru.
- Gather reference images of anime characters. Look for front, side, and back views to aid in modeling.
- Open Blender and delete the default cube object by selecting it and pressing the \"Delete\" key.
- To add a reference image to the viewport, go to the \"View\" menu, select \"Background Images,\" and click on the \"Add Image\" button. Choose the appropriate view (front, side, or back) and insert the image.
- Create a plane mesh by pressing Shift + A and selecting \"Mesh\" > \"Plane.\"
- Enter Edit Mode by pressing Tab and sculpt the plane to match the outline of the character\'s head in the reference image. Use extrusions, scaling, and vertex manipulation to shape the mesh.
- Continue adding additional meshes for different body parts (torso, limbs, etc.) and manipulate them to match the reference images. Use extrusions, loops cuts, and proportional editing to refine the shape.
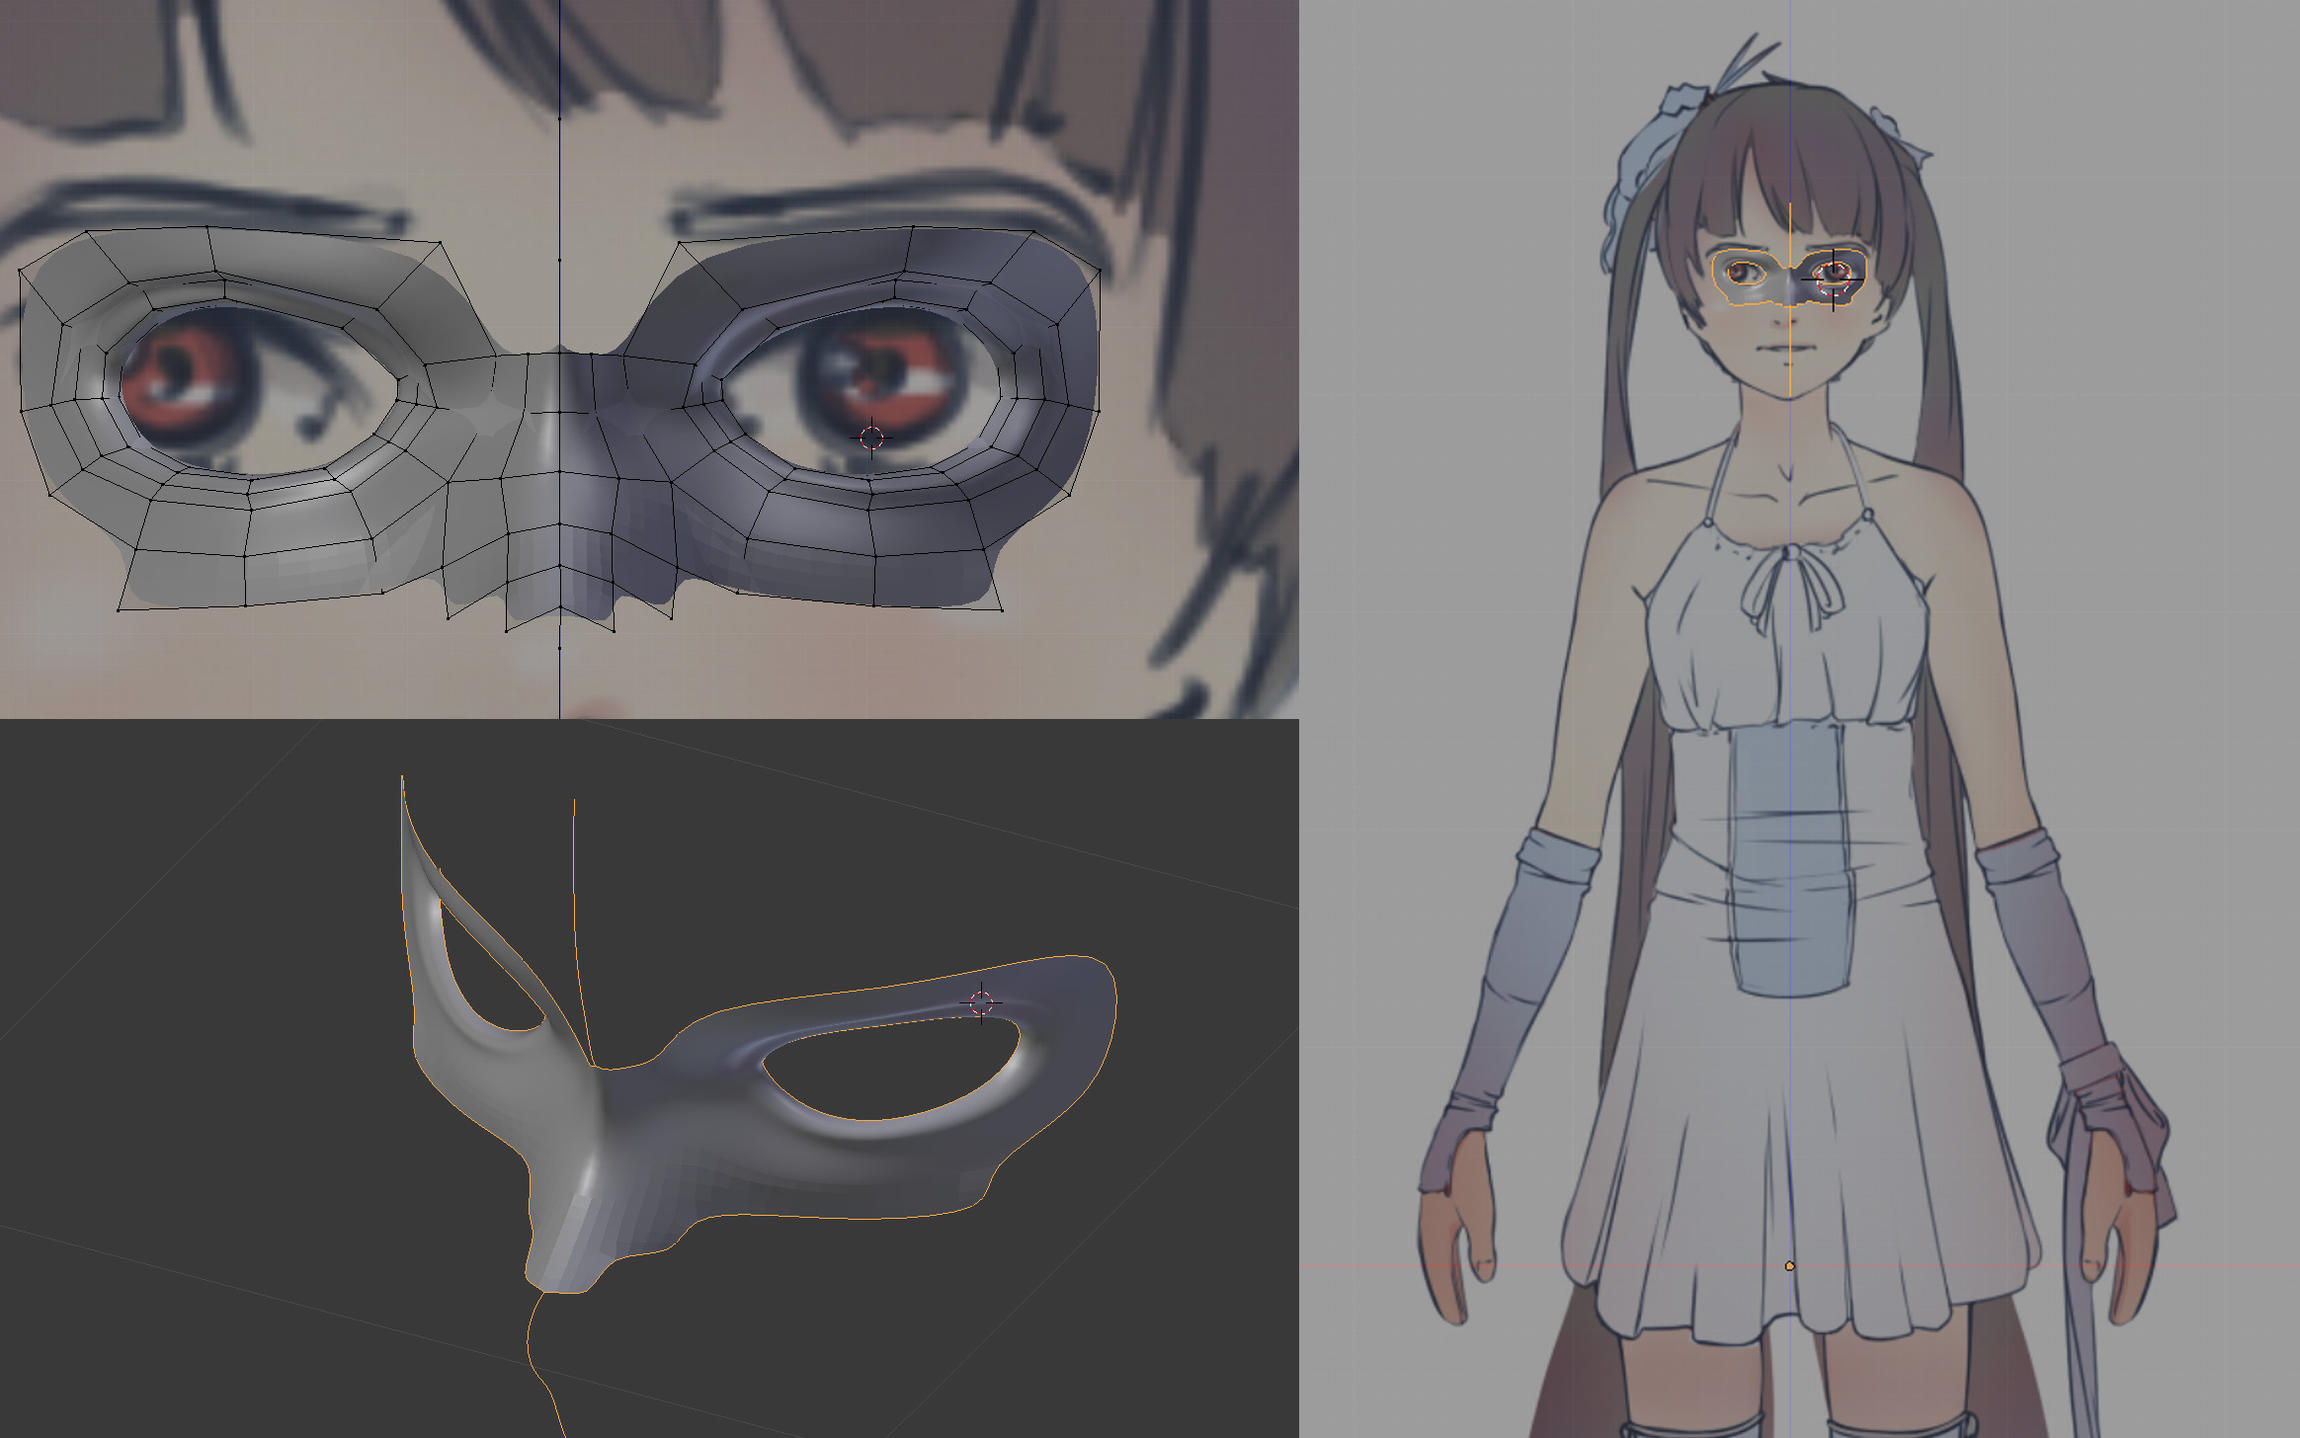
- Once the basic body shape is complete, start sculpting the finer details like facial features, hair, and clothing. Use Blender\'s sculpting tools to add volume and create the desired anime-style look.
- Add materials to your character to give it color and texture. You can create materials using Blender\'s node-based shader editor or apply pre-made textures.
- Set up the lighting by adding light sources to your scene. Experiment with different types of lights (point, area, and spot) to achieve the desired atmosphere.
- Position the camera to frame your character and adjust the composition as needed.
- Render your final image or animation using Blender\'s rendering engine. Adjust render settings like resolution, antialiasing, and output format to suit your needs.
Remember to save your progress regularly and have fun exploring the many possibilities Blender offers in creating anime characters!
READ MORE:
Understanding Blender\"s Interface and Basic Tools
Mastering Blender starts with getting familiar with its interface and the basic tools essential for creating anime characters. This section provides a foundational understanding to navigate Blender efficiently.
- 3D Viewport: The main area where you model, animate, and interact with your scene. Learn to rotate, zoom, and pan to navigate your workspace.
- Properties Panel: Contains all the settings for your objects, materials, modifiers, and scene settings. Familiarize yourself with its tabs for context-specific options.
- Outliner: A hierarchical list of all the elements in your scene. Use it to select, hide, or lock your objects.
- Timeline: Located at the bottom, it\"s essential for animation, allowing you to scrub through keyframes.
- Toolbar and Tool Settings: Access Blender\"s tools for creating and editing objects. Learn about the move, rotate, scale, and various sculpting tools.
- Shading/UV Editor: Use this for texturing and shading your character, a crucial step for anime characters to bring out their unique styles.
Start by creating a simple object, like a cube, and practice moving, rotating, and scaling it. Experiment with different views and shading modes (wireframe, solid, rendered) to see your object from various perspectives. Understanding these basics will significantly aid in the more complex task of anime character creation.

Setting Up Your Workspace for Anime Character Design
Creating an efficient workspace in Blender is crucial for designing anime characters. This setup will help you streamline your workflow and access the tools you need quickly.
- Customize Your Layout: Blender allows you to customize and save workspace layouts. Start with the default \"Layout\" workspace, then adjust it to focus on tools relevant to character design, such as the 3D viewport and properties panel.
- Enable Essential Add-ons: Blender\"s community offers numerous add-ons that can enhance your character design workflow. Enable add-ons like \"Rigify\" for rigging and \"LoopTools\" for modeling through the Preferences menu.
- Import Reference Images: Use the \"Background Images\" feature in the 3D viewport\"s N-panel to import reference images of your anime character. This will guide your modeling process.
- Set Up Lighting: A basic three-point lighting setup can help you better visualize the forms and volumes of your character as you model. Adjust the lights in the \"Shading\" workspace.
- Organize Your Objects: Use collections in the Outliner to organize your scene. Separate your character\"s body parts into collections like \"Head\", \"Body\", \"Arms\", etc., for easy management.
- Save Frequently: Establish a habit of saving your work frequently. Consider enabling Blender\"s \"Auto Save\" feature in the Preferences to avoid losing progress.
By setting up your workspace specifically for anime character design, you\"ll create a more focused and efficient environment. This preparation is key to a smooth and successful design process.
Sketching and Planning Your Anime Character
Before diving into Blender, sketching and planning your anime character is a crucial step. This phase helps solidify your vision and guides the modeling process.
- Character Concept: Begin by defining your character\"s concept. Consider their personality, backstory, and role in your story. This will influence their appearance and attire.
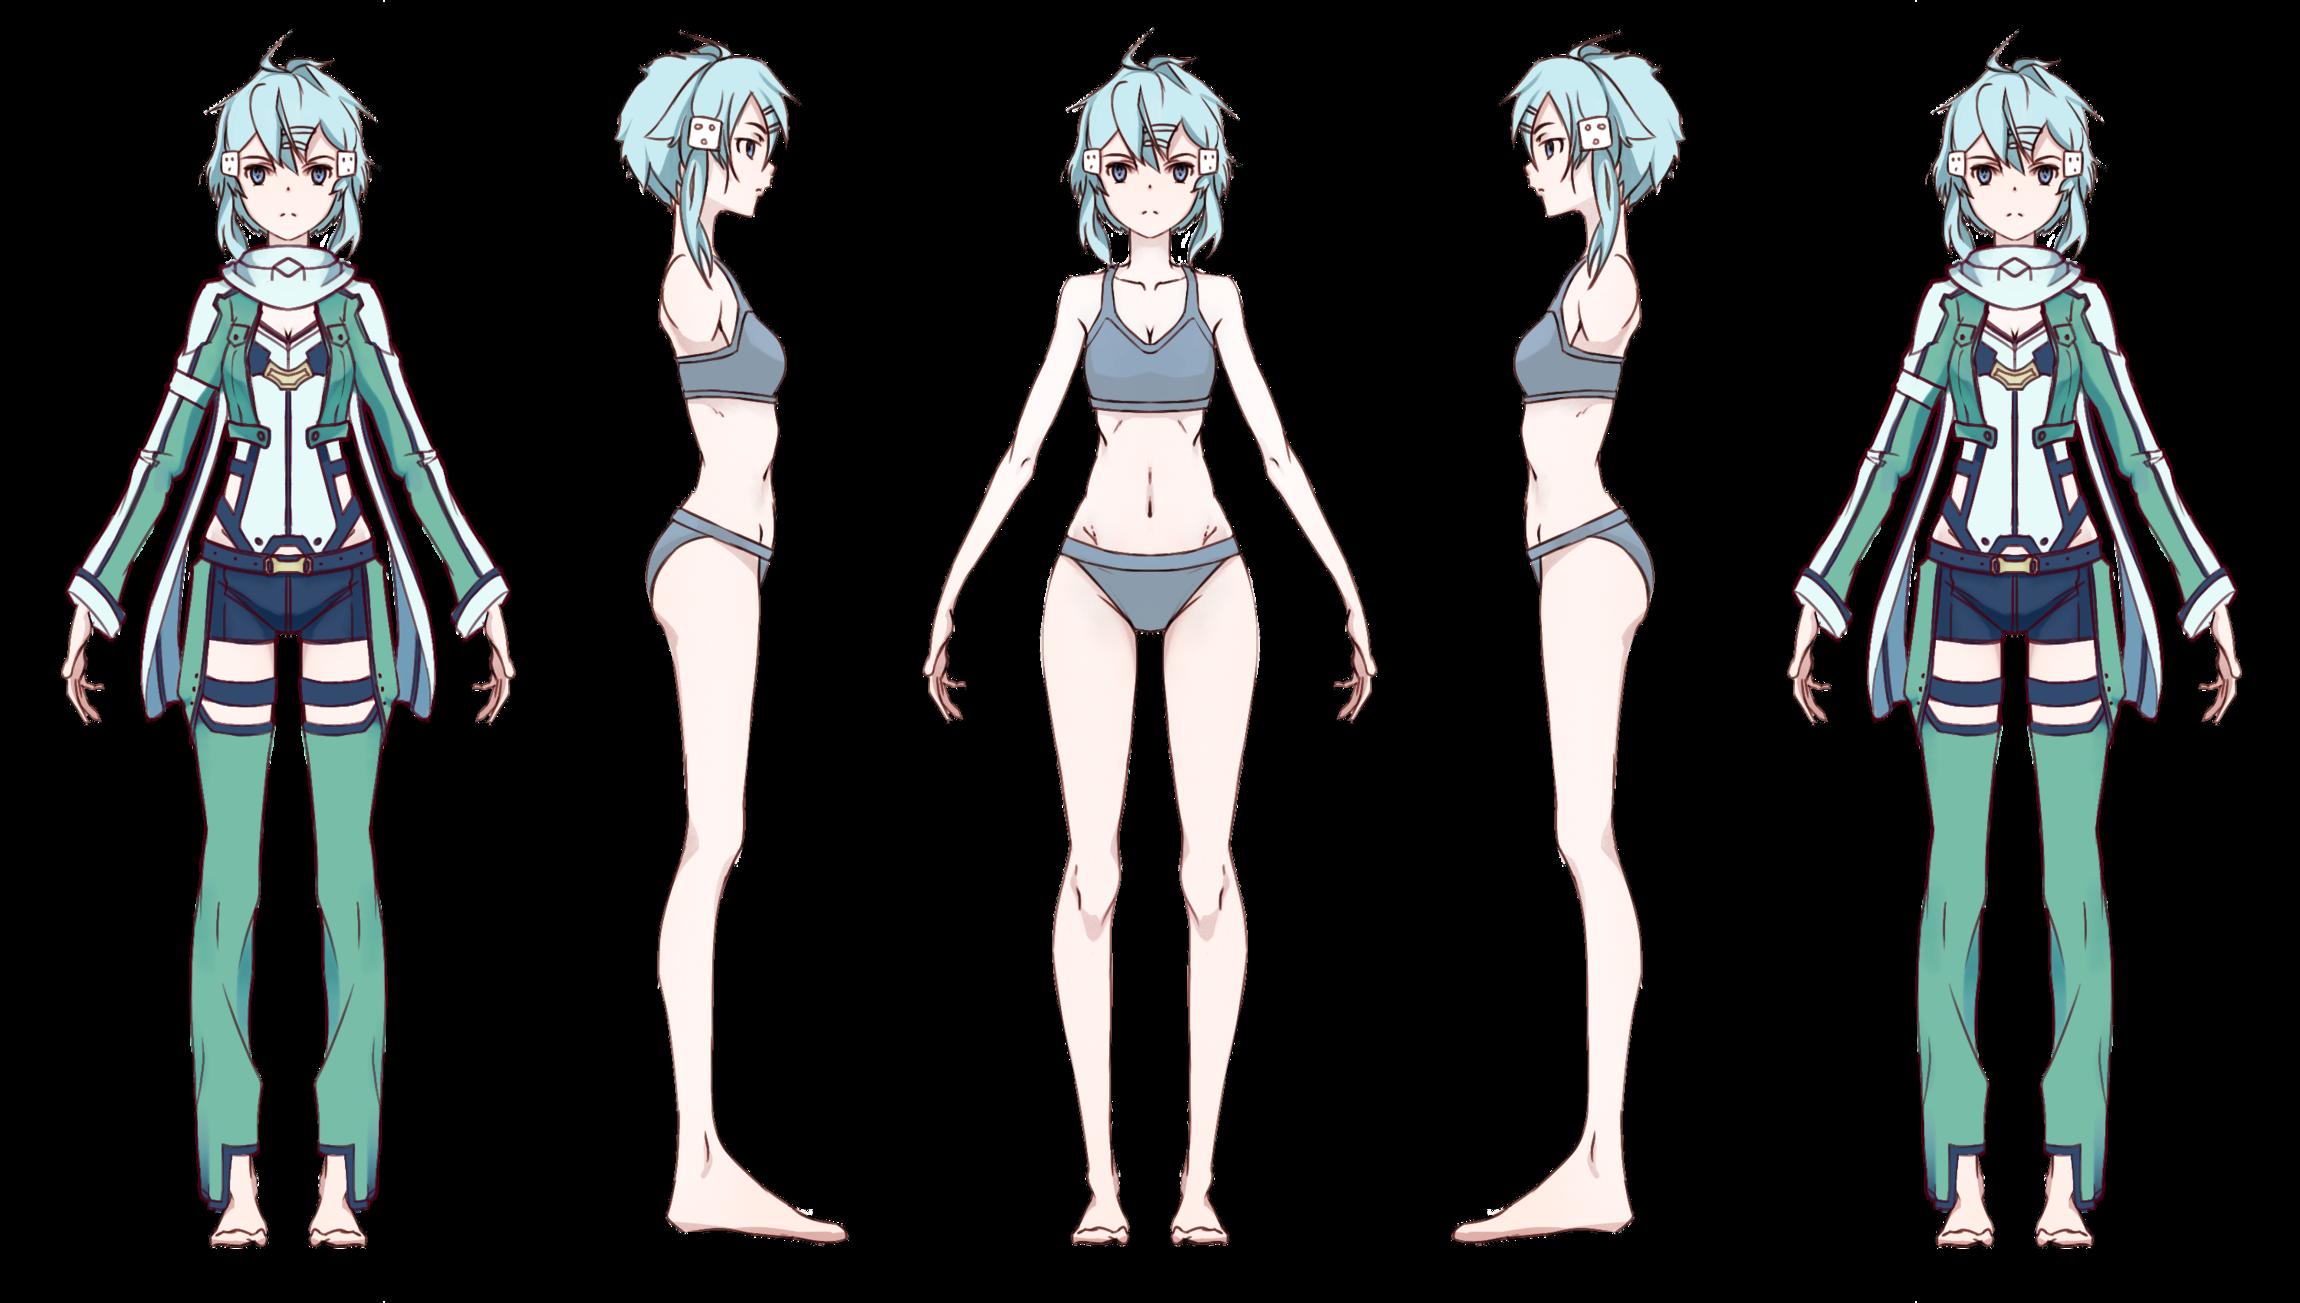
- Reference Images: Collect reference images that match your character\"s style and traits. Look for poses, clothing, hair styles, and facial expressions that fit your concept.
- Sketch Multiple Views: Sketch your character from multiple angles (front, side, and back views). Ensure consistency in proportions and details across all views for easier modeling.
- Detailed Features: Pay special attention to defining facial features, expressions, and unique elements like tattoos or accessories. These are key to capturing your character\"s personality.
- Clothing and Accessories: Design clothing and accessories that complement your character\"s background and personality. Sketch these elements separately if necessary.
- Color Palette: Decide on a color palette for your character. This includes skin tones, hair color, eye color, and clothing. Consistent use of color enhances character recognition and appeal.
This preparatory work is not just about having a reference for modeling; it\"s about bringing your character to life in your mind\"s eye. The more detailed your planning, the smoother the transition to 3D modeling will be.
Modeling the Basic Shape of Your Character
Modeling your anime character in Blender begins with creating their basic shape. This foundational step is crucial for establishing proportions and overall structure.
- Start with a Simple Shape: Use a cube or sphere as your starting point. Apply a subdivision surface modifier to smooth it out and begin shaping it into the basic form of your character\"s head or body.
- Block Out Major Proportions: Focus on getting the major proportions right. Adjust the mesh to outline the torso, limbs, and head. Use reference sketches as a guide to maintain accuracy.
- Refine with Edit Mode: Switch to Edit Mode to refine your shapes. Use extrude, scale, and move tools to adjust vertices, edges, and faces. This step is about refining the silhouette and basic anatomy.
- Define Facial Features: Start blocking out facial features such as the eyes, nose, and mouth. Keep these features simplistic at this stage; details will be added later.
- Add Basic Limbs: Model basic arms and legs, ensuring they are in proportion to the rest of the body. Consider the character’s pose at this stage if you plan to model in a specific stance.
- Check from Multiple Angles: Frequently rotate your view to check the model from different angles. This ensures consistency and helps spot any disproportion.
- Mirror Modifier for Symmetry: Use the Mirror Modifier for symmetrical parts of the body. This saves time and ensures that both sides of your character are identical.
This stage requires patience and iteration. Don\"t rush; instead, focus on getting a solid and proportional base for your character that you can refine and detail in subsequent steps.
_HOOK_
Refining the Model with Sculpting Tools
After establishing the basic shape of your anime character, the next step involves refining the model using Blender\"s sculpting tools. This process adds detail and character to your model, making it more lifelike and expressive.
- Dynamic Topology: Enable Dynamic Topology (Dyntopo) in the Sculpt Mode options. This allows you to sculpt without worrying about the mesh\"s initial topology, as it dynamically subdivides to add detail where needed.
- Basic Sculpting Brushes: Start with the basic brushes like the Grab, Clay Strips, Crease, and Smooth brushes. Use these to refine major muscle groups, facial features, and other significant details of your character.
- Detailing Facial Features: Focus on the face, using finer brushes to add expressions, refine the nose, lips, and eyelids. This step is crucial for capturing the essence of your character\"s personality.
- Adding Texture and Hair: Use brushes to simulate hair strands or clothing texture. The Draw and Snake Hook brushes are particularly useful for creating stylized hair typical in anime characters.
- Using Symmetry: For most characters, enable symmetry in the sculpting tools to ensure that changes made on one side are mirrored on the other. This is especially helpful for facial features and body symmetry.
- Constantly Reevaluate Proportions: As you add details, regularly step back and review your model\"s overall proportions. Use the reference images to ensure accuracy to your original concept.
- Smooth and Polish: After adding the necessary details, use the Smooth brush to polish rough areas and blend the details naturally into the rest of the model.
Sculpting is a process that requires patience and a keen eye for detail. Take your time to refine your anime character, adding depth and personality that brings your creation to life.
Texturing and Material Setup for Anime Characters
Texturing and applying materials are critical steps in bringing your anime character to life in Blender. This process involves mapping colors, textures, and shaders to your model, adding realism or achieving a specific artistic style.
- UV Unwrapping: Begin by UV unwrapping your character model. This process projects the 3D model onto a 2D plane to apply textures accurately. Use the seams to define the edges of the unwrap.
- Creating Textures: Use image editing software to create or modify textures for your character. These textures can include base colors, bump maps, and specular maps to simulate skin, clothing, and hair details.
- Shader Setup: In Blender, use the Shader Editor to create materials for your character. The Principled BSDF shader is versatile and can be used to create a wide range of materials by adjusting parameters like roughness, specularity, and subsurface scattering for skin.
- Applying Textures: Apply your created textures to the model by linking them to the appropriate shader nodes. Adjust the mapping and scaling to fit your character\"s UV layout.
- Stylized Effects: For anime characters, consider using toon shaders or creating custom shaders to achieve the distinct stylized look typical of anime. This can include sharp shadows, bright highlights, and saturated colors.
- Adding Details: For additional detail, use texture painting in Blender to paint directly onto your model. This is useful for adding unique features like blush on cheeks, detailed eyes, or textures on clothing.
- Testing in Different Lighting: Apply different lighting setups to your character to see how materials and textures perform under various conditions. This helps ensure your character looks great in any scene.
Texturing and material setup are where your character truly starts to take shape visually. Spend time experimenting with different textures and shaders to achieve the desired look for your anime character.
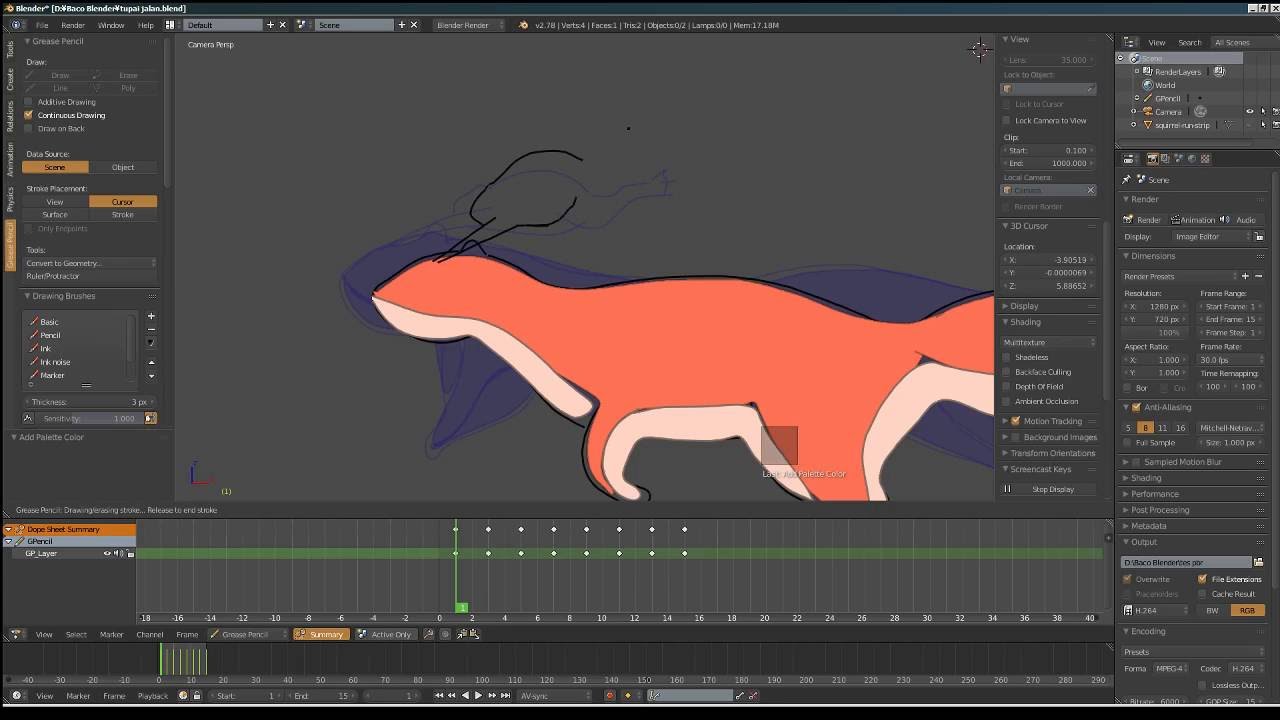
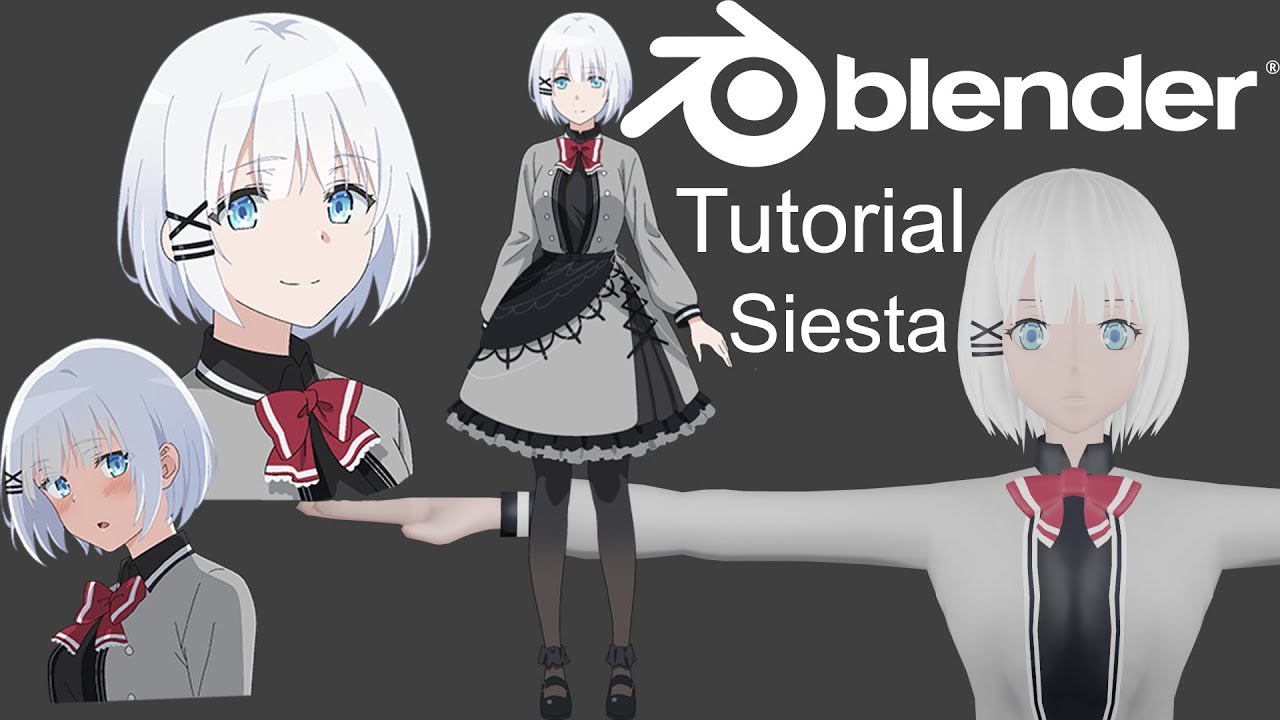
Creating an Anime Character in 3D
\"Discover the captivating world of anime characters with this mesmerizing video! Watch as your favorite characters come to life, showcasing their unique personalities and breathtaking animations. Be prepared to be completely immersed in the enchanting world of anime!\"
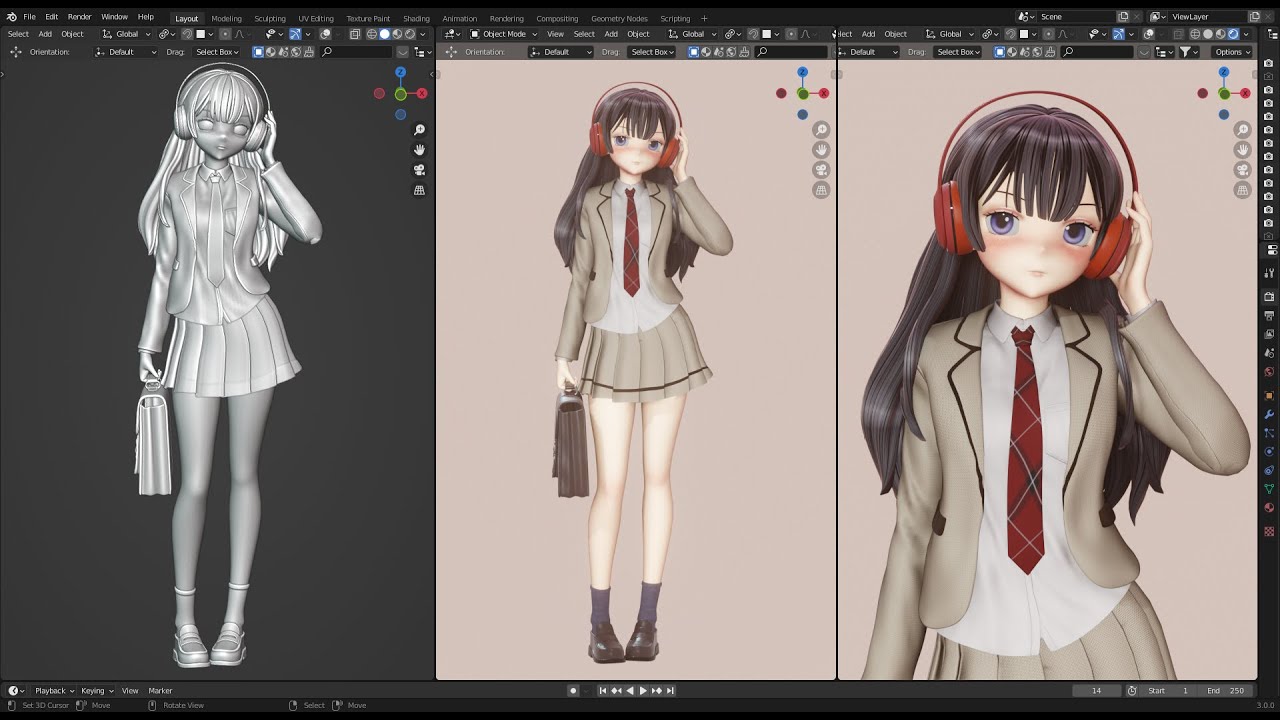
Creating an Anime Girl in Blender
\"Unlock your creative potential with Blender and dive into a world of unlimited possibilities! This video is your ticket to mastering the art of 3D modeling and animation. Get ready to be blown away by the stunning visual effects and revolutionize your digital art skills!\"
Creating Hair and Clothing for Your Character
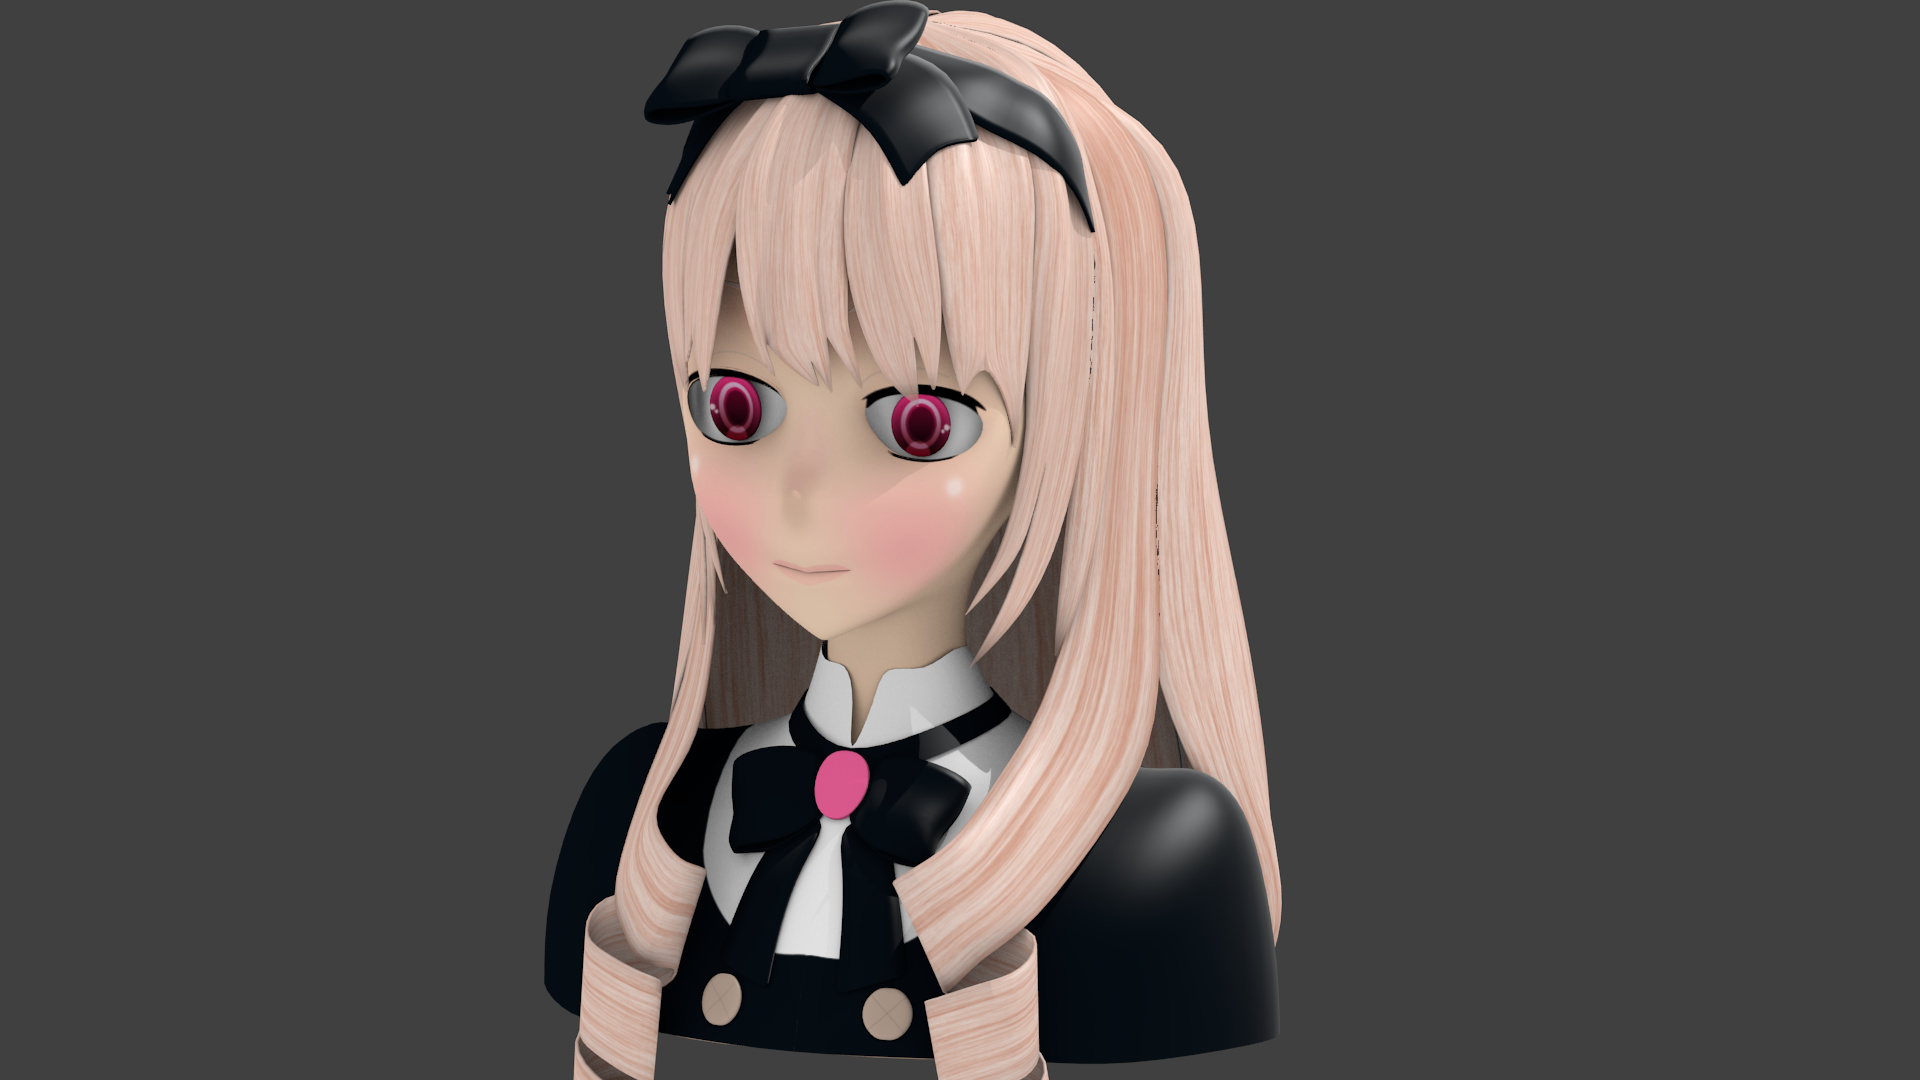
Creating hair and clothing are vital steps in adding realism and personality to your anime character in Blender. This section will guide you through the process of designing these elements with attention to detail.
- Modeling Clothing: Start by blocking out the clothing directly on your character model using the same modeling techniques. Use the extrude and sculpt tools to create the folds and silhouettes of the garments.
- Adding Materials to Clothing: Apply different materials to the clothing pieces. Consider using cloth simulation for realistic draping and movement if your project involves animation.
- Creating Hair with Particle Systems: Blender\"s particle system is a powerful tool for creating realistic hair. Start by adding a new particle system to the scalp area of your model. Adjust the settings to control the length, density, and shape of the hair.
- Styling Hair: Use Blender\"s hair grooming tools in Particle Edit mode to comb, cut, and style the hair. Look at reference images to match the anime style you\"re aiming for.
- Using Meshes for Stylized Hair: For more stylized or exaggerated anime hair, model the hair using separate mesh objects. This method allows for more control over the shape and flow of the hair.
- Texturing Hair and Clothing: Apply textures to the hair and clothing to add color and detail. For hair, consider using strand textures to add variation and realism.
- Adding Accessories: Don\"t forget to model and add any accessories your character might have, such as hats, glasses, or jewelry. These items can be modeled separately and then parented to the character.
Creating hair and clothing for your anime character can be a detailed and time-consuming process, but it\"s also where your character starts to come to life. Pay attention to the style and movement to ensure these elements complement the overall design of your character.
Rigging Your Character for Animation
Rigging is the process of creating a bone structure for your anime character, allowing it to move and pose. This crucial step prepares your character for animation in Blender.
- Creating the Armature: Begin by adding an armature object to your scene. This serves as the skeleton for your character. Place bones at key joints like the shoulders, elbows, wrists, hips, knees, and ankles.
- Naming Bones: Properly name all the bones in your armature for easier identification. Use a consistent naming convention, such as \"Arm.L\" for the left arm and \"Arm.R\" for the right arm.
- Parenting Mesh to Armature: With your armature in place, parent the character\"s mesh to the armature using Automatic Weights. This process automatically assigns vertex groups to the bones, controlling how the mesh deforms when the bones move.
- Adjusting Weight Paint: Go into Weight Paint mode to fine-tune the influence each bone has on the mesh. Use brushes to add or subtract influence, ensuring natural deformation during movement.
- Adding Inverse Kinematics (IK): For more control over limb movement, add IK constraints to the arms and legs. This allows for easier posing by moving a target bone, and the rest of the limb follows in a natural manner.
- Testing the Rig: Pose your character in various positions to test the rig. Look for any unnatural deformations or areas where the mesh does not follow the bones correctly, and adjust the weights or bone positions as necessary.
- Facial Rigging: For facial expressions, create a separate set of bones for the face or use shape keys. This allows for detailed control over facial movements and expressions.
Rigging is a meticulous process that requires attention to detail to ensure your character moves in a lifelike manner. Take your time to adjust and test the rig thoroughly before moving on to animation.
Animating Your Anime Character
Animating your anime character in Blender brings it to life, allowing it to move and express emotions. Follow these steps to create compelling animations.
- Planning Your Animation: Before starting, plan your animation. Sketch key poses and determine the sequence of actions. This storyboard will guide your animation process.
- Setting Keyframes: Begin animating by setting keyframes for your character\"s armature. Move to a specific frame, pose your character, and insert a keyframe. Blender will interpolate the movements between keyframes.
- Timing and Spacing: Adjust the timing and spacing of your keyframes in the Dope Sheet or Graph Editor. This will control the speed and smoothness of your animation.
- Adding Breakdowns: Insert breakdown poses between keyframes for more complex movements. This adds anticipation and follow-through to your animations, making them more dynamic.
- Facial Expressions: Use shape keys or facial rigging to animate expressions. Keyframe the changes in facial features to convey emotions and reactions.
- Lip Syncing: For characters that speak, use shape keys to animate the mouth. Match the movements to the audio for realistic lip-syncing.
- Adding Secondary Actions: Incorporate secondary actions like hair movement or clothing rustle to add realism to your animation. These details can significantly enhance the believability of your character.
- Preview and Refine: Regularly preview your animation. Adjust keyframes and poses as needed to smooth out any awkward movements or timing issues.
Animation is a creative process that breathes life into your character. Experiment with different movements and expressions to find what best suits your anime character\"s personality and story.
_HOOK_
Lighting and Rendering Your Final Character
Lighting and rendering are the final steps to showcase your anime character in Blender. Proper lighting enhances the details and mood, while rendering brings your vision to life in a still image or animation.
- Choosing a Lighting Setup: Start with a three-point lighting setup to highlight your character\"s form and features. Adjust the key, fill, and rim lights to achieve the desired effect and mood.
- Experimenting with Lighting Styles: For anime characters, consider using stylized lighting techniques such as strong rim lights or colored lights to mimic the vibrant style of anime.
- Setting Up the Camera: Position the camera to capture your character from the best angle. Consider the composition and background to enhance the character\"s presentation.
- Applying Materials and Textures: Ensure all materials and textures are correctly applied and show up as intended under your lighting setup.
- Adjusting Render Settings: In Blender\"s Render Properties, choose your render engine (Eevee or Cycles) and adjust settings like resolution, sampling, and color management for optimal quality.
- Using Render Layers and Compositing: For complex scenes, use render layers to separate your character from the background. This allows for more control in post-processing.
- Post-Processing: Use Blender\"s Compositor or external image editing software to adjust the final image. Enhance colors, add effects, or correct minor flaws to polish your render.
- Exporting: Once satisfied, export your rendered image or animation. Choose an appropriate format and settings for your project\"s needs.
Lighting and rendering are crucial for conveying the beauty and personality of your anime character. Take the time to refine these elements, bringing your character to its fullest potential.

Adding Final Touches and Post-Processing
The journey of creating an anime character in Blender culminates with adding final touches and post-processing. This stage enhances the overall visual quality and adds a layer of polish to your work.
- Reviewing Your Work: Start by reviewing your character and animation from start to finish. Look for any minor issues that could be improved, such as clipping in the mesh or awkward transitions in animation.
- Enhancing Details: Use the sculpting tools for any last-minute detail enhancements. Adding subtle textures or refining shapes can make a significant difference.
- Color Correction: In Blender\"s Compositor, adjust the color balance, brightness, contrast, and saturation to achieve the desired look. Aim for vibrant colors typical of anime styles.
- Adding Effects: Utilize Blender\"s Compositor to add effects such as glow, bloom, or depth of field. These can help focus attention on your character or create a specific atmosphere.
- Optimizing for Output: Ensure your project is optimized for its final output, whether it\"s for web, print, or video. Adjust resolutions and formats accordingly.
- Final Rendering: Perform a final render of your character or animation, incorporating all the adjustments and effects. This may take some time, depending on the complexity of your scene and the render settings.
- Feedback and Iteration: If possible, get feedback from others. Fresh eyes can spot issues you might have missed and suggest improvements. Be open to iterating on your work based on this feedback.
Adding final touches and post-processing is a crucial step in realizing your vision. It\"s your opportunity to refine and perfect your anime character, making sure it stands out with its own unique charm and personality.
Tips and Tricks for More Efficient Workflow
To streamline your character creation process in Blender, here are some tips and tricks that can save time and improve efficiency. These strategies can help both beginners and experienced users alike.
- Use Shortcuts: Blender is equipped with numerous shortcuts that can significantly speed up your workflow. Memorize shortcuts for common actions like switching between modes, adding meshes, and editing.
- Customize Your Interface: Tailor Blender\"s interface to suit your workflow. Arrange panels and windows in a way that gives you quick access to the tools you use most frequently.
- Implement Add-ons: Explore and integrate Blender add-ons that are designed to streamline specific tasks, such as character rigging, hair creation, or texture painting.
- Reuse Assets: Build a library of reusable assets like materials, textures, and even rig setups. This can save time when working on future projects.
- Keep Your Mesh Clean: Maintain a clean topology from the start. This makes editing, texturing, and animating your character more manageable and less prone to issues.
- Block Out Before Detailing: Start with a simple block out of your character before moving on to detailed sculpting. This ensures that the basic proportions and shapes are correct and can save you time in the long run.
- Use Layers and Collections: Organize your project into layers and collections. This not only helps in keeping your workspace tidy but also makes it easier to manage visibility and selectivity when working on complex scenes.
- Regular Backups: Save iterations of your work regularly. Having backups can be a lifesaver in case of technical issues or if you need to revert to an earlier version of your project.
By adopting these tips and tricks, you can enhance your workflow, making the process of creating anime characters in Blender more enjoyable and efficient.
READ MORE:
Resources for Further Learning and Inspiration
Enhancing your skills in creating anime characters in Blender requires continuous learning and seeking inspiration. Below are resources that can help you on your journey.
- Blender Official Documentation: Start with Blender’s own documentation for an in-depth understanding of all tools and features. It’s updated regularly with new versions.
- Online Tutorials and Courses: Platforms like YouTube, Udemy, and Coursera offer a wide range of tutorials and courses tailored to all skill levels. Look for courses specifically focused on character creation and animation.
- Blender Community Forums: Join Blender\"s community forums and social media groups. These communities are invaluable for getting feedback, asking questions, and staying updated on new techniques and features.
- Artstation and Behance: For inspiration, browse works by other artists on platforms like Artstation and Behance. Many artists also share behind-the-scenes looks at their workflows.
- Books on Character Design: Books on character design and anatomy can provide foundational knowledge that is crucial for creating believable characters, even in a stylized form like anime.
- Blender Artist Workshops and Meetups: Participating in workshops and meetups can provide direct learning from experienced artists and an opportunity to network with peers.
- CG Cookie: This is a Blender-specific learning site that offers detailed courses and tutorials on a subscription basis, covering everything from basics to advanced character animation techniques.
By utilizing these resources, you can continue to grow your skills, stay motivated, and bring your creative visions to life with Blender.
Embarking on the journey to create anime characters in Blender opens a world of creativity and expression. With dedication and the right resources, anyone can bring their imagined characters to life, crafting stories that resonate and inspire.