Topic blender satisfying animation tutorial: Unlock the secrets of creating mesmerizing animations with our Blender satisfying animation tutorial, designed to inspire and guide artists at every level.
Table of Content
- How to create a satisfying animation tutorial using Blender?
- Getting Started with Blender for Satisfying Animations
- Understanding Blender’s Interface and Basic Tools
- Creating Your First Satisfying Animation: A Step-by-Step Guide
- Advanced Techniques for More Complex Animations
- Using Modifiers and Geometry Nodes for Satisfying Effects
- Incorporating Materials and Lighting for Realism
- YOUTUBE: Super Satisfying Physics Loop Created in Blender
- Rendering and Exporting Your Satisfying Animation
- Tips and Tricks for Efficient Workflow in Blender
- Inspiring Examples of Satisfying Animations Created with Blender
- Resources for Further Learning and Exploration
How to create a satisfying animation tutorial using Blender?
To create a satisfying animation using Blender, follow these steps:
- Start by opening Blender and selecting the \"General\" tab in the top-left corner of the interface.
- Next, delete the default cube in the scene by selecting it and pressing the \"Delete\" key on your keyboard.
- Add any objects or shapes you want to animate by pressing Shift + A and choosing from the available options.
- Once you have your objects in the scene, navigate to the \"Timeline\" panel at the bottom of the interface.
- Click on the \"Auto-Keying\" button to enable automatic keyframing.
- Move the green timeline marker to the desired starting frame of your animation.
- Select the objects you want to animate by clicking on them in the 3D viewport.
- Manipulate the objects\' properties (position, rotation, scale) by pressing G, R, or S and moving the objects or changing their values.
- As you make changes, Blender will automatically set keyframes for the objects at the current frame.
- Continue moving the timeline marker and adjusting the object\'s properties to create the desired animation.
- If you want to add more complex effects like fluid or smoke simulations, you can explore the various options available under the \"Physics\" tab.
- Once your animation is complete, you can render it by going to the \"Render\" tab and adjusting the render settings.
- Finally, click on the \"Render Animation\" button to generate a video file of your satisfying animation.
By following these steps, you should be able to create a satisfying animation using Blender. Remember to experiment with different techniques and effects to bring your vision to life.
READ MORE:
Getting Started with Blender for Satisfying Animations
Embarking on your journey to create satisfying animations in Blender begins with understanding the fundamentals of this powerful software. Follow these steps to set a solid foundation for your creative projects.
- Download and Install Blender: Visit the official Blender website to download the latest version of the software. Installation is straightforward, following the instructions provided on the site.
- Familiarize Yourself with the Interface: Open Blender and spend some time getting to know the layout. Identify key areas such as the 3D viewport, timeline, and properties panel.
- Learn Basic Navigation: Practice navigating the 3D viewport. Learn how to zoom, pan, and rotate your view using the mouse and keyboard shortcuts.
- Start with Simple Objects: Begin your animation journey by creating simple shapes. Learn how to add a mesh (like a cube or sphere) to your scene.
- Experiment with Keyframes: Keyframes are essential for animation. Learn how to insert them to define the start and end points of your animation.
- Play with Animation Principles: Familiarize yourself with basic animation principles such as timing, spacing, and ease-in and ease-out. Applying these concepts will make your animations more satisfying.
- Render a Simple Animation: Once you have created a basic animation, learn how to render it. This process converts your animation into a video format that can be shared and viewed.
With patience and practice, you\"ll soon be creating animations that not only satisfy you but also captivate your audience. Remember, the key to mastering Blender is consistent practice and exploration.

Understanding Blender’s Interface and Basic Tools
Blender\"s comprehensive interface and robust toolkit are key to unlocking your animation potential. Here’s a breakdown of the essentials to get you started on the right foot.
- 3D Viewport: The heart of Blender, where you model, animate, and visualize your scenes. Learning to navigate the 3D viewport is crucial for efficient workflow.
- Timeline: Found at the bottom of the interface, the Timeline allows you to control the animation frames, play animations, and set keyframes.
- Properties Panel: This panel provides access to all the properties of your selected objects, including modifiers, materials, and physics settings.
- Outliner: The Outliner displays a hierarchical list of all objects in your scene, making it easier to manage complex projects.
- Tool Shelf and Properties Shelf: Accessible in the 3D Viewport, these shelves offer quick access to tools and object properties for your current selection.
- Modifiers: Modifiers allow non-destructive transformations to your objects. They are essential for creating complex shapes and animations without permanently altering your mesh.
- Shader Editor: For more advanced users, the Shader Editor offers the ability to create and manipulate materials using a node-based interface.
Start by exploring these components with simple projects to build your understanding. As you grow more comfortable with Blender\"s interface and tools, you\"ll find your workflow becoming more intuitive and your animations more dynamic and satisfying.

Creating Your First Satisfying Animation: A Step-by-Step Guide
Embark on the exciting journey of creating your first animation in Blender. Follow this detailed guide to bring your vision to life in a satisfying and visually appealing way.
- Set Up Your Scene: Open Blender and start a new project. Use the default cube or create a simple shape as your first animated object.
- Learn Basic Object Movement: Select your object and experiment with moving it along the XYZ axes. Practice using the G key for moving, R for rotating, and S for scaling.
- Insert Keyframes: With your object selected, move to the frame where you want the animation to start, adjust its position, and press I to insert a keyframe. Choose \"Location\" to record its position.
- Create Movement: Move the timeline to another frame, change the object’s position, and insert another keyframe. Blender will automatically create a smooth transition between these points.
- Play Your Animation: Use the Timeline controls to play back your animation. Watch as your object moves smoothly between the keyframes you’ve set.
- Add Complexity: As you become comfortable, add more objects and keyframes to introduce new elements and dynamics into your animation.
- Experiment with Effects: Explore Blender’s effects like soft body dynamics, cloth simulation, or particle systems to add interest and complexity to your animations.
- Render Your Animation: Once satisfied, navigate to the render settings, choose your output format, and render your animation to create a shareable video file.
Remember, animation is both an art and a science. Take your time to experiment with different settings and effects to discover what works best for your creative vision. Your first satisfying animation is just the beginning of what you can achieve with Blender.

Advanced Techniques for More Complex Animations
As you grow more confident with Blender, exploring advanced techniques will allow you to create more complex and satisfying animations. These methods can add depth, realism, and flair to your projects.
- Rigging and Armatures: Learn to create skeletal structures for characters or objects to make animation movements more realistic and detailed. Rigging is essential for character animation.
- Shape Keys: Use shape keys to deform and animate objects in a more controlled manner. This is particularly useful for facial expressions and subtle movements.
- Physics Simulations: Blender\"s physics engine allows for realistic simulations of cloth, fluid, smoke, and hair. Integrating these effects can bring your animations to life.
- Particle Systems: Create complex effects like rain, snow, or swarms of objects. Particle systems add a layer of complexity and detail to scenes.
- Animation Nodes: For those looking to dive deeper into procedural animation, animation nodes offer a node-based system to create complex animations without traditional keyframing.
- Compositing and Post-Processing: Enhance your animations with Blender’s compositing tools. Add visual effects, color correction, and more to polish your final product.
- Scripting for Automation: Use Blender\"s Python API to script repetitive tasks or create custom tools and effects. Scripting can greatly enhance your productivity and creativity.
Mastering these advanced techniques requires practice and patience, but the reward is the ability to create truly mesmerizing animations. Continue to challenge yourself and push the boundaries of what you can achieve with Blender.
_HOOK_
Using Modifiers and Geometry Nodes for Satisfying Effects
Modifiers and Geometry Nodes in Blender are powerful tools for creating visually satisfying effects with ease and efficiency. This section will guide you through using these features to enhance your animations.
- Understanding Modifiers: Modifiers are operations that affect your objects in non-destructive ways. They can be used for modeling, animation, and simulation. Familiarize yourself with common modifiers like Subdivision Surface for smoothing, Boolean for cutting and combining shapes, and Array for creating repeated patterns.
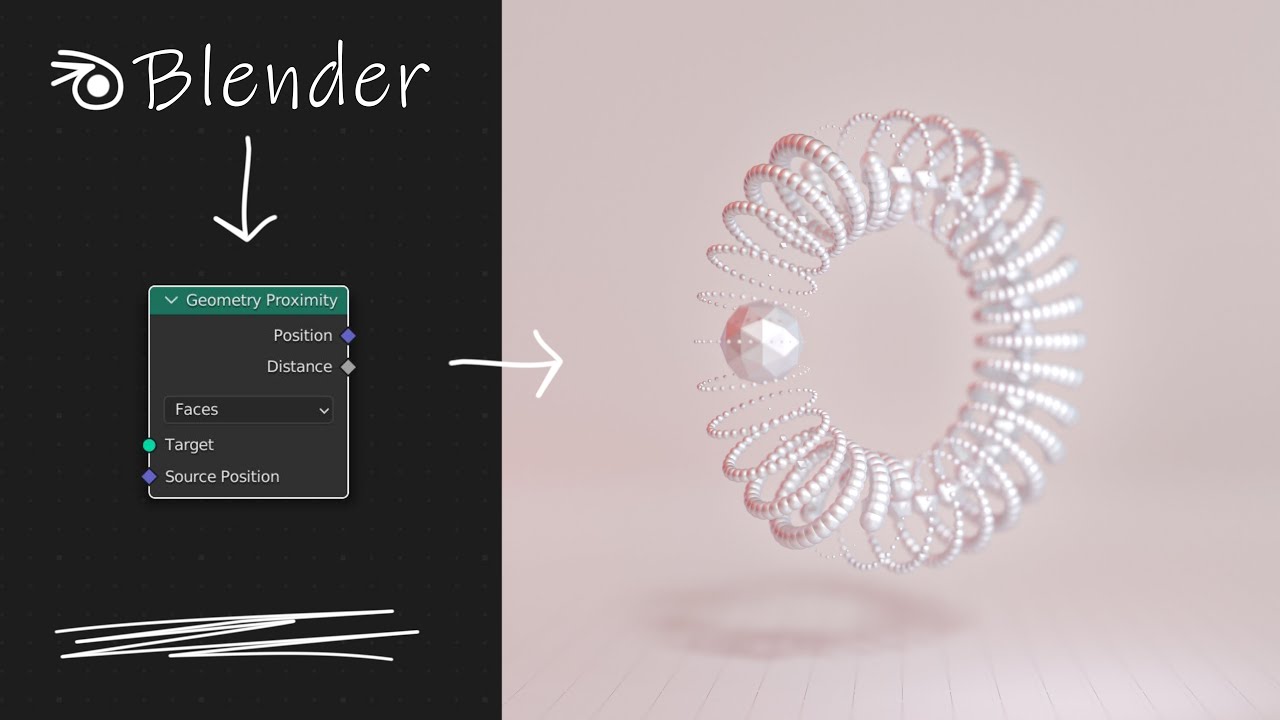
- Exploring Geometry Nodes: Geometry Nodes provide a node-based system for procedural creation and transformation of geometry. This powerful feature allows for complex effects like scattering objects across surfaces, creating patterns, or dynamically adjusting shapes.
- Creating Dynamic Effects: Combine modifiers and geometry nodes to create dynamic effects. For example, use the Displace modifier with a geometry node setup to create a waving flag effect that reacts to wind.
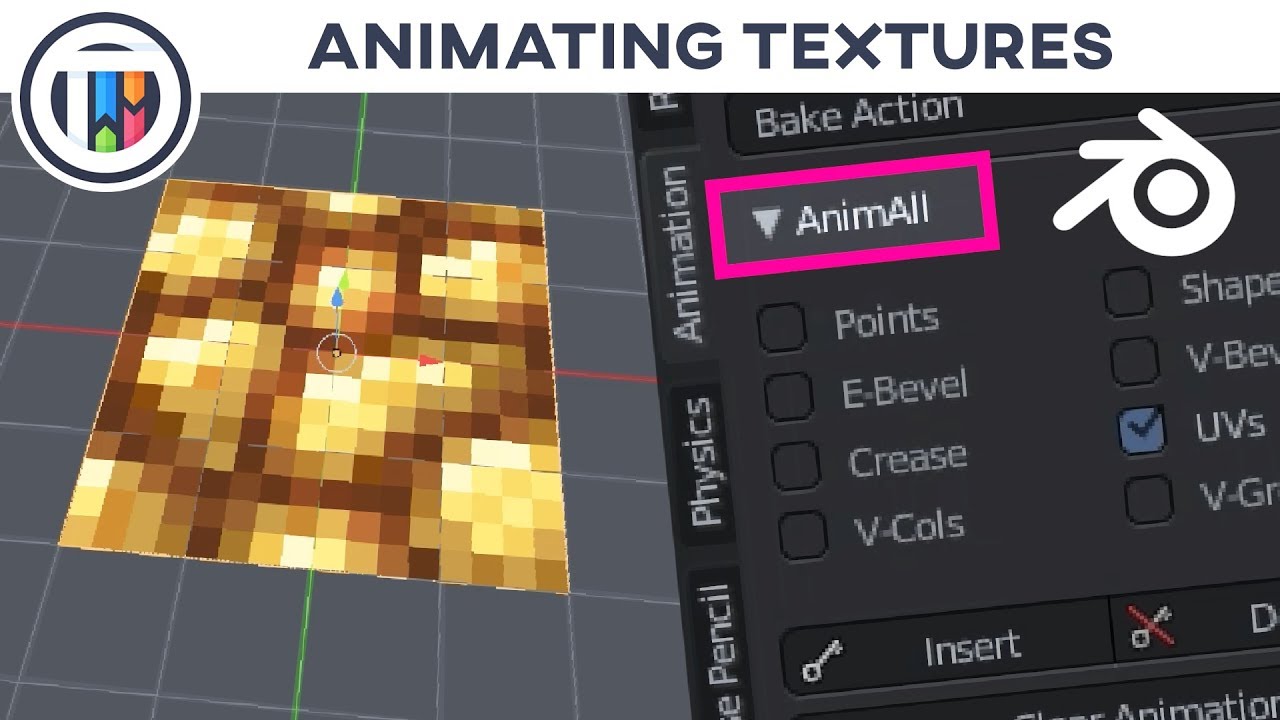
- Animating with Geometry Nodes: Geometry Nodes can also be animated. Animate parameters within the node setup to create effects that change over time, such as growing plants or moving patterns.
- Using Modifiers for Animation: Apply modifiers like the Wave or Build to animate objects in ways that would be time-consuming to keyframe manually. These can add complex motion with minimal effort.
- Experiment and Combine: The real power comes from experimenting and combining different modifiers and geometry nodes. Try out various combinations to discover unique effects that can make your animations stand out.
By mastering modifiers and geometry nodes, you\"ll be able to add depth and complexity to your Blender animations, making them more engaging and satisfying to watch.

Incorporating Materials and Lighting for Realism
Materials and lighting play a crucial role in adding realism to your Blender animations. This guide will show you how to effectively use these elements to enhance the visual appeal of your projects.
- Understanding Materials: Materials define the appearance of your objects, including color, texture, and shininess. Blender\"s shader editor allows you to create complex materials using a node-based interface. Start with simple shaders and gradually introduce textures and displacement for more realism.
- Exploring Lighting Techniques: Lighting can dramatically change the mood and perception of your scene. Experiment with different light types, such as point, sun, and spot lights. Use three-point lighting setups to illuminate your subject effectively.
- Utilizing HDRI for Environment Lighting: HDRI (High Dynamic Range Imaging) provides realistic lighting and reflections by using an image of the real world. It’s a simple way to add depth and authenticity to your scenes.
- Adding Textures: Textures can add detail and complexity to your materials. Use Blender\"s texture painting tools or import textures to give your objects a lifelike appearance.
- Simulating Real-world Physics: Use Blender’s physics simulations to accurately reflect how light interacts with materials, including reflections, refractions, and shadows.
- Rendering for Realism: Use Blender\"s Cycles render engine for photorealistic rendering. It calculates light bounces and interactions with materials in a realistic manner, providing stunning results.
By carefully selecting materials and lighting setups, you can bring a new level of realism to your Blender animations, making them more immersive and visually satisfying.
Super Satisfying Physics Loop Created in Blender
Discover the thrilling world of physics in this captivating video! Join us as we uncover the secrets of the universe through mind-bending experiments and fascinating explanations. Prepare to be amazed by the wonders of physics!
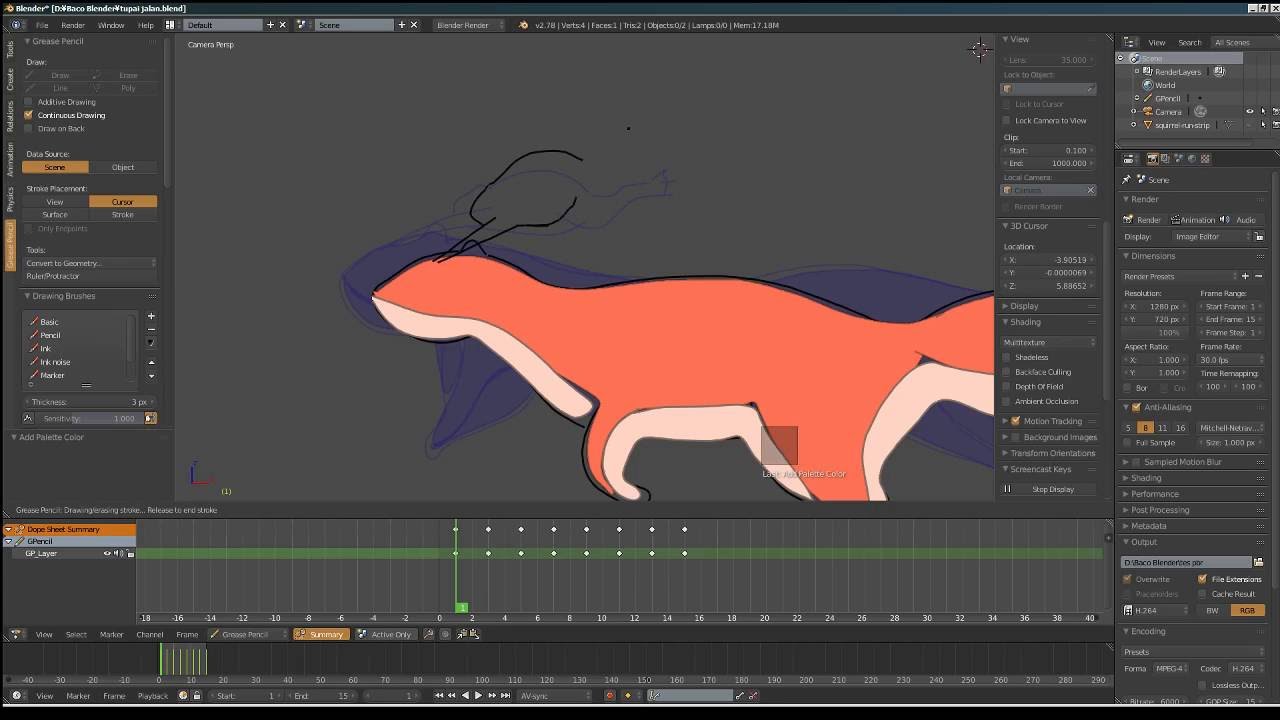
Super Satisfying Animation in Blender (Tutorial)
Get ready to be mesmerized by the enchanting world of animation in this delightful video! Dive into a world where imagination comes to life, where characters spring to action, and where stories unfold in stunning visual storytelling. Let your imagination soar and indulge in the magic of animation.
Rendering and Exporting Your Satisfying Animation
Rendering and exporting are the final steps in the Blender animation process, transforming your project into a shareable video. Follow these steps to ensure your animation looks as good as it possibly can.
- Choose Your Render Engine: Blender offers several render engines, including Eevee for fast real-time rendering and Cycles for more photorealistic results. Select the one that best fits your project\"s needs.
- Adjust Render Settings: Navigate to the Render Properties panel to adjust settings such as resolution, frame rate, and output format. Higher resolutions and frame rates will improve quality but increase rendering time.
- Set Up Camera Angles: Ensure your camera is correctly positioned to capture the desired view of your animation. You can animate the camera itself for dynamic shots.
- Apply Lighting and Materials: Double-check your materials and lighting setups to ensure they are as you want them for the final render. Lighting can significantly affect render times and quality.
- Preview Your Animation: Use the Rendered Viewport Shading mode to preview how your animation will look. Make any necessary adjustments before the final render.
- Render Your Animation: Once satisfied with your setup, go to the Render menu and select Render Animation. Depending on your project\"s complexity and your computer\"s capabilities, this process may take some time.
- Export Your Animation: After rendering, your animation will be saved in the format specified in the output settings. You can find the file in the designated output folder.
Rendering and exporting are crucial steps in the animation process, turning your Blender projects into shareable masterpieces. With the right settings and patience, you can achieve stunning results that captivate your audience.

Tips and Tricks for Efficient Workflow in Blender
Maximizing efficiency in Blender not only saves time but also enhances creativity. Here are some tips and tricks to streamline your animation workflow.
- Use Shortcuts: Blender is equipped with numerous keyboard shortcuts that can significantly speed up your workflow. Familiarize yourself with shortcuts for common actions like scaling (S), rotating (R), and moving (G).
- Customize Your Interface: Blender allows you to customize the interface to suit your workflow. Arrange panels and windows in a way that gives you quick access to the tools you use most often.
- Implement Add-ons: Blender supports a wide range of add-ons that can add functionality or streamline existing processes. Explore and install add-ons that cater to your specific needs.
- Organize Your Assets: Keep your project files organized with a clear naming convention and folder structure. This makes it easier to find and manage assets as your project grows.
- Use Layers and Collections: Organize your scene using layers and collections. This not only helps with organization but also improves performance by allowing you to hide elements that are not currently needed.
- Optimize Your Render Settings: Experiment with render settings to find a balance between quality and render time. Sometimes, slightly lower settings can significantly reduce render times without a noticeable drop in quality.
- Save Incrementally: Regularly save your project under new version numbers to prevent data loss and to allow you to return to earlier versions if needed.
- Preview Renders: Use preview renders to get a quick idea of how your final project will look. This can save time by identifying issues before doing a full render.
By adopting these tips and tricks, you can make your Blender workflow more efficient, allowing you more time to focus on the creative aspects of your animations.

Inspiring Examples of Satisfying Animations Created with Blender
Blender is not just a tool; it\"s a gateway to unleashing creative visions into reality. Here are some inspiring examples of animations created with Blender that showcase the software\"s vast capabilities and the creativity of its users.
- Dynamic Fluid Simulations: Animations that mimic the flow and movement of liquids demonstrate Blender’s powerful fluid simulation capabilities, offering a visually satisfying experience.
- Complex Character Animations: From realistic human figures to fantastical creatures, Blender’s rigging and animation tools have been used to bring to life characters with depth and emotion.
- Stunning Visual Effects: Artists have utilized Blender to create breathtaking visual effects, including fire, smoke, and explosions, adding intensity and drama to their animations.
- Architectural Visualizations: Blender is also a go-to for architects and designers to create detailed and immersive architectural walkthroughs, showcasing how spaces come together.
- Abstract Art Animations: The flexibility of Blender allows for the creation of abstract animations, where artists experiment with shapes, colors, and movements to convey emotions and narratives.
- Microscopic and Macroscopic Worlds: Some animators focus on the incredibly small or vast, creating animations that take viewers on journeys from the microscopic level of cells to the expansive reaches of outer space.
These examples barely scratch the surface of what\"s possible with Blender. They serve as a source of inspiration, encouraging aspiring animators to explore the software\"s potential and create their own satisfying animations.
_HOOK_
READ MORE:
Resources for Further Learning and Exploration
Embarking on a journey to master Blender and animation can be daunting, but with the right resources, you can significantly enhance your skills and knowledge. Below are valuable resources for further learning and exploration.
- Blender Official Tutorials: The Blender Foundation offers a comprehensive collection of tutorials covering everything from the basics to advanced techniques on their official website and YouTube channel.
- Online Courses: Platforms like Udemy, Coursera, and CG Cookie provide structured courses for all levels, offering in-depth knowledge on specific aspects of Blender and animation.
- Blender Community Forums: Join forums and communities such as Blender Artists and the Blender subreddit to connect with other users, share your work, and get feedback and tips.
- Books and eBooks: There are several comprehensive guides and reference books available for Blender. These can be invaluable for those who prefer written instructions and tutorials.
- Workshops and Meetups: Participating in workshops and meetups can provide hands-on experience and the opportunity to learn from experienced animators and artists.
- YouTube Channels: Numerous talented artists share their projects and tutorials on YouTube, offering visual guides that range from beginner to advanced techniques.
With dedication and the right resources, anyone can become proficient in Blender and create satisfying animations. Keep exploring and practicing to discover all the possibilities Blender has to offer.
Embark on a creative journey with Blender to unlock endless possibilities in animation. Let these tutorials inspire and guide you towards creating your own mesmerizing animations that captivate and tell unforgettable stories.