Topic tutorial blender animation: Embark on an exciting journey into the world of 3D animation with our comprehensive Blender animation tutorial, designed to guide beginners and seasoned artists alike.
Table of Content
- How can I learn the basics of animation in Blender?
- Getting Started with Blender Animation for Beginners
- Understanding Blender\"s Interface and Basic Tools
- Introduction to Keyframing and Animation Principles
- Creating Your First Simple Animation in Blender
- Advanced Animation Techniques: Rigging and Weight Painting
- Animating Characters: From Modeling to Motion
- YOUTUBE: Animation for Beginners - Blender Tutorial
- Using Blender\"s Graph Editor for Fine-Tuning Animations
- Incorporating Physics and Simulations into Your Animations
- Rendering Your Animations: Tips and Best Practices
- Resources for Further Learning and Community Support
How can I learn the basics of animation in Blender?
To learn the basics of animation in Blender, you can follow these steps:
- Begin by downloading and installing Blender from the official website.
- Once installed, open Blender and familiarize yourself with the user interface.
- Next, import or create the 3D objects you want to animate. You can use the built-in primitives, or import models from external sources.
- To animate an object, select it and go to the \"Object\" menu. From there, choose \"Animation\" and then \"Keyframes.\" This will enable animation for the selected object.
- Set the starting position of the object by moving it to the desired location in the 3D viewport.
- Move the timeline to the desired frame where you want another keyframe to be set.
- Make any necessary changes to the object\'s position, rotation, or scale in the 3D viewport.
- Go to the \"Object\" menu again and select \"Animation\" > \"Insert Keyframe\" to create a new keyframe at the current frame.
- Repeat steps 6-8 to add more keyframes and create a smooth animation.
- Once the animation is complete, you can preview it by playing the timeline or rendering it to create a final video file.
READ MORE:
Getting Started with Blender Animation for Beginners
Blender animation is a powerful tool for creating stunning 3D animations and visual effects. Whether you\"re aspiring to become a professional animator or simply exploring 3D animation as a hobby, this guide will help you start your journey in Blender animation.
- Download and Install Blender: Visit the Blender website to download the latest version. Blender is free and open-source.
- Familiarize Yourself with the Interface: Open Blender and spend some time getting to know the layout. Identify key areas such as the 3D viewport, timeline, and properties panel.
- Basic Navigation: Learn how to navigate the 3D viewport. Practice zooming, panning, and rotating the view.
- Adding Objects: Learn how to add objects to your scene. Use the \"Shift+A\" shortcut to open the Add menu.
- Transforming Objects: Discover how to move, scale, and rotate objects. Use the \"G\", \"S\", and \"R\" shortcuts for quick access.
- Introduction to Keyframes: Keyframes are the backbone of animation in Blender. Learn how to insert keyframes for object properties like location, rotation, and scale.
- Creating Your First Animation: Start with something simple, like animating a cube moving across the screen. Insert keyframes at the start and end positions to see it in motion.
- Playing Back Your Animation: Use the timeline to play back your animation. Adjust the start and end frames to refine your animation loop.
Remember, mastering Blender animation takes time and practice. Start with simple projects to build your skills gradually. Happy animating!

Understanding Blender\"s Interface and Basic Tools
Blender\"s user interface might seem daunting at first, but it\"s designed to help you efficiently access all the tools you need for 3D modeling, animation, and rendering. Let\"s break down the essentials to get you started:
- 3D Viewport: The heart of Blender, where you interact with your models. You can rotate, pan, and zoom to view your scene from any angle.
- Timeline: Located at the bottom, it\"s crucial for animation, allowing you to control the timing of movements and keyframes.
- Outliner: A hierarchical list of all objects in your scene, helping you organize and select different elements.
- Properties Panel: Here you\"ll find settings for the active object, rendering, world background, and more. It\"s context-sensitive, changing based on what you\"re doing.
- Tool Shelf: Accessible with the T key, this panel contains tools for transforming, editing, and creating objects.
- Collection Management: Organize your scene with collections, which are like folders for your objects, making complex scenes easier to manage.
Starting with these basic tools, you\"ll begin to see how Blender\"s comprehensive set of features can come together to create stunning animations. Experiment with these features to become more comfortable navigating and utilizing Blender\"s interface.

Introduction to Keyframing and Animation Principles
Keyframing is the cornerstone of animation in Blender, allowing animators to define specific moments where properties of objects change. Understanding keyframing and basic animation principles is essential for creating dynamic and lifelike animations. Here\"s a step-by-step guide to help you get started:
- Understanding Keyframes: Keyframes are points in time that store the value of an object’s properties. By setting keyframes for different properties at different times, you create animation.
- Inserting Keyframes: To insert a keyframe, select your object, move to the desired frame in the timeline, change the property (like location, rotation, scale), and press \"I\" to insert a keyframe.
- Animation Timeline: The timeline at the bottom of the interface lets you scrub through your animation, set the start and end frames, and control playback.
- Interpolation: Blender interpolates the values between keyframes, creating smooth transitions. You can adjust the interpolation type in the Graph Editor to change how the animation progresses between keyframes.
- Principles of Animation: Familiarize yourself with basic animation principles such as squash and stretch, anticipation, staging, straight ahead action and pose to pose, follow through and overlapping action, slow in and out, arcs, secondary action, timing, exaggeration, solid drawing, and appeal. These principles help make your animations more lifelike and engaging.
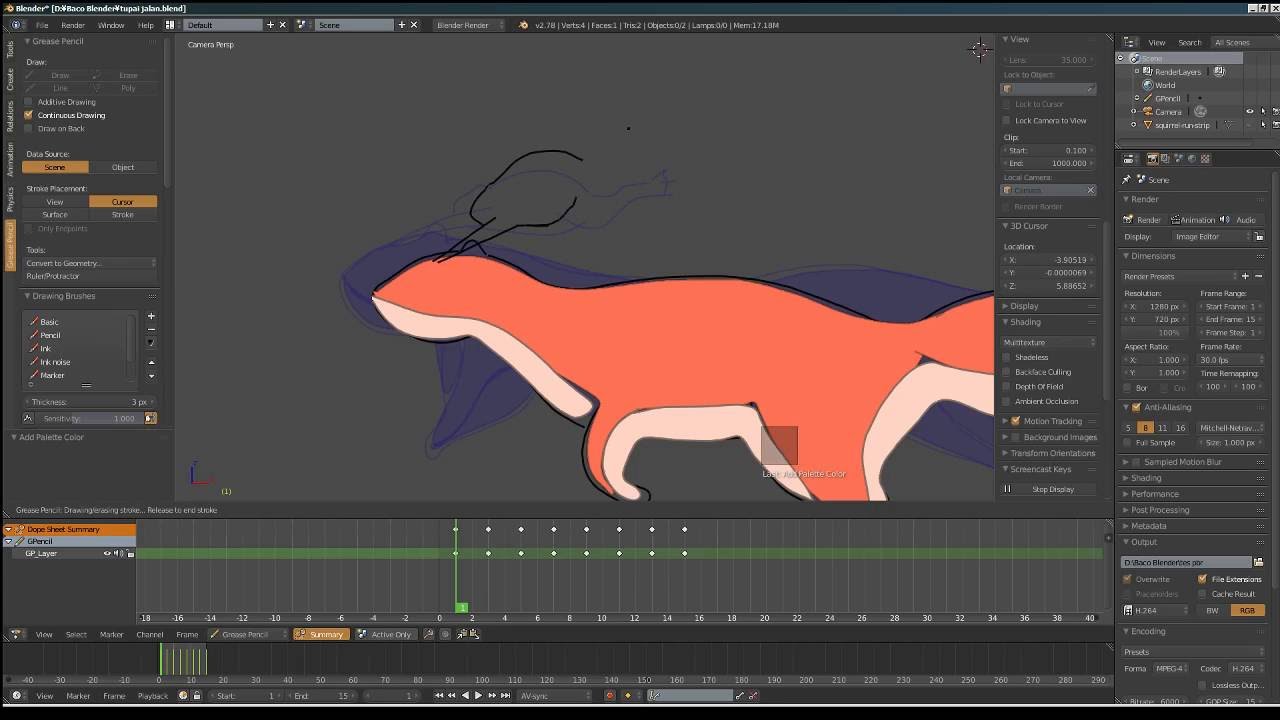
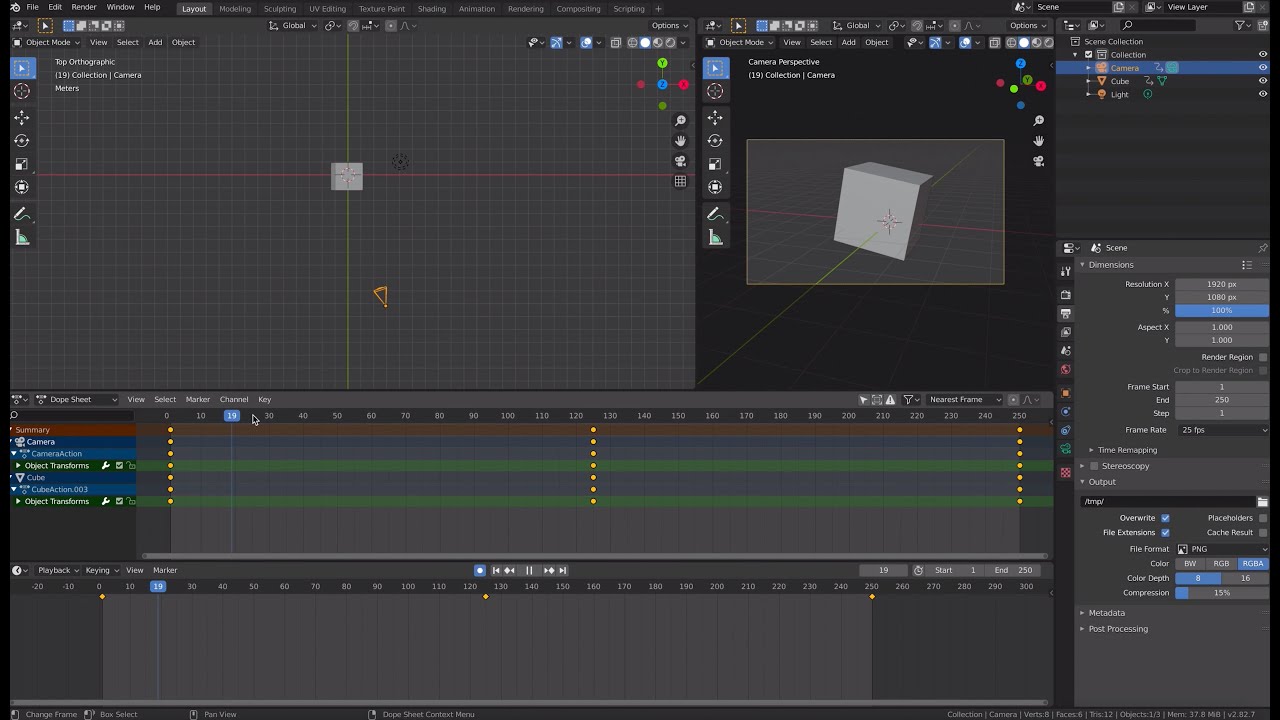
- Dope Sheet and Graph Editor: Use the Dope Sheet for a simplified view of keyframes and timing, and the Graph Editor to fine-tune the interpolation curves between keyframes.
By mastering keyframing and these animation principles, you\"ll be well on your way to creating compelling and visually interesting animations in Blender.

Creating Your First Simple Animation in Blender
Creating your first animation in Blender is an exciting step into the world of 3D animation. This section will guide you through creating a simple animation to help you understand the basic concepts and tools involved. Let\"s animate a cube moving across the scene.
- Setting Up Your Scene: Open Blender and delete the default cube. Press \"Shift+A\" to add a new cube to the center of your scene.
- Inserting the First Keyframe: With the cube selected, go to frame 1 on your timeline. Press \"I\" and choose \"Location\" to insert your first keyframe.
- Moving the Cube: Move to frame 20 in your timeline. Grab the cube and move it to a new location in your scene. Press \"I\" again and choose \"Location\" to insert another keyframe.
- Previewing Your Animation: Press the play button in the timeline or press \"Spacebar\" to preview your animation. You should see the cube move from one location to another.
- Adjusting Speed: If you want to speed up or slow down the animation, move the second keyframe closer or further away from the first keyframe in the timeline.
- Adding More Complexity: Try rotating or scaling the cube for additional keyframes to add more complexity to your animation.
Remember, animation is about experimentation and practice. Don\"t be afraid to try different movements, keyframe interpolations, and effects to see what you can create. Happy animating!
_HOOK_
Advanced Animation Techniques: Rigging and Weight Painting
Rigging and weight painting are advanced techniques that allow for more complex animations by giving you control over the movement of characters and objects. This section introduces you to the basics of creating rigs and using weight painting to animate your models in Blender.
- Understanding Rigging: Rigging is the process of creating a skeleton (armature) that you can use to animate a mesh. In Blender, you create an armature and assign it to your mesh.
- Creating an Armature: Start by adding bones to your model. Each bone controls a part of your model. Place bones strategically to mimic the real movement of characters or objects.
- Parenting Mesh to Armature: With your armature in place, parent the mesh to the armature using automatic weights. This allows the bones to influence the mesh when moved.
- Weight Painting: Weight painting lets you fine-tune how much influence each bone has on different parts of the mesh. Areas painted red are fully influenced by the bone, while blue areas are not influenced at all.
- Testing Your Rig: Enter Pose Mode to move the bones and see how the mesh responds. Adjust the weights as needed to get smooth, realistic movements.
- Animating with Your Rig: With your rig and weight painting complete, you can now animate your model. Insert keyframes for the bones to define their movement over time.
Mastering rigging and weight painting is essential for creating lifelike characters and complex animations. Practice with simple models first to get a feel for the process before moving on to more complex projects.
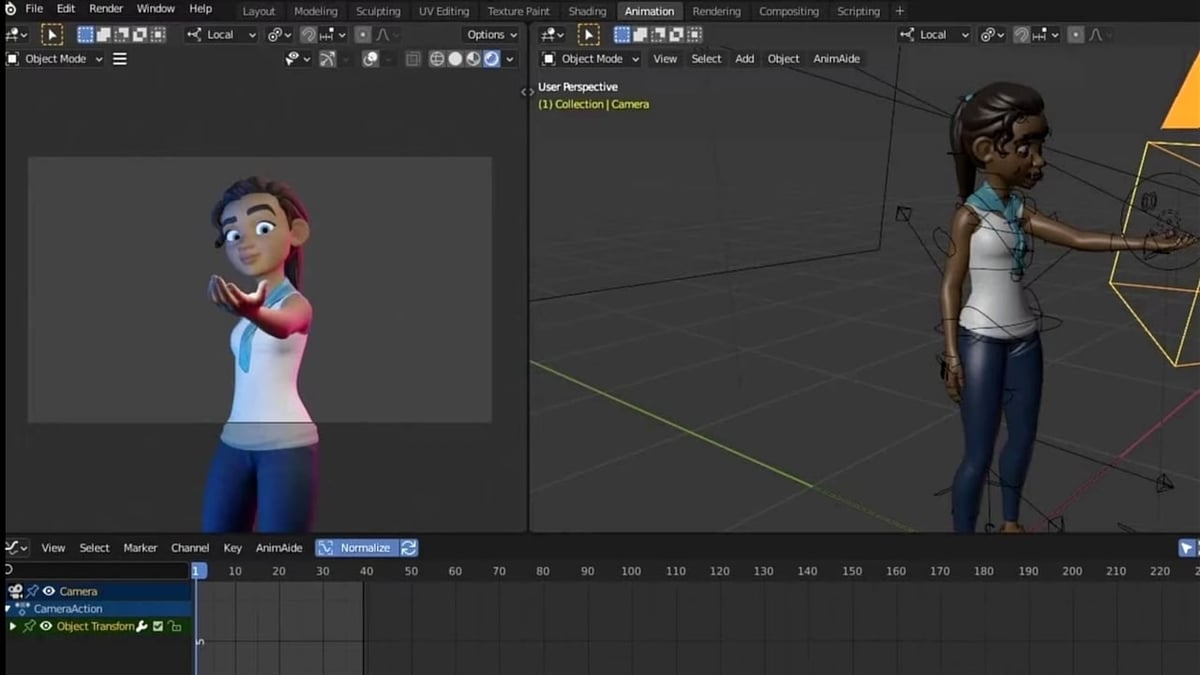
Animating Characters: From Modeling to Motion
Animating characters in Blender involves several stages, from creating a model to bringing it to life with motion. This guide will walk you through the process of character animation, covering modeling, rigging, and animating steps to help you create your own animated characters.
- Modeling Your Character: Start by modeling your character. Use reference images to ensure accuracy and detail in your model. Focus on creating a clean topology for easier rigging and animation.
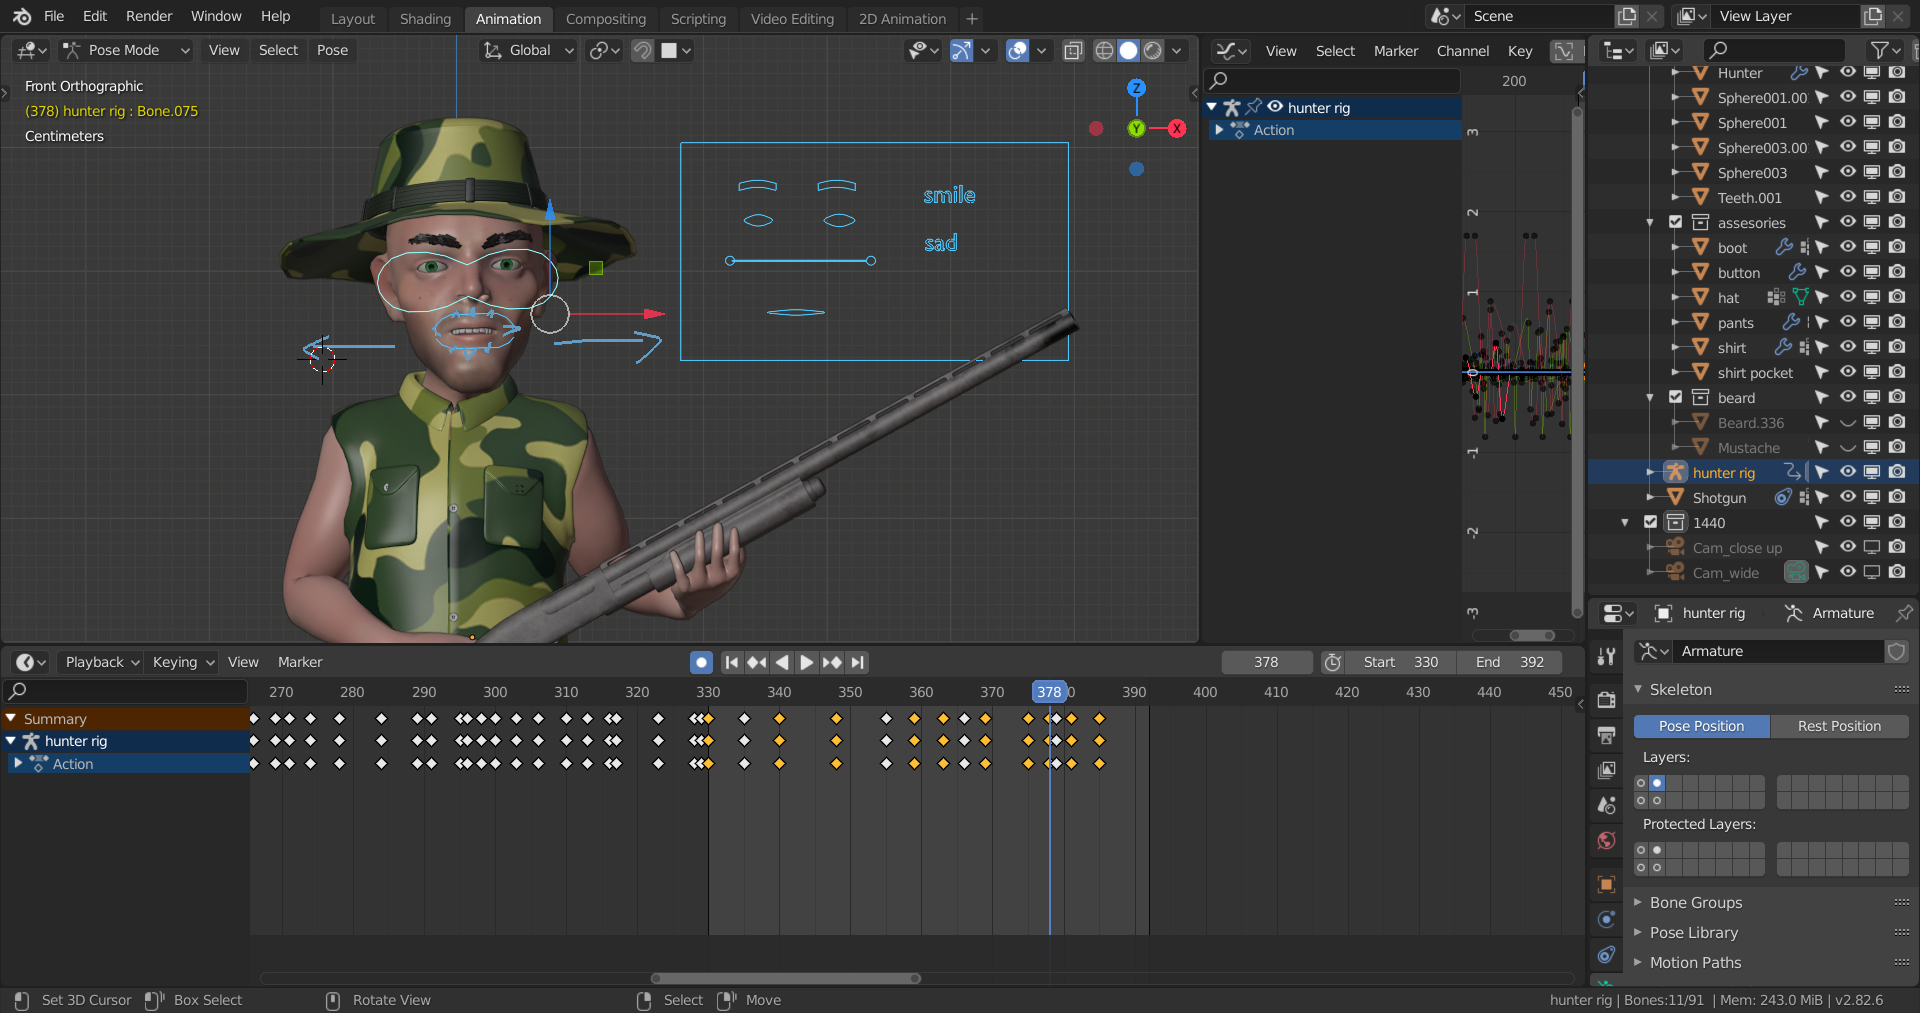
- Rigging Your Character: Once your model is complete, the next step is rigging. Create an armature (skeleton) that matches the structure of your character. Assign bones to control limbs, the spine, and facial expressions.
- Weight Painting: After rigging, use weight painting to define how the mesh moves in relation to the bones. This step is crucial for realistic movement and deformation of your character.
- Animating Your Character: With your character rigged and weight painted, you can start animating. Begin with key poses or keyframes to outline the major movements of your animation sequence.
- Adding Details: Once the basic motion is established, add secondary actions and fine details to your animation. This includes facial expressions, finger movements, and cloth simulation to bring your character to life.
- Polishing Your Animation: Review your animation and make adjustments as needed. Use the graph editor to smooth out movements and ensure a natural flow from one pose to another.
Character animation is a detailed process that requires patience and practice. By following these steps, you\"ll gain a solid foundation in bringing your Blender models to life through animation.
Animation for Beginners - Blender Tutorial
Looking to get started with something new? This video is perfect for beginners! It breaks down complex concepts into bite-sized chunks, making it easy for anyone to follow along and learn something new. Whether you\'re a complete novice or just want to brush up on your skills, this video is a must-watch!
First Steps in Blender Animation - A Comprehensive Tutorial
Need a comprehensive guide to master the subject? Look no further! This video covers everything you need to know, from the basics to advanced techniques. With clear explanations and illustrative examples, you\'ll gain a deep understanding of the topic in no time. Don\'t miss out on this comprehensive resource!
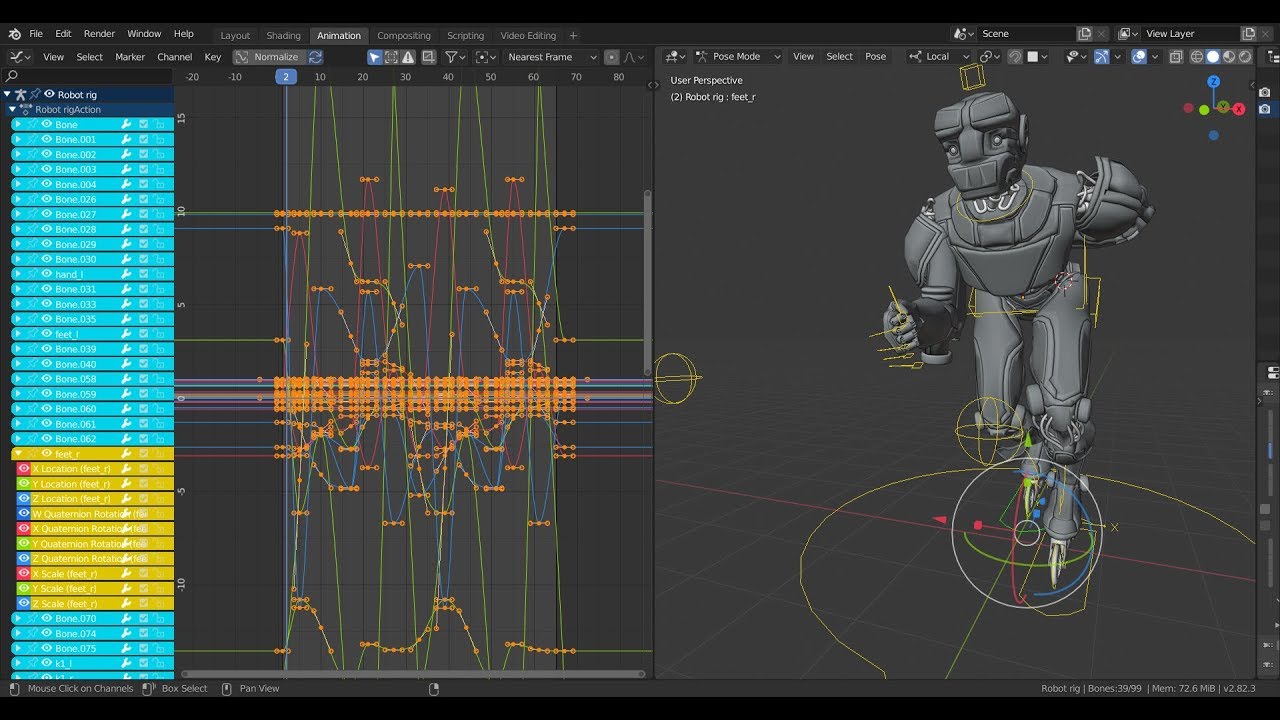
Using Blender\"s Graph Editor for Fine-Tuning Animations
The Graph Editor in Blender is a powerful tool for fine-tuning animations by adjusting the interpolation of keyframes. This allows for more control over the motion of objects and characters, ensuring smooth and realistic animations. Here\"s how to use the Graph Editor to refine your animations:
- Accessing the Graph Editor: Switch to the Graph Editor by selecting it from the editor type menu, usually found in the same space as the timeline.
- Navigating the Graph Editor: The Graph Editor displays curves (F-curves) representing the change in properties over time. Use the middle mouse button to pan and scroll wheel to zoom in and out.
- Selecting F-Curves: Click on an F-curve to select it. You can select multiple curves by holding Shift and clicking.
- Editing Keyframes: Move keyframes by clicking and dragging them. To scale or rotate keyframes, use the S and R keys respectively.
- Adjusting Interpolation: Right-click on a selected keyframe and choose \"Interpolation Mode\" to change how the animation transitions between keyframes. Options include Linear, Bezier, and Constant, among others.
- Using Handles: Bezier keyframes have handles that can be adjusted to fine-tune the curve, providing control over the acceleration and deceleration of the animation.
- Adding and Removing Keyframes: To add a keyframe, right-click on the curve and select \"Insert Keyframe\". To remove a keyframe, select it and press Delete.
With practice, the Graph Editor can be an indispensable tool in your animation workflow, allowing for precise control over the motion of your animations. Experiment with different interpolation modes and adjustments to achieve the desired effect in your animations.

Incorporating Physics and Simulations into Your Animations
Blender offers robust tools for adding physics and simulations to animations, making scenes more dynamic and realistic. This section will guide you through incorporating physics simulations like cloth, fluid, smoke, and rigid bodies into your Blender animations.
- Understanding Physics Simulations: Blender\"s physics simulations replicate real-world physics behaviors, including gravity, collisions, and fluid dynamics, adding realism to animations.
- Adding a Cloth Simulation: To simulate cloth, select your mesh, go to the Physics tab, and choose Cloth. Adjust the cloth properties to achieve the desired behavior and realism.
- Creating Fluid Simulations: For fluid simulations, use the Fluid domain to define the simulation area and Fluid objects to interact within that area. Fine-tune the settings to simulate water, lava, or other liquids accurately.
- Implementing Rigid Body Physics: Rigid body simulations are perfect for simulating interactions between hard objects. Define your objects as Active or Passive rigid bodies and adjust the mass and friction properties for realistic collisions and interactions.
- Working with Smoke and Fire: Use the Smoke domain to create smoke and fire effects. Adjust the flow source and domain settings to control the smoke\"s density, flow, and spread.
- Baking Simulations: After setting up your simulation, you must bake it. Baking calculates the physics interactions and stores the results, allowing for smoother playback and rendering.
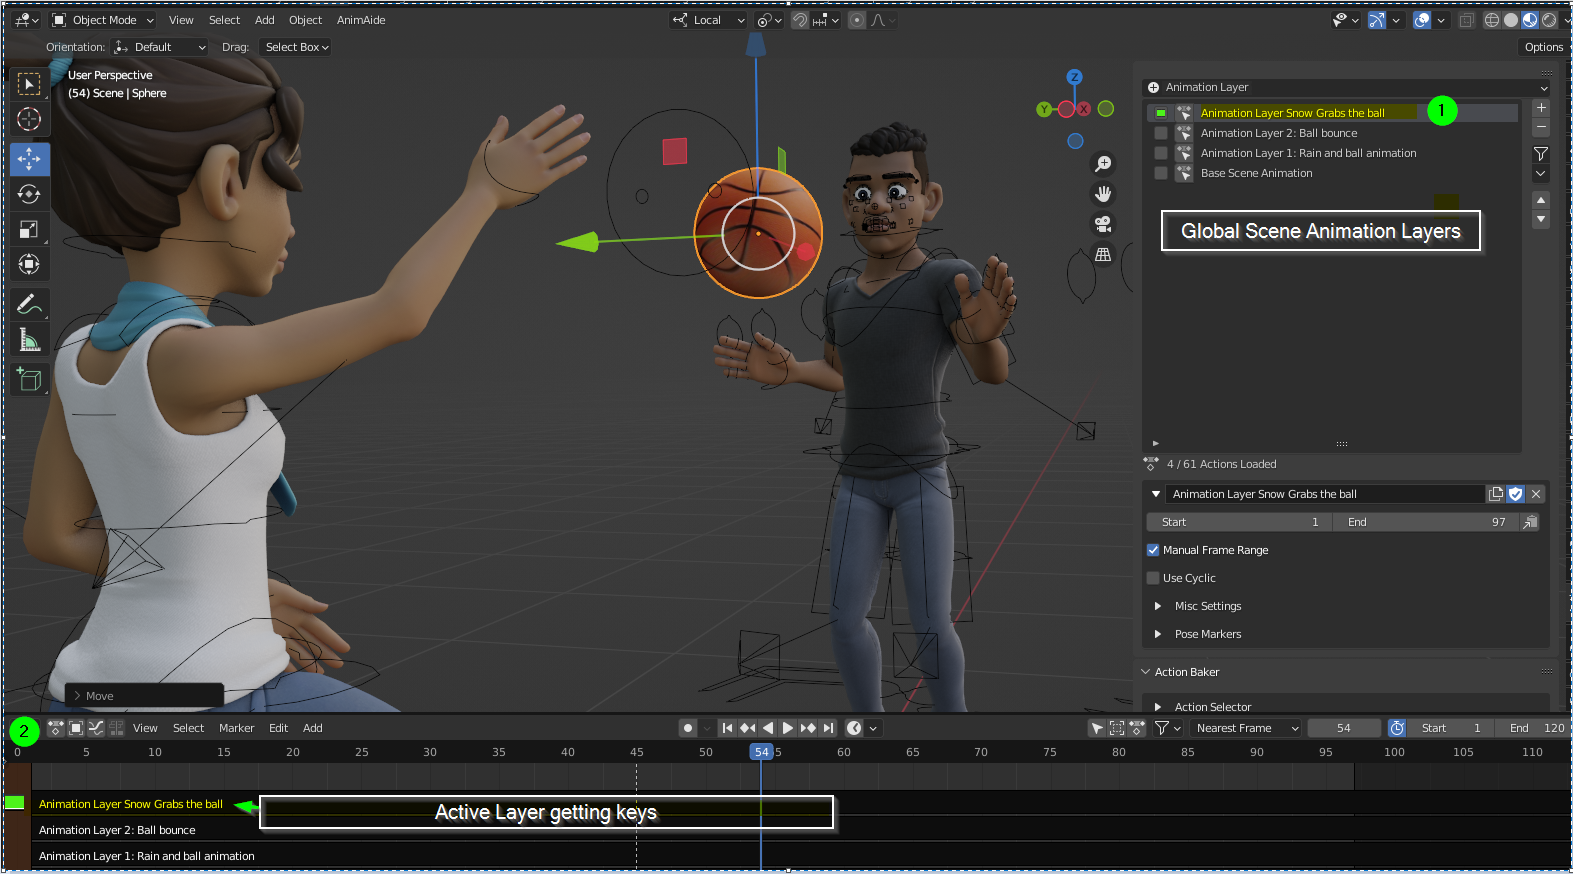
- Integrating Simulations with Animation: Combine your physics simulations with keyframe animations for more complex scenes. Ensure that the timing of simulations matches your animated elements for a cohesive result.
Incorporating physics and simulations into your Blender animations can elevate the realism and complexity of your scenes. Experiment with different simulations to discover the best ways to enhance your animations.
Rendering Your Animations: Tips and Best Practices
Rendering is the final step in the animation process, turning your 3D scenes into a video or image sequence. This section provides tips and best practices to ensure your Blender animations render efficiently and with high quality.
- Choosing the Right Renderer: Blender offers two rendering engines, Cycles and Eevee. Cycles is a ray-traced renderer for higher quality images, while Eevee is a real-time renderer for faster results.
- Optimizing Your Scene: Simplify your scene where possible. Use lower subdivision levels for distant objects, and consider using the Simplify option in the Render properties to reduce render times.
- Managing Samples: For Cycles, adjust the number of render samples. Higher samples improve quality but increase render times. Use denoising to reduce noise with fewer samples.
- Using Light Baking: For scenes with static lighting, use light baking with Eevee to pre-calculate lighting, significantly reducing render times.
- Render Settings: Adjust render settings such as resolution and aspect ratio according to your project needs. For test renders, use lower resolution to save time.
- Output Settings: Choose the correct file format for your project. For animations, a sequence of PNG images is recommended for stability and quality.
- Using Render Farms: For complex scenes or high-resolution renders, consider using a render farm to distribute the rendering process across multiple computers.
Following these tips can significantly improve your rendering process in Blender, ensuring your animations look their best while optimizing render times. Experiment with different settings to find the best balance for your projects.
_HOOK_
READ MORE:
Resources for Further Learning and Community Support
Enhancing your skills in Blender animation requires access to quality learning resources and communities for support. Here\"s a list of valuable resources for further learning and community engagement:
- Blender Official Tutorials: The Blender Foundation offers comprehensive tutorials covering everything from basics to advanced topics on their official website.
- YouTube Channels: Channels like Blender Guru, CG Geek, and Darrin Lile offer a wide range of tutorials that cater to both beginners and advanced users.
- Online Courses: Platforms like Udemy, Coursera, and Skillshare feature detailed Blender courses, including character animation, modeling, and texturing.
- Blender Community Forums: Blender Artists and the Blender Network are great places to ask questions, share your work, and connect with other Blender users.
- Books and eBooks: Consider reading books like \"Blender 3D Cookbook\" and \"Learning Blender: A Hands-On Guide to Creating 3D Animated Characters\" for comprehensive learning.
- Workshops and Meetups: Participating in Blender workshops and local meetups can provide hands-on experience and networking opportunities.
- Blender Conferences: Attending Blender conferences, either virtually or in-person, is an excellent way to learn from experts and meet the community.
Combining these resources with regular practice will significantly improve your Blender animation skills and knowledge. Don\"t hesitate to engage with the community for feedback and support as you learn.
Embarking on your Blender animation journey opens a world of creativity and technical skill. With dedication and practice, you\"ll bring incredible worlds to life. Start exploring, and let your imagination lead the way to stunning animations!