Topic blender 3d animation tutorial for beginners: Embark on a creative journey with our Blender 3D Animation Tutorial for Beginners, designed to guide you from basic concepts to advanced animation techniques, ensuring a solid foundation in the art of 3D animation.
Table of Content
- How to create a 3D animation in Blender for beginners?
- Getting Started with Blender: Overview and Installation
- Understanding Blender\"s Interface and Basic Tools
- Introduction to 3D Modeling: Creating Your First Object
- Materials and Texturing: Bringing Colors and Textures to Your Models
- Lighting and Rendering: Making Your Scene Come Alive
- Introduction to Animation: Keyframes and Motion
- YOUTUBE: Animation for Beginners - Blender Tutorial
- Animating Your First Scene: A Step-by-Step Guide
- Advanced Animation Techniques: Modifiers and Graph Editor
- Character Animation: Rigging and Weight Painting
- Animating with Physics: Particles and Simulations
- Finalizing Your Project: Rendering and Exporting Your Animation
- Resources for Further Learning and Community Engagement
How to create a 3D animation in Blender for beginners?
To create a 3D animation in Blender for beginners, you can follow these steps:
- Step 1: Install Blender
- Step 2: Familiarize yourself with the Blender interface
- Step 3: Create a basic 3D object
- Step 4: Set up keyframes for animation
- Step 5: Create animation sequences
- Step 6: Refine animations with the Graph Editor
- Step 7: Render the animation
- Step 8: Save and share your animation
First, you need to download and install Blender on your computer. Visit the official Blender website (https://www.blender.org) and download the latest version compatible with your operating system.
Open Blender and take some time to explore the interface. Get familiar with the different panels, menus, and tools available. You can find various tutorials and resources online to help you understand the Blender interface better.
To start, you can create a simple 3D object like a cube or sphere. Use the add menu or shortcut keys to add the object to the scene. You can then manipulate its size, position, and rotation using the transformation tools in Blender.
Animation in Blender is achieved by setting keyframes for different properties of objects. Select the object you want to animate and go to the frame where you want the animation to start. Manipulate the object\'s properties like location, rotation, or scale and set a keyframe by pressing the \'I\' key and choosing the property you want to keyframe (e.g., LocRotScale for all properties).
To create animations, you need to define sequences of keyframes. Move to a different frame in the timeline and make changes to the object\'s properties. Again, set keyframes as necessary. Repeat this process to create a sequence of keyframes, forming your desired animation.
The Graph Editor in Blender allows you to refine your animations by adjusting the curves of keyframes. Open the Graph Editor and select the desired object\'s animation curve. Manipulate the handles on the curves to change the motion\'s timing, easing, or interpolation.
Once you\'re satisfied with your animation, you can render it as a video file. Set up the rendering settings, such as output resolution, file format, and frame range. Then, click on the Render button to start the rendering process.
After rendering, save your animation to a desired location on your computer. You can then share your creation with others by uploading it to video-sharing platforms, embedding it on websites, or using it in other projects.
READ MORE:
Getting Started with Blender: Overview and Installation
Welcome to the first step of your 3D animation journey! Blender is a powerful, free, and open-source software for 3D modeling, animation, rendering, and more. This section will guide you through the basics of Blender, including how to download and install it on your computer.
- Visit the Official Blender Website: Go to [Blender.org](https://www.blender.org) to find the latest version of Blender. The website provides versions for Windows, macOS, and Linux.
- Download Blender: Choose the version compatible with your operating system and click on the download link. The download should start automatically.
- Install Blender: Once the download is complete, open the installer. Follow the on-screen instructions to install Blender on your computer. The process is straightforward, but you can customize the installation path if needed.
- Launch Blender: After installation, open Blender. You\"ll be greeted with the default screen, which includes a 3D viewport, a timeline, and tool panels.
- Familiarize Yourself with the Interface: Take some time to explore the Blender interface. You can rotate, pan, and zoom in the 3D viewport using your mouse. The properties panel on the right side allows you to modify objects, materials, and render settings.
Now that Blender is installed, you\"re ready to start creating! The next sections will dive deeper into the functionalities of Blender, helping you to bring your 3D creations to life.

Understanding Blender\"s Interface and Basic Tools
Blender\"s interface might seem daunting at first, but it\"s designed to streamline the 3D creation process. This section will help you get comfortable with the interface and introduce you to Blender\"s basic tools.
- 3D Viewport: This is the heart of Blender, where you\"ll spend most of your time. It\"s the window that displays your 3D scene. You can navigate through it using mouse controls: rotate with the middle mouse button, pan with shift + middle mouse, and zoom with the scroll wheel.
- Properties Panel: Located to the right of the 3D viewport, this panel gives you access to the settings for the active object, world settings, rendering, and more. It\"s where you can adjust the materials, modifiers, and lighting.
- Outliner: The Outliner, found at the top right, lists all the objects in your scene. It\"s a great tool for organizing your scene, selecting objects, and changing visibility settings.
- Timeline: At the bottom of the default layout, the Timeline allows you to manage animations. Here, you can play your animation, set keyframes, and navigate through frames.
- Tools Panel: To the left of the 3D viewport, the Tools panel contains tools for transforming (move, rotate, scale), editing, and creating objects. You can switch between different modes (like Object Mode and Edit Mode) using tabs here.
Blender also supports customization. You can adjust the layout by dragging the edges of panels to resize them or by splitting and joining areas to suit your workflow. Remember, the key to mastering Blender\"s interface is practice. Spend time experimenting with these tools and settings to become more efficient in your 3D projects.
Introduction to 3D Modeling: Creating Your First Object
3D modeling is a fundamental skill in Blender, allowing you to create complex scenes from simple shapes. This section will guide you through creating your first 3D object in Blender.
- Open Blender and Start a New Project: Launch Blender and begin with a new file. By default, Blender opens with a cube in the center of the 3D viewport.
- Understanding Basic Shapes: Blender\"s default cube is your first 3D object. Learn to select it by right-clicking (or left-clicking, depending on your settings).
- Manipulating Objects: With the cube selected, you can move (G), rotate (R), and scale (S) it. Try using these commands to get a feel for object manipulation.
- Adding New Objects: To add a new object, press Shift+A in the 3D viewport. This opens the Add menu, where you can select from a variety of shapes. Try adding a sphere or a cylinder.
- Editing Objects: Switch to Edit Mode by pressing Tab. In Edit Mode, you can select vertices, edges, or faces to modify your objects further. Use extrude (E), loop cut (Ctrl+R), and other tools to shape your object.
- Applying Modifiers: Modifiers can automate certain tasks and add complexity to your objects. With your object selected, go to the Properties Panel, find the Modifiers tab (the wrench icon), and try adding a Subdivision Surface modifier to smooth your object.
Congratulations, you\"ve created your first 3D object in Blender! Experiment with different shapes and tools to build your scene. Remember, practice is key to mastering 3D modeling.

Materials and Texturing: Bringing Colors and Textures to Your Models
Materials and textures are essential for giving your 3D models a realistic or stylized look. This section will guide you through the process of applying colors, materials, and textures to your objects in Blender.
- Select Your Object: Start by selecting the object you want to apply the material to in the 3D viewport.
- Open the Material Properties: With your object selected, go to the Properties Panel and click on the Material Properties tab (the icon that looks like a small circle).
- Create a New Material: Click the \"New\" button to create a new material. You can name your material and adjust its properties, such as color, specularity, and roughness, to achieve the desired look.
- Assigning the Material: If your object doesn\"t automatically display the new material, ensure it\"s assigned. In Edit Mode, select the faces you want to apply the material to, go back to the Material Properties, select your material, and click \"Assign\".
- Adding Textures: To add a texture, switch to the Texture tab in the Properties Panel. Click \"New\" to create a texture, and select the type of texture you want to use (Image or procedural textures like Noise, etc.). Adjust the texture settings to fit your model.
- Mapping Textures: For the texture to display correctly, you may need to adjust its mapping. In the Texture tab, under Mapping, select the coordinates and projection method that best suits your object. UV unwrapping is commonly used for complex objects.
- Previewing Your Work: Use the Shading workspace to see how your materials and textures look with lighting. You can adjust the lights and camera angle to get a better view of your materials and textures.
By applying materials and textures, you bring depth and realism to your 3D models. Experiment with different settings to see how they affect the appearance of your object, and don\"t be afraid to try out complex textures to achieve unique effects.

_HOOK_
Lighting and Rendering: Making Your Scene Come Alive
Lighting and rendering are crucial steps in the 3D animation process, transforming your models into a compelling visual story. This section will explore how to effectively use lighting and rendering settings in Blender to enhance your scenes.
- Understanding Lighting: Blender offers various light types, including Point, Sun, Spot, and Area lights. Experiment with different lights to see how they affect the mood and atmosphere of your scene. Place lights strategically to highlight key areas and create depth.
- Adding Lights to Your Scene: In the 3D Viewport, press Shift+A and navigate to Light to select the type you want to add. Position your lights around the scene to achieve the desired effect, adjusting the strength and color to suit the mood you\"re aiming for.
- Exploring the World Settings: The World settings in Blender allow you to adjust the ambient light in your scene. This can be useful for creating different times of day or atmospheric effects. Access the World settings in the Properties Panel and experiment with the color and intensity.
- Using the Shader Editor for Lighting: For more advanced lighting effects, use the Shader Editor to create custom shaders. This allows for detailed control over how light interacts with surfaces in your scene.
- Setting Up the Camera: Your camera\"s position and settings will significantly impact how your final scene looks. Place your camera where it best captures the action or highlights your models. Adjust the focal length, depth of field, and other camera settings for cinematic effects.
- Rendering Your Scene: Once satisfied with your lighting and camera setup, it\"s time to render. Go to the Render Properties tab, choose your render engine (Eevee or Cycles), and set your output settings. Click \"Render\" to see your scene come to life.
- Post-Processing: After rendering, you can further enhance your image or animation in the Compositing workspace. Blender\"s compositing tools allow you to adjust colors, add effects, and refine your render for the final output.
Lighting and rendering are where your creation truly shines, revealing the beauty and detail of your work. With practice, you\"ll learn how to craft scenes that are visually stunning and emotionally engaging.

Introduction to Animation: Keyframes and Motion
Animation in Blender brings your models to life through motion. This section covers the basics of animating with keyframes, the building blocks of animation in Blender.
- Understanding Keyframes: Keyframes are points in time that capture the position, rotation, and scale of an object. By setting keyframes at different times, Blender interpolates the motion between them, creating animation.
- Inserting Your First Keyframe: Select the object you wish to animate. Move to the frame where you want the animation to start, adjust your object\"s position, rotation, or scale, then press I to insert a keyframe. Choose the attribute you changed (e.g., Location) to set the keyframe.
- Creating Motion: Move to another frame in the timeline, change your object\"s position, rotation, or scale again, and insert another keyframe. Blender will automatically create motion between these keyframes.
- Playing Back Your Animation: Use the playback controls in the Timeline to watch your animation. Adjust the start and end frame to fit your animation\"s length.
- Editing Keyframes: You can move or delete keyframes in the Timeline or Dope Sheet to adjust the timing and flow of your animation. The Graph Editor allows for more precise control over the interpolation between keyframes.
- Animating Properties: Beyond location, rotation, and scale, you can animate almost any property in Blender, including material colors, light intensity, and camera settings. This is done by right-clicking on a property and selecting \"Insert Keyframe\".
- Principles of Animation: Familiarize yourself with the 12 principles of animation to improve the quality of your work. Concepts like anticipation, squash and stretch, and timing can significantly enhance your animations.
Animation is a powerful tool for storytelling and visual expression. Practice these basic techniques to start bringing your 3D creations to life with engaging motion and dynamics.
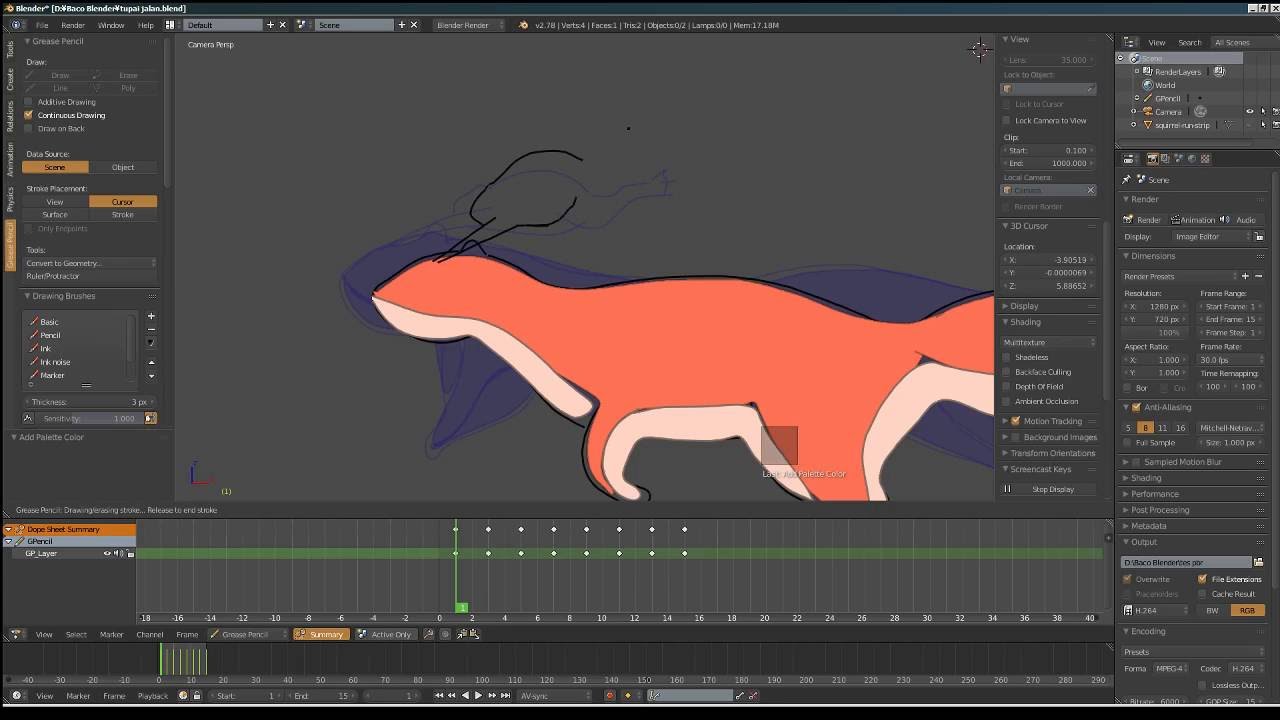
Animation for Beginners - Blender Tutorial
Animation: Get ready to be mesmerized as the world of imagination comes to life through the captivating art of animation. Experience the magic of storytelling like never before in this visually stunning video that will leave you in awe.
Learn Blender 3D in 20 Minutes - Blender Tutorial for Absolute Beginners 2023
Blender: Discover the incredible power of Blender as it takes your creativity to new heights. Whether you\'re a professional or just starting out, this video will show you the endless possibilities of this versatile software, allowing you to bring your ideas to life with stunning realism.
Animating Your First Scene: A Step-by-Step Guide
Creating an animated scene in Blender is an exciting process that combines everything from modeling to animation. This guide will walk you through animating your first scene step by step.
- Plan Your Scene: Before opening Blender, have a clear idea of what you want to animate. Sketching a storyboard can help visualize the scene and the motion of objects.
- Set Up Your Scene: Start by creating or importing the models you need for your scene. Arrange them in the 3D viewport to match your plan.
- Basic Animation with Keyframes: Choose an object to animate first. Move to the frame where the animation will start and set a keyframe for its initial position. Then, move to the frame where the animation will end and adjust the object\"s position, rotation, or scale, setting another keyframe.
- Add More Elements: Animate other elements in your scene following the same process. Remember to use the Timeline to manage the timing of each object\"s animation.
- Camera Movement: To make your scene more dynamic, animate the camera. Add keyframes for the camera\"s position and rotation to create pans, zooms, or tracking shots.
- Lighting Animation: Animating lights can add dramatic effects to your scene. Animate the intensity, color, or position of lights to enhance the mood of your animation.
- Preview Your Animation: Regularly play back your animation to check the flow and timing. Adjust keyframes as needed to smooth out motions or change the pace of the scene.
- Rendering Your Scene: Once you\"re satisfied with the animation, it\"s time to render. Choose your rendering settings in the Render Properties tab, considering the resolution, frame rate, and output format. Then, render your animation to see the final result.
- Post-Production: After rendering, you may want to edit your animation or add effects using Blender\"s Video Sequencer or another video editing software.
Animating your first scene is a milestone in learning Blender. With practice, you\"ll develop the skills to bring complex and captivating stories to life through 3D animation.
Advanced Animation Techniques: Modifiers and Graph Editor
Creating an animated scene in Blender is an exciting process that combines everything from modeling to animation. This guide will walk you through animating your first scene step by step.
- Plan Your Scene: Before opening Blender, have a clear idea of what you want to animate. Sketching a storyboard can help visualize the scene and the motion of objects.
- Set Up Your Scene: Start by creating or importing the models you need for your scene. Arrange them in the 3D viewport to match your plan.
- Basic Animation with Keyframes: Choose an object to animate first. Move to the frame where the animation will start and set a keyframe for its initial position. Then, move to the frame where the animation will end and adjust the object\"s position, rotation, or scale, setting another keyframe.
- Add More Elements: Animate other elements in your scene following the same process. Remember to use the Timeline to manage the timing of each object\"s animation.
- Camera Movement: To make your scene more dynamic, animate the camera. Add keyframes for the camera\"s position and rotation to create pans, zooms, or tracking shots.
- Lighting Animation: Animating lights can add dramatic effects to your scene. Animate the intensity, color, or position of lights to enhance the mood of your animation.
- Preview Your Animation: Regularly play back your animation to check the flow and timing. Adjust keyframes as needed to smooth out motions or change the pace of the scene.
- Rendering Your Scene: Once you\"re satisfied with the animation, it\"s time to render. Choose your rendering settings in the Render Properties tab, considering the resolution, frame rate, and output format. Then, render your animation to see the final result.
- Post-Production: After rendering, you may want to edit your animation or add effects using Blender\"s Video Sequencer or another video editing software.
Animating your first scene is a milestone in learning Blender. With practice, you\"ll develop the skills to bring complex and captivating stories to life through 3D animation.
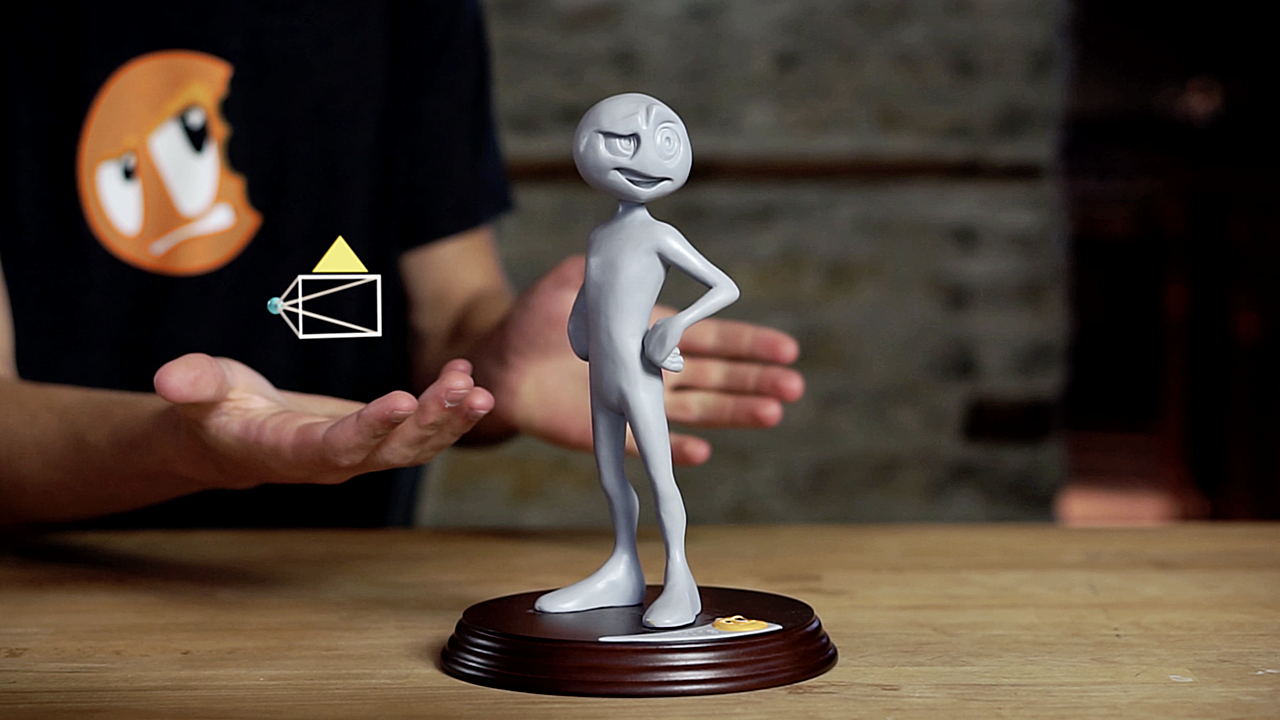
Character Animation: Rigging and Weight Painting
Rigging and weight painting are critical steps in the character animation process in Blender. They allow animators to create a skeleton that can be manipulated to pose and animate characters. This section will guide you through the basic steps of rigging and weight painting your character for animation.
Step 1: Creating the Armature
First, you need to create an armature, which serves as the skeleton for your character. To do this:
- Go to the \"Add\" menu, select \"Armature,\" and choose \"Single Bone.\"
- Enter Edit Mode to adjust the size and orientation of the bone to match your character\"s structure.
- Add more bones for limbs, spine, and other body parts by selecting a bone, then pressing \"E\" to extrude a new bone from the selected one.
- Use naming conventions to keep track of bones, such as \"Arm.L\" for the left arm.
Step 2: Parenting the Mesh to the Armature
Once your armature is ready, you need to attach your character\"s mesh to it:
- Select the mesh, then shift-select the armature and press \"Ctrl+P\".
- Choose \"With Automatic Weights\" from the menu to let Blender automatically assign weights to the mesh based on the proximity to the bones.
Step 3: Weight Painting
Weight painting allows you to fine-tune how the mesh deforms in relation to the bones:
- With the armature selected, switch to Weight Paint mode.
- Select a bone to see the associated weights painted on the mesh. Red indicates high influence, while blue indicates low influence.
- Use the brush tools to adjust the weights as needed to ensure smooth deformations.
Step 4: Testing the Rig
After rigging and weight painting, it\"s important to test the rig:
- Switch to Pose Mode in the armature.
- Select a bone and rotate, move, or scale it to see how the mesh deforms.
- Adjust the weight painting if necessary to correct any undesirable deformations.
Tips for Successful Rigging and Weight Painting
- Keep the armature as simple as possible while still allowing for the required range of motion.
- Use mirror modifiers to ensure symmetrical weight painting on both sides of the character.
- Regularly test the rig throughout the process to catch and fix issues early.
Rigging and weight painting are essential skills for character animation in Blender. By following these steps, you can create a functional rig that allows for realistic and expressive character movements. Remember, practice and experimentation are key to mastering these techniques.
_HOOK_
Animating with Physics: Particles and Simulations
Animating with physics allows you to create realistic movements and effects in Blender by simulating natural forces. This section focuses on using particles and simulations to add complexity and realism to your animations. Whether you\"re creating a swarm of bees, simulating fire, or making cloth flutter in the wind, Blender\"s physics tools can help you achieve these effects.
Step 1: Setting Up a Particle System
To create a particle system in Blender:
- Select the object that will emit the particles.
- Go to the Physics tab in the Properties panel and click on \"Particle System\".
- Click on the \"New\" button to create a new particle system.
- Adjust settings such as the number of particles, start and end frame, and lifetime to control how and when the particles are emitted.
- Experiment with the velocity and physics settings to influence the movement of the particles.
Step 2: Using Force Fields
Force fields affect the motion of particles and can be used to simulate wind, turbulence, gravity, and more:
- Add a force field by going to \"Add\" > \"Force Field\" and choosing the type you need.
- Place the force field near your particle system and adjust its strength and influence.
- Use keyframes to animate the properties of the force field for dynamic effects.
Step 3: Simulating Cloth and Soft Bodies
To simulate cloth or soft bodies in Blender:
- Select the mesh that you want to behave like cloth or a soft body.
- In the Physics tab, click \"Cloth\" or \"Soft Body\" to apply the simulation.
- Adjust the simulation settings to get the desired material and physical properties.
- Use collision objects to interact with the cloth or soft body simulation.
Step 4: Working with Fluids and Smoke
For fluid and smoke simulations:
- Create a domain object that defines the simulation area.
- Select the object that will emit fluid or smoke and set it as a \"Flow\" source in the Physics tab.
- Adjust the flow settings, such as the type (smoke, fire, or liquid) and the flow rate.
- Run the simulation to see the effects within the domain object.
Tips for Effective Simulations
- Start with low-resolution simulations to save time and gradually increase the resolution for final rendering.
- Use the cache to save and replay simulations without having to recalculate them.
- Experiment with different settings and forces to achieve the most realistic effect.
- Combine simulations with traditional keyframe animation for more control over your scenes.
Animating with physics in Blender opens up a vast range of possibilities for creating dynamic and realistic scenes. By mastering particles and simulations, you can add depth and life to your animations that would be difficult to achieve through manual keyframing alone.
Finalizing Your Project: Rendering and Exporting Your Animation
Finalizing your Blender project involves rendering your animation and exporting it into a format suitable for your audience or platform. Rendering is the process of generating the final images of your scenes, while exporting is the act of saving those images or animations in a format for viewing. This guide will walk you through the steps to efficiently render and export your animation, ensuring high quality and compatibility.
Step 1: Setting Up Your Render
Before rendering, it\"s important to adjust your render settings to achieve the best balance between quality and rendering time:
- Go to the Properties panel and select the \"Render\" tab.
- Choose your Render Engine (e.g., Eevee for faster real-time rendering or Cycles for more realistic results).
- Set the resolution, frame rate, and aspect ratio under the \"Output Properties\" tab.
- Adjust the sampling rate for Cycles or the quality settings for Eevee to improve the final image quality.
Step 2: Selecting Output Format
The output format for your animation can vary depending on your needs:
- Under the \"Output Properties\" tab, select the file format for your rendered animation. Common formats include PNG for images and MPEG-4 for video.
- Choose the output destination by clicking on the folder icon next to \"Output\" and selecting where you want to save your files.
Step 3: Rendering Your Animation
With your settings configured, it\"s time to render:
- To render a single image, go to \"Render\" > \"Render Image\" or press F12.
- To render the entire animation, go to \"Render\" > \"Render Animation\" or press Ctrl+F12.
- Wait for Blender to complete the rendering process. This could take some time depending on the complexity of your scene and the settings you\"ve chosen.
Step 4: Exporting Your Animation
After rendering, you\"ll have a series of images or a video file:
- If you rendered to a sequence of images and need a video file, you can compile these images into a video using Blender\"s Video Sequencer.
- Go to the Video Editing layout, add your image sequence as a strip, and then render the animation again to a video format.
Tips for Successful Rendering and Exporting
- Perform test renders at a lower resolution or quality setting to save time and adjust settings as needed before the final render.
- Consider using external rendering farms if your project is very complex or if you\"re limited by hardware.
- Keep your Blender software up to date to take advantage of the latest rendering features and improvements.
- Use compression settings wisely to balance quality and file size, especially important for web or mobile viewing.
Rendering and exporting are the final steps in bringing your Blender animation project to life. By carefully setting up your render and choosing the right export options, you can ensure that your animation looks its best on any platform.
READ MORE:
Resources for Further Learning and Community Engagement
Continuing your journey in Blender 3D animation requires access to a wealth of resources and communities where you can learn new techniques, get feedback, and stay updated on the latest developments. Below are valuable resources for further learning and engaging with the Blender community.
Online Tutorials and Courses
- Blender Official Website: Offers comprehensive tutorials and documentation for all skill levels.
- YouTube Channels: Many experienced animators and educators share free tutorials ranging from basic to advanced techniques.
- Online Learning Platforms: Websites like Udemy, Coursera, and Skillshare feature courses on Blender taught by industry professionals.
Books and E-Books
- Several detailed guides and textbooks are available that cover Blender from the ground up. These can be invaluable for learners who prefer written material.
Forums and Online Communities
- Blender Artists Community: A forum where you can ask questions, share your work, and receive feedback from other Blender users.
- Reddit: Subreddits like r/blender are great for advice, sharing projects, and finding resources.
- Blender Network: Connect with professionals and enthusiasts for collaboration and learning opportunities.
Workshops and Meetups
Attending workshops and meetups can provide hands-on experience and the opportunity to connect with other Blender users in person. Look for local groups or events on platforms like Meetup.com or through the Blender Network.
Blender Conference
The annual Blender Conference is an excellent opportunity to learn from the best in the field, see the latest features and tools in action, and network with other Blender enthusiasts.
Tips for Engaging with the Blender Community
- Be active in forums and social media groups, asking questions, and sharing your knowledge and work.
- Participate in challenges and contests to push your skills and gain visibility.
- Contribute to open-source projects or Blender development if you have the skills to do so.
- Always provide constructive feedback and be open to receiving it to grow as an artist and technician.
Utilizing these resources and becoming part of the Blender community can significantly accelerate your learning process and enhance your skills in 3D animation. Whether you are a beginner or looking to advance your expertise, the community and resources available can support your journey.
Embark on your Blender 3D animation journey with confidence, equipped with comprehensive tutorials that guide you from the basics to advanced techniques. Unlock your creative potential and join a vibrant community eager to see what you\"ll create next.