Topic blender lego animation tutorial: Embark on a creative journey with our Blender LEGO Animation Tutorial, designed to guide enthusiasts through the art of bringing LEGO creations to life with Blender"s powerful tools.
Table of Content
- How to create a LEGO animation using Blender?
- Getting Started with Blender for LEGO Animation
- Understanding Blender\"s Interface and Basic Tools
- Creating Your First LEGO Brick in Blender
- Modeling Complex LEGO Pieces
- Texturing and Coloring LEGO Bricks
- Rigging LEGO Characters for Animation
- YOUTUBE: How to Make a Lego Animation in Blender | Part 1 - Models
- Animating LEGO Characters and Objects
- Using Blender\"s Physics to Enhance LEGO Animations
- Lighting and Rendering Your LEGO Scene
- Post-Production Tips for LEGO Animations
- Advanced Techniques: Custom Scripts and Add-ons for LEGO Animation
- Sharing Your LEGO Animation with the World
How to create a LEGO animation using Blender?
To create a LEGO animation using Blender, you can follow these steps:
- Prepare your LEGO models: Build or arrange your LEGO models in a desired configuration for your animation.
- Set up a scene in Blender: Open Blender and create a new project. Set up the scene by adjusting the camera, lighting, and background.
- Import your LEGO models: In Blender, go to File > Import and choose the appropriate file format for your LEGO models. Import each LEGO model into the scene.
- Position and animate the LEGO models: Use the transform tools in Blender to position and move the LEGO models as desired. To animate the models, you can use keyframes. Select a model, choose a property to animate (e.g., rotation or position), set a keyframe at a specific frame, and then move to another frame to adjust the property again and set another keyframe. Repeat this process for each frame to create smooth animation.
- Refine the animation: Play back the animation and make any necessary adjustments to the timing, positioning, or movement of the LEGO models to create the desired effect.
- Render the animation: Once you are satisfied with the animation, go to the Render settings in Blender and set the output format, resolution, and other options. Then, click the Render button to render the animation.
- Save and export the animation: After the rendering process is complete, save the animation as a video file or any other desired format.
By following these steps, you can create a LEGO animation using Blender and bring your LEGO models to life in a virtual environment.
READ MORE:
Getting Started with Blender for LEGO Animation
To start creating LEGO animations in Blender, you\"ll first need to familiarize yourself with the basics of Blender, a powerful free and open-source 3D creation suite. This section guides you through the initial steps required to bring your LEGO creations to life.
- Download and Install Blender: Ensure you have the latest version of Blender installed from the official website to access all the latest features and improvements.
- Understand Blender\"s Interface: Spend some time getting to know Blender\"s user interface, including the 3D viewport, timeline, and outliner. This will be crucial for efficiently navigating and utilizing the software.
- Basic 3D Modeling Concepts: Learn the basic principles of 3D modeling, such as vertices, edges, and faces, as these will be the building blocks of your LEGO models.
- Importing LEGO Models: Discover how to import pre-existing LEGO models into Blender or how to use Blender\"s modeling tools to create your own LEGO bricks from scratch.
- Setting Up Your Workspace: Organize your Blender workspace by setting up appropriate views and toolbars that will aid in the animation process.
- Practicing Basic Animations: Before diving into complex animations, start with simple movements to understand keyframing and the animation timeline in Blender.
By following these initial steps, you\"ll set a strong foundation for creating detailed and captivating LEGO animations using Blender. Next, we\"ll delve into more specific techniques like modeling, texturing, and rigging your LEGO characters.

Understanding Blender\"s Interface and Basic Tools
Blender\"s interface might seem daunting at first, but it\"s designed to streamline the 3D animation process, including LEGO animation. This section will help you get comfortable with Blender\"s environment and the essential tools you\"ll use for LEGO animation.
- 3D Viewport: The heart of Blender, where you\"ll spend most of your time. It\"s where you can view and interact with your LEGO models. Learning to navigate the 3D viewport is crucial for effective animation.
- Timeline: Located at the bottom of the default layout, the timeline allows you to control the animation playback, set keyframes, and adjust the timing of your LEGO animations.
- Outliner: This panel provides a hierarchical view of all objects in your scene, making it easy to select and manage your LEGO pieces and characters.
- Properties Panel: Here, you can access and modify the properties of the selected objects, including materials, modifiers, and physics settings, which are essential for LEGO animation.
- Shading and Texturing Tools: Blender offers powerful shading and texturing options to give your LEGO bricks and characters a realistic or stylized look.
- Modifiers: These non-destructive tools allow you to easily create complex models and animations. For LEGO animation, modifiers can help with building structures or simulating physics.
- Rigging and Animation Tools: Blender\"s rigging system allows you to create a skeletal structure for your LEGO characters, making them easier to animate with realistic movements.
Start by exploring these basic features to get a feel for the software. As you become more comfortable, you\"ll find Blender\"s comprehensive toolset invaluable for creating intricate and lively LEGO animations.

Creating Your First LEGO Brick in Blender
Creating a LEGO brick in Blender is a fundamental step towards mastering LEGO animation. This section will guide you through the process of modeling your first LEGO brick, setting you on the path to creating more complex LEGO structures.
- Start a New Project: Open Blender and start a new project to get a clean workspace.
- Select a Cube: LEGO bricks are fundamentally cubic, so start by adding a cube to your scene. You can do this by pressing Shift+A and selecting Mesh > Cube.
- Adjust Cube Dimensions: Modify the cube’s dimensions to match that of a standard LEGO brick. A typical LEGO brick has a ratio that you\"ll want to replicate accurately in Blender.
- Add the Studs: LEGO bricks are recognizable by their studs. Add cylinders on top of the cube to mimic these studs. Ensure they are properly spaced and sized to maintain realism.
- Combine Shapes: Use Blender\"s boolean modifiers to combine the cube and cylinders into a single object, simulating a LEGO brick.
- Refine the Model: Smooth out the edges and refine the shape to make it look more like an actual LEGO brick. This can involve beveling edges and applying smoothing techniques.
- Color Your Brick: Apply materials to your brick to give it color. LEGO bricks come in various colors, so choose one that suits your project.
By following these steps, you\"ll have created your first LEGO brick in Blender. This brick can serve as the building block for more complex models and animations.

Modeling Complex LEGO Pieces
As you advance in Blender, you\"ll want to tackle more intricate LEGO pieces beyond the basic brick. This section dives into techniques for modeling complex LEGO elements, enhancing the realism and detail in your animations.
- Understanding LEGO Geometry: Start by studying the geometry of the LEGO piece you wish to model. Note its unique features, such as curves, angles, and connections.
- Using Reference Images: Import reference images of your LEGO piece into Blender to guide your modeling process. This ensures accuracy in dimensions and proportions.
- Advanced Modeling Techniques: Utilize Blender’s more advanced modeling tools, such as loop cuts, extrusions, and the subdivision surface modifier, to capture the intricacies of complex LEGO pieces.
- Creating Connectors: Pay special attention to the connectors that allow LEGO pieces to snap together. Accurately modeling these will enable your digital LEGO creations to assemble realistically.
- Boolean Operations: Use boolean modifiers to combine or subtract mesh objects, helping in the creation of holes or studs on your LEGO pieces.
- Customizing Textures: For pieces with unique textures or decals, explore UV mapping to apply custom textures, adding an extra layer of detail to your models.
- Optimizing Meshes: Ensure your models are not overly dense with vertices, which can slow down your animation workflow. Use tools like decimate to simplify meshes without losing essential details.
By mastering these techniques, you\"ll be able to create any LEGO piece imaginable, paving the way for more dynamic and detailed LEGO animations in Blender.
_HOOK_
Texturing and Coloring LEGO Bricks
Texturing and coloring are vital for giving your LEGO bricks and models a lifelike appearance in Blender. This section will guide you through the process of applying textures and colors to your LEGO creations, enhancing their realism and appeal.
- Understanding Materials: Learn about Blender\"s material system. Materials define the color and texture of your objects. For LEGO bricks, you\"ll typically use simple, vibrant colors.
- Selecting Colors: Choose the appropriate colors for your LEGO bricks. Blender offers a color picker to match the classic LEGO colors accurately.
- Applying Materials: Assign materials to your LEGO bricks. You can do this by selecting the brick, going to the Material Properties tab, and creating a new material.
- Creating Textures: While LEGO bricks are mostly smooth, adding subtle textures can simulate wear and tear or fingerprints for added realism. Use Blender’s texture painting tools or image textures for this effect.
- UV Mapping: For complex pieces or custom prints on LEGO bricks, use UV mapping to wrap textures accurately around your models.
- Shading Techniques: Explore Blender\"s shading nodes to create custom materials with unique properties, like glossiness or roughness, to mimic the plastic feel of LEGO pieces.
- Lighting Your Scene: Proper lighting is crucial for showcasing the colors and textures of your LEGO models. Experiment with different lighting setups to highlight the details of your creations.
By mastering these texturing and coloring techniques, you can create LEGO animations that are vibrant, detailed, and true to the beloved building blocks.
Rigging LEGO Characters for Animation
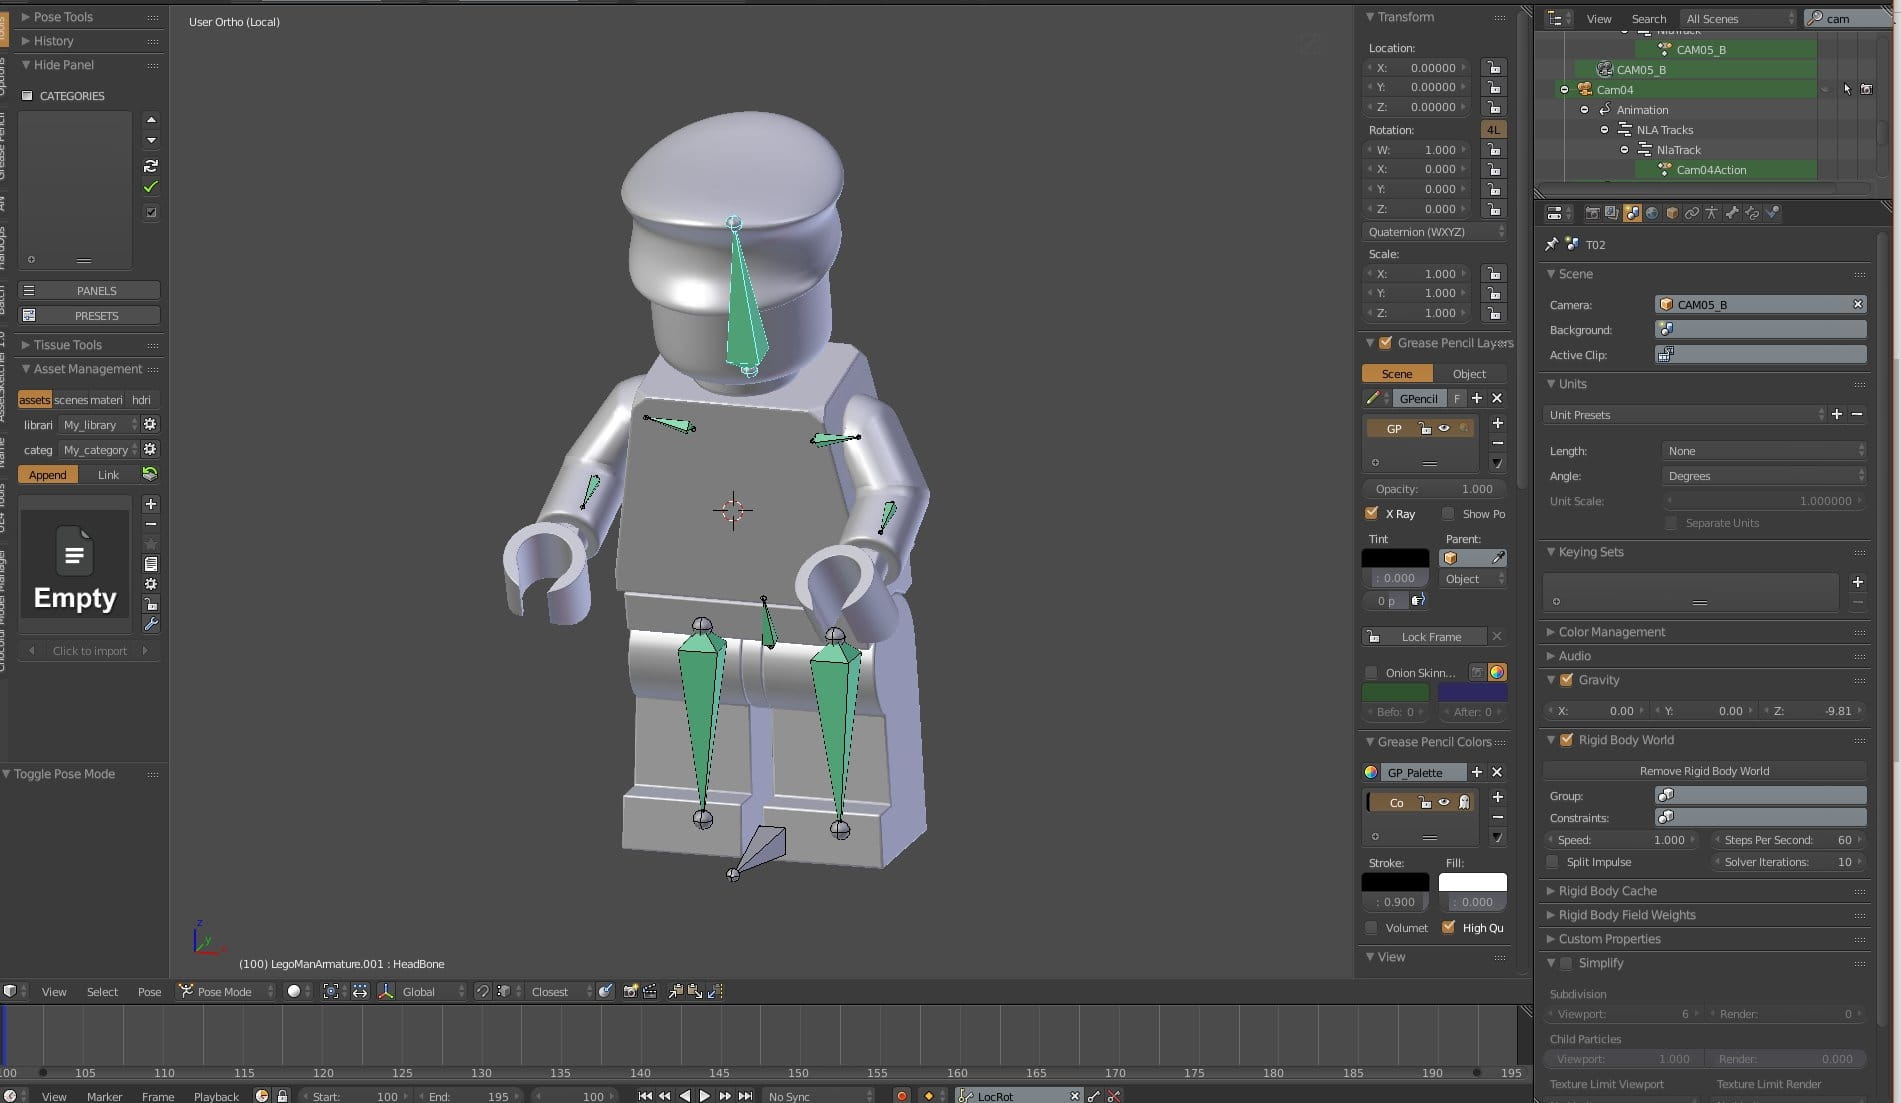
Rigging is a crucial step in bringing LEGO characters to life in Blender. This process involves creating a skeleton that movements are based on. Here\"s how to rig your LEGO characters for animation, making them ready for action.
- Understanding Rigging Basics: Familiarize yourself with Blender\"s rigging tools, including bones and armatures, which are essential for character animation.
- Creating the Armature: Start by adding an armature to your LEGO character. Each bone in the armature will control a part of the character\"s body. Place bones strategically for the head, limbs, and torso.
- Naming Bones: Properly name all the bones in your rig for easy identification. This step is crucial for larger animations where multiple characters are involved.
- Parenting Mesh to Armature: Once your armature is complete, parent the LEGO character\"s mesh to the armature. This step is done using automatic weights to ensure the mesh deforms naturally with the bone movements.
- Adjusting Weight Paint: Fine-tune the influence of each bone on the mesh through weight painting. This ensures that movements look realistic and are correctly mapped to the mesh.
- Testing the Rig: After rigging, test the movements of your LEGO character by posing the armature. This phase helps identify and correct any issues with the rig or weight painting.
- Adding IK Constraints: For more advanced rigging, incorporate Inverse Kinematics (IK) constraints to simplify the animation process, especially for walking or running sequences.
With your LEGO character rigged, you\"re now ready to animate. Rigging allows for the realistic portrayal of movements, making your LEGO animations more dynamic and engaging.

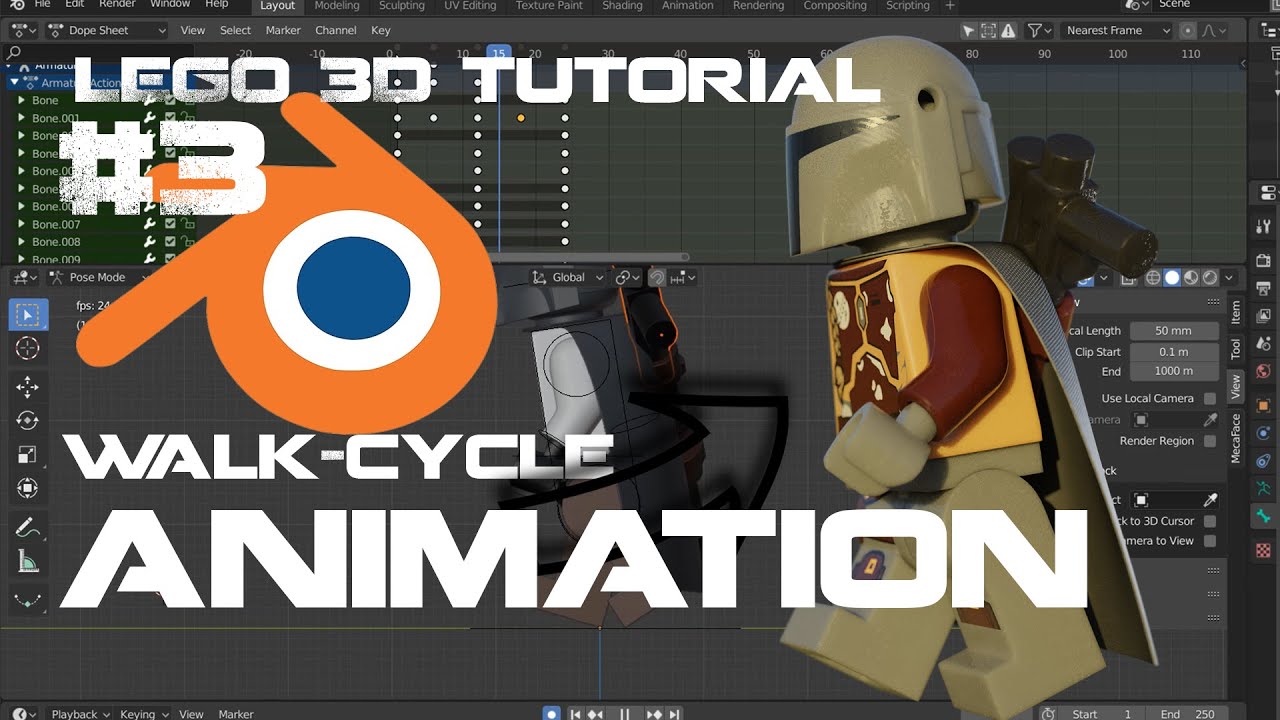
How to Make a Lego Animation in Blender | Part 1 - Models
\"Discover the incredible world of Blender and unlock your creative potential! Join us in this captivating video as we delve into the limitless possibilities of this powerful 3D rendering software, perfect for professionals and beginners alike.\"
Beginner\'s Guide: How to Make a LEGO Animation
\"Prepare to be amazed by the mesmerizing art of animation. Dive into this enchanting video where we explore the intricacies of character movement, storytelling, and the magic that brings imagination to life. Get ready to be inspired!\"
Animating LEGO Characters and Objects
Animating LEGO characters and objects in Blender brings your creations to life. This section provides a step-by-step guide on animating your LEGO models, from simple movements to complex scenes.
- Setting Up the Scene: Begin by arranging your LEGO characters and objects in the Blender scene. Consider the composition and how each element interacts.
- Adding Keyframes: Animation in Blender is achieved through keyframes. Select your character or object, move to the desired frame in the timeline, and insert a keyframe for location, rotation, or scale.
- Creating Movement: Move to another frame, reposition your character or object, and insert another keyframe. Blender interpolates the movement between keyframes, creating animation.
- Animating LEGO Characters: Use the rigging setup to animate characters. Select the rig, pose the character by moving the bones, and insert keyframes for each pose.
- Adding Expressions: For characters with facial features, use shape keys to animate expressions. This adds emotion and depth to your LEGO animations.
- Simulating Physics: Blender’s physics engine can add realism to your animations. Use it to simulate gravity, collisions, or cloth movements on capes and flags.
- Camera Movement: Animate the camera to follow the action or change perspectives throughout the scene, enhancing the cinematic feel of your LEGO animation.
- Preview and Adjust: Regularly preview your animation and adjust the timing, spacing, and easing of keyframes to achieve the desired effect.
With these steps, you can animate LEGO characters and objects in Blender, creating engaging stories and dynamic scenes that capture the imagination.
Using Blender\"s Physics to Enhance LEGO Animations
Blender\"s physics engine offers powerful tools to add realism to your LEGO animations. This section covers how to leverage these features to create more dynamic and engaging animations.
- Understanding Physics in Blender: Familiarize yourself with the physics properties in Blender, including rigid body, soft body, and cloth simulations, to understand how they can enhance your LEGO scenes.
- Rigid Body Simulation: Use rigid body physics for simulations involving collision and interaction between LEGO bricks. This is perfect for creating scenes where bricks fall, stack, or collapse realistically.
- Soft Body and Cloth Simulation: For elements like LEGO flags or capes, soft body or cloth simulations can add a level of realism by simulating wind or movement effects.
- Particle Systems: Create complex effects like dust, debris, or even LEGO pieces coming together to build an object using Blender\"s particle systems.
- Setting Up Simulations: Learn how to set up your scene for physics simulations by assigning physics properties to your LEGO objects and adjusting the settings to get the desired effect.
- Integrating Physics with Animation: Combine manual keyframe animation with physics simulations to create scenes that are both controlled and dynamically realistic.
- Optimizing Performance: Physics simulations can be demanding on your system. Learn tips for optimizing your scenes, such as baking simulations and simplifying meshes.
By incorporating Blender\"s physics into your LEGO animations, you can achieve more realistic and compelling visual stories, adding depth and excitement to your creations.

Lighting and Rendering Your LEGO Scene
Lighting and rendering are crucial for showcasing your LEGO animations in Blender, bringing out the vivid colors and details of your creations. This section will guide you through the process of setting up lights and rendering your scenes for the best possible results.
- Understanding Blender\"s Lighting: Get to know the different types of lights available in Blender, such as point, sun, and spotlights, and how they affect your scene.
- Setting Up Your Lights: Strategically place your lights around the scene to highlight key areas and create depth. Consider using three-point lighting for characters to enhance their form.
- Adjusting Light Properties: Experiment with the color, intensity, and distance of your lights to achieve the desired mood and look for your LEGO animation.
- Using HDRIs for Environment Lighting: HDRIs can provide realistic environmental lighting with minimal setup. They\"re great for outdoor scenes or to simulate specific lighting conditions.
- Materials and Reflectivity: Ensure your LEGO bricks have the right material settings to reflect light appropriately, simulating the plastic texture of real LEGO pieces.
- Camera Setup: Choose the right camera angle and settings, such as focal length and depth of field, to frame your scene and focus on the action.
- Rendering Settings: Explore Blender\"s rendering settings, including output resolution, sampling rates, and the use of denoising to produce clear and vibrant animations.
- Post-Processing: Use Blender’s Compositor to add finishing touches to your render, such as color correction, glare effects, or vignettes for a polished look.
By carefully lighting and rendering your LEGO scene in Blender, you can create animations that are not only visually appealing but also emotionally engaging, capturing the essence of your LEGO stories.

_HOOK_
Post-Production Tips for LEGO Animations
Post-production is the final stage in creating your LEGO animations in Blender, where you refine the visuals, add effects, and ensure your story is clearly conveyed. Here\"s how to polish your animations for the best possible outcome.
- Editing and Cutting: Use Blender\"s Video Sequence Editor to arrange your animation clips, trim unnecessary parts, and ensure a smooth flow of scenes.
- Color Correction: Adjust the colors and brightness of your animation to enhance the visual appeal and ensure consistency across different scenes.
- Adding Sound Effects: Sound effects can bring your LEGO animations to life. Import your audio files into Blender and synchronize them with the action on screen.
- Background Music: Choose a background track that complements the mood of your animation. Ensure the music does not overpower the dialogue or sound effects.
- Visual Effects: Utilize Blender’s Compositor to add visual effects, such as glow, smoke, or explosions, to enhance the storytelling and visual impact of your LEGO animations.
- Text and Titles: Add opening titles, closing credits, and any necessary text overlays to provide context or acknowledge contributions.
- Rendering Settings: Before the final render, double-check your rendering settings. Opt for a higher sample rate for quality, and consider using denoising to reduce render times while maintaining visual fidelity.
- Exporting Your Animation: Finally, export your LEGO animation in the desired format, ensuring it is suitable for your target platform, whether it\"s for online sharing or a personal collection.
By following these post-production tips, you can elevate your LEGO animations from good to great, ensuring they are engaging, polished, and ready to impress your audience.
Advanced Techniques: Custom Scripts and Add-ons for LEGO Animation
Expanding your LEGO animation capabilities in Blender can involve delving into custom scripts and add-ons. These advanced techniques can significantly streamline your workflow and enhance the quality of your animations.
- Exploring Blender Add-ons: Investigate add-ons specifically designed for animation, such as Rigify for advanced rigging, or AssemblMe for assembling LEGO models efficiently.
- Custom Python Scripts: Blender\"s flexibility allows for custom Python scripting to automate repetitive tasks or create complex animation effects that are not directly supported by the UI.
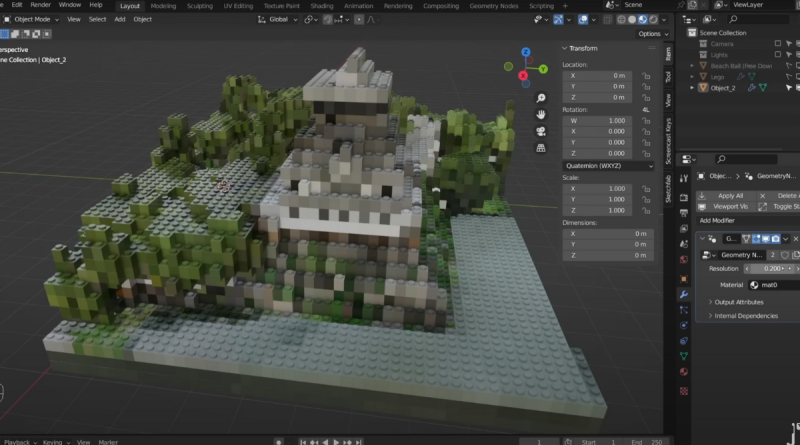
- Geometry Nodes for LEGO: Utilize Blender\"s Geometry Nodes to procedurally generate intricate LEGO structures or animate them in unique ways, offering endless creative possibilities.
- Integrating External Tools: Sometimes, the best solution involves external software. Learn how to integrate tools like Adobe Photoshop for textures or Adobe After Effects for compositing with your Blender workflow.
- Creating Custom Shaders: For those looking to push the visual quality further, writing custom shaders in Blender’s shader editor can give your LEGO animations unique visual styles.
- Optimizing Render Settings: Advanced users can tweak Blender\"s render settings through scripts to optimize performance and quality, especially useful for long or complex LEGO animations.
- Collaborating and Sharing: The Blender community is rich with resources and individuals willing to share their scripts and add-ons. Engaging with the community can provide new tools and techniques for your projects.
By exploring these advanced techniques, you can unlock new creative potentials, making your LEGO animations in Blender more efficient, visually stunning, and uniquely your own.
READ MORE:
Sharing Your LEGO Animation with the World
After pouring effort into creating a LEGO animation in Blender, the next step is sharing it with an audience. This section will guide you through the best practices for presenting your work to the world, ensuring it reaches and resonates with viewers.
- Choosing the Right Platform: Consider where your target audience spends their time. YouTube is great for long-form content, while social media platforms like Instagram or TikTok are ideal for shorter clips.
- Optimizing for Each Platform: Tailor your content for each platform\"s format and audience preferences. This might mean creating different versions of your animation to maximize engagement.
- Engaging Thumbnails and Titles: Use captivating thumbnails and titles to grab attention. Your title should include keywords like \"LEGO Animation\" to improve discoverability.
- SEO and Tags: Utilize SEO strategies and tags related to LEGO, animation, and Blender to help your content be found by interested viewers.
- Interacting with Your Audience: Engage with comments and feedback to build a community around your work. Viewer interaction can also increase visibility on platforms.
- Collaborations and Sharing: Collaborate with other creators or share your work in relevant online communities and forums to reach a wider audience.
- Analyzing Performance: Use platform analytics to understand what works and refine your approach to content creation and sharing based on viewer behavior.
By following these steps, you can effectively share your LEGO animations with the world, gaining visibility, engaging with fans, and possibly inspiring others to start their own creative projects in Blender.
Dive into the world of LEGO animation with Blender and unleash your creativity. From basic bricks to captivating stories, this journey promises to enhance your skills and inspire endless possibilities. Start animating today and share your creations!