Topic how to create animation with blender: Discover the art of animation with Blender, the comprehensive guide for beginners eager to bring their stories to life. Unlock your creative potential in this exciting digital realm.
Table of Content
- How to create animation with Blender?
- Getting Started with Blender for Animation
- Understanding Blender\"s Interface and Basic Tools
- Modeling Your Characters and Environments
- UV Unwrapping and Texturing for Realism
- Rigging Characters for Animation
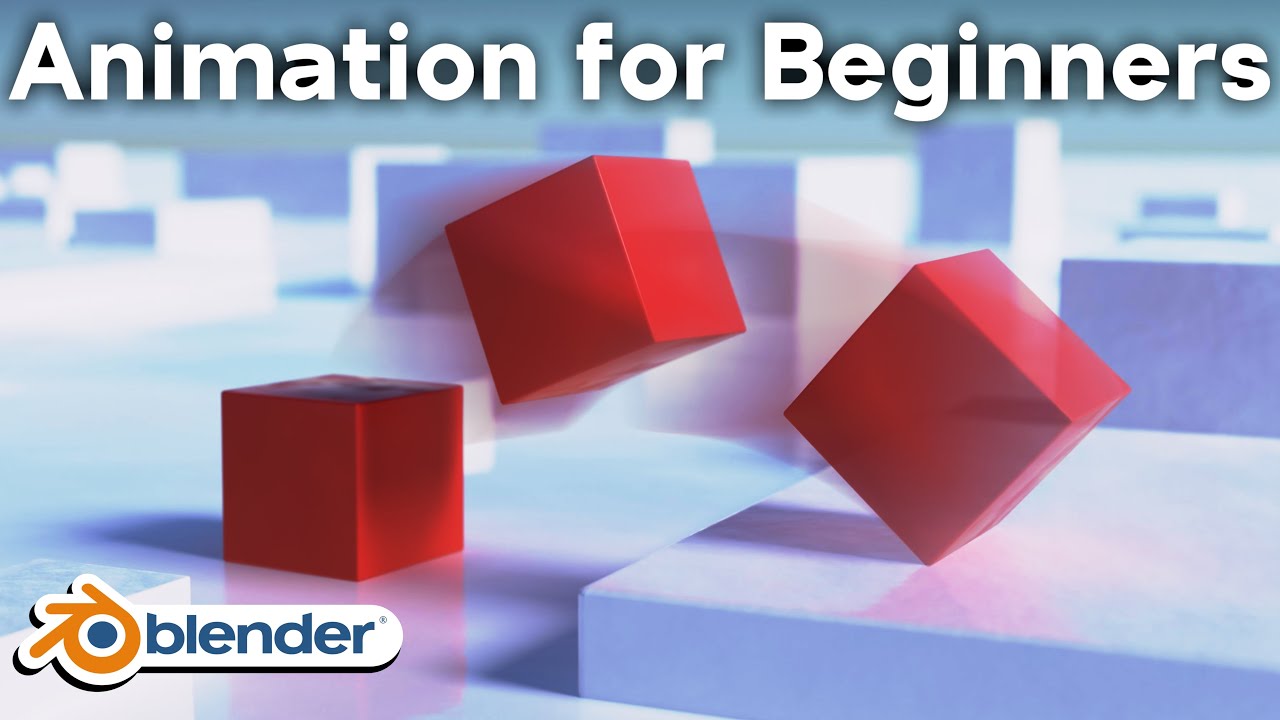
- YOUTUBE: Animation for Beginners | Blender Tutorial
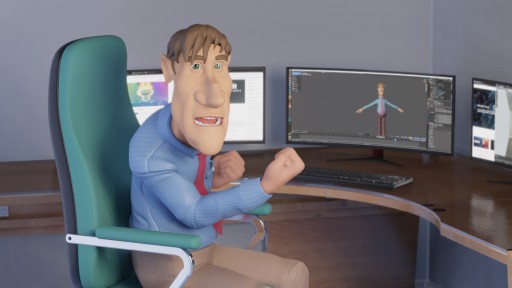
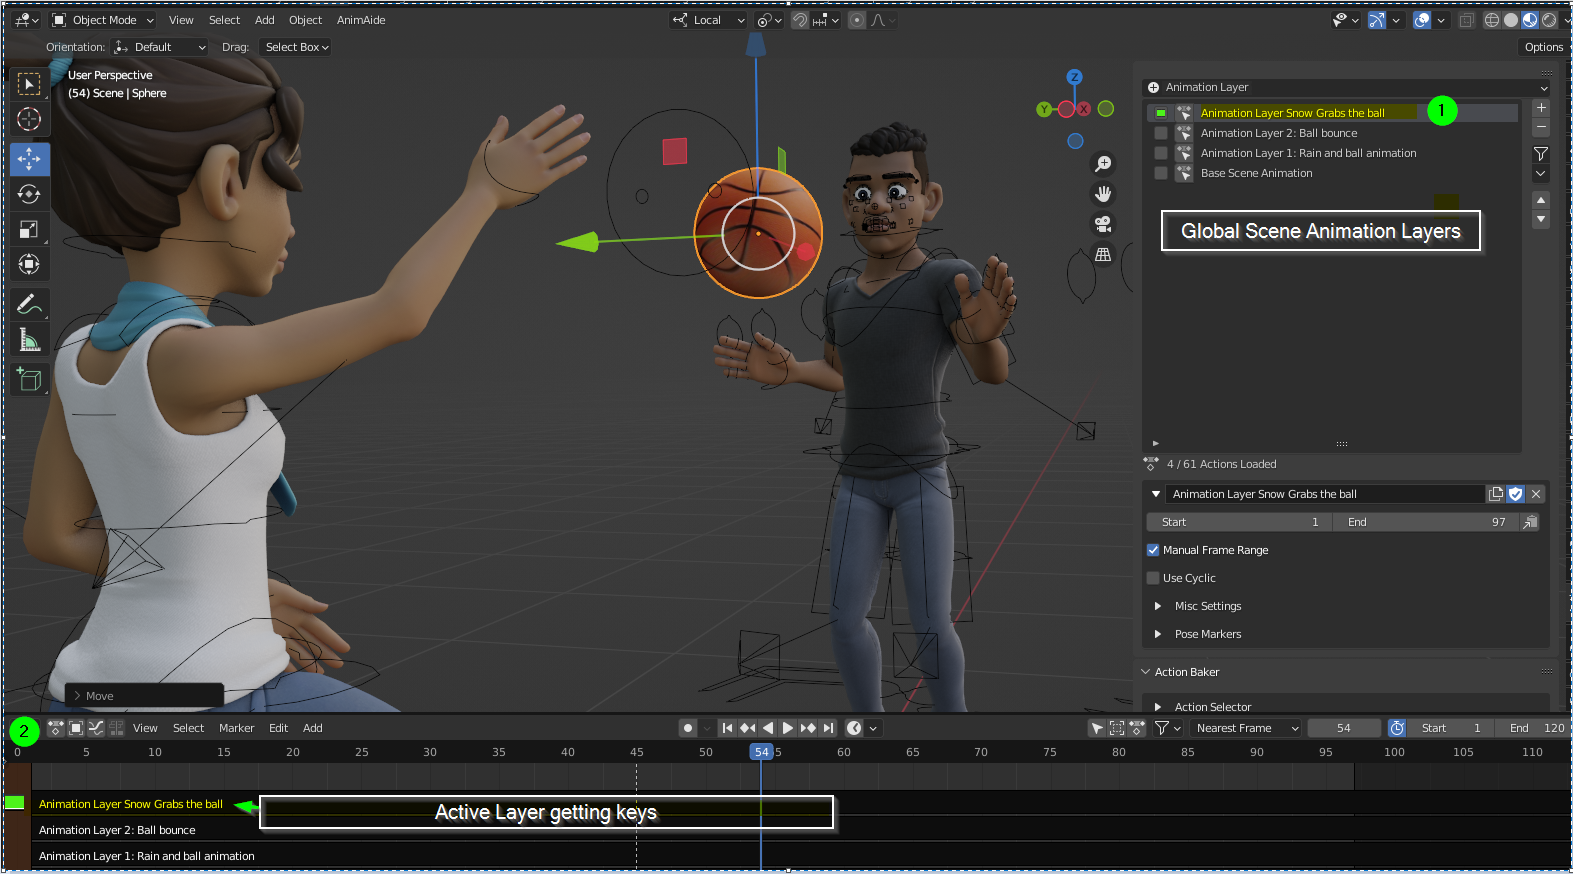
- Animating Your Characters with Keyframes
- Advanced Animation Techniques: Inverse Kinematics, Shape Keys, and Drivers
- Lighting and Rendering Your Animation
- Exporting Your Animation for Sharing
- Additional Resources and Tutorials
How to create animation with Blender?
To create animation with Blender, you can follow the steps below:
- Create or import your 3D model in Blender.
- Set up your animation scene by adjusting the camera, lighting, and any other elements you may need.
- Select the object you want to animate in the 3D viewport.
- Open the \"Animation\" workspace in Blender, which provides easy access to keyframing and animation tools.
- Set your timeline to the desired length of your animation.
- Enable \"Auto Keyframing\" in the Timeline or use the \"I\" shortcut key to manually set keyframes at specific points in time.
- Adjust the position, rotation, or scale of your object for each keyframe to create the desired animation.
- Repeat step 6 for each keyframe you want to add.
- Use the \"Play\" button in the timeline or the \"Alt+A\" shortcut key to preview your animation.
- Make any necessary adjustments to the animation or timing, adding more keyframes if needed.
- Once you are satisfied with your animation, you can render it out as a video file or image sequence.
Keep in mind that these are just basic steps, and there are many advanced features and techniques you can explore in Blender to create more complex animations. It\'s always a good idea to refer to Blender\'s documentation or tutorials for more detailed information.
READ MORE:
Getting Started with Blender for Animation
Embarking on your Blender animation journey begins with understanding the basics of this powerful open-source 3D creation suite. Blender offers comprehensive tools for modeling, rigging, animation, simulation, rendering, compositing, and motion tracking, as well as video editing and game creation. Here’s how to get started:
- Download and Install Blender: Visit the official Blender website to download the latest version. Blender is compatible with Windows, macOS, and Linux.
- Familiarize Yourself with the Interface: Blender\"s interface might seem daunting at first, but it’s highly customizable and packed with powerful tools. Spend some time learning about the layout, the 3D viewport, timeline, and where to find the essential tools for animation.
- Learn Basic Navigation: Master the basics of navigating around Blender. Learn how to zoom, pan, and rotate your view in the 3D viewport. Keyboard shortcuts like Numpad keys for viewing angles, and the middle mouse button for free orbiting, are crucial.
- Create Your First 3D Model: Before animating, you need something to animate. Start with something simple like a 3D shape (cube, sphere, etc.) to understand the basics of object creation, modification, and manipulation.
- Explore Rigging and Weight Painting: Rigging is the process of creating a skeleton for your model so that it can be animated. Weight painting is used to control how different parts of your mesh move in relation to the bones.
- Start Animating: Learn about keyframing, where you set key points that define the start and end of any movement. Explore the animation tools and the graph editor to refine your animations.
- Rendering Your Animation: Understand how to render your animation into a video format. Explore the rendering settings to achieve the desired output quality and format.
Remember, creating animations in Blender is a skill that improves with practice and experimentation. Utilize Blender’s vast online community and resources to learn and grow. Happy animating!

Understanding Blender\"s Interface and Basic Tools
Navigating Blender’s interface efficiently is crucial for a smooth workflow in 3D animation. Blender boasts a comprehensive and customizable interface that caters to various aspects of 3D production, including modeling, animation, lighting, and rendering. Here’s a primer on getting acquainted with Blender\"s interface and its essential tools:
- 3D Viewport: The heart of Blender, where 3D models are displayed and edited. You can rotate, pan, and zoom within this space to view your models from different angles.
- Timeline: Located at the bottom of the default layout, the Timeline allows you to control the animation playback and manage keyframes.
- Outliner: This is a hierarchical view of all objects in the scene, making it easier to select and manage them.
- Properties Panel: Here you can adjust the properties of the selected object, including materials, modifiers, and physics settings.
- Tools Shelf and Tool Settings: Accessible by pressing T in the 3D Viewport, the Tools Shelf provides quick access to Blender’s tools. Tool settings are context-sensitive and appear in the top bar or the Tools Shelf when a tool is selected.
Key Tools for Beginners:
- Selection Tools: Learn how to select objects and vertices, edges, or faces in edit mode. Blender offers box, circle, and lasso selection tools, among others.
- Transform Tools: Move (G), Rotate (R), and Scale (S) are fundamental tools for manipulating objects in your scene.
- Extrude: A crucial tool in modeling that allows you to extend faces, edges, or vertices to add detail to your models.
- Loop Cut and Slide: This tool is essential for adding topology to your models, which is particularly useful for character modeling.
- Modifiers: Modifiers like Subdivision Surface are used to smooth out models and add complexity without permanently altering the base mesh.
Understanding Blender’s interface and mastering its basic tools are the first steps toward creating compelling 3D animations. Experiment with these tools, explore Blender’s vast array of features, and don’t hesitate to refer to the extensive online tutorials and forums for further learning.
Modeling Your Characters and Environments
Modeling is a foundational step in bringing your animations to life in Blender. It involves creating the 3D shapes of your characters and environments. This process requires patience and creativity, but with practice, you can build complex and detailed models. Follow these steps to start modeling in Blender:
- Concept and Reference: Begin with a clear concept. Use reference images for characters and environments to guide your modeling process.
- Blocking Out Shapes: Start by creating basic shapes (or \"blocks\") that represent the major parts of your model. This helps in establishing proportions and the overall layout.
- Adding Detail: Gradually add more details to your models by subdividing the mesh and sculpting finer features. Tools like the Extrude, Loop Cut, and Knife can be particularly useful.
- Sculpting: For characters or other organic shapes, Blender’s sculpting tools allow for more intuitive shaping of complex forms like muscles, clothes, and facial expressions.
- Retopology: After sculpting, you may need to create a cleaner, more efficient mesh with good topology. This is crucial for animation.
- Environmental Modeling: Environments can range from simple backgrounds to complex scenes. Focus on the layout and scale, adding details progressively.
- Materials and Textures: Apply materials and textures to your models to give them color, depth, and realism. Blender’s shader editor allows for complex material creation.
Remember, modeling is an iterative process. Don’t be afraid to make changes and improvements as your skills develop. Utilize Blender’s vast array of modeling tools and features to experiment and find what works best for your project. Happy modeling!
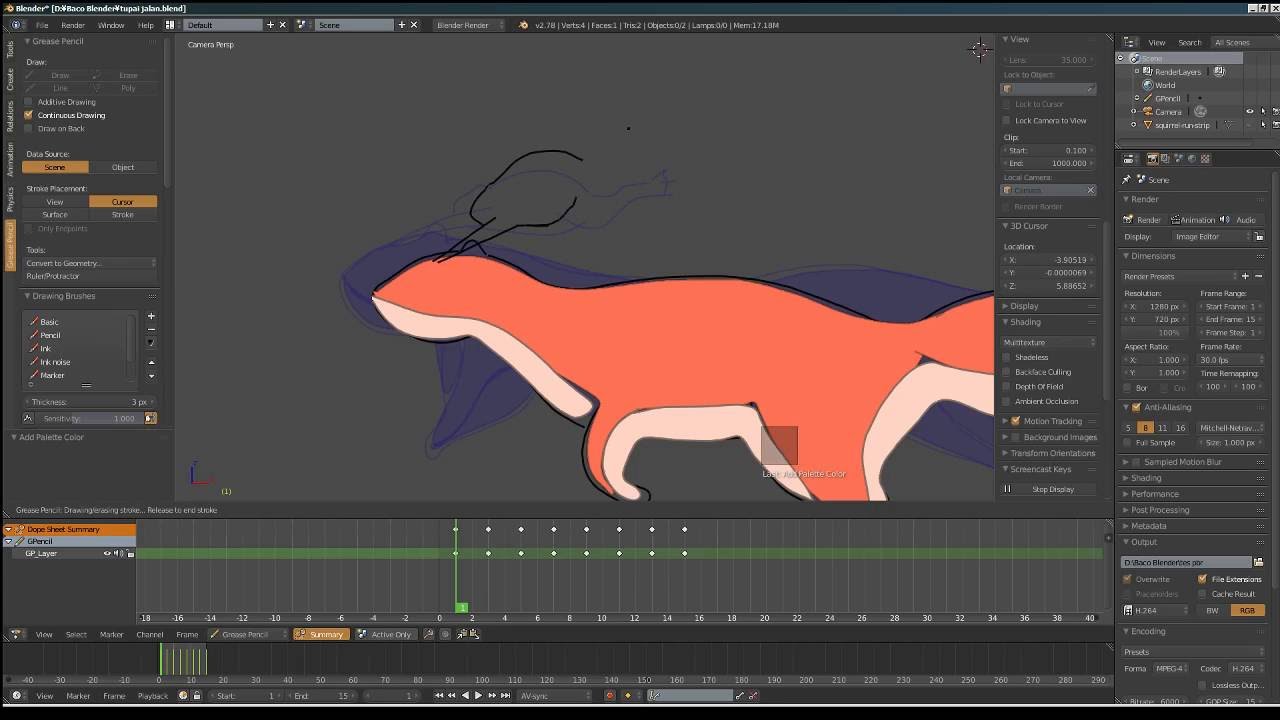
UV Unwrapping and Texturing for Realism
UV unwrapping and texturing are critical steps in the 3D modeling process, adding realism and depth to your animations. UV unwrapping lays out a model\"s surface in 2D to allow for accurate texturing, while texturing brings the model to life with colors, patterns, and details. Follow these steps to achieve realistic textures in Blender:
- Understanding UV Maps: UV maps are the bridge between 3D models and their 2D textures. They define how textures wrap around the model. Familiarize yourself with Blender\"s UV editing layout to start.
- Marking Seams: Identify and mark the seams on your model where the 2D texture will unfold. Think of it like peeling an orange in one piece; strategic seam placement can minimize texture distortion.
- Unwrapping the Model: With seams marked, use Blender\"s UV Unwrap function to lay out your model\"s geometry in 2D. Adjust the unwrap manually if necessary to optimize texture distribution.
- Texture Painting: Blender allows you to paint textures directly onto your model or the UV layout. This can be useful for adding intricate details or correcting texture issues.
- Using Image Textures: Apply image textures to your model by mapping photos or custom artwork onto the UV layout. This method is essential for creating realistic surfaces like skin, fabric, or metal.
- Shaders and Materials: Enhance your textures with Blender’s material system. Use nodes to create complex materials that react realistically to light, such as glass, leather, or water.
- Lighting and Rendering: Proper lighting and rendering settings are vital to showcase your textures accurately. Experiment with different lighting setups and render settings to achieve the most realistic result.
UV unwrapping and texturing are art forms that require practice and patience. By following these steps and experimenting with Blender’s powerful tools, you can achieve stunning realism in your 3D models and animations.
_HOOK_
Rigging Characters for Animation
Rigging is the process of creating the skeletal structure for a 3D model, allowing it to move in a realistic manner. In Blender, rigging is an essential step before animating characters. Here\"s how to rig your character for animation:
- Create the Armature: Begin by adding an armature to your scene. An armature is a collection of bones that represents the skeleton of your character. Place the first bone at the base of the spine or the center of the model.
- Edit the Bones: Enter Edit Mode to adjust the bones\" positions, ensuring they align with your character\"s geometry. Add more bones for limbs, fingers, and other movable parts, parenting them to create a hierarchy.
- Adjust Bone Roll: Use the Recalculate Roll feature or manually adjust the bone roll to ensure consistent deformation during animation. Bone roll determines the direction the bones will bend.
- Name Your Bones: Properly naming your bones is crucial for organization and later animation. Follow a consistent naming convention, like \"Arm.L\" for the left arm, to make your rig easy to understand and work with.
- Parent the Mesh to the Armature: With your armature complete, select your mesh, then the armature, and parent them using Automatic Weights. This automatically creates vertex groups for each bone, controlling how the mesh deforms in relation to the bones.
- Weight Painting: After parenting, you may need to fine-tune how the mesh deforms. Enter Weight Paint mode to manually adjust the influence bones have on the mesh. This step is crucial for achieving realistic movements.
- Add Inverse Kinematics (IK): For more intuitive control over limbs, add IK constraints to your rig. IK allows you to manipulate the end of a chain of bones, and the rest will adjust accordingly to maintain a natural motion.
- Test Your Rig: Pose your character in various positions to test the rig\"s functionality. Ensure there are no unnatural deformations and that the control bones respond as expected.
Rigging can be complex, but it\"s a rewarding part of the animation process. With a well-rigged character, animating becomes more intuitive and enjoyable. Practice rigging various characters to improve your skills and develop a deeper understanding of how movement works in a 3D space.

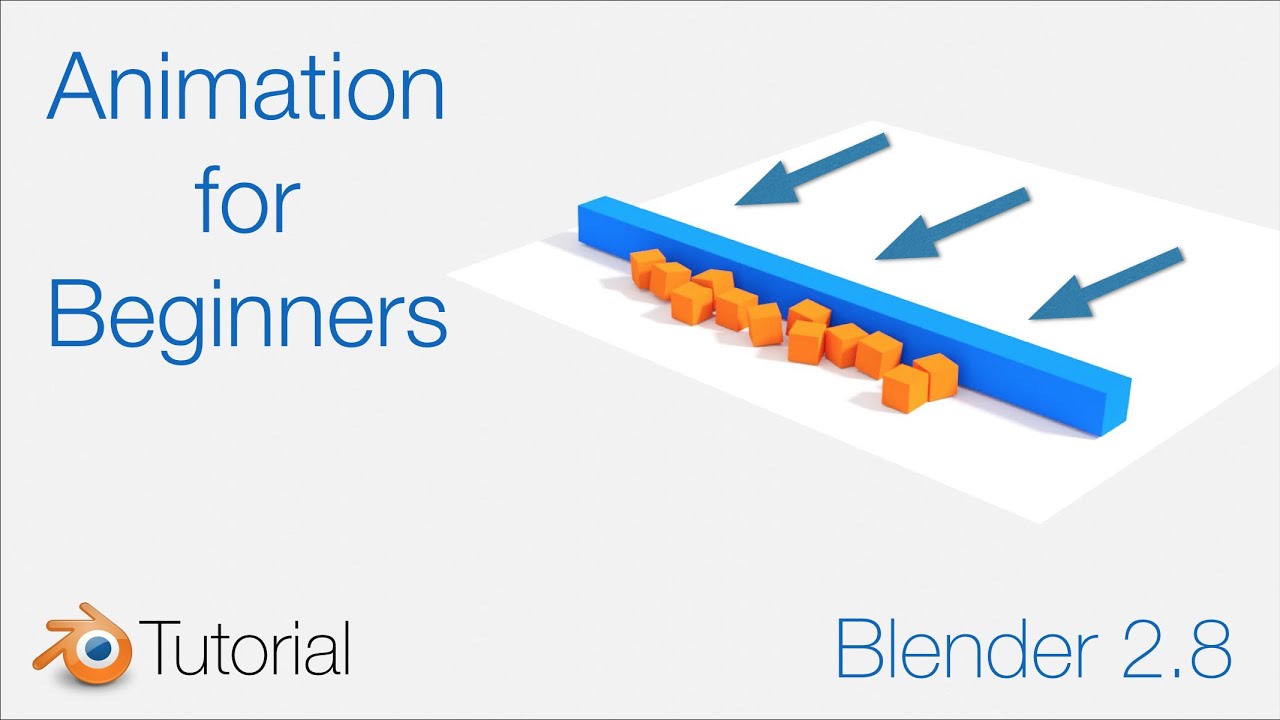
Animation for Beginners | Blender Tutorial
\"Explore the incredible world of Blender, the ultimate tool for 3D modeling and animation! Unleash your creativity and learn how to create stunning visual effects in this captivating video that will keep you hooked from start to finish.\"
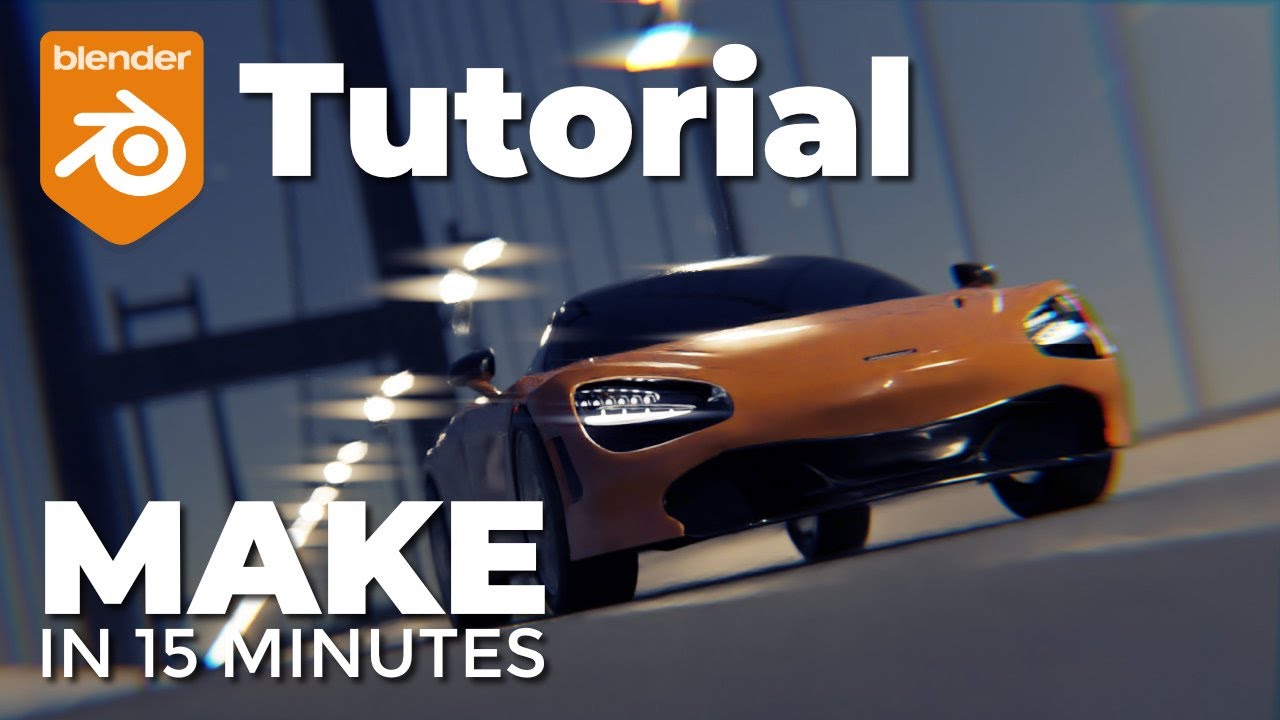
How to Animate 3D Characters in 1 Minute
\"Immerse yourself in the captivating world of animation and let your imagination run wild! Discover the secrets behind bringing characters and stories to life through breathtaking motion and expert storytelling in this must-watch video that will leave you inspired.\"
Animating Your Characters with Keyframes
Animating characters in Blender involves bringing them to life through movement. Keyframing is a fundamental animation technique where you define start and end points for movement over time. Here\"s how to animate your characters with keyframes in Blender:
- Set Your Timeline: Decide the duration of your animation and set the start and end frames in the timeline. This defines the workspace for your animation sequence.
- Select a Pose: Move your character into the starting pose. Adjust the position, rotation, and scale of bones using the rig controls.
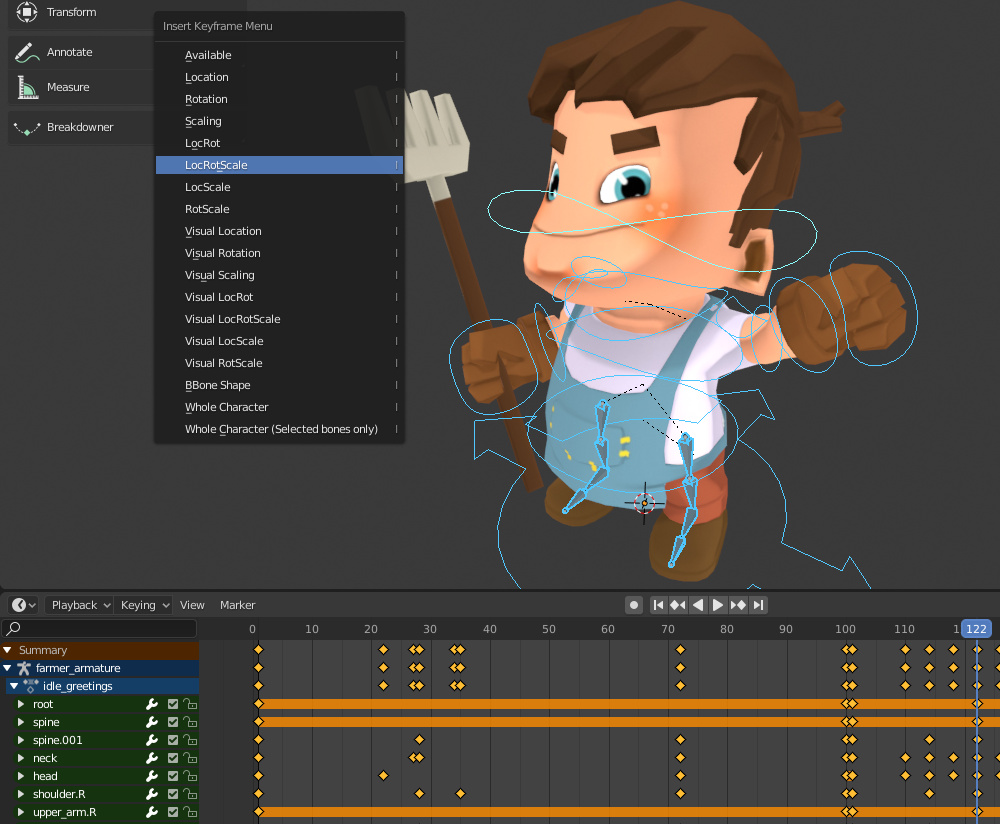
- Insert Keyframes: With your character in the initial pose, insert a keyframe by pressing I and choosing the properties to keyframe (such as location, rotation, scale). Blender will record these values at the current frame.
- Create Movement: Move the timeline cursor to the frame where you want the next pose to be. Adjust your character to the new pose and insert another keyframe.
- Refine the Animation: Play back your animation to review the motion. Adjust the keyframes in the timeline or Dope Sheet to refine timing and smoothness.
- Use the Graph Editor: For more control over the animation\"s flow, use the Graph Editor to tweak the interpolation between keyframes. This can make movements more natural and dynamic.
- Add Secondary Motions: Secondary motions, like facial expressions or hair movement, can be added after the primary motion to enhance realism. Keyframe these elements separately.
- Preview and Render: Always preview your animation in the viewport before rendering. Once satisfied, render your animation to create the final video.
Keyframe animation in Blender is a powerful tool for storytelling and visual communication. With practice, you can create complex and emotionally engaging animations that breathe life into your characters and stories.
Advanced Animation Techniques: Inverse Kinematics, Shape Keys, and Drivers
Once you\"re comfortable with the basics of animation in Blender, it\"s time to explore more advanced techniques that can add complexity and realism to your work. Inverse Kinematics (IK), Shape Keys, and Drivers are powerful tools for creating more dynamic and flexible animations. Here\"s how to utilize these techniques:
- Inverse Kinematics (IK): IK simplifies the animation of articulated structures like limbs by allowing you to manipulate the end effector (e.g., a hand) and having the system automatically calculate the angles of the joints. To use IK:
- Add an IK constraint to the bone that should act as the end effector.
- Specify the chain length or use a target bone to control the movement.
- Adjust the IK properties to get the desired motion behavior.
- Shape Keys: Shape Keys are used to deform objects into new shapes for animation, such as facial expressions or morphing objects. To create Shape Keys:
- Select your mesh and go to the Object Data properties panel.
- Add a Basis Shape Key, which represents the original shape.
- Add new Shape Keys and edit the mesh to the desired deformation. Animate between these shapes by adjusting the value sliders.
- Drivers: Drivers are a way to automate the influence of one property over another, such as making an object\"s scale depend on the rotation of another object. To add a Driver:
- Right-click on a property (e.g., scale) and select \"Add Drivers\".
- Configure the driver settings in the Graph Editor > Drivers panel, specifying the driver type, target, and an expression if needed.
- Adjust and test the driver to ensure it behaves as expected.
Mastering these advanced techniques can significantly enhance the quality and realism of your animations. Each tool offers a unique set of capabilities that, when used effectively, can bring your characters and scenes to life in ways that basic keyframe animation cannot achieve alone.
Lighting and Rendering Your Animation
Lighting and rendering are crucial steps in the animation process, turning your 3D models and animations into a final video that viewers can appreciate. Proper lighting sets the mood and atmosphere of your scene, while rendering transforms your animations into images or videos. Here\"s how to light and render your animation in Blender:
- Setting Up Your Lights: Blender offers various types of lights, including Point, Sun, Spot, and Area lights. Choose the type that best fits the mood of your scene. Use three-point lighting for a basic setup that provides depth and dimension to your characters.
- Adjusting Light Properties: Experiment with the color, intensity, and position of your lights. Remember, subtle changes can significantly affect the mood and visual appeal of your animation.
- Using HDRI for Environment Lighting: HDRI (High Dynamic Range Imaging) can be used for realistic lighting and reflections. Add an HDRI image in the World settings to simulate environmental lighting.
- Material and Texture Settings: Ensure your materials and textures are properly set up to react realistically to the lighting. Use shaders in Blender’s Shader Editor for more control over how materials appear under different lighting conditions.
- Camera Setup: Position and animate your camera(s) within the scene to capture your animation from the desired perspectives.
- Rendering Settings: Choose your rendering engine (Eevee or Cycles) and adjust settings such as resolution, sampling, and output format. Eevee is faster but less realistic, while Cycles offers photorealistic rendering at the cost of longer render times.
- Animating with Motion Blur: For added realism, enable motion blur in your render settings. This simulates the blur effect seen in real-world cameras for moving objects.
- Output Your Animation: Finally, render your animation. You can render it as a series of images or as a video file. Rendering as images allows for more flexibility in post-processing but requires an additional step to compile the images into a video.
Lighting and rendering are iterative processes. It\"s important to continually preview your work and make adjustments as needed. With practice, you\"ll develop an eye for what settings work best for your animations, helping you create stunning visuals that bring your stories to life.
Exporting Your Animation for Sharing
After spending time creating your animation in Blender, you\"ll want to share it with the world. Exporting your animation properly ensures it can be viewed on various platforms, from social media to professional portfolios. Here\"s a step-by-step guide to exporting your animation for sharing:
- Choose the Right Format: Blender supports several output formats, including AVI, MPEG, and QuickTime for videos, or PNG and JPEG for still frames. Consider your audience and where you plan to share the animation when choosing the format.
- Set Your Output Properties: In Blender\"s Output Properties panel, select your desired file format and adjust the encoding settings if necessary. Higher quality settings will increase file size but improve visual fidelity.
- Specify Output Location: Choose where to save your exported file. It\"s good practice to create a dedicated folder for your project\"s outputs to keep things organized.
- Render Animation: With your settings configured, click on Render > Render Animation (or press Ctrl+F12) to start the rendering process. Rendering can take a significant amount of time, depending on the complexity of your animation and your computer\"s capabilities.
- Review the Exported File: Once rendering is complete, locate your file in the output folder and review it to ensure everything looks as expected. Playback issues or rendering errors should be addressed by adjusting your Blender settings and re-rendering.
- Share Your Work: Now that your animation is rendered and exported, it\"s ready to be shared. Upload your animation to your chosen platform, whether it\"s a video hosting service like YouTube or Vimeo, social media, or a personal website. Remember to follow any specific guidelines for video uploads on these platforms.
Exporting and sharing your animation is a rewarding final step in the animation process. By following these guidelines, you can ensure your animated creations reach your audience in the best possible quality.

_HOOK_
READ MORE:
Additional Resources and Tutorials
Enhancing your Blender skills requires practice and learning from a variety of sources. Whether you\"re a beginner or looking to advance your techniques, there are numerous resources available to help you on your journey. Below are some types of resources and tutorials you might find useful:
- Blender Official Tutorials: The Blender Foundation offers a comprehensive range of tutorials on their official website and YouTube channel, covering everything from basics to advanced topics.
- Online Courses: Platforms like Udemy, Coursera, and LinkedIn Learning provide in-depth Blender courses that cater to all levels, often with project-based learning to help you build a portfolio.
- YouTube Channels: Many experienced Blender artists share their knowledge through YouTube tutorials. Channels like Blender Guru, CG Geek, and Darrin Lile offer tutorials on a wide range of topics.
- Blender Community Forums: Joining Blender communities such as Blender Artists Forum or the Blender subreddit can provide you with support, feedback, and answers to your specific questions.
- Books and E-books: For those who prefer written guides, there are several books available that cover Blender\"s functionality in detail, such as \"Blender For Dummies\" and \"Learning Blender: A Hands-On Guide to Creating 3D Animated Characters\".
- Blender Add-ons and Tools: Exploring add-ons and tools created by the Blender community can streamline your workflow and introduce new functionalities specific to animation.
As you dive into these resources, remember that practice and experimentation are key to mastering Blender. Don\"t be afraid to take on challenges and work on projects that push your limits. Happy animating!
Embarking on your animation journey with Blender opens up a world of creativity and possibility. Armed with the right techniques and a bit of patience, you\"ll soon bring your imaginative visions to life. Start creating, exploring, and sharing your stories today!