Topic blender 3d character animation tutorial: Embark on a journey to master Blender 3D character animation with this comprehensive tutorial, designed to elevate your animation skills to new heights.
Table of Content
- How to rig a character for 3D animation in Blender?
- Getting Started with Blender for Character Animation
- Understanding the Blender Interface for Animation
- Modeling Your Character in Blender
- Rigging Your Character for Animation
- Animating Your Character with Keyframes
- Using Blender\"s Graph Editor for Fine-tuning Animations
- YOUTUBE: Character Animation Tutorial in Blender 3D!
- Applying Inverse Kinematics for Natural Movements
- Creating Facial Expressions and Lip Syncing
- Adding Textures and Materials to Your Character
- Lighting and Rendering Your Animated Scene
- Exporting Your Animation for Sharing
- Advanced Techniques and Tips for Character Animation
- Learning Resources and Community Support for Blender Animators
How to rig a character for 3D animation in Blender?
To rig a character for 3D animation in Blender, follow these steps:
- Create the character model in Blender.
- Select the character\'s mesh and add an Armature modifier to it.
- Add bones to the armature by going to Edit Mode and using the Add Armature option.
- Position and align the bones to match the character\'s anatomy.
- Parent the character\'s mesh to the armature with automatic weights.
- Switch to Pose Mode and test the rig by moving the bones.
- If needed, adjust the weight painting on the character\'s mesh to correct any deformation issues.
- Add additional controls (such as IK handles or custom bone shapes) to improve the rig\'s usability.
- Set up a basic animation by keyframing the bone positions and rotations.
- Refine the animation using Blender\'s animation tools, such as the Graph Editor for fine-tuning timing and easing curves.
- Render the final animation.
This is a brief overview of the process. For more detailed instructions, you can refer to specific tutorials or documentation available online.
READ MORE:
Getting Started with Blender for Character Animation
Welcome to the exciting world of character animation with Blender! This section will guide you through the initial steps to get you started on your animation journey.
- Download and Install Blender: Visit the official Blender website to download the latest version of Blender. Ensure your system meets the software requirements.
- Familiarize Yourself with the Interface: Open Blender and spend some time getting to know the layout. Look for the 3D viewport, timeline, and properties panel.
- Basic Navigation: Learn to navigate the 3D viewport. Practice zooming, panning, and rotating the view to get comfortable with Blender\"s navigation controls.
- Introduction to Blender\"s Tools: Explore Blender\"s modeling, rigging, and animation tools. Understanding these tools is crucial for character animation.
- Setting Up Your First Project: Create a new project and set up your workspace. Adjust your settings for animation work, such as frame rate and aspect ratio.
- Importing or Creating Your Character: You can start by modeling your character within Blender or importing a pre-made model. Ensure your character is animation-ready.
By completing these steps, you\"ll be well-prepared to dive deeper into the world of character animation with Blender. Remember, practice and experimentation are key to mastering Blender\"s powerful animation capabilities.

Understanding the Blender Interface for Animation
Mastering Blender\"s interface is essential for efficient character animation. This section will help you understand the key components of the Blender interface relevant to animation.
- 3D Viewport: The main area where you model, animate, and view your scene. Learn to navigate using mouse controls or shortcuts like Numpad keys for different views.
- Timeline: Located at the bottom of the interface, the timeline allows you to control the animation playback, set keyframes, and manage the start and end frames of your animation.
- Dope Sheet: An editor that provides a detailed overview of all the animation keyframes and allows for easy editing and re-timing of animations.
- Graph Editor: Use this to fine-tune the interpolation of keyframes, adjusting the velocity and timing of animations for smoother results.
- Properties Panel: Here, you can adjust object properties, material settings, and world settings. For animation, focus on the object data, modifiers, and constraints sections.
- Outliner: Provides a hierarchical view of all objects in your scene, making it easier to select and organize your character components.
Understanding these components will significantly improve your workflow and efficiency in Blender. Spend time experimenting with each part of the interface to become comfortable and intuitive with your animation projects.
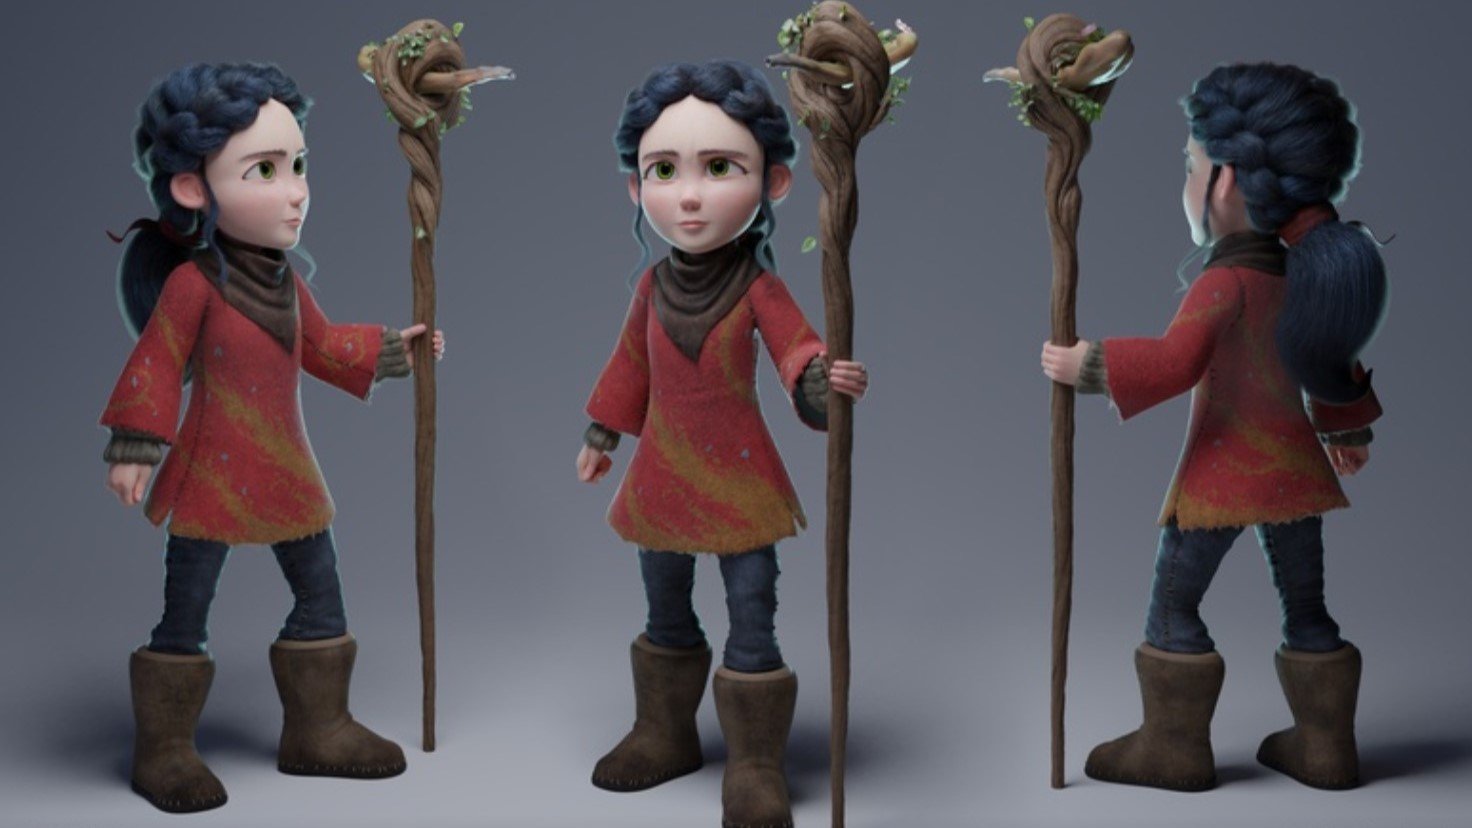
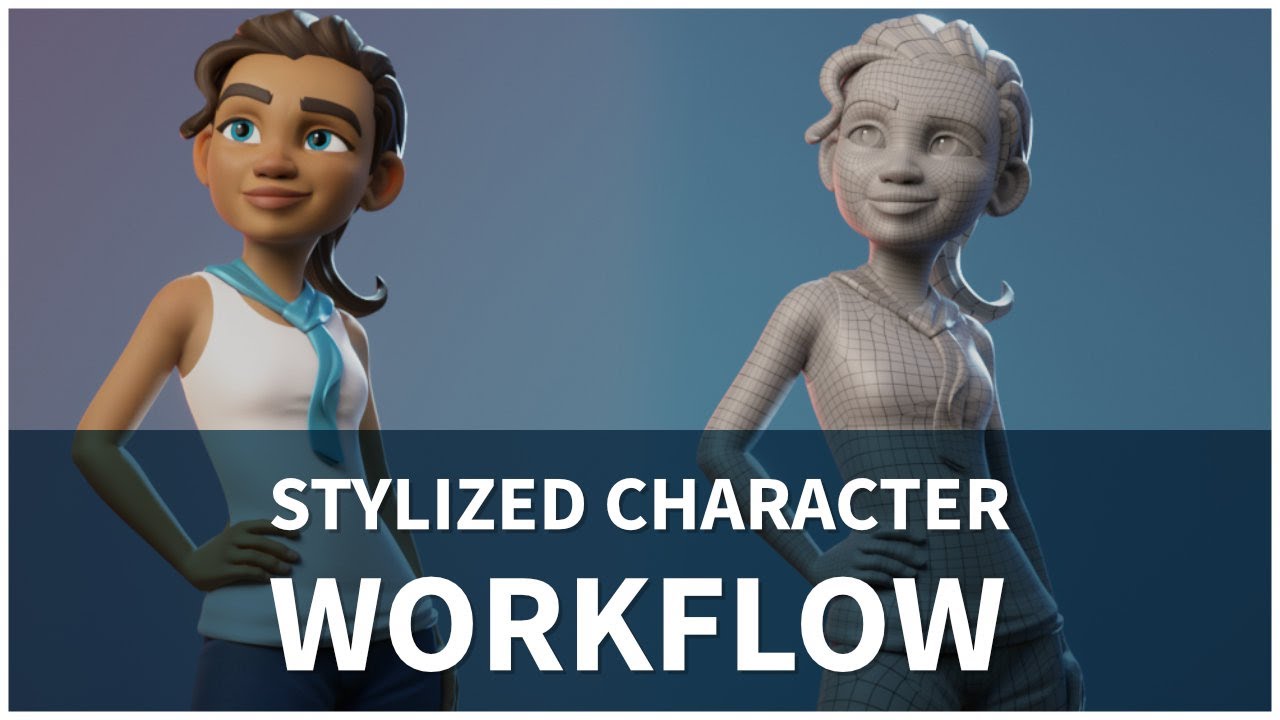
Modeling Your Character in Blender
Modeling is the first step in bringing your character to life. This guide will walk you through the process of creating a character model in Blender from scratch.
- Reference Images: Start by importing reference images of your character. Use the \"Background Images\" feature in the N-panel to add front and side views for guidance.
- Basic Shapes: Use Blender\"s mesh tools to block out your character\"s basic shape. Start with simple shapes like cubes or spheres, and modify them to match the reference images.
- Adding Detail: Gradually add more details to your character. Use the extrude tool, loop cuts, and sculpting tools to refine the shape and add features like the face, hands, and clothing.
- Topology: Pay attention to topology, especially if your character will be animated. Use quads (four-sided polygons) to ensure smooth deformations during animation.
- Modifiers: Utilize Blender\"s modifiers like Mirror for symmetrical modeling and Subdivision Surface for smoothing out the mesh.
- Finalizing the Model: Once satisfied with the model, apply the necessary modifiers and make any last-minute adjustments. Ensure your model is clean and well-organized.
Modeling your character thoughtfully is crucial, as it sets the foundation for rigging and animation. Take your time during this process to ensure a high-quality base for your character animation endeavors.

Rigging Your Character for Animation
Rigging is the process of creating a skeleton structure for your character, allowing it to move and pose. Follow these steps to rig your character in Blender for animation.
- Understanding Armatures: Armatures are Blender\"s bones system. Start by adding an armature object and position the first bone at the base of the spine or the center of the grid.
- Adding Bones: In edit mode, extrude bones from the initial bone to form the spine, limbs, and other parts of the skeleton. Use naming conventions to keep track of bone names and pairs.
- Mirroring Bones: For symmetrical characters, use the mirror modifier or symmetrize function to ensure both sides of the rig are identical.
- Parenting Mesh to Armature: With the armature complete, select your character mesh, then the armature, and use \"Parent with Automatic Weights\" to bind the mesh to the rig.
- Weight Painting: Go into weight paint mode to fine-tune the influence bones have on the mesh. This ensures that deformations look natural when the character moves.
- Adding Controls: Create custom shapes for bone controls, making it easier for animators to select and manipulate the rig. Use constraints for IK (Inverse Kinematics) setups on limbs for more intuitive posing.
- Testing the Rig: Pose your character in various positions to test the rigging. Make adjustments as needed to ensure smooth and realistic movement.
Proper rigging is crucial for creating believable and versatile character animation. Take your time to refine the rig, ensuring a seamless animation process later on.

_HOOK_
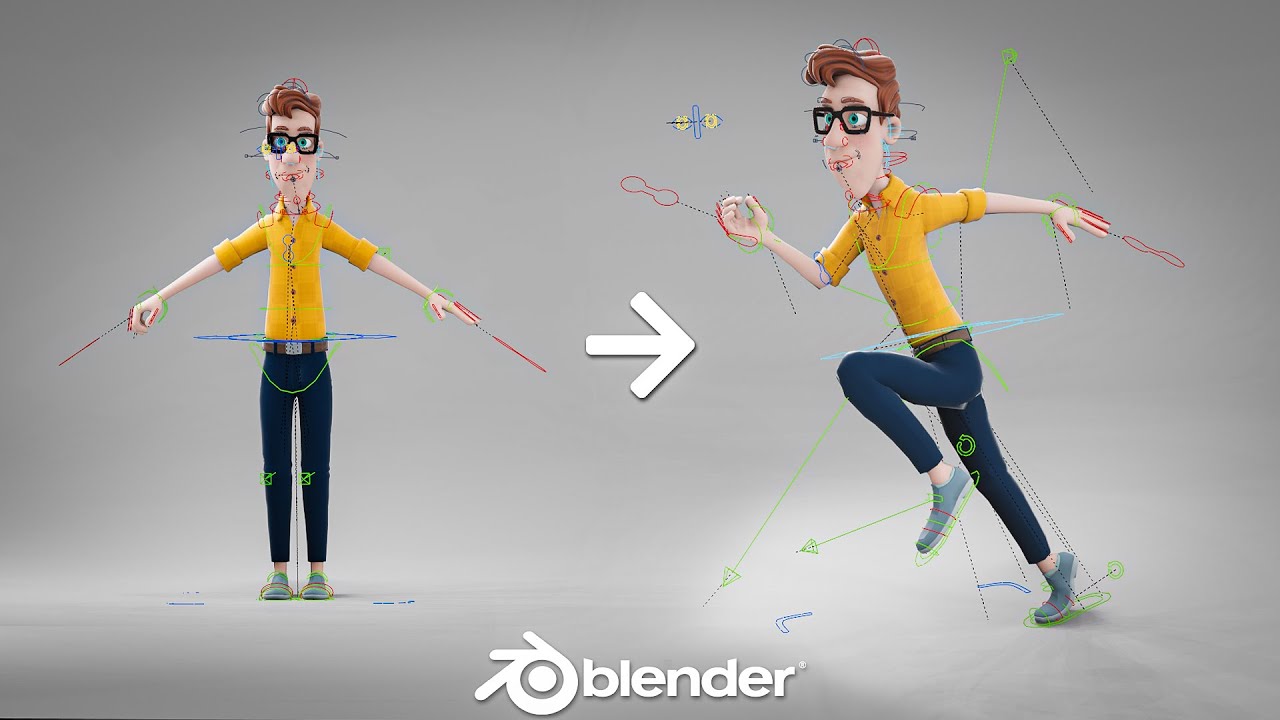
Animating Your Character with Keyframes
Keyframe animation is a fundamental technique in character animation, allowing you to bring your characters to life in Blender. Follow these steps to animate your character.
- Understanding Keyframes: Keyframes are points in time that store the position, rotation, and scale of your character\"s bones. They define the start and end points of any movement.
- Setting the First Keyframe: Position your character in the starting pose. Select all bones you wish to animate, and press \"I\" to insert a keyframe. Choose \"LocRotScale\" to capture all transformations.
- Creating Movement: Move the timeline to a new frame where you want your next pose. Reposition your character and insert another keyframe. Blender will interpolate the movement between keyframes.
- Playback and Refinement: Use the timeline\"s playback controls to review your animation. Adjust keyframes as needed for smoother transitions and more dynamic movements.
- Adding Complexity: Introduce more keyframes to create complex sequences like walking, jumping, or facial expressions. Remember to adjust the timing to match the desired speed and rhythm of movements.
- Using the Graph Editor: For more control over your animation, use the Graph Editor to fine-tune the velocity and easing of movements between keyframes.
- Looping Animations: For actions that repeat, like walking, ensure the first and last keyframes are identical and adjust the cycle in the NLA editor for seamless looping.
With practice, you\"ll be able to animate your characters with precision and creativity, making them truly come to life in your Blender projects.

Using Blender\"s Graph Editor for Fine-tuning Animations
The Graph Editor in Blender is a powerful tool for refining the motion of your animations, offering precise control over the interpolation of keyframes. Here’s how to use it effectively.
- Accessing the Graph Editor: Split your screen and change one of the views to the Graph Editor. This displays the animation curves of your selected object or bone.
- Navigating Animation Curves: Each curve represents a property (location, rotation, scale) over time. Use the mouse wheel to zoom in/out and middle mouse button to pan.
- Selecting Keyframes: Click on a keyframe in the curve to select it. Shift-click to select multiple keyframes. You can adjust their position by dragging them.
- Adjusting Handles: Keyframes have handles that control the interpolation curve. Select a keyframe and drag its handles to change the animation\"s pacing and smoothness.
- Changing Interpolation Type: Right-click on a selected keyframe to change its interpolation type (e.g., linear, bezier, constant) for different motion effects.
- Adding and Deleting Keyframes: To add a keyframe, right-click on the curve and choose \"Add Keyframe\". To delete, select the keyframe and press Delete.
- F-Curve Modifiers: For automated adjustments, add F-Curve Modifiers like noise, cycles, or limits. This is useful for creating repetitive motions or random variations.
By mastering the Graph Editor, you can significantly enhance the quality of your animations, giving them a more natural and dynamic feel.

Character Animation Tutorial in Blender 3D!
This Blender 3D character animation tutorial will guide you step-by-step in creating stunning animations with ease. Whether you\'re a beginner or an experienced artist, this video is a must-watch for mastering character animation techniques that will bring your creations to life. Don\'t miss out on this valuable resource!
Beginner Tutorial for Character Animation in Blender 3.2
Are you a beginner looking to delve into the exciting world of character animation? Look no further! This beginner tutorial for character animation will provide you with the foundational knowledge and skills needed to create captivating animations. Join us as we break down the basics, demystify complex techniques, and empower you to unleash your creativity. Don\'t hesitate – start your animation journey today!
Applying Inverse Kinematics for Natural Movements
Inverse Kinematics (IK) is a technique in Blender that simplifies the animation process, especially for limb movement. It allows for more natural and intuitive character posing. Here\"s how to apply IK to your character.
- Understanding IK: IK inverses the direction of motion calculation, allowing the end of a limb to drive the position of the entire limb. This is opposed to forward kinematics (FK), where each joint is rotated individually.
- Adding IK Bones: Start by adding extra bones at your character’s joints that will act as IK targets. These are usually placed at the wrists for arms and at the heels or toes for legs.
- Setting Up IK Constraints: Select a bone near the end of a limb chain (e.g., the forearm or lower leg bone), and add an IK constraint from the bone constraints tab. Target the corresponding IK bone you added.
- Adjusting Chain Length: In the IK constraint settings, set the chain length to include the number of bones you want the IK to influence. For a leg, this might be 2 (lower leg and thigh).
- Testing and Tweaking: Move the IK target bone to see the limb follow. Adjust the constraint’s settings, like stiffness and rotation limits, to get more natural movement.
- Adding Pole Targets: For better control over knee and elbow direction, add pole targets. These are bones placed to guide the direction the knee or elbow points towards when using IK.
- Finalizing Your Rig: Once satisfied with the IK setup, ensure all necessary parent-child relationships are correct. IK controls should be easily accessible for animation.
IK can significantly speed up the animation process by allowing for more intuitive posing of characters, especially when animating walks, runs, or other complex movements.

Creating Facial Expressions and Lip Syncing
Creating compelling facial expressions and achieving accurate lip syncing are crucial for bringing your Blender characters to life. This section will guide you through the process.
- Setting Up Shape Keys: Shape keys allow you to deform your character\"s mesh for different facial expressions. Create a basis shape key, then additional ones for each expression or mouth position.
- Animating Expressions: Animate between shape keys to transition your character’s facial expressions. Keyframe the value of each shape key at the appropriate frame to reflect dialogue or emotion.
- Creating Phoneme Shapes: For lip syncing, create shape keys that correspond to the basic phoneme sounds (e.g., A, E, I, O, U, M, B, P, F, etc.). This will help mimic speech more accurately.
- Importing Audio: Import the dialogue audio file into Blender\"s Video Sequencer. This allows you to scrub through the audio and match your phoneme shape keys to the spoken words.
- Synchronizing Lip Movements: Carefully listen to the dialogue and animate the mouth by keyframing the appropriate phoneme shape keys. Pay attention to the timing to ensure the mouth movements match the audio.
- Enhancing with Facial Expressions: Combine phoneme animations with other facial expressions to add emotion and nuance to your character\"s speech.
- Review and Adjust: Play back your animation with the audio to review the lip syncing and facial expressions. Make adjustments as needed for realism and impact.
With practice, these techniques will enable you to create expressive and convincing facial animations, enhancing the storytelling and emotional depth of your Blender projects.
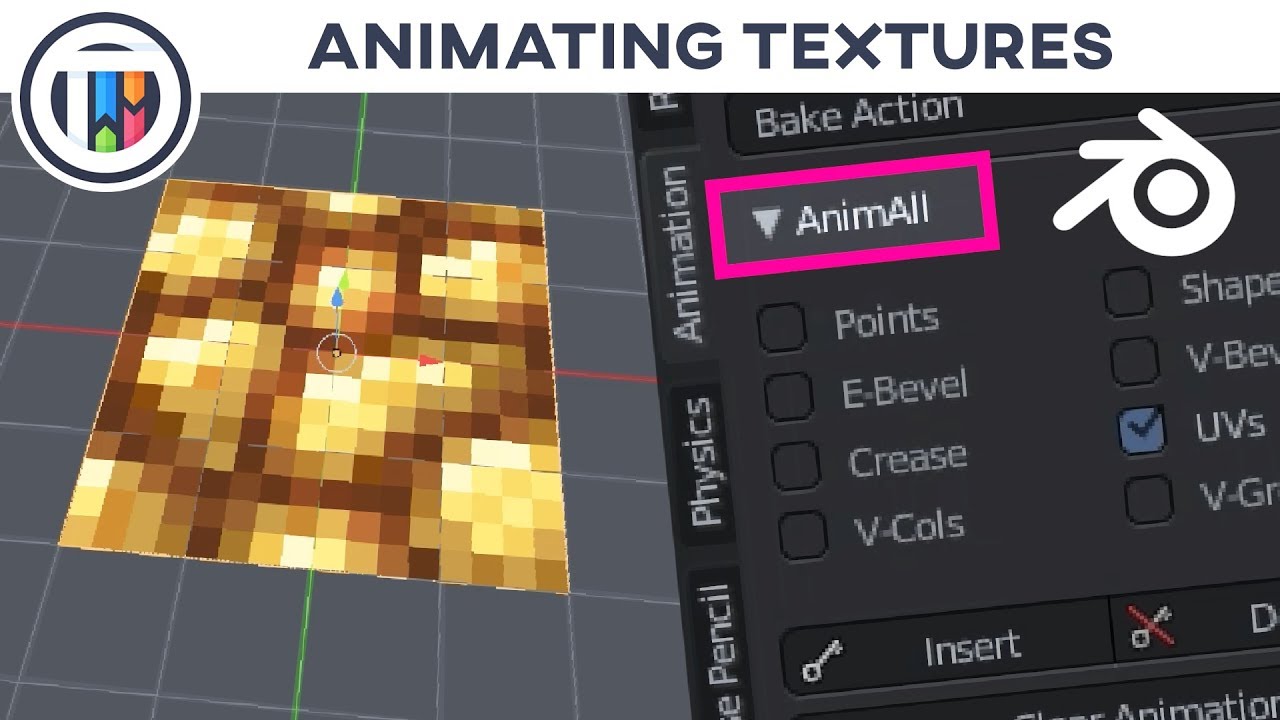
Adding Textures and Materials to Your Character
Textures and materials are essential for giving your Blender character a realistic or stylized appearance. This section explains how to apply textures and materials to enhance your character\"s look.
- Understanding Materials: Materials define the color, shininess, transparency, and more. Start by creating a new material in the Material Properties tab for each part of your character.
- Applying Textures: Textures can add detail like skin, clothing patterns, or scars. Use the Shader Editor to connect texture images to the material nodes. UV mapping may be required for accurate texture placement.
- UV Mapping: For complex models, unwrap your mesh to lay out the 3D surface in 2D. This allows precise control over how textures are applied to the model.
- Shaders: Use Blender\"s powerful shader system to create realistic materials. The Principled BSDF shader is versatile for most materials, allowing adjustments for metalness, roughness, and more.
- Subsurface Scattering: For skin materials, subsurface scattering (SSS) adds realism by simulating light passing through translucent materials like skin.
- Bump and Normal Maps: These maps add surface detail without increasing geometry. Apply them for effects like wrinkles, cloth texture, or other fine details.
- Previewing and Adjusting: Regularly preview your work under different lighting conditions. Adjust the material and texture settings as needed to achieve the desired look.
Through careful application of textures and materials, you can dramatically increase the visual quality of your character animations, making them more engaging and realistic.
_HOOK_
Lighting and Rendering Your Animated Scene
Lighting and rendering are final, crucial steps in bringing your Blender animation to life. This section covers how to effectively light your scene and render your animation for the best results.
- Understanding Blender\"s Lighting: Blender offers several types of lights, including Point, Sun, Spot, and Area. Experiment with these to understand how they affect your scene.
- Setting Up Key Lights: Begin with a key light to establish the main source of illumination. Position it to highlight the form and features of your characters and scene.
- Adding Fill and Rim Lights: Use fill lights to reduce shadows created by the key light and rim lights to outline your characters, enhancing depth and separation from the background.
- Adjusting Light Properties: Modify the color, strength, and size of your lights. Soft shadows can be achieved by increasing the size of the light source, whereas hard shadows are created with smaller sources.
- Using Three-Point Lighting: For character-focused scenes, employ three-point lighting (key, fill, and back light) for a balanced and professional look.
- Rendering Settings: In the Render Properties panel, choose your render engine (Cycles or Eevee), set the resolution, frame rate, and output format for your animation.
- Optimizing for Render: Use settings like samples (for Cycles) and ambient occlusion, bloom, and motion blur (for Eevee) to enhance the final look of your animation. Adjust these settings based on your needs and render time constraints.
- Batch Rendering: For longer animations, consider rendering in batches or using Blender’s command line feature to automate the process, especially if resources are limited.
With thoughtful lighting and careful rendering settings, your animation can achieve a professional and visually appealing result that brings your characters and story to life.
Exporting Your Animation for Sharing
Once you\"ve completed your Blender animation, exporting it properly ensures that it can be viewed and shared. Follow these steps to export your animation for the best quality and compatibility.
- Choosing the Right Format: Blender supports various formats for exporting animations. For most purposes, H.264 in an MP4 container offers a good balance between quality and file size.
- Setting Output Properties: In the Output Properties tab, set your desired resolution, frame rate, and output path. Ensure these settings match your animation project\"s specifications.
- Configuring Encoding Settings: Under the Encoding section, choose your video codec (H.264 is recommended) and adjust the bitrate as needed. A higher bitrate results in better quality but larger file sizes.
- Audio Export: If your animation includes audio, ensure the Audio Codec is set to AAC for broad compatibility. Adjust the audio bitrate to balance quality and size.
- Testing Before Final Export: Export a short segment of your animation to test the settings. This helps avoid long render times and potential issues with the final export.
- Rendering and Exporting: With all settings configured, go to Render > Render Animation or press Ctrl + F12 to start the export process. Blender will render and export the animation to your specified location.
- Reviewing the Exported Animation: Once the export is complete, review the animation file to ensure it meets your expectations in terms of quality and playback.
Exporting your animation correctly is crucial for sharing your work with the world. By following these steps, you can ensure your Blender animations look great no matter where they\"re viewed.
Advanced Techniques and Tips for Character Animation
Enhance your Blender character animations with these advanced techniques and tips, pushing your skills beyond the basics and into the realm of professional animation work.
- Non-Linear Animation (NLA) Editor: Use the NLA Editor for complex animations, allowing you to layer and blend different actions (like walking and waving) seamlessly.
- Custom Bone Shapes: Create custom shapes for your rig\"s bones to make the animation process more intuitive, especially for complex rigs.
- Facial Rigging with Bones: For detailed facial animations, consider rigging the face with bones instead of shape keys for more control over expressions.
- Dynamic Simulations: Incorporate physics simulations (like cloth, hair, or soft body dynamics) into your animations for more realism.
- Python Scripting for Automation: Use Blender\"s Python API to script repetitive tasks or create custom animation tools, saving time and adding functionality.
- Motion Capture Integration: Blend motion capture data with manual keyframing to speed up the animation process while maintaining control over the final result.
- Advanced Material and Lighting Techniques: Experiment with advanced material nodes and lighting setups to enhance the mood and feel of your animations.
- Composition and Post-Processing: Utilize Blender\"s compositor for post-processing effects, adding the final touches to your animation projects.
By mastering these advanced techniques, you can create more dynamic, expressive, and lifelike animations, setting your work apart in the field of 3D animation.
READ MORE:
Learning Resources and Community Support for Blender Animators
Embarking on the journey of character animation in Blender opens up a world of creativity and innovation. To support you through this adventure, an extensive array of learning resources and community platforms are available. Whether you\"re a beginner or looking to refine your skills, these resources offer invaluable guidance and inspiration.
Online Tutorials and Courses
From foundational skills to advanced techniques, online tutorials and courses cater to all levels of experience. Platforms like Blender Cloud, Udemy, and Skillshare host comprehensive courses covering character modeling, rigging, animation, and more. These resources are designed to be self-paced, allowing learners to progress at their own comfort level while building a solid understanding of Blender\"s powerful features.
Blender Community Forums
The Blender community forums are a treasure trove of knowledge, where animators from around the globe share insights, answer questions, and provide feedback on projects. Engaging with these forums not only helps in resolving specific issues but also in staying updated with the latest trends and techniques in Blender animation.
YouTube Channels
Many experienced Blender artists share their expertise through YouTube channels, offering free tutorials that range from basic to advanced topics. These visual guides are particularly helpful for understanding complex concepts and workflows in character animation.
Blender Conferences and Meetups
Participating in Blender conferences and local meetups can significantly enhance your learning experience. These events provide opportunities to connect with professionals, attend workshops, and witness groundbreaking projects, fostering a deeper appreciation for the art of animation.
Blender Documentation and Books
The official Blender documentation is an excellent reference for understanding the intricacies of the software. Additionally, several books have been published on Blender, offering structured learning paths and expert advice on character animation.
Blender Animation Studios and Showcases
Exploring works from Blender Animation Studios and community showcases can serve as a source of inspiration. These platforms highlight exceptional projects, demonstrating what can be achieved with Blender and motivating animators to push their creative boundaries.
By leveraging these learning resources and community support platforms, you can embark on a fulfilling journey of discovery and mastery in Blender character animation. The key is to stay curious, practice consistently, and engage with the vibrant Blender community.
Embark on your Blender 3D character animation journey with confidence, utilizing a wealth of resources and a supportive community. Let your creativity flourish and transform your visions into animated realities. The world of Blender animation awaits you.