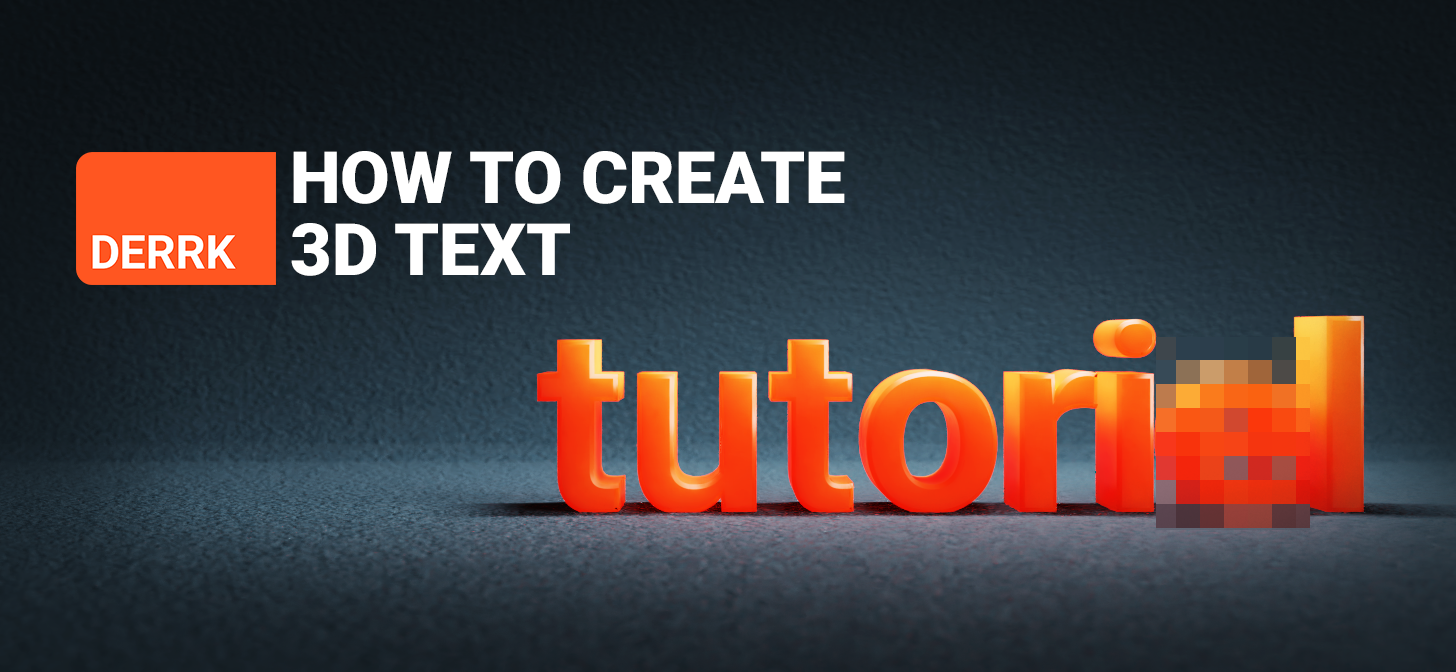
Topic blender 3d text tutorial: Embark on a creative journey with our Blender 3D Text Tutorial, designed to elevate your digital artistry by mastering stunning text effects and animations in Blender.
Table of Content
- How to create 3D text in Blender?
- Getting Started with Blender and Adding Text
- Editing and Modifying Text Properties
- Applying Extrude and Bevel to Create 3D Effects
- Texturing and Materials for 3D Text
- Lighting and Rendering 3D Text
- Animating 3D Text in Blender
- YOUTUBE: 3D Text in Blender: Everything You Need to Know
- Advanced Techniques: Shape Keys and Modifiers
- Exporting 3D Text for Use in Other Projects
- Common Problems and Solutions
- Resources for Further Learning and Inspiration
How to create 3D text in Blender?
To create 3D text in Blender, you can follow these steps:
- Open Blender and switch to the \"Layout\" workspace.
- Delete the default cube by selecting it and pressing the \"Delete\" key.
- Click on the \"Add\" menu, select \"Text,\" and a new text object will appear at the center of the scene.
- To edit the text, select the text object and press the \"Tab\" key to enter edit mode. Then, you can type in the desired text.
- Once you\'ve entered the text, press the \"Tab\" key again to exit edit mode.
- Adjust the text properties in the \"Object Data\" tab of the properties panel, which you can find on the right side of the Blender interface.
- To make the text 3D, enable the \"Extrude\" option and adjust the extrusion depth to give it thickness.
- You can also change the font, size, spacing, bevel, and other text properties according to your preferences.
- If you want to further modify the text, you can switch back to edit mode by selecting the text object and pressing the \"Tab\" key.
- Once you\'re satisfied with the 3D text, you can navigate to the \"Render\" tab in the properties panel to adjust rendering settings, such as lighting, materials, and camera angles.
- Finally, you can render the scene to see the 3D text by clicking on the \"Render\" button or pressing F12.
With these steps, you should be able to create and customize 3D text in Blender according to your requirements.
READ MORE:
Getting Started with Blender and Adding Text
Starting with Blender for 3D text creation is an exciting journey into the world of 3D design. Whether you are a beginner or looking to expand your skills, this section will guide you through the initial steps of opening Blender, setting up your scene, and adding text.
- Download and Install Blender: Ensure you have the latest version of Blender installed from the Blender website.
- Open Blender and Create a New Project: Start Blender and select \"General\" to open a new project.
- Navigate to the 3D Viewport: This is where you\"ll spend most of your time designing.
- Add Text: Go to \"Add\" > \"Text\" to place a text object in your scene.
- Edit Text: Enter Edit Mode by pressing \"Tab\", then type your desired text.
- Adjust Text Properties: In the Object Data Properties panel, you can change the font, size, and other properties of your text.
Once you\"ve added and customized your text, you\"re ready to explore more advanced features, such as extrusion, beveling, and applying materials, to turn your text into a stunning 3D masterpiece.

Editing and Modifying Text Properties
After adding text to your Blender project, the next step is to customize it to fit your creative vision. This section will guide you through editing and modifying text properties to enhance your 3D text.
- Accessing the Properties Panel: With your text selected, open the Properties panel on the right side of the screen.
- Font Customization: Navigate to the \"Font\" tab to change the font style. You can import custom fonts by clicking \"Open\" and selecting a .ttf or .otf file from your computer.
- Adjusting Size and Alignment: In the \"Font\" tab, modify the size, alignment, and spacing to fit your layout needs.
- Extrusion and Bevel: Switch to the \"Geometry\" tab to add depth and dimension to your text through extrusion and bevel adjustments.
- Material Application: To apply colors or textures, go to the \"Material\" tab and select \"New\" to create a material. You can then customize its properties such as color, specular intensity, and more.
- Text Curve Conversion: For more complex modifications, you can convert your text to a curve or mesh by pressing \"Alt+C\". This allows for vertex-level editing and application of modifiers.
By mastering these editing techniques, you can significantly enhance the visual impact of your 3D text, making it a standout element in your Blender projects.

Applying Extrude and Bevel to Create 3D Effects
Transforming flat text into 3D is a powerful feature in Blender. This section will guide you through using extrusion and beveling to add depth and dimension to your text, creating eye-catching 3D effects.
- Select Your Text: Ensure your text object is selected in the 3D Viewport.
- Extrude the Text: In the Object Data properties (the green \"A\" icon), find the \"Geometry\" section. Increase the \"Extrude\" value to add depth to your text.
- Apply Bevel: Still in the \"Geometry\" section, adjust the \"Bevel\" value to round the edges of your text. This adds a smooth transition between the text face and its sides.
- Customize Bevel: For more control, tweak the \"Bevel Depth\" and \"Bevel Resolution\" to fine-tune the roundness and smoothness of the bevel effect.
- Adjusting Depth and Resolution: Experiment with different depths and resolutions to achieve the desired 3D effect. Higher resolutions create smoother curves but may increase rendering time.
By applying extrusion and beveling, you can elevate your text from a flat design to a dynamic 3D model, adding visual interest and depth to your Blender projects.

Texturing and Materials for 3D Text
Applying textures and materials is essential for bringing your 3D text to life in Blender. This section walks you through the process of adding color, texture, and realism to your text.
- Select Your Text Object: Make sure your 3D text is selected in the viewport.
- Open the Materials Tab: Find the Materials tab in the Properties panel, symbolized by a red sphere.
- Create a New Material: Click the \"New\" button to add a material to your text.
- Customize Material Properties: Adjust settings such as the Base Color, Metallic, Specular, and Roughness to achieve the desired appearance. For more vibrant text, increase the Specular and decrease the Roughness.
- Add a Texture: Switch to the Shader Editor window for more complex texturing. Use the \"Add\" menu to include Texture nodes such as Image Texture or Noise Texture, and connect them to the Shader\"s Color input.
- UV Unwrapping: For image textures, you may need to unwrap your text mesh by converting it to a mesh (\"Alt+C\") and then applying UV Unwrapping (\"U\" key) to correctly map the texture.
- Preview and Adjust: Frequently switch to the Rendered view mode to preview your material and texture changes. Adjust as necessary to perfect the look of your 3D text.
Through the application of materials and textures, your 3D text will not only have depth and dimension but also a compelling surface appearance that enhances its visual impact.

_HOOK_
Lighting and Rendering 3D Text
Proper lighting and rendering are crucial for showcasing your 3D text in Blender. This section provides a step-by-step guide to lighting your scene and rendering your 3D text to achieve professional-quality results.
- Setting Up the Light Source: Start by adding a light source to your scene if one isn\"t already present. Use \"Shift+A\" to add a light, such as a Point, Sun, or Area light, depending on the desired effect.
- Adjusting Light Properties: Select your light source and adjust its properties in the Light tab. Modify the color, strength, and shadow settings to highlight your text effectively.
- Positioning the Lights: Move and rotate the light sources around your text to achieve the best illumination. Experiment with different angles and distances to see how they affect the shadows and highlights on your text.
- Camera Setup: Position your camera so that your text is well-framed within the viewport. Use \"Numpad 0\" to switch to camera view and adjust the camera\"s position and angle as needed.
- Render Settings: Go to the Render Properties tab and select your render engine (e.g., Cycles or Eevee). Adjust the render settings like resolution, samples, and any other relevant parameters for your project.
- Performing a Test Render: Before doing the final render, perform a test render to check the lighting and overall composition. Adjust any settings if necessary.
- Final Render: Once satisfied with the test render, proceed to render your scene. Go to \"Render\" > \"Render Image\" (or press \"F12\") to create your final image.
With the right lighting and rendering techniques, your 3D text will not only look more dynamic but also more integrated with its environment, enhancing its overall appeal.

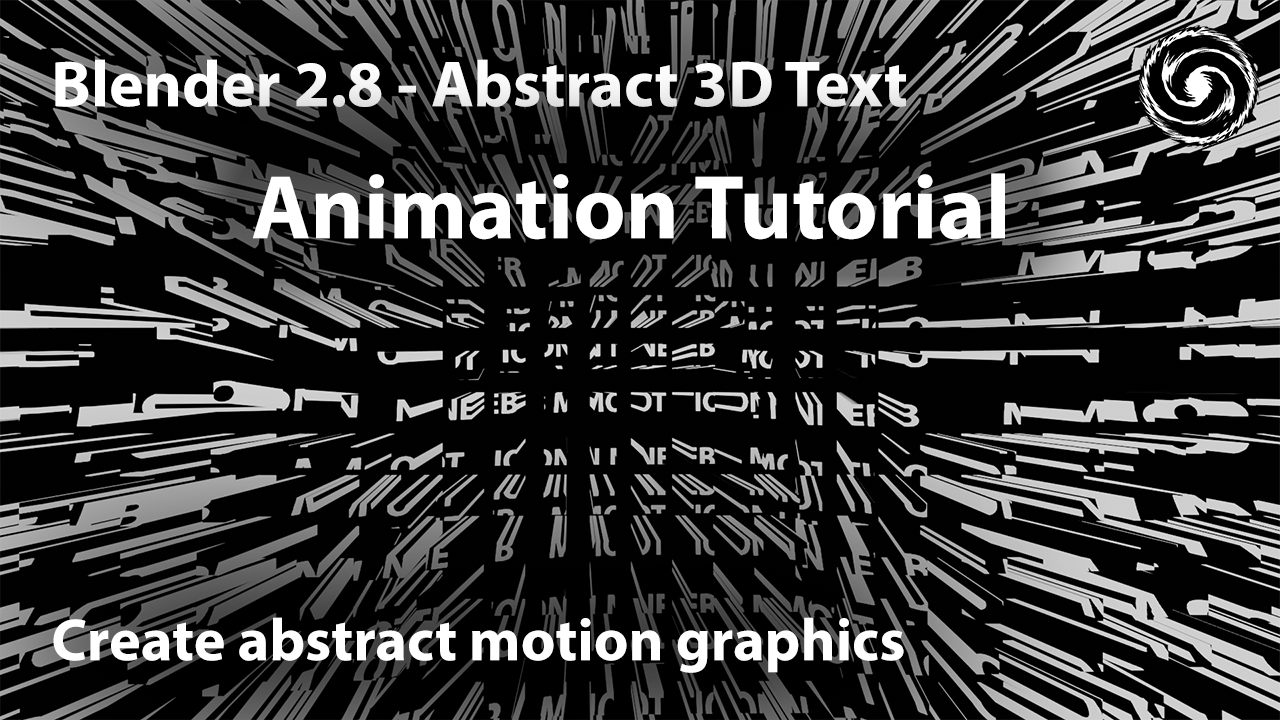
Animating 3D Text in Blender
Animating your 3D text can add an impressive dynamic element to your projects. This section will guide you through the basics of animating text in Blender, from simple movements to complex animations.
- Basic Animation Principles: Understand keyframes and the timeline. Keyframes are used to define start and end points for any animation.
- Animating Position, Rotation, and Scale: With your text selected, go to the frame where you want the animation to start. Press \"I\" to insert a keyframe and choose \"Location\", \"Rotation\", or \"Scale\". Move to another frame, change the position, rotation, or scale of your text, and insert another keyframe.
- Using the Graph Editor for Fine-Tuning: Open the Graph Editor to refine your animation curves, making the movement smoother or more dynamic.
- Adding Text Effects: Explore Blender\"s modifiers like \"Wave\" or \"Build\" to add unique effects to your text animation.
- Animating Text Color and Transparency: In the Shader Editor, animate properties like color or alpha by inserting keyframes directly in the material\"s nodes.
- Rendering Your Animation: Go to the Render Properties, set your output format to an animation file format like AVI or MPEG, and adjust your frame range. Click \"Render\" > \"Render Animation\" or press \"Ctrl + F12\" to start rendering your animation.
By following these steps, you can create captivating animations that bring your 3D text to life, adding a new level of engagement to your Blender projects.
3D Text in Blender: Everything You Need to Know
Tutorial: Are you looking to master a new skill? Look no further! Our tutorial video will guide you step-by-step, making it easy for you to learn and apply this skill in no time. Don\'t miss out on this opportunity to expand your knowledge and become a pro!
Engrave & Emboss Text Easily In Blender | Part 3 in Text Effects | Create 3D Text Logo In Blender
Effects: Get ready to be amazed by mind-blowing effects in our latest video! From stunning visuals to captivating animations, this video will take you on a mesmerizing journey. Brace yourself for an unforgettable experience that will leave you in awe. Don\'t miss out on this chance to witness these extraordinary effects!
Advanced Techniques: Shape Keys and Modifiers
Animating your 3D text can add an impressive dynamic element to your projects. This section will guide you through the basics of animating text in Blender, from simple movements to complex animations.
- Basic Animation Principles: Understand keyframes and the timeline. Keyframes are used to define start and end points for any animation.
- Animating Position, Rotation, and Scale: With your text selected, go to the frame where you want the animation to start. Press \"I\" to insert a keyframe and choose \"Location\", \"Rotation\", or \"Scale\". Move to another frame, change the position, rotation, or scale of your text, and insert another keyframe.
- Using the Graph Editor for Fine-Tuning: Open the Graph Editor to refine your animation curves, making the movement smoother or more dynamic.
- Adding Text Effects: Explore Blender\"s modifiers like \"Wave\" or \"Build\" to add unique effects to your text animation.
- Animating Text Color and Transparency: In the Shader Editor, animate properties like color or alpha by inserting keyframes directly in the material\"s nodes.
- Rendering Your Animation: Go to the Render Properties, set your output format to an animation file format like AVI or MPEG, and adjust your frame range. Click \"Render\" > \"Render Animation\" or press \"Ctrl + F12\" to start rendering your animation.
By following these steps, you can create captivating animations that bring your 3D text to life, adding a new level of engagement to your Blender projects.

Exporting 3D Text for Use in Other Projects
After you\"ve created and perfected your 3D text in Blender, you may want to use it in other projects or applications. Exporting your work correctly is crucial to ensure compatibility and maintain the quality of your 3D text. Follow these steps to export your 3D text for use in various projects, including video editing software, game engines, or other 3D modeling applications.
- Select Your 3D Text Object: Ensure that your 3D text object is selected. You can do this by clicking on the text object in the 3D viewport.
- Choose the Correct File Format: Go to File > Export and select the appropriate file format for your project. Common formats include FBX, OBJ, and STL. FBX is versatile for animation and game projects, OBJ is widely used for static models, and STL is often used for 3D printing.
- Configure Export Settings: Depending on the chosen format, you\"ll have different settings available. For example, if you\"re exporting as FBX, you can choose to include animations, apply scale transformations, and select which objects to export. Adjust these settings to match the requirements of your target application.
- Export the Object: Once you\"ve configured the settings, click on the export button. Choose a destination on your computer where you want to save the file, and name your file appropriately.
- Import into Your Target Application: Open your target application (e.g., Unity, Unreal Engine, Adobe After Effects). Import the exported file using the application\"s import feature. Ensure to adjust any necessary settings during import, such as scaling and materials, to ensure your 3D text looks as expected in the new environment.
Keep in mind that when exporting models for use in other applications, you might need to reapply textures or materials, as these can sometimes be lost or altered during the export process. Testing the imported model and making adjustments as necessary is an important step to integrate your 3D text seamlessly into your new project.
By following these steps, you can ensure that your 3D text is ready to make an impact in any project you choose to incorporate it into. Whether it\"s for a video game, a film, or a 3D printed model, the skills you\"ve developed in Blender will help you create stunning text effects that can be used across a wide range of media.
Common Problems and Solutions
Working with 3D text in Blender can sometimes present challenges, especially for beginners. Below are some common issues you might encounter, along with solutions to help you overcome these hurdles and continue creating stunning 3D text effects.
- Text Appears Flat or Without Depth:
- Solution: Increase the extrusion and bevel in the text properties. Select your text object, go to the Object Data Properties tab (the icon that looks like an \"A\"), find the Geometry section, and adjust the \"Extrude\" and \"Bevel\" values.
- Difficulty Applying Textures or Materials:
- Solution: Ensure that your text is converted to a mesh. Press Alt+C and select \"Mesh from Curve/Meta/Surf/Text\". This allows you to apply textures and materials as you would with any other mesh object.
- Text Not Showing in Render:
- Solution: Check the render visibility settings. Ensure that your text object is not hidden in the render. Go to the Outliner, find your text object, and make sure the camera icon next to it is enabled. Also, verify that the text material\"s settings are correctly set to be visible in the render.
- Fonts Not Displaying Correctly:
- Solution: Import the desired font into Blender. In the Object Data Properties tab for your text object, scroll to the Font section. Click the folder icon next to the font name to browse and select a .ttf or .otf font file from your computer.
- Animations Look Stiff or Unnatural:
- Solution: Use shape keys and armatures for more fluid animations. Shape keys allow for smooth transitions between different text shapes, while armatures can be used to rig the text for more complex movements. Access shape keys in the Object Data Properties tab and create armatures in the 3D viewport using the Add menu.
- Problems with Exporting Text for Other Applications:
- Solution: Double-check export settings and file compatibility. When exporting, select a file format that supports the features you need (e.g., FBX for animations). Ensure that the export settings are configured to include all necessary data, such as textures and armatures.
Encountering problems is a natural part of the learning process in Blender. With patience and practice, you\"ll be able to navigate these challenges and make the most of Blender\"s powerful tools for 3D text creation. Remember, every problem has a solution, and the Blender community is a great resource for finding help and inspiration.

_HOOK_
READ MORE:
Resources for Further Learning and Inspiration
Mastering 3D text in Blender opens up a world of creative possibilities. To further enhance your skills and inspire your projects, here are some invaluable resources ranging from tutorials to communities where you can learn new techniques, share your work, and get feedback from other artists.
- Blender Official Website: Blender.org offers a comprehensive range of tutorials for all skill levels, including official documentation and user forums where you can ask questions and share tips.
- Blender Artists Community: BlenderArtists.org is one of the largest Blender communities online. It\"s a great place to seek advice, participate in challenges, and showcase your work.
- YouTube Tutorials: YouTube hosts a wealth of Blender tutorials. Channels like Blender Guru, CG Geek, and Ducky 3D specialize in Blender tutorials that are both informative and easy to follow, covering everything from basic text effects to complex animations.
- Blender Network: The Blender Network at Blender.Network is a professional network for Blender professionals and enthusiasts. It\"s a great place to find collaboration opportunities and professional development resources.
- CG Cookie: CGCookie.com offers a variety of Blender tutorials that range from beginner to advanced levels. Though some content requires a subscription, there are plenty of free resources to get you started.
- BlenderNation: BlenderNation.com provides daily news, articles, tutorials, and tips from the Blender community. It\"s a great way to stay updated on the latest Blender developments and community projects.
- Books and E-Books: There are several books and e-books available that cover Blender in depth, from beginner guides to advanced modeling and animation techniques. Titles like \"Blender 3D: Noob to Pro\" and \"Learning Blender: A Hands-On Guide to Creating 3D Animated Characters\" can be very helpful.
- Online Courses: Websites like Udemy, Coursera, and Lynda offer structured Blender courses that can take you from a novice to an expert, with the advantage of structured learning paths and projects to work on.
Exploring these resources can significantly advance your understanding and skills in 3D text creation with Blender. Whether you\"re looking for inspiration, wanting to sharpen your skills, or hoping to connect with other Blender users, there\"s a resource out there to suit your needs. Remember, the journey of learning Blender is ongoing, and every project brings new opportunities to grow and create something unique.
Embark on your Blender 3D text journey with confidence, exploring endless creative possibilities. From crafting basic shapes to animating complex scenes, our comprehensive guide ensures a smooth, enriching learning experience that turns your vision into reality.