Topic blender 3d rendering tutorial: Dive into the world of 3D art with our Blender 3D Rendering Tutorial, guiding you through the steps to create breathtaking visuals and master the art of digital rendering.
Table of Content
- How to set up render settings in Blender for 3D rendering?
- Understanding Blender\"s Interface for 3D Rendering
- Choosing the Right Rendering Engine: Eevee vs Cycles
- Basic Rendering Techniques: Lighting, Texturing, and Shading
- Advanced Rendering Settings: Samples, Resolution, and Denoising
- YOUTUBE: Beginners Guide to Rendering in Blender
- Real-time Rendering with Eevee: Tips and Tricks
- Photorealistic Rendering with Cycles: Techniques and Optimization
- Rendering Animations in Blender: Step-by-Step Guide
- Post-Processing and Compositing for Enhanced Visuals
- Common Rendering Problems and How to Solve Them
- Resources for Further Learning: Tutorials, Courses, and Communities
How to set up render settings in Blender for 3D rendering?
To set up render settings in Blender for 3D rendering, follow these steps:
- Open Blender and navigate to the \"Render\" tab.
- Under the \"Render\" tab, you will find various settings that can be adjusted for rendering.
- First, choose the rendering engine you want to use, such as \"Cycles\" or \"Eevee\".
- Next, set the output settings for your rendered image or animation. Specify the file format, resolution, and output location.
- Adjust the sampling settings to control the quality of your render. Higher values result in smoother images but take longer to render.
- Configure the light settings to control how light interacts with your scene. This includes choosing the type of lamps and adjusting their intensity and color.
- Set up the material settings to define the appearance of objects in your scene. You can assign different materials to different objects or surfaces.
- Adjust the world settings to define the background and environment of your scene. You can add textures or custom colors as the world background.
- Configure the object settings to control properties specific to individual objects, such as visibility, shadow casting, and more.
- If you have a compatible graphics card, you can enable GPU rendering to leverage its processing power for faster renders.
- Experiment with experimental features if you want to try out cutting-edge rendering techniques still under development.
- Finally, you might also consider render baking, which precomputes certain aspects of the render to improve performance or achieve specific effects.
By adjusting these render settings in Blender, you can create impressive 3D renders according to your desired specifications and artistic vision.
READ MORE:
Understanding Blender\"s Interface for 3D Rendering
Blender\"s interface might seem daunting at first, but it\"s designed to streamline your 3D rendering workflow. This section will help you navigate through its panels and settings effectively.
- Layout: The default screen is divided into areas like the 3D viewport, timeline, outliner, and properties panel. Understanding these areas is crucial for efficient rendering.
- 3D Viewport: This is where you\"ll spend most of your time, viewing and interacting with your scene. You can switch between different shading modes to get a better idea of how your final render will look.
- Properties Panel: Here, you can adjust render settings, world settings, object properties, and materials. Familiarize yourself with the tabs: Render, Output, Materials, and World.
- Outliner: The outliner provides a hierarchical view of all objects in your scene, making it easy to select and manage them.
- Timeline: For animations, the timeline allows you to manage keyframes and animation playback.
- Shading: Blender offers multiple shading modes for the 3D viewport, including Wireframe, Solid, Material, and Rendered, which help visualize your work in progress.
Begin by customizing the interface to suit your workflow. You can drag and drop to resize areas, create new ones, or change what each displays. Familiarity with Blender\"s interface is the first step towards mastering 3D rendering.

Choosing the Right Rendering Engine: Eevee vs Cycles
Blender offers two powerful rendering engines, Eevee and Cycles, each with its strengths and ideal use cases. Understanding their differences will help you select the best one for your project.
- Eevee: Eevee is Blender\"s real-time render engine. It\"s incredibly fast, making it ideal for quick previews and animation work where time is of the essence. Eevee uses a technique called rasterization, which allows for real-time rendering but with some limitations in terms of lighting and shadow accuracy compared to ray tracing.
- Cycles: Cycles is Blender\"s ray-traced render engine, known for its ability to produce photorealistic results. It simulates light in a physically accurate way, allowing for complex interactions like caustics, global illumination, and accurate shadows. However, this accuracy comes at the cost of increased render times.
When deciding between Eevee and Cycles, consider the following:
- Project Requirements: If you need photorealistic results and have the time to spare, Cycles is the way to go. For faster iterations or when working on animations where real-time feedback is crucial, Eevee might be more appropriate.
- Hardware: Cycles can be more demanding on your system, especially for complex scenes. Eevee, being less resource-intensive, can be a better choice for less powerful systems.
- Final Output: Consider the output medium. For high-quality stills or animations where realism is key, Cycles\" detailed lighting and shadow effects will be beneficial. For projects where speed is more critical, or for real-time applications like VR, Eevee\"s efficiency is unmatched.
Both engines are fully integrated into Blender, allowing you to switch between them based on the needs of your project. Experimenting with both will give you a better understanding of their capabilities and limitations.
Basic Rendering Techniques: Lighting, Texturing, and Shading
Mastering the basics of lighting, texturing, and shading is essential for creating visually appealing 3D renders in Blender. These foundational elements bring your scenes to life, adding depth, realism, and emotion.
- Lighting: Good lighting is crucial for setting the mood and enhancing the realism of your scene. Start with three-point lighting (key light, fill light, and back light) to achieve a balanced look. Experiment with different types of lights such as point, sun, and area lights to see how they affect the scene.
- Texturing: Textures add detail and realism to your models. Blender allows you to apply both procedural textures (generated within Blender) and image textures (imported from external sources). Use UV mapping to accurately apply these textures to your models.
- Shading: Shading defines how surfaces interact with light. Use Blender\"s Shader Editor to create and apply materials. Familiarize yourself with the Principled BSDF shader, which offers a versatile approach to creating a wide range of materials from metals to glass to plastics.
Follow these steps to apply basic rendering techniques:
- Start by setting up your lighting to highlight the key features of your scene.
- Next, apply textures to your objects, adjusting their scale, rotation, and position for a natural look.
- Finally, use the Shader Editor to adjust the material properties, ensuring that the shading complements both the lighting and texturing for a cohesive render.
Remember, the key to mastering these techniques is practice. Experiment with different settings, and don\"t be afraid to make adjustments to achieve the desired effect. With time, you\"ll develop an intuitive sense for how lighting, texturing, and shading work together to bring your 3D renders to life.
Advanced Rendering Settings: Samples, Resolution, and Denoising
Enhancing the quality of your renders in Blender involves adjusting advanced settings like samples, resolution, and denoising. These settings are key to achieving high-quality, noise-free images.
- Samples: The number of samples determines the quality of the render. Higher sample rates reduce noise but increase rendering time. For Cycles, start with a lower sample count for test renders and increase for final production. Eevee\"s sample settings affect effects like bloom, shadow, and volumetrics.
- Resolution: Higher resolution increases the detail in your renders but also the file size and render time. Adjust the resolution in the Output properties panel, considering the final output medium (e.g., web, print).
- Denoising: Denoising is essential for reducing noise, especially in low-light scenes or when using lower sample rates. Blender offers several denoising options, including the built-in denoiser, the NVIDIA AI denoiser, and the OptiX denoiser for RTX graphics cards.
To apply these settings effectively:
- Begin with a moderate sample rate and resolution for initial renders. Adjust based on the results and required output quality.
- Enable denoising in the Render properties panel. Choose a denoiser based on your hardware and the specific needs of your project.
- For animations, consider using a slightly lower resolution or sample rate to save on render time, compensating with effective denoising.
By fine-tuning these advanced settings, you can significantly improve the visual quality of your renders, achieving professional-grade results even in challenging conditions.

_HOOK_
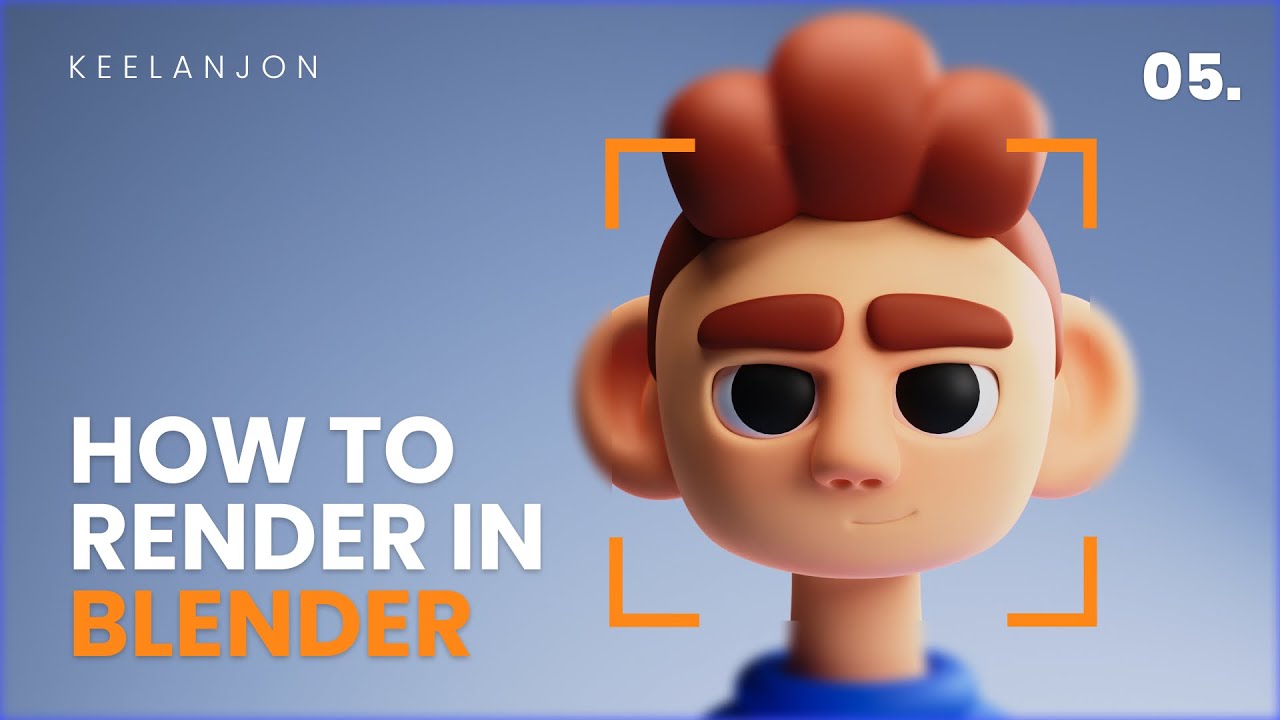
Beginners Guide to Rendering in Blender
Blender is an incredible tool for creating jaw-dropping animations and visual effects. Get ready to be amazed as this video takes you on a mesmerizing journey through the endless possibilities of Blender!
How to Render an Image in Blender Tutorial
Dive into the world of high-quality rendering with this captivating video. Witness your designs come to life as this video explores the fascinating process of rendering, showcasing stunning visuals that will leave you in awe.
Real-time Rendering with Eevee: Tips and Tricks
Eevee, Blender\"s real-time render engine, offers a fast and efficient way to produce high-quality visuals. Here are some tips and tricks to maximize your results with Eevee.
- Optimize Your Scene: Simplify geometry and use less complex shaders where possible. Eevee performs better with optimized scenes, leading to quicker render times and smoother previews.
- Use Reflection Probes: To achieve realistic reflections, strategically place reflection cubemaps and planar reflection probes in your scene. This enhances the realism of reflective surfaces.
- Lighting and Shadows: Make use of soft shadows and contact shadows to add depth and realism. Adjusting the shadow settings can significantly improve the look of your render.
- Bloom Effect: Eevee\"s bloom effect can add a cinematic quality to lights in your scene. Use it sparingly to highlight certain elements without overwhelming the scene.
- Screen Space Reflections (SSR): Enable SSR for enhanced reflections on glossy surfaces. Be mindful of performance impact and adjust settings as needed.
- Subsurface Scattering: Use subsurface scattering for materials like skin, wax, or marble to add a level of realism. Eevee\"s subsurface scattering is fast and can produce great results with proper tuning.
Finally, always preview your renders in Eevee as you work. This gives you immediate feedback on how changes affect the final output. Experimenting with different settings and features will help you get the most out of Eevee for your projects.

Photorealistic Rendering with Cycles: Techniques and Optimization
Achieving photorealism in Blender is made possible with the Cycles render engine, known for its ability to simulate realistic lighting and materials. Here are techniques and optimization strategies for using Cycles effectively.
- Understand Lighting: Realistic lighting is key. Use HDRI images for environmental lighting to add realism with minimal effort. Combine this with strategically placed area lights to mimic real-world lighting conditions.
- Realistic Materials: Utilize the Principled BSDF shader to create realistic materials. Pay attention to details like roughness, transmission, and subsurface scattering to mimic real-world materials accurately.
- Depth of Field: Use depth of field to add a photographic quality to your renders. This technique blurs out parts of the scene that are not in focus, drawing attention to the subject.
- Camera Settings: Mimic real camera settings like aperture, shutter speed, and ISO. This not only adds realism but also gives you control over the mood and tone of the scene.
- Optimize Render Settings: Adjust your render settings for the best balance between quality and render time. Use features like adaptive sampling, light paths, and denoising to optimize your renders.
Optimization tips for Cycles:
- Lower the number of light bounces in scenes where minimal light interaction occurs. This can significantly reduce render times.
- Use the denoising feature to clean up noise in your renders, allowing you to use lower sample rates for faster rendering.
- Consider using Blender\"s compositor to add final touches like glare or color grading. This can enhance the photorealism without increasing render times.
With practice and patience, mastering these techniques will allow you to create stunning, photorealistic renders using Cycles in Blender.

Rendering Animations in Blender: Step-by-Step Guide
Rendering animations in Blender combines art and technique, requiring attention to detail and patience. Follow this step-by-step guide to bring your animated scenes to life.
- Prepare Your Scene: Before rendering, ensure your scene is fully animated with all objects, textures, and lighting in place. Double-check animations for any inconsistencies.
- Choose Your Render Engine: Decide between Eevee and Cycles based on your needs. Eevee for speed, Cycles for photorealism.
- Adjust Render Settings: In the Render Properties panel, set your frame rate, resolution, and quality. For animations, consider a lower resolution and sample rate for test renders.
- Configure Output Settings: Choose your output format (e.g., PNG sequence, AVI, or MPEG) and the directory to save your rendered animation. PNG sequences are recommended for stability.
- Set Frame Range: Specify the start and end frames of your animation in the Output Properties panel.
- Denoising: If using Cycles, enable denoising to clean up noise, especially in low-light scenes or when using lower sample rates.
- Render: Once all settings are configured, hit Render > Render Animation or press Ctrl + F12 to start the rendering process. Be prepared for this to take some time, especially for longer sequences or higher-quality settings.
Tips for Efficient Animation Rendering:
- Use Placeholder Renders: For complex scenes, consider rendering low-resolution placeholders to check animations before committing to a full render.
- Optimize Your Scenes: Simplify meshes, use fewer subdivisions, and optimize textures to reduce render times without significantly affecting quality.
- Render Farms: For very high-quality or lengthy animations, consider using a render farm to distribute the workload and speed up the process.
By following these steps and tips, you can efficiently render animations in Blender, bringing your creative visions to life.

Post-Processing and Compositing for Enhanced Visuals
Post-processing and compositing are crucial final steps to elevate the quality of your renders in Blender. These techniques allow you to adjust colors, add effects, and integrate different elements seamlessly.
- Using Blender\"s Compositor: Blender\"s built-in node-based compositor lets you add post-processing effects without external software. It includes options for color correction, glare, blur, and more.
- Color Correction: Adjust the brightness, contrast, saturation, and color balance to enhance the mood and feel of your render. Use the Color Balance node for fine-tuned adjustments.
- Adding Glare and Bloom: For lights and bright areas, adding glare or bloom effects can create a more realistic and visually appealing result. Use the Glare node with different settings to achieve the desired effect.
- Combining Render Layers: If you\"ve rendered your scene in layers, use the compositor to combine these layers. This allows for more control over each element, making adjustments easier without re-rendering the entire scene.
- Adding Effects: Effects like depth of field, motion blur, and vignette can be added or fine-tuned in post-processing for a more cinematic look.
Steps for Effective Compositing:
- Render your scene with Render Layers for flexible post-processing.
- Open the Compositor and use nodes to adjust colors, add effects, and combine layers.
- Experiment with different nodes and their settings to enhance your render. Preview frequently to monitor changes.
- Once satisfied, render the composite image or animation.
By mastering post-processing and compositing, you can significantly improve the visual impact of your Blender projects, giving them a polished, professional appearance.

Common Rendering Problems and How to Solve Them
Rendering in Blender can sometimes present challenges. Here are some common issues and strategies to resolve them, ensuring a smooth rendering process.
- Noisy Renders: Noise often occurs in low-light areas or with high-contrast materials. Increase the sample rate in your render settings or use denoising options available in Blender to mitigate this issue.
- Long Render Times: Optimize your scene by reducing the complexity of meshes, using fewer subdivisions, and simplifying shaders. Consider rendering at a lower resolution or using a render farm for larger projects.
- Materials Not Rendering Correctly: Ensure all materials are correctly applied and supported by the chosen render engine. For Cycles, make sure to use node-based materials for full compatibility.
- Missing Textures: This can happen when file paths are not correctly set or if the textures have been moved. Re-link the textures in the shading tab to solve this.
- Fireflies (Bright Spots): Fireflies are small, bright spots that can appear in renders. They can often be reduced by increasing the clamp indirect setting in your render settings or by using light portals in scenes with indoor lighting.
- Black Shadows or Dark Renders: This issue might be due to insufficient lighting or incorrect light setup. Increase the strength of your lights or add additional light sources. Also, check the World settings to ensure there\"s some environmental lighting.
Tips for Avoiding Common Problems:
- Always use the latest stable version of Blender to benefit from improved features and bug fixes.
- Preview your renders using a lower sample rate or resolution to quickly identify and correct issues before the final render.
- Engage with the Blender community through forums and tutorials for solutions to specific problems you may encounter.
By addressing these common rendering problems with the suggested solutions, you can improve your workflow and achieve better results with your Blender projects.

_HOOK_
READ MORE:
Resources for Further Learning: Tutorials, Courses, and Communities
Expanding your Blender skills is a continuous process. Here are curated resources to deepen your knowledge in 3D rendering and animation.
- Blender Official Tutorials: The Blender Foundation offers a comprehensive collection of tutorials for beginners to advanced users on their official website and YouTube channel.
- Online Courses: Platforms like Udemy, Coursera, and CG Cookie provide in-depth courses covering everything from the basics of Blender to advanced rendering techniques.
- YouTube Tutorials: YouTube is an invaluable resource with countless tutorials. Channels like Blender Guru, CG Geek, and Ducky 3D specialize in Blender and offer tutorials for all skill levels.
- Blender Communities: Join Blender communities on Reddit, Blender Artists Forum, and Discord servers to connect with other users, share your work, and get feedback.
- Books and E-books: For those who prefer written guides, there are several books and e-books available that cover Blender\"s functionalities in detail, such as \"Blender 3D Cookbook\" and \"Learning Blender: A Hands-On Guide to Creating 3D Animated Characters\".
These resources offer a wealth of knowledge to help you master Blender\"s rendering capabilities. Engage with the community, take courses, and practice regularly to improve your skills and stay up-to-date with the latest techniques and features.
Embark on your Blender journey with confidence, equipped with the knowledge from this tutorial. Continue exploring, experimenting, and engaging with the community to unlock your full creative potential in 3D rendering.