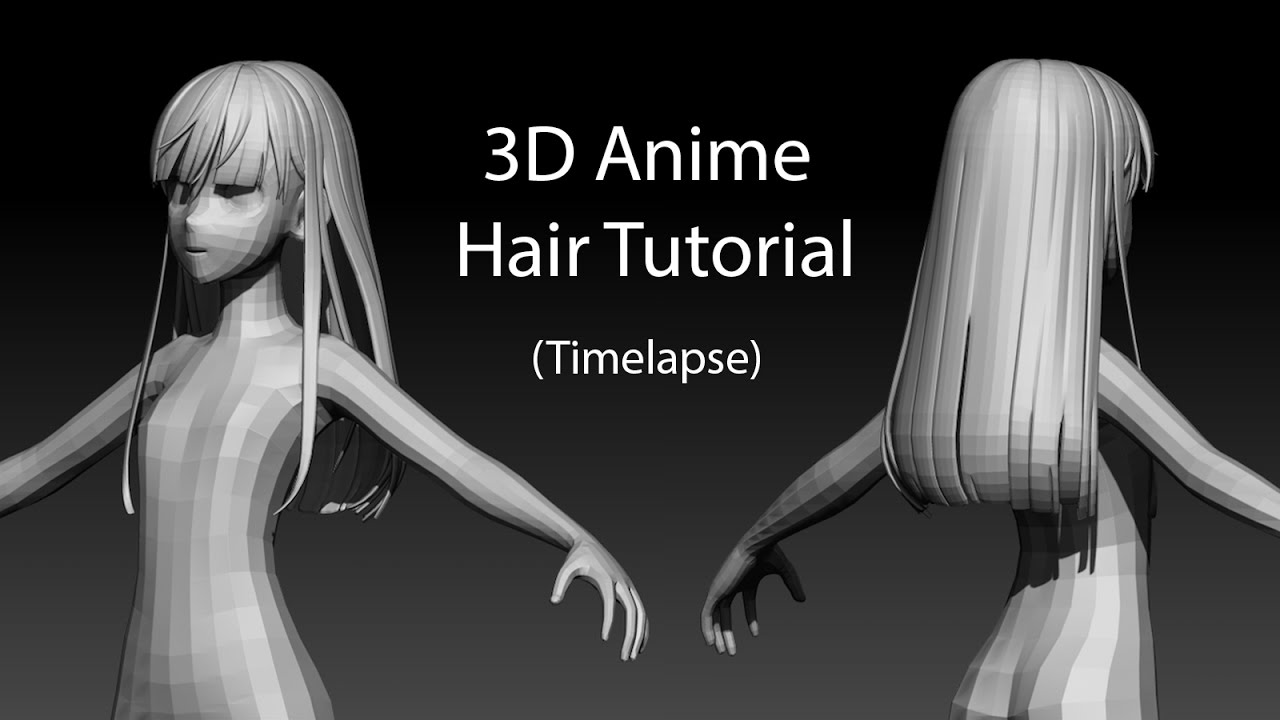
Topic blender 3d hair tutorial: Embark on a journey to master the art of creating stunning 3D hair in Blender with our comprehensive tutorial guide, covering everything from basic techniques to advanced styling and animation tips for bringing your characters to life.
Table of Content
- How to make hair in Blender 2.8 with curves?
- Understanding Blender\"s Hair Particle System
- Step-by-Step Guide to Creating Basic Hair
- Advanced Hair Shaping and Styling Techniques
- Texturing and Material Setup for Realistic Hair
- Using Particle Hair for Different Hair Types
- Animating Hair in Blender: Tips and Tricks
- YOUTUBE: Easiest Way To Create Hair in Blender - 5 Minute Tutorial
- Optimizing Hair for Rendering: Cycles vs. Eevee
- Common Problems and Solutions in Hair Simulation
- Integrating Hair with Character Rigging
- Latest Features in Blender for Hair Creation
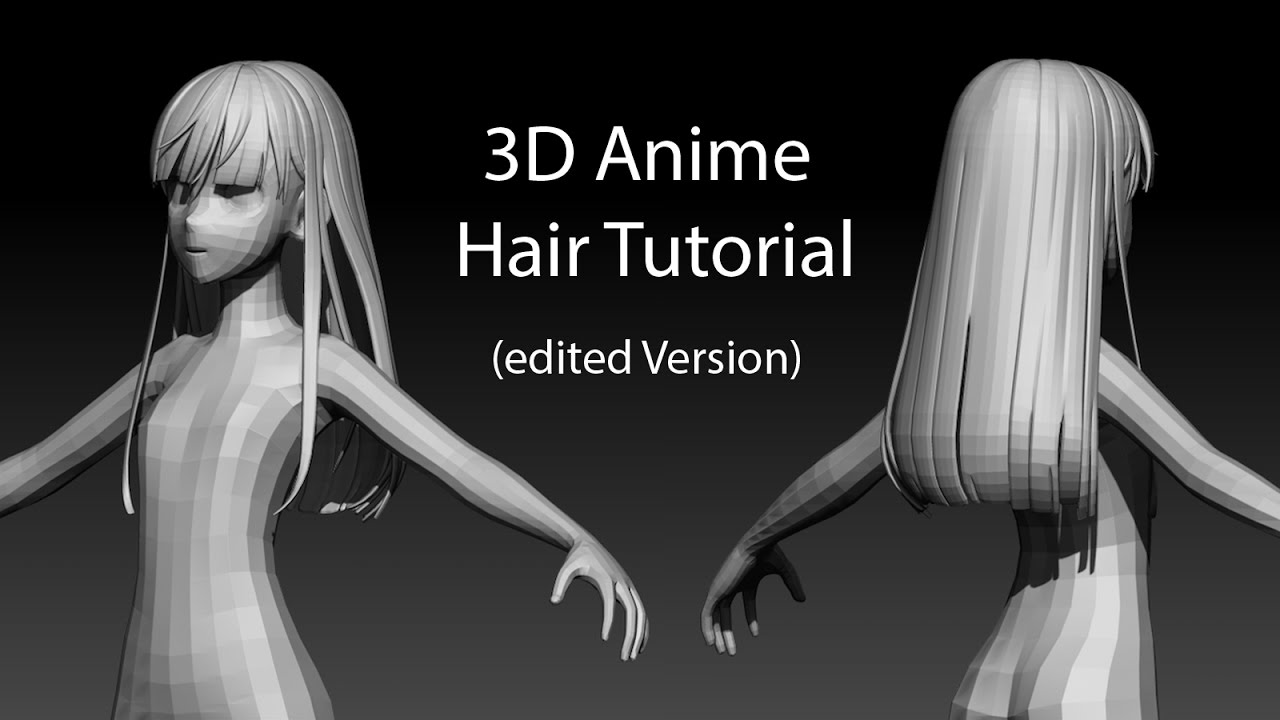
How to make hair in Blender 2.8 with curves?
To make hair in Blender 2.8 with curves, you can follow the steps below:
- Launch Blender 2.8 and open your project.
- Create a new object by pressing Shift + A and selecting \"Curve\" from the menu. Choose \"Bezier\" or \"NURBS\" as the curve type.
- Switch to Edit Mode by pressing Tab.
- Use Ctrl + LMB (Left Mouse Button) to add control points along the path of the hair. These control points will determine the shape and flow of the hair.
- Adjust the handles of the control points to shape the hair as desired. You can do this by selecting a control point and pressing V to switch to \"Vector\" handle type, allowing you to control the handles individually.
- Continue adding and shaping control points until you have the desired hair shape.
- Switch to Object Mode by pressing Tab.
- Adjust the hair\'s thickness and other settings in the \"Properties\" panel. You can modify parameters such as \"Radius\" and \"Resolution\" to control the thickness and smoothness of the hair respectively.
- To add more strands of hair, duplicate the curve object and modify its shape and settings.
- For more realistic hair, you can apply a hair material to the curves. This can be achieved by creating a new material, adjusting the color, transparency, and other properties.
- Render your scene to see how the hair looks in the final image.
By following these steps, you should be able to create hair with curves in Blender 2.8.
READ MORE:
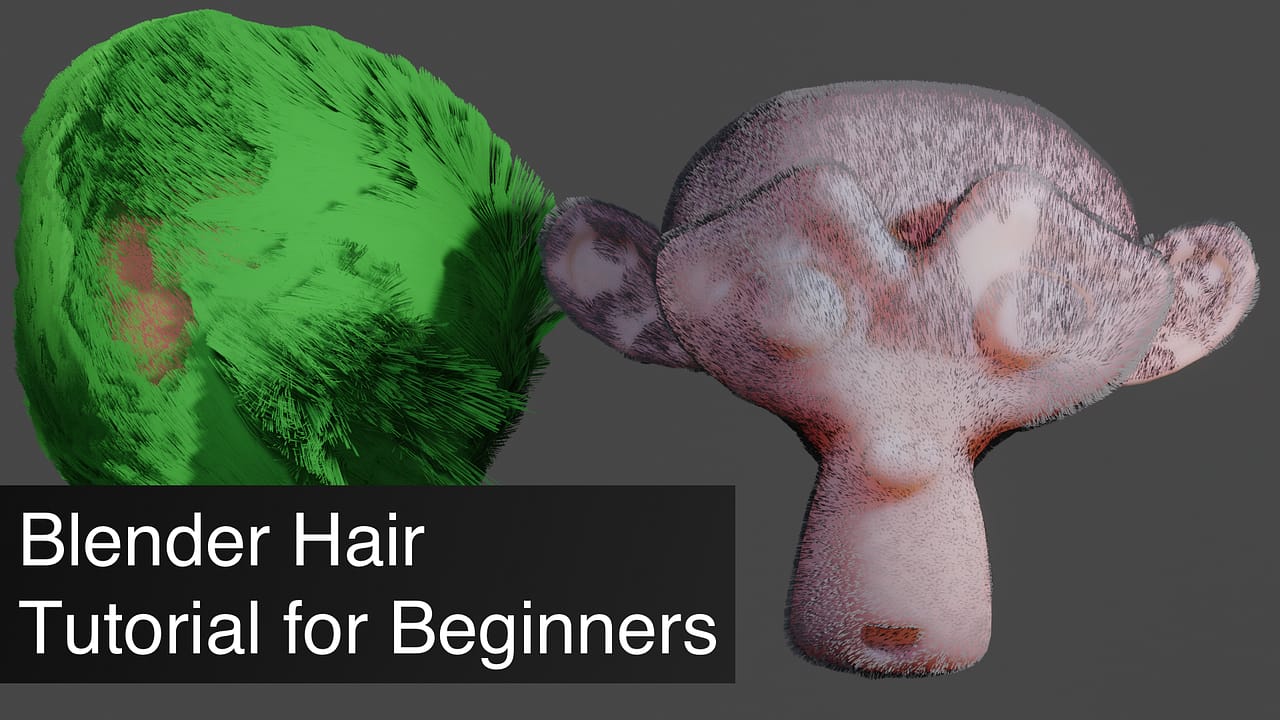
Understanding Blender\"s Hair Particle System
The Blender Hair Particle System is a powerful tool designed to create realistic hair, fur, and even grass in 3D models. It leverages the concept of particles to simulate individual hair strands, allowing artists to create complex and dynamic hairstyles for characters and creatures. Understanding this system is crucial for anyone looking to enhance their 3D creations with lifelike hair.
- Introduction to Particles: At its core, the hair particle system begins with the generation of particles from a mesh. These particles can then be transformed into hair strands, with each strand\"s properties being highly customizable.
- Emission Settings: Control the number of hairs, their distribution, and where they emit from on your mesh. This is where you define the density and the starting point for hair growth.
- Particle Edit Mode: Once hair is added, Blender provides a Particle Edit mode, allowing for the manual grooming of hair. This includes combing, cutting, lengthening, or shortening strands, enabling detailed styling.
- Children Particles: For more density without the heavy computational cost, children particles can be used. These are virtual hairs generated from the original particles, giving the illusion of a fuller head of hair.
- Physics and Dynamics: The system also supports physics, enabling hair to move and react realistically to the character’s movements and external forces, such as wind.
- Rendering and Shading: Finally, Blender\"s rendering engines, Cycles and Eevee, offer different options for rendering hair, including realistic shading models to simulate the intricate light interaction with hair fibers.
By understanding these fundamental aspects of Blender\"s Hair Particle System, artists can start to explore the vast possibilities for creating realistic or stylized hair for their 3D models, enhancing the overall believability and appeal of their creations.
Step-by-Step Guide to Creating Basic Hair
Creating basic hair in Blender using the Hair Particle System involves several key steps, each crucial for achieving realistic results. This guide will take you through the process from adding hair to your character to basic styling and rendering.
- Prepare Your Model: Start with a clean, UV-unwrapped character model. Ensure the scalp area from which the hair will grow is properly defined and separated if needed.
- Add a Hair Particle System: Select the mesh, go to the Particle Properties tab, and click the \"+\" button to add a new particle system. Choose \"Hair\" as the type to automatically generate hair strands on the selected mesh.
- Adjust Hair Length and Number: In the particle settings, you can modify the length and number of hairs. Start with a moderate amount to keep the viewport responsive.
- Particle Edit Mode: Switch to Particle Edit mode from the mode selector to start grooming. Use tools like Comb, Cut, Lengthen, or Shorten to style the hair. You can also add or reduce hair density in specific areas.
- Defining Hair Material: Create a new material for the hair in the Material Properties tab. Adjust the shader nodes to simulate realistic hair colors and textures. Principled BSDF and Hair BSDF nodes are commonly used for hair materials.
- Use Children for Density: To add volume without overwhelming your system, enable Children in the particle settings. Experiment with \"Interpolated\" or \"Simple\" children types to get the desired look.
- Adjust Hair Dynamics: If your scene requires moving hair, enable Hair Dynamics in the particle settings. Fine-tune the stiffness, damping, and structure to achieve natural movement.
- Lighting and Rendering: Proper lighting is crucial for showcasing hair realistically. Use a three-point lighting setup to highlight the hair\"s form and texture. Finally, choose your rendering engine (Cycles or Eevee) and adjust the render settings for hair.
This basic guide should get you started with creating and styling hair in Blender. As you become more familiar with the tools and settings, you\"ll be able to tackle more complex hairstyles and effects.
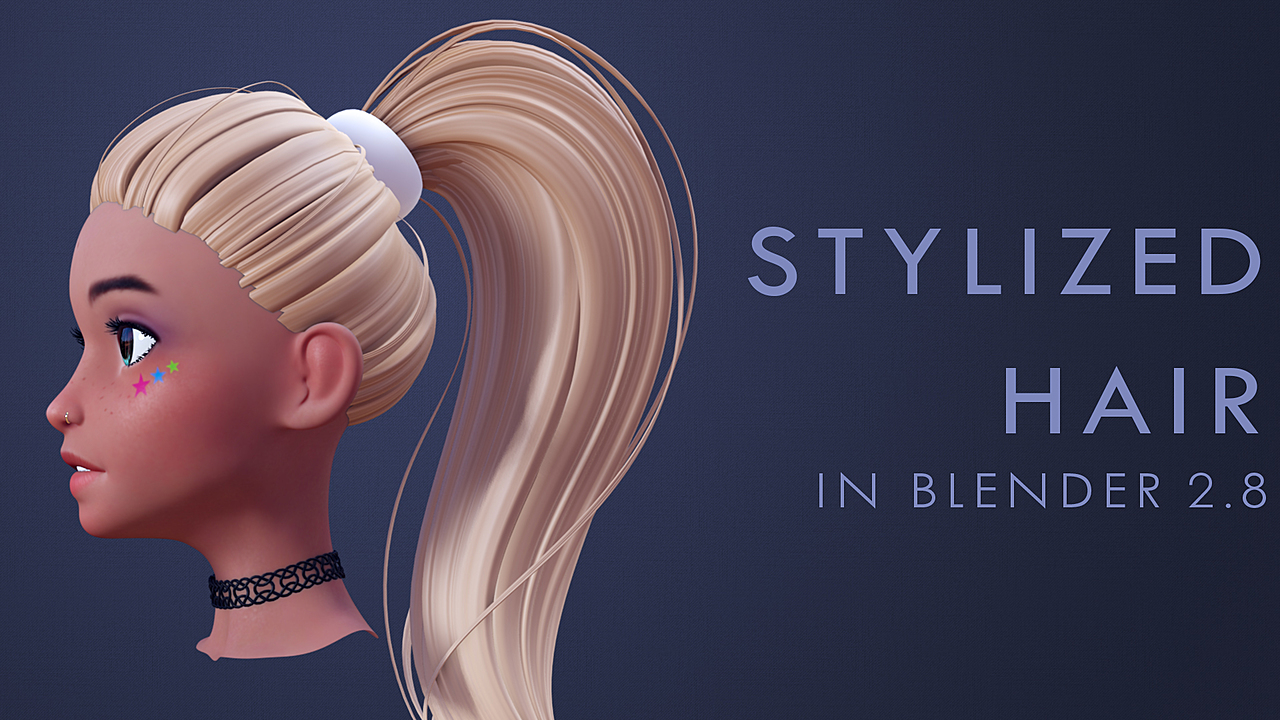
Advanced Hair Shaping and Styling Techniques
Mastering advanced hair shaping and styling techniques in Blender allows artists to create more complex and detailed hairstyles. This section delves into sophisticated methods that can elevate your hair simulations to the next level.
- Custom Hair Guides: Create custom hair guides using bezier curves to control the flow and shape of hair strands. Convert these curves into mesh objects and use them as Particle Instance objects for your hair system.
- Weight Painting: Utilize weight painting to control the density and length of hair across different areas of your model. This allows for uneven growth patterns and can add realism to your hairstyles.
- Clumping and Kink: In the particle settings, use the Clump and Kink options to mimic natural hair behavior. Clumping creates groups of hair that stick together, while Kink adds waves, curls, or coils.
- Texture Mapping for Hair: Apply texture maps to control various aspects of hair particles, such as color variation, roughness, and even the direction of hair growth. This can add a significant level of detail and realism.
- Advanced Material Settings: Dive deeper into the node editor to refine your hair material. Incorporate anisotropic shading to simulate the reflective properties of hair and use gradient textures for more complex color variations.
- Vertex Groups for Styling Control: Define vertex groups to isolate different parts of the hair for separate styling and simulation settings. This is particularly useful for characters with multiple hair types or styles.
- Simulation Caches for Animation: When animating hair, use simulation caches to bake the movement. This allows for non-linear editing of hair physics and can save significant time in the animation process.
- Integrating Cloth and Soft Body Simulations: For long hair or hair with complex interactions (like ponytails or braids), consider using cloth or soft body simulations alongside the hair particle system for more dynamic movements.
These advanced techniques require patience and practice to master, but they offer the ability to create truly lifelike and dynamic hairstyles in Blender. Experimenting with these methods will open up new possibilities for your 3D characters and scenes.

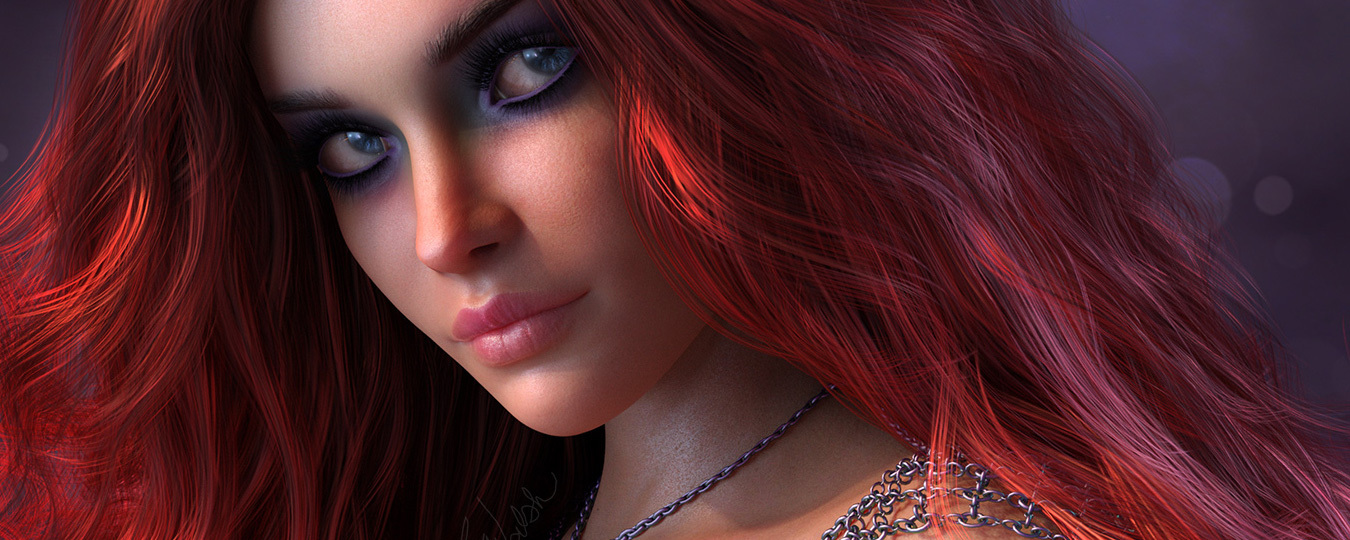
Texturing and Material Setup for Realistic Hair
Creating realistic hair in Blender involves not just shaping and styling but also applying the right textures and materials. This section guides you through the process of setting up hair textures and materials to achieve lifelike results.
- Create the Hair Material: Start by creating a new material for the hair in the Material Properties panel. Assign it to your hair particle system.
- Principled BSDF Shader: Use the Principled BSDF shader as the base for your hair material. It\"s designed to offer a wide range of realistic material properties with minimal setup.
- Adjust Shader Settings: Modify the shader settings to simulate hair. Important parameters include Transmission, to simulate light passing through hair, and Anisotropic, to reflect the directional property of hair glossiness.
- Add Hair Texture: For added realism, use texture maps to vary the hair color along strands. You can paint these textures yourself or use photographs of real hair. Apply the texture to the Base Color input of the shader.
- Use Alpha Maps: If your hairstyle includes flyaways or stray hairs, alpha maps can help create these fine details without adding extra geometry. Connect the alpha map to the Alpha input of the shader.
- Adjust Specular Settings: Hair reflects light in unique ways. Play with the Specular and Roughness settings to mimic the silky sheen of real hair. Lower roughness values result in shinier hair, while higher values create a matte finish.
- Tweak Color Variation: Real hair isn\"t uniform in color. Add subtle variations using noise or gradient textures connected to the Base Color or a Mix Shader node, to introduce highlights and depth.
- Subsurface Scattering: For a final touch of realism, enable Subsurface Scattering. This simulates light penetrating the surface of the hair, which is crucial for achieving a natural look, especially in backlighting situations.
By carefully adjusting these settings and employing the right textures, you can create stunningly realistic hair in Blender. Remember, achieving the perfect look takes experimentation and practice, so don\"t be afraid to try different combinations of settings and textures.

_HOOK_
Using Particle Hair for Different Hair Types
Blender\"s particle hair system is versatile enough to create a wide range of hair types, from straight to curly, short to long, and everything in between. This section explores how to leverage Blender\"s tools to simulate various hair types realistically.
- Setting Up Base Hair: Begin by adding a basic hair particle system to your model. This serves as the foundation for any hair type you wish to create.
- Adjusting Length and Density: For different hair types, start by adjusting the length and density. Short, buzz-cut styles require minimal length and higher density, while long hair styles are longer and may have varied density.
- Creating Straight Hair: For straight hair, use the Comb tool in Particle Edit mode to smooth down the strands. Minimize kink and curl settings to keep the hair straight.
- Simulating Curly and Wavy Hair: Increase the Kink setting to add curls or waves. Use the Curl or Braid kink types for different curl patterns. Adjust the Amplitude and Frequency settings to control the tightness and spacing of curls.
- Adding Volume for Thick Hair: Use the Children feature to add volume to hair. Play with the Clump and Roughness settings under Children to mimic the natural grouping and volume of thicker hair types.
- Detailing Fine or Thin Hair: For fine or thin hair, reduce the number of parent hairs and use a higher number of children hairs with subtle Clump and Shape settings. Adjust the material\"s transparency and specular settings for a finer appearance.
- Customizing Hair Color and Texture: Use material settings and texture maps to add color variation and texture, simulating different hair colors and types. Incorporate root-to-tip color gradients or add specular highlights for realism.
- Utilizing Weight Paint: Apply weight paint to control where hair grows on the scalp and its density, allowing for realistic hairlines and partings specific to different hair types.
By understanding and manipulating these settings, you can create a vast array of hair types in Blender, each with its own unique characteristics and styles. Experimentation and practice are key to mastering the creation of diverse and realistic hair in your 3D projects.
Animating Hair in Blender: Tips and Tricks
Animating hair in Blender can add a layer of realism and dynamism to your characters. However, hair animation comes with its own set of challenges. This section provides tips and tricks to effectively animate hair, making your characters come to life.
- Start with the Basics: Before diving into complex animations, ensure you have a solid grasp of the Blender Hair Particle System. Understanding how hair reacts to movement is crucial.
- Use Hair Dynamics: Enable Hair Dynamics in the particle system settings. This feature simulates realistic hair movement and interaction with forces like wind and gravity.
- Adjust Dynamics Properties: Fine-tune properties such as Stiffness, Damping, and Mass to control how the hair moves. Each setting will affect the hair\"s responsiveness to animation and external forces.
- Integrate with Character Rigging: When animating characters, make sure the hair particle system is properly linked to the character\"s rig. This ensures that hair moves in sync with the character\"s motions.
- Wind and Force Fields: Utilize Blender\"s force fields, like Wind, to create environmental effects on hair. Position and animate these force fields to simulate effects such as gusts of wind or explosions.
- Collision Objects: To prevent hair from penetrating through the character\"s body or clothing, use collision objects. These ensure that hair reacts to and avoids other meshes during animation.
- Bake Hair Simulations: For complex scenes or long animations, consider baking your hair dynamics. Baking saves the simulation data, reducing the need for real-time calculations and ensuring consistency during playback.
- Optimize for Performance: High-quality hair animations can be resource-intensive. Optimize by reducing the number of parent hairs and using children particles for density. Also, consider simplifying scenes when working on hair dynamics.
Animating hair in Blender requires patience and practice. Start with simple animations to understand the behavior of hair dynamics, and gradually move to more complex scenarios. With these tips and tricks, you\"ll be well on your way to creating believable and dynamic hair animations in your 3D projects.

Easiest Way To Create Hair in Blender - 5 Minute Tutorial
\"Discover the art of hairstyling with this incredible tutorial that will guide you through step-by-step instructions. Whether you\'re a beginner or an experienced hair enthusiast, this video is packed with easy-to-follow tips and tricks to elevate your hairstyling game to the next level.\"
Optimizing Hair for Rendering: Cycles vs. Eevee
Rendering hair in Blender can be demanding, but understanding the differences between the Cycles and Eevee engines can help optimize your workflow for speed and quality. Here are strategies for each rendering engine.
- Cycles Optimization:
- Use Hair Principled BSDF: For Cycles, utilize the Hair Principled BSDF shader designed for realistic hair rendering. It provides physically accurate results with various parameters to simulate real-world hair characteristics.
- Light Paths: Adjust the light path settings to reduce the number of bounces for transparency and transmission. This can significantly speed up render times without a noticeable loss in hair quality.
- Children Particles: Instead of increasing the number of parent hairs, use interpolated children to add density. This approach is more efficient and reduces rendering times.
- Adaptive Sampling: Enable adaptive sampling in Cycles to concentrate rendering effort on areas with more noise, like hair, which can reduce overall render times.
- Eevee Optimization:
- Strand Primitive: For Eevee, use the Strand primitive option under the hair shape settings for faster rendering. This simplifies hair into more manageable forms for real-time rendering.
- Material Simplification: Simplify hair materials by reducing the number of nodes and textures. Eevee is less capable of complex shader calculations compared to Cycles, so simpler materials can improve performance.
- Shadow and Reflections: Adjust shadow and reflection settings for hair in Eevee to balance between performance and visual fidelity. High-quality reflections and soft shadows can be computationally expensive.
- Bake Indirect Lighting: When possible, bake indirect lighting for scenes with static lighting. This can improve the appearance of hair in Eevee without real-time computation of light bounces.
Regardless of the rendering engine you choose, optimizing hair requires a balance between visual quality and rendering efficiency. Experiment with these settings to find the best configuration for your specific project needs.

Common Problems and Solutions in Hair Simulation
Hair simulation in Blender can be challenging, with artists often encountering a variety of issues. Here, we address some common problems and offer practical solutions to help you achieve better hair simulation results.
- Hair Penetrating Through Mesh:
- Solution: Increase the collision distance in the particle system settings and ensure your character\"s mesh has a Collision modifier applied. This helps prevent hair from intersecting with the mesh.
- Uneven Hair Density:
- Solution: Use weight painting to control the distribution of hair particles. This allows for more precise control over where hair grows and its density.
- Hair Looks Too Uniform:
- Solution: Introduce randomness in the hair particle settings. Adjust the Random Size and Random Rotation settings to give the hair a more natural, varied look.
- Difficulties with Hair Styling:
- Solution: Use the Particle Edit mode to comb, cut, grow, or add hair. Utilize the Hair Dynamics feature for more realistic movement and consider using hair guides for complex styles.
- Long Render Times:
- Solution: Optimize render settings by reducing the number of parent hairs and using children particles for density. Also, consider simplifying the hair material and reducing the number of light bounces in the render settings.
- Hair Dynamics Not Behaving Realistically:
- Solution: Fine-tune the hair dynamics settings, including stiffness, damping, and mass. Use wind or turbulence force fields to simulate environmental effects and ensure the hair cache is baked for consistent playback.
Overcoming these common issues requires patience and experimentation. With practice, you can achieve realistic and dynamic hair simulations in Blender, enhancing the overall quality of your 3D projects.
Integrating Hair with Character Rigging
Integrating hair with character rigging in Blender ensures that hair moves naturally with your character\"s animations. This process can be complex, but the following steps outline a method to achieve seamless integration.
- Parent Hair to Character Mesh:
- Ensure the hair particle system is added to the character mesh that is already rigged. This way, the hair follows the basic movements of the character.
- Use Vertex Groups for Controlled Movement:
- Assign vertex groups in the hair particle settings to define how different sections of the hair react to the rigging. This is crucial for hairstyles that should move differently in various areas (e.g., bangs vs. the back of the hair).
- Employ Hair Dynamics:
- Enable Hair Dynamics in the particle system settings for natural movement. Adjust settings such as Stiffness, Damping, and Air Drag to match the desired motion of the hair relative to the character\"s movements.
- Linking Hair to Bones:
- For more complex hairstyles that require specific movement, consider using Empties or Bones as force objects that guide the hair. Parent these objects to the corresponding bones in the rig to have them move with specific animations.
- Adjust Collision Settings:
- Apply Collision modifiers to the character\"s body parts to prevent hair from intersecting with the mesh during movements. Fine-tune the settings to ensure natural hair behavior.
- Bake Dynamics for Animation:
- Once satisfied with the hair movement, bake the dynamics to ensure consistent playback and to save computational resources during animation preview and final rendering.
Integrating hair with character rigging requires attention to detail and patience. By following these steps, you can create characters with realistically animated hair, adding a new level of depth and realism to your animations.
_HOOK_
READ MORE:
Latest Features in Blender for Hair Creation
Blender continuously evolves, introducing new and improved features for hair creation that enhance realism, efficiency, and control. Below are some of the latest developments in Blender that have significantly impacted hair creation and simulation.
- Improved Hair Particle System: Recent updates have focused on enhancing the hair particle system for better performance and realism. This includes more intuitive controls for hair grooming and styling.
- Advanced Hair Shading: The introduction of new hair shading models in both Cycles and Eevee render engines allows for more realistic hair appearance, with better light interaction and color variation.
- Curves as Hair Guides: The ability to use Bezier curves as guides for hair particles makes it easier to design complex hairstyles with precise control over the flow and shape of hair.
- Dynamic Hair Simulation Improvements: Enhancements in hair dynamics offer more realistic movement and interaction with environmental forces, such as wind and gravity, as well as improved collision detection with other objects.
- Particle Hair Interpolation: New interpolation methods for generating child hairs provide more natural-looking results with less manual tweaking required, improving both the density and the quality of the hair.
- GPU Acceleration for Hair Rendering: Updates in rendering technology have improved the efficiency of hair rendering, especially in Cycles, by optimizing GPU acceleration for faster render times.
- Improved Hair Material Nodes: The node-based material system has seen updates with new nodes specifically designed for creating more complex and realistic hair materials, allowing for finer control over hair color, reflectivity, and texture.
These features represent Blender\"s commitment to providing powerful tools for artists to create highly realistic and complex hair simulations. As Blender continues to evolve, we can expect further innovations that will push the boundaries of 3D hair creation.
Unlock the full potential of your 3D projects with our Blender hair tutorial, guiding you from basic setups to advanced simulations. Elevate your skills and bring your characters to life with stunning, realistic hair animations.