Topic blender 3d landscape tutorial: Embark on a journey to master Blender 3D, transforming your visions into breathtaking landscapes with our comprehensive tutorial, designed for creators of all levels.
Table of Content
- How to create stunning landscapes in Blender with a step-by-step tutorial?
- Understanding Blender\"s Interface for Landscape Design
- Getting Started with Basic Landscape Shapes and Terrains
- Advanced Techniques in Terrain Modelling
- Utilizing Blender Add-ons for Enhanced Landscapes
- Creating Realistic Materials and Textures for Natural Environments
- Lighting and Rendering Techniques for Atmospheric Landscapes
- YOUTUBE: Easy Blender Terrain Creation in 2 Clicks
- Incorporating Water and Vegetation for Dynamic Scenes
- Animating Natural Elements for Interactive Environments
- Optimizing Your Workflow for Efficient Landscape Design
- Exploring Creative Ideas and Inspiration for Landscape Projects
How to create stunning landscapes in Blender with a step-by-step tutorial?
To create stunning landscapes in Blender, you can follow the step-by-step tutorial outlined below:
- Select the landscape you want to work on in Blender.
- Go to the Shading Panel (F5) and add a new material to the landscape.
- Within the Shaders tab of the material, set the Specular value to 0.
- Switch to the Texture tab and add the desired texture to the landscape.
- Adjust the texture settings such as scale, rotation, and mapping to achieve the desired look.
- Experiment with different textures and layering techniques to add complexity and realism to the landscape.
- Play around with lighting and shadows to enhance the overall effect.
- Utilize additional tools in Blender, such as the Particle System, to add foliage or other elements to the landscape.
- Continue refining and adjusting the settings until you are satisfied with the final result.
Remember to save your progress regularly and don\'t be afraid to experiment and explore different techniques to achieve the desired effect. Enjoy creating stunning landscapes in Blender!
READ MORE:
Understanding Blender\"s Interface for Landscape Design
Mastering Blender\"s interface is the first step towards creating stunning 3D landscapes. This section guides you through the essential tools and panels for landscape design.
- Viewport Navigation: Learn how to navigate the 3D viewport, zoom, pan, and rotate your view to sculpt your landscape from every angle.
- Object Mode and Edit Mode: Understand the difference between Object Mode for positioning your objects and Edit Mode for detailed modeling.
- Outliner: Use the Outliner to manage your scene\"s various elements, making it easier to organize large landscapes.
- Properties Panel: Familiarize yourself with the Properties Panel for adjusting object properties, including modifiers, materials, and physics.
- Terrain Tools: Explore the use of Blender\"s terrain sculpting tools and add-ons to create realistic topographies.
- Shader Editor: Dive into the Shader Editor for creating and customizing materials to give your landscape a realistic look and feel.
By mastering these aspects of Blender\"s interface, you\"ll be well-equipped to start designing detailed and immersive 3D landscapes.

Getting Started with Basic Landscape Shapes and Terrains
Creating compelling landscapes starts with understanding how to generate basic shapes and terrains in Blender. This section breaks down the process into manageable steps, ensuring a solid foundation for your designs.
- Creating a New Project: Begin by opening Blender and starting a new project. Familiarize yourself with the default scene.
- Adding a Plane: Use the Add menu to insert a plane. This will serve as the base for your landscape.
- Subdivision and Sculpting: Subdivide the plane to increase its polygon count, providing more detail for sculpting hills, valleys, and other terrain features.
- Using the Sculpt Mode: Switch to Sculpt Mode to mold the terrain. Experiment with different brushes to achieve various effects like raising, lowering, or smoothing the landscape.
- Applying Modifiers: Learn how to apply modifiers such as Subdivision Surface for smoothing and Displace for adding texture and realism to your terrain.
- Adding a Material: Create a basic material to apply to your terrain. This could be a simple grass texture or a more complex material that blends different textures based on height or slope.
With these steps, you\"ll have created your first basic landscape in Blender. This foundation allows you to explore more advanced techniques and add details to your scenes.
Advanced Techniques in Terrain Modelling
After mastering the basics, it\"s time to elevate your landscape creations with advanced modelling techniques. This section explores high-level methods to add complexity and realism to your terrains in Blender.
- Height Maps for Detailed Terrains: Learn to import and apply height maps to generate detailed terrains, simulating real-world topographies.
- Custom Brushes for Unique Effects: Create custom brushes in Sculpt Mode for specific effects, such as rock formations, erosion, and trails.
- Particle Systems for Vegetation: Utilize particle systems to scatter vegetation realistically across your landscape, enhancing its natural look.
- Dynamic Painting for Advanced Texturing: Use dynamic painting to apply advanced texturing techniques, allowing the environment to interact with objects and elements.
- Procedural Materials for Dynamic Surfaces: Dive into procedural materials to create surfaces that adapt and change, offering infinite customization for your landscapes.
- Baking Textures for Performance: Learn how to bake textures to improve rendering times without sacrificing detail in expansive landscapes.
- Using Add-ons for Enhanced Functionality: Explore how Blender add-ons can streamline your workflow and introduce new capabilities for terrain modelling.
By integrating these advanced techniques, you will push the boundaries of what\"s possible in Blender, creating intricate and immersive landscapes that captivate viewers.

Utilizing Blender Add-ons for Enhanced Landscapes
Blender\"s versatility is partly due to its supportive community and the plethora of add-ons available. These add-ons can significantly enhance your landscape projects, offering tools and features that streamline the creation process.
- ANT Landscape: Generate varied landscapes quickly with customizable parameters for mountains, valleys, and terrains.
- Gaea Bridge: Seamlessly integrate with Gaea to import sophisticated terrains into Blender for further refinement and detailing.
- Scatter: Populate your scenes with lifelike vegetation, rocks, and other natural elements, enhancing realism with advanced scattering techniques.
- Real Terrain: Import real-world terrain data into Blender, allowing for the creation of landscapes based on actual geographic locations.
- A.N.T.L.A.N.D.: An advanced tool for creating and managing large-scale terrains, perfect for detailed environmental scenes.
- Graswald: Add high-quality, customizable grass, weeds, and ground cover to your scenes for a final touch of realism.
By incorporating these add-ons into your workflow, you can achieve more detailed, realistic, and dynamic landscapes in Blender, pushing your creative boundaries further.

_HOOK_
Creating Realistic Materials and Textures for Natural Environments
Realism in 3D landscapes hinges on the quality of materials and textures. This section delves into techniques for creating lifelike surfaces that mimic the natural world, enhancing the immersion of your landscapes.
- Understanding PBR Materials: Learn about Physically Based Rendering (PBR) materials and how they simulate real-world light interactions for more realistic textures.
- Utilizing Blender\"s Shader Editor: Explore the Shader Editor to craft complex materials from scratch, combining nodes for unique effects like moss, dirt, or water.
- Texture Painting: Add fine details to your terrains with texture painting, allowing for precise control over the distribution of materials.
- Seamless Textures for Large Areas: Discover how to create and apply seamless textures, ensuring your landscapes look natural and uninterrupted over vast areas.
- Using HDRI for Realistic Lighting: Implement High Dynamic Range Imaging (HDRI) to simulate realistic environmental lighting, enhancing the mood and depth of your scenes.
- Procedural Texturing Techniques: Master procedural texturing to generate infinite variations of natural surfaces without relying on image textures.
- Optimizing Textures for Performance: Learn strategies to optimize texture resolution and detail, balancing quality with rendering performance.
By mastering these material and texture techniques, you can create natural environments in Blender that are rich in detail and realism, compelling viewers to explore your digital worlds.

Lighting and Rendering Techniques for Atmospheric Landscapes
Lighting and rendering are pivotal in bringing 3D landscapes to life, setting the mood, and highlighting the beauty of your natural environments. This section explores how to use Blender\"s powerful lighting and rendering tools to achieve atmospheric and immersive landscapes.
- Understanding Blender\"s Lighting Systems: Familiarize yourself with Blender\"s different lighting options, including sun lamps, area lights, and HDRIs, to simulate various times of day and weather conditions.
- Creating a Lighting Plan: Learn how to establish a lighting plan that complements your landscape, using key, fill, and back lights to model the terrain effectively.
- Utilizing Volumetric Fog for Depth: Add volumetric fog to create depth and atmosphere, enhancing the realism of your scenes, especially during dawn or dusk.
- Working with the World Settings: Adjust the World settings in Blender to refine the ambient lighting and background of your landscape, ensuring a cohesive environment.
- Applying Color Grading in Post-Processing: Use Blender\"s compositor for color grading, adjusting the final look of your render to convey the desired mood and time of day.
- Optimizing Render Settings for Quality and Speed: Balance render settings to achieve high-quality results while minimizing render times, crucial for complex scenes.
- Exploring Advanced Rendering Techniques: Experiment with advanced techniques like ray tracing for realistic reflections and shadows, contributing to the overall atmosphere of your landscape.
By mastering these lighting and rendering techniques, you can dramatically enhance the visual impact of your landscapes, making them not just scenes to view but worlds to be experienced.
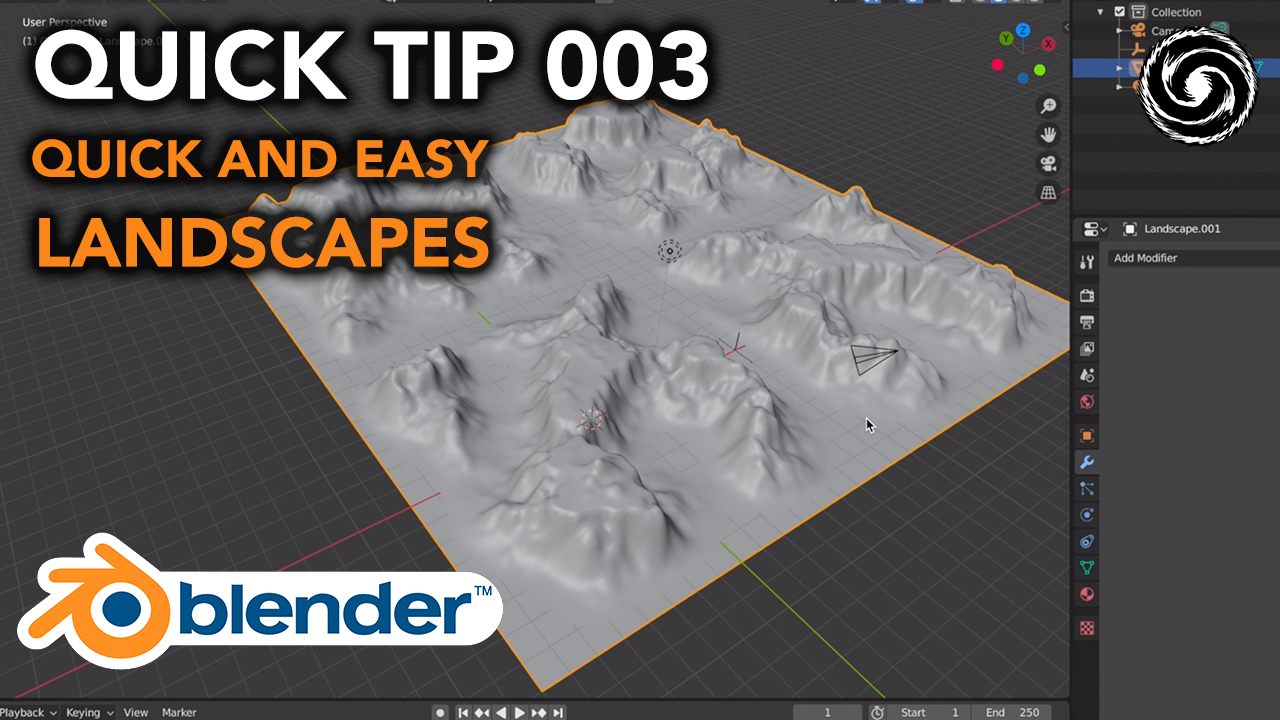
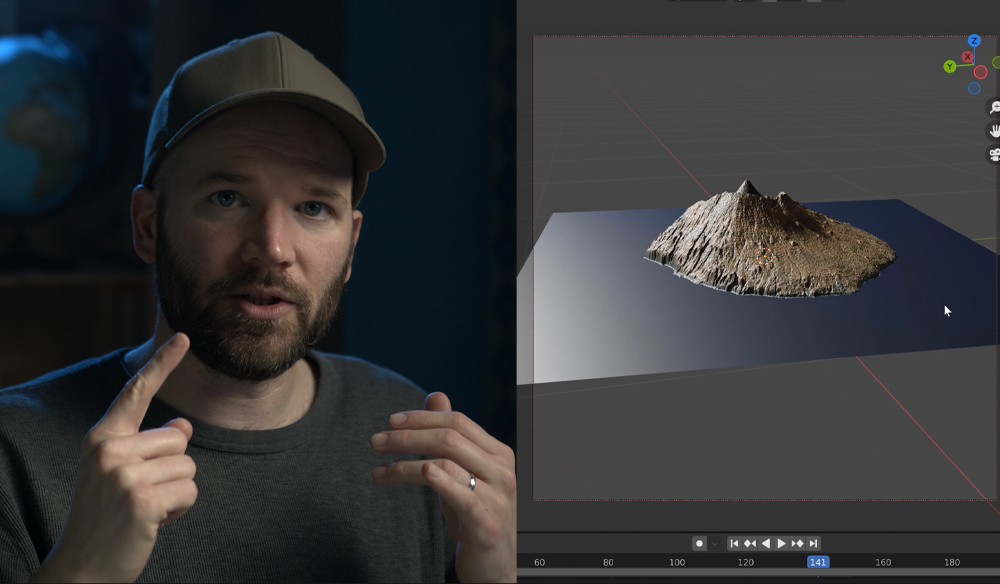
Easy Blender Terrain Creation in 2 Clicks
Get ready to experience the power of clicks like never before! This captivating video will show you how to utilize the magic of clicks to boost your productivity, efficiency, and success. Don\'t miss out on this game-changing knowledge!
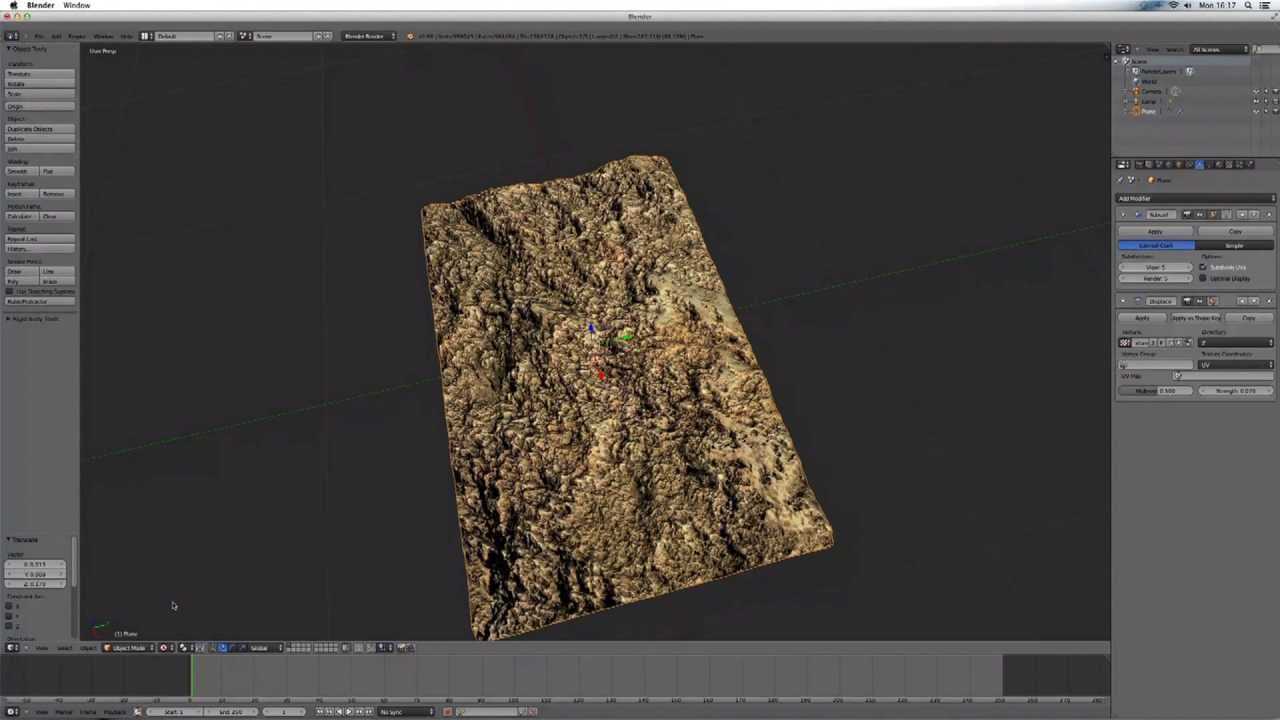
Unique Approach to 3D Landscape Creation in Blender
Looking for a fresh and innovative solution? This video showcases a unique approach that will revolutionize the way you think, act, and achieve your goals. Discover the secrets behind this groundbreaking method and unlock your true potential. Join us on this incredible journey!
Incorporating Water and Vegetation for Dynamic Scenes
Water and vegetation are essential elements in creating dynamic and realistic landscapes. This section covers techniques to simulate these natural elements effectively in Blender, adding life and movement to your scenes.
- Simulating Realistic Water Surfaces: Utilize Blender\"s fluid simulation system to create lakes, rivers, and oceans with realistic water movement and reflections.
- Creating Custom Vegetation with Particle Systems: Learn how to use particle systems to distribute trees, bushes, grass, and flowers across your landscape, varying density and species for natural diversity.
- Animating Water and Vegetation: Add subtle animations to water and vegetation to simulate wind and current movements, enhancing the scene\"s realism and dynamism.
- Using Weight Paint for Vegetation Distribution: Apply weight painting to control the distribution of vegetation, creating paths, clearings, and densely forested areas.
- Implementing Procedural Textures for Water: Create procedural textures for water surfaces to achieve dynamic light interaction and ripple effects.
- Optimizing Scenes with LOD (Level of Detail): Implement LOD techniques to maintain performance while ensuring detailed close-up views and simplified distant views.
- Enhancing Scenes with Environmental Effects: Integrate environmental effects like fog, mist, and God rays to interact with water and vegetation, creating atmospheric conditions.
By incorporating water and vegetation into your Blender landscapes, you can achieve scenes that feel alive and invite viewers to immerse themselves in the natural beauty of your creations.

Animating Natural Elements for Interactive Environments
Animation adds a layer of immersion and interactivity to 3D landscapes, bringing them to life. This section explores techniques to animate natural elements within Blender, creating dynamic and engaging environments.
- Animating Trees and Plants: Use armatures and soft body dynamics to simulate the sway of trees and plants in the wind, adding realism to your scenes.
- Creating Flowing Water: Apply fluid simulation and shape keys to create rivers, waterfalls, and ocean waves that interact with the environment.
- Simulating Weather Effects: Integrate particle systems to create rain, snow, and fog effects, enhancing the atmospheric conditions of your landscape.
- Animating Wildlife: Incorporate simple wildlife animations, such as birds flying or fish swimming, to add life and movement to your scenes.
- Using Path Animation for Moving Objects: Implement path animation for elements like floating clouds or drifting leaves, simulating gentle movements across the landscape.
- Interactive Elements with Physics: Utilize Blender\"s physics engine for interactive elements like falling rocks or flowing water that responds to the environment and objects.
- Creating Day to Night Transitions: Animate lighting and environmental settings to simulate time transitions, offering viewers a dynamic experience of your landscape from day to night.
Through careful animation of natural elements, your Blender landscapes can evolve from static scenes to vibrant, interactive worlds, full of life and movement.
Optimizing Your Workflow for Efficient Landscape Design
Efficiency is key in landscape design, allowing you to create more detailed and complex environments in less time. This section offers strategies to streamline your Blender workflow, enhancing productivity and creativity.
- Customizing Blender\"s Interface: Tailor Blender\"s interface to suit your workflow, organizing tools and panels for easy access to frequently used functions.
- Using Layers and Collections: Manage your scene complexity by organizing objects into layers and collections, enabling you to focus on specific elements without distraction.
- Implementing Hotkeys and Shortcuts: Learn and utilize Blender\"s hotkeys and shortcuts to speed up your modeling and editing processes significantly.
- Batch Processing with Python Scripts: Automate repetitive tasks using Blender\"s Python API, saving time on tasks like importing assets, setting materials, or generating terrains.
- Asset Libraries for Quick Access: Build and maintain a library of reusable assets such as trees, rocks, and textures to speed up the creation of new landscapes.
- Non-Destructive Editing Techniques: Use non-destructive editing methods like modifiers and procedural materials to make changes easily without starting over.
- Rendering Previews for Rapid Iteration: Utilize Blender\"s preview rendering options to quickly assess changes and make decisions without waiting for full renders.
- Outsourcing Compute-Intensive Tasks: Explore options for rendering your scenes using external services or render farms to free up your local resources for continued work.
By adopting these workflow optimization techniques, you can enhance your efficiency in Blender, allowing more time for creative exploration and refinement of your landscape designs.

_HOOK_
READ MORE:
Exploring Creative Ideas and Inspiration for Landscape Projects
Finding inspiration and fresh ideas is essential for creating unique and captivating landscape designs in Blender. This section suggests ways to spark creativity and envision new projects.
- Studying Natural Landscapes: Spend time in nature or browse through photos of diverse landscapes to understand the variety of terrain, vegetation, and ecosystems.
- Exploring Art and History: Look into historical landscapes, classical paintings, and modern art for unique perspectives on landscape composition and color schemes.
- Watching Films and Games: Analyze landscapes in films and video games for dynamic design elements and atmospheric effects that can be adapted to your projects.
- Participating in Community Challenges: Join Blender and 3D design communities to participate in challenges that push you to explore new themes and techniques.
- Using Random Generators: Employ terrain and ecosystem generators to create unexpected landscapes, which can then be refined and customized in Blender.
- Collaborating with Others: Work with other artists and designers to blend different styles and ideas, enriching your creative process.
- Keeping a Sketchbook: Maintain a sketchbook or digital note-taking app to jot down ideas, sketches, and inspiration as they come.
By continually seeking out new sources of inspiration and challenging yourself with diverse projects, you can expand your creative repertoire and bring innovative and exciting landscapes to life in Blender.
Embark on your Blender landscape design journey with confidence, armed with these comprehensive tutorials. Unleash your creativity, refine your skills, and transform your visionary landscapes into breathtaking realities.