Topic blender 3d building tutorial: Discover the art of creating stunning 3D buildings in Blender with our comprehensive tutorial. Step into the world of architectural visualization and bring your designs to life with ease and creativity.
Table of Content
- How to create low poly buildings in Blender 3D?
- Getting Started with Blender for Building Design
- Understanding Blender\"s Interface and Basic Tools
- Creating Your First Simple Building Model
- Advanced Techniques for Building Modeling
- Texturing and Materials for Realistic Building Surfaces
- Lighting and Rendering Your Building Scene
- YOUTUBE: Modeling a low poly house in Blender 3.4 Tutorial
- Animating Buildings and Environments in Blender
- Optimizing Your Workflow for Efficient Building Design
- Tips and Tricks from Professional Blender Artists
- Resources for Further Learning and Inspiration
How to create low poly buildings in Blender 3D?
To create low poly buildings in Blender 3D, you can follow the steps below:
- Open Blender and delete the default cube by selecting it and pressing the X key, followed by \"Delete\" in the confirmation pop-up.
- Press Shift + A to open the Add menu, and select \"Mesh\" > \"Cube\" to add a new cube to the scene.
- With the cube selected, press S to scale it down to the desired size for your low poly building.
- Next, press Tab to enter Edit Mode.
- Select the top face of the cube by right-clicking on it.
- Press E to extrude the face, then Z to restrict the movement along the Z-axis.
- Move the extruded face upwards to create the height of the building.
- Press Ctrl + R to add loop cuts to create windows or other details on the building.
- Use the mouse scroll wheel or + and - keys to add more loop cuts as needed.
- To shape the building further, switch to Face Select mode by clicking on the corresponding button in the header of the 3D Viewport.
- Select individual faces and use the Grab (G), Rotate (R), and Scale (S) tools to move, rotate, and scale them as desired.
- Continue shaping the building by adding details like doors, windows, and other architectural elements.
- Once you are satisfied with the shape and details, you can assign materials to different parts of the building by creating new materials and assigning them in the Material Properties tab.
- Finally, you can apply smooth shading to the building by selecting it, pressing Tab to enter Object Mode, and then clicking on the \"Shading\" button in the Tools tab of the Properties panel.
Remember to save your work regularly as you progress through the tutorial. Experiment with different shapes, details, and materials to achieve the desired low poly building in Blender 3D.
READ MORE:
Getting Started with Blender for Building Design
Embarking on your Blender journey to design 3D buildings begins with understanding the basics of this powerful software. Here\"s how to get started:
- Download and Install Blender: Visit the official Blender website to download the latest version. Installation is straightforward—follow the on-screen instructions.
- Familiarize Yourself with the Interface: Blender\"s interface might seem daunting at first, but it\"s intuitive once you get the hang of it. Spend some time learning about the 3D viewport, outliner, properties panel, and the different editors available.
- Learn the Basic Operations: Mastering movement (G), rotation (R), and scaling (S) of objects is crucial. Practice these commands to feel comfortable manipulating objects in the 3D space.
- Start with Simple Shapes: Begin your building design by creating simple shapes. Use the cube as a starting point and modify it to understand how to build complex structures.
- Explore Modifiers: Modifiers can automate tasks and add complexity to your models. Start with the Array modifier to duplicate objects, which is especially useful in creating repetitive elements like windows or floors in a building.
- Experiment with Extrusion: Use the extrude tool (E) to pull faces, edges, or vertices outwards to add depth to your buildings. This is a fundamental technique for modeling in Blender.
- Understand Materials and Textures: Begin applying materials and textures to your buildings. This step is vital for making your models look realistic. Blender offers a wide range of options to simulate different surfaces and finishes.
- Practice Lighting and Rendering: Explore Blender\"s lighting and rendering options to present your building design in the best light. Rendering transforms your model into a final image or animation that showcases your work.
Remember, practice and patience are key. Each project you undertake will improve your skills and understanding of Blender\"s vast capabilities. Happy modeling!
Understanding Blender\"s Interface and Basic Tools
Blender\"s comprehensive interface and suite of tools are designed to help you create detailed 3D models and animations. Here\"s a guide to familiarize yourself with the essential aspects:
- 3D Viewport: The heart of Blender where you\"ll spend most of your time. It displays your models and allows for interactive editing.
- Properties Panel: Located on the right, this panel provides access to the properties of the selected object, material settings, modifiers, and scene settings.
- Outliner: A hierarchical list of all objects in the scene, located in the top right corner, enabling easy selection and organization of your models.
- Timeline: At the bottom, the timeline allows for animation control, including keyframes and playback.
- Tool Shelf: On the left side of the viewport, it offers quick access to various tools for creating and editing objects.
- Modeling Tools: Blender includes a vast array of modeling tools, such as extrude, loop cut, and bevel, which are essential for creating detailed models.
- Material and Texture Panels: These panels allow you to apply and customize materials and textures to give your objects color, reflectivity, and texture.
- Lighting and Rendering: Control the lighting of your scene and render your final image or animation with these powerful features.
Start by navigating the 3D viewport with mouse controls: use the scroll wheel to zoom, click and drag with the middle mouse button to orbit, and shift-drag to pan. Practice adding objects with the Shift+A shortcut, selecting objects with right-click, and transforming them with the G (grab), R (rotate), and S (scale) commands. These basics will form the foundation of your Blender skills.
Creating Your First Simple Building Model
Building a simple model in Blender is an exciting first step into the world of 3D architectural design. Here\"s how to create a basic building:
- Open Blender and create a new project.
- Select the default cube, then press G followed by Z to move it below the grid floor. This will be the base of your building.
- Press Shift+A to add a new mesh, choosing a cube for the structure of your building. Resize this cube to form the main body of your building.
- Use the extrude tool (E) to create additional features like roofs or balconies. Select faces, then extrude them outward or inward to add depth and detail.
- Add windows and doors by creating new cubes and positioning them on the building\"s facade. Use Boolean modifiers to subtract these shapes from your building, creating openings.
- Apply materials to your building. Go to the Materials tab, click \"New\", and adjust the color and texture to suit your building design.
- Set up lighting by adding a sun lamp to your scene. Position the lamp to create shadows and highlights, enhancing the three-dimensional appearance of your model.
- Render your scene. Go to the Render tab, select your preferred render engine (Eevee or Cycles), and click \"Render\" to see your completed building model.
Remember, creating 3D models is a process of experimentation and learning. Don\"t be afraid to try different techniques and tools as you become more familiar with Blender\"s capabilities.

Advanced Techniques for Building Modeling
Once you\"ve grasped the basics of Blender and building design, it\"s time to elevate your models with advanced techniques. These steps will help you create more complex and detailed buildings:
- Utilizing Modifiers: Blender\"s array of modifiers can significantly enhance your building models. Use the Subdivision Surface modifier to smooth out your buildings for a more refined look. The Boolean modifier is essential for creating complex shapes and architectural details by combining or subtracting shapes.
- Custom Textures and Materials: Dive into UV mapping to apply custom textures to your buildings. This allows for more realistic and varied surfaces. Experiment with Blender\"s node-based material system to create unique glass, concrete, brick, and metal surfaces.
- Environmental Elements: Add realism to your scene by including environmental elements such as trees, street furniture, and vehicles. The Particle system and hair modifiers are great for scattering objects like trees or grass around your buildings.
- Advanced Lighting Techniques: Explore HDR lighting for dynamic and realistic lighting effects. Using Blender\"s sun lamp with different strengths and colors can dramatically change the mood of your architectural visualization.
- Compositing for Post-Production: Use Blender\"s Compositor to enhance your final renders. Techniques such as adding lens flares, adjusting contrast, or applying color grading can elevate the quality of your visualizations.
- Rigging for Animation: If you want to animate parts of your building, like doors or elevators, learning basic rigging techniques is essential. Armatures can be used to create movable parts within your building models.
Mastering these advanced techniques requires time and practice but will significantly improve the quality and realism of your building models in Blender. Keep experimenting and learning to develop your skills further.

_HOOK_
Texturing and Materials for Realistic Building Surfaces
Creating realistic building surfaces in Blender involves applying textures and materials that mimic real-world surfaces. This section will guide you through the process of texturing and material application to enhance the realism of your 3D building models.
- Understanding Materials and Textures:
- Materials define the color, shininess, and transparency of your object, while textures are images or patterns that add detail to the material\"s appearance. Blender supports a variety of materials and textures, including PBR (Physically Based Rendering) materials, which simulate real-world light interactions.
- Adding Materials to Your Building:
- Start by selecting your building model and go to the Material Properties tab. Click on the \"New\" button to create a new material. Adjust the Base Color, Specularity, and Roughness to achieve the desired look. For more complex surfaces, consider using nodes in the Shader Editor for greater control.
- Applying Textures:
- To add texture, you\"ll need an image texture file. In the Shader Editor, add an Image Texture node and connect it to the Base Color input of the Principled BSDF shader. Load your image texture into the node. This could be a brick pattern for walls, a tile texture for roofs, or concrete textures for pavements.
- UV Unwrapping:
- For the texture to correctly map onto your model, you\"ll need to UV unwrap your building. In Edit mode, select all faces and choose a UV mapping method that suits your model\"s geometry. The Smart UV Project option is a quick method for complex models.
- Using PBR Materials for Realism:
- For realistic rendering, use PBR textures that include albedo, roughness, normal, and displacement maps. These maps simulate realistic light interactions and surface details. Connect these maps to the corresponding inputs in the Principled BSDF shader for enhanced realism.
- Adjusting the Scale and Orientation of Textures:
- Adjust the scale and orientation of your textures in the UV Editor to ensure they match the scale of your building. This is crucial for maintaining realism, as improperly scaled textures can break the illusion of real-world materials.
- Adding Bump and Normal Maps:
- To add surface detail without increasing geometry, use bump or normal maps. These maps simulate the appearance of bumps and indentations on surfaces. Connect a Bump or Normal Map node between your texture and the shader to apply these effects.
- Lighting and Rendering:
- Proper lighting is essential to showcase your materials and textures. Experiment with different lighting setups to highlight the textures and materials of your building. Use the Render Preview mode to see how light interacts with your materials in real-time.
By following these steps and experimenting with Blender\"s comprehensive texturing and material tools, you can achieve highly realistic surfaces for your 3D building models. Practice and patience are key to mastering the art of texturing and material application in Blender.

Lighting and Rendering Your Building Scene
Lighting and rendering are crucial steps in showcasing your 3D building model in Blender. They bring your scene to life by adding depth, shadows, and highlights, enhancing the overall realism. This guide will walk you through the process of effectively lighting and rendering your building scene.
- Understanding Blender\"s Lighting System:
- Blender offers several types of lights: Point, Sun, Spot, and Area, each with unique characteristics. Sun lights simulate sunlight and are great for outdoor scenes, while Point and Spot lights can mimic artificial sources like streetlamps or interior lighting.
- Setting Up the Environment Lighting:
- For outdoor scenes, start by setting the World environment in the World Properties tab. Using an HDRI (High Dynamic Range Image) as the environment texture can provide realistic sky and sunlight effects.
- Adding Key Lights:
- Place a Sun light to simulate sunlight. Adjust its strength, color, and angle to match the time of day you\"re aiming for. Key lighting establishes the main source of light and shadows in your scene.
- Incorporating Fill Lights:
- Add Area lights or soft Point lights to reduce harsh shadows created by the key light. Position these lights opposite your key light to gently fill in the shadows, enhancing detail and reducing contrast.
- Using Accent Lights:
- Accent or Spot lights can highlight specific elements of your building, such as architectural details or signage. These lights add depth and focus to your scene.
- Adjusting Light Properties:
- Experiment with the color, intensity, and size of your lights. Warmer tones can simulate sunset or sunrise, while cooler tones mimic moonlight or overcast daylight.
- Setting Up Camera Angles:
- Choose a camera angle that showcases your building effectively. Consider the rule of thirds for a balanced composition. You can animate the camera to create a walkthrough effect or multiple static shots from different angles.
- Rendering Settings:
- Go to the Render Properties tab and choose your render engine (Cycles or Eevee). Cycles offers photorealistic results through ray tracing, while Eevee is faster, using real-time rendering techniques. Adjust the render settings such as resolution, samples (for Cycles), and ambient occlusion for enhanced realism.
- Post-Processing:
- Use Blender\"s Compositor to adjust the final image. You can enhance brightness, contrast, saturation, and add effects like depth of field, glare, or bloom to increase the visual impact of your render.
Through careful lighting and rendering, you can transform your 3D building model into a compelling visual story. Practice and experimentation are key to mastering these techniques in Blender.
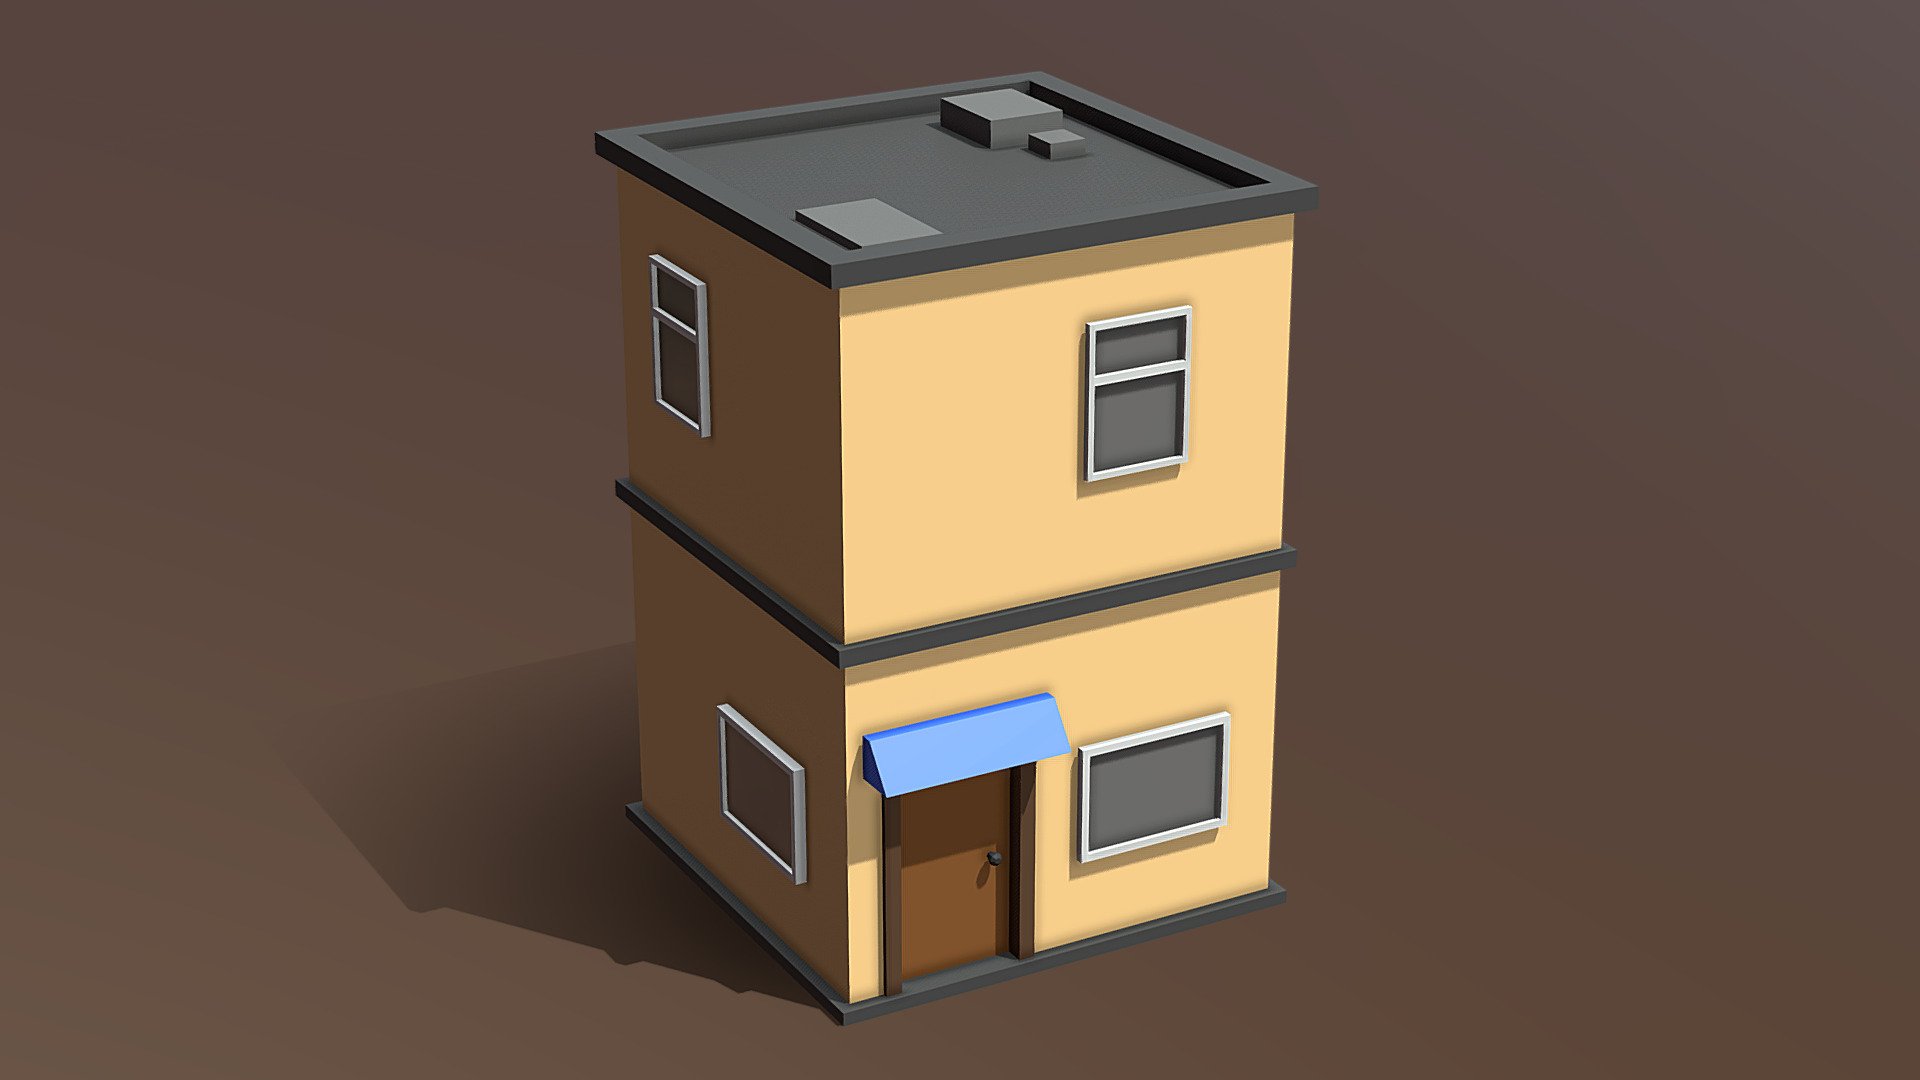
Modeling a low poly house in Blender 3.4 Tutorial
Step into a charming world of simplicity and beauty with our low poly house video! Explore the unique design that combines minimalist style with geometric shapes, creating an enchanting dwelling that will captivate your imagination. Don\'t miss out on this mesmerizing visual experience!
Modern house in Blender Full tutorial series Part 1
Discover the epitome of sleek and stylish living with our modern house video! Immerse yourself in the cutting-edge architecture, sophisticated interiors, and innovative concepts that redefine contemporary living. Get inspired and witness the seamless blend of luxury and functionality in this captivating video showcase.
Animating Buildings and Environments in Blender
Animating your 3D building models and environments can bring your architectural visualizations to life. This section will guide you through the basics of creating animations in Blender, from simple movements to complex environmental changes.
- Setting Up Your Scene for Animation:
- Before animating, ensure your building model and environment are fully textured and lit. This setup will help you visualize the final outcome as you animate.
- Basic Animation Principles:
- Understand keyframes, which are the cornerstone of animation in Blender. A keyframe marks the start or end point of any change in your scene, such as the position, rotation, or scale of an object.
- Animating Building Components:
- To animate a door opening or an elevator moving, select the component, move to the frame where you want the animation to start, and insert a keyframe (I key) for the desired property (e.g., rotation for a door). Move to the frame where the animation should end, adjust the property as needed, and insert another keyframe.
- Creating Environmental Animations:
- For dynamic environmental effects like moving clouds, changing lighting, or growing vegetation, use Blender\"s particle systems and shaders. For example, animate the sun\"s position to simulate time passing from dawn to dusk, and keyframe the light\"s color and intensity.
- Using Modifiers for Complex Animations:
- Blender\"s modifiers can automate complex animations. The Wave modifier can simulate wind through trees, and the Displace modifier can animate water surfaces. Apply these modifiers to your environmental elements and animate their parameters over time.
- Animating Cameras for Walkthroughs:
- Create a camera path using a curve, then attach your camera to the curve with a Follow Path constraint. Animate the camera\"s progress along the path for smooth walkthroughs or flyovers of your building scene.
- Rendering Your Animation:
- Once your animation is set, adjust your rendering settings for animation in the Output Properties tab. Choose your output format (e.g., MPEG, AVI, or PNG sequence), frame rate, and resolution. Click Render > Render Animation or press Ctrl+F12 to start rendering.
- Post-Processing and Video Editing:
- Use Blender\"s Video Sequencer Editor to edit your rendered animation clips, add transitions, effects, and synchronize with audio. This final step will polish your animated presentation, making it ready for presentation or sharing.
Animating your buildings and environments can elevate your architectural presentations, offering viewers an immersive experience. With practice, you can harness Blender\"s animation tools to create captivating visual stories.
Optimizing Your Workflow for Efficient Building Design
Efficiency in Blender is key to managing complex building design projects. This section offers tips to streamline your workflow, reduce project times, and improve the quality of your designs.
- Use Collections and Layers:
- Organize your scene using Collections and Layers. This allows you to easily manage different parts of your building design, such as exterior walls, interior rooms, and furniture. It also improves viewport performance by enabling you to hide elements not currently being worked on.
- Implement Modular Design:
- Adopt a modular design approach by creating reusable components such as windows, doors, and furniture. This not only saves time but also ensures consistency across your projects. You can store these in a separate Blender file and link or append them into new projects as needed.
- Master Shortcuts and Hotkeys:
- Blender’s efficiency greatly improves with the use of shortcuts and hotkeys. Familiarize yourself with common hotkeys for actions like scaling (S), rotating (R), and moving (G), as well as those for switching between modes and views. This can drastically reduce your design time.
- Utilize Add-ons and Extensions:
- Explore Blender’s vast library of add-ons and extensions to automate repetitive tasks, such as architectural modeling, material assignment, and landscape generation. Tools like Archipack and BlenderGIS can significantly speed up your workflow.
- Opt for Low-Poly Models in Early Stages:
- During the conceptual phase, use low-poly models to block out your design. This enhances viewport performance, making it easier to make broad changes without the burden of high-detail models. Detail can be added progressively as the design firms up.
- Efficient Texturing and Material Assignment:
- Use material and texture libraries to quickly apply finishes to your models. Creating a well-organized library of commonly used materials can save significant time. Utilize Blender’s node system for materials to create complex surfaces efficiently.
- Batch Processing for Repetitive Tasks:
- For tasks such as rendering multiple views or applying the same modifiers to a number of objects, learn to use Blender’s batch processing capabilities. This can include scripting with Blender’s Python API for custom automation solutions.
- Regularly Review and Optimize Your Scene:
- Keep an eye on your scene’s complexity. Regularly review and clean up unused materials, textures, and geometry. Use tools like Decimate to reduce polygon counts without significantly affecting the visual quality of your models.
By integrating these strategies into your daily use of Blender, you can significantly enhance your productivity, allowing you to focus more on the creative aspects of building design.

Tips and Tricks from Professional Blender Artists
Gaining insights from professional Blender artists can significantly enhance your 3D modeling and building design skills. Here are curated tips and tricks that can help you work more efficiently and achieve more realistic results:
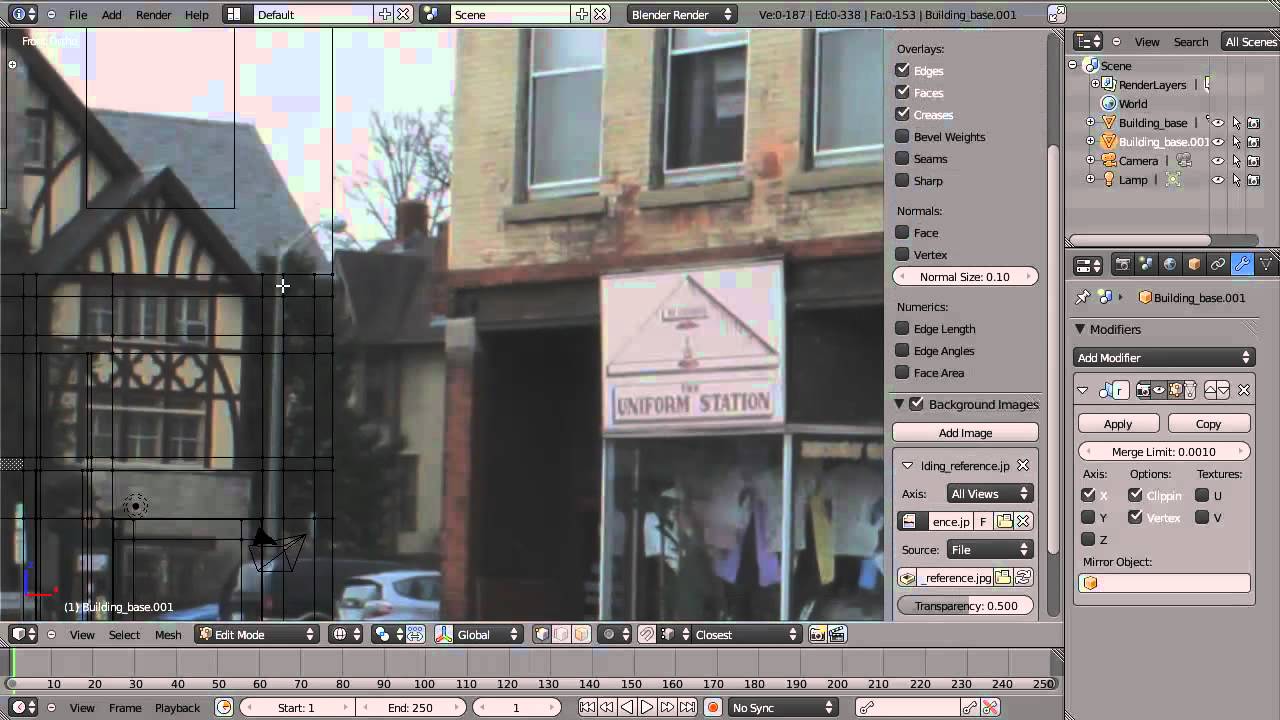
- Use Reference Images: Always start with reference images. They can guide your modeling process, ensuring accuracy and proportion in your designs.
- Understand Blender\"s Modifiers: Familiarize yourself with Blender’s array of modifiers. Modifiers like Boolean, Mirror, and Subdivision Surface can streamline your workflow and create complex shapes with ease.
- Optimize Your Mesh: Keep your mesh topology clean. Use quads instead of n-gons to avoid rendering issues and ensure smooth animations.
- Utilize Blender\"s Lighting Tools: Experiment with different lighting setups to highlight the best features of your building. Proper lighting can make a huge difference in the realism of your scenes.
- Texturing and UV Unwrapping: Spend time on texturing and UV unwrapping. Realistic textures can bring your buildings to life. Use Blender\"s node editor for more complex materials.
- Efficient Use of Shortcuts: Blender has numerous shortcuts that can significantly speed up your workflow. Familiarize yourself with these to save time and effort.
- Explore Blender\"s Add-ons: Blender has a vibrant community that develops add-ons for various purposes. Add-ons like Archipack or BlenderGIS can be especially useful for building design.
- Practice Non-Destructive Editing: Use non-destructive editing techniques as much as possible. This approach allows you to make changes without permanently altering your base geometry.
- Render with Cycles or Eevee: Choose the right render engine for your project. Cycles is great for photorealistic renders, while Eevee can produce quality results much faster.
- Keep Learning: The world of 3D modeling is always evolving. Stay curious and continue learning new techniques and tools. Participate in online forums and communities to stay updated and get feedback on your work.
Implementing these tips from professional Blender artists can not only improve the quality of your building designs but also enhance your overall proficiency in using Blender for 3D modeling.

_HOOK_
READ MORE:
Resources for Further Learning and Inspiration
To excel in building design using Blender, it\"s crucial to have access to a wide range of resources for learning and inspiration. Below is a compilation of resources that can help you deepen your understanding of 3D modeling and expand your creative horizons:
- Blender Official Tutorials: Start with the official Blender tutorials. They cover everything from the basics to advanced techniques, directly from the developers of Blender.
- Online Courses: Websites like Udemy, Coursera, and LinkedIn Learning offer comprehensive courses on Blender, including specific tutorials on architectural and environment modeling.
- YouTube Channels: YouTube is a goldmine for Blender tutorials. Channels like Blender Guru, CG Geek, and Ducky 3D offer tutorials ranging from beginner to advanced levels, focusing on various aspects of Blender.
- Books and eBooks: Consider investing in books or eBooks for in-depth learning. Titles like \"Blender 3D: Noob to Pro\" and \"The Complete Guide to Blender Graphics\" are excellent resources.
- Forums and Communities: Join Blender forums and online communities such as Blender Artists and the Blender subreddit. These platforms allow you to ask questions, share your work, and get feedback from other Blender users.
- Blender Add-ons: Explore the wide range of add-ons available for Blender, which can extend its functionality and streamline your workflow. Many of these add-ons are specifically designed for architectural modeling.
- Art Galleries and Portfolios: Websites like ArtStation and Behance showcase professional portfolios. Browsing through these can provide a wealth of inspiration and insight into professional-quality projects.
- Competitions and Challenges: Participate in Blender competitions and challenges. They can be a great way to push your limits, learn new techniques, and see how other artists approach their work.
By exploring these resources, you can continuously improve your skills, stay inspired, and keep up with the latest trends and techniques in the world of 3D modeling with Blender.
Embark on your Blender 3D building design journey with confidence, armed with expert tips and a plethora of resources. Let your creativity soar as you master the art of 3D modeling and bring your architectural visions to life.