Topic blender 3d architecture tutorial: Embark on a journey to unlock the full potential of Blender for creating stunning architectural visuals. This comprehensive tutorial will guide you through the essentials of 3D architectural modeling, rendering, and visualization.
Table of Content
- What are some tutorials for creating architectural designs in Blender 3D?
- Getting Started with Blender for Architecture
- Understanding Blender\"s Interface for Architectural Design
- Basic Modeling Techniques for Architects
- Advanced Modeling Tips and Tricks
- Creating Realistic Materials and Textures
- Architectural Lighting in Blender
- YOUTUBE: Blender 2.9 3D Architecture: Build a Simple House
- Rendering Architectural Designs
- Post-Processing and Presentation Tips
- Using Blender Add-ons for Architecture
- Case Studies: Real-world Architectural Projects in Blender
What are some tutorials for creating architectural designs in Blender 3D?
Here are some tutorials for creating architectural designs in Blender 3D:
- Model a modern house in Blender using CAD plans: This tutorial is suitable for architects, interior designers, architecture students, or anyone interested in building design. It covers the process of modeling a modern house using CAD plans.
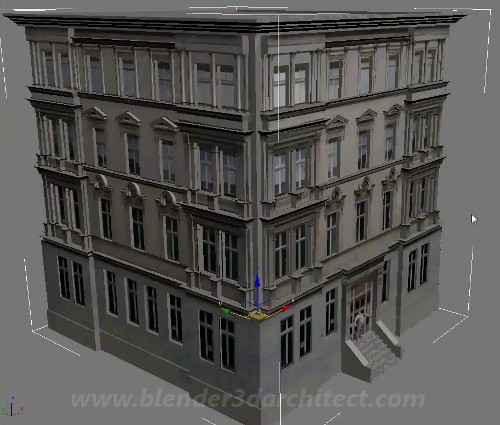
- Create a high rise apartment building in Blender 2.5: This multi-part tutorial series teaches you how to create a high-rise apartment building in Blender. Part 1 focuses on modeling and provides step-by-step instructions.
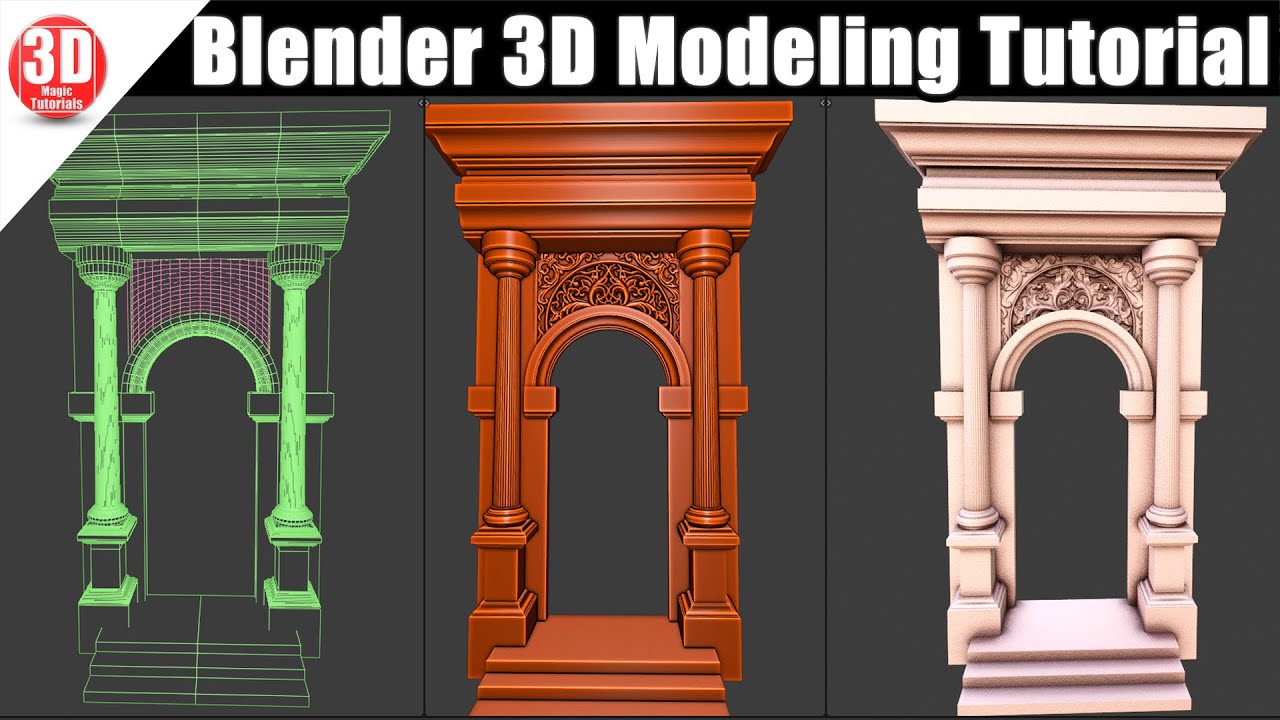
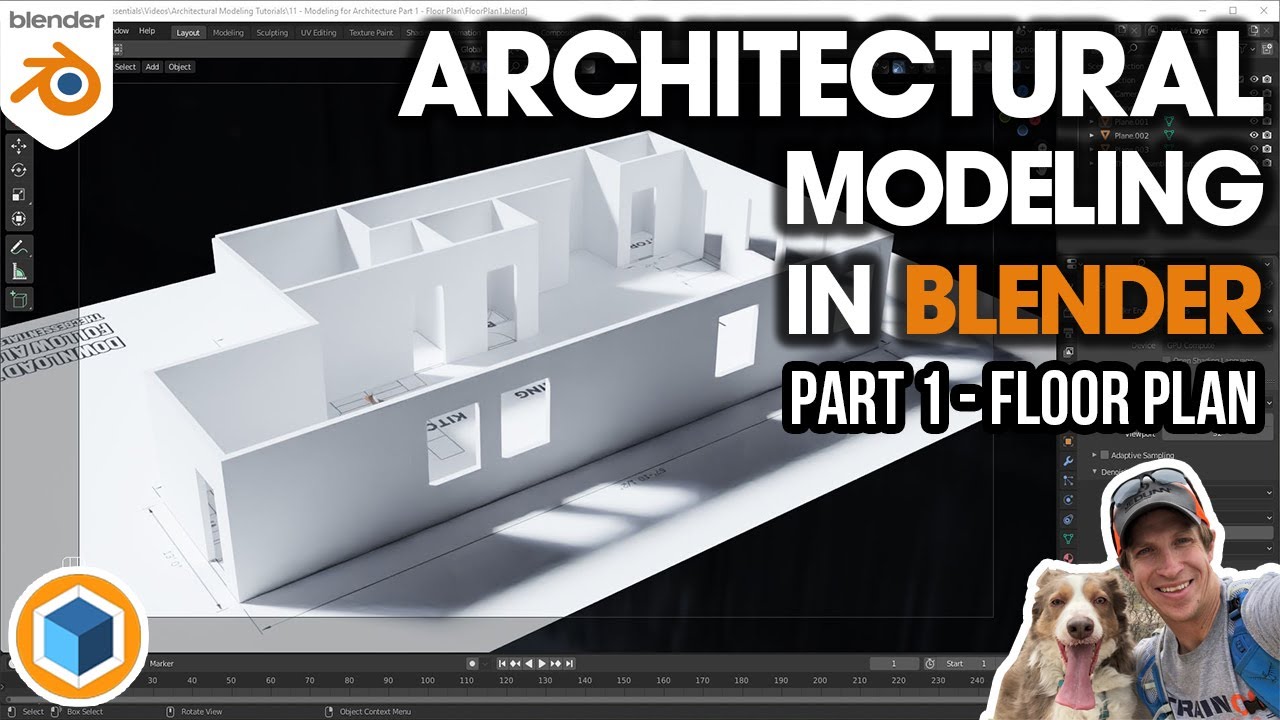
- Blender Architectural Modeling Tutorials and Tools: The CG Essentials channel on YouTube offers various tutorials on architectural modeling in Blender. This tutorial covers essential techniques and tools for architectural modeling in Blender, helping you create detailed architectural designs.
- Blender Architecture Addon Tutorial - Interior Design Floor Plan to 3D: This tutorial focuses on using a Blender addon for architectural modeling. It demonstrates how to convert a floor plan into a 3D model using the addon\'s features and tools.
READ MORE:
Getting Started with Blender for Architecture
Welcome to the exciting world of architectural visualization with Blender! This section is designed to help beginners get acquainted with Blender\"s interface and fundamental features for architectural design. Follow these steps to start your journey.
- Download and Install Blender: Visit the official Blender website to download the latest version. Installation is straightforward, and Blender is compatible with most operating systems.
- Familiarize Yourself with the Interface: Open Blender and take some time to explore the interface. Look for the 3D viewport, properties panel, outliner, and timeline.
- Learn Basic Navigation: Practice navigating the 3D viewport. Learn how to zoom, pan, and rotate the view using your mouse and keyboard shortcuts.
- Understand Blender\"s Modes: Blender includes various modes like Object Mode and Edit Mode, each serving different purposes in the modeling process. Start experimenting with these modes to understand their functionalities.
- Start with Simple Projects: Begin your Blender journey by creating simple architectural elements like walls, doors, and windows. Use basic shapes and the extrude function to model these components.
- Explore Architectural Add-ons: Blender supports numerous add-ons that can enhance your architectural modeling. Look into add-ons like Archipack or BlenderBIM to streamline your workflow.
- Practice Consistently: Like any skill, proficiency in Blender comes with practice. Dedicate time to experimenting with different tools and techniques, and start working on small projects to apply what you\"ve learned.
Remember, the key to mastering Blender for architecture lies in continuous learning and practice. Take advantage of online resources, tutorials, and community forums to further enhance your skills. Happy modeling!
Understanding Blender\"s Interface for Architectural Design
Blender\"s interface may seem daunting at first, but it\"s designed to offer powerful tools at your fingertips for architectural design. This section will guide you through understanding the key components of Blender\"s interface that are most relevant to architects.
- 3D Viewport: The heart of Blender, where you\"ll spend most of your time modeling and visualizing projects. It provides a real-time view of your scene.
- Properties Panel: Located to the right of the 3D viewport, this panel allows you to adjust the properties of the selected object, including materials, modifiers, and physics.
- Outliner: The organizational backbone of your Blender project, showing a hierarchical list of all the objects in the scene, making it easy to select and manage them.
- Timeline: Found at the bottom of the default layout, the timeline controls animation playback, allowing you to scrub through keyframes.
- Tool Shelf: This contains tools for creating and editing objects. It\"s context-sensitive, changing based on the object selected and the mode you\"re in.
- Shading/UVs: For architectural design, understanding different shading modes (such as wireframe, solid, and rendered) is crucial for visualizing materials and textures accurately.
Additionally, learning to customize the interface can significantly improve your workflow. Blender allows you to adjust layouts, create custom toolbars, and save setups as per your project needs. Familiarizing yourself with these aspects of Blender will make architectural modeling more intuitive and efficient. Start by experimenting with these interface elements to find what works best for your design process.
Basic Modeling Techniques for Architects
Mastering basic modeling techniques in Blender is essential for architects aiming to create realistic and detailed architectural models. This section will introduce you to the foundational skills needed to start building your architectural projects in Blender.
- Starting with Primitives: Begin by creating basic shapes (primitives) like cubes, cylinders, and planes. These can be modified to form the basic structure of your architectural model.
- Extruding and Modifying Shapes: Learn how to extrude faces to add depth and detail to your model. This technique is crucial for creating walls, floors, and other architectural elements.
- Using Modifiers: Modifiers like Boolean, Subdivision Surface, and Mirror can automate and simplify complex modeling tasks, helping you achieve more with less effort.
- Loop Cuts and Edge Slides: These tools allow you to add more geometry to your models for detailed customization. They\"re especially useful for creating windows, doors, and other architectural details.
- Snapping and Precision Modeling: Blender\"s snapping feature helps in aligning objects precisely, which is vital for architectural modeling to ensure accuracy and scale.
- Creating Custom Materials: After modeling your structure, applying basic materials will help visualize the project better and prepare it for more advanced texturing and rendering.
Each of these techniques forms the foundation of Blender modeling for architecture. With practice, you\"ll be able to combine these skills to model complex architectural designs efficiently. Remember, the key to mastery is consistent practice and exploration of Blender\"s vast toolset.

Advanced Modeling Tips and Tricks
As you become more comfortable with Blender\"s basic modeling tools, it\"s time to elevate your architectural designs with advanced techniques. This section delves into expert tips and tricks that can help you create more complex and detailed models efficiently.
- Non-Destructive Modeling: Utilize modifiers like Array, Boolean, and Mirror to modify your models without permanently changing the mesh. This approach allows for easy adjustments and iterations.
- Custom Attributes for Variations: Use Blender\"s geometry nodes or custom attributes to create variations in your models, such as different window styles or facade details, without manually modeling each variation.
- Efficient Use of UV Unwrapping: For complex architectural textures, mastering UV unwrapping is crucial. Learn to project UV maps efficiently to apply materials and textures accurately to your models.
- Advanced Lighting Techniques: Experiment with HDRIs (High Dynamic Range Images) and Blender\"s lighting tools to simulate realistic lighting conditions, enhancing the visual impact of your architectural renderings.
- Scripting for Custom Tools: If you find yourself frequently performing repetitive tasks, consider learning some basic Python scripting to automate these processes in Blender, saving time and effort.
- Optimization for Large Scenes: Use techniques like instancing, level of detail (LOD), and collection instances to manage and render large architectural scenes efficiently.
Implementing these advanced techniques will not only improve the quality of your architectural models but also enhance your workflow, allowing you to tackle more complex projects with confidence. Remember, the key to mastering these skills is continual learning and practice.
_HOOK_
Creating Realistic Materials and Textures
Realistic materials and textures are essential for bringing architectural models to life in Blender. This section will guide you through the process of creating and applying materials that mimic real-world surfaces, enhancing the realism of your designs.
- Understanding the Shader Editor: Start by familiarizing yourself with Blender\"s Shader Editor. It\"s where you\"ll create and edit materials using nodes. Each material is a combination of nodes that define its color, texture, reflectivity, and more.
- Using PBR Materials: Physically Based Rendering (PBR) materials offer realistic shading and lighting. Use PBR textures for accurate representation of surfaces like metal, wood, glass, and concrete.
- Texture Mapping: Learn how to map textures onto your models correctly. UV mapping allows you to project 2D textures onto the 3D surface of your model, ensuring that textures look natural and proportionate.
- Adding Details with Bump and Normal Maps: Bump and normal maps add surface details without increasing the geometry. They\"re essential for creating realistic textures like bricks, tiles, or fabric.
- Utilizing Displacement Maps for Realism: For more detailed textures, displacement maps can physically alter the mesh based on the texture, perfect for creating realistic stone walls or engraved details.
- Environmental Textures: Incorporate environmental textures like HDRIs for realistic lighting and reflections. They significantly enhance the realism of architectural renders by simulating real-world lighting conditions.
Experimenting with these techniques will improve the visual quality of your architectural models, making them more compelling and realistic. Remember, the key to success is practice and experimentation with different materials and textures to achieve the desired effect.
Architectural Lighting in Blender
Effective lighting is crucial in architectural visualization to convey the right atmosphere and realism. This section explores how to utilize Blender\"s lighting tools to illuminate your architectural models, enhancing their appeal and realism.
- Understanding Blender\"s Lighting Types: Blender offers various types of lights such as Point, Sun, Spot, and Area lights. Each has its unique characteristics and uses in architectural visualization. Sun lights are ideal for simulating daylight, while Area lights can mimic light from windows or artificial sources.
- Using HDRIs for Environmental Lighting: High Dynamic Range Images (HDRIs) provide realistic environmental lighting with minimal setup. They can simulate specific times of day or atmospheric conditions, adding depth and realism to your scenes.
- Shadows and Reflections: Adjusting shadow softness and reflection intensity can significantly impact the mood of your architectural renders. Use soft shadows for a more natural look, and manage reflections on surfaces to enhance realism.
- Lighting Techniques for Interiors: For interior scenes, combine various light types to create depth and interest. Use Area lights for general illumination and add Point or Spot lights for accent lighting on key features.
- Color Temperature: Adjusting the color temperature of lights can change the atmosphere of a scene. Warm lights create a cozy feel, while cool lights can convey a more sterile or modern environment.
- Light Baking for Performance: In complex scenes, baking light into textures can improve render times while maintaining visual quality. This technique is especially useful for static scenes where lighting does not change.
By mastering these lighting techniques, you can dramatically improve the quality and realism of your architectural renders in Blender. Experiment with different lighting setups to find what best suits your project\"s needs and aesthetic.

Blender 2.9 3D Architecture: Build a Simple House
Looking to transform your house into a cozy sanctuary? Watch this video to discover clever tips and tricks on how to make your house feel like a home, from stunning décor ideas to effortless organization hacks. Get ready to fall in love with your house all over again!
Blender Architecture Addon Tutorial: Interior Design Floor Plan to 3D
Step into a world of creativity and inspiration as this video takes you on a journey through the mesmerizing world of interior design. Get ready to be blown away by breathtaking designs, innovative furniture ideas, and expert advice on how to turn your space into a true masterpiece. Unleash your inner designer and let your imagination run wild!
Rendering Architectural Designs
Rendering is the final step in bringing your architectural designs to life, allowing you to visualize projects in photorealistic detail. This section covers essential techniques and settings for rendering architectural designs in Blender, ensuring high-quality outcomes.
- Choosing the Right Renderer: Blender offers multiple render engines, including Cycles and Eevee. Cycles is a ray-traced renderer providing realistic lighting and shadows, ideal for final renders. Eevee is a real-time renderer, suitable for quick previews and iterations.
- Setting Up Camera Angles: Camera placement is crucial for architectural renders. Experiment with different angles and compositions to showcase your design\"s best features. Use Blender\"s camera settings to adjust focal length and depth of field for more dynamic images.
- Optimizing Light and Material Settings: Ensure that your materials and lighting setups are optimized for rendering. This includes adjusting material properties for realism and tweaking light settings to enhance the mood and detail of your scene.
- Using Render Layers and Passes: Render layers and passes allow you to separate different elements of your scene, giving you greater control in post-processing. This can be particularly useful for adjusting lighting, shadows, or specific objects in your composition.
- Post-Processing Techniques: After rendering, use Blender\"s Compositor or external software to adjust colors, contrast, and other aspects of your image. Post-processing can dramatically enhance the visual impact of your renders.
- Performance Optimization: High-quality renders can be resource-intensive. Use settings like render samples, resolution, and denoising wisely to balance render quality with rendering time.
By carefully preparing your scene and leveraging Blender\"s powerful rendering capabilities, you can produce stunning architectural visuals. Remember, rendering is both an art and a science, requiring experimentation and practice to perfect.
Post-Processing and Presentation Tips
Post-processing plays a crucial role in enhancing the final look of your architectural renders, preparing them for presentation. This section provides tips on how to effectively use post-processing techniques to improve your images and present your designs in the best possible light.
- Color Correction: Adjust the color balance, brightness, contrast, and saturation of your renders to ensure they closely mimic real-life colors or to convey a specific mood or atmosphere.
- Adding Effects in Compositor: Blender’s compositor offers a range of effects like glare, bloom, and fog that can add depth and realism to your renders. Use them sparingly to enhance, not overpower, your scene.
- Enhancing Details with Sharpening: A slight sharpening can enhance the details in your render, making it stand out. Be careful not to overdo it, as too much sharpening can introduce unwanted noise.
- Using Depth of Field: For architectural scenes, a subtle depth of field effect can draw attention to the focal point of your design while softly blurring the background and foreground, adding depth to your image.
- Creating a Compelling Composition: The composition of your render, including the viewpoint, framing, and elements included in the scene, significantly affects its impact. Experiment with different compositions to find the most engaging presentation of your design.
- Exporting for Presentation: When exporting your final image, consider the format and resolution based on its intended use, such as online portfolios, printed boards, or digital presentations. High-resolution images are best for detailed presentations, while compressed formats may be suitable for web use.
Effective post-processing and presentation techniques can dramatically improve the perceived quality of your architectural designs. Take the time to refine your renders, showcasing your work in the most professional manner.
Using Blender Add-ons for Architecture
Blender\"s functionality can be significantly expanded with add-ons, many of which are specifically designed to streamline architectural visualization workflows. This section will introduce you to some of the most useful Blender add-ons for architects, helping you to work more efficiently and achieve better results.
- Archipack: Offers a wide range of parametric architectural objects, allowing you to quickly create and edit buildings and furniture directly within Blender.
- BlenderBIM: Integrates Building Information Modeling (BIM) capabilities into Blender, facilitating a more collaborative and detailed design process with IFC support.
- MeasureIt: Allows for accurate measurement within your scenes, essential for creating precise architectural models and presentations.
- Scatter: Ideal for adding vegetation and other scattered objects to your scenes, enhancing the realism of outdoor and landscape architectural visualizations.
- Photographer: Improves camera controls, simulating real-world photographic settings like aperture, shutter speed, and ISO, perfect for achieving realistic architectural renders.
- FLIP Fluids: A powerful liquid simulation tool that can add dynamic water features to architectural scenes, such as fountains, pools, and rain effects.
These add-ons can greatly enhance your architectural projects in Blender, from the initial modeling stages through to rendering and presentation. While some add-ons are free, others may require a purchase. Always check for compatibility with your version of Blender to ensure the best experience.
_HOOK_
READ MORE:
Case Studies: Real-world Architectural Projects in Blender
Exploring real-world projects created with Blender can provide valuable insights into the software\"s capabilities in architectural visualization. This section highlights several case studies that showcase the versatility and power of Blender in the field of architecture.
- Residential Building Design: A detailed case study of a residential building project, focusing on how Blender was used to model the structure, create realistic materials, and simulate various lighting conditions to produce compelling visualizations for client presentations.
- Historical Reconstruction: This case study examines the use of Blender in reconstructing historical buildings. It covers the process of gathering reference materials, modeling based on historical accuracy, and the challenges faced in rendering materials and textures that reflect the age and character of the building.
- Urban Planning and Landscape Design: An in-depth look at how Blender aids in urban planning and landscape design projects. The study highlights techniques for large-scale modeling, incorporating topographical data, and using particle systems for vegetation, showcasing Blender\"s capacity for handling complex scenes.
- Interior Design Visualization: This case focuses on the use of Blender for interior design projects, including the creation of detailed furniture models, realistic lighting setups for different times of day, and the application of high-quality materials and textures to achieve photo-realistic renders.
- Interactive Architectural Walkthrough: A case study on creating an interactive walkthrough of an architectural project using Blender and the Blender Game Engine. It discusses the process of optimizing models for real-time rendering, creating user controls, and integrating interactive elements.
These case studies demonstrate Blender\"s flexibility and effectiveness across a wide range of architectural applications, from conceptual design to detailed visualization and presentation. They serve as inspiration and learning resources for architects and designers looking to leverage Blender in their own projects.
Embrace the power of Blender to transform your architectural visions into stunning visuals. With dedication and creativity, this comprehensive guide will unlock endless possibilities for innovation and design excellence in your projects.