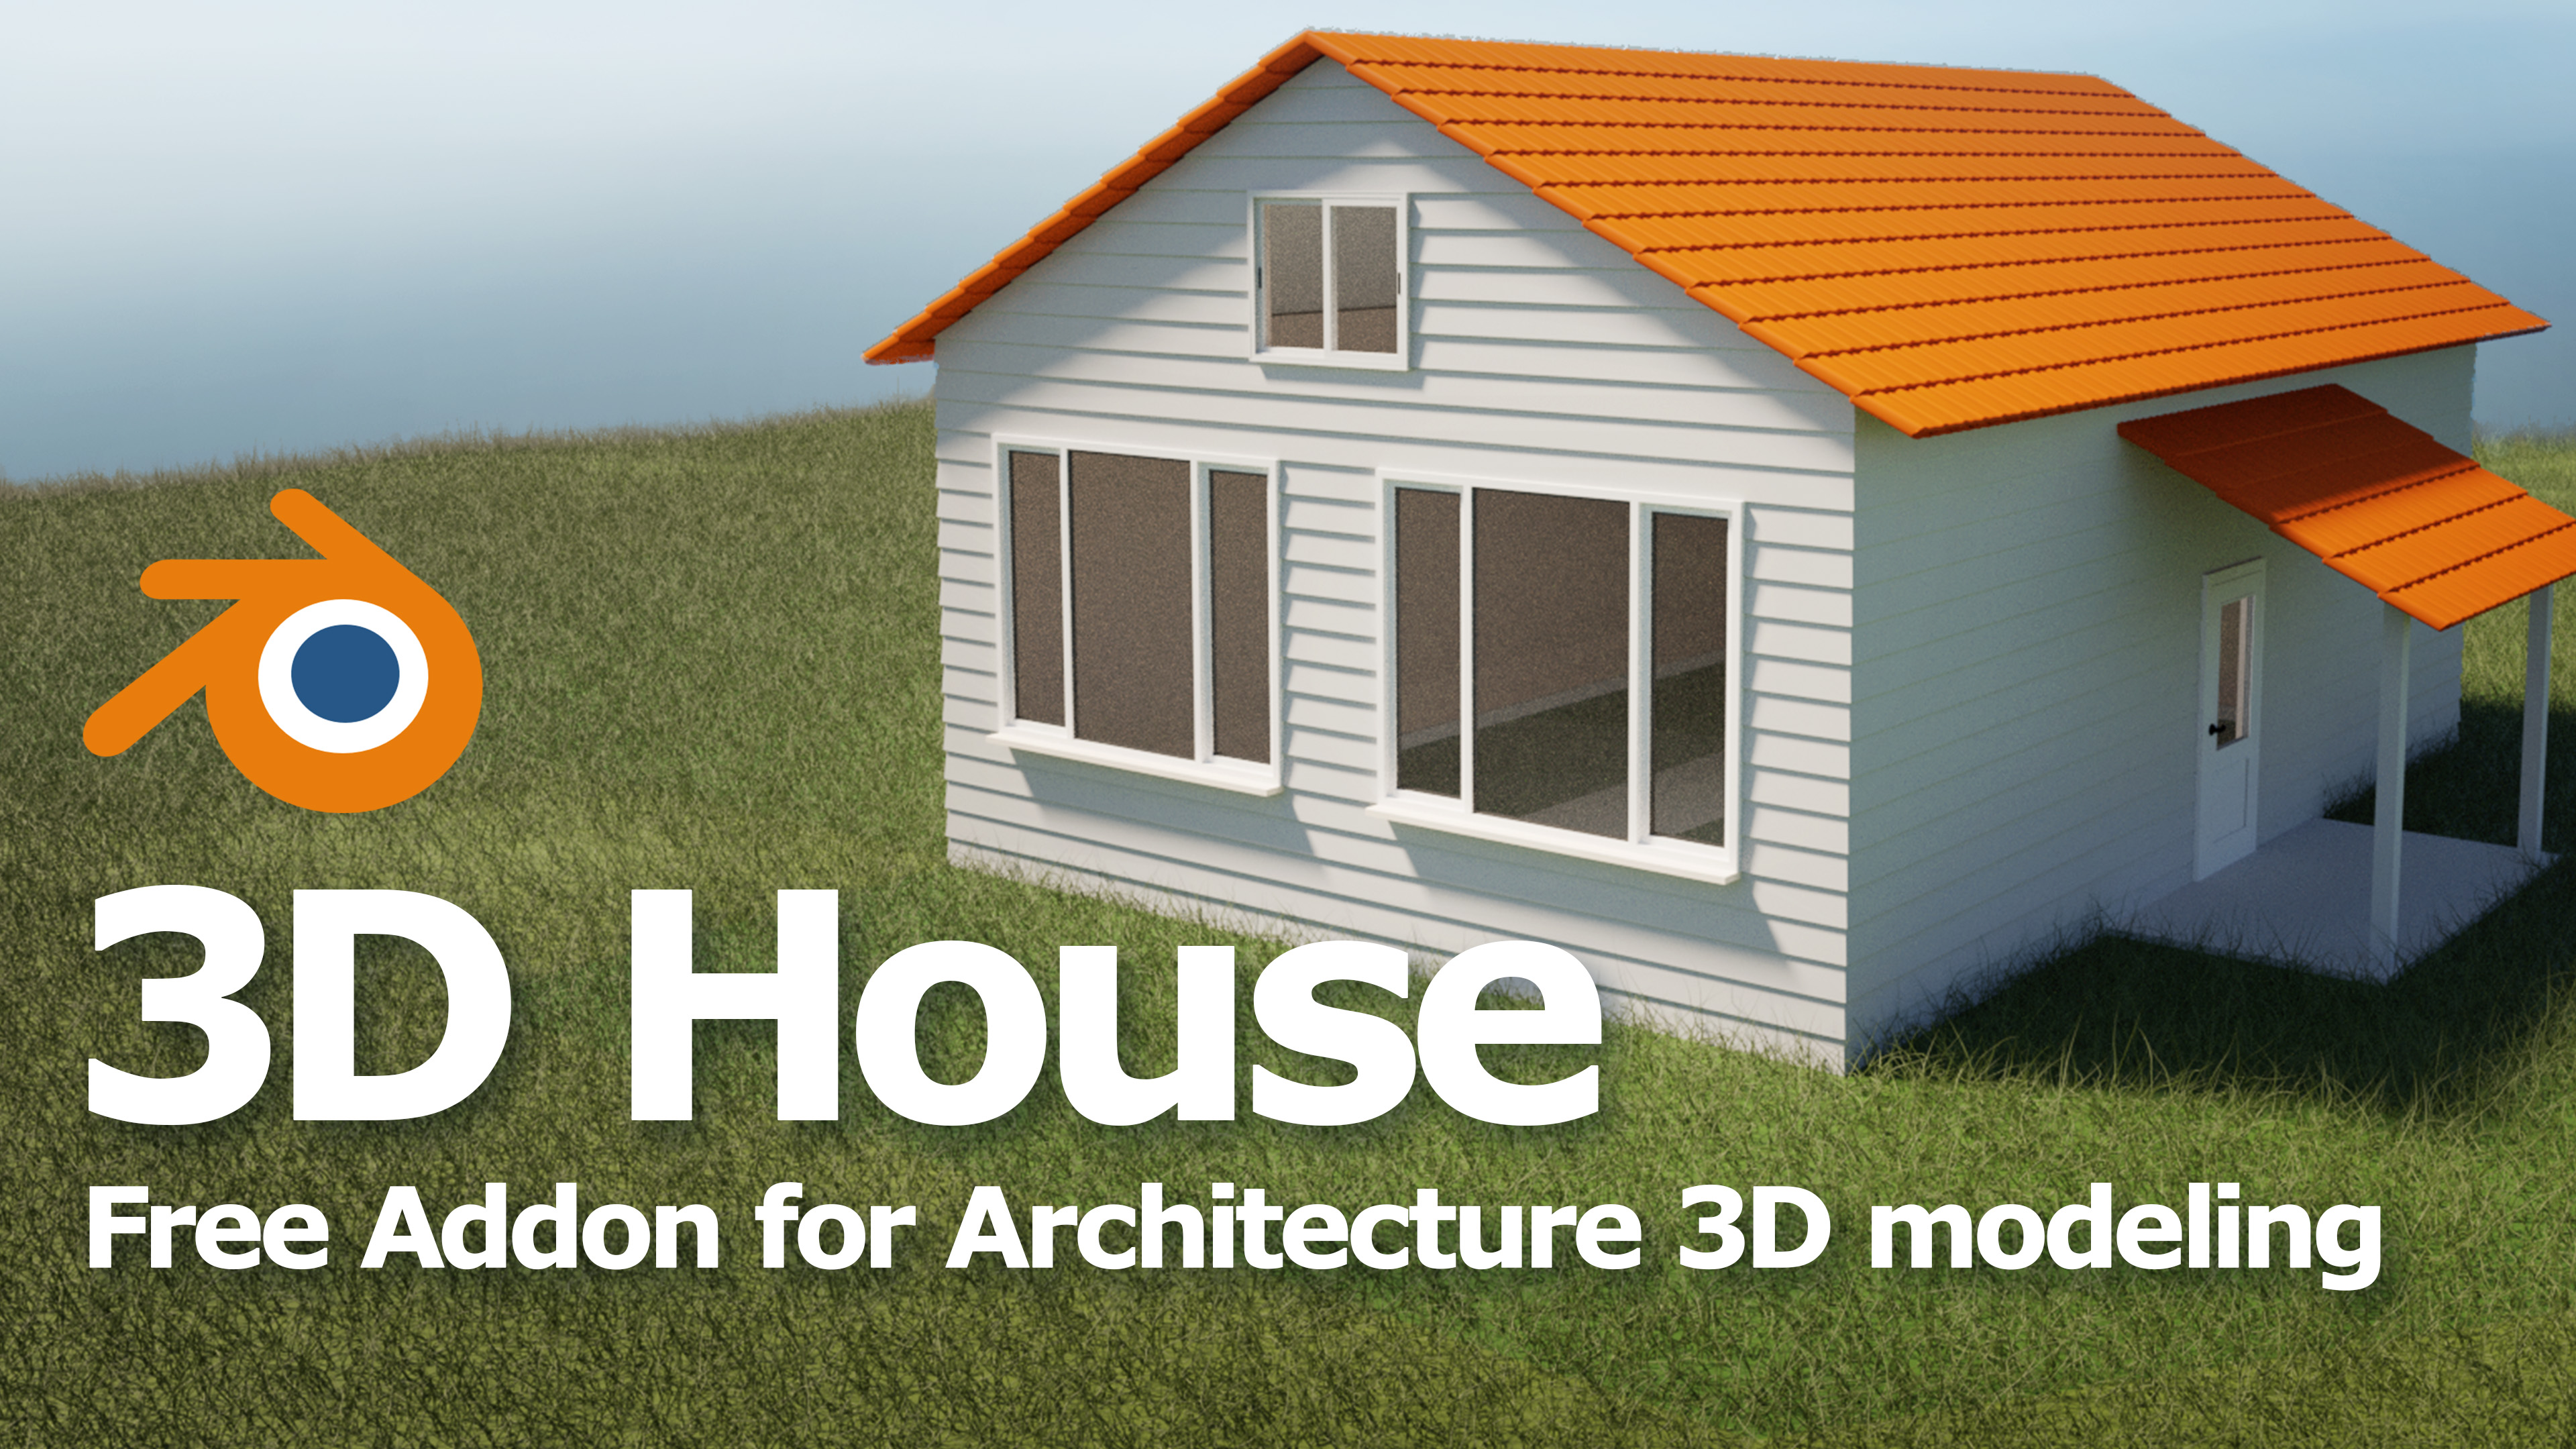
Topic blender 3d house tutorial: Dive into the world of 3D design with our comprehensive Blender 3D house tutorial, guiding you from basic concepts to advanced modeling techniques to bring your architectural visions to life.
Table of Content
- How to create a Basic house in Blender 3D with a tutorial?
- Getting Started with Blender for 3D House Design
- Understanding Blender\"s Interface and Basic Controls
- Step-by-Step Guide to Modeling a Simple House
- Advanced Techniques for Realistic House Modeling
- Texturing and Materials: Bringing Your House to Life
- Lighting in Blender: Creating the Right Atmosphere
- YOUTUBE: Modern House in Blender - Full Tutorial Series: Part 1
- Rendering Your House: Tips and Tricks for High-Quality Outputs
- Creating a Modern 3D House: From Modeling to Rendering
- Landscaping and Environment Setup for Your 3D House
- Common Mistakes to Avoid in House Modeling
- Resources for Further Learning and Inspiration
How to create a Basic house in Blender 3D with a tutorial?
To create a basic house in Blender 3D, you can follow the steps outlined in the tutorial:
- Start by opening Blender and creating a new project.
- Set up the workspace according to your preference. You can switch to the \"Layout\" or \"Modeling\" workspace.
- Select the default cube in the 3D view and delete it by pressing the \"Delete\" key.
- With the cursor in the 3D view, press Shift+A and choose \"Mesh\" > \"Cube\" to add a new cube object.
- In the \"Transform\" panel on the right-hand side, adjust the dimensions of the cube to represent the base shape of your house.
- Next, duplicate the cube by selecting it and pressing Shift+D. Move the duplicate to a position above the original cube, representing the second floor of the house.
- Continue duplicating and arranging cubes to create additional floors or sections of the house as needed.
- To add windows and doors, you can use the Boolean modifier. Create another cube for the window or door shape, position it where you want it on the house, and resize it accordingly.
- Select the house geometry and add the Boolean modifier. Choose the window or door object as the target and set the operation to \"Difference\". Apply the modifier.
- Repeat the above step to add more windows and doors.
- You can further refine the shape of the house by adjusting the vertices, edges, and faces of the cubes using the various modeling tools and techniques in Blender.
- Once you are satisfied with the house\'s shape, you can proceed to add materials, textures, and apply lighting to bring it to life.
- Finally, you can render the scene to generate a realistic image or animation of the house.
Remember, this is just a basic overview of the process. Feel free to explore and experiment with Blender\'s vast array of tools and features to create more complex and detailed houses.
READ MORE:
Getting Started with Blender for 3D House Design
Welcome to the exciting journey of 3D house design using Blender! Whether you\"re a beginner or have some experience with 3D modeling, this section will equip you with the foundational knowledge needed to start your project. Let\"s dive in!
- Download and Install Blender: Begin by downloading the latest version of Blender from the official website. Installation is straightforward, follow the instructions provided for your operating system.
- Familiarize Yourself with the Interface: Upon launching Blender, take some time to familiarize yourself with the interface. Locate the 3D viewport, outliner, properties panel, and timeline. These are your primary tools for 3D house design.
- Basic Navigation: Learn to navigate the 3D viewport. Practice zooming, panning, and rotating the view using your mouse and keyboard shortcuts. Mastering these controls is crucial for efficient modeling.
- Adding Objects: Start by adding basic shapes. Use the \"Add\" menu or shortcuts to place mesh objects like cubes, which can serve as the foundation of your house.
- Modifying Objects: Discover how to modify objects using edit mode. Learn to select vertices, edges, and faces to reshape and detail your models. This is where your house starts to take form.
- Using Modifiers: Modifiers can automate complex modeling tasks. Experiment with modifiers like \"Subdivision Surface\" to smooth shapes and \"Boolean\" for cutting holes for doors and windows.
Remember, practice is key in 3D modeling. Spend time experimenting with these basic functions, and soon you\"ll be ready to tackle more complex house designs. Stay curious, and enjoy the creative process!
Understanding Blender\"s Interface and Basic Controls
Blender\"s interface might seem daunting at first, but it\"s designed to enhance your 3D modeling experience. This section will guide you through the basic controls and essential components of the Blender interface to get you up and running quickly.
- The 3D Viewport: This is your main workspace where you\"ll spend most of your time. It\"s where you can view, edit, and interact with your 3D models. Use the middle mouse button to orbit, scroll to zoom, and Shift + middle mouse button to pan.
- The Properties Panel: Located to the right of the 3D viewport, this panel provides access to all the object\"s properties, including materials, modifiers, and scene settings. It\"s crucial for fine-tuning your house designs.
- The Outliner: Found at the top right, the Outliner displays a hierarchical list of all objects in your scene. It\"s an essential tool for organizing your project, selecting objects, and navigating complex scenes.
- The Timeline: At the bottom of the screen, the Timeline allows you to manage animations. Even if you\"re not animating, understanding how to control time in your scene can be useful for setting up static renders.
- Tool Shelf and Panels: Activated by pressing T in the 3D Viewport, the Tool Shelf provides quick access to tools for creating and editing objects. The panels can be expanded or collapsed, offering options based on the active tool or object.
- Shortcut Keys: Blender relies heavily on keyboard shortcuts to speed up the workflow. Some essential shortcuts include G to move, R to rotate, and S to scale objects. Memorizing these will significantly enhance your efficiency.
By familiarizing yourself with these elements, you\"ll begin to navigate Blender\"s interface with greater confidence. Experiment with each component to learn how they interact with each other, and soon you\"ll be leveraging Blender\"s full potential in your 3D house design projects.
Step-by-Step Guide to Modeling a Simple House
Creating a simple house in Blender is a great project for beginners, offering a comprehensive introduction to the fundamentals of 3D modeling. Follow this step-by-step guide to create your first house model in Blender.
- Set Up Your Scene: Start Blender and open a new file. Use the default cube as the base of your house. Adjust your view in the 3D viewport to comfortably work on your model.
- Create the Base Shape: Scale the cube to form the base of your house. You can do this by pressing S, then dragging the mouse to scale, and left-clicking to confirm.
- Extrude the Walls: Switch to Edit Mode (Tab key). Select the top face of the cube and extrude it upwards to form the walls. Press E to extrude, then move the mouse upwards, and click to confirm.
- Add the Roof: For a simple roof, select the top edges of your walls and extrude them inward. Then, extrude upwards to form the peak of the roof. Alternatively, you can create a separate object for a more complex roof shape.
- Insert Doors and Windows: Use the Loop Cut tool (Ctrl+R) to add edge loops where you want windows and doors. Then, extrude or inset (I key) these faces to create the openings. Delete faces where necessary to open up the spaces.
- Refine the Details: Add additional details like frames, eaves, and architectural elements using the same techniques of extruding and scaling. Pay attention to proportions to make your model realistic.
- Apply Materials: Switch to the Material Properties tab to create new materials for your house. Assign different materials to the walls, roof, doors, and windows to add colors and textures.
- Set Up Lighting: Add a Sun lamp for natural lighting. Adjust its position, angle, and strength to simulate the time of day you prefer.
- Render Your House: Once you\"re satisfied with your model, set up the camera angle and render your scene. Experiment with different rendering settings to achieve the desired look.
Modeling a simple house in Blender is a rewarding process that teaches you the basics of 3D modeling, texturing, and rendering. With practice, you\"ll be able to tackle more complex projects and bring your architectural ideas to life.
Advanced Techniques for Realistic House Modeling
Once you\"ve mastered the basics of house modeling in Blender, you can elevate your skills with advanced techniques to create more realistic and detailed models. This section will guide you through some of these advanced strategies.
- Subdivision Surface Modifier: This modifier smooths your model by subdividing its geometry. Apply it to your house model to achieve more organic shapes and edges, making it look more realistic and detailed.
- Displacement Maps: Use displacement maps to add texture and depth to surfaces like walls and roofs. This technique simulates high-resolution details without manually modeling every feature, adding realism to bricks, tiles, and other materials.
- Architectural Details: Focus on adding small architectural details that make a big difference, such as trims, gutters, and sophisticated window frames. These can be modeled separately and then added to your main structure.
- Boolean Modifiers for Complex Shapes: Use Boolean modifiers to create complex shapes by adding or subtracting geometry. This is particularly useful for creating unique window shapes, doorways, or intricate architectural elements.
- Particle Systems for Landscaping: Blender\"s particle system can be used to add realistic grass, trees, and other vegetation around your house. This not only enhances realism but also adds life to your scene.
- Environmental Texturing: Apply textures not just to your house but also to the environment. Use HDRI images for realistic skies and lighting, and texture planes to simulate roads, pathways, or surrounding terrain.
- Photorealistic Rendering Settings: Explore Blender\"s rendering settings to achieve photorealistic outputs. Experiment with different lighting setups, shadow settings, and the use of depth of field to enhance the realism of your scene.
By incorporating these advanced techniques into your workflow, you\"ll be able to produce highly realistic and visually compelling house models. Remember, the key to mastery is practice and experimentation, so don\"t hesitate to try new methods and tools as you progress.
_HOOK_
Texturing and Materials: Bringing Your House to Life
Textures and materials are essential in transforming your 3D house model from a simple structure to a lifelike creation. This section explores how to apply textures and materials in Blender to add realism and character to your house.
- Understanding Materials: In Blender, materials define the color, shininess, transparency, and texture of objects. Start by creating a new material for each part of your house, such as the walls, roof, doors, and windows.
- Applying Textures: Textures are images or patterns applied to materials to give them detail. For example, use brick patterns for walls and wood textures for doors. Blender allows you to map these textures onto your materials using UV mapping for precise control.
- UV Mapping: UV mapping is the process of projecting a 2D image onto a 3D model. It\"s crucial for accurately applying textures. In Blender, you can unwrap your model to edit its UV map, ensuring textures align correctly with your model\"s geometry.
- Bump and Normal Maps: For more realistic textures, use bump or normal maps. These add depth and detail to surfaces without increasing the polygon count, simulating the appearance of bumps and indentations.
- Specularity and Roughness: Adjust the specularity (reflectiveness) and roughness of materials to mimic real-world surfaces. For instance, windows should have high specularity, while walls may have a more matte finish.
- Environmental Textures: Don\"t forget to texture the environment around your house. Use grass textures for lawns, gravel for pathways, and so on to create a realistic setting for your model.
- Lighting and Materials: Lighting plays a significant role in how materials look. Experiment with different lighting setups to see how they affect the appearance of your materials and textures.
By carefully selecting and applying materials and textures, you can dramatically enhance the realism of your 3D house model. Remember, the key to success is experimentation and practice, so take your time to explore different options and techniques.
Lighting in Blender: Creating the Right Atmosphere
Lighting is a powerful tool in 3D modeling that can set the mood, highlight details, and bring your house to life. This section will guide you through the process of setting up lighting in Blender to create the perfect atmosphere for your 3D house.
- Types of Lights: Blender offers several types of lights, including Point, Sun, Spot, and Area lights. Each has its unique effect and use. For instance, Sun lamps simulate sunlight and are great for outdoor scenes, while Spot lamps can highlight specific areas.
- Positioning Your Lights: The position of your lights can dramatically affect the appearance of your scene. Experiment with different placements to see how shadows and highlights change. Remember, there\"s no one-size-fits-all; it depends on the mood you\"re trying to create.
- Adjusting Light Settings: Each light type comes with settings that can be adjusted, such as color, strength, and size. Use these settings to simulate different times of day or to add dramatic effects to your scene.
- Using HDRI Images for Lighting: HDRI (High Dynamic Range Imaging) images can be used as environmental textures that provide realistic lighting and reflections. They\"re particularly useful for creating realistic outdoor lighting conditions.
- Three-Point Lighting: A common technique in photography and film, three-point lighting, can also be applied in 3D modeling. It involves using three lights (key light, fill light, and back light) to achieve depth and dimension.
- Shadows: Pay attention to the shadows created by your lights. Adjust the softness and direction of shadows to add realism or create a specific mood. Shadows can add depth and a sense of realism to your scene.
- Rendering Settings: Finally, explore Blender\"s rendering settings to fine-tune your lighting. Settings like Ambient Occlusion, Bloom, and Ray Tracing can enhance the overall lighting effect, making your scene more realistic or stylized, depending on your goals.
Effective lighting requires experimentation and practice. Don\"t be afraid to try different setups and settings to see what works best for your scene. With time, you\"ll learn how to use lighting to its full potential, creating stunning and atmospheric 3D house models.

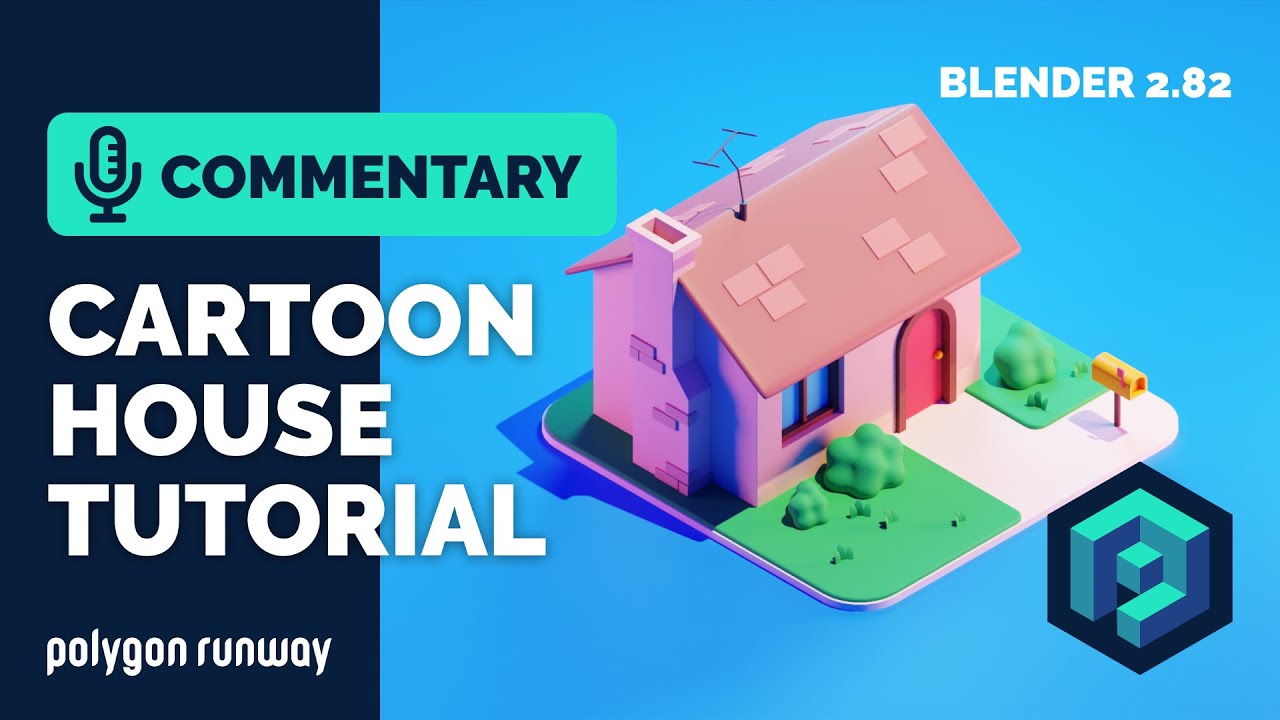
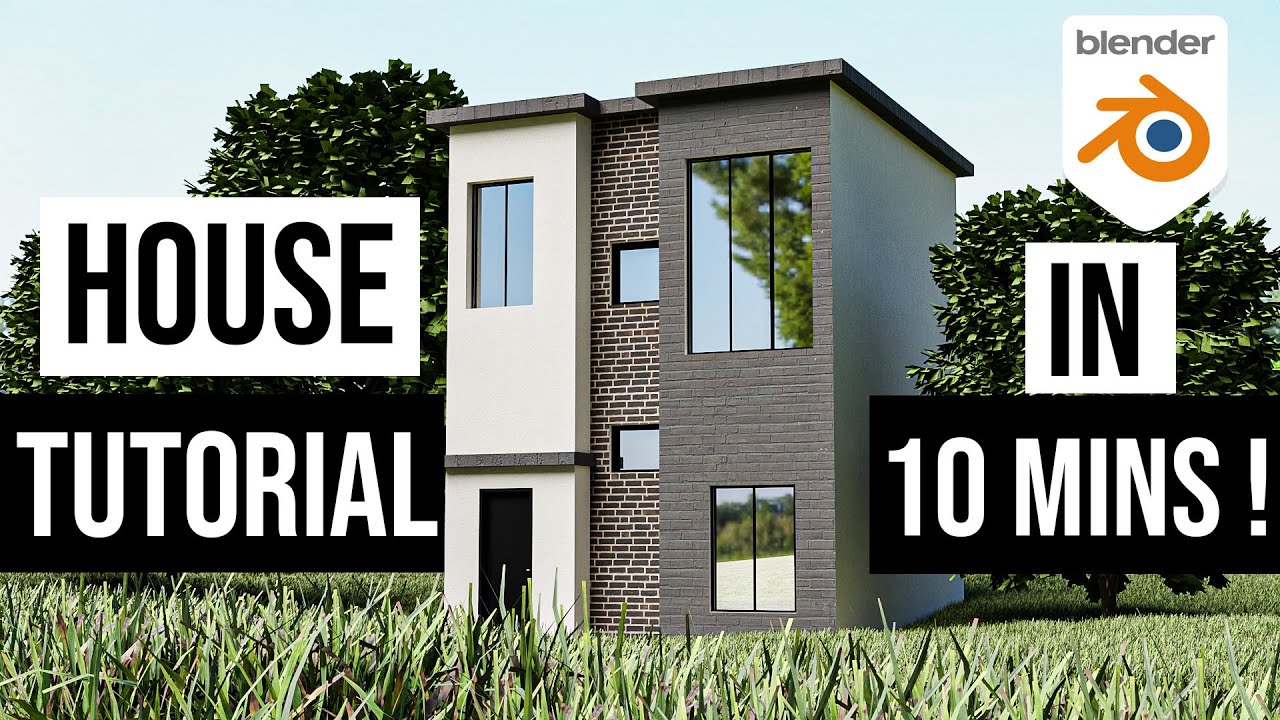
Modern House in Blender - Full Tutorial Series: Part 1
\"Discover the amazing world of Blender 3D and unleash your creativity like never before! Join us on a mesmerizing journey where you can bring your ideas to life with stunning visual effects and mind-blowing animations. Don\'t miss out on this chance to explore the endless possibilities of Blender 3D!\"
Blender Beginner Tutorial - Part 3: Modelling the House
\"Ready to dive into the fascinating world of 3D modeling? Prepare to be amazed as we take you on an awe-inspiring tutorial on the art of modeling. Learn how to create breathtaking 3D objects with precision and finesse, and watch as your imagination comes to life before your very eyes!\"
Rendering Your House: Tips and Tricks for High-Quality Outputs
Rendering is the final step in the 3D modeling process, where your digital creation comes to life. This section offers tips and tricks to achieve high-quality renders of your house model in Blender, ensuring your work looks its best.
- Choose the Right Renderer: Blender comes with two rendering engines, Cycles and Eevee. Cycles is a ray-traced renderer, offering photorealistic results at the cost of longer render times. Eevee is a real-time renderer, providing faster results with slightly less realism. Choose based on your project needs.
- Resolution and Aspect Ratio: Increase the resolution of your render for clearer, more detailed images. However, higher resolutions mean longer render times. Find a balance that suits your needs, and consider your final output medium.
- Sampling Rate: For Cycles, the number of samples per pixel affects the image\"s noise level and clarity. Higher sample rates produce cleaner images but increase render time. Use denoising to reduce noise without dramatically increasing samples.
- Lighting and Materials: Before rendering, double-check your lighting and materials. Ensure they\"re set up to reflect your artistic vision. Small adjustments can make a big difference in the final output.
- Camera Settings: Adjust your camera\"s focal length, depth of field, and composition to enhance the visual appeal of your render. Think like a photographer and frame your house model in the most flattering way.
- Post-Processing: Use Blender\"s Compositor for post-processing effects such as color correction, glare, and bloom. These can add a final polish to your render, making it stand out.
- Batch Rendering: If you have multiple views or animations, consider batch rendering overnight or during off-hours to save time.
Rendering is both an art and a science. By applying these tips, you\"ll be well on your way to creating stunning, high-quality renders of your 3D house models. Remember, experimentation is key, so don\"t be afraid to try different settings to see what works best for your project.

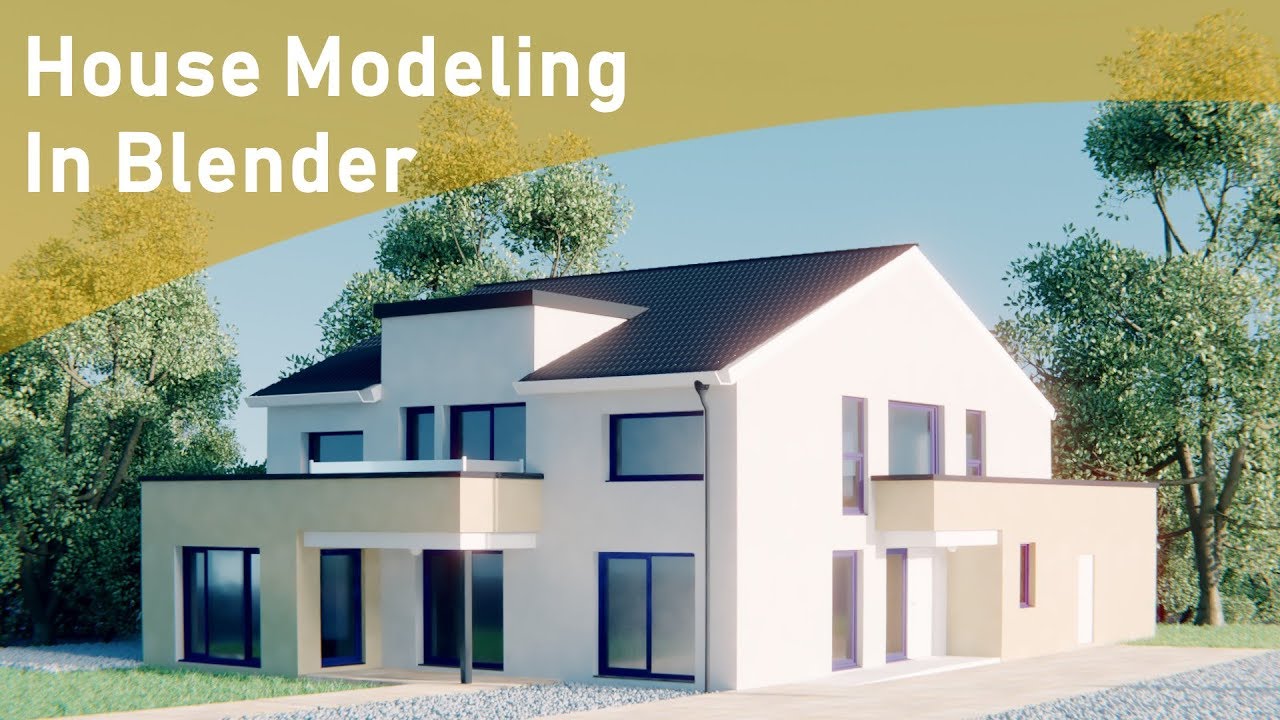
Creating a Modern 3D House: From Modeling to Rendering
Designing a modern 3D house in Blender combines creativity with technical skill, from the initial modeling stages to the final render. This comprehensive guide will walk you through the process, ensuring you create a stunning, modern home.
- Conceptualization and Planning: Start with a clear concept of your modern house. Sketch your ideas or create a mood board. Consider architectural elements like large windows, minimalist design, and open floor plans.
- Modeling the Basic Structure: Use Blender\"s modeling tools to create the basic shape of your house. Focus on clean lines and geometric shapes typical of modern architecture. Remember to model in scale for accuracy.
- Adding Architectural Details: Incorporate modern elements such as flat roofs, glass facades, and sleek balconies. Use the array modifier for repeating elements like window frames or balusters.
- Interior Design: Modern homes boast open, airy interiors. Model interior walls, furniture, and fixtures. Keep the design simple and functional, using Blender\"s assets or creating custom pieces.
- Texturing and Materials: Apply materials that reflect modern aesthetics, like glass for windows, concrete or wood for walls, and metal for accents. Use realistic textures to enhance the look.
- Lighting Setup: Modern homes often feature dynamic lighting. Use a combination of natural light (HDRI) and artificial light sources to highlight the architectural features and create a warm, inviting atmosphere.
- Landscaping and Environment: Surround your house with minimalist landscaping. Model simple vegetation, patios, and pools. Use particle systems for grass and trees to add realism without clutter.
- Camera Angles and Composition: Choose camera angles that showcase the modern features of your house. Use the rule of thirds for a balanced composition, highlighting the clean lines and open spaces.
- Rendering: Use Blender\"s Cycles renderer for photorealistic output. Adjust settings like resolution, sampling, and denoising for high-quality images. Experiment with different times of day for varied lighting effects.
- Post-Processing: Enhance your renders with post-processing techniques in Blender or external software. Adjust brightness, contrast, and saturation, or add effects like vignettes for a polished look.
Creating a modern 3D house in Blender is an exciting project that allows you to explore architectural design and rendering techniques. With practice and attention to detail, you can achieve stunning results that bring your vision to life.
Landscaping and Environment Setup for Your 3D House
Landscaping and environment setup are crucial for integrating your 3D house into its surroundings, making the scene more realistic and visually appealing. This guide will help you create a natural and inviting outdoor space around your Blender house model.
- Planning Your Landscape: Begin with a plan for your outdoor space. Consider elements like gardens, pathways, lawns, and trees that complement the style of your house. Sketching a rough layout can help organize your ideas.
- Modeling Terrain: Use Blender\"s sculpting tools to model the terrain around your house. Create hills, slopes, and other natural features to add depth and interest to your scene.
- Adding Vegetation: Vegetation adds life and color to your landscape. Use Blender\"s particle system to scatter grass, flowers, bushes, and trees. Vary the size, density, and type of vegetation for a more natural look.
- Creating Pathways and Patios: Model pathways, driveways, and patios using planes and extrusion. Apply textures like gravel, paving stones, or concrete to these areas for realism.
- Incorporating Water Features: Water features like pools, ponds, or fountains can add a luxurious feel to your landscape. Model these elements with care, and use reflective materials for water surfaces to enhance realism.
- Outdoor Lighting: Add outdoor lighting to highlight architectural and landscape features. Use point lights for smaller features and area lights for broader illumination, such as patios or garden areas.
- Furniture and Decor: Include outdoor furniture, sculptures, or other decor to personalize your space. These details can make your scene more inviting and lived-in.
- Environmental Effects: For added realism, consider environmental effects like wind animation for trees and grass. Blender\"s physics properties can simulate these natural movements.
- Integrating the Environment: Ensure that your house and landscape blend seamlessly. Adjust the scale and position of elements so they relate properly to each other and to the house.
With thoughtful planning and attention to detail, you can create a beautiful and realistic landscape that enhances your 3D house model. Landscaping not only adds aesthetic value but also sets the mood and context for your architectural design.

_HOOK_
Common Mistakes to Avoid in House Modeling
3D house modeling can be a complex process, and it\"s easy to make mistakes along the way. Being aware of common pitfalls can help you create more realistic and efficient models. Here are some key mistakes to avoid in your Blender house modeling projects.
- Ignoring Scale and Proportions: One of the most common mistakes is not adhering to realistic scales and proportions. Use reference images or actual measurements to ensure your model accurately reflects real-world dimensions.
- Overlooking Details: While it might be tempting to focus only on the larger structure, details like door handles, light fixtures, and textures greatly contribute to the realism of your model. Don\"t skip these smaller elements.
- Improper Use of Textures: Applying textures improperly can make your model look unrealistic. Pay attention to the scale of textures, and use UV mapping to ensure they fit the geometry correctly without stretching or tiling unnaturally.
- Forgetting About Lighting: Lighting can make or break a scene. Neglecting to properly set up lighting can result in flat, uninviting renders. Experiment with different lighting setups to find what best showcases your model.
- Not Planning the Model: Jumping into modeling without a clear plan can lead to issues down the line. Sketch your ideas and consider how different elements will come together before you start modeling.
- Ignoring Environmental Context: Your house doesn\"t exist in isolation. Failing to model or at least suggest an environment can make your house look out of place. Even simple landscaping or a contextual backdrop can add a lot of realism.
- Avoiding Complexity: It\"s easy to shy away from modeling complex elements, but these are often what give a house character. Practice modeling intricate details to improve your skills and add authenticity to your models.
- Not Using Layers or Groups: Failing to organize your model into layers or groups can make it difficult to manage, especially for larger projects. Use Blender\"s collection feature to keep your project organized.
By avoiding these common mistakes, you\"ll be on your way to creating more professional and realistic 3D house models. Remember, every mistake is an opportunity to learn and improve your skills.

READ MORE:
Resources for Further Learning and Inspiration
Expanding your skills in 3D house modeling with Blender is an ongoing journey. Fortunately, there are numerous resources available to help you learn new techniques and find inspiration. Here are some valuable resources to further your learning and creativity.
- Blender Official Website: The Blender Foundation\"s official website offers tutorials, documentation, and forums where you can ask questions and share your work.
- Online Courses and Tutorials: Platforms like Udemy, Coursera, and YouTube have extensive libraries of Blender tutorials ranging from beginner to advanced levels. Specific tutorials on architectural modeling are especially useful.
- Blender Communities: Joining Blender communities on social media platforms, such as Reddit, Facebook, and Blender Artists Forum, can provide support, feedback, and inspiration from fellow Blender enthusiasts.
- Architecture and Design Websites: Websites like ArchDaily and Dezeen feature innovative architecture projects that can serve as inspiration for your own models. Studying real-world buildings can help you understand architectural styles and details.
- Books on Blender: There are many comprehensive guides and books available that cover Blender\"s tools and features in depth. Look for books specifically focused on architectural visualization.
- Blender Conferences and Workshops: Attending Blender conferences or workshops can be an excellent way to learn from experienced professionals and see the latest in 3D design and Blender developments.
- Project-Based Learning: Taking on small projects that challenge your current skill level can be one of the best ways to learn. Try to replicate existing houses or design your own from scratch.
With dedication and the right resources, you can continuously improve your Blender skills and bring your architectural visions to life. Remember, the learning process is as rewarding as the final product, so enjoy the journey!
Embark on a journey of creative exploration with Blender, transforming your architectural dreams into 3D reality. With practice, patience, and passion, you can master the art of house modeling and open doors to endless possibilities.