Topic blender 3d beginner tutorial: Dive into the world of 3D modeling with our Blender 3D beginner tutorial, designed to guide you through the basics and unleash your creative potential effortlessly.
Table of Content
- What are some beginner tutorials for Blender 3D?
- Understanding Blender\"s Interface
- Basic Navigation in Blender
- Introduction to 3D Modeling Concepts
- Creating Your First 3D Model
- Materials and Texturing Basics
- Introduction to Lighting in Blender
- YOUTUBE: Blender Tutorial for Complete Beginners - Part 1
- Rendering Your First Scene
- Basic Animation Techniques
- Using Blender\"s Modifiers for Modeling
- Sculpting Basics in Blender
- Introduction to UV Mapping
- Compositing and Post-Processing in Blender
- Next Steps and Additional Resources
What are some beginner tutorials for Blender 3D?
Here are a few beginner tutorials for Blender 3D:
- Get Started: This official series is a comprehensive guide to familiarize yourself with Blender 2.80. It covers the new interface and concepts in detail.
- Blender subreddit: A community of Blender enthusiasts where you can find tutorials and ask questions.
- Blender Beginner Tutorial Series: A video tutorial series on YouTube that covers the basics of Blender for beginners.
These resources will help you get started with Blender 3D and develop your skills in modeling, animation, and visual effects.
READ MORE:
Understanding Blender\"s Interface
Blender\"s interface may seem daunting at first, but it\"s designed to provide you with all the tools you need for 3D modeling, animation, and rendering. Here\"s a breakdown to help you navigate and understand the interface efficiently:
- 3D Viewport: This is the heart of Blender, where you can view and interact with your 3D scene. You can rotate, pan, and zoom to inspect your models from any angle.
- Properties Panel: Located on the right side, this panel provides options to modify your object\"s properties, including materials, modifiers, and physics settings.
- Outliner: The outliner, usually found on the top right, lists all the objects in your scene. It\"s a quick way to select, view, and organize your project components.
- Timeline: At the bottom of the interface, the timeline allows you to control animation frames, playback, and keyframe insertion, essential for animation projects.
- Tool Shelf and Properties Shelf: Accessible by pressing T and N in the 3D viewport, these shelves offer quick access to tools and properties related to the selected object or scene.
- File, Render, and Edit Menus: Located at the top, these menus contain commands for file operations, scene rendering, and editing preferences and settings.
Take your time to explore each part of the interface. Hover over buttons and fields to see tooltips that describe their functions, helping you become more familiar with Blender\"s capabilities.

Basic Navigation in Blender
Navigating through Blender\"s 3D space is a fundamental skill that enhances your modeling efficiency and ease. Master these basic navigation controls to move seamlessly within your Blender projects:
- Rotate View: Hold the middle mouse button (MMB) and drag to rotate around your scene. This lets you examine your model from every angle.
- Pan View: Shift + MMB and drag to pan your view. This is useful for moving your viewpoint without changing the orientation of the scene.
- Zoom: Scroll the middle mouse wheel up or down to zoom in or out of your scene, or alternatively, use Ctrl + MMB and drag up or down for precision zooming.
- Focus on Object: Select an object and press Numpad . (period) to center the view on that object, making it easier to work on specific parts of your scene.
- Switch Views: Use the Numpad keys (1 for front view, 3 for right view, 7 for top view) to switch between standard orthogonal views. Pressing 5 toggles between orthographic and perspective view.
- Camera View: Press Numpad 0 to view the scene from the active camera\"s perspective. This is essential for setting up your final render\"s viewpoint.
Practice these navigation techniques to improve your workflow and interaction with 3D space in Blender. As you become more comfortable, you\"ll find navigating Blender to be intuitive and second nature.

Introduction to 3D Modeling Concepts
3D modeling is a creative process that allows you to develop three-dimensional objects in a digital environment. Understanding the core concepts of 3D modeling is crucial for beginners. Here are the fundamental principles to get you started:
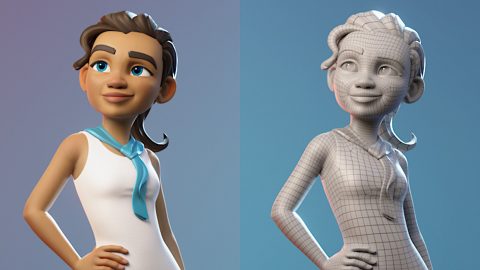
- Vertices, Edges, and Faces: These are the basic building blocks of any 3D model. Vertices are points in 3D space, edges connect two vertices, and faces are flat surfaces enclosed by edges.
- Meshes: A mesh is a collection of vertices, edges, and faces that define the shape of a 3D object. Learning to manipulate meshes is key to creating complex models.
- Modeling Techniques: There are several techniques for creating 3D models, including box modeling (starting with a primitive shape and refining it), sculpting (molding the model like clay), and more.
- Modifiers: Modifiers are tools that automatically affect a model’s geometry in non-destructive ways. Common modifiers include Subdivision Surface (for smoothing) and Boolean (for combining or subtracting shapes).
- Topology: This refers to the arrangement of vertices, edges, and faces in a model. Good topology is important for deformation, animation, and efficient rendering.
- Materials and Textures: Materials define the color, shininess, and other properties of a model\"s surface. Textures are images mapped onto the surface of a model to add detail, like color patterns or bumps.
These concepts are the foundation of 3D modeling in Blender. With practice, you\"ll learn to apply these principles to create anything from simple models to complex scenes.
Creating Your First 3D Model
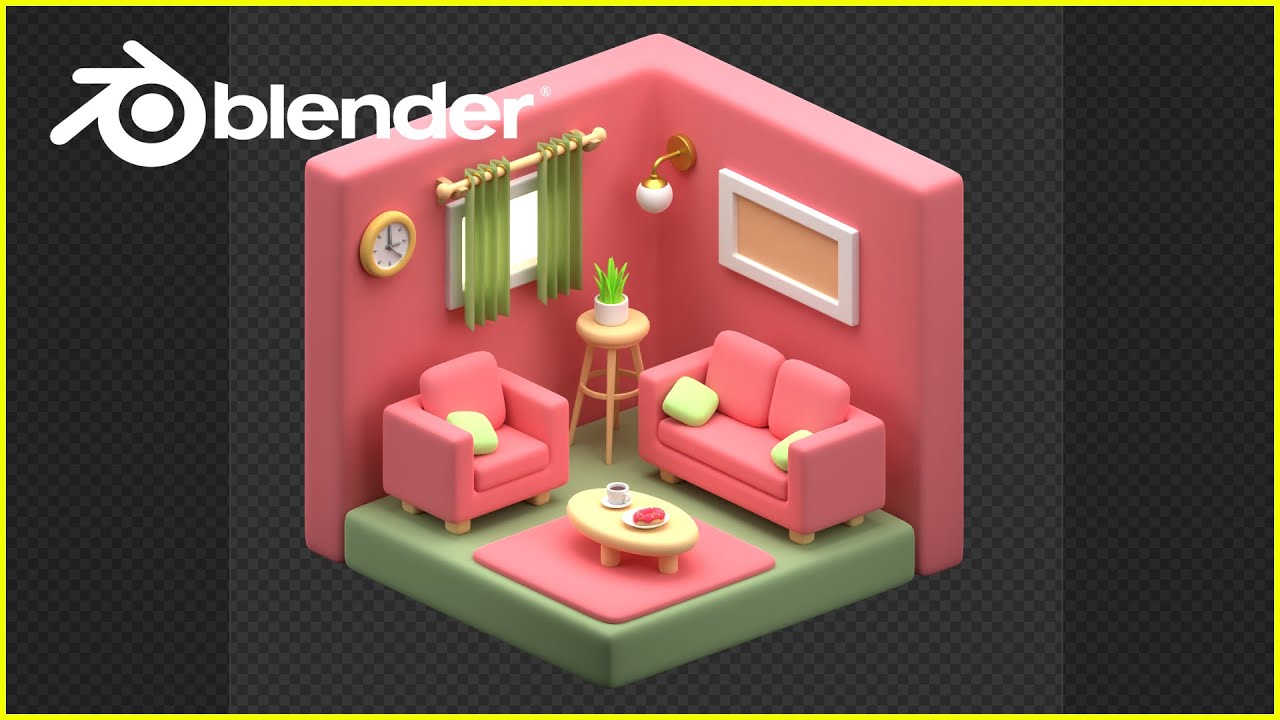
Creating your first 3D model in Blender is an exciting step into the world of 3D art. Follow these beginner-friendly steps to create a simple model and understand the basics of Blender\"s modeling tools:
- Starting with a Basic Shape: Open Blender and start with a basic shape like a cube. You can find primitives under the \"Add\" menu in the 3D viewport.
- Entering Edit Mode: With your object selected, enter Edit Mode by pressing Tab. In Edit Mode, you can modify the vertices, edges, and faces of your object.
- Selecting Elements: Use the mouse to select vertices, edges, or faces, or use keyboard shortcuts like \"A\" to select all/deselect, \"B\" for box select, and \"C\" for circle select.
- Manipulating Geometry: Learn basic transformations - use \"G\" to grab and move, \"R\" to rotate, and \"S\" to scale your selected elements. You can also constrain these transformations to an axis by pressing \"X\", \"Y\", or \"Z\".
- Extruding and Loop Cutting: Use \"E\" to extrude selected faces to add volume and \"Ctrl+R\" to add loop cuts for more detailed shaping.
- Applying Modifiers: Explore the Modifier properties to add complex transformations and effects easily. A good start is the Subdivision Surface modifier to smooth your model.
- Setting up Materials: Switch to the Material tab to create a new material. Adjust the color, specular, and roughness to customize the look of your model.
Remember, practice is key to mastering 3D modeling. Don\"t hesitate to experiment with different shapes and tools as you become more comfortable with Blender\"s interface.
_HOOK_
Materials and Texturing Basics
Materials and texturing are crucial for giving your 3D models a realistic or stylized look. Blender offers powerful tools for creating and applying materials and textures. Follow these steps to get started:
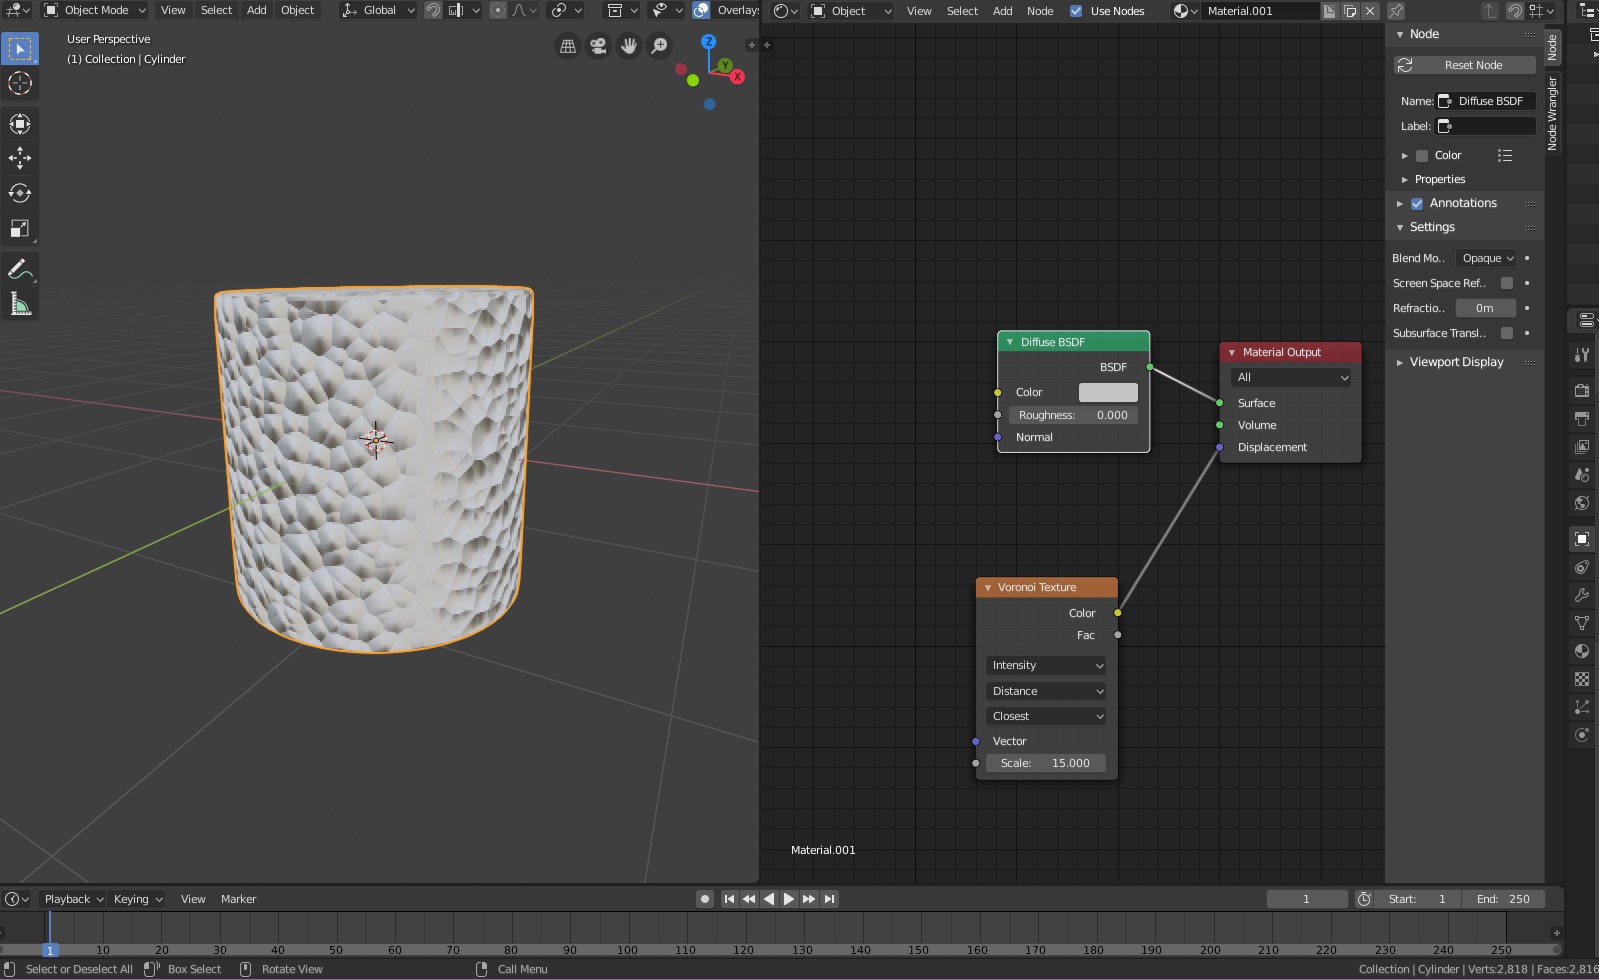
- Understanding Materials: Materials define the surface appearance of your model, including its color, shininess, and transparency. In the Shader Editor, you can create complex materials using nodes.
- Adding a Material: Select your object and go to the Material Properties tab. Click \"New\" to add a material. You can then adjust its properties, such as Base Color, Metallic, and Roughness.
- Texture Mapping: Textures are images mapped onto the surface of your model to add detail, like wood grain or fabric. In the Shader Editor, add an Image Texture node and link it to the Base Color input of the material\"s shader.
- UV Unwrapping: For the texture to accurately map to your model, you need to UV unwrap your object. This process translates the 3D surface of your model into a 2D layout. In Edit Mode, select all faces and use U to unwrap.
- Using Nodes for Texturing: Blender\"s node-based system allows for intricate material and texturing workflows. Combine different nodes like Mix Shader, Bump, and Glossy BSDF to create unique effects.
- Applying Textures: To apply a texture, ensure your material uses the Image Texture node. Adjust mapping coordinates and scale to fit the texture to your model correctly.
Experiment with different materials and textures to see how they affect the look of your model. Understanding these basics will greatly enhance the visual quality of your 3D projects.
Introduction to Lighting in Blender
Lighting is a critical aspect of 3D art that affects mood, tone, and realism. Blender offers several types of lights to illuminate your scenes. Understanding the basics of lighting will help you create more dynamic and appealing visuals. Here\"s how to get started:
- Types of Lights: Blender includes Point, Sun, Spot, and Area lights. Each has its own characteristics and uses. Point lights emit light in all directions, Sun lights simulate sunlight with parallel rays, Spot lights produce a cone of light, and Area lights offer soft, diffused lighting.
- Adding a Light: To add a light to your scene, go to the \"Add\" menu, select \"Light,\" and choose the type of light you want. Position the light by selecting it and using the move (G), rotate (R), and scale (S) tools.
- Adjusting Light Properties: With a light selected, go to the Light Properties tab to adjust its settings, such as color, strength, and for Spot and Area lights, size and shape.
- Using Three-Point Lighting: A common lighting setup is three-point lighting, which includes a key light, fill light, and back light. This setup provides depth and dimension to your models.
- Shadows: Control shadows through the light\"s properties. You can adjust the softness and darkness of shadows to enhance realism or achieve a specific look.
- Environmental Lighting: For broader illumination, use World settings to add environmental textures or colors, simulating outdoor lighting or ambient light.
- Lighting Effects: Experiment with volumetric lighting and other effects to add atmosphere or dramatic flair to your scenes. Volumetric lighting is particularly useful for creating beams of light or foggy effects.
Effective lighting can transform your 3D scene from flat to photorealistic. Take the time to experiment with different lighting setups and observe how they influence your scene\"s overall appearance.

Blender Tutorial for Complete Beginners - Part 1
Blender: Are you ready to take your 3D modeling skills to the next level? This captivating video will walk you through the incredible features of Blender, empowering you to create stunning visual masterpieces like never before. Get ready to unleash your creativity!
Learn Blender 3D in 20 Minutes! Blender Tutorial for Absolute Beginners 2023
Tutorial: Looking to learn something new and valuable in just a few minutes? Look no further! This tutorial video is packed with expert tips and tricks, making it the perfect resource for beginners and seasoned professionals alike. Get ready to dive into a learning adventure that will leave you feeling inspired and equipped with new skills.
Rendering Your First Scene
Rendering is the process of converting your 3D scene into a final image or animation. It\"s a crucial step in showcasing your work. Here\"s a beginner\"s guide to rendering your first scene in Blender:
- Setting up Your Scene: Ensure your scene is ready for rendering. This includes checking your models, materials, textures, and lighting. Make any necessary adjustments to improve the scene\"s overall appearance.
- Choosing a Render Engine: Blender offers different render engines, including Eevee (real-time renderer) and Cycles (ray-traced renderer). Decide based on your needs; Eevee for speed, Cycles for realism.
- Camera Placement: Position your camera to frame your scene correctly. You can enter camera view by pressing Numpad 0. Use the camera\"s properties to adjust the focal length, depth of field, and other settings for the desired composition.
- Render Settings: Go to the Render Properties tab to configure your render settings. This includes selecting the render engine, setting the resolution, and choosing the output format for your image or animation.
- Sampling Settings: For Cycles, adjust the number of samples to balance between render quality and time. More samples mean higher quality but longer render times. Eevee has its own settings for quality adjustments.
- Lighting and Shadows: Review your lighting setup and ensure it\"s as you intended. Proper lighting is crucial for a good render. Adjust light strength, color, and shadows as needed.
- Rendering the Image: Once satisfied with your setup, click \"Render\" then \"Render Image\" in the top menu or press F12. Blender will start rendering your scene.
- Saving the Render: After rendering, save your image by going to \"Image\" > \"Save As\" in the render window. Choose your preferred format and location.
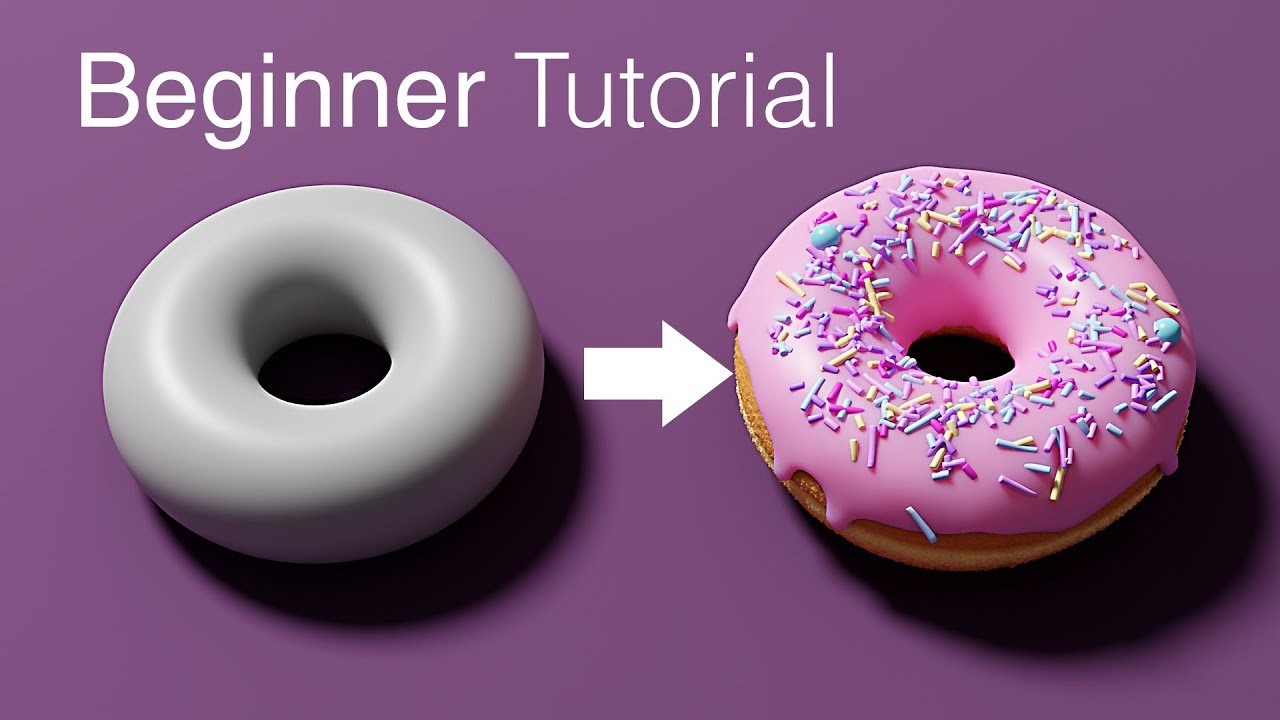
Rendering your first scene is a milestone in your 3D modeling journey. With practice, you\"ll learn to adjust settings for optimal results and faster render times.
Basic Animation Techniques
Animation brings your 3D models to life. Blender\"s animation tools are powerful and versatile, allowing for everything from simple movements to complex sequences. Start with these basic techniques to animate your scene:
- Understanding Keyframes: Keyframes are the foundation of animation, marking the start and end points of any movement. In Blender, you can insert keyframes for almost any property, including location, rotation, and scale.
- Animating a Simple Object: Select an object, move to the frame where you want the animation to start, change the property you wish to animate, and press \"I\" to insert a keyframe. Move to another frame, change the property again, and insert another keyframe.
- Timeline and Dope Sheet: Use the Timeline to scrub through your animation and the Dope Sheet to manage your keyframes. These tools provide a visual representation of your animation\"s timing.
- Interpolation: Blender automatically creates smooth transitions between keyframes using interpolation. You can adjust the interpolation type in the Graph Editor for different effects.
- Animating Cameras: Camera animation can add dynamism to your scene. Animate the camera\"s position and rotation to create pans, zooms, and tracking shots.
- Using the Graph Editor: The Graph Editor allows for fine control over the animation curves, which represent the change in properties over time. Use it to adjust the speed and timing of your animations.
- Principles of Animation: Familiarize yourself with basic animation principles like anticipation, follow-through, and easing to create more natural and appealing movements.
- Previewing Your Animation: Press \"Alt+A\" or click the play button in the Timeline to preview your animation. Adjust your keyframes and interpolation as needed based on the playback.
Animation in Blender is a vast topic, but mastering these basic techniques will give you a solid foundation to build upon. Experiment with different properties and effects to discover the full potential of your creations.
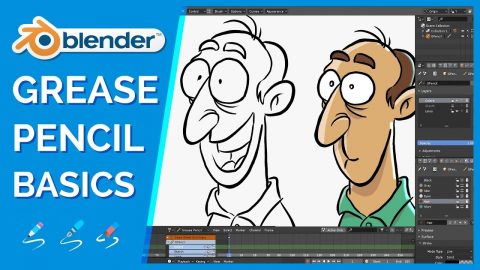
Using Blender\"s Modifiers for Modeling
Modifiers in Blender are tools that non-destructively alter your model\"s geometry, offering powerful ways to enhance and automate your workflow. Here\"s how to effectively use modifiers in your 3D modeling projects:
- Understanding Modifiers: Modifiers apply effects that can change the shape, structure, and topology of your objects without permanently altering the original mesh. This allows for flexible experimentation and iteration.
- Adding a Modifier: Select an object and go to the Modifier Properties tab (the wrench icon). Click \"Add Modifier\" and choose from the list. Commonly used modifiers include Subdivision Surface, Mirror, Solidify, and Array.
- Configuring Modifiers: Each modifier has its own set of parameters that can be adjusted to achieve the desired effect. Experiment with these settings to understand their impact on your model.
- Stacking Modifiers: You can apply multiple modifiers to an object to combine their effects. The order in which modifiers are stacked can significantly affect the final result.
- Applying Modifiers: Once you are satisfied with the result, you can apply a modifier to make its changes permanent. This is done via the \"Apply\" button in the modifier\"s settings. Be cautious, as this cannot be undone.
- Non-Destructive Workflow: Keeping modifiers unapplied allows for a non-destructive workflow, where you can go back and adjust settings without losing work. This is particularly useful during the early stages of modeling.
- Using the Mirror Modifier: The Mirror Modifier is invaluable for creating symmetrical models. It mirrors your object across a chosen axis, which is useful for characters, vehicles, and other symmetrical designs.
- Exploring Advanced Modifiers: As you become more comfortable, explore advanced modifiers like Boolean for complex shape operations, or Cloth for simulating fabric dynamics.
Modifiers are a cornerstone of efficient 3D modeling in Blender. By understanding and utilizing these tools, you can significantly speed up your workflow and achieve more complex and detailed models.

_HOOK_
Sculpting Basics in Blender
Sculpting in Blender allows for intuitive, artistic control over your 3D models, akin to shaping clay in the real world. Here\"s a beginner\"s guide to getting started with sculpting in Blender:
- Entering Sculpt Mode: Select your object and switch from Object Mode to Sculpt Mode. This mode provides a set of tools specifically for sculpting your model.
- Choosing a Brush: Blender offers various sculpting brushes for different effects, such as the Draw, Clay, and Smooth brushes. Experiment with these brushes to see their effects on your model.
- Adjusting Brush Settings: Each brush has adjustable settings, including size, strength, and falloff. These settings can be modified in the tool settings bar or by using keyboard shortcuts (\"F\" for size and \"Shift + F\" for strength).
- Symmetry: For symmetrical models, enable symmetry in the sculpting options. This mirrors your strokes across an axis, ensuring both sides of your model are identical.
- Dynotopo (Dynamic Topology): Dynotopo dynamically subdivides your mesh as you sculpt, allowing for detailed sculpting without the need for a highly subdivided mesh from the start. Activate it in the Sculpt mode options.
- Shaping Your Model: Begin sculpting your model using broad strokes to define the basic shapes and volumes. Gradually move to smaller brushes to add details.
- Using Masks: Masks allow you to protect certain areas of your model from being affected by sculpting brushes. They are useful for isolating parts of your model for detailed work.
- Refining Details: As your model takes shape, switch to finer brushes to add details such as wrinkles, textures, or other fine features. Use the Smooth brush to soften areas that become too rough.
Sculpting is a powerful technique that offers great creative freedom. Practice regularly to develop your skills and bring your 3D visions to life with Blender\"s sculpting tools.

Introduction to UV Mapping
UV Mapping is a critical process in 3D modeling that involves unwrapping a 3D model onto a 2D surface to accurately apply textures. This step is essential for adding realistic or stylized details to your models. Here\"s how to get started with UV Mapping in Blender:
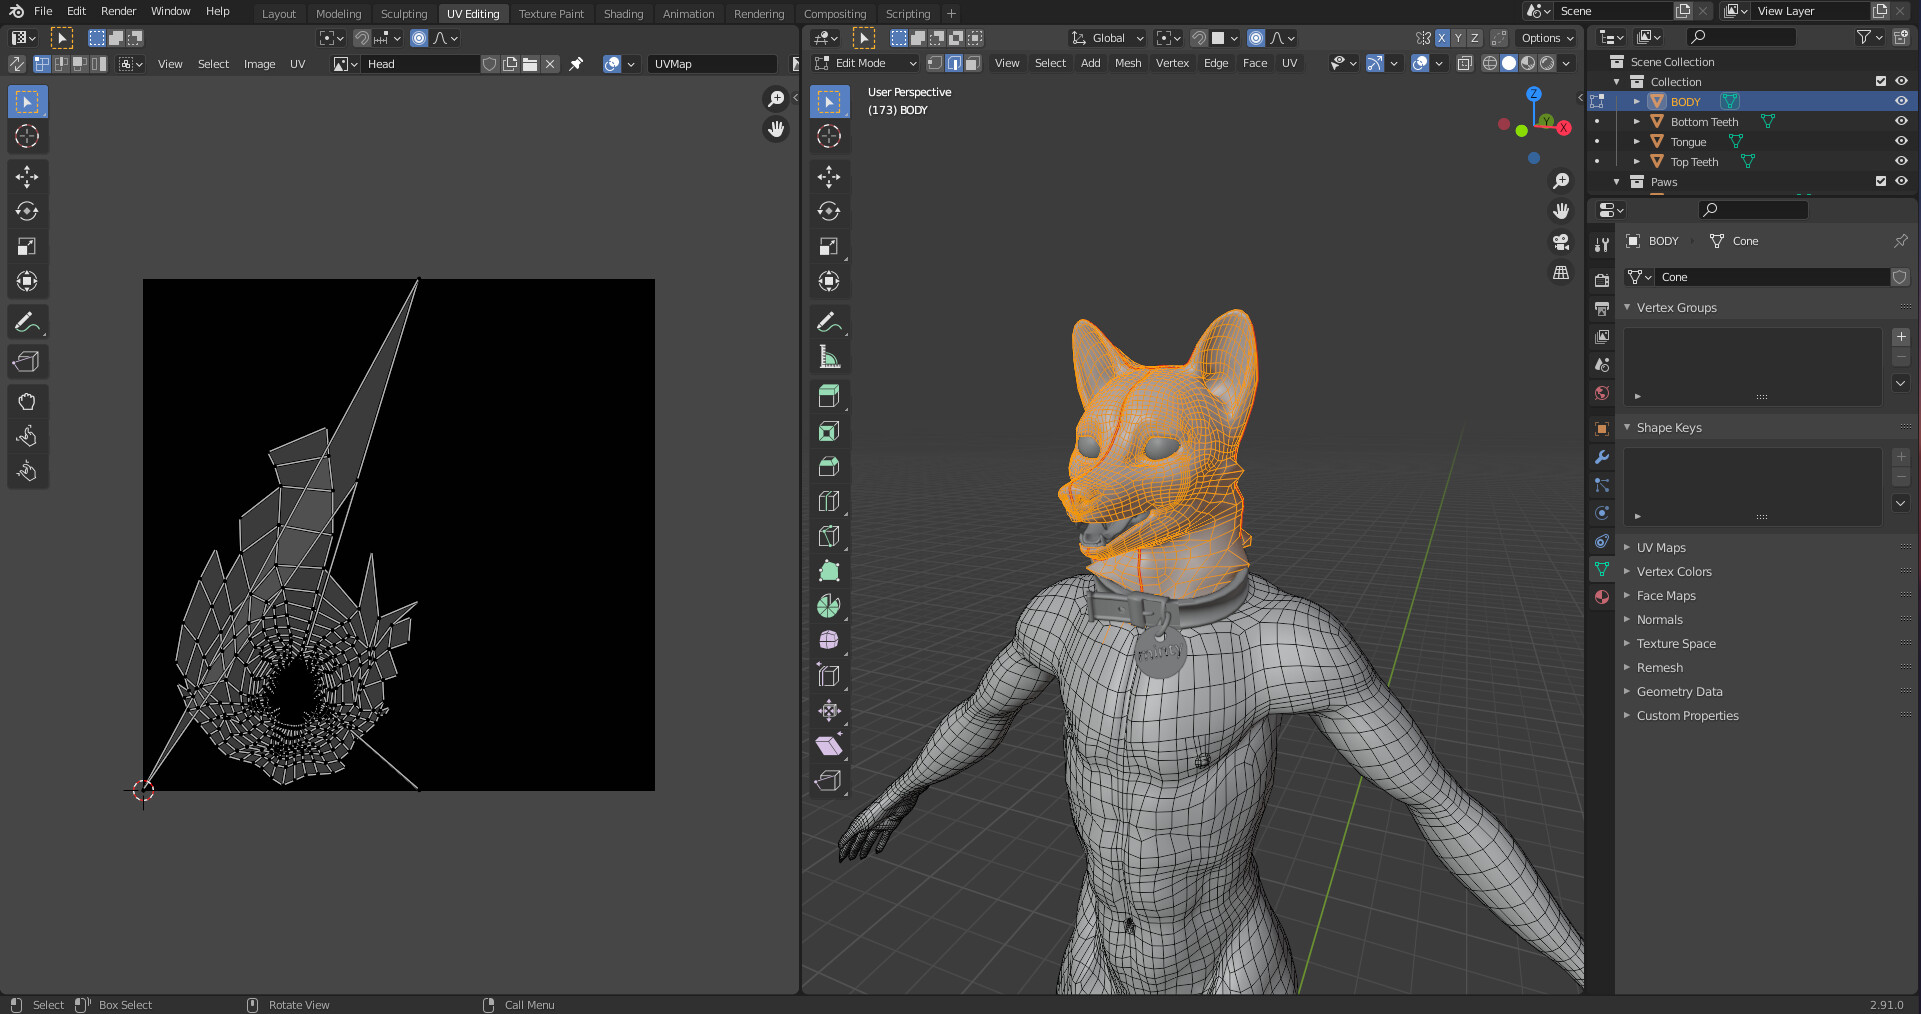
- Understanding UV Maps: UVs are coordinates that represent a 2D projection of a 3D model. They tell Blender how to wrap a texture around a model, ensuring textures are correctly applied without stretching or distortion.
- Entering Edit Mode: With your model selected, enter Edit Mode. UV Mapping is done by manipulating the vertices, edges, and faces of the model in this mode.
- Marking Seams: Seams are edges where the mesh will be \"cut\" to lay flat. Select edges where you want seams, then right-click and choose \"Mark Seam\". This guides Blender on how to unfold the mesh.
- Unwrapping the Mesh: Select all faces of your model (A) and then unwrap it by pressing U and selecting \"Unwrap\". Blender will use the seams you\"ve marked to unfold the model onto a 2D UV layout.
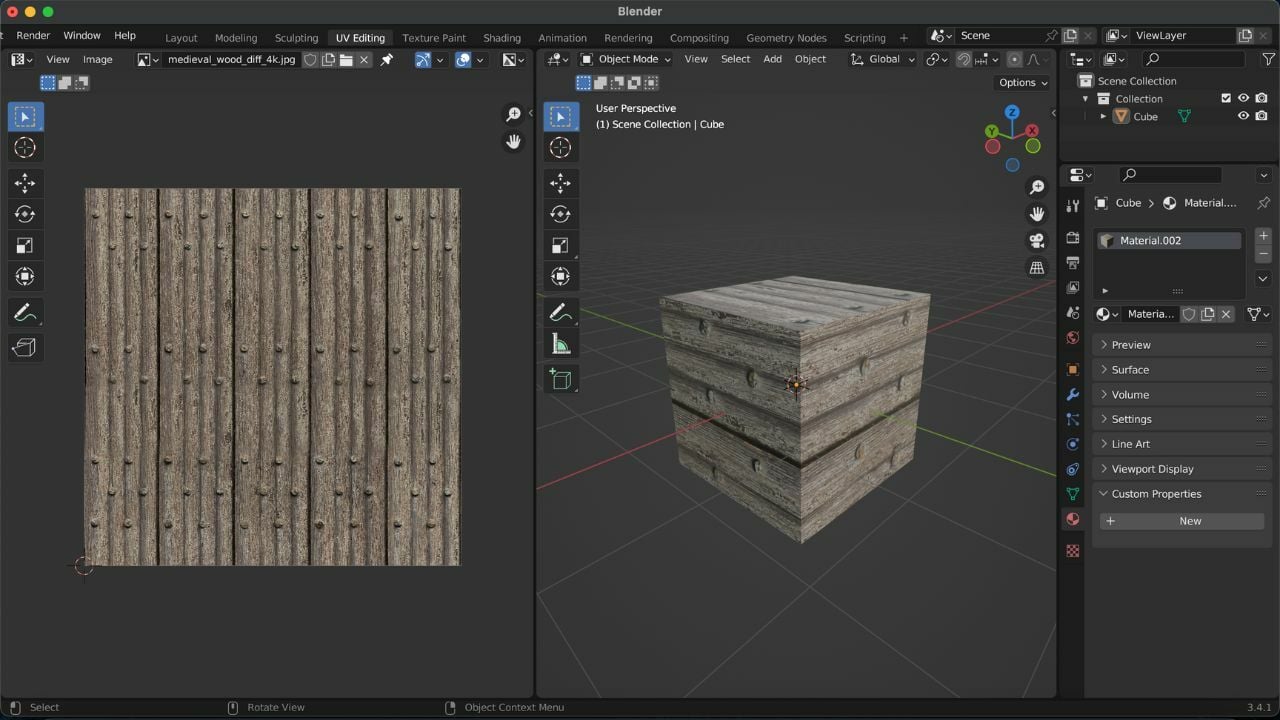
- Editing UVs in the UV Editor: After unwrapping, switch to the UV Editor to see the UV layout. Here, you can move, scale, and rotate UV islands (groups of connected polygons) to optimize texture placement.
- Applying Textures: With your UV map laid out, you can now apply textures in the Shader Editor. Connect an Image Texture node to your material\"s Base Color input, and select your texture file. The texture will adhere to the UV layout.
- Adjusting UVs for Texture Fit: Sometimes, textures may not fit perfectly on the first try. Adjust your UVs in the UV Editor to ensure textures align correctly with your model\"s features.
- Exporting UV Layouts: For complex texturing work, you may want to export the UV layout to a graphics program. Use the UV Editor\"s export function to save the layout as an image, which you can then paint or modify externally.
UV Mapping is a powerful tool in texturing work, allowing for high levels of detail and realism in your models. With practice, you\"ll find it an indispensable part of your 3D modeling toolkit.
Compositing and Post-Processing in Blender
Compositing and post-processing are final steps in the Blender workflow, enhancing your renders with additional visual effects or corrections. These techniques can significantly improve the quality and mood of your projects. Here\"s how to get started:
- Understanding Nodes: Blender\"s Compositor uses a node-based system for post-processing. Nodes are individual effects that can be combined to create complex results. Access the Compositor in the Compositing workspace.
- Using Render Layers: Render layers separate your scene into different elements (e.g., foreground, background) that can be individually modified in the Compositor. Set up render layers in the Render Layers Properties tab.
- Adding Effects: In the Compositor, use nodes to add effects like blur, color correction, and glare. Connect nodes to combine effects and adjust their properties to achieve the desired look.
- Adjusting Color Balance: Use the Color Balance node to adjust the colors of your render. This can help set the mood or correct color imbalances.
- Incorporating Masks: Masks can be used to apply effects to specific parts of the image. Create masks in the Image Editor and use them in the Compositor to isolate effects.
- Adding Glare and Lens Flares: The Glare node can be used to add bloom, streaks, or glares to bright areas, simulating the behavior of real camera lenses.
- Utilizing the Viewer Node: To preview your composited image in the backdrop of the Compositor, connect a Viewer node to the output of your node setup.
- Rendering the Final Image: Once you\"re satisfied with your compositing and post-processing work, render the final image. Ensure the \"Compositing\" option is enabled in the Post Processing tab of the Render Properties.
Compositing and post-processing are powerful tools for enhancing your renders. Experiment with different nodes and techniques to find the best enhancements for your projects.
READ MORE:
Next Steps and Additional Resources
As you continue your journey in Blender, expanding your knowledge and skills is key to mastering 3D modeling, animation, and rendering. Here are some next steps and resources to further your learning:
- Practice Regularly: The best way to improve is by practicing regularly. Set yourself small projects or challenges to apply what you\"ve learned.
- Explore Blender Tutorials: There are countless tutorials online for all skill levels. Websites like Blender Guru, CG Cookie, and BlenderNation offer in-depth guides and projects.
- Join Blender Communities: Joining Blender forums and communities can provide support, inspiration, and feedback on your work. Consider platforms like Blender Artists and the Blender subreddit.
- Learn Advanced Techniques: As you become more comfortable with the basics, start exploring more advanced topics like character rigging, fluid simulation, and particle systems.
- Study Other Artists\" Work: Studying the work of other 3D artists can provide new ideas and insights. Many artists share breakdowns and tutorials that can offer valuable learning opportunities.
- Experiment with Different Genres: Don\"t limit yourself to one type of 3D work. Experimenting with different genres and styles, from photorealistic rendering to stylized animation, can broaden your skills.
- Stay Updated with Blender Updates: Blender is constantly being updated with new features and improvements. Keep up to date with the latest versions and learn how to use new tools and features as they are released.
- Consider Formal Training: If you\"re serious about 3D modeling and animation, consider formal training or courses. Many institutions offer specialized programs in 3D art and animation.
Remember, mastering Blender is a journey. Be patient with your progress and enjoy the creative process. With dedication and practice, you\"ll continue to grow as a 3D artist.
Embark on an exciting journey into the world of 3D art with Blender. With practice, patience, and passion, you\"ll unlock endless creative possibilities. Start your adventure today and transform your ideas into stunning 3D realities.


