Topic how to animate using blender: Unlock the full potential of your creativity by mastering how to animate using Blender, the comprehensive guide to bringing your animations to life.
Table of Content
- How do I animate using Blender?
- Getting Started with Blender
- Understanding the Blender Interface
- Introduction to Keyframes and Animation Principles
- Creating Your First Animation in Blender
- YOUTUBE: Animation for Beginners | Blender Tutorial
- Working with Blender\"s Dope Sheet and Graph Editor
- Animating Characters: Rigging and Weight Painting
- Advanced Animation Techniques
- Using Blender\"s Physics to Animate
- Rendering Your Animation
- Tips and Tricks for Efficient Animation Workflow
- Resources for Further Learning
How do I animate using Blender?
- Open Blender and create or import your desired 3D model.
- Select the model and switch to the \"Pose Mode\" by clicking on the dropdown menu at the bottom of the viewport and selecting \"Pose Mode\".
- With the model selected, press the \"Tab\" key to go into Edit Mode and then select specific parts of the model, such as limbs, by right-clicking on them.
- Press \"Ctrl\" + \"I\" to invert the selection, and then press \"H\" to hide the unselected parts of the model, allowing you to focus on animating the specific parts.
- Return to Object Mode by pressing \"Tab\" and then select the \"Armature\" tab in the Properties panel. Click on the \"Add Armature\" button to create an armature for your model.
- In the 3D viewport, right-click the armature, press \"Tab\" to go into Edit Mode, and then press \"A\" to select all bones.
- Press \"G\" to grab the bones and position them according to your desired pose. You can use the \"Rotation\" (\"R\" key) and \"Scale\" (\"S\" key) tools to further manipulate the bones.
- Once you have positioned the bones, press \"Ctrl\" + \"H\" to bring up the parenting menu and select \"With Automatic Weights\" to automatically assign the vertices of the model to the bones.
- Switch back to Pose Mode by pressing \"Tab\", and you will now be able to manipulate the bones to animate your model.
- Keyframe the animations by selecting a bone, choosing a frame in the timeline, and then pressing the \"I\" key. Select \"LocRotScale\" to keyframe the bone\'s location, rotation, and scale.
- Repeat the previous step to keyframe different poses and movements at different frames to create a complete animation.
- To preview the animation, play the timeline by pressing the \"Spacebar\" or use the playback controls at the bottom of the timeline.
- Once you are satisfied with your animation, you can render it out as a video or export it in a suitable format for your needs.
READ MORE:
Getting Started with Blender
Embarking on your animation journey with Blender begins with downloading and installing the software from the official Blender website. Ensure your system meets the minimum requirements for a smooth experience.
- Download Blender from the official website and install it on your computer.
- Open Blender and familiarize yourself with the user interface, noting the 3D viewport, timeline, and properties panel.
- Customize your settings in the preferences menu to suit your workflow, such as keymap and theme.
- Learn basic navigation controls: use the middle mouse button to orbit, scroll wheel to zoom, and shift + middle mouse button to pan the view.
Begin with simple projects to understand the fundamentals of 3D modeling, shading, and lighting before moving on to animation. Blender\"s vast community and plethora of tutorials are invaluable resources as you progress.
- Explore Blender\"s official tutorials and documentation for beginners.
- Join Blender forums and communities to seek advice and share your work.
- Practice regularly by creating simple models and animations to build your skills.
Remember, mastering Blender is a journey. Patience and consistent practice are key to unlocking your creative potential in animation.

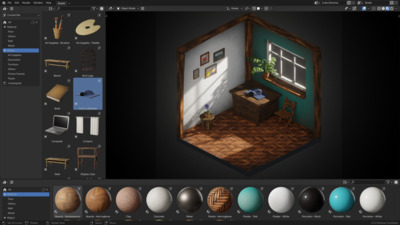
Understanding the Blender Interface
Blender\"s interface might seem daunting at first, but it\"s designed to provide quick access to powerful tools. Here\"s a breakdown to help you navigate and utilize it effectively:
- 3D Viewport: The heart of Blender, where you can interact with your scene. Use the mouse to navigate (rotate, pan, zoom) around objects.
- Timeline: Located at the bottom, it controls animation playback and keyframe management.
- Outliner: A hierarchical list of all elements in your scene, providing an organized overview and easy selection.
- Properties Panel: On the right, it contains settings for the active object, render configurations, materials, modifiers, and more.
- Tool Shelf and Modes: The left panel offers tools for object manipulation and editing. Switch between Object, Edit, Sculpt, Vertex Paint, Weight Paint, and Texture Paint modes to access specific toolsets.
To customize the interface for your workflow:
- Drag and drop the corner of any panel to split the view and create new windows.
- Right-click on the interface to change themes, adjust layout, or scale the UI elements.
- Use the \"Workspace\" tabs at the top to switch between preset or custom layouts optimized for tasks like modeling, animation, or scripting.
Understanding Blender\"s interface is the first step towards unleashing your creative potential. Take your time to explore and experiment with different settings and views to find what works best for your project.
Introduction to Keyframes and Animation Principles
Animation in Blender is achieved through the use of keyframes—a fundamental concept that represents the cornerstone of animation. Keyframes are points in time that capture the position, rotation, and scale of objects, forming the basis of your animation. Understanding keyframes and the core principles of animation will empower you to create dynamic and lifelike animations.
- Creating Keyframes: To set a keyframe in Blender, select your object, move to the desired frame in the timeline, adjust your object’s property (like position), and press ‘I’ to insert a keyframe. You can keyframe properties such as location, rotation, scale, and many others.
- Animation Principles: Familiarize yourself with basic animation principles such as anticipation, timing, squash and stretch, and follow-through. These principles help in making animations more natural and expressive.
- Interpolation: Blender automatically creates smooth transitions between keyframes using interpolation. Understanding how to manipulate interpolation curves in the Graph Editor allows for more control over the movement and timing of your animation.
- Dope Sheet and Graph Editor: The Dope Sheet provides an overview of all keyframes in your scene, making it easier to manage and adjust timing. The Graph Editor offers detailed control over interpolation and keyframe values, allowing for fine-tuning of animations.
Start with simple animations to get a grasp of keyframing and interpolation. Experiment with different types of movements and observe how changing the spacing of keyframes affects the speed and timing of your animation. As you become more comfortable, begin to apply the animation principles to enhance your work, making it more dynamic and lifelike. Remember, practice and experimentation are key to mastering animation in Blender.

Creating Your First Animation in Blender
Creating your first animation in Blender is an exciting step into the world of 3D art and storytelling. Follow these steps to make a simple animation:
- Setup Your Scene: Open Blender and create a new project. Familiarize yourself with the default cube in the 3D viewport.
- Select Your Object: Click on the object you wish to animate. The default cube is a great starting point.
- Insert Keyframes: Move to the frame where you want your animation to start. With your object selected, press ‘I’ and choose a property to animate, such as ‘Location’. Move the timeline to another frame, move your object to a new location, and insert another keyframe.
- Play Your Animation: Press the play button in the timeline or press spacebar to see your object move between the keyframes you’ve set.
- Experiment with Properties: Try animating other properties like rotation and scale. Insert keyframes for these properties at different frames to see how they affect your animation.
Tips for Success:
- Use the Graph Editor to fine-tune the timing and speed of your animation.
- Explore the Dope Sheet to get an overview of all the keyframes in your scene.
- Practice by creating simple animations like a bouncing ball or a waving hand to understand the principles of motion.
Remember, animation is an art form that takes time to master. Keep experimenting, watching tutorials, and engaging with the Blender community to improve your skills.

_HOOK_
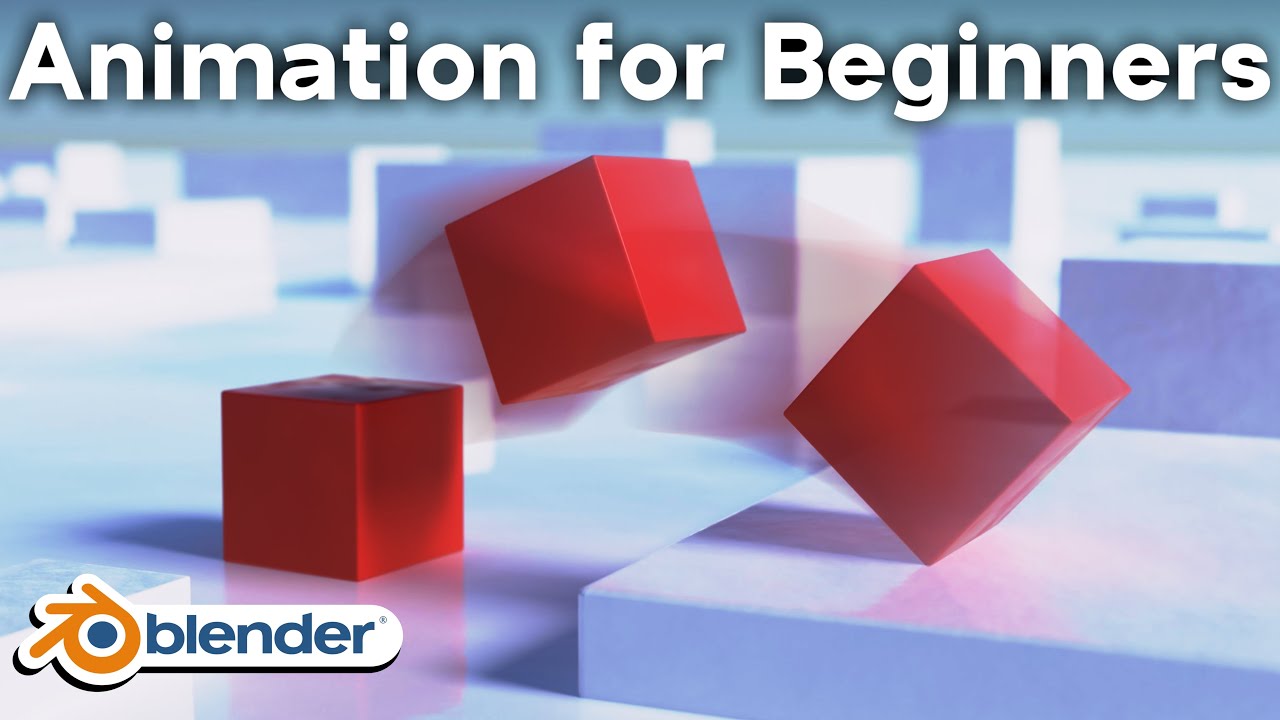
Animation for Beginners | Blender Tutorial
Explore the magical world of animation! Dive into a captivating video that showcases the power of animation, bringing characters to life and unlocking your imagination like never before. Don\'t miss out on this enchanting experience!
Become a PRO at Animation in 25 Minutes | Blender Tutorial
Get ready to be blown away by the mind-boggling possibilities of Blender! Discover an incredible video that unravels the secrets of this advanced 3D software, allowing you to create stunning visuals and push the boundaries of your creativity. Dive into the world of Blender today and let your imagination soar!
Working with Blender\"s Dope Sheet and Graph Editor
The Dope Sheet and Graph Editor are essential tools in Blender for managing and refining animations. These tools offer control over keyframes and interpolation, allowing for precise adjustments to your animation\"s timing and motion.
Dope Sheet
The Dope Sheet provides a bird\"s eye view of all the keyframes in your animation. It\"s particularly useful for re-timing animations and managing keyframes across multiple objects and properties.
- Access the Dope Sheet via the animation workspace or by changing the editor type.
- Use it to select, move, duplicate, or delete keyframes.
- Adjust the timing of your animations by dragging keyframes left or right.
Graph Editor
The Graph Editor offers an in-depth look at the interpolation between keyframes, represented as curves. Manipulating these curves allows for nuanced control over the acceleration and deceleration of animated properties.
- Open the Graph Editor in the animation workspace or switch the editor type.
- Select a keyframe to view its interpolation curve. You can adjust the handles to change the motion\"s speed and easing.
- Right-click on a curve to add, delete, or flatten keyframes, offering even more control over your animation\"s pacing.
Tips for Effective Animation:
- Experiment with different interpolation types (e.g., Bezier, Linear, Constant) to see their effects on your animation.
- Use the Dope Sheet for broad adjustments and the Graph Editor for fine-tuning.
- Remember, the goal is to create a smooth and natural motion. Pay attention to the flow and rhythm of your animations as you work.
By mastering the Dope Sheet and Graph Editor, you\"ll unlock the full potential of your animations in Blender, allowing for more dynamic and expressive results.
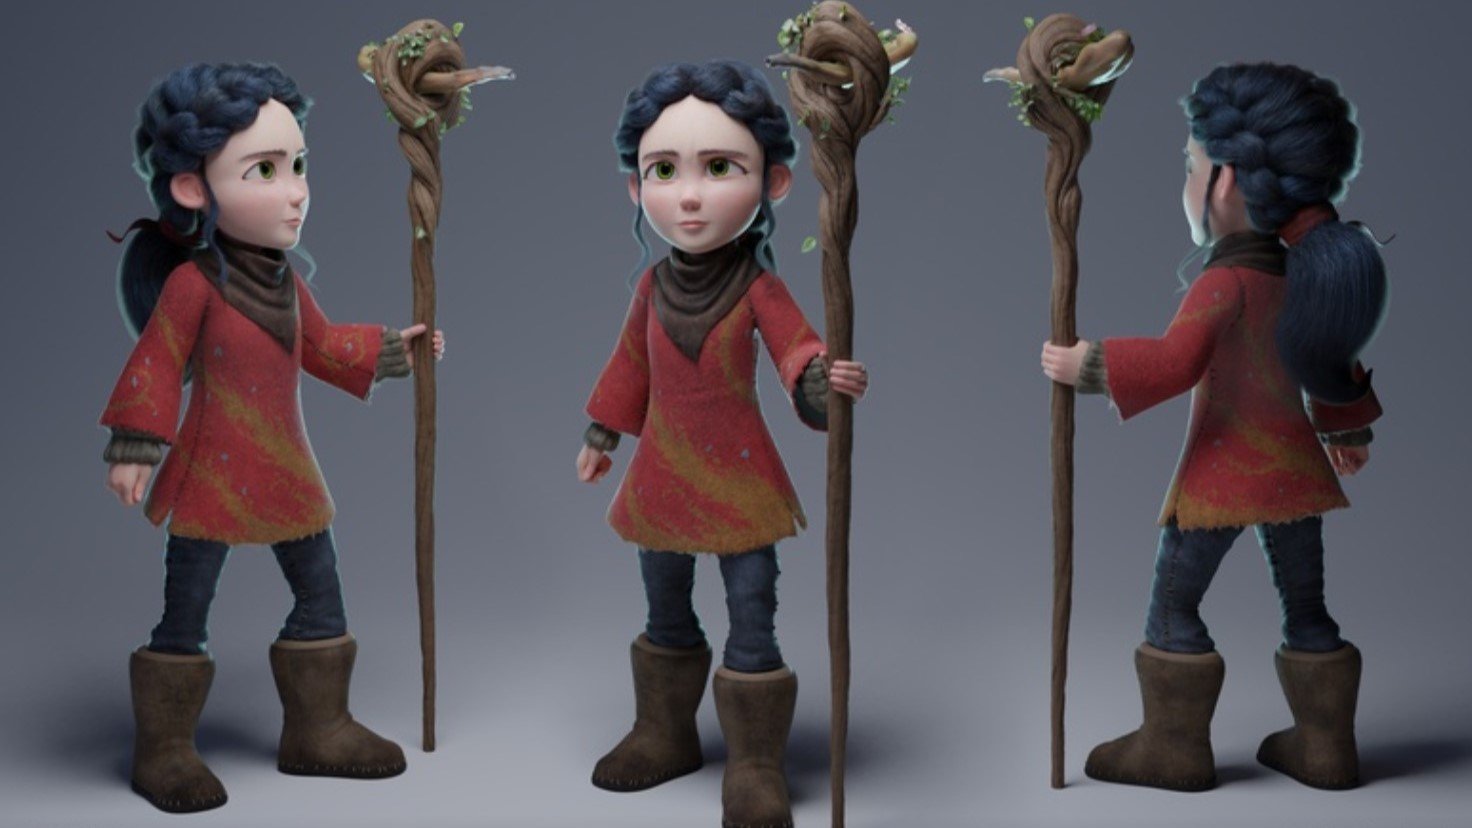
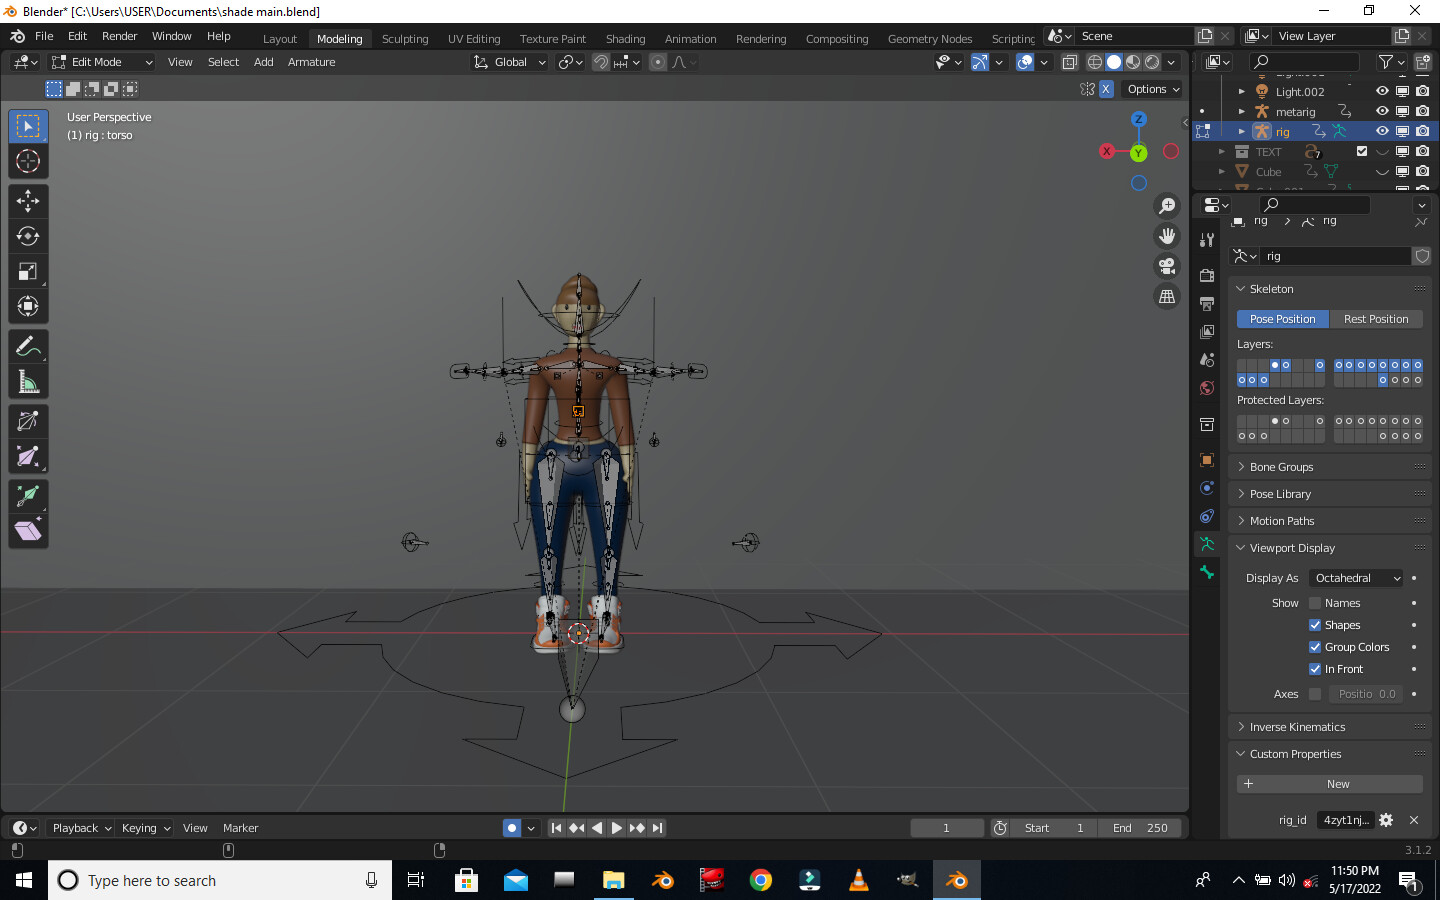
Animating Characters: Rigging and Weight Painting
Rigging and weight painting are crucial steps in animating characters in Blender, turning your static models into movable characters.
- Understanding Rigging: Rigging is the process of creating a skeleton (armature) for a character. This skeleton defines how your character moves. In Blender, you can create bones manually or use automatic rigging solutions available through add-ons.
- Creating a Rig: Start by adding an armature object to your scene and positioning the bones to match your character’s geometry. Use parent-child relationships to define bone hierarchy, ensuring a logical movement flow.
- Weight Painting: Weight painting allows you to define how much influence each bone has on parts of the mesh. In Weight Paint mode, select a bone and paint over the mesh to adjust the influence. Colors range from blue (no influence) to red (full influence).
- Testing Your Rig: Once rigged, move the bones in Pose Mode to test the deformations. Ensure that the movements look natural and adjust the weights as necessary.
- Animating Your Character: With the rig in place, you can start animating your character by setting keyframes for the bones in different poses over time.
Tips for Successful Rigging and Weight Painting:
- Start with simple rigs to understand the basics before moving to more complex structures.
- Use mirror modifiers for symmetrical models to save time when rigging and weight painting.
- Regularly test the rig by posing it to identify and fix any issues with weights or bone placements.
- Look into using Blender’s automatic weights feature as a starting point for weight painting, but be prepared to refine weights manually for the best results.
By mastering rigging and weight painting, you\"ll be well on your way to bringing your characters to life with realistic and expressive animations in Blender.

Advanced Animation Techniques
To elevate your Blender animations, mastering advanced techniques is essential. These methods will add complexity and realism to your work, making it stand out.
- Motion Tracking: Integrate real-world footage with 3D elements by using Blender’s motion tracking features. This allows for the creation of scenes where animated characters interact with live-action settings.
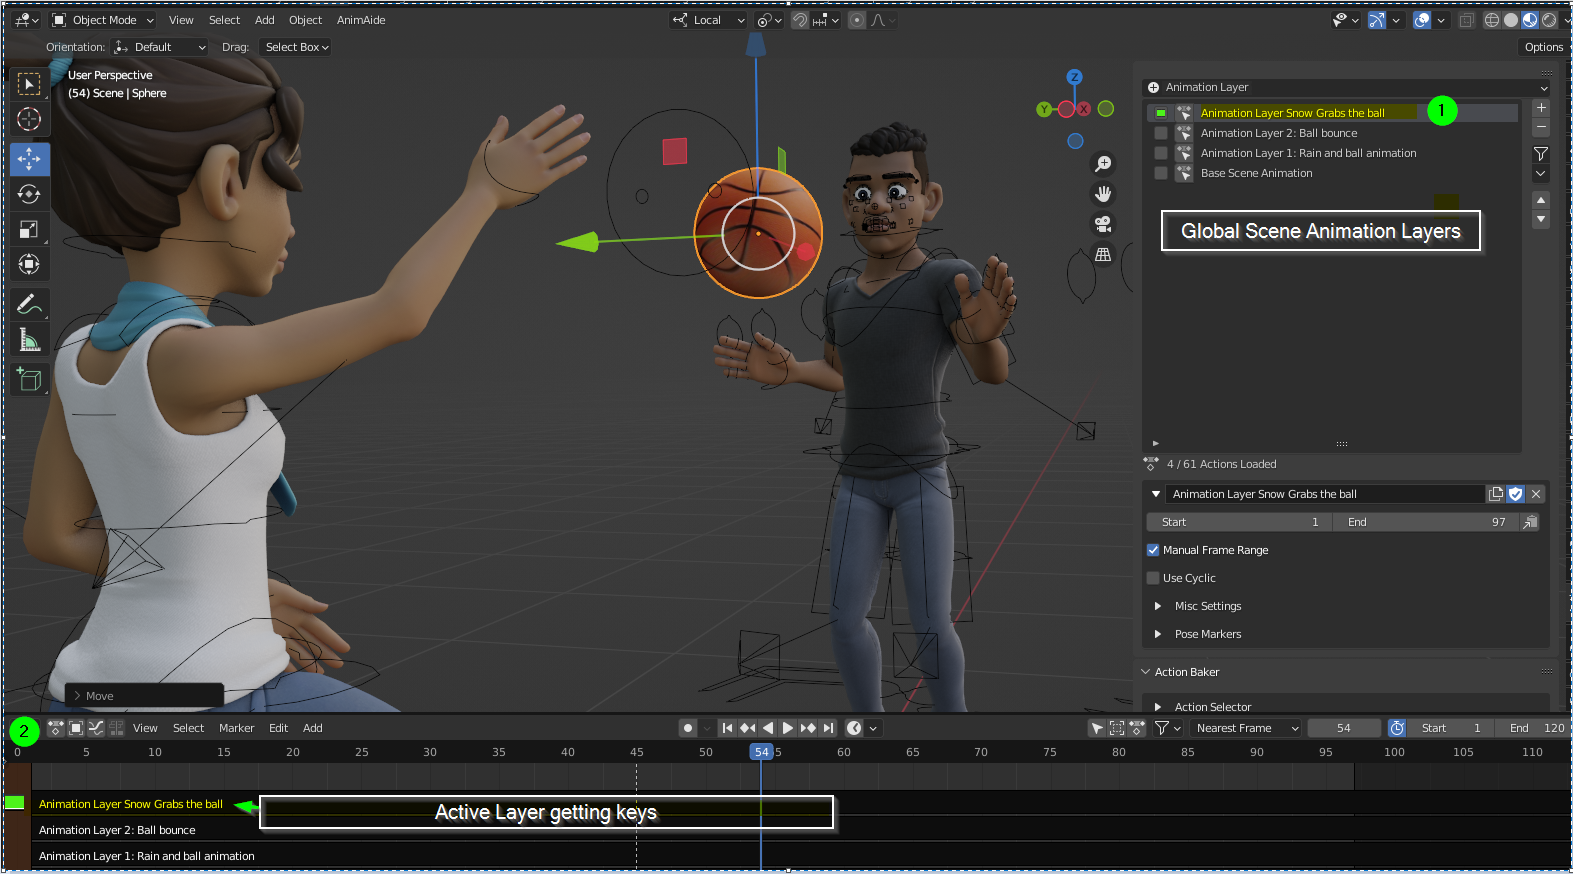
- Non-Linear Animation (NLA): Use the NLA Editor to layer and blend multiple actions. This is particularly useful for creating complex sequences like walk cycles that need to be repeated or blended with other animations.
- Shape Keys: For detailed facial expressions or morphing objects, shape keys allow you to transition smoothly between different states of a mesh.
- Particle Systems and Physics: Create realistic hair, fur, smoke, fire, or dynamic destruction with Blender’s particle systems and physics simulations. This can bring a new level of detail and realism to your scenes.
- Grease Pencil for 2D Animation: Combine 2D and 3D animation by using Blender’s Grease Pencil. This tool enables drawing directly in the 3D viewport, offering a unique way to create animations that blend 2D and 3D elements.
Experimenting with these advanced techniques requires patience and practice, but the results can be highly rewarding. Dive into each tool, explore its possibilities, and integrate them into your animations to push the boundaries of what you can create with Blender.

Using Blender\"s Physics to Animate
Blender\"s physics engine offers a powerful suite of tools for creating realistic animations that simulate real-world physics. This can greatly enhance the realism and complexity of your animations without manually keyframing every detail. Here’s how to get started:
- Understanding Physics Simulations: Blender includes various physics systems, such as rigid body, soft body, cloth, fluid, smoke, and particles, each with its own settings and uses.
- Rigid Body Dynamics: Use rigid body simulations for animations involving collisions, falling objects, or stacking. Enable the rigid body physics on your objects and adjust parameters like mass and friction to control their interaction.
- Soft Body and Cloth: For objects that need to deform or flutter, like clothing or soft materials, use the soft body and cloth simulations. These allow your objects to bend, stretch, and wave realistically.
- Fluid and Smoke Simulations: Create realistic liquid or gas effects using fluid and smoke simulations. These can simulate water flow, splashes, smoke, and fire, adding dramatic effects to your scenes.
- Particle Systems: Use particles to create effects like rain, snow, dust, or even crowds of small objects. Particles can also be used with physics to simulate natural movement and forces.
Each physics system in Blender has its own set of parameters that you can tweak to get the desired effect. Experimenting with these settings is key to understanding how to control the simulations for your specific needs.
- Always start with simple simulations to grasp the basics before moving on to more complex scenarios.
- Cache your simulations to speed up playback and make it easier to tweak settings without rerunning the simulation each time.
- Combine different physics simulations for complex effects, such as using particle systems with fluid simulations for more dynamic and interactive scenes.
By mastering Blender’s physics tools, you can add a layer of realism and complexity to your animations, bringing your creative visions to life with dynamic, physics-based interactions.
Rendering Your Animation
Rendering is the final step in the animation process, transforming your 3D animations into a video file. Here\"s how to render your animation in Blender:
- Choose the Right Renderer: Blender offers different rendering engines like Eevee (real-time) and Cycles (ray-traced). Select the one that best suits your project\"s needs in the Render Properties panel.
- Set Render Settings: Adjust the resolution, frame rate, and output format in the Output Properties. For animations, it\"s common to use a frame rate of 24, 25, or 30 FPS.
- Configure Lighting and Materials: Ensure your scene is properly lit and materials are correctly set up to achieve the desired look in your final animation.
- Preview Your Animation: Use the viewport render animation feature to preview your animation before the final render. This can help identify any issues with motion, lighting, or materials.
- Render Animation: Go to Render > Render Animation or press Ctrl+F12 to start rendering your animation. Blender will process each frame, which can take some time depending on the complexity of your scene and the settings used.
Tips for Efficient Rendering:
- Use render farms or cloud rendering services for large or complex projects to reduce rendering time.
- Consider rendering your animation in smaller segments if you\"re limited by hardware capabilities.
- Optimize your scene by reducing the polygon count and simplifying materials where possible without compromising the quality.
Rendering is a compute-intensive process, but with careful planning and optimization, you can efficiently produce high-quality animations using Blender.
_HOOK_
Tips and Tricks for Efficient Animation Workflow
Creating animations in Blender can be a highly rewarding process. Here are some tips and tricks to streamline your workflow and enhance productivity:
- Organize Your Scene: Use collections and naming conventions to keep your project organized. This makes navigating complex scenes easier.
- Use Proxies for Complex Models: For heavy models, use proxy meshes to speed up viewport performance. Switch back to the high-resolution models before rendering.
- Master Shortcuts: Blender\"s efficiency lies in its shortcuts. Learn key combinations for actions you perform frequently to save time.
- Implement Libraries: Reuse assets by creating and managing libraries. Link or append objects from other Blender files to avoid redoing work.
- Non-Destructive Editing: Utilize modifiers for non-destructive editing, allowing for flexible changes at any stage of the creative process.
- Animation Layers: Use the Non-Linear Animation (NLA) editor to layer different animations. This is especially useful for blending actions like walking and waving.
- Batch Render: For multiple animations, use batch rendering to automate the process. This can save a lot of manual effort and time.
- Back Up Regularly: Set up automatic backups and version control. Blender can crash, and having incremental saves can prevent loss of work.
- Use Placeholder Animations: For complex scenes, animate with placeholders to get a sense of timing and motion, then replace them with detailed models for final rendering.
By incorporating these strategies into your workflow, you can enhance your efficiency and focus more on the creative aspects of your animations. Remember, the goal is to create captivating stories and visuals, so don’t let technical hurdles impede your creative expression.

READ MORE:
Resources for Further Learning
To deepen your understanding and skills in animating with Blender, a wealth of resources are available. Here are some essential platforms and content types to explore:
- Blender Official Tutorials: The Blender Foundation offers comprehensive tutorials on its website and YouTube channel, covering everything from basics to advanced techniques.
- Online Courses: Websites like Udemy, Coursera, and Skillshare feature courses on Blender animation. These range from beginner to advanced levels and often include project-based learning.
- YouTube Channels: Many experienced animators and educators share their knowledge through YouTube. Channels like Blender Guru, CG Cookie, and Darrin Lile offer tutorials that cater to all skill levels.
- Forums and Communities: Join Blender forums and online communities such as Blender Artists and Reddit’s r/blender. These platforms are great for asking questions, sharing work, and receiving feedback from fellow Blender users.
- Books: There are several informative books on Blender, such as \"Blender For Dummies\" and \"Learning Blender: A Hands-On Guide to Creating 3D Animated Characters\". These can serve as valuable reference materials.
- Blender Add-ons: Explore the wide range of add-ons available for Blender that can streamline the animation process and add new functionalities to your toolkit.
Engaging with these resources can significantly enhance your animation skills in Blender. Remember, continuous learning and practice are key to mastering any software.
Embark on your journey to master animation with Blender, where creativity knows no bounds. Dive into these resources, practice diligently, and watch as your animated worlds come vibrantly to life.