Topic blender software for mac: Discover the power of Blender software for Mac, a game-changer for creative professionals and hobbyists alike, offering unparalleled 3D modeling, animation, and rendering capabilities on your macOS.
Table of Content
- Which version of Blender is compatible with macOS?
- Key Features and Benefits
- Installation Guide for Mac Users
- System Requirements for macOS
- Performance Enhancements in Latest Versions
- Utilizing Metal GPU Rendering on M1 and M2 Macs
- Comparing Blender Versions for Mac
- YOUTUBE: How to Install Blender on macOS
- Customizing Blender with Add-ons and Python Scripts
- Community and Support Resources for Mac Users
- How to Update Blender on Mac
- Blender Success Stories and User Projects
- Tips and Tricks for Mac Users
- Future Developments and Updates
Which version of Blender is compatible with macOS?
Blender is compatible with macOS and there are several versions of Blender that can be installed on a Mac. The compatible versions are:
- Blender 2.9x - This is the latest stable release of Blender and is compatible with macOS.
- Blender 2.8x - This version is also compatible with macOS and includes some new features and improvements.
- Blender 2.7x - Although it is an older version, it is still compatible with macOS and can be used if needed.
To download and install Blender on macOS, follow these steps:
- Go to the official Blender website (www.blender.org) using your web browser.
- Click on the \"Download\" menu and select the version of Blender you want to install (e.g., Blender 2.9x).
- Choose the macOS version that matches your system.
- Click on the download link to start the download.
- Once the download is complete, open the downloaded file (it should be a .dmg file).
- Drag and drop the Blender application file into the Applications folder to install it.
- Open the Applications folder and locate the Blender application.
- Double-click on the Blender application to launch it.
That\'s it! You now have the compatible version of Blender installed on your macOS. You can start using Blender for 3D modeling, animation, and more.
READ MORE:
Key Features and Benefits
Blender software for Mac stands out as a comprehensive, open-source 3D creation suite. It facilitates every aspect of 3D production, including modeling, rigging, animation, simulation, rendering, compositing, and motion tracking, even video editing and game creation. This versatility makes it a one-stop solution for artists and designers.
- Comprehensive 3D Modeling Tools: Blender offers an extensive array of modeling tools, making it ideal for creating detailed 3D models with efficiency and precision.
- Advanced Rendering Capabilities: With support for Cycles and Eevee render engines, Blender allows Mac users to produce stunningly realistic renders or opt for real-time rendering for quicker feedback.
- Animation & Rigging: Equipped with powerful animation tools, Blender enables artists to bring their creations to life with sophisticated rigging and animation features.
- Simulation: Whether it\"s fluid, smoke, hair, or cloth simulation, Blender provides the tools necessary to create realistic simulations that add depth to your projects.
- Video Editing: Blender includes a built-in video editor, allowing for basic to complex video editing tasks within the same platform.
- Game Creation: The integrated game engine enables developers to create interactive 3D applications and games directly within Blender.
- Customizability and Extensibility: Thanks to its open-source nature, Blender is highly customizable, with numerous add-ons available to extend its functionality.
- Community Support: A vast and active community contributes to a rich ecosystem of tutorials, plugins, and support, making it easier for new users to start and for professionals to expand their skill set.
These features, combined with Blender\"s compatibility with macOS, including optimization for the latest hardware such as the M1 and M2 chips, ensure a smooth and productive experience for Mac users.
Installation Guide for Mac Users
Installing Blender on a Mac is straightforward. Follow these steps to get started with Blender on your macOS system, ensuring you have access to powerful 3D creation tools in minutes.
- Download Blender: Visit the official Blender website and navigate to the download section. Select the version compatible with macOS. Make sure to download the version that matches your Mac\"s processor architecture (Intel or Apple Silicon).
- Open the Downloaded File: Locate the downloaded file in your Downloads folder. It will be a DMG file. Double-click on it to open the installer.
- Drag Blender to the Applications Folder: A window will open displaying the Blender icon and your Applications folder. Drag the Blender icon to the Applications folder. This will copy Blender to your Applications, making it accessible from your Launchpad.
- Eject the Blender Disk Image: After installation, go back to Finder and eject the Blender disk image, as it\"s no longer needed.
- Open Blender: Navigate to your Applications folder or use Spotlight search (Cmd + Space) to find Blender. Open it like any other application.
- Security Permission: The first time you open Blender, macOS might prevent it from opening because it\"s downloaded from the internet. Go to System Preferences > Security & Privacy and click \"Open Anyway\" next to the Blender alert.
- Enjoy Blender: You\"re now ready to start using Blender on your Mac. Explore its vast array of features and join the community of creators.
Note: For the best performance, ensure your Mac meets the minimum system requirements for Blender, and consider updating your macOS to the latest version for compatibility and security improvements.
System Requirements for macOS
To ensure Blender runs smoothly on your Mac, it\"s important to meet the minimum system requirements. Below are the details to help you verify if your Mac can support Blender efficiently.
- Operating System: macOS 10.13 High Sierra or later. Recent versions of Blender may require newer versions of macOS for optimal performance and compatibility.
- Processor: 64-bit dual-core 2GHz CPU with SSE4.2 support. For Apple Silicon (M1, M2 chips), Blender runs natively, offering enhanced performance.
- Memory: At least 4GB of RAM. 8GB or more is recommended for more complex projects and simulations.
- Graphics Card: OpenGL 3.3 compatible graphics card with at least 2GB RAM. For the best rendering performance, a Metal compatible GPU is recommended for Mac users, especially with recent Blender versions leveraging Metal for rendering.
- Display: 1280×768 display resolution or higher, with 24-bit color.
- Storage: At least 2GB of free disk space for installation. Additional space is required for project files and assets.
- Mouse, Trackpad, or Tablet: A three-button mouse or trackpad for full functionality. A pressure-sensitive tablet is recommended for sculpting, texture painting, and 2D animation work.
Note: Performance can vary based on your system’s specifications, the complexity of the scene, and the specific features you are using in Blender. For users working on high-end visual effects or simulations, a more powerful Mac may be necessary to handle the demands efficiently.

Performance Enhancements in Latest Versions
The Blender team is constantly working to improve the software, making each version faster, more efficient, and better suited to the needs of macOS users. Recent updates have focused on enhancing performance, especially for those using Mac computers with Apple Silicon.
- Metal API Support: Blender has introduced support for the Metal API, significantly improving rendering times on Macs with Apple Silicon and modern Intel-based Macs.
- Apple Silicon Optimization: Native support for M1 and M2 chips ensures that Blender runs optimally, taking full advantage of the hardware\"s capabilities for faster processing and better energy efficiency.
- Multi-threading Enhancements: Improvements in multi-threading allow Blender to better utilize multi-core CPUs, speeding up tasks like rendering, simulation, and viewport performance.
- Improved Memory Management: Enhancements in memory management mean that Blender can handle larger scenes more efficiently, reducing crashes and improving overall stability.
- Eevee & Cycles Rendering Improvements: Both Eevee and Cycles render engines have received updates that improve render quality and speed, with Eevee offering real-time rendering capabilities that are especially beneficial for quick previews and iterative design.
- UI and Workflow Optimization: Updates to the user interface and workflow optimizations make Blender more intuitive and faster to use, reducing the time it takes to perform common tasks.
These enhancements, combined with Blender\"s already robust feature set, make it an increasingly attractive option for Mac users involved in 3D modeling, animation, and rendering.

_HOOK_
Utilizing Metal GPU Rendering on M1 and M2 Macs
With the introduction of Apple Silicon, Blender has leveraged Metal GPU rendering to significantly enhance performance on M1 and M2 Macs. This section guides you through optimizing Blender for Metal GPU rendering, ensuring you get the best performance from your hardware.
- Ensure Compatibility: Verify that you\"re running the latest version of Blender, which includes support for Metal GPU rendering. This ensures compatibility with M1 and M2 chips.
- Selecting the Render Engine: In Blender\"s settings, choose Cycles as the render engine. Cycles have been optimized to take full advantage of Metal\"s capabilities.
- Enable GPU Rendering: Go to Preferences > System, and under the Cycles Render Devices, select \"Metal\" to enable GPU rendering. This leverages the power of your Mac\"s GPU, offering faster render times compared to CPU rendering.
- Optimize Render Settings: Experiment with Cycles\" render settings such as tile size and sampling rates. Smaller tiles are generally faster for GPU rendering, and adjusting samples can help balance render quality with speed.
- Manage Resources: Be mindful of your Mac\"s memory limitations. High-resolution textures and complex scenes can consume significant GPU memory, potentially leading to performance bottlenecks.
- Monitor Performance: Utilize Blender\"s \"Performance\" tab within the render settings to monitor and adjust settings in real-time, optimizing for the best balance between render quality and speed.
By following these steps, users of M1 and M2 Macs can harness the full potential of Metal GPU rendering in Blender, achieving unprecedented rendering speeds and efficiency on macOS.

Comparing Blender Versions for Mac
Blender is continuously evolving, with each version bringing new features, improvements, and optimizations, particularly for Mac users. Understanding the differences between versions can help you choose the right one for your needs.
- Stable vs. Experimental Builds: Blender offers stable releases for users seeking reliability and experimental builds for those wanting to test the latest features. Mac users should consider their project requirements and compatibility needs when choosing.
- Support for Apple Silicon: Recent versions have improved support for M1 and M2 chips, offering significant performance enhancements over older versions that were optimized for Intel processors.
- Graphics and Rendering: Updates in rendering engines like Cycles and Eevee, including support for Metal API in the latest versions, provide faster rendering times and better visuals on Mac.
- User Interface and Workflow: Each Blender update aims to improve the user interface and workflow. Newer versions often include more intuitive layouts, enhanced tools, and customization options, making the software more accessible to new users and efficient for professionals.
- Features and Tools: New features like geometry nodes, improved sculpting tools, and advanced simulation capabilities are regularly added. Comparing the feature sets of different versions can help determine the best fit for your creative process.
- Compatibility with macOS Versions: Ensure the Blender version you choose is compatible with your macOS version. Newer Blender versions might require a more recent macOS to leverage all features fully.
By comparing these aspects, Mac users can select the Blender version that best suits their creative needs, balancing between cutting-edge features and stability.
How to Install Blender on macOS
Install: Learn how to easily install this new software that will revolutionize the way you work. Follow our step-by-step video tutorial and start using it today to increase your productivity and efficiency.
How to Download Blender on a Mac in 2022
Download: Discover how to quickly and safely download the latest version of this amazing app that everyone is talking about. Our video guide will show you the best source to download from and walk you through the process effortlessly. Don\'t miss out on this incredible opportunity!
Customizing Blender with Add-ons and Python Scripts
Blender\"s flexibility is one of its strongest features, allowing users to customize the software to fit their workflow through add-ons and Python scripts. This customization can enhance productivity, add new functionalities, and automate repetitive tasks.
- Finding and Installing Add-ons: Blender includes a variety of built-in add-ons, but many more are available online. Install them through the Preferences menu, where you can also manage and update your add-ons.
- Developing Custom Add-ons: For those with programming knowledge, Blender allows the creation of custom add-ons using Python. This can tailor the software to specific needs, whether for animation, modeling, or rendering.
- Scripting for Automation: Python scripts can automate tasks, streamline workflows, and create custom tools. Scripts can range from simple macros to complex add-ons that integrate with Blender\"s interface.
- Community Resources: The Blender community offers a wealth of resources, including tutorials for writing Python scripts and developing add-ons. Many scripts and add-ons are shared freely, enhancing Blender\"s capabilities.
- Enhancing Workflow: Add-ons can introduce new functionalities or simplify existing processes, such as UV unwrapping, sculpting, or batch rendering, significantly speeding up the creative process.
- Compatibility Check: Ensure compatibility with your Blender version when installing add-ons, as some may require updates or specific versions to function correctly.
By utilizing add-ons and Python scripts, Blender users can significantly expand the software\"s capabilities, making it an even more powerful tool for 3D creation on Mac.

Community and Support Resources for Mac Users
Blender\"s strength lies not only in its powerful features but also in its vibrant community and extensive support resources. Mac users can take advantage of a wealth of information and assistance tailored to their needs.
- Official Blender Forums: The Blender Artists Forum and the Blender Developer Talk are excellent places to seek advice, share experiences, and connect with other Blender users, including those using macOS.
- Blender Stack Exchange: A Q&A site for Blender where you can ask specific questions and get answers from the community. It\"s a great resource for troubleshooting and learning new techniques.
- Tutorials and Learning Resources: There are countless tutorials available online, ranging from beginner to advanced levels. These include video tutorials on YouTube, written guides, and courses on platforms like Udemy and Blender Cloud.
- User Groups and Meetups: Local and online user groups and meetups can be invaluable for networking, sharing projects, and getting real-time assistance from fellow Blender enthusiasts.
- Social Media and Forums: Platforms like Twitter, Reddit (r/blender), and Facebook have active Blender communities where users share their work, tips, and plugins, and offer support to one another.
- Blender Network: Professional network for Blender users, offering job listings, professional training, and a directory of artists and developers, which can be a great resource for Mac users looking for professional opportunities or collaborations.
Whether you\"re a beginner looking for guidance or an experienced user seeking advanced tips, the Blender community offers a supportive environment to enhance your skills and solve any challenges you might face on macOS.
How to Update Blender on Mac
Keeping Blender up-to-date on your Mac ensures you have access to the latest features, improvements, and bug fixes. Follow these steps to update Blender smoothly and efficiently.
- Check the Current Version: Open Blender and navigate to the menu. Select \"About Blender\" to see your current version. This helps you determine if an update is needed.
- Visit the Official Blender Website: Go to Blender.org and head to the download section. Here, you\"ll find the latest version of Blender available for macOS.
- Download the Latest Version: Choose the version that matches your Mac\"s architecture (Intel or Apple Silicon) and download the corresponding DMG file.
- Install the New Version: Open the downloaded DMG file and drag Blender into your Applications folder. If prompted, select \"Replace\" to update your existing Blender installation.
- Launch Blender: Open Blender from your Applications folder or through Spotlight search. You\"ll now be running the latest version.
- Verify the Update: Go back to \"About Blender\" to confirm that the version number matches the one you downloaded.
Note: It\"s a good practice to back up your custom configurations, scripts, and add-ons before updating, as major updates may affect compatibility. This way, you can ensure a smooth transition to the new version without losing your personalized setup.

_HOOK_
Blender Success Stories and User Projects
Blender has been at the heart of countless success stories and remarkable projects, showcasing its versatility and power across various industries. From independent artists to large studios, many have turned their creative visions into reality using Blender.
- Independent Filmmakers: Blender\"s comprehensive toolset for animation and rendering has enabled indie filmmakers to produce feature-length films and short animations with limited budgets, demonstrating the software\"s potential for high-quality cinematic projects.
- Game Development: Indie game developers utilize Blender for creating detailed 3D models, environments, and animations for their games, highlighting Blender\"s role in developing engaging gaming experiences.
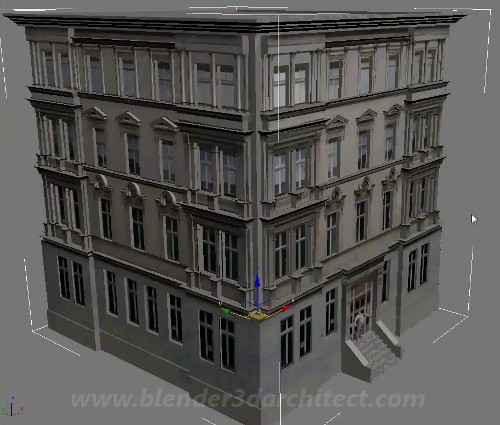
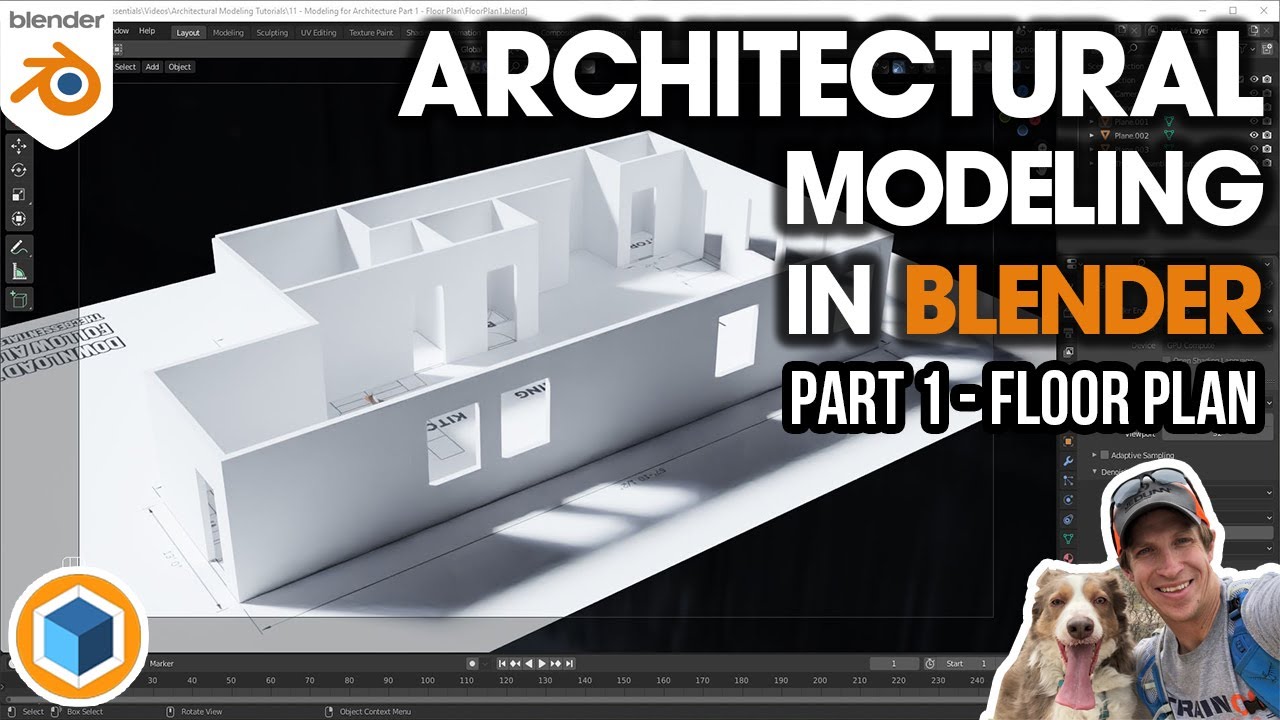
- Architectural Visualization: Architects and designers leverage Blender for creating photorealistic renderings of architectural projects, helping clients visualize the final outcome of their investments.
- Education and Research: Educational institutions have adopted Blender as a teaching tool for 3D modeling, animation, and game development, preparing students for careers in various creative fields.
- Visual Effects (VFX): VFX artists and studios use Blender to create stunning visual effects for films and commercials, showcasing Blender\"s capabilities in professional production environments.
- Art and Sculpture: Digital artists and sculptors use Blender\"s sculpting tools to create detailed digital art and sculptures, pushing the boundaries of digital creativity.
These success stories reflect Blender\"s adaptability and efficiency, cementing its status as a key tool for creatives worldwide. Whether for professional projects or personal passion, Blender empowers users to bring their imaginative concepts to life.

Tips and Tricks for Mac Users
Maximizing Blender\"s potential on a Mac requires some know-how. Here are essential tips and tricks to enhance your Blender experience on macOS, ensuring a smoother workflow and better performance.
- Use Shortcut Keys: Familiarize yourself with Blender\"s shortcut keys. Many tasks can be performed quicker with shortcuts, boosting your efficiency.
- Customize the Interface: Blender allows you to customize the interface. Tailor it to your workflow to access frequently used tools quickly and hide the ones you rarely use.
- Leverage the Power of Eevee: For real-time rendering, use Eevee. It\"s particularly useful for Mac users wanting quick previews, helping to iterate designs faster.
- Optimize Your Models: Keep your models optimized by managing vertex count and texture sizes, especially important for Mac users working on machines with limited graphics memory.
- Use Collections to Organize Projects: Collections help manage and organize your scenes more efficiently, making it easier to work on complex projects.
- Render in Background: Use command line options to render your projects in the background. This frees up Blender for other tasks and can be more efficient.
- Stay Updated: Keep Blender updated to the latest version to benefit from performance improvements, especially those optimized for macOS and Apple Silicon.
- Explore Blender Add-ons: Enhance Blender\"s functionality with add-ons. Many are designed to streamline tasks and add new features, some of which are tailored for Mac users.
Implementing these tips can significantly improve your Blender usage on Mac, whether you\"re a beginner or a seasoned professional.
READ MORE:
Future Developments and Updates
The Blender team is committed to continuous improvement, ensuring that Blender remains at the forefront of 3D content creation. Here\"s what users, especially those on macOS, can look forward to in terms of future developments and updates:
- Enhanced Support for Apple Silicon: Ongoing optimizations for M1 and M2 chips, promising even better performance and efficiency on Mac devices.
- Improved Metal API Integration: Further enhancements in Metal API support are expected, which will improve rendering times and overall graphics performance on macOS.
- User Interface Improvements: Continuous updates to the user interface, making Blender even more intuitive and accessible for both new and experienced users.
- Advanced Simulation Features: Development of more sophisticated simulation tools for fluids, smoke, fire, and soft bodies, offering more realism and detail in animations.
- More Powerful Modeling Tools: Introduction of new and improved modeling tools to speed up the creation process and provide more control over details.
- Expanded Library of Assets and Materials: Growth of the built-in asset library, including more materials, textures, and objects, to help users quickly bring their visions to life.
- Increased Focus on VR and AR: Enhanced tools and features for creating virtual reality and augmented reality content, catering to the growing demand in these fields.
- Community and Collaboration Features: New ways for users to collaborate on projects and share assets directly within Blender, fostering a more connected Blender community.
These future updates will ensure that Blender continues to be a powerful and versatile tool for creative professionals and hobbyists, with special attention to leveraging the latest technologies available on Mac platforms.
Embrace the full potential of Blender on your Mac to unlock a world of creativity and innovation. Join the vibrant community and start transforming your ideas into stunning 3D art today.