Topic blender 3d low poly character tutorial: Embark on a creative journey with our Blender 3D Low Poly Character Tutorial, designed to guide beginners through the exciting process of bringing unique low poly characters to life.
Table of Content
- How to create a low poly character in Blender 3D?
- Getting Started with Blender for Low Poly Characters
- Understanding the Basics of Low Poly Modeling
- Step-by-Step Guide to Creating Your First Low Poly Character
- Advanced Techniques for Low Poly Character Modeling
- Texturing and UV Mapping Your Low Poly Character
- YOUTUBE: How to Create Low Poly Characters in Blender
- Rigging and Animating Low Poly Characters
- Optimizing Low Poly Characters for Game Engines
- Common Mistakes to Avoid in Low Poly Modeling
- Resources and Communities for Blender Artists
How to create a low poly character in Blender 3D?
To create a low poly character in Blender 3D, you can follow these steps:
- Open Blender and create a new project.
- Select the default cube object and delete it by pressing the \"Delete\" key.
- To add a new low poly character mesh, click on \"Add\" in the top menu and choose \"Mesh\" from the dropdown menu.
- Select a suitable primitive shape for the base of your character, such as a cube, sphere, or cylinder, from the submenu.
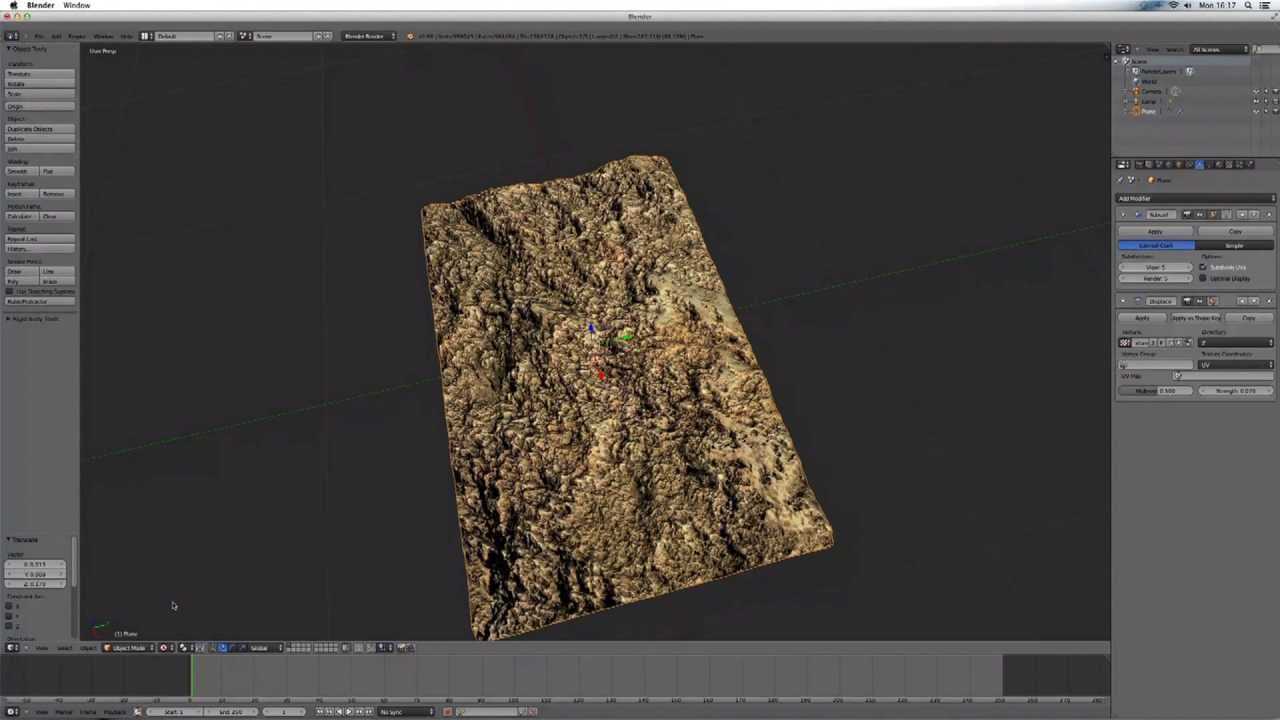
- With the newly created mesh selected, navigate to the \"Modifiers\" tab in the right sidebar (can be accessed by pressing \"N\") and add a \"Decimate\" modifier.
- Adjust the \"Decimate\" modifier settings to reduce the mesh\'s polygon count. Increase the \"Ratio\" value to simplify the geometry and make it low poly.
- Continue tweaking the \"Decimate\" settings until you achieve the desired level of detail and poly count for your character.
- Next, switch to \"Edit Mode\" by selecting it in the mode dropdown menu at the top of the viewport.
- Use the available modeling tools like extrude, loop cut, and scale to shape your low poly character, adding details as needed.
- Ensure to keep the overall polygon count low and avoid unnecessary subdivisions.
- Once you are satisfied with the model, you can add materials and textures to enhance the visual appearance.
- To add colors or textures, switch to the \"Shading\" workspace and explore the different shading nodes and materials.
- Assign materials or textures to different parts of your character by selecting the corresponding mesh faces and applying the materials.
- Finally, you can export your low poly character as a 3D model in a suitable format for use in games, animation, or other projects.
Remember, this is a general overview of the process, and there are numerous additional techniques and practices you can explore to further refine and customize your low poly character in Blender 3D.
READ MORE:
Getting Started with Blender for Low Poly Characters
Starting with low poly character modeling in Blender involves a few preliminary steps to set up your workspace and prepare for the modeling process. Firstly, it\"s crucial to understand the interface and basic navigation controls. You\"ll begin in the default scene, usually with a default cube that can be used as a reference point.
To properly view your work, toggling between perspective and orthogonal views is essential. This can be done by pressing \"numPad5\". Switching to orthogonal view helps in assessing the shapes and sizes more accurately as it removes perspective distortion. You can then use \"numPad1\" for front view or \"numPad3\" for right view, providing a clearer orientation for modeling.
Before adding new objects for your character, ensure the 3D Cursor is positioned at the grid center, as new objects are placed at the cursor\"s location. This can be done by selecting an existing object, like the default cube, and using \"Shift+S\" to snap the cursor to it, or manually setting the cursor\"s location to \"0,0,0\" through the Transform properties panel.
Next, understanding viewport shading is crucial. Changing viewport shading can help visualize your model in different ways, such as wireframe, solid, or textured views, which are accessible through the viewport shading menu or shortcuts like \"Z\" and \"Alt+Z\". This step is fundamental for efficient modeling as it provides insights into the mesh structure and texture alignment.
Finally, starting your character model usually involves adding basic mesh primitives like UV Spheres or cubes to form the initial shape of your character. This is done via the \"Add\" menu with \"Shift+A\", selecting \"Mesh\" then choosing the desired primitive shape.
These foundational steps prepare you for a smooth modeling process, setting the stage for creating your first low poly character in Blender.

Understanding the Basics of Low Poly Modeling
Low poly modeling is a technique used in 3D modeling and animation that involves using a relatively small number of polygons to create models. This approach is particularly popular in real-time applications, such as video games and VR, where performance is key. Understanding the basics of low poly modeling is essential for creating efficient, attractive, and versatile characters and environments. Here are the foundational concepts and techniques you should know:
- Polygon Count: The term \"low poly\" refers to models with a low number of polygons. Polygons, typically triangles or quads, are the building blocks of 3D models. A lower polygon count means the model is less detailed but can be rendered more quickly by computers.
- Edge Flow: Even with fewer polygons, it\"s important to maintain good edge flow. This means organizing the topology of your model in a way that follows the natural curves and lines of the design. Good edge flow is crucial for models that will be animated, as it ensures smooth deformations.
- Optimizing Geometry: Efficient use of geometry involves minimizing the number of polygons without sacrificing the essential form of your model. Techniques such as merging vertices, reducing loop cuts, and using modifiers wisely can help achieve this balance.
- Level of Detail (LOD): In game design, LOD is a technique used to decrease the polygon count of models based on their distance from the viewer. This helps maintain performance without noticeably affecting visual quality. Understanding LOD is crucial for optimizing your low poly models in game environments.
- Texturing: Textures play a significant role in low poly modeling. Since the models lack detail, textures can add visual interest and depth without increasing the polygon count. UV mapping is the process of projecting a 2D image onto a 3D model\"s surface, and it\"s essential for texturing low poly models.
By mastering these basics, you\"ll be well-equipped to start creating your own low poly characters and scenes in Blender. Remember, the goal of low poly modeling is not just to reduce polygons but to do so intelligently, preserving the essence and functionality of the model while ensuring optimal performance.

Step-by-Step Guide to Creating Your First Low Poly Character
Creating a low poly character in Blender involves several key steps, from the initial design to the final touches. This guide will walk you through the process of creating your first low poly character, providing a foundation for your journey into 3D modeling and animation.
- Setting Up Blender: Open Blender and select a new project. Familiarize yourself with the interface, focusing on the 3D viewport, outliner, and properties panel.
- Blocking Out the Character: Start by creating a basic shape for your character using primitives (cubes, spheres, cylinders). This is known as blocking and helps in establishing the overall proportions and composition of your character.
- Refining the Shape: Use the edit mode to refine your character\"s shape. Add more geometry by subdividing surfaces and moving vertices, edges, and faces to define the character’s form more precisely.
- Detailing: Once the basic shape is in place, add details such as facial features, clothing, and accessories. Remember to keep the polygon count low by using as few vertices as possible to suggest these details rather than fully modeling them.
- Texturing: Texture your character to add colors and details. Start by unwrapping the model to create a UV map, then paint the textures in the image editor or import them from external sources.
- Rigging: Rigging is the process of adding a skeleton to your character so it can be animated. Use Blender\"s armature system to create bones for each part of the body you plan to animate, then parent the mesh to the armature with automatic weights to facilitate movement.
- Animating: With the rig in place, you can now pose and animate your character. Begin with simple animations, like walking or waving, to understand keyframing and the animation timeline in Blender.
- Exporting: Once your character is complete and animated, you can export it for use in games or other projects. Choose a file format that matches your project\"s requirements, such as FBX or OBJ for game engines.
By following these steps, you\"ll create a basic but fully functional low poly character. Remember, practice is key to mastering Blender and 3D modeling. Don\"t be afraid to experiment and learn from each project you undertake.

Advanced Techniques for Low Poly Character Modeling
After mastering the basics of low poly character modeling in Blender, you can enhance your skills and the quality of your models by exploring advanced techniques. These methods can help you create more detailed, expressive, and efficient characters suitable for a variety of projects, including games and animations. Here are some advanced techniques to consider:
- Topology Optimization: Focus on optimizing the flow of edges in your model. Good topology not only makes the model more efficient but also improves deformation during animation. Use edge loops and quads to maintain a clean topology and facilitate smoother animations.
- Normal and Displacement Mapping: These techniques allow you to add high-resolution details to your low poly models without increasing the polygon count. Normal mapping can simulate the appearance of small details like wrinkles or scales, while displacement mapping can affect the actual geometry during rendering, adding perceived complexity without heavy geometry.
- Stylized Texturing: Develop your skills in creating stylized textures that can add personality and depth to your characters. Use image editing software to paint custom textures or create baked textures in Blender that capture lighting and detail from high-poly models.
- Efficient UV Unwrapping: Mastering UV unwrapping is crucial for applying textures accurately. Learn to optimize your UV maps to minimize seams and distortion, making the most out of your texture space for a cleaner, more professional look.
- Blender Modifiers for Modeling: Utilize Blender’s array of modifiers, such as Mirror, Solidify, and Subdivision Surface, to speed up your modeling process and add complexity to your characters with less manual effort.
- Vertex Painting: Vertex painting allows you to add color directly to your model without the need for complex textures. This can be a quick way to add variation and detail to your low poly characters, especially when aiming for a stylized or minimalist aesthetic.
- Creating LOD (Level of Detail) Versions: For use in games, create multiple versions of your character with varying levels of detail. This ensures that your model looks good up close and also performs well at a distance by reducing the polygon count in lower LODs.
By incorporating these advanced techniques into your workflow, you will be able to push the boundaries of what is possible with low poly modeling in Blender. Each project offers a new opportunity to experiment and refine your skills, so continue practicing and exploring the vast potential of 3D modeling.
_HOOK_
Texturing and UV Mapping Your Low Poly Character
Texturing and UV mapping are crucial steps in bringing your low poly character to life. Textures define the character\"s color, patterns, and overall appearance, while UV mapping ensures that these textures fit correctly on the 3D model. Here\"s a comprehensive guide to texturing and UV mapping your low poly character in Blender:
- Understanding UV Maps: UV mapping is the process of projecting a 2D image onto the surface of a 3D model. It involves unwrapping the model to lay out its geometry flat, creating a UV map, which is essentially a blueprint for where the textures will go.
- Preparing Your Model: Before UV unwrapping, ensure your model\"s geometry is clean. Remove any unnecessary vertices, edges, or faces that could complicate the UV map.
- Marking Seams: In edit mode, select edges where you want your model to be \"cut\" and unwrapped. These are called seams. Proper seam placement is crucial for minimizing visible seams in the texture and creating an efficient UV layout. Common seam placements include behind ears, under arms, and along clothing lines.
- Unwrapping Your Model: With seams marked, select all faces of your model and choose \"Unwrap\" from the UV Mapping menu. Blender will unfold your model based on the seams you\"ve marked, creating a UV map in the UV/Image Editor.
- Adjusting the UV Layout: In the UV/Image Editor, you may need to adjust the layout to make efficient use of the texture space. This involves moving, scaling, and rotating UV islands (the pieces of your unwrapped model) to reduce wasted space and avoid texture stretching.
- Creating Textures: You can create textures using image editing software or Blender’s own texture painting tools. Consider the character\"s color scheme, materials, and any details like shadows or highlights that can add depth and realism.
- Applying Textures: Back in Blender, assign the textures to your model by creating a new material and selecting your texture as the base color in the shader editor. Make sure the material is applied to the correct faces of your model.
- Testing and Adjusting: Render your model with the applied textures to see how they look. You may need to go back and adjust the UV layout or edit the texture image to correct any issues like stretching, visible seams, or misaligned details.
Texturing and UV mapping can dramatically affect the appearance and quality of your low poly character. With practice and attention to detail, you can create characters that are both visually appealing and optimized for performance in any application.
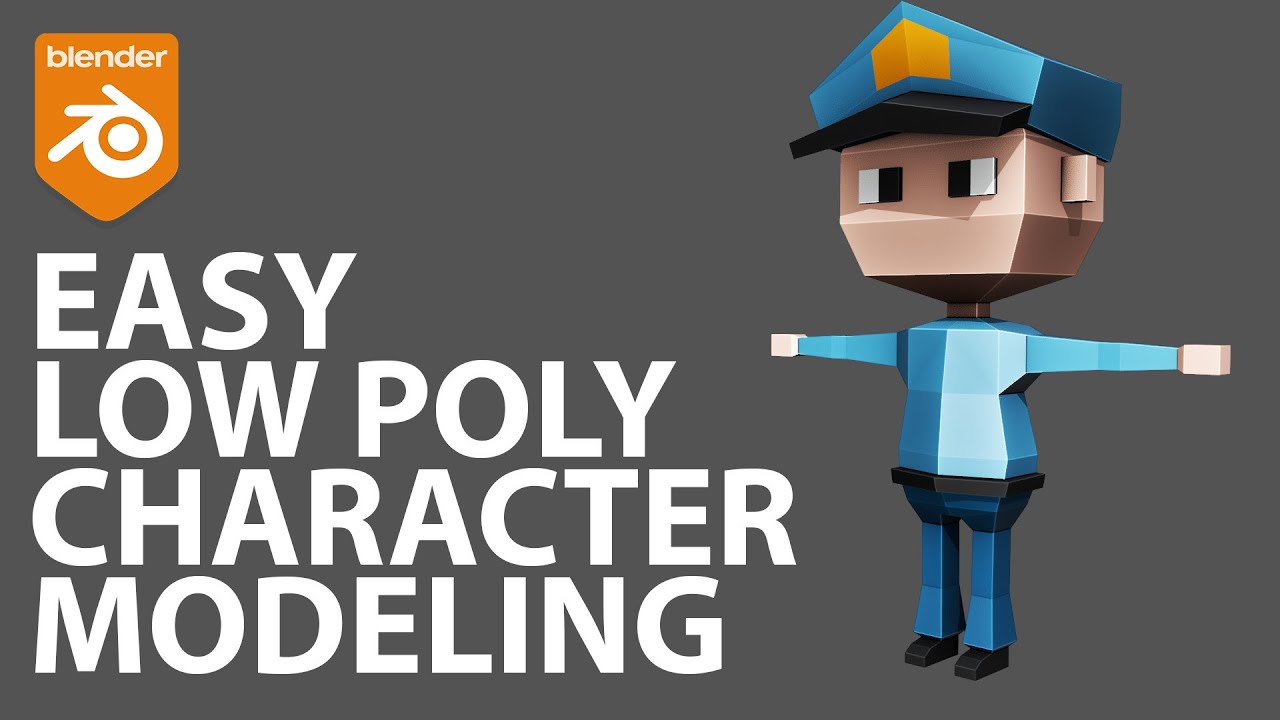
How to Create Low Poly Characters in Blender
Calling all art enthusiasts and animation lovers! Discover the incredible power of Blender in this mind-blowing video. From jaw-dropping visual effects to stunning animations, this tutorial showcases the limitless possibilities that Blender offers. Prepare to be amazed at what this software can do!
Rigging and Animating Low Poly Characters
Rigging and animating are crucial for bringing your low poly characters to life. Rigging involves creating a skeleton that can be used to animate the model, while animation is the process of creating movements by changing the position of the rig over time. Here\"s how to rig and animate your low poly characters in Blender:
- Understanding Armatures: Armatures are the bones used in Blender to rig characters. Each bone controls a part of the character\"s mesh. Begin by learning how to add an armature to your scene and how bones function within it.
- Creating the Rig: Start by adding bones to your character model at major joints (e.g., shoulders, elbows, wrists, hips, knees, and ankles). Use the mirror modifier to ensure symmetry between left and right sides of the character.
- Parenting the Mesh to the Armature: Once your basic rig is complete, you need to connect (or \"parent\") your character\"s mesh to the armature. This process involves selecting the mesh first, then the armature, and using Ctrl+P to parent them with automatic weights. Blender will attempt to automatically assign vertex groups to corresponding bones.
- Weight Painting: After parenting, use weight painting to fine-tune how much each bone influences various parts of the mesh. This step is crucial for making sure that the deformations look natural when the character moves.
- Adding Inverse Kinematics (IK): For more complex rigs, you may want to add IK constraints to simplify the animation process. IK allows you to animate a limb by moving the last bone in the chain, and the rest of the limb will automatically adjust to reach the target.
- Animating Your Character: With the rig in place, switch to Pose Mode to start animating. Create keyframes for different poses by moving the bones to desired positions and using the \"I\" key to insert keyframes for location, rotation, or scale.
- Timeline and Dope Sheet: Use the Timeline to scrub through your animation and the Dope Sheet to manage keyframes. You can adjust the timing of your animation by moving keyframes in the Dope Sheet.
- Animating Facial Expressions: For facial animations, you can use shape keys to deform the mesh for different expressions. These can then be animated in a similar way to bones by keyframing the value of each shape key.
Rigging and animating low poly characters can be complex, but it\"s also highly rewarding. By following these steps and practicing regularly, you\"ll be able to bring your characters to life with smooth and expressive animations.
Optimizing Low Poly Characters for Game Engines
Optimizing low poly characters is crucial for ensuring they perform well in game engines. This process involves reducing the computational load while maintaining visual quality, allowing games to run smoothly on a variety of devices. Here are key strategies for optimizing your low poly characters for use in game engines:
- Reduce Polygon Count: Strive to use the minimum number of polygons necessary to convey your character\"s form. Remember, more polygons mean more processing power is required. Use techniques like merging vertices and simplifying details that won\"t be noticeable in-game.
- Efficient Texturing: Create textures that are detailed yet optimized. Use texture atlases to combine several textures into one image, reducing the number of texture files the game engine has to load. Also, consider the resolution of your textures; higher resolutions are not always necessary and can significantly impact performance.
- Optimize UV Maps: Make sure your UV maps are packed efficiently to make the most out of your textures. Avoid unnecessary overlaps and wasted space. Efficient UV packing can also help in reducing the texture resolution without losing detail.
- Use LOD (Level of Detail) Models: Create multiple versions of your character with varying levels of detail. High-detail models can be used when the character is close to the camera, while low-detail models are used at a distance. This reduces rendering load without compromising visual quality.
- Bake Lighting and Shadows: If your game\"s aesthetic allows, consider baking lighting and shadows directly onto your character\"s textures. This can reduce the need for complex lighting calculations in real-time, enhancing performance.
- Keep Materials Simple: Use the minimum number of materials necessary for your character. Each additional material can increase the draw calls required by the game engine, impacting performance. Try to combine materials where possible.
- Animations and Rigging: Ensure that your character\"s rig is as simple as possible while still achieving the desired range of motion. More bones and more complex animations can increase the computational load. Also, consider using animation compression techniques to reduce the size of animation data.
By implementing these optimization techniques, you can ensure that your low poly characters not only look good but also perform efficiently in game engines, providing a smooth gameplay experience across a wide range of hardware.

Common Mistakes to Avoid in Low Poly Modeling
Low poly modeling is a skill that requires attention to detail and an understanding of 3D design principles. While it offers a creative avenue for character creation and environment design, there are common pitfalls that beginners and even experienced modelers can encounter. Avoiding these mistakes is crucial for creating efficient, visually appealing low poly models. Here are some of the most common mistakes to watch out for:
- Ignoring Edge Flow: Good edge flow is essential for models that will be animated. Ignoring the topology can result in poor deformations and a less realistic appearance. Ensure your model\"s edges flow naturally with its shape and intended movements.
- Overusing Polygons: One of the hallmarks of low poly design is efficiency in the number of polygons used. Adding too many polygons to a model can unnecessarily complicate it and impact performance, especially in real-time applications like video games.
- Neglecting Geometry Optimization: It\"s important to constantly evaluate and optimize the geometry of your model. This includes removing unnecessary vertices, edges, and faces that do not contribute to the overall form or detail of the model.
- Overcomplicating Textures: While textures are important for adding detail and color to your model, overly complex or high-resolution textures can detract from the stylized, minimalist aesthetic of low poly art. They can also impact performance in game engines.
- Poor UV Unwrapping: UV unwrapping is crucial for accurately applying textures to your model. Poorly unwrapped models can result in stretched or distorted textures that ruin the appearance of your character or scene.
- Forgetting to Check Normals: Normals dictate how surfaces interact with light. Incorrect normals can cause parts of your model to appear inverted or oddly lit. Ensure all normals are facing outward and are consistent across the model.
- Ignoring Scale and Proportion: Even in stylized low poly models, maintaining correct scale and proportion is important for realism and believability. Disproportionate models can look jarring and out of place within a scene or game environment.
By being mindful of these common mistakes, you can improve your low poly modeling skills and create more effective and appealing 3D models. Remember, practice and attention to detail are key in mastering low poly modeling techniques.
READ MORE:
Resources and Communities for Blender Artists
Blender is not just a powerful software for 3D modeling, animation, and rendering; it\"s also supported by a vibrant community of artists, developers, and enthusiasts. Whether you\"re a beginner or an experienced artist, there are numerous resources and communities available to help you learn, share your work, and connect with others. Here are some valuable resources and communities for Blender artists:
- Blender Artists Community: An online forum where Blender users can share their work, ask questions, and participate in discussions about Blender and 3D modeling.
- BlenderNation: A news website dedicated to all things Blender, including tutorials, art showcases, and updates on the latest Blender developments.
- Blender Guru: A tutorial website run by Andrew Price, offering comprehensive guides and tips for Blender users of all skill levels. The site\"s beginner series is particularly helpful for those just starting out.
- CG Cookie: Offers a wide range of Blender tutorials and courses, from the basics to more advanced topics like character modeling and rigging.
- Blender Stack Exchange: A question-and-answer site for people who use Blender to create 3D graphics, animations, or games. It\"s a great place to find answers to specific technical questions.
- Blender Foundation YouTube Channel: Features official tutorials, conference talks, and update videos directly from the developers of Blender. It\"s a great way to stay informed about the latest features and techniques.
- Blender Cloud: A subscription service offering access to training videos, production assets, and a library of textures and models. It also supports the development of Blender software.
- ArtStation and Behance: While not exclusive to Blender, these platforms are where many 3D artists showcase their portfolios. They are great places to find inspiration and connect with other artists.
- Reddit Communities: Subreddits like r/blender are active communities where users share their work, tips, and tutorials. It\"s also a place for asking questions and getting feedback from fellow Blender users.
Engaging with these resources and communities can significantly enhance your Blender skills and keep you updated on the latest trends and techniques in 3D modeling. Whether you\"re looking for tutorials, feedback on your work, or just want to connect with like-minded individuals, the Blender community has something to offer.
Embark on your journey into the fascinating world of 3D modeling with Blender, and bring your imaginative low poly characters to life. With these tutorials, tips, and a supportive community, you\"re well on your way to becoming a skilled Blender artist.
_HOOK_