Topic how to animate fnaf in blender: Discover the art of animating Five Nights at Freddy"s (FNAF) characters in Blender with our comprehensive guide. From choosing models to exporting animations, master each step to bring your FNAF creations to life.
Table of Content
- How can I animate FNAF (Five Nights at Freddy\'s) using Blender?
- Getting Started with FNAF Animation in Blender
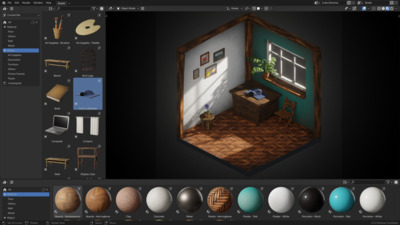
- Choosing the Right FNAF Models for Your Animation
- Basic Animation Techniques in Blender for FNAF Characters
- Advanced Animation Tips for Realistic Movements
- Lighting and Rendering FNAF Animations in Blender
- Creating Custom Animations and Adding Special Effects
- YOUTUBE: Guide to Animating FNaF Characters in Blender
- Optimizing Your Workflow in Blender for FNAF Animation
- Exporting Your FNAF Animation for Sharing
- Community Resources and Support for FNAF Animators
How can I animate FNAF (Five Nights at Freddy\'s) using Blender?
To animate FNAF (Five Nights at Freddy\'s) using Blender, you can follow the steps below:
- First, ensure that you have Blender installed on your computer. If not, you can download it from the official Blender website and install it.
- Next, gather the necessary resources for your animation, such as FNAF models. There are various websites and forums where you can find free or paid FNAF models compatible with Blender. Download the models you want to use for your animation.
- Launch Blender and create a new project by clicking on \"File\" > \"New\" > \"General\".
- In the default view, you will see a cube. To delete it, right-click on it and press the \"Delete\" key on your keyboard.
- Import the FNAF models into Blender by going to \"File\" > \"Import\" > \"FBX\" or \"OBJ\", depending on the format of the model files you downloaded. Select the downloaded model files and click \"Import\".
- The imported model will appear in the scene. You can move, rotate, and scale the model using the transform tools in the toolbar on the left or by pressing the \"G\", \"R\", and \"S\" keys respectively.
- To create animations, you will need to set up keyframes. Keyframes define the position, rotation, and scale of an object at different points in time.
- Select the model you want to animate by right-clicking on it in the scene. Then go to the \"Timeline\" window at the bottom of the screen.
- Move the timeline slider to the desired starting point of your animation.
- In the \"Timeline\" window, click on the red record button to enable keyframe recording.
- Make the desired changes to the model\'s position, rotation, or scale by using the transform tools or by manually entering values in the properties panel.
- Once you have made the changes, move the timeline slider to another point in time, and modify the model\'s position, rotation, or scale again.
- Repeat this process for as many keyframes as you need to create the desired animation.
- You can play back the animation by clicking the play button in the \"Timeline\" window or by pressing the spacebar on your keyboard.
- Adjust the speed and timing of the animation by selecting the keyframes and adjusting their position on the timeline.
- Once you are satisfied with your animation, you can render it as a video file by going to \"Output Properties\" in the properties panel, selecting the desired output format, and clicking \"Render Animation\".
Remember to save your project regularly to avoid losing any progress. Have fun animating FNAF in Blender!
READ MORE:
Getting Started with FNAF Animation in Blender
Welcome to the exciting journey of animating Five Nights at Freddy\"s (FNAF) characters in Blender! This section will guide you through the initial steps to set up your animation project. Whether you\"re a beginner or have some experience, these steps will help you prepare for creating your own FNAF animations.
- Download and Install Blender: Ensure you have the latest version of Blender installed on your computer. Blender is free and available for download from the official Blender website.
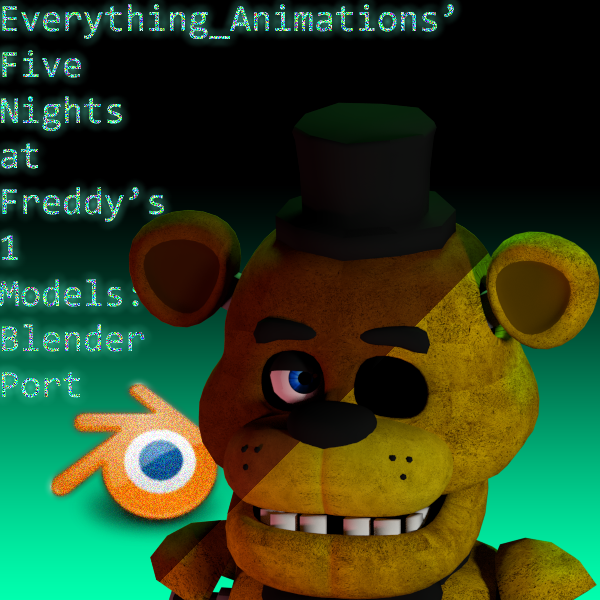
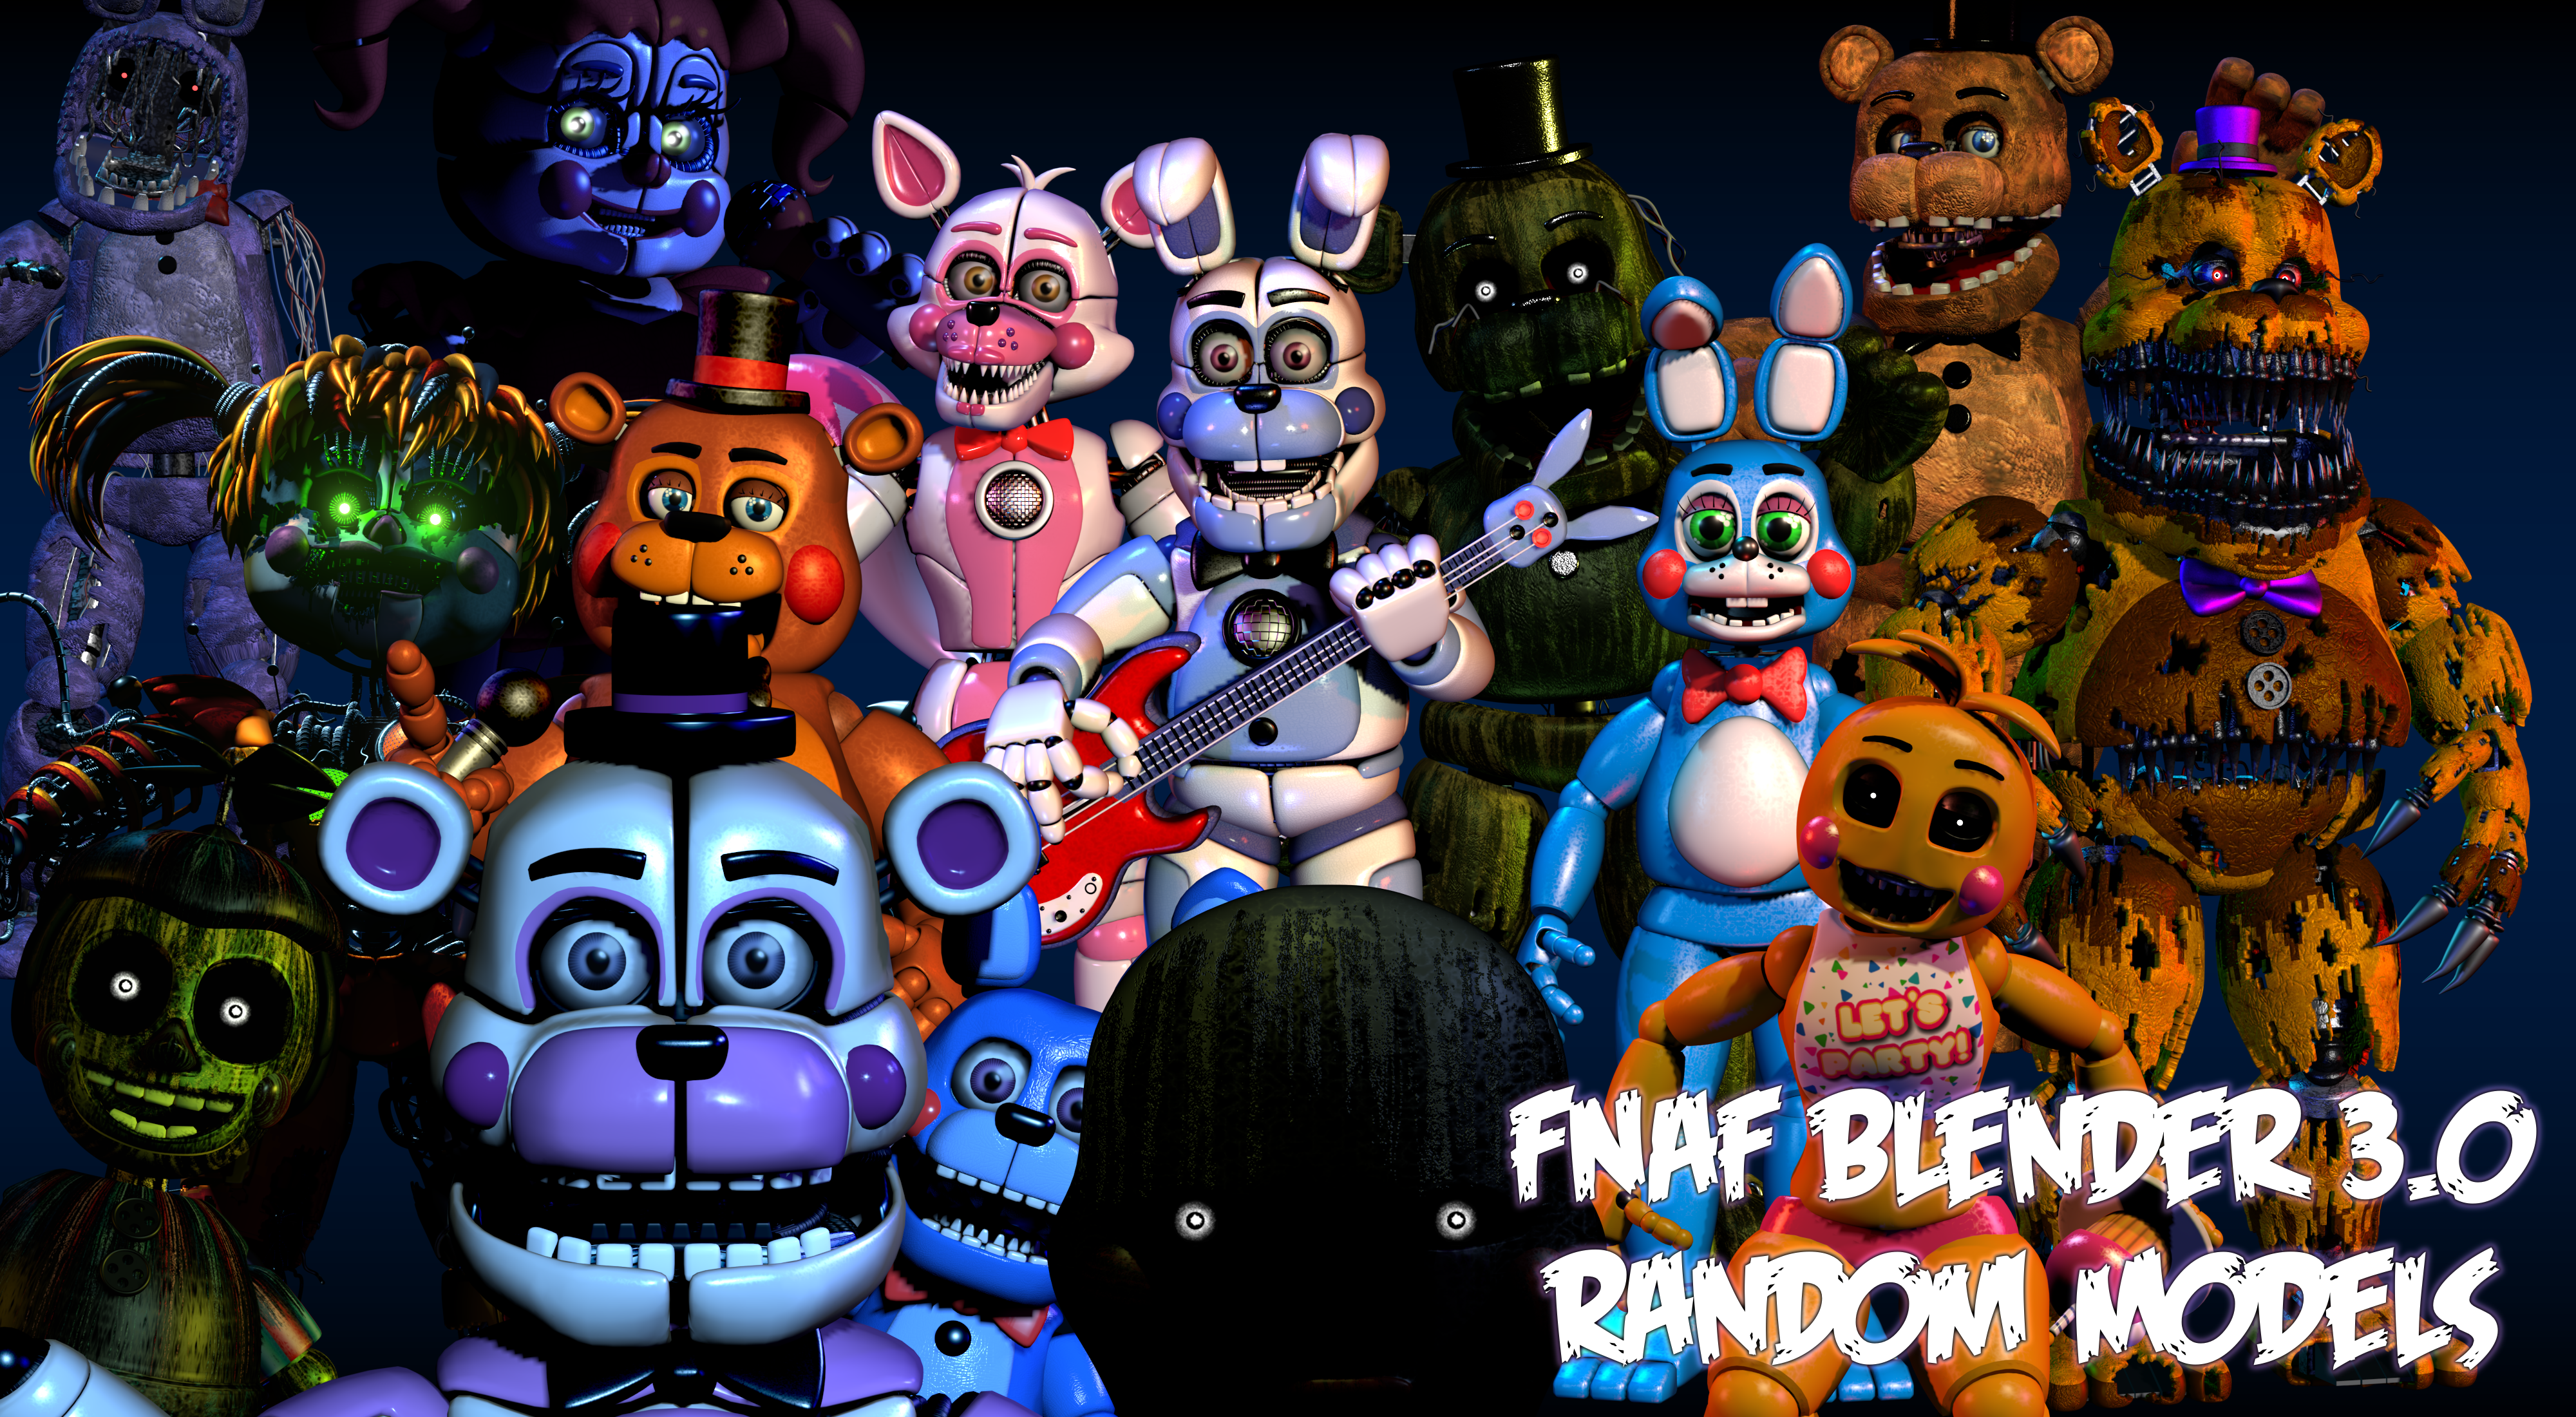
- Acquire FNAF Models: You can find FNAF character models online, created by the community. Websites like DeviantArt or specialized Blender model repositories are good places to start. Make sure to respect copyright laws and use models appropriately.
- Import Models into Blender: Once you have your FNAF models, import them into Blender. You can do this by going to File > Import and selecting the appropriate file format for your models.
- Familiarize Yourself with Blender\"s Interface: Before diving into animation, spend some time getting comfortable with Blender\"s interface. Look into tutorials if needed, focusing on the animation tools and timeline.
- Set Up Your Scene: Place your FNAF models in the desired positions within the 3D viewport. You can also start adding cameras and lights to your scene to prepare for animation and rendering.
- Learn Basic Animation Principles: Understanding keyframes, interpolation, and animation principles like squash and stretch will significantly enhance your animations. Blender offers comprehensive tools for creating smooth and dynamic animations.
- Experiment with Simple Animations: Before working on complex scenes, practice by animating simple movements. This could be a character waving or walking. It\"s a great way to get comfortable with the animation process in Blender.
- Explore Blender\"s Rigging Tools: Rigging is essential for animating characters. If your FNAF model doesn\"t come pre-rigged, you\"ll need to learn how to create bones and assign them to the mesh for animation.
- Save Your Project Regularly: Blender projects can become quite complex, so it\"s important to save your work often to avoid losing progress.
By following these steps, you\"ll be well on your way to creating your own FNAF animations in Blender. Remember, practice is key to mastering Blender\"s animation tools, so don\"t hesitate to experiment and learn as you go.

Choosing the Right FNAF Models for Your Animation
Selecting the appropriate Five Nights at Freddy\"s (FNAF) models is a crucial step in creating engaging and authentic animations. This section provides guidance on how to choose the best models for your project, ensuring they meet both your creative and technical requirements.
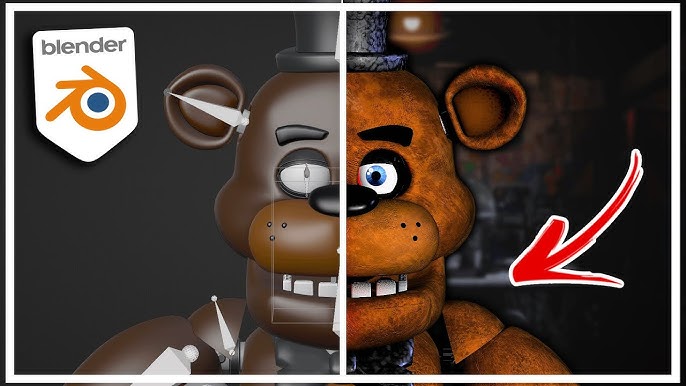
- Evaluate Model Quality: Look for models with high detail and accurate representation of the FNAF characters. High-quality models will make your animation more visually appealing and true to the source material.
- Consider Compatibility: Ensure the models are compatible with Blender. They should be in a format that Blender can import, such as .blend, .obj, or .fbx.
- Check for Rigging: Prefer models that are already rigged. Rigged models have a skeleton structure that allows for easier animation. If you\"re comfortable with rigging, you can choose non-rigged models, but be prepared to invest additional time.
- Assess Textures and Materials: Models with included textures and materials will save you time and ensure your characters look as intended when rendered. Look for models that come with detailed textures and properly configured materials.
- Review Animation Constraints: Some models may come with animation constraints that can help in creating more realistic movements. These can be particularly useful for animating complex scenes or character interactions.
- Explore Community Creations: Many FNAF models are created by the fan community. Exploring forums, websites, and social media groups dedicated to FNAF and Blender can help you find unique and high-quality models.
- Understand Licensing: Before using any model, make sure you understand its licensing. Respect the creators\" guidelines and use the models in a way that is legal and ethical.
Choosing the right FNAF models is about balancing aesthetics, functionality, and legal considerations. By taking the time to select carefully, you can ensure your animations have a solid foundation to build upon, leading to more impressive and faithful recreations of the beloved game\"s atmosphere.

Basic Animation Techniques in Blender for FNAF Characters
Animating Five Nights at Freddy\"s (FNAF) characters in Blender can be an exciting process. This section covers basic animation techniques that will help you bring the iconic characters to life. Whether you\"re new to Blender or looking to refine your animation skills, these steps will provide a solid foundation for your FNAF animations.
- Understanding Keyframes: Keyframes are the cornerstone of animation in Blender. They define the start and end points of any movement. To animate a FNAF character, position them at the start of an action, insert a keyframe, then move to another point in the timeline, change the position or pose, and insert another keyframe. Blender interpolates the movement between these keyframes.
- Working with the Timeline: The timeline at the bottom of the Blender interface allows you to scrub through your animation and set keyframes. Use it to plan the timing and sequence of your character\"s movements.
- Animating with Pose Mode: For rigged FNAF models, switch to Pose Mode to manipulate the bones of the rig. Select a bone, move or rotate it to pose your character, and insert a keyframe for the bone\"s location, rotation, or scale.
- Simple Walk Cycles: A walk cycle involves animating a character so that it appears to walk in place. Break down the movement into key poses: contact, down, passing, and up positions. Animate these poses in sequence to create a looping walk cycle.
- Facial Expressions: Use shape keys or the rig\"s facial bones to animate expressions. Changing a character\"s expression over time can add life and personality to your animation.
- Using the Graph Editor: The Graph Editor is a powerful tool for refining animations. It displays the animation curves for each keyframe, allowing you to adjust the speed and timing of movements for smoother, more realistic animations.
- Adding Simple Props and Interactions: Animate objects interacting with your character to enhance the scene. Whether it\"s a simple object being picked up or a door being opened, these interactions can add depth to your animation.
Mastering these basic animation techniques in Blender will give you a strong foundation for creating compelling FNAF animations. Practice each technique and experiment with combining them to create dynamic and engaging animations.
Advanced Animation Tips for Realistic Movements
Creating realistic movements in your FNAF animations requires a blend of technique, observation, and creativity. This section delves into advanced tips that can elevate the realism and dynamism of your animations, making your FNAF characters come to life with more natural and convincing motions.
- Incorporate Overlapping Action: Realistic movement is rarely uniform. Incorporate overlapping actions to add fluidity and realism. For example, when a character starts moving, different parts of the body should begin moving at slightly different times, not all at once.
- Use Follow-Through and Overlapping Action: Elements of the character that are not directly involved in the action (like a character’s ears or hair) should continue moving even after the rest of the body has stopped. This creates a more dynamic and realistic portrayal of motion.
- Apply the Principle of Anticipation: Before any significant movement, add a small motion in the opposite direction. This anticipation adds realism to movements, whether it\"s a jump, punch, or quick turn.
- Focus on Weight and Balance: Conveying the weight and balance of characters adds to the believability of their movements. Pay attention to how shifts in weight affect posture and movement, especially in dynamic actions.
- Enhance Expressions with Subtle Movements: Subtle movements, such as slight head tilts or eye darts, can significantly enhance the expression and mood of your characters, making them feel more alive and relatable.
- Refine Movements with the Dope Sheet and Graph Editor: Use the Dope Sheet for an overview of your keyframes and to adjust timing easily. The Graph Editor allows for fine-tuning the velocity and acceleration of movements for smoother transitions.
- Experiment with Motion Blur: Adding motion blur can make fast movements appear more fluid and realistic. This effect can be applied in Blender’s compositor or during the rendering process.
- Study Real-Life References: Observing and studying real-life movements or video references can provide insights into how to animate more complex and nuanced movements accurately.
- Practice Layered Animation: Start with broad movements and add layers of detail progressively. Begin with the main body movements, then add limb movements, and finally, refine with facial expressions and minor adjustments.
- Utilize Constraints for Natural Interactions: Blender’s constraint system can help in creating natural interactions between characters and their environment, such as holding objects or leaning against surfaces.
By applying these advanced techniques, you can push the boundaries of your FNAF animations, creating scenes that captivate and immerse your audience with their realism and emotional depth.
_HOOK_
Lighting and Rendering FNAF Animations in Blender
Lighting and rendering are critical stages in the animation process, turning your FNAF animations from simple models and movements into atmospheric, visually captivating scenes. This section will guide you through the techniques and settings that will help you achieve the best results in Blender.
- Understand Lighting Basics: Start by understanding the three-point lighting setup, which includes key light, fill light, and back light. This setup can help you highlight your characters effectively, creating depth and dimension.
- Experiment with Mood Lighting: FNAF animations often benefit from moody, atmospheric lighting to match the game\"s eerie aesthetic. Play with low-key lighting and use spotlights to create dramatic shadows and highlights.
- Use Blender’s Eevee and Cycles: Blender offers two rendering engines, Eevee (real-time) and Cycles (ray-traced). Eevee is faster and suitable for quick previews, while Cycles provides more realistic lighting effects but takes longer to render.
- Optimize Your Scenes for Rendering: Complex scenes can take a long time to render. Optimize your scene by reducing the polygon count of your models, using simpler shaders when possible, and managing the samples in Cycles for a balance between quality and render time.
- Apply Color Grading: Color grading in post-processing can significantly affect the mood and feel of your animation. Use Blender’s compositor to adjust colors, contrast, and brightness to fit the FNAF theme.
- Incorporate Volumetric Lighting: For scenes requiring a more atmospheric or horror effect, volumetric lighting can create beams of light and shadow that add to the suspense and immersion.
- Adjust Render Settings: Familiarize yourself with Blender’s render settings. Adjust the resolution, frame rate, and output format according to your project needs. For final renders, consider increasing the samples in Cycles for cleaner images.
- Preview Your Animation: Use the viewport shading mode to preview lighting and animations before rendering. This can save time by allowing you to adjust and tweak settings without waiting for full renders.
- Use Render Layers and Compositing: For complex scenes, render in layers or passes. This allows you more control in post-production, enabling you to adjust lighting, focus, and effects separately for different elements of your scene.
- Finalize with Post-Production: After rendering, use Blender’s compositor or external software for final touches. You can add effects like bloom, lens flares, or noise to enhance the final output.
By carefully planning your lighting and rendering, you can bring a professional polish to your FNAF animations, making them stand out with their own unique style and atmosphere.

Creating Custom Animations and Adding Special Effects
Creating custom animations and integrating special effects can elevate your FNAF animations, making them more dynamic and engaging. This section will guide you through the process of bringing your unique vision to life in Blender, incorporating both character animation and compelling visual effects.
- Plan Your Animation: Start with a clear concept or storyboard. Knowing the actions, emotions, and pacing you want to convey will guide your animation process and special effects integration.
- Customize Character Animations: Beyond basic movements, think about how to infuse personality and story into your animations. Use the rig controls to experiment with expressions, gestures, and unique movements that fit your FNAF characters.
- Integrate Special Effects: Blender offers a range of options for adding effects, such as particle systems for smoke or sparks, dynamic paint for interactive textures, or soft body dynamics for more fluid movements.
- Utilize Shape Keys: For facial expressions or morphing objects, shape keys can be powerful. They allow you to create detailed animations by smoothly transitioning between different mesh shapes.
- Explore Blender’s Physics: Use Blender’s physics simulations to add realism. Cloth simulation can animate flowing costumes or flags, while rigid body physics can handle collisions and interactions with the environment.
- Add Camera Movements: Dynamic camera movements can enhance the storytelling aspect of your animation. Use Blender’s camera rigs to simulate tracking shots, pans, or zooms that complement the action.
- Work with Layers and Masks: For complex scenes, layering animations and applying masks can help manage the composition. This technique allows for intricate effects like characters interacting with foreground elements or light passing through semi-transparent objects.
- Implement Lighting Effects: Strategic use of lighting can significantly impact the mood and focus of your animations. Experiment with spotlights, volumetric lights, or colored lighting to enhance the atmosphere.
- Composite in Post-Production: After rendering, use Blender’s compositor to add final touches. This can include blending different elements, adding glow or blur effects, and adjusting color balance for a cohesive look.
- Continuously Refine: Creating custom animations and effects is a process of experimentation and refinement. Review your work, get feedback, and be willing to iterate to improve the quality and impact of your animations.
By following these steps, you can create custom FNAF animations in Blender that captivate your audience with creativity and polished special effects, bringing your unique visions to life.
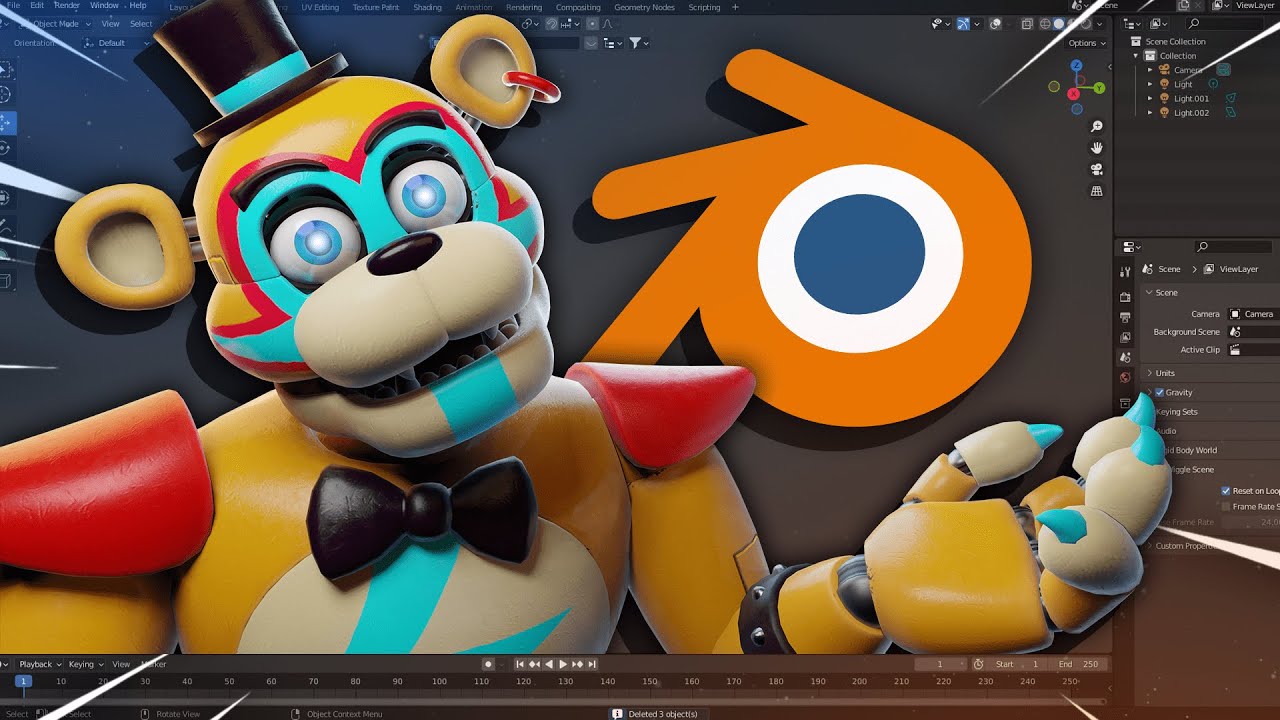
Guide to Animating FNaF Characters in Blender
Animating: \"Learn the art of animating like a pro with our step-by-step tutorial. Unleash your creativity and bring your characters to life with captivating movements in our exciting new video!\"
How to Make a FNAF Animation Blender Tutorial 2
Tutorial: \"Master a new skill today! Our detailed tutorial is designed to help beginners and experts alike. Follow along and unlock the secrets to mastering the technique showcased in our informative video.\"
Optimizing Your Workflow in Blender for FNAF Animation
Efficiency is key when animating FNAF characters in Blender. Optimizing your workflow can save time and reduce frustration, allowing you to focus more on creativity and less on technical challenges. Follow these steps to streamline your animation process and make your projects more manageable.
- Organize Your Project: Use Blender\"s collection system to organize your scene. Group objects, characters, and assets into collections for easy management and visibility control.
- Utilize Blender Add-ons: Enhance your workflow with Blender add-ons. Rigify for rigging, Animation Nodes for procedural animations, and Auto-Rig Pro for character rigging are great examples that can speed up your animation process.
- Create Reusable Assets: Build a library of reusable assets, such as rigged characters, props, and environments. This will save time in future projects, as you can quickly import and adjust these assets as needed.
- Master Shortcuts: Learning Blender\"s keyboard shortcuts can drastically improve your speed. Shortcuts for common actions like switching views, selecting tools, or editing modes can make your workflow more fluid.
- Implement Non-Destructive Editing Techniques: Use modifiers and shape keys to make changes that can be easily adjusted or reverted. This approach allows for more flexibility and experimentation without permanently altering your original models.
- Batch Render Sequences: For longer animations, consider batch rendering your sequences overnight or during off-hours. This can free up your computer for other tasks and streamline the production process.
- Use Proxy and Simplified Models: For complex scenes, use proxy or simplified models for animation blocking and planning. Switch to the high-detail models only for final rendering to keep the viewport responsive.
- Optimize Render Settings: Experiment with render settings to find a balance between quality and speed. Reducing samples, using denoising, and adjusting light bounces can significantly reduce render times without greatly sacrificing quality.
- Keep a Clean Timeline: Regularly clean up your animation timeline, removing unnecessary keyframes and consolidating actions. A tidy timeline is easier to navigate and edit.
- Stay Updated: Blender is continuously updated with new features and improvements. Stay informed about the latest versions and updates that could affect your animation workflow.
By adopting these practices, you can create an efficient and productive animation workflow in Blender. This not only makes the process of animating FNAF characters more enjoyable but also enhances the quality of your final animations.
Exporting Your FNAF Animation for Sharing
Once you\"ve completed your FNAF animation in Blender, the next step is to export it for sharing with the world. This section will guide you through the process to ensure your animation looks its best on any platform, whether it\"s for social media, a video sharing site, or for professional presentation.
- Choose the Right Format: Determine the best format based on your sharing platform. MP4 is widely used for its balance of quality and file size, making it ideal for social media and video sharing sites.
- Set the Output Properties: Go to the Output Properties panel in Blender. Here, you can set your resolution, frame rate, and aspect ratio. Ensure these settings match the requirements of your intended sharing platform for optimal playback quality.
- Configure Encoding Settings: In the same Output Properties panel, find the Encoding section. Choose H.264 as the video codec for a good balance of quality and compatibility. Adjust the bitrate as needed; a higher bitrate generally means better quality but a larger file size.
- Include Audio in Your Animation: If your animation has audio, check the Audio Codec options and ensure it\"s set to AAC for broad compatibility. Adjust audio bitrate settings according to your quality needs.
- Preview Your Export: Before exporting the entire animation, render a short preview to check the quality and make sure everything looks and sounds as expected.
- Export Your Animation: Once you\"re satisfied with the settings, navigate to Render > Render Animation or press Ctrl+F12 to start exporting your project. Depending on the length and complexity of your animation, this process may take some time.
- Review the Final Output: After the export is complete, review the final video file to ensure all elements are correctly rendered and the audio is properly synced.
- Compress If Necessary: If the file size is too large for your sharing needs, consider using a video compression tool to reduce it without significantly affecting quality. There are many free and paid tools available for this purpose.
- Share Your Animation: With your animation exported, it\"s time to share your creation. Upload it to your chosen platform, ensuring to follow any specific guidelines or requirements they might have for video content.
- Engage With Your Audience: After sharing, engage with viewers through comments or social media. Feedback can be incredibly valuable for improving your skills and understanding what your audience enjoys.
Exporting and sharing your FNAF animation is a rewarding phase, where you get to showcase your hard work and creativity. Following these steps will help ensure your animation reaches your audience in the best possible quality.
READ MORE:
Community Resources and Support for FNAF Animators
The Five Nights at Freddy\"s (FNAF) community is vibrant and supportive, offering a wealth of resources for animators working in Blender. Whether you\"re seeking advice, feedback, or just a bit of inspiration, there are numerous platforms and resources at your disposal. Here\"s how you can connect with fellow FNAF animators and make use of the community resources available.
- Join FNAF Animation Forums and Social Media Groups: Online forums and social media groups are great places to meet other animators, share your work, and get feedback. Look for FNAF-specific communities on platforms like Reddit, Discord, and Facebook.
- Explore Tutorials on YouTube: YouTube is a treasure trove of tutorials, including many specific to FNAF animation in Blender. From beginner guides to advanced techniques, there\"s something for everyone.
- Participate in Animation Challenges: Engage with the community by participating in animation challenges or contests. These can be great opportunities to push your skills, get noticed, and receive constructive critiques.
- Share Your Work on Social Media: Platforms like Twitter, Instagram, and TikTok can be great places to share your animations and connect with other creators. Use FNAF-related hashtags to increase your visibility.
- Utilize Blender and FNAF Asset Libraries: Many community members share their Blender models, rigs, and textures for FNAF characters. These assets can save you time and help you focus on animating.
- Attend Workshops and Webinars: Keep an eye out for workshops and webinars hosted by experienced FNAF animators or Blender experts. These events can provide valuable insights and direct support for your projects.
- Contribute to Collaborative Projects: Joining a collaborative project can be a rewarding experience, allowing you to contribute to larger works and learn from others in the process.
- Seek Mentorship: If you\"re serious about improving your skills, consider seeking a mentor within the FNAF animation community. Many experienced animators are willing to share their knowledge with newcomers.
- Offer Your Own Insights and Support: As you grow in your animation journey, consider giving back to the community by offering your own tips, feedback, and resources to help others.
By engaging with the FNAF animation community and utilizing the vast array of resources available, you can enhance your skills, find inspiration, and connect with like-minded creators. Remember, the community thrives on mutual support and shared passion for animation and the FNAF universe.
Embark on a creative journey to animate the captivating world of FNAF in Blender. With these guidelines, from basic techniques to community support, you\"re well-equipped to bring your unique animations to life and share them with the world.

_HOOK_