Topic autocad revit tutorial: Embark on a transformative journey with our comprehensive AutoCAD Revit tutorial, designed to elevate your architectural designs and streamline your BIM workflow effectively.
Table of Content
- Can I find any online tutorials for learning AutoCAD as well as Revit?
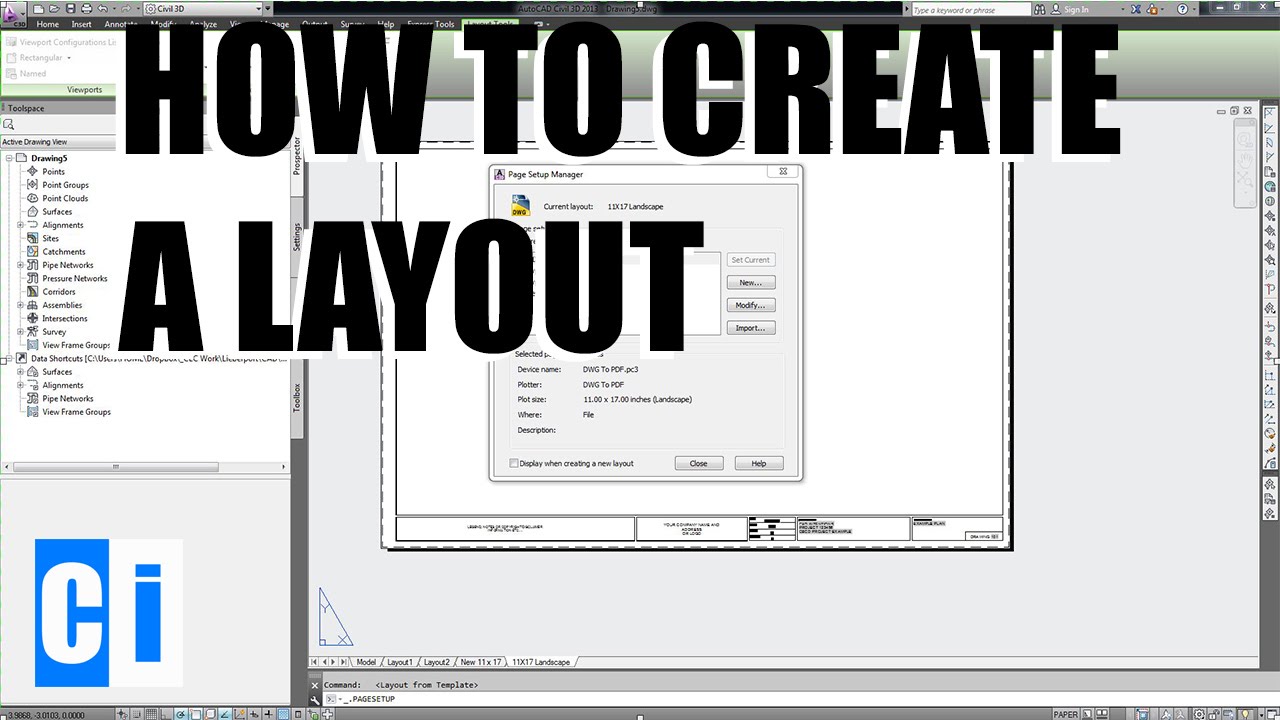
- Getting Started with AutoCAD and Revit: Basic Concepts and Interface
- Navigating the Revit Workspace: Tools and Drawing Techniques
- Understanding Revit\"s Architecture: Walls, Doors, and Windows
- Advanced Modeling in Revit: Creating Stairs, Roofs, and Floors
- Working with Views: 2D Plans, Sections, and 3D Views
- Project Collaboration and Management in Revit
- YOUTUBE: Revit Complete Tutorial for Beginners - Learn to use Revit in 60 minutes Part 1
- Creating Detailed Schedules and Lists in Revit
- AutoCAD to Revit: Integrating CAD Drawings and Models
- Revit Rendering and Visualization Techniques
- Advanced Tips and Tricks for Efficient Revit Workflow
Can I find any online tutorials for learning AutoCAD as well as Revit?
Yes, you can find online tutorials for learning AutoCAD as well as Revit. Here are some recommended sources:
1. Autodesk University: This website offers various tutorials and learning resources for AutoCAD and Revit. You can find video tutorials, articles, and forums where you can connect with industry experts and learn from their experiences. Visit the Autodesk University website to access these resources.
2. Autodesk Website: The official Autodesk website provides official documentation, tutorials, and learning paths for AutoCAD and Revit. You can visit the AutoCAD and Revit product pages on the Autodesk website to find these resources. Make sure to check the \"Learning\" or \"Resources\" section for tutorials and guides.
3. YouTube: YouTube is a great platform to find video tutorials for AutoCAD and Revit. Many experienced professionals and trainers share their knowledge and tips on their YouTube channels. Simply search for \"AutoCAD tutorial\" or \"Revit tutorial\" on YouTube, and you will find a wide range of video tutorials to choose from.
4. Online Learning Platforms: There are several online learning platforms such as Udemy, Coursera, and LinkedIn Learning that offer comprehensive courses and tutorials for AutoCAD and Revit. These courses are usually structured and cover all the essential concepts and features of the software. You may have to purchase these courses, but they often provide high-quality content and guided learning experience.
5. Online Communities: Joining online communities and forums dedicated to AutoCAD and Revit can be a great way to learn from others and ask questions. Websites like Reddit, Stack Exchange, and Autodesk forums have active communities where you can engage with fellow learners and experts.
Remember, learning AutoCAD and Revit requires practice and hands-on experience. As you progress through tutorials, try to apply what you\'ve learned to real-life scenarios or personal projects to reinforce your skills. Good luck with your learning!
READ MORE:
Getting Started with AutoCAD and Revit: Basic Concepts and Interface
Welcome to the exciting world of AutoCAD and Revit! This section will introduce you to the basic concepts and interface elements, setting a solid foundation for your journey in architectural design and modeling.
- Understanding the Interface: Familiarize yourself with the user interface of both AutoCAD and Revit. Explore the ribbon, toolbar, command line, and drawing area to understand where to find the tools you\"ll need.
- Setting Up Your First Project: Learn how to start a new project, set the units, and draw basic shapes. Understand how to navigate through different views and manage layers effectively.
- Basic Drawing and Modelling: Get hands-on experience with drawing lines, rectangles, circles, and more in AutoCAD. Learn how to create walls, doors, and windows in Revit, establishing the groundwork of your architectural model.
- Applying Basic Modifications: Discover how to modify your drawings and models using commands like move, copy, rotate, and scale. Learn the importance of precision and how to use snapping and constraints to aid your design process.
- Introduction to Properties and Materials: Understand how to assign properties and materials to your models, adding realism and depth to your design. Explore the material library and learn how to apply different textures and finishes.
- Saving and Managing Your Work: Learn the best practices for saving your projects, managing versions, and understanding the file structure, ensuring that your work is safe and well-organized.
By mastering these basic concepts and familiarizing yourself with the AutoCAD and Revit interfaces, you\"ll be well on your way to creating stunning architectural designs and efficient BIM models.
Navigating the Revit Workspace: Tools and Drawing Techniques
Navigating the Revit workspace efficiently is crucial for harnessing the full potential of this powerful BIM tool. This section will guide you through essential tools and drawing techniques to enhance your productivity and accuracy.
- Exploring the Ribbon: Get to know the Ribbon interface, which organizes tools into logical categories. Learn how to access drawing tools, modification commands, and view controls to streamline your workflow.
- Utilizing the Project Browser: Understand how to use the Project Browser to navigate through different views, schedules, and sheets. Learn how to organize and manage your project elements effectively.
- Mastering the Properties Palette: Learn to use the Properties palette to view and edit the parameters of selected elements. Discover how to adjust dimensions, materials, and other properties to customize your design.
- Drawing and Modelling Techniques: Gain proficiency in using Revit\"s drawing and modeling tools. Learn how to create accurate floor plans, elevations, and 3D models. Understand the importance of constraints and how they ensure project accuracy.
- Efficient Use of Views: Discover the power of Revit views, including plan, section, elevation, and 3D views. Learn how to set up and manage views to visualize different aspects of your project.
- Applying and Managing Materials: Dive into the process of applying materials and finishes to your models. Understand how to use the Material Browser and Editor to create realistic visualizations.
By mastering these tools and techniques, you\"ll navigate the Revit workspace with confidence, bringing precision and efficiency to your architectural projects and BIM workflows.
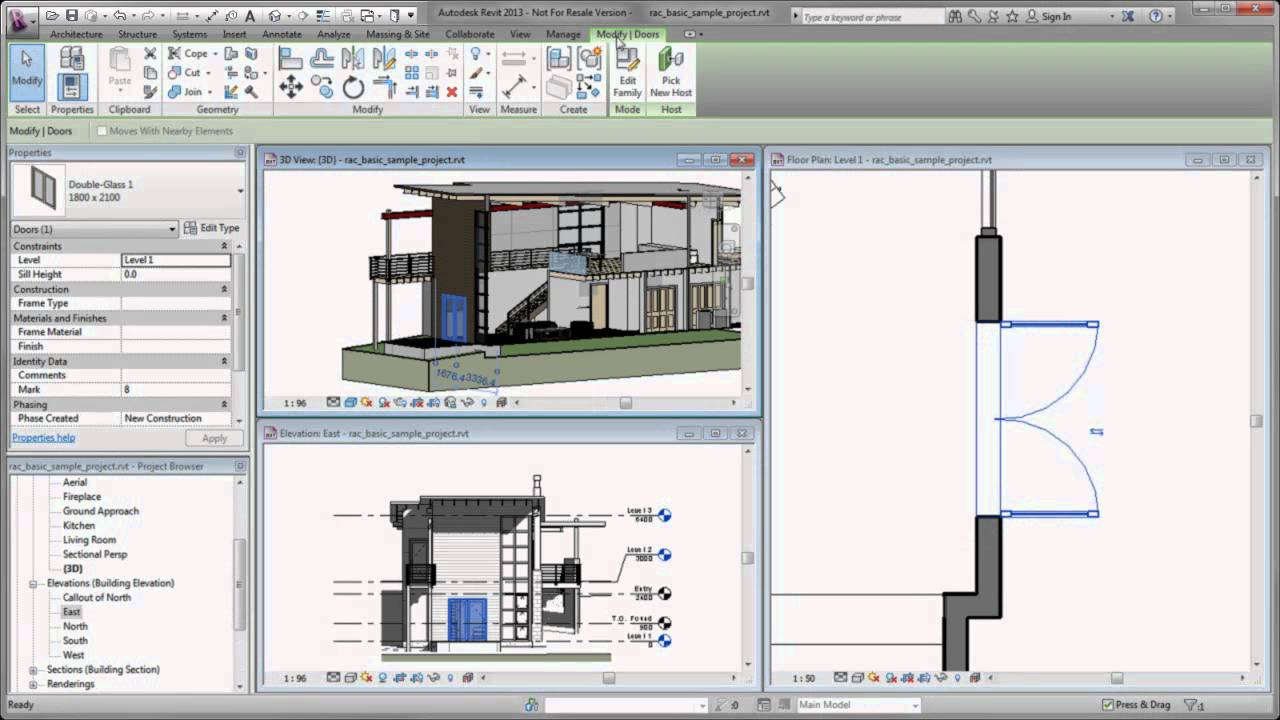
Understanding Revit\"s Architecture: Walls, Doors, and Windows
Grasping the fundamental architectural elements in Revit, such as walls, doors, and windows, is pivotal for creating realistic and structurally sound designs. This section delves into the methodologies for effectively incorporating these elements into your Revit projects.
- Creating and Modifying Walls: Learn to create different types of walls, including straight, curved, and complex geometries. Understand how to modify wall properties, such as height, thickness, and material, to meet design specifications.
- Inserting Doors and Windows: Explore the process of adding doors and windows to your walls. Discover how to browse the Revit library to choose suitable styles and learn how to place them accurately in your model.
- Customizing Door and Window Properties: Dive into customizing doors and windows by adjusting dimensions, swing direction, frame types, and more. Understand how these elements interact with walls and how to resolve common issues.
- Editing Profiles and Creating Openings: Gain skills in editing the profile of walls to create complex shapes and design custom architectural features. Learn to create openings for non-standard doors and windows, or for architectural elements like vents and skylights.
- Applying and Editing Materials: Understand how to apply materials to walls, doors, and windows to achieve realistic visualizations. Learn how to edit material properties to reflect accurate light, texture, and color in your models.
- Generating Schedules for Walls, Doors, and Windows: Learn how to automatically generate and customize schedules for walls, doors, and windows. Understand how schedules can streamline your workflow and ensure accuracy in documentation.
Mastering these elements will not only enhance the aesthetic appeal of your designs but also contribute to the structural integrity and functionality of your architectural projects in Revit.

Advanced Modeling in Revit: Creating Stairs, Roofs, and Floors
Enhance your architectural models by mastering advanced modeling techniques in Revit. This section focuses on the creation of stairs, roofs, and floors, essential components that add complexity and realism to your building designs.
- Designing Stairs: Learn the step-by-step process to design stairs. Understand how to use the stair tool, customize stair parameters like tread depth and riser height, and how to integrate landings and railings for functional and aesthetic designs.
- Constructing Roofs: Explore various methods to create roofs, including flat, pitched, and custom shapes. Understand how to edit roof profiles, apply materials, and incorporate elements like dormers and skylights to enhance your roof designs.
- Creating Floors: Get to know the tools and techniques for creating floors. Learn to define floor boundaries, apply different materials, and adjust floor levels to ensure your design meets the structural and aesthetic requirements.
- Applying Advanced Modelling Techniques: Dive deeper into Revit’s advanced modeling features. Learn to use the modify tools to sculpt your stairs, roofs, and floors, adding a higher level of detail and customization to your models.
- Integrating Structural Elements: Understand how to integrate structural components like beams and columns with your stairs, roofs, and floors, ensuring that your models are not only visually compelling but also structurally sound.
- Visualizing and Analyzing Your Models: Master the skills to visualize your advanced models in 3D. Learn how to analyze the structural integrity and performance of your stairs, roofs, and floors using Revit\"s powerful simulation tools.
By mastering these advanced modeling techniques, you will elevate your Revit models, creating more dynamic, realistic, and structurally accurate representations of your architectural designs.
_HOOK_
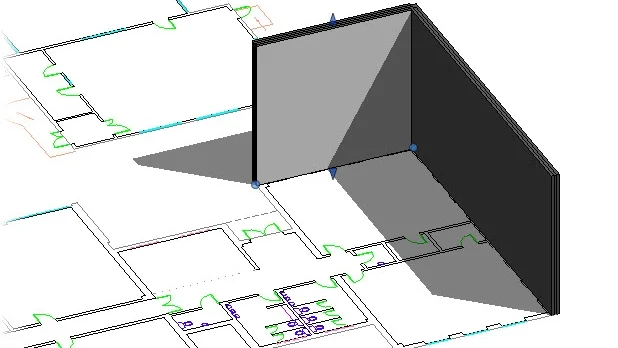
Working with Views: 2D Plans, Sections, and 3D Views
Efficiently managing views in Revit is essential for presenting and reviewing your architectural designs. This section will guide you through working with different types of views, including 2D plans, sections, and 3D views, to enhance the clarity and detail of your projects.
- Creating and Customizing 2D Plans: Understand the process of creating floor plans and reflected ceiling plans. Learn how to set view ranges, apply view templates, and manage visibility settings to highlight relevant details.
- Developing Section and Elevation Views: Discover how to create section and elevation views to show detailed cross-sections of your model. Learn to customize the depth and visibility of elements to focus on specific areas of your design.
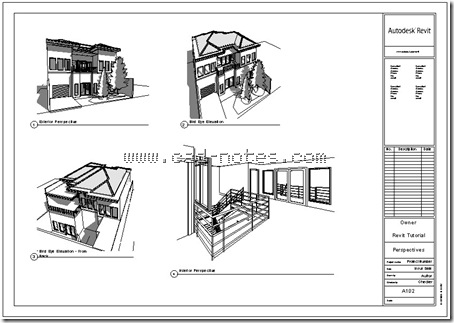
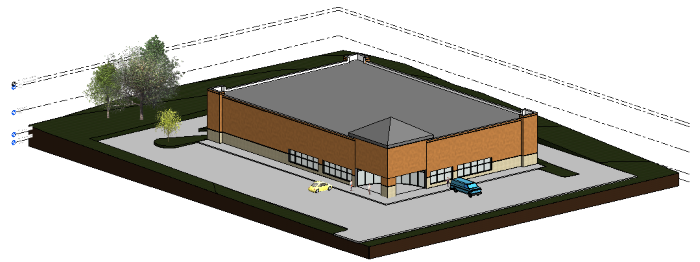
- Utilizing 3D Views: Explore the power of 3D views to visualize your projects from various angles. Learn how to navigate, render, and present your 3D models effectively, showcasing the depth and complexity of your designs.
- Applying Visual Styles: Dive into the various visual styles in Revit, such as wireframe, shaded, and realistic. Understand how to apply and customize these styles to enhance the visual impact of your views.
- Managing View Templates: Learn how to create and apply view templates to maintain consistency across your project views. Understand the benefits of using templates for efficiency and standardization.
- Exporting and Sharing Views: Master the skills to export your views for presentations or collaboration. Learn the formats and settings to ensure your views are clearly communicated to clients or team members.
By effectively working with different views in Revit, you can comprehensively present your architectural designs, ensuring every detail is communicated clearly and effectively to all stakeholders involved.
Project Collaboration and Management in Revit
Effective project collaboration and management are key to the success of any Revit project. This section explores the tools and strategies to enhance coordination, communication, and project management within the Revit environment.
- Understanding Worksharing: Get to grips with the worksharing feature in Revit, which allows multiple team members to work on the same project simultaneously. Learn how to set up and manage worksets, and understand the concepts of ownership and borrowing.
- Utilizing Revit Server: Explore how to use Revit Server to collaborate with team members in different locations. Understand how to set up a central model, create local copies, and synchronize changes to ensure consistency and efficiency.
- Leveraging Collaboration for Revit (C4R): Dive into the capabilities of Collaboration for Revit (C4R), a cloud-based solution that facilitates real-time project collaboration. Learn how to share models, communicate changes, and collaborate with stakeholders across disciplines and locations.
- Managing Project Information: Understand how to use Revit\"s powerful tools to manage and communicate project information. Learn about creating and customizing schedules, tagging elements, and generating detailed reports.
- Implementing Design Review and Coordination: Discover the processes for conducting design reviews and model coordination in Revit. Learn how to use tools like clash detection, markups, and comments to identify and resolve issues early in the design process.
- Best Practices for Efficient Workflow: Gain insights into best practices for a smooth and efficient workflow. Learn about template creation, standardization of processes, and maintaining consistent data structure throughout the project lifecycle.
Mastering these collaboration and management techniques in Revit will ensure that your projects are not only designed efficiently but are also executed seamlessly with clear communication and coordination among all stakeholders.

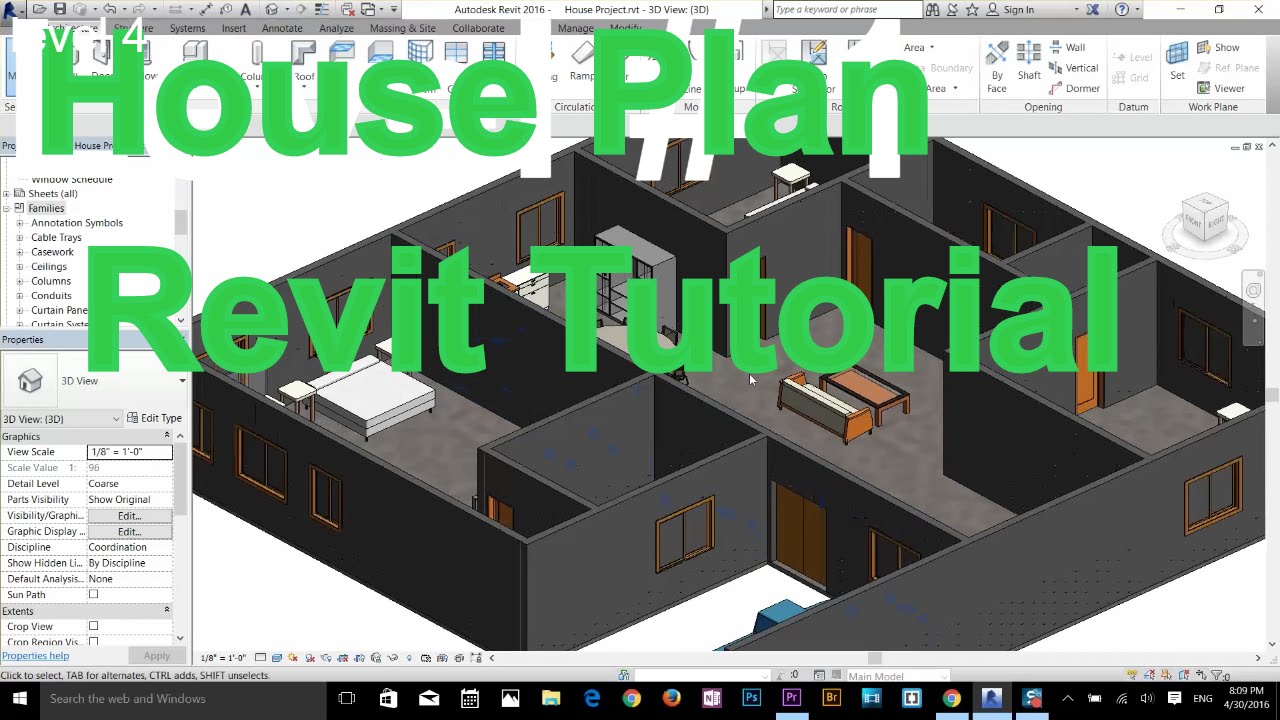
Revit Complete Tutorial for Beginners - Learn to use Revit in 60 minutes Part 1
Are you ready to learn the ins and outs of Revit? This tutorial video will guide you step by step in creating amazing architectural designs. Get ready to unleash your creativity and become a Revit pro!
Revit Tutorial for Beginners - Building Information Modeling 3D Design Course
Dive into the fascinating world of Building Information Modeling with this captivating video. Discover how BIM revolutionizes the construction industry, improves collaboration, and streamlines project management. Don\'t miss out on the future of building design!
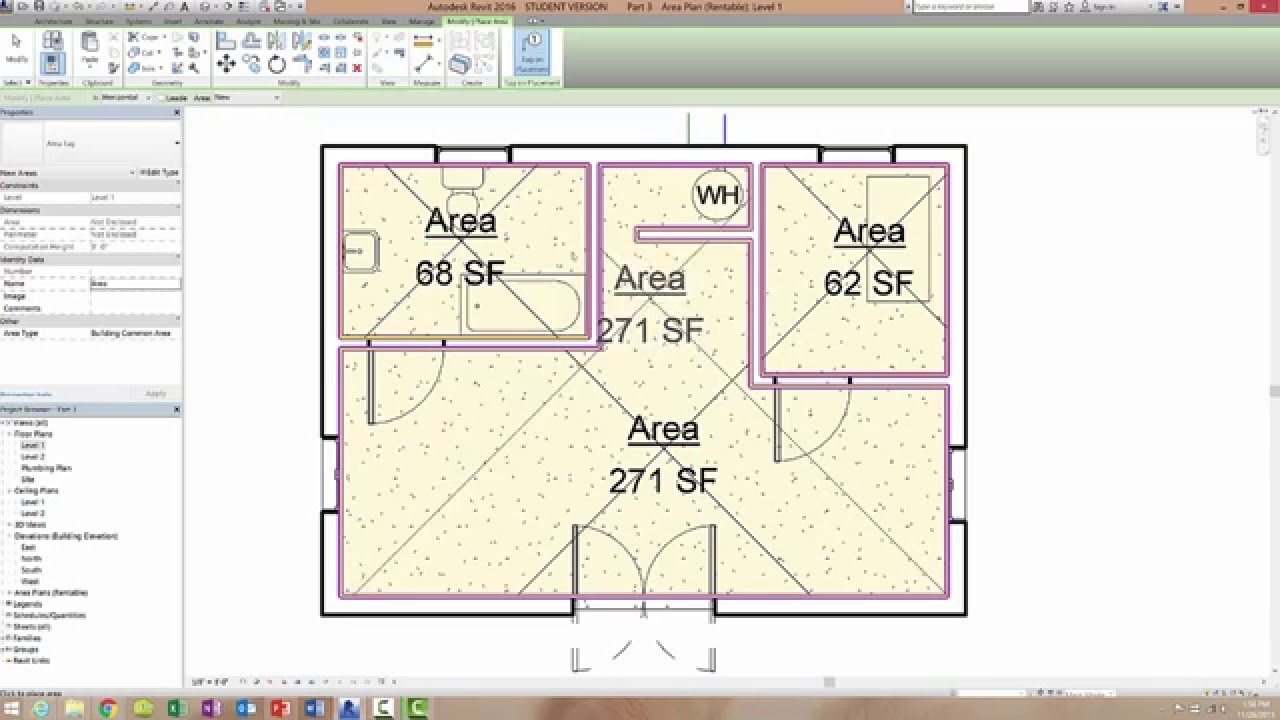
Creating Detailed Schedules and Lists in Revit
Creating detailed schedules and lists is crucial for the accurate management and communication of project information in Revit. This section will guide you through the process of generating, customizing, and utilizing these powerful tools effectively.
- Understanding the Basics of Scheduling: Learn the fundamentals of creating schedules in Revit. Understand how schedules can provide detailed lists of elements, along with their properties and quantities, for doors, windows, furniture, and more.
- Creating a Schedule: Discover the step-by-step process to create a new schedule. Learn how to select the category, choose the fields, and define the filter criteria to display only the relevant information.
- Customizing Fields and Formatting: Dive into customizing the appearance of your schedules. Learn how to add, remove, and organize fields, adjust column widths, and apply conditional formatting to highlight specific data.
- Incorporating Calculated Values: Understand how to add calculated values to your schedules for a more comprehensive data analysis. Learn about creating formulas within schedules to calculate costs, areas, and other critical project metrics.
- Creating Material Takeoffs: Explore the process of creating material takeoffs to accurately estimate quantities and costs. Learn how to set up material takeoffs and link them to your schedules for a streamlined workflow.
- Exporting and Sharing Schedules: Master the techniques for exporting schedules to external formats like Excel for further analysis or reporting. Learn how to share your schedules with project stakeholders for improved communication and collaboration.
By effectively creating and managing schedules and lists in Revit, you can ensure accurate, up-to-date information is accessible, enhancing the decision-making process and overall project management.
AutoCAD to Revit: Integrating CAD Drawings and Models
Integrating AutoCAD drawings and models into Revit enhances the design process by combining the strengths of both platforms. This section provides a detailed guide on how to effectively merge CAD data into Revit projects.
- Importing AutoCAD Drawings: Learn the process of importing DWG files into Revit. Understand how to manage layers, scale, and positioning to ensure that the CAD data aligns correctly with your Revit model.
- Linking vs. Importing: Discover the differences between linking and importing CAD files. Understand when to use each method and how they affect file size, performance, and collaboration.
- Managing CAD Layers in Revit: Gain insights on how to manage and organize CAD layers within Revit. Learn how to control the visibility and appearance of imported layers to keep your project organized and efficient.
- Using CAD Data for Reference: Understand how to use imported CAD drawings as a reference for creating Revit elements. Learn tips and tricks for tracing over CAD data to create accurate Revit geometry.
- Coordinating Changes between AutoCAD and Revit: Explore strategies for managing changes and updates when working with linked CAD files. Learn how to keep your Revit project synchronized with the latest CAD updates.
- Best Practices for Integration: Familiarize yourself with best practices for a smooth integration of CAD data into Revit. Learn how to maintain performance, ensure accuracy, and streamline collaboration between different software platforms.
By leveraging the capabilities of both AutoCAD and Revit, you can create a more efficient, accurate, and collaborative design workflow, maximizing the strengths of each tool.
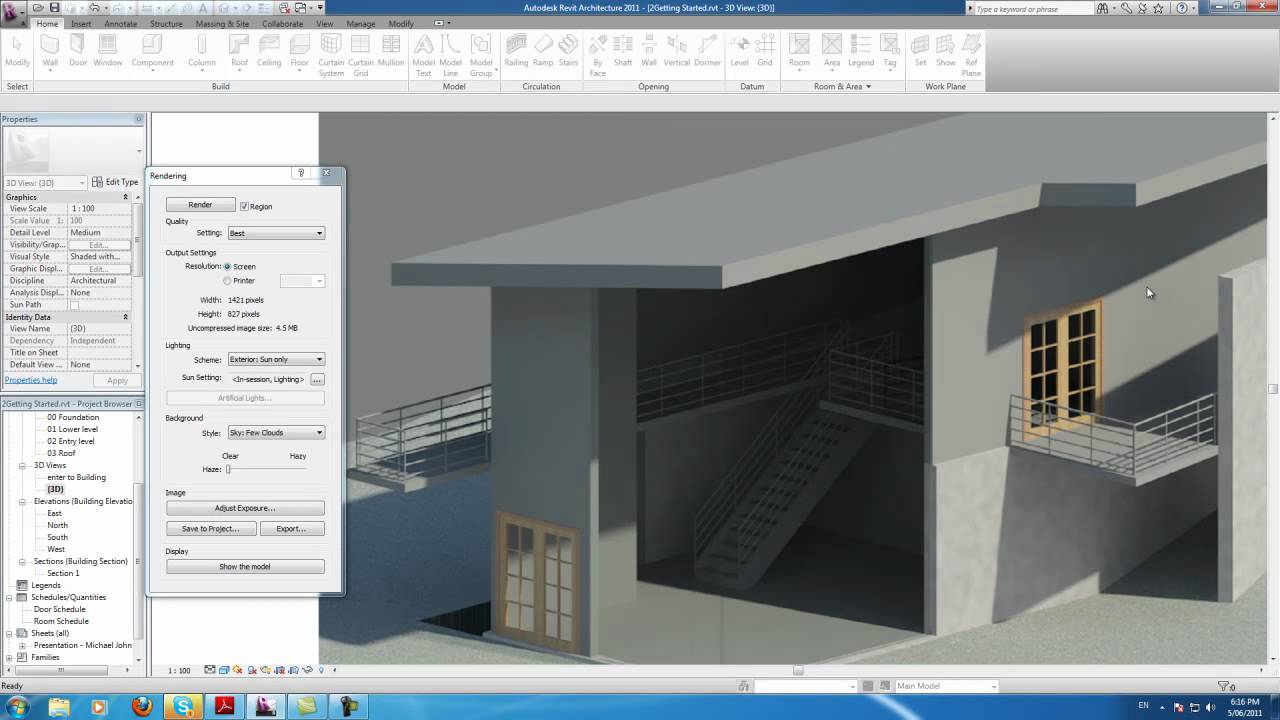
Revit Rendering and Visualization Techniques
Rendering and visualization are critical for bringing your Revit models to life, providing a realistic representation of your architectural designs. This section will guide you through the techniques and tools for creating stunning visualizations in Revit.
- Understanding Revit Rendering Tools: Get acquainted with Revit\"s rendering tools. Learn about the rendering dialog, settings, and how to choose the right environment, lighting, and materials for your scene.
- Applying Materials and Textures: Dive into the process of applying materials and textures to your model. Understand how to adjust properties like reflectivity, glossiness, and transparency to achieve more realistic surfaces.
- Setting Up Lighting: Explore how to set up artificial and natural lighting in your Revit model. Learn about light sources, intensity, and color to enhance the mood and realism of your renderings.
- Creating 3D Views and Camera Settings: Master the creation of 3D views and camera settings to frame your model perfectly. Learn how to adjust perspective, depth of field, and focal points to highlight specific areas of your design.
- Enhancing Renders with Post-Processing: Discover post-processing techniques to further enhance your renderings. Learn how to use external software or Revit\"s built-in tools to adjust brightness, contrast, and add effects.
- Exporting and Sharing Visualizations: Gain skills in exporting your renderings and visualizations. Understand the best formats and practices for sharing your visual work with clients or team members for presentations and reviews.
By mastering these rendering and visualization techniques, you can produce compelling and immersive representations of your Revit models, making your architectural designs stand out.
_HOOK_
READ MORE:
Advanced Tips and Tricks for Efficient Revit Workflow
Maximizing efficiency in Revit is crucial for delivering projects on time and within budget. This section provides advanced tips and tricks to streamline your Revit workflow, ensuring you work smarter, not harder.
- Utilizing Keyboard Shortcuts: Learn the most useful keyboard shortcuts for common tasks in Revit. Understand how custom shortcuts can speed up your modeling and navigation within the software.
- Mastering Selection and Filtering Techniques: Discover advanced techniques for selecting and filtering elements in your model. Learn how to use selection sets and filters to quickly modify or analyze specific parts of your project.
- Implementing Templates and Standards: Understand the importance of using project templates and adhering to standards. Learn how to set up templates with predefined settings and how standardization can reduce errors and improve collaboration.
- Optimizing Model Performance: Get insights into optimizing your Revit model\"s performance. Learn about best practices for managing file sizes, purging unused elements, and organizing your project efficiently.
- Leveraging Revit Add-Ins: Explore the world of Revit add-ins to extend the software\"s functionality. Understand how to find, install, and use add-ins to automate repetitive tasks or add new capabilities to your workflow.
- Collaborating Effectively: Gain tips for effective collaboration within Revit. Learn about coordination tools, communication best practices, and how to manage conflicts and changes in a multi-user environment.
Embracing these advanced tips and tricks will empower you to harness the full potential of Revit, enhancing your productivity, accuracy, and the overall quality of your architectural projects.
Embark on your architectural journey with confidence, embracing the power of AutoCAD and Revit. Let this tutorial be your guide to mastering sophisticated design, enhancing your creativity, and achieving excellence in every project.