Topic 3d autocad tutorial for beginners: Embark on a journey to master 3D design with our comprehensive 3D AutoCAD tutorial for beginners, designed to transform novices into skilled creators.
Table of Content
- What are some recommended Autocad tutorials for beginners in 3D design?
- Understanding the AutoCAD Interface
- Basic Navigation in 3D Space
- Creating Your First 3D Model
- Modifying 3D Objects
- Using Basic 3D Modeling Commands
- Advanced 3D Modeling Techniques
- YOUTUBE: AutoCAD 2018 3D Tutorial for Beginners
- Rendering and Visualizing Your 3D Models
- Exporting and Sharing 3D Models
- Tips for Efficient 3D Modeling
- Resources for Further Learning
What are some recommended Autocad tutorials for beginners in 3D design?
Here are some recommended Autocad tutorials for beginners in 3D design:
- Autocad in 3D - tutorials and exercises - This playlist on YouTube provides a series of tutorials and exercises specifically focused on Autocad 3D. It covers various topics and is suitable for beginners.
- Website Name - This website offers beginner-friendly Autocad tutorials in 3D design. The tutorials are designed to provide a comprehensive learning experience, helping beginners understand the basics of 3D design in Autocad.
By following these tutorials, beginners can gain a good understanding of Autocad\'s 3D capabilities and learn how to create and manipulate 3D objects in the software.
READ MORE:
Understanding the AutoCAD Interface
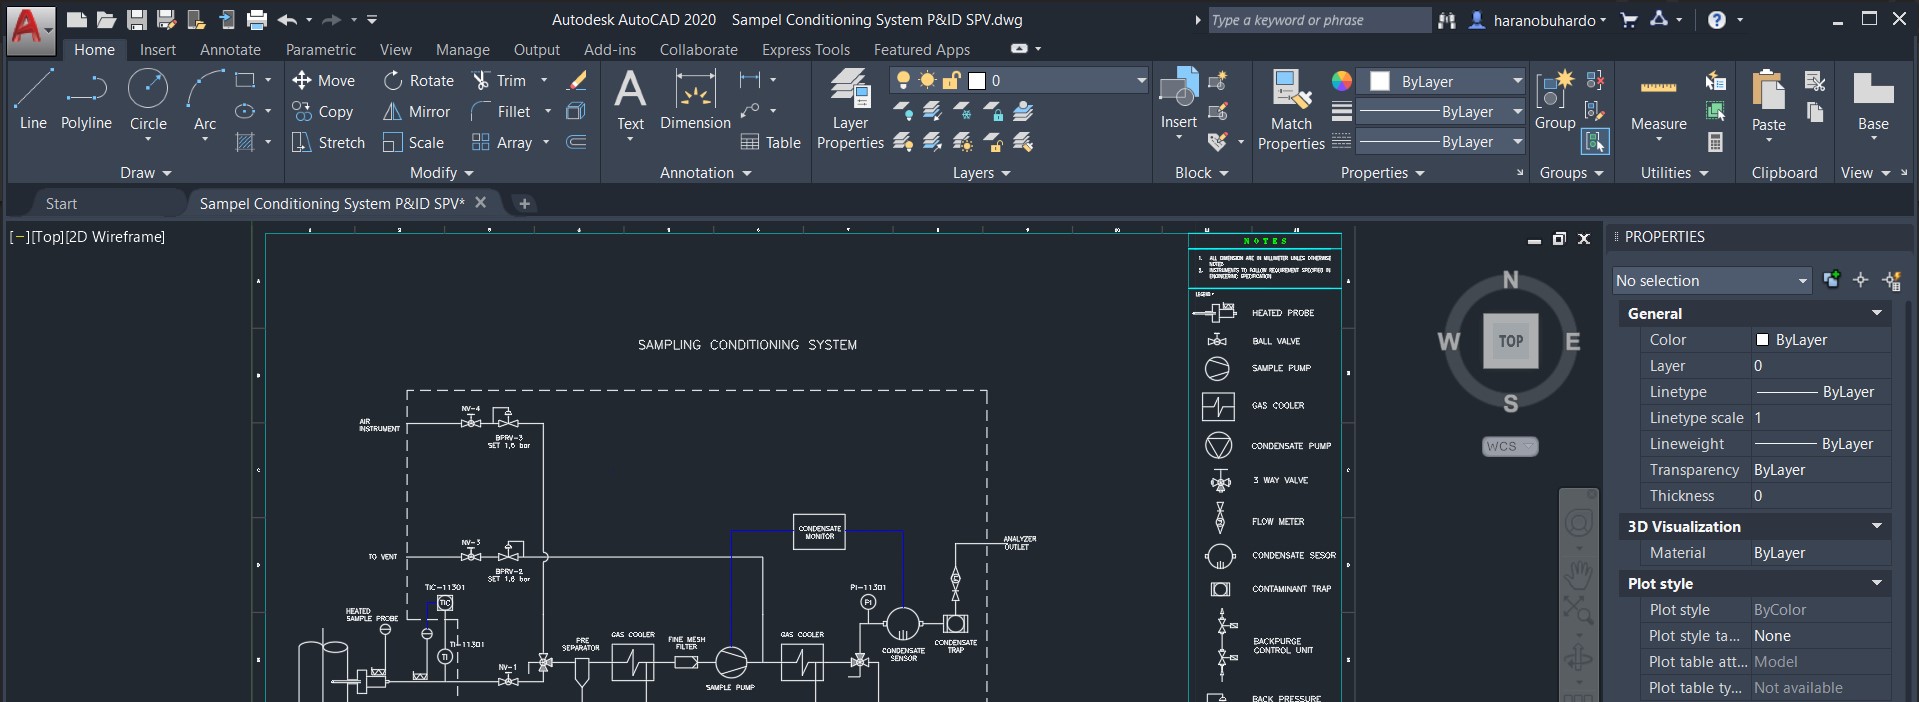
Getting familiar with the AutoCAD interface is the first step towards becoming proficient in 3D modeling. The interface may seem daunting at first, but it\"s designed to give you quick access to the tools you need.
- Workspace: AutoCAD offers different workspaces tailored to various tasks. The 3D Basics workspace is ideal for beginners.
- Command Line: At the bottom of the screen, the command line allows you to input commands, offering suggestions as you type.
- Ribbon: The ribbon at the top provides access to all the tools and commands, organized by tabs.
- Tool Palettes: On the right side, tool palettes offer easy access to frequently used tools and commands.
- ViewCube: The ViewCube in the top right corner helps you orient your view in 3D space, making it easy to rotate around your model.
- Navigation Bar: The navigation bar, located near the ViewCube, contains tools for panning, zooming, and orbiting your model.
Take your time to explore these elements. Hovering over icons often displays tooltips that provide a brief description of their function. Practice using the ViewCube and navigation tools to become comfortable moving around in 3D space.

Basic Navigation in 3D Space
Navigating the 3D space in AutoCAD is crucial for effectively visualizing and editing your models. Here\"s how to move around in 3D space:
- Zoom: Use the mouse wheel to zoom in and out. This helps you focus on details or see the bigger picture of your model.
- Pan: Click and hold the middle mouse button to pan around the workspace. Panning shifts your viewpoint horizontally or vertically.
- Orbit: Hold the Shift key and the middle mouse button to orbit around your model. Orbiting lets you view the model from different angles and perspectives.
- ViewCube: Use the ViewCube for easy 3D navigation. Click and drag the cube to rotate your view. Clicking on the faces, edges, or corners of the ViewCube snaps the view to predefined orientations.
- Navigation Bar: The navigation bar offers additional tools like the SteeringWheels for more dynamic navigation, and the Pan and Zoom tools for precise control over your view.
Mastering these navigation tools will enhance your 3D modeling efficiency and help you create more accurate and detailed designs.
Creating Your First 3D Model
Creating your first 3D model in AutoCAD is an exciting step towards mastering 3D design. Here\"s a straightforward guide to begin your modeling journey:
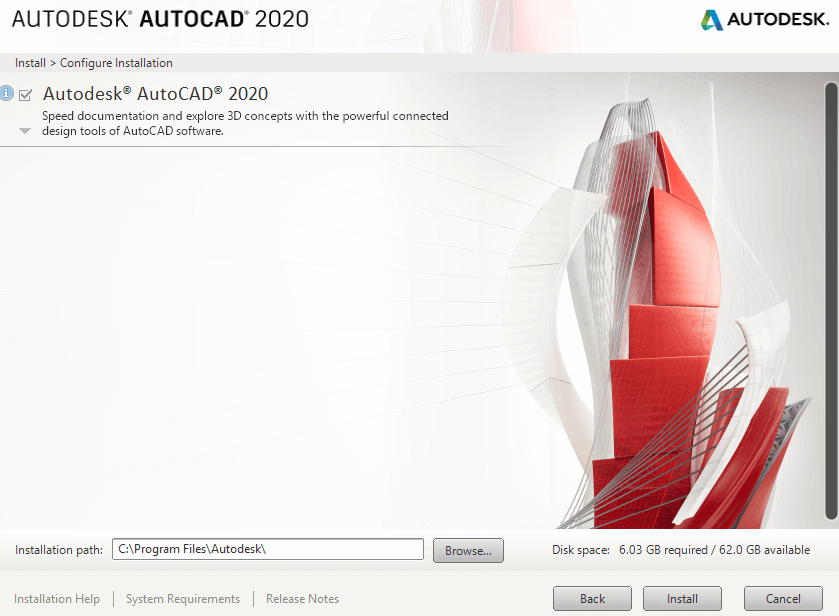
- Start a New Drawing: Open AutoCAD and start a new drawing by selecting \"New\" from the File menu. Choose a template that suits 3D modeling.
- Set Your Workspace: Switch to a 3D workspace by clicking on the workspace switching icon in the status bar and selecting \"3D Modeling\".
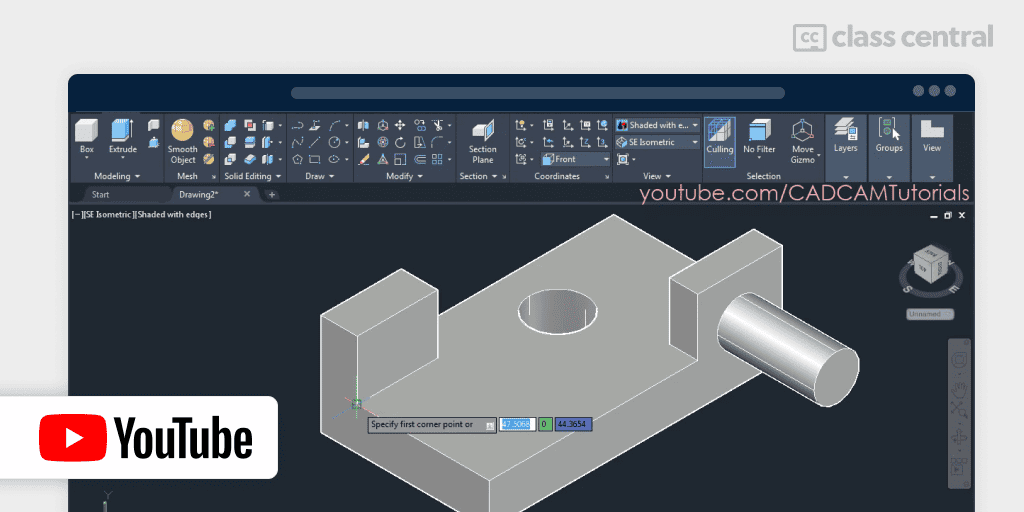
- Draw a Simple Shape: Begin with a simple shape to get familiar with 3D tools. Use the \"Box\" command to create a basic box shape as your first object. Enter \"Box\" into the command line, then specify the first corner, length, width, and height.
- Modify Your Shape: Explore basic modification commands like \"Move\", \"Rotate\", \"Scale\", and \"Extrude\". Try using \"Extrude\" on a 2D shape to turn it into a 3D object.
- View Your Model: Utilize the ViewCube and navigation tools to view your model from different angles. Practice zooming, panning, and orbiting to examine your work.
- Add Details: Add more details to your model with commands like \"PressPull\" to modify surfaces and \"FilletEdge\" to smooth edges.
- Save Your Work: Remember to save your drawing frequently. Choose \"Save As\" from the File menu and select a location on your computer to save your file.
Congratulations on creating your first 3D model! With practice, you\"ll quickly improve and be ready to tackle more complex projects.
Modifying 3D Objects
After creating your 3D models in AutoCAD, learning to modify them is essential for refining your designs. Here’s how you can alter and enhance your 3D objects:
- Select the Object: Use the mouse to click and select the 3D object you wish to modify. For multiple selections, hold the Shift key while clicking.
- Move: Use the \"Move\" command to change the position of an object. Select your object, then specify the base point and the new location.
- Rotate: With the \"Rotate\" command, you can spin your object around a specified axis. Choose an object, define the rotation axis, and then enter the rotation angle.
- Scale: To resize your object, apply the \"Scale\" command. Select the object, pick a base point, and then specify a scale factor to enlarge or reduce its size.
- Extrude: Turn 2D shapes into 3D objects by using \"Extrude\". Select a 2D shape, then define the height to extrude it into a 3D form.
- PressPull: The \"PressPull\" tool allows you to adjust the depth of faces within your 3D object. Click a face and then drag to extrude or push it.
- Fillet Edge: Smooth the edges of your model by applying a \"Fillet\". Select the edges you want to fillet and specify the radius of the curve.
- Boolean Operations: Use Boolean commands like \"Union\", \"Subtract\", and \"Intersect\" to combine or subtract volume from your 3D objects.
These techniques are fundamental for shaping and customizing your 3D models in AutoCAD. Experiment with each command to understand its effect and how it can improve your designs.
_HOOK_
Using Basic 3D Modeling Commands
Basic 3D modeling commands are the foundation of creating and manipulating objects in AutoCAD. Familiarize yourself with these essential commands to enhance your 3D modeling skills:
- BOX: Creates a rectangular prism. Specify the first corner, length, width, and height to form your box.
- CYLINDER: Generates a cylinder. Enter the base center point, radius, and height to create it.
- SPHERE: Produces a sphere. Input the center point and radius to draw your sphere.
- CONE: Forms a cone. Specify the base center, base radius, and height for your cone.
- PYRAMID: Creates a pyramid with a square or rectangular base. Enter the base center, base area dimensions, and height.
- EXTRUDE: Turns 2D shapes into 3D objects by extending them along a specified path. Select a 2D profile and then the extrusion distance.
- SWEEP: Sweeps a 2D profile along a path to create a 3D object. Select the profile and then the path curve.
- REVOLVE: Creates a 3D object by revolving a 2D profile around an axis. Choose the profile and specify the axis of revolution and angle.
- LOFT: Generates complex 3D shapes by lofting between multiple 2D profiles. Select the profiles in sequence to create the lofted shape.
Practice using these commands on simple shapes to understand how they can be combined and modified to create more complex 3D models. As you become more comfortable, you\"ll find these tools invaluable for all your 3D projects.
Advanced 3D Modeling Techniques
Once you\"ve mastered the basics of 3D modeling in AutoCAD, you can move on to more advanced techniques that will allow you to create more complex and detailed designs:
- Surface Modeling: Surface modeling is ideal for creating complex, curved surfaces. Use commands like \"SURFNETWORK\", \"SURFPATCH\", and \"SURFTRIM\" to manipulate surfaces precisely.
- Solid Editing Tools: Enhance your solid models by using solid editing tools such as \"SLICE\", \"FILLET\", \"CHAMFER\", and \"SHELL\" to modify and refine shapes.
- Mesh Modeling: Mesh modeling is useful for creating organic shapes. Utilize \"MESH\" commands to create and edit mesh objects, allowing for more flexibility in modeling intricate forms.
- 3D Scanning and Import: Integrate real-world objects into your designs by importing 3D scanned data. Use \"IMPORT\" to bring in mesh data, which can then be edited and incorporated into your models.
- Parametric Constraints: Apply parametric constraints to control dimensions and relationships between objects. This technique ensures your model maintains proper proportions and alignments as you edit.
- Custom Materials and Textures: Apply custom materials and textures to your models for more realistic renderings. Use the \"MATERIALS\" browser to select and edit materials to achieve the desired appearance.
- Lighting and Rendering: Experiment with different lighting setups and rendering techniques to bring your models to life. Adjust \"LIGHTS\" settings and use the \"RENDER\" command to produce high-quality images of your designs.
These advanced techniques will enhance your capability to tackle more sophisticated projects, allowing you to fully express your creative vision in 3D space.

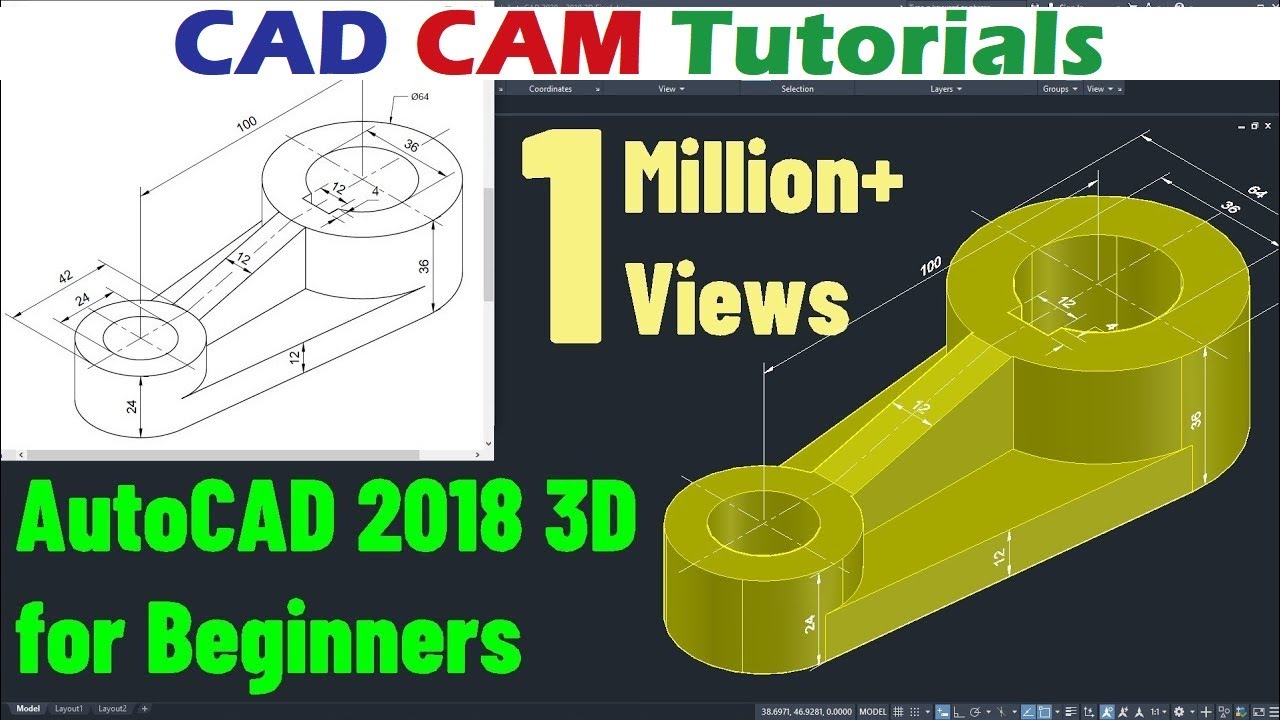
AutoCAD 2018 3D Tutorial for Beginners
Tutorial: Unleash your creativity with our step-by-step tutorial! Whether you\'re a seasoned pro or just starting out, this video will guide you through the process, helping you master new techniques and create stunning results. Join us and elevate your skills to the next level!
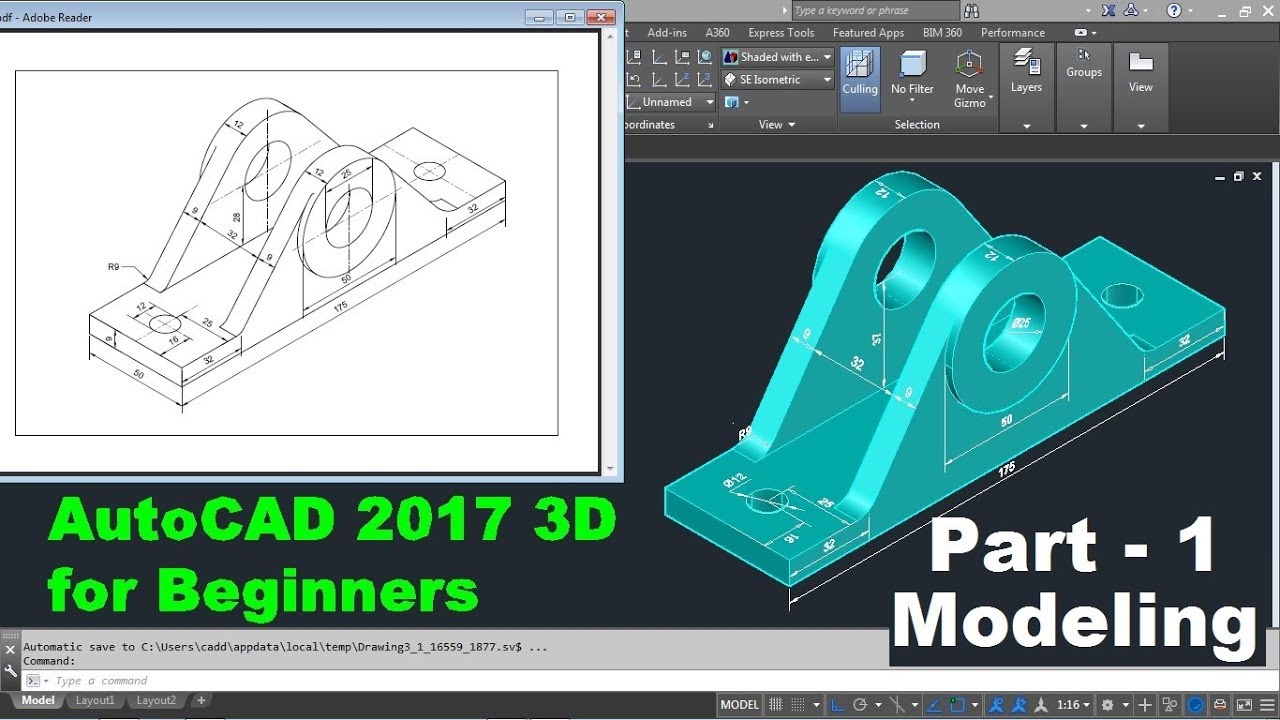
AutoCAD 3D Beginner Series Part 1
Beginner: Are you a beginner eager to dive into the world of [keyword]? Look no further! Our video is specifically designed for beginners like you, providing simple and easy-to-follow instructions. Gain confidence and embark on your journey towards becoming an expert in no time. Don\'t miss out on this exciting opportunity!
Rendering and Visualizing Your 3D Models
Rendering and visualizing your 3D models in AutoCAD transforms them from simple structures to lifelike representations. This process is crucial for understanding the aesthetic and functional aspects of your designs:
- Prepare Your Model: Ensure your model is fully developed, with all details and textures applied. Check for any errors that might affect the rendering process.
- Set Up Lighting: Lighting plays a key role in visualization. Use the \"LIGHT\" command to add various light sources, adjusting their intensity and color to mimic real-world lighting conditions.
- Apply Materials: Materials give your model texture and color. Access the \"MATERIALS\" browser to select and apply materials that closely resemble the real-life surfaces you\"re trying to replicate.
- Adjust Camera Settings: The \"CAMERA\" command allows you to set the viewpoint for rendering. Adjust the camera angle and focal length to capture your model from the best perspective.
- Choose a Rendering Environment: Backgrounds and environments add context to your model. Select an appropriate scene or background to enhance the overall appearance of your rendering.
- Render the Model: Use the \"RENDER\" command to start the rendering process. Choose the rendering quality and resolution based on your needs. Higher quality renderings take longer but provide more detailed images.
- Post-Processing: After rendering, you may need to adjust brightness, contrast, or add filters to improve the final image. Use image editing software for these final touches.
Rendering and visualizing are critical for presenting your models to clients or using them in presentations. These steps will help you achieve professional-quality visuals that bring your designs to life.

Exporting and Sharing 3D Models
Once you\"ve completed your 3D model in AutoCAD, you may want to export and share it with clients, colleagues, or use it in other applications. Here are the steps to efficiently export and share your 3D models:
- Choose the Right Format: Decide on the best file format for your needs. Common formats include STL (for 3D printing), OBJ (for graphic applications), and DWG or DXF (for engineering purposes).
- Export Your Model: Go to the \"Application Menu\" (big A button), hover over \"Export\", and select \"Other Formats\". Choose the format you need from the list and specify the export location.
- Check Model Compatibility: Ensure the exported model is compatible with the software or platform you intend to use it on. Open the file in the target application to check for any issues.
- Share Your Model: Use cloud storage, email, or a dedicated project management platform to share your model. Consider the file size and security requirements when choosing a sharing method.
- Use 3D Viewing Software: For clients who do not have AutoCAD, recommend using a free 3D viewer software. This allows them to view the model without needing to understand how to use AutoCAD.
- Include Documentation: When sharing your model, include any necessary documentation, such as specifications, materials used, or assembly instructions, to provide a comprehensive understanding of the project.
Exporting and sharing your 3D models is a critical step in the design process, allowing for collaboration, feedback, and use in real-world applications.
Tips for Efficient 3D Modeling
Becoming proficient in 3D modeling requires practice, patience, and a few key strategies. Here are some tips to enhance your efficiency and effectiveness in creating 3D models with AutoCAD:
- Use Keyboard Shortcuts: Learn and use AutoCAD\"s keyboard shortcuts for common commands to speed up your workflow significantly.
- Organize Your Workspace: Customize your workspace to suit your preferences. Arrange toolbars and palettes for easy access to frequently used tools.
- Apply Object Snaps: Enable object snaps (OSNAP) to ensure accuracy when drawing or modifying objects. Snapping to specific points on an object can save time and reduce errors.
- Utilize Layers: Organize your model by assigning elements to different layers. This makes it easier to edit specific parts of your model without affecting others.
- Keep a Clean Model: Regularly purge unused elements and simplify complex geometries. A cleaner model runs faster and is easier to work with.
- Save Regularly: Develop a habit of saving your work frequently. This prevents data loss in case of software crashes or other issues.
- Use Reference Materials: Having reference images or physical models can guide your design process and ensure accuracy in your models.
- Practice Modeling from Real Objects: Try recreating everyday objects to practice your skills. This hands-on approach helps you understand how to break down complex shapes into simpler parts.
- Explore Online Resources: AutoCAD and other 3D modeling communities offer a wealth of tutorials, forums, and resources. Use these to learn new techniques and solve specific problems.
By incorporating these tips into your modeling routine, you can improve your productivity and create more detailed and accurate 3D models.
_HOOK_
READ MORE:
Resources for Further Learning
Expanding your knowledge and skills in 3D modeling with AutoCAD is a continuous process. Here are some valuable resources to further your learning and stay updated with the latest techniques:
- AutoCAD Official Training Guides: Autodesk offers comprehensive training guides and tutorials for users of all levels, including beginners.
- Online Courses and Tutorials: Platforms like Udemy, Coursera, and LinkedIn Learning provide in-depth courses on AutoCAD and 3D modeling, often taught by industry professionals.
- YouTube Channels: Numerous channels dedicated to AutoCAD training offer free tutorials ranging from basic to advanced techniques.
- AutoCAD Blogs and Forums: Blogs like the AutoCAD blog, and forums like the Autodesk forums and CADTutor, share tips, tutorials, and advice from the community.
- Books: There are several books available that cover AutoCAD in detail, including \"Mastering AutoCAD\" and \"AutoCAD for Dummies,\" which are great for beginners and intermediate users.
- Practice Projects: Engage in practice projects that challenge your skills and apply what you\"ve learned in real-world scenarios.
- Professional Networks: Joining professional networks and user groups can provide insights into industry practices and new trends.
Utilizing these resources will help you gain a deeper understanding of 3D modeling with AutoCAD, enabling you to tackle more complex projects and enhance your professional development.
Embarking on your 3D AutoCAD journey opens a world of creative possibilities. With practice and dedication, you\"ll transform your ideas into impressive models, ready to explore the next level of design mastery.