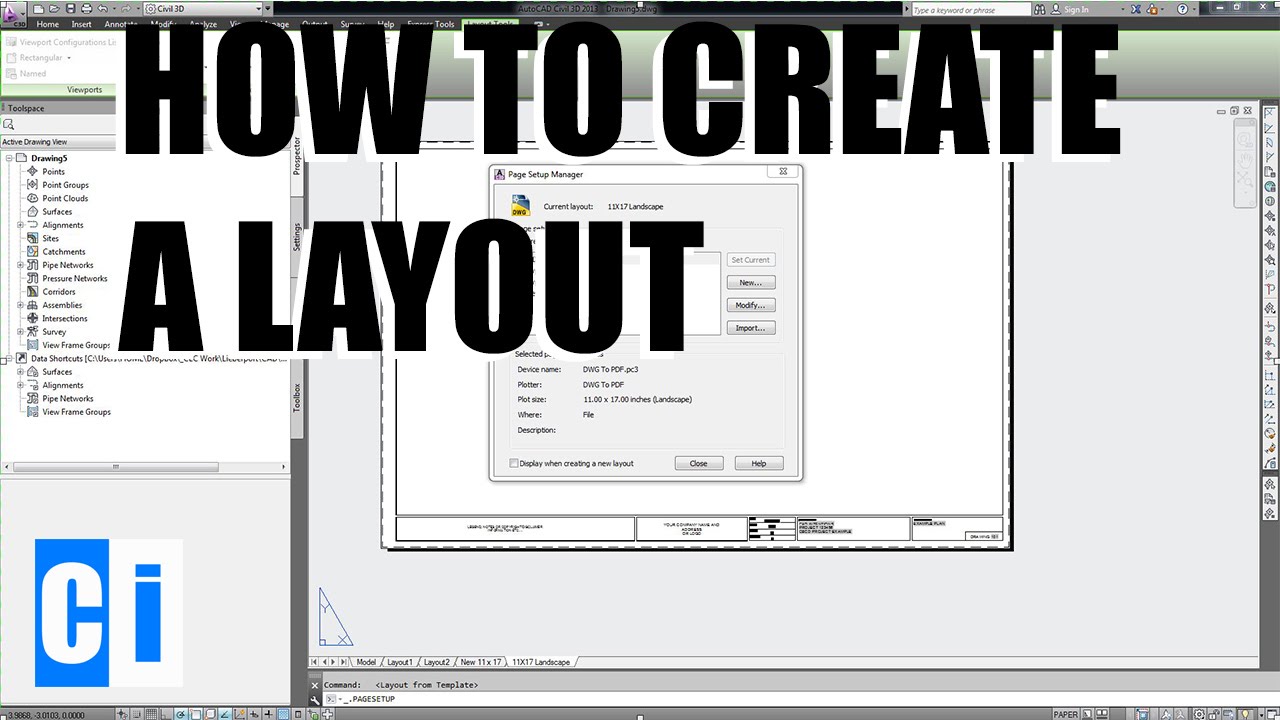
Topic layout autocad tutorial: Discover the secrets of AutoCAD layout mastery in this comprehensive tutorial, designed to elevate your drafting skills and presentation quality to professional levels.
Table of Content
- What is the step-by-step process to create layouts in AutoCAD?
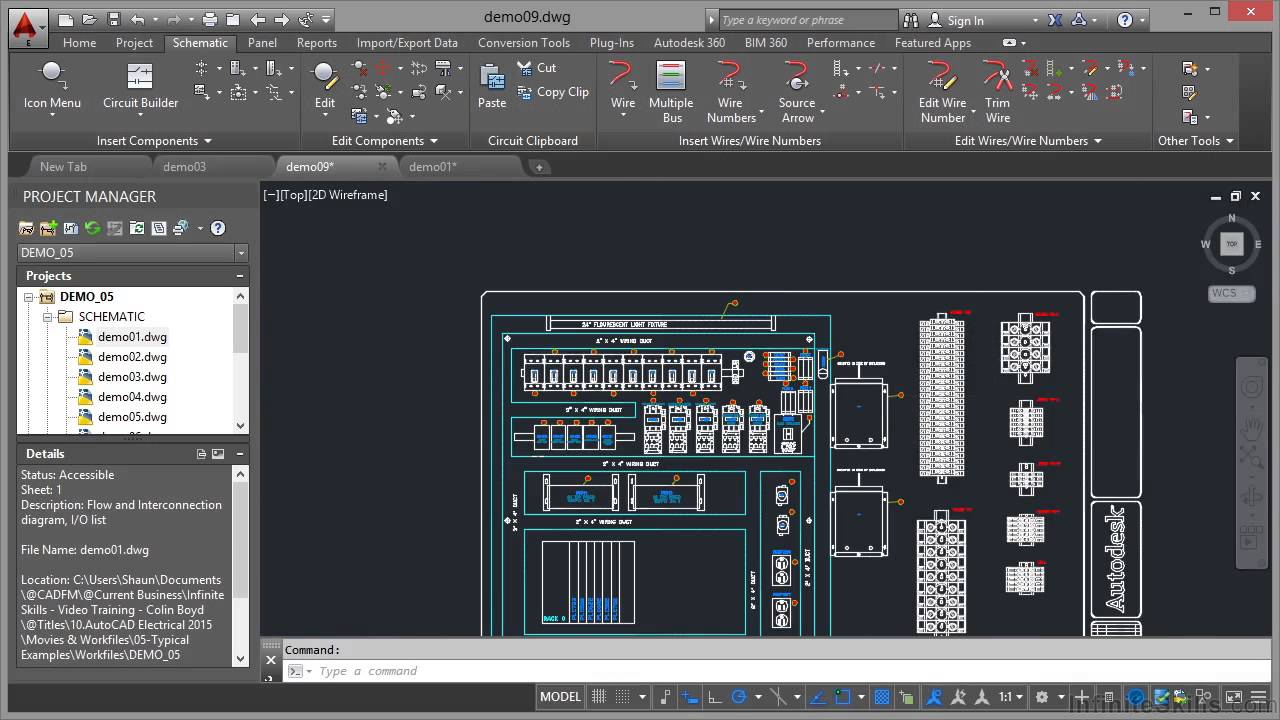
- Understanding Layouts and Viewports in AutoCAD
- Creating and Managing New Layouts
- Page Setup and Plotting Configurations
- Customizing Layouts with Viewports
- Scaling Drawings in Layouts
- Inserting Title Blocks and Annotations
- YOUTUBE: [REVIEW] The Best Laptops for Graphic Design in 2021: A Comprehensive Guide Your new corresponding title is: The Best Laptops for Graphic Design in 2021: A Comprehensive Guide & Review
- Advanced Layout Tips and Tricks
- Layout Printing and Publishing Options
- Common Layout Creation Issues and Solutions
- Resources for Further Learning
What is the step-by-step process to create layouts in AutoCAD?
The step-by-step process to create layouts in AutoCAD is as follows:
- Open the AutoCAD software on your computer.
- Create or open the drawing file in which you want to create layouts.
- Click on the \"Layout\" tab at the bottom of the drawing area to switch to the layout workspace.
- Click on the \"Layout\" tab in the \"Home\" tab of the Ribbon to access layout-specific tools.
- In the \"Layout\" tab of the Ribbon, click on the \"Create View\" panel and choose \"New Layout\" to create a new layout.
- In the \"Page Setup Manager\" dialog box, click on the \"New\" button to create a new page setup.
- In the \"New Page Setup\" dialog box, specify the name and properties of the new page setup and click \"OK\".
- In the \"Page Setup Manager\" dialog box, select the newly created page setup and click \"OK\".
- The new layout will appear as a separate tab in the layout workspace. Double-click on the layout tab name to activate it.
- In the layout, use the \"Viewport\" tool to create viewports that display different views of the drawing in the model space.
- Adjust the position and size of the viewports as needed.
- To specify the scale of a viewport, right-click on the viewport boundary and choose \"Properties\". In the \"Properties\" palette, select the desired scale from the \"Standard Scale\" drop-down menu.
- In the layout, you can add title blocks, dimensions, text, and other annotations as required.
- Save the layout and the drawing file.
READ MORE:
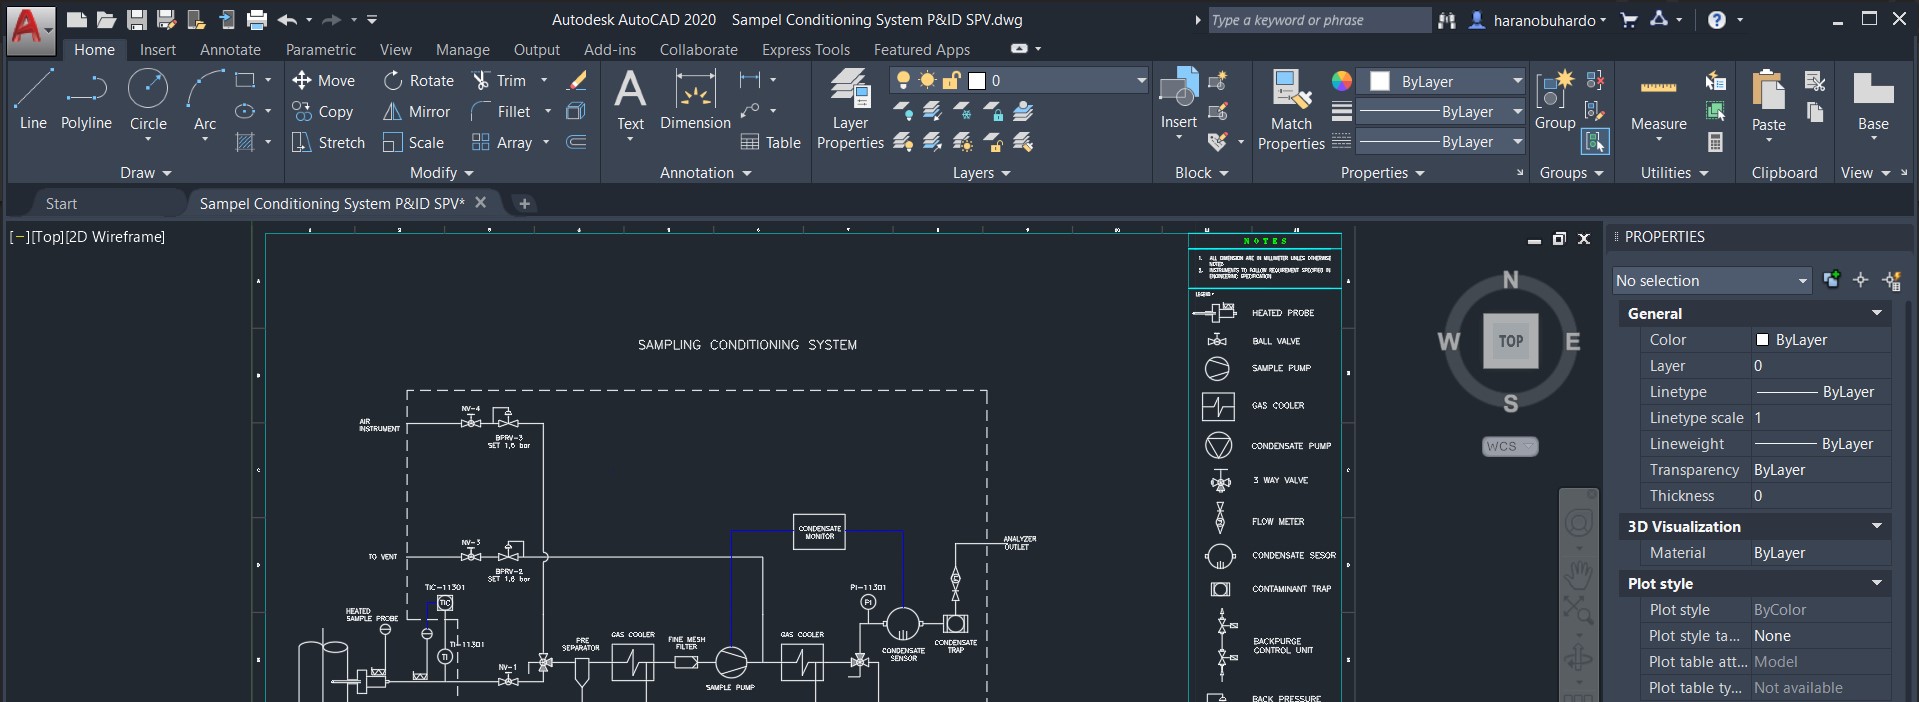
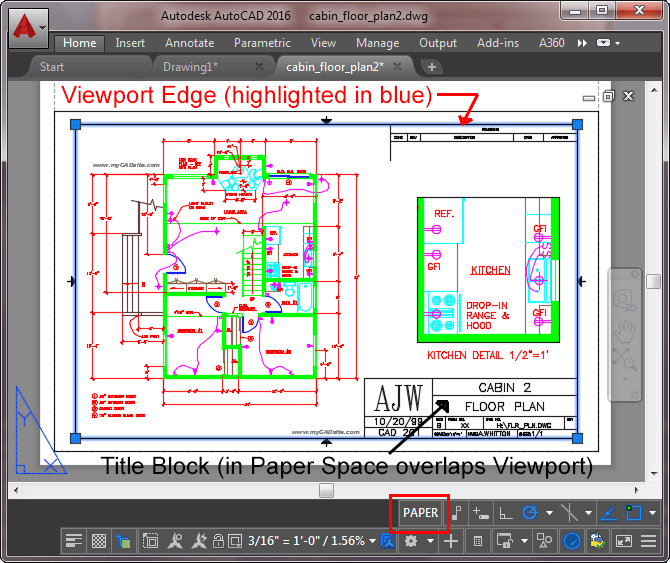
Understanding Layouts and Viewports in AutoCAD
Layouts and viewports are crucial in AutoCAD for organizing your drawing presentations on virtual paper. This section guides you through understanding and utilizing these features effectively.
- Introduction to Layouts: Layouts in AutoCAD represent the digital equivalent of physical paper. They are used to arrange your model precisely for printing or exporting, allowing you to control the paper size, plot area, and scale of the drawing.
- Understanding Viewports: Viewports are windows on your layout that display views of your model. They can be scaled independently, enabling you to view different parts of your model at different scales simultaneously.
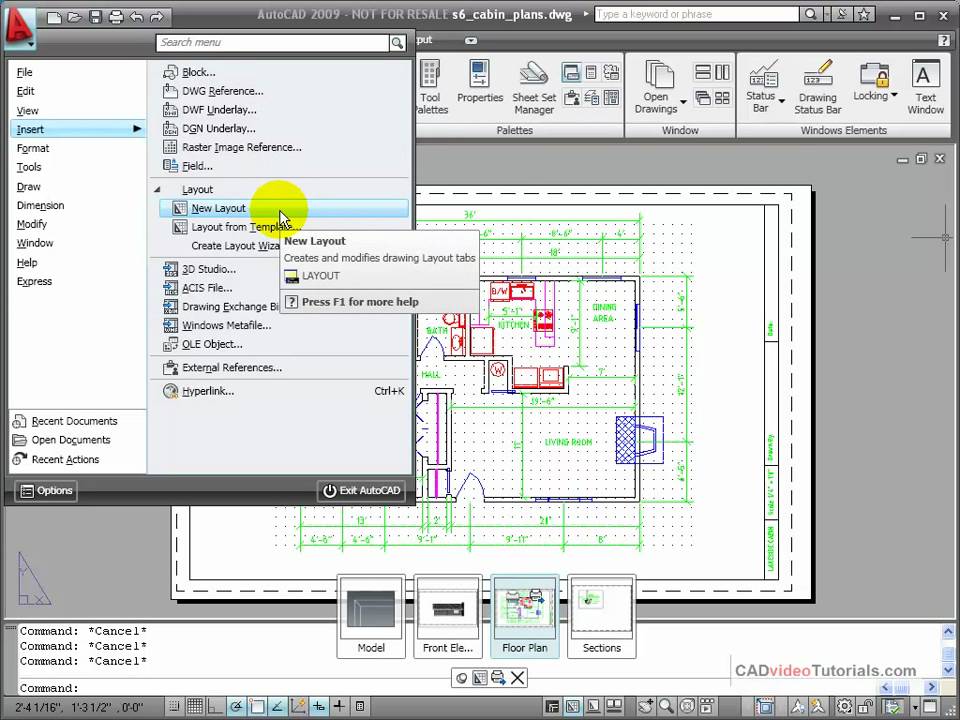
- Creating a New Layout: Learn how to create a new layout by right-clicking the Layout tab and selecting \"New Layout\". Customize it by renaming and setting up your desired paper size and plot area.
- Managing Viewports: Discover how to create and customize viewports within a layout. This includes adding multiple viewports, adjusting their size, and setting different scales for each viewport to showcase various parts of your model effectively.
- Setting the Scale for Viewports: Scaling viewports is essential for accurately representing the size of your model on paper. This part will guide you through the process of setting and locking the scale of viewports to ensure your design is precisely represented.
- Utilizing Layouts for Presentations: Layouts can be used to create professional drawing presentations. Learn tips on arranging viewports, adding annotations, and integrating title blocks to make your drawings informative and visually appealing.
By mastering layouts and viewports, you can enhance the clarity and effectiveness of your AutoCAD drawings, making them ready for presentation or submission.
Creating and Managing New Layouts
Creating and managing layouts in AutoCAD streamlines the process of preparing your drawings for printing or presentation. This section will guide you through the steps to efficiently create and manage layouts.
- Starting with a New Layout: Begin by right-clicking on an existing layout tab and selecting \"New Layout\". This will create a duplicate of the current layout which you can then rename and customize for your specific needs.
- Renaming Layouts: For better organization, rename your layouts to reflect the content or purpose of the drawing. Simply double-click the layout tab to rename it, making it easier to navigate through various parts of your project.
- Setting Up Page Settings: Access the Page Setup Manager by right-clicking on the layout tab and selecting \"Page Setup Manager\". Here, you can define the printer/plotter, paper size, and plot area. Setting these parameters correctly is crucial for ensuring that your drawings are accurately scaled and formatted.
- Customizing the Layout View: Use the Layout Viewports to create custom views of your model within the layout. You can add, resize, and position these viewports to best display your design. Each viewport can be configured with different scale settings, allowing for detailed views of specific parts of your model.
- Applying Plot Styles: Plot styles control the appearance of your drawings when plotted or printed. Assign plot styles to ensure consistency in line weights, colors, and styles across your layouts.
- Managing Multiple Layouts: For projects that require multiple views or sections to be displayed, manage your layouts by organizing them in a logical order. This could involve grouping layouts by drawing type, project phase, or other criteria that make navigation and presentation straightforward.
By effectively creating and managing layouts, you can ensure that your AutoCAD projects are presented in a clear, organized, and professional manner, ready for any stakeholder review or presentation scenario.
Page Setup and Plotting Configurations
Effective page setup and plotting configurations in AutoCAD ensure that your drawings are accurately represented when printed or shared. This section provides a step-by-step guide to configuring these settings for optimal results.
- Accessing Page Setup: Right-click on a layout tab and select \"Page Setup Manager\". Here, you can modify existing setups or create new ones for different printing requirements.
- Selecting a Printer/Plotter: In the Page Setup dialog, choose the appropriate printer or plotter from the list. Consider the output device you\"ll be using, as this affects the available paper sizes and plotting options.
- Choosing Paper Size: Select the paper size that matches your intended output. AutoCAD supports a wide range of sizes, from standard sheets to large format rolls, depending on the printer or plotter selected.
- Defining Plot Area: Specify the area of your layout to plot. Options include plotting the layout as displayed, a specified window, or the extents of your drawing. This ensures that only the desired portions of your layout are printed.
- Setting Plot Scale: Adjust the plot scale to ensure your drawing scales correctly on the paper. You can choose from predefined scales or enter a custom scale. Ensure the \"Fit to Paper\" option is unchecked to maintain the integrity of your design\"s scale.
- Adjusting Plot Styles: Plot styles control the appearance of lines, text, and fills when printed. Assign a plot style table (CTB or STB) to standardize the appearance across different drawings and layouts.
- Previewing Before Plotting: Always preview your plot to check for issues with scale, layout, and plot styles. This can save time and resources by avoiding incorrect prints.
- Saving Page Setups: Save your page setup configurations for future use, especially if you work with standard paper sizes and plot settings. This streamlines the plotting process for similar projects.
Mastering page setup and plotting configurations in AutoCAD not only ensures your drawings are presented as intended but also enhances workflow efficiency by streamlining the preparation process for printing and sharing.
Customizing Layouts with Viewports
Customizing your AutoCAD layouts with viewports allows for a more dynamic presentation of your designs. This section dives into the steps to effectively use viewports to showcase various aspects of your projects.
- Understanding Viewports: Viewports are windows within a layout that display different views of your drawing. They can be set to different scales, allowing detailed and overall views to coexist on a single page.
- Creating Viewports: Start by navigating to the Layout tab and selecting \"Viewport Configuration\". Choose from predefined configurations or create custom viewport shapes and sizes to suit your layout needs.
- Setting Viewport Scales: For each viewport, you can specify a scale that ensures your design is accurately represented. Double-click inside a viewport to activate it, then select a scale from the viewport controls toolbar.
- Locking Viewport Scales: Once the desired scale is set, lock it to prevent accidental changes. Right-click the viewport border, select \"Properties\", and change the \"Display Locked\" setting to \"Yes\".
- Layer Visibility in Viewports: Control which layers are visible in each viewport to focus attention on specific design elements. Activate a viewport and use the Layer Properties Manager to turn layers on or off.
- Clipping Viewports: Use the \"Clip\" command to tailor the viewport boundary to a specific shape, focusing the viewer’s attention on a particular area of your design.
- Styling Viewport Borders: Customize the appearance of viewport borders through the Properties palette to distinguish different sections of your drawing or to align with presentation standards.
- Managing Multiple Viewports: Efficiently organize multiple viewports by aligning them and adjusting their sizes to create a cohesive and informative layout presentation.
By customizing layouts with viewports, you enhance the visual appeal and clarity of your AutoCAD drawings, making it easier to communicate complex information in an accessible and professional format.
_HOOK_
Scaling Drawings in Layouts
Properly scaling drawings in AutoCAD layouts is essential for accurately representing your design in the real world. This section outlines the process for scaling drawings within layouts, ensuring that your presentations are both precise and professional.
- Understanding Scale Concepts: Before scaling your drawings, understand the relationship between the actual dimensions of your design and how it will be represented on paper. This understanding is crucial for selecting the correct scale.
- Setting Up Layout Scales: In the layout view, use the Page Setup Manager to define the scale for your drawing. This includes setting the plot scale in the Plot dialog box to match your desired scale ratio (e.g., 1:100).
- Creating Viewports for Scaling: Use viewports to display different parts of your model at various scales. Create a new viewport by selecting the Layout tab and then choosing \"Viewport\". You can define multiple viewports at different scales within the same layout.
- Adjusting Viewport Scales: Double-click inside a viewport to activate it, then select a scale from the viewport controls toolbar. This scale directly affects how the drawing within the viewport will be printed.
- Locking the Viewport Scale: To prevent accidental changes, lock the viewport scale. Right-click the viewport border, select \"Properties\", and change the \"Display Locked\" setting to \"Yes\".
- Testing Scale Accuracy: Use the dimensioning tools within AutoCAD to verify the accuracy of your scaled drawing. Measure key elements within the viewport to ensure they match the intended real-world dimensions.
- Adjusting Scale as Needed: If dimensions do not match up, adjust the scale settings in the viewport properties until the drawing accurately represents the real-world size.
- Finalizing the Layout: Once the scales are correctly set and locked, finalize your layout by arranging viewports, adding annotations, and ensuring all elements are clearly legible.
Scaling drawings accurately in layouts is a fundamental skill in AutoCAD that ensures your designs are correctly interpreted and appreciated in any professional context.

Inserting Title Blocks and Annotations
Inserting title blocks and annotations in AutoCAD layouts is a critical step in creating professional and informative drawings. This section details how to effectively add these elements to your layouts.
- Understanding Title Blocks: Title blocks are essential for providing important project information, such as the project name, date, scale, and author. They frame your drawings and give them a professional appearance.
- Creating or Importing Title Blocks: You can create a title block directly in AutoCAD or import an existing one. To create one, use the drawing tools to design the border and text fields. To import, use the \"Insert\" command to place an external DWG file as a title block.
- Placing Title Blocks in Layouts: Position your title block in the layout, typically at the bottom or on the side of the page. Ensure it does not overlap with your drawing content. Use the \"Move\" and \"Scale\" commands to adjust its position and size.
- Adding Annotations: Annotations include text, dimensions, and other descriptive elements that provide context to your drawing. Use the \"Text\" command to add notes and labels, ensuring they are scaled correctly to be legible in the final output.
- Setting Annotation Scales: AutoCAD allows you to set different scales for text and dimensions to ensure they are readable at any drawing scale. Adjust these settings in the properties panel for each annotation element.
- Using Fields in Title Blocks: Fields are dynamic text elements that can automatically update information in the title block, such as the current date or filename. Insert fields using the \"Field\" command within the text editing tools.
- Finalizing the Layout: Once your title blocks and annotations are in place, review your layout for clarity and accuracy. Ensure that all elements are positioned correctly and that the information is up-to-date and relevant to the drawing.
By carefully inserting and managing title blocks and annotations, you enhance the communication and professionalism of your AutoCAD drawings, making them clear and informative for all viewers.
[REVIEW] The Best Laptops for Graphic Design in 2021: A Comprehensive Guide Your new corresponding title is: The Best Laptops for Graphic Design in 2021: A Comprehensive Guide & Review
\"Unleash your creativity with the ultimate graphic design tutorial for 2021! This video covers the latest techniques, tools, and trends to help you create stunning visuals and bring your ideas to life.\"
Advanced Layout Tips and Tricks
Enhance your AutoCAD layout skills with these advanced tips and tricks, designed to improve efficiency and elevate the quality of your presentations.
- Layer Management for Viewports: Utilize layer properties within viewports to control visibility, ensuring that only relevant information is displayed. This can help to highlight specific aspects of your design in each viewport.
- Custom Viewport Shapes: Break away from traditional rectangular viewports by creating custom shapes. Use the \"Polyline\" tool to draw your shape, then convert it into a viewport using the \"MVIEW\" command, providing a unique frame for your designs.
- Batch Plotting: When you need to print multiple drawings or layouts, use the Batch Plot feature. This tool allows you to compile a list of layouts from different drawings and plot them all at once, saving time and ensuring consistency.
- Reusable Layout Templates: Save layouts with commonly used settings, title blocks, and viewports as templates. This allows you to start new projects with predefined settings, speeding up the setup process.
- Using Annotative Objects: Annotative text and dimensions scale automatically to match the viewport scale, ensuring legibility across different drawing scales. This eliminates the need to create multiple text or dimension styles for different scales.
- Viewport Overrides: Take advantage of viewport layer overrides to change color, linetype, or lineweight settings for specific viewports. This can help differentiate between various sections or elements of your design without altering the model.
- Quick Access Toolbar Customization: Customize the Quick Access Toolbar with commands frequently used in your layout process. This reduces the number of clicks needed to access essential tools, streamlining your workflow.
- Dynamic Blocks in Title Blocks: Incorporate dynamic blocks into your title blocks for interactive elements, such as drawing labels or scales. This enables you to quickly adjust and update information directly within the layout.
Implementing these advanced tips and tricks can significantly enhance your layout creation process in AutoCAD, leading to more efficient and visually appealing drawing presentations.

Layout Printing and Publishing Options
Understanding the various printing and publishing options in AutoCAD is key to effectively sharing and presenting your designs. This section explores the different methods and settings to optimize your output.
- Using the Plot Command: The \"Plot\" command is the primary method for printing drawings. Access it through the Application menu or the Quick Access Toolbar. Ensure you\"ve selected the correct printer/plotter, paper size, and plot area for your layout.
- Configuring Plot Settings: Within the Plot dialog box, fine-tune settings such as scale, plot style table, and drawing orientation. Preview the plot to verify that everything looks correct before printing.
- Publishing Multiple Layouts: Use the \"Publish\" command to output multiple layouts or drawings in a single operation. This is ideal for creating document sets for project submissions or reviews.
- Choosing Output Formats: AutoCAD supports various output formats, including PDF, DWF, and paper prints. Choose the format that best suits your needs, considering the ease of sharing and the intended use of the document.
- Batch Plot for Efficiency: For projects with multiple drawings or layouts, the Batch Plot feature streamlines the printing process. It allows you to select a series of drawings and print them all with consistent settings.
- Custom Page Sizes: If the default paper sizes do not fit your needs, create custom paper sizes within the printer/plotter properties. This is particularly useful for large format prints or non-standard document sizes.
- Electronic Transmittal: For digital submissions, consider using eTransmit in AutoCAD. This tool packages your drawings and all related files into a single compressed file, simplifying the process of sending complex project files.
- Plotting with Transparency: When your drawings include transparent elements, ensure the \"Plot Transparency\" option is checked in the Plot dialog box. This ensures that transparencies are accurately represented in the output.
By mastering these printing and publishing options, you can ensure your AutoCAD layouts are presented professionally, whether in digital format or as high-quality prints.
Common Layout Creation Issues and Solutions
Navigating through common issues in AutoCAD layout creation can significantly improve your drafting efficiency. This section addresses frequent challenges and provides practical solutions.
- Issue: Incorrect Scale in Viewports: A common mistake is setting the wrong scale in viewports, leading to inaccurately represented drawings. Solution: Double-check the scale settings in each viewport’s properties and adjust them as needed to ensure they match the intended scale of the drawing.
- Issue: Viewport Clipping Problems: Sometimes, viewports may not clip the drawing area as expected, displaying unwanted parts of the model. Solution: Use the \"Clip\" command to precisely define the viewport boundary, or adjust the viewport frame to include only the desired drawing area.
- Issue: Title Blocks Not Fitting: Title blocks may not fit the layout space if they were created without considering the final paper size. Solution: Adjust the title block size or the layout’s paper size settings in the Page Setup Manager to ensure a proper fit.
- Issue: Plot Style Not Applied: Sometimes, drawings do not plot with the correct colors, line weights, or styles because plot styles are not applied correctly. Solution: Verify that the correct plot style table (CTB or STB) is attached to the layout and that it is set to use object lineweights and colors.
- Issue: Layout Elements Overlapping: Overlapping viewports or annotations can make the layout look cluttered and confuse the reader. Solution: Organize the layout by carefully arranging viewports and annotations, ensuring there is clear space between different elements.
- Issue: Missing Elements in Print: Elements like text or lines may not appear in the printed output due to incorrect layer settings or visibility. Solution: Ensure all necessary layers are turned on and that viewport layer overrides are correctly set to display all elements.
- Issue: Large File Size for Layouts: Excessively large file sizes can be problematic, especially when sharing. Solution: Purge unused blocks and layers, reduce image resolutions, and use external references (Xrefs) instead of embedding large amounts of data directly into the file.
Addressing these common issues not only streamlines the layout creation process but also ensures your AutoCAD presentations are professional, accurate, and easy to interpret.
_HOOK_
READ MORE:
Resources for Further Learning
Expanding your AutoCAD skills is a continuous process, and numerous resources are available to help you advance. Below are curated resources for further learning, covering various aspects of layout creation and beyond.
- AutoCAD Official Tutorials: Autodesk provides a comprehensive collection of tutorials and guides, from beginner to advanced levels, accessible through their official website.
- Online Courses: Platforms like Udemy, Coursera, and LinkedIn Learning offer structured courses on AutoCAD, including specific sessions on layout creation, taught by industry professionals.
- YouTube Channels: Numerous experts share their knowledge through YouTube, offering tutorials that range from basic functionalities to complex design techniques in AutoCAD.
- Books and eBooks: There are several detailed guides and textbooks on AutoCAD that cover a wide range of topics, including layout creation, available in both physical and digital formats.
- Forums and Community Platforms: Engage with the AutoCAD community through forums such as the Autodesk forums, Reddit, and CADTutor for advice, tips, and solutions to specific problems.
- AutoCAD Blogs and Articles: Stay updated with the latest tips, tricks, and updates by following AutoCAD blogs and articles published by Autodesk and other CAD-focused websites.
- Workshops and Webinars: Participate in workshops and webinars offered by Autodesk and other educational institutions, providing live demonstrations and interactive learning experiences.
Utilizing these resources can significantly enhance your understanding and efficiency in using AutoCAD, keeping you updated with the latest tools and techniques in the field.
Embark on your journey to mastering AutoCAD layouts with confidence. These tutorials offer the foundational knowledge and advanced techniques needed to transform your designs into professional, presentation-ready formats.