Topic basic autocad tutorial: Welcome to our Basic AutoCAD Tutorial, where beginners can effortlessly learn the essentials of AutoCAD to kickstart their drafting journey with confidence and creativity.
Table of Content
- What are the essential steps for success in a basic AutoCAD tutorial?
- Understanding the AutoCAD Interface
- Setting Up Your First Project
- Basic Drawing Tools: Lines, Circles, and Rectangles
- Modifying Objects: Trim, Extend, Copy, and Move
- Working with Layers and Properties
- Dimensioning and Annotation for Drawings
- YOUTUBE: AutoCAD Basic Tutorial for Beginners - Part 1 of 3
- Creating Simple Geometric Shapes
- Applying Hatch Patterns and Gradients
- Introduction to 3D Modeling
- Navigating the ViewCube and Using Viewport Controls
- Printing and Plotting Basics
- AutoCAD Shortcuts and Tips for Efficiency
What are the essential steps for success in a basic AutoCAD tutorial?
Here are the essential steps for success in a basic AutoCAD tutorial:
- Step 1: Familiarize yourself with the User Interface (UI)
- Step 2: Learn basic drawing tools and techniques
- Step 3: Understand layers and object properties
- Step 4: Master object snap and coordinate systems
- Step 5: Practice basic editing and modifying commands
- Step 6: Explore additional features and advanced functions
Start by getting familiar with the different elements of the AutoCAD User Interface. This includes the ribbon, workspace, command line, and toolbars. Understanding how to navigate and locate tools will help you work efficiently in AutoCAD.
Mastering the basic drawing tools in AutoCAD is crucial. You should learn how to create lines, circles, rectangles, and other essential 2D objects. Practice using the various drawing commands, such as line, circle, and rectangle, to create precise and accurate drawings.
Layers are essential in AutoCAD as they help you organize and manage your drawings efficiently. Learn how to create and assign objects to different layers. Additionally, understand the concept of object properties, such as color, linetype, and lineweight, and how to modify them to achieve the desired output.
Object snap (osnap) is a powerful tool that allows you to precisely reference and snap to specific points on objects. Learn the different object snap modes, such as endpoint, midpoint, and intersection, and practice using them effectively. Additionally, understand how coordinate systems work in AutoCAD, including working with Cartesian and polar coordinates.
AutoCAD provides a range of editing and modifying commands that allow you to make changes to your drawings. Learn essential commands like move, copy, rotate, scale, and trim. Practice using these commands on different objects to gain proficiency in editing and modifying your drawings.
Once you have a good grasp of the basics, continue exploring more advanced features and functions of AutoCAD. This could include learning about 3D modeling techniques, using blocks and attributes, creating layouts and viewports, or utilizing AutoCAD\'s annotation and dimensioning tools. Expanding your knowledge in these areas will enhance your proficiency in using AutoCAD.
READ MORE:
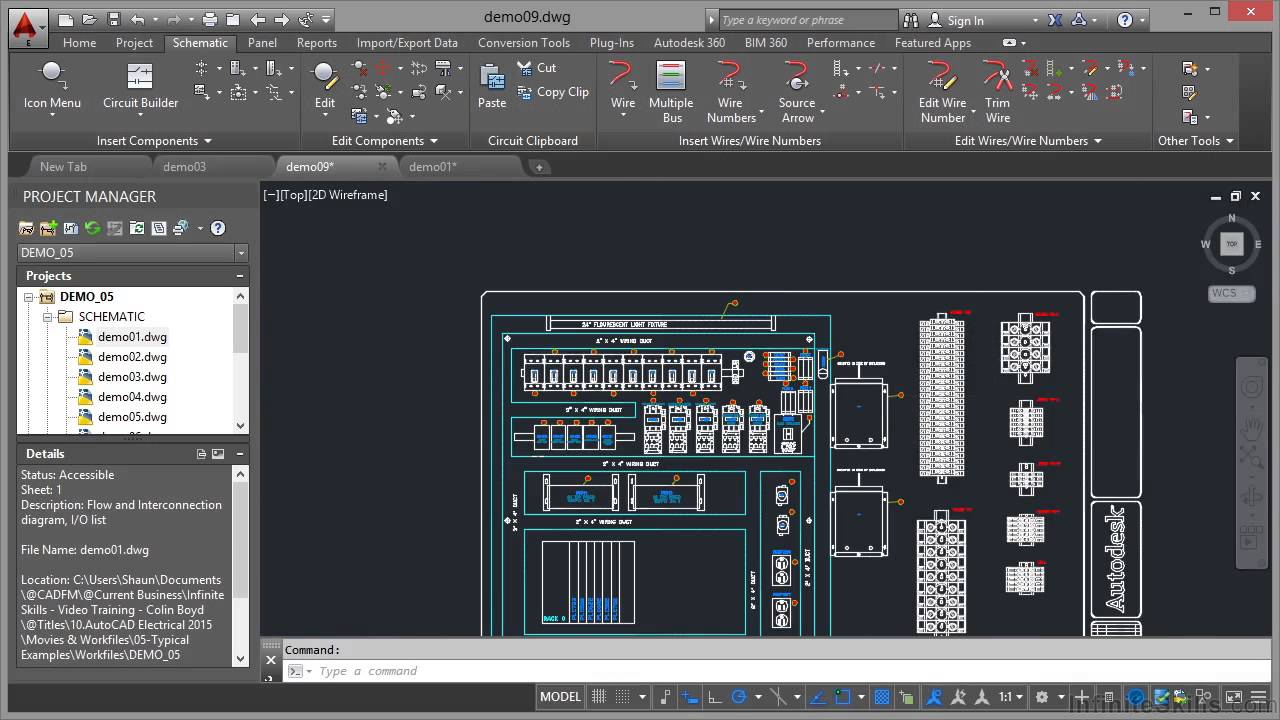
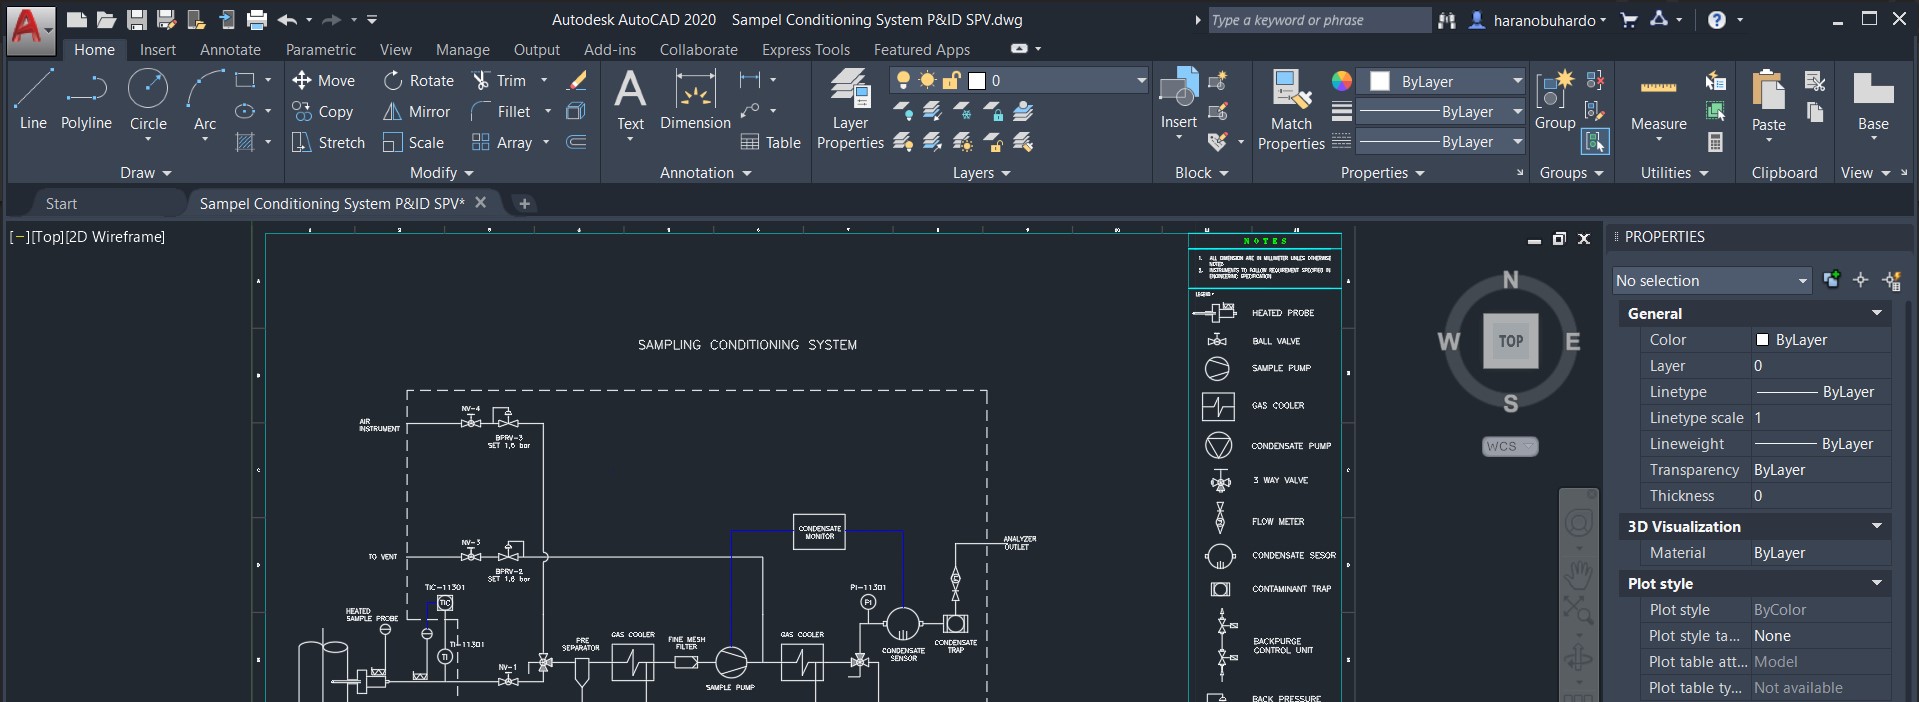
Understanding the AutoCAD Interface
The AutoCAD interface is designed to optimize user productivity with its customizable and user-friendly features. Learning its layout is the first step towards mastering AutoCAD.
- Ribbon: The Ribbon at the top contains multiple tabs with tools and utilities grouped under relevant categories for easy access.
- Command Line: Located at the bottom, the command line allows you to input commands, view prompts, and access recent commands.
- Toolbars: These are customizable and provide quick access to frequently used commands and tools.
- Workspace Switcher: Use this to switch between different workspaces tailored to various tasks, such as drafting or 3D modeling.
- Navigation Bar: Located on the right side, it includes tools for pan, zoom, and orbit views, essential for detailed work.
- Model and Layout Tabs: These tabs allow you to switch between model space, where you create and edit your drawings, and layout spaces, where you prepare your drawing for printing.
- Properties Palette: Displays information about selected objects and allows for the modification of object properties.
- DesignCenter: Facilitates the management and reuse of design elements like blocks, layers, and styles across different drawings.
- Layer Control: Located on the Ribbon, this tool helps manage and organize layers, making it easier to control the visibility of various parts of your drawing.
- File Tabs: These tabs provide quick access to open drawings, allowing for efficient switching between projects.
Getting familiar with these elements will significantly enhance your efficiency and comfort as you begin to navigate and utilize AutoCAD for your projects.

Setting Up Your First Project
Starting your first project in AutoCAD is an exciting step towards creating professional-level drawings. Follow these steps to set up your project effectively.
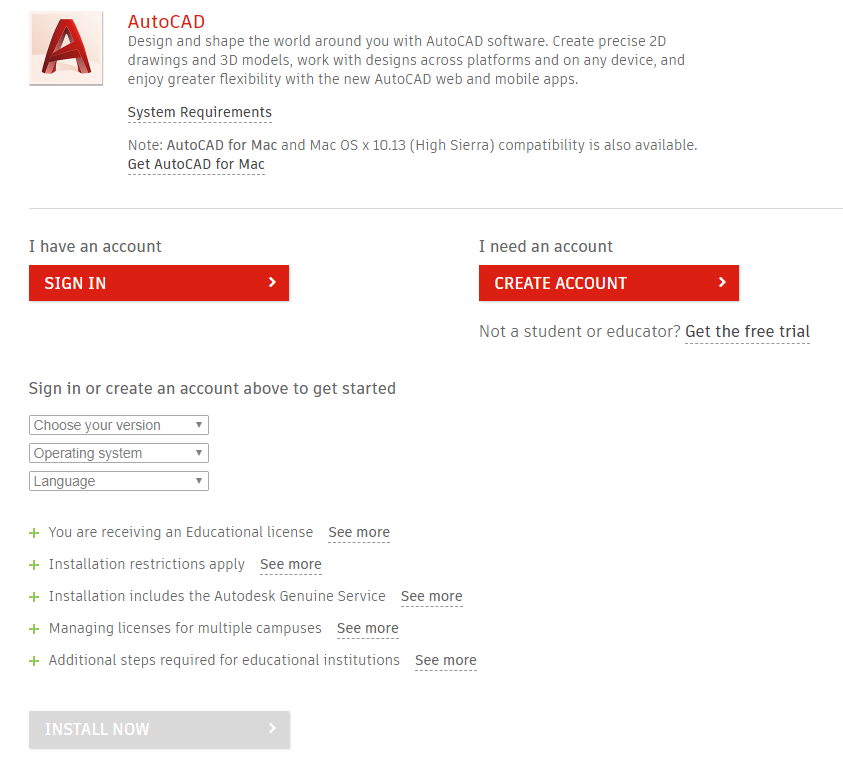
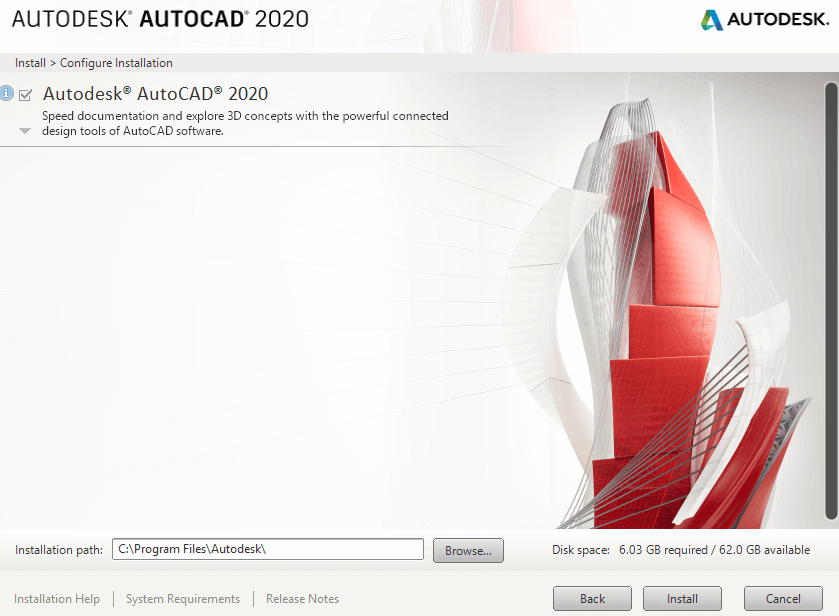
- Launch AutoCAD: Open AutoCAD on your computer. You\"ll be greeted with the Start Screen, where you can access recent documents or start a new project.
- Choose a Workspace: Select a workspace that suits your needs. The Drafting & Annotation workspace is recommended for beginners.
- Set Units: Go to the application menu, click on Drawing Utilities > Units. Choose the appropriate units for your project, such as millimeters or inches.
- Set Drawing Limits: Establish the boundaries of your drawing space by using the LIMITS command. This defines the working area for your project.
- Create Layers: Use the Layer Properties Manager to create layers for different elements of your drawing. Assign colors, linetypes, and lineweights to each layer for better organization.
- Import Templates: If you have a template (DWT file) with pre-set layers, styles, and settings, import it via the application menu to streamline your project setup.
- Adjust Drawing Settings: Configure settings such as snap, grid, and object snap (OSNAP) to aid in precise drawing.
- Save Your Work: Save your project file (DWG) to a secure location. Consider setting up auto-save features to protect your work.
By following these initial steps, you\"ll lay a strong foundation for your AutoCAD project, making the design process smoother and more efficient.
Basic Drawing Tools: Lines, Circles, and Rectangles
Mastering the basic drawing tools in AutoCAD is essential for creating the foundation of any design. Let\"s explore how to use the tools for lines, circles, and rectangles.
- Lines:
- Activate the Line tool by clicking on it in the Ribbon or typing \"LINE\" in the command line.
- Click to set the starting point, then move your cursor to where you want the line to end and click again. Press \"Enter\" to finish.
- For precise line lengths, after the first click, enter the length in the command line, then specify the direction.
- Circles:
- Select the Circle tool from the Ribbon or type \"CIRCLE\".
- Click in the drawing area to define the center of the circle.
- Specify the radius by moving the cursor away from the center point and clicking again, or enter the radius value in the command line.
- Rectangles:
- Use the Rectangle tool from the Ribbon or by typing \"RECTANG\".
- Click to set one corner of the rectangle, then move your cursor to define the opposite corner and click again to complete.
- To create a square, enter the dimensions in the command line after the first click, using the format \"L\" for length and \"W\" for width.
With practice, these tools will become second nature, allowing you to efficiently bring your designs to life in AutoCAD.
Modifying Objects: Trim, Extend, Copy, and Move
Once you have basic shapes drawn in AutoCAD, modifying them to fit your design is crucial. Here\"s how to use the trim, extend, copy, and move commands effectively.
- Trim:
- Select the Trim tool from the Ribbon or type \"TRIM\".
- Choose the cutting edges by selecting the objects you want to use as boundaries and press Enter.
- Click on the part of the object you wish to remove. Press Enter when finished.
- Extend:
- Activate the Extend tool from the Ribbon or by typing \"EXTEND\".
- Select the boundary edges to which you want to extend other objects and press Enter.
- Click the objects you want to extend to the selected boundary. Press Enter to complete the action.
- Copy:
- Choose the Copy tool from the Ribbon or input \"COPY\".
- Select the object(s) you wish to copy and press Enter.
- Specify the base point for the copy, then the second point where you want the copy to be placed.
- Move:
- Select the Move tool from the Ribbon or type \"MOVE\".
- Choose the object(s) to move and press Enter.
- Click to set the base point, then click again at the destination point where you want the object to be moved to.
These commands are fundamental for refining your designs and should be practiced to achieve precision and efficiency in your projects.

_HOOK_
Working with Layers and Properties
Layers are a pivotal aspect of organizing your AutoCAD drawings, allowing for better management of the elements within your projects. Properties, on the other hand, define the characteristics of your drawing elements. Here’s how to effectively use layers and adjust properties.
- Creating and Managing Layers:
- Open the Layer Properties Manager by clicking on its icon in the Ribbon or typing \"LAYER\" in the command line.
- Click the New Layer button to create a new layer. Name the layer according to its purpose (e.g., Walls, Electrical, Plumbing).
- Set layer properties such as color, linetype, and lineweight. These properties will apply to all objects drawn on the layer.
- Use the layer control dropdown in the Ribbon to switch between layers, making one active for drawing.
- Adjusting Object Properties:
- Select an object and right-click to open the context menu. Choose \"Properties\" to open the Properties palette.
- In the Properties palette, you can change the object’s layer, color, linetype, lineweight, and other characteristics.
- To quickly match properties between objects, use the Match Properties tool by typing \"MATCHPROP\" or selecting it from the Ribbon. Click on the source object, then on the target object(s) to apply the same properties.
- Using Layer States:
- Layer states allow you to save and restore different layer configurations. This is useful for presenting different aspects of your project or managing complex drawings.
- To save a layer state, open the Layer Properties Manager, click on the Layer States Manager button, and choose \"New\". Give your layer state a name and save.
- Restore a layer state by opening the Layer States Manager and selecting the desired state.
Mastering layers and properties in AutoCAD not only streamlines your workflow but also enhances the clarity and professionalism of your designs.

Dimensioning and Annotation for Drawings
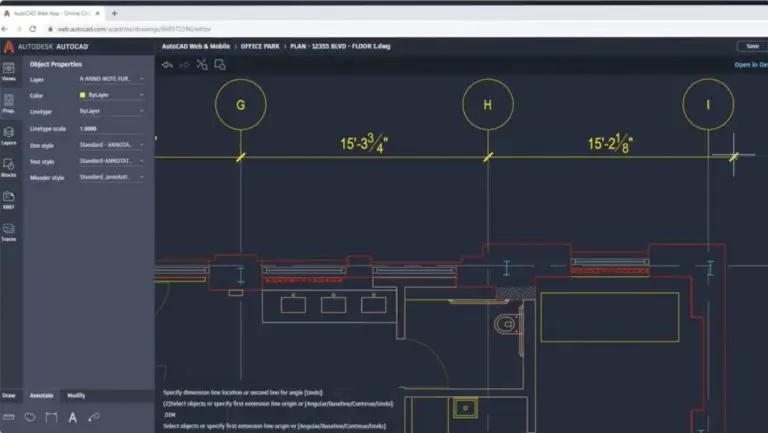
Dimensioning and annotating your AutoCAD drawings is crucial for conveying the precise size, scale, and details of your design. These elements ensure that your drawings are clear and communicable. Here\"s how to apply dimensioning and annotations effectively.
- Adding Dimensions:
- Select the Dimension tool from the Annotate tab in the Ribbon. AutoCAD offers various types of dimensions (linear, radial, angular, etc.) to suit different needs.
- Click on the element you wish to dimension. Move your cursor to place the dimension line and click to place it.
- For precise dimension placement, use object snaps (OSNAP) to ensure accuracy.
- Editing Dimensions:
- To edit a dimension, double-click on it. This opens the Dimension Style Manager where you can modify the dimension’s style and properties.
- Adjust properties like text size, line weight, and arrowheads to match the drawing standards or personal preferences.
- Using Text for Annotations:
- Select the Text tool from the Annotate tab. Click in the drawing area to place the text cursor and begin typing your annotation.
- Text styles can be adjusted in the Text Style Manager, allowing you to standardize text appearance across your project.
- Use annotations to add notes, labels, or other important information that cannot be conveyed through drawing elements alone.
- Applying Leaders:
- Leaders are used to connect annotations to specific parts of a drawing. Use the Leader command to draw a line from the point of interest to an area where text can be clearly displayed.
- Customize the leader’s appearance, including the line type and arrowhead style, to ensure clarity and readability.
Effective dimensioning and annotation make your drawings informative and professional, ensuring that your designs are executed accurately.
AutoCAD Basic Tutorial for Beginners - Part 1 of 3
Get ready to enhance your CAD skills with this incredible AutoCAD tutorial! From basic design techniques to advanced functionalities, this video covers it all, giving you the knowledge you need to create stunning designs like a pro. Don\'t miss out on the opportunity to level up your drafting game!
AutoCAD Tutorial for Beginners in 12 MINUTES!
Looking to master AutoCAD? Look no further! This tutorial is packed with step-by-step instructions and practical examples that will help you learn the ins and outs of this powerful software. Whether you\'re a beginner or looking to refine your skills, this video is the ultimate guide to becoming an AutoCAD expert. Dive in and start creating amazing designs today!
Creating Simple Geometric Shapes
AutoCAD simplifies the creation of geometric shapes, making it an essential skill for new users. This section will guide you through the steps to draw basic shapes like polygons, ellipses, and arcs.
- Polygons:
- Select the Polygon tool from the Ribbon. Enter the number of sides in the command line when prompted.
- Click in the drawing area to set the center of the polygon. Then, specify the radius by moving the cursor outward and clicking again to complete the shape.
- For precise control, enter the radius directly in the command line after setting the center.
- Ellipses:
- Choose the Ellipse tool. You have options to create an ellipse by specifying the center, axis, and end points.
- Click to place the center of the ellipse, then define the major axis by clicking a second time. Finally, set the minor axis to complete the ellipse.
- Alternatively, use the command line to input exact dimensions for the axes.
- Arcs:
- Activate the Arc tool. AutoCAD offers several methods to create arcs, such as specifying three points, a start point with an end point and radius, and more.
- Select your preferred method, then click in the drawing area to define the arc\"s parameters based on the selected method.
- For accuracy, utilize object snaps and enter values directly into the command line as needed.
With these tools, you can easily create complex designs from simple geometric shapes, forming the basis for more detailed projects.

Applying Hatch Patterns and Gradients
Hatch patterns and gradients add texture and visual interest to your AutoCAD drawings. This section walks you through the process of applying these fills to enhance your designs.
- Applying Hatch Patterns:
- Select the Hatch tool from the Ribbon or type \"HATCH\" in the command line.
- In the Hatch Creation tab, choose from a variety of patterns. You can adjust the scale and angle to fit your design needs.
- Click inside the boundary where you want to apply the hatch. AutoCAD can detect boundaries automatically, but you can also select them manually if necessary.
- Press Enter to apply the hatch. Use the properties palette to make further adjustments to the hatch pattern if needed.
- Creating Gradients:
- Choose the Gradient tool, located near the Hatch tool or by typing \"GRADIENT\".
- Select a gradient fill from the list of presets or customize your own by choosing the colors and pattern.
- Click within the boundary to apply the gradient. Similar to hatch patterns, ensure your boundary is closed for the gradient to fill correctly.
- Adjust the gradient’s angle and center using the options in the Gradient Fill dialog box.
By mastering hatch patterns and gradients, you can bring a new dimension of aesthetics to your AutoCAD drawings, making them more expressive and detailed.

Introduction to 3D Modeling
3D modeling in AutoCAD opens up new possibilities for design and visualization. This introductory guide will help you start creating simple 3D models, exploring tools and techniques essential for 3D drafting.
- Switching to 3D Workspace:
- To begin, switch your workspace to the 3D Modeling setting. This can be done from the workspace switcher in the bottom right corner or through the Quick Access Toolbar.
- Understanding 3D Basics:
- Familiarize yourself with 3D coordinate systems, views, and navigation tools like Orbit, Pan, and Zoom to manipulate your view in a 3D space.
- Creating Primitives:
- Start by creating basic 3D shapes, or primitives, such as boxes, spheres, cylinders, cones, and pyramids, using the commands found in the Solid tab.
- Specify dimensions directly in the command line or click in the drawing area to set size and orientation.
- Modifying 3D Objects:
- Learn to use 3D operation tools like Extrude, Revolve, Sweep, and Loft to modify your 3D shapes into complex models.
- Use the Subtract, Union, and Intersect commands to combine or remove parts of 3D objects to achieve the desired shape.
- Applying Materials and Textures:
- To enhance the realism of your models, apply materials and textures from the Materials Browser. This adds surface detail like wood grain, metal, or glass to your 3D objects.
- Rendering:
- Utilize the Render tool to create a photorealistic image of your model. Adjust lighting and shadow settings to see how your design looks in different conditions.
With practice, these basic 3D modeling techniques will enable you to create detailed and realistic designs in AutoCAD.

_HOOK_
Navigating the ViewCube and Using Viewport Controls
Navigating through your 3D model in AutoCAD is made intuitive with the ViewCube and viewport controls. These tools offer a seamless way to view your design from every angle, enhancing your modeling experience.
- Using the ViewCube:
- The ViewCube is a navigational tool located in the top right corner of the workspace. It allows you to rotate your view to any angle by clicking and dragging the cube.
- Click on the faces, edges, or corners of the cube to quickly snap the view to standard orientations like Top, Front, or Isometric.
- Right-click on the ViewCube for options to set a current view as Home, return to the Home view, or configure its settings.
- Adjusting Viewport Controls:
- Viewport controls are found at the top-left corner of the drawing area. They allow you to switch between different visual styles (wireframe, shaded, etc.), and manage viewports when working with multiple views simultaneously.
- Use the (+) and (-) buttons to split your workspace into multiple viewports, enabling you to see different views of your model at the same time.
- Select a viewport to activate it for navigation. You can pan, zoom, and orbit within each viewport independently.
- Customizing the View:
- Beyond the ViewCube and viewport controls, utilize the SteeringWheels feature for more dynamic navigation options.
- Access the Navigation Bar for tools like Pan, Zoom, and Orbit for precise control over your view.
Mastering the ViewCube and viewport controls will significantly enhance your ability to navigate and present your 3D models in AutoCAD.
Printing and Plotting Basics
Printing and plotting in AutoCAD are essential for sharing and reviewing your designs. Understanding the basics will ensure your drawings are accurately represented on paper or in digital format. Follow these steps to successfully print or plot your work.
- Preparing Your Drawing:
- Before printing, make sure your drawing is clean, with all elements correctly layered and annotated. Check the layout for any clipping or adjustments needed.
- Configuring Plot Settings:
- Access the Plot dialog box by typing \"PLOT\" into the command line or navigating through the application menu.
- Select the printer/plotter, paper size, and scale. Ensure the scale is correct to maintain the accuracy of your design dimensions.
- Choose the plot style, which controls the appearance of your drawing lines, colors, and fills on the output.
- Previewing Before Printing:
- Always preview your plot to check for errors or adjustments. This step can save time and resources by preventing misprints.
- Plotting with Layouts:
- Utilize layouts to arrange views of your drawing. Layouts can include title blocks, annotations, and multiple views, arranged for presentation.
- When plotting from a layout, make sure the layout settings match your plotting parameters for consistency.
- Saving Plot Configurations:
- If you plot frequently with the same settings, save your plot configurations as a Page Setup. This allows you to quickly apply the same settings to future plots.
By following these steps, you can ensure your AutoCAD drawings are printed or plotted accurately, maintaining the integrity and detail of your designs.
READ MORE:
AutoCAD Shortcuts and Tips for Efficiency
Boosting productivity in AutoCAD is essential for professionals looking to streamline their design process. Utilizing shortcuts and efficiency tips can significantly reduce design time and improve workflow. Here are key shortcuts and tips to enhance your AutoCAD efficiency.
- Keyboard Shortcuts:
- Use commands like \"L\" for Line, \"C\" for Circle, and \"REC\" for Rectangle to quickly initiate drawing tools.
- Commands like \"COPY\", \"MOVE\", and \"TRIM\" can save time switching between tools.
- \"CTRL + Z\" to undo and \"CTRL + Y\" to redo actions help quickly correct mistakes.
- Custom Command Aliases:
- Customize your own shortcuts by editing the acad.pgp file, tailoring your workspace to your preferences and workflow.
- Mouse and Navigation Shortcuts:
- Use the scroll wheel to zoom in and out. Pressing the scroll wheel activates the pan tool.
- Double-clicking the scroll wheel resets the view to fit all objects on the screen.
- Layer Management:
- Quickly switch between layers using the \"LAYMCUR\" command to make the selected object\"s layer the current one.
- Use \"LAYOFF\" and \"LAYON\" to turn off and on layers without opening the layer manager.
- Efficient Use of Blocks and Templates:
- Create and reuse blocks for frequently used objects and symbols to save time.
- Set up templates with predefined layers, styles, and settings to maintain consistency across projects and start new drawings more quickly.
- Utilizing the Command Line:
- The command line can suggest commands as you type, speeding up the process of finding and using commands.
- Learn and utilize command line options for commands to access different functionalities without navigating through menus.
Integrating these shortcuts and tips into your daily use of AutoCAD will enhance your design efficiency, leaving more time for creativity and precision in your work.
Embarking on your AutoCAD journey with these tutorials paves the way for mastering essential skills, enhancing efficiency, and unleashing your creative potential in design and drafting.