Topic autocad drawing: Explore the world of AutoCAD drawing with our comprehensive guide, designed to enhance your skills from basic to advanced levels, ensuring success in your drafting and design projects.
Table of Content
- How to create an AutoCAD drawing?
- Understanding AutoCAD Software
- Getting Started with AutoCAD
- Basic Drawing and Editing Commands
- Creating 2D and 3D Models
- AutoCAD Drawing Techniques and Tips
- YOUTUBE: AutoCAD Basic Tutorial for Beginners - Part 1
- Utilizing AutoCAD\"s Advanced Features
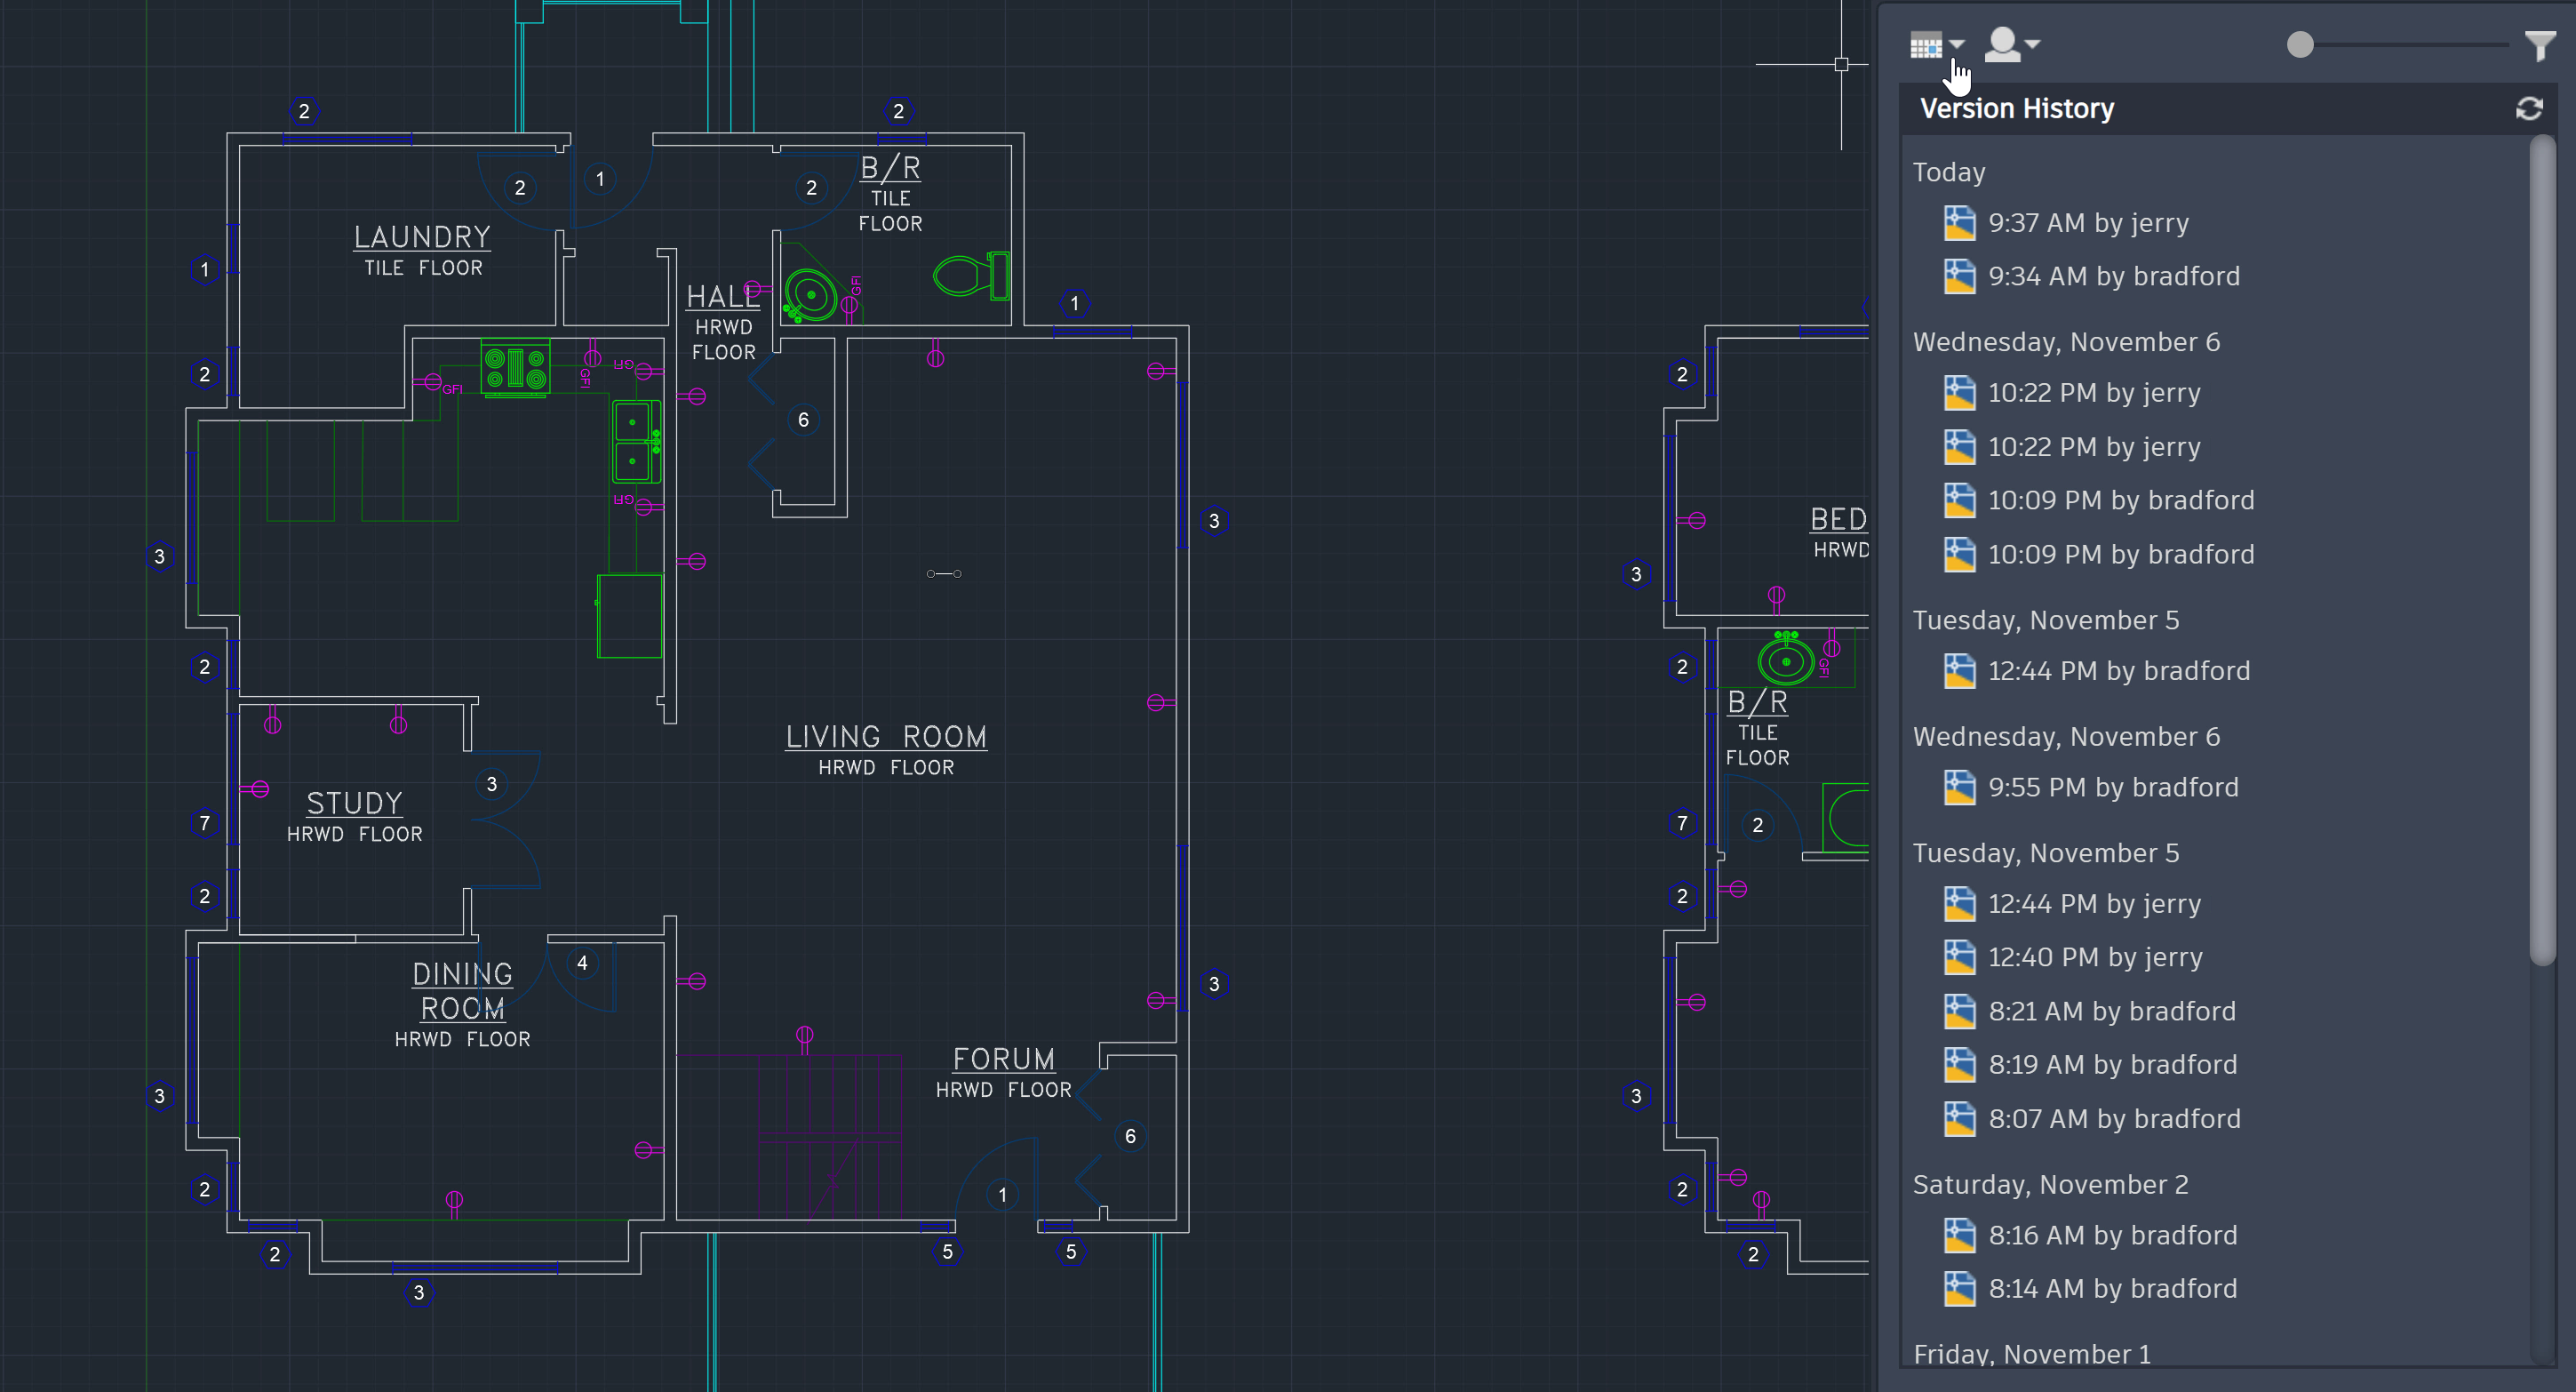
- Collaboration and Sharing in AutoCAD
- Customizing the AutoCAD Workspace
- AutoCAD Drawing File Management
- Learning Resources and Tutorials for AutoCAD
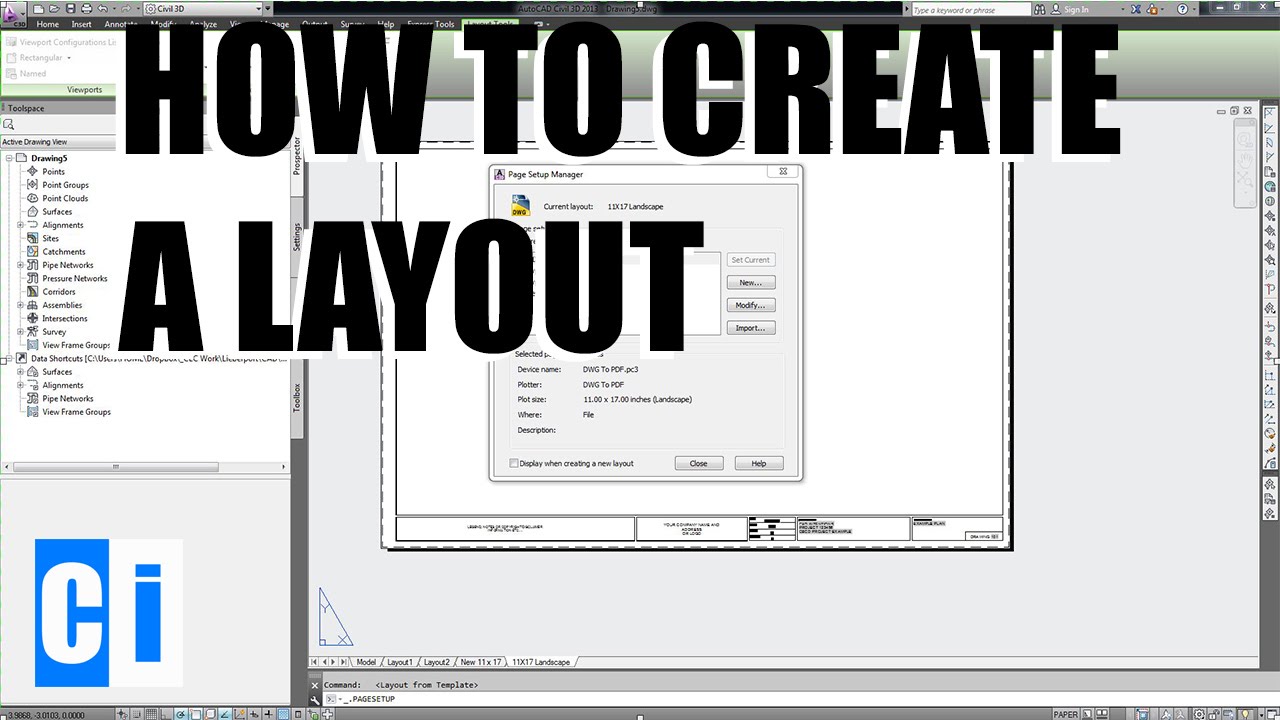
How to create an AutoCAD drawing?
To create an AutoCAD drawing, follow these step-by-step instructions:
- Open AutoCAD software on your computer.
- Click on the \"New\" option in the \"File\" menu to create a new drawing.
- Select the desired template or use a blank drawing for starting from scratch.
- Set the units and scale for your drawing by clicking on the \"Units\" option in the \"Format\" menu. Choose the appropriate settings based on your project requirements.
- Begin drawing objects in your workspace using various AutoCAD tools. You can use the toolbar icons or utilize the command line to enter specific commands for drawing different objects.
- Use the \"Line\" tool to draw straight lines, the \"Circle\" tool for circles, the \"Rectangle\" tool for rectangles, and so on. You can specify the dimensions and position of each object as needed.
- To modify or edit your drawing, you can use commands like \"Move,\" \"Copy,\" \"Rotate,\" and \"Scale\" from the Modify menu.
- Add text, dimensions, and annotations to your drawing using the respective tools from the toolbar or the command line.
- Apply layering and organizing techniques to group similar objects or make them visually distinguishable.
- Save your drawing by clicking on the \"Save\" option in the \"File\" menu. Choose a suitable location and file name for your drawing.
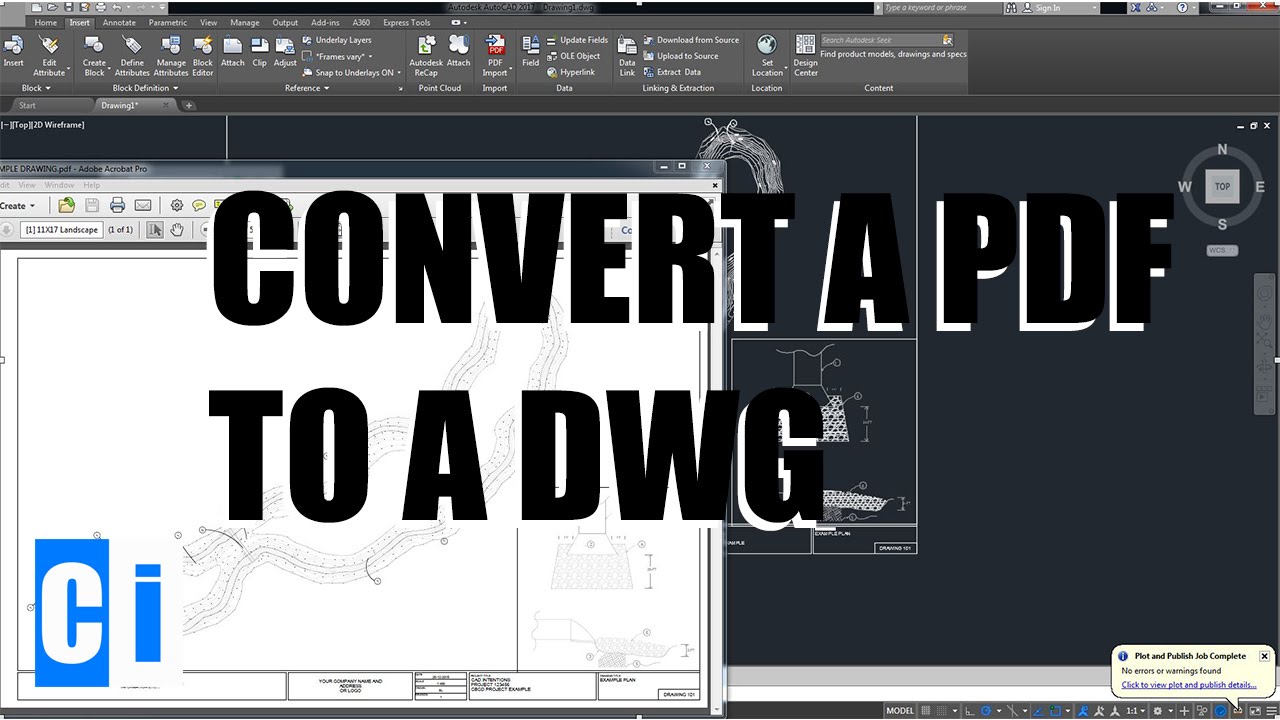
- You can also export your AutoCAD drawing to various file formats such as PDF, DWG, or DXF for sharing or further processing.
Remember to regularly save your work as AutoCAD drawings can be complex and time-consuming to recreate if not saved properly.
READ MORE:
Understanding AutoCAD Software
AutoCAD, developed by Autodesk, is a premier computer-aided design (CAD) software widely used for creating precise 2D and 3D drawings and models. It serves as an essential tool for architects, engineers, and construction professionals, enabling the creation, viewing, and editing of digital blueprints and designs.
- Interface and Navigation: The user-friendly interface includes a ribbon, tool palettes, and command line, facilitating easy access to its powerful drawing and editing tools.
- Drawing Tools: AutoCAD provides an extensive range of drawing tools for creating geometric shapes, lines, circles, and complex objects to represent real-world elements accurately.
- Modeling Capabilities: Beyond 2D drafting, AutoCAD supports 3D modeling and visualization, allowing users to construct 3D objects using solids, surfaces, and mesh objects.
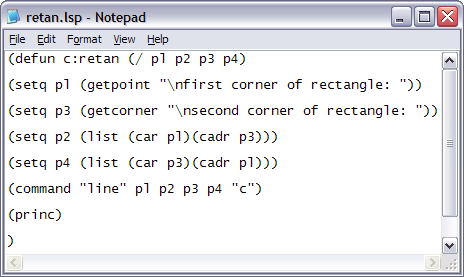
- Customization: Users can customize the software with AutoLISP, Visual Basic for Applications (VBA), .NET, and ObjectARX to enhance functionality and automate repetitive tasks.
- Collaboration Features: AutoCAD enhances project collaboration through DWG file format support, enabling easy sharing and management of designs across different teams and software.
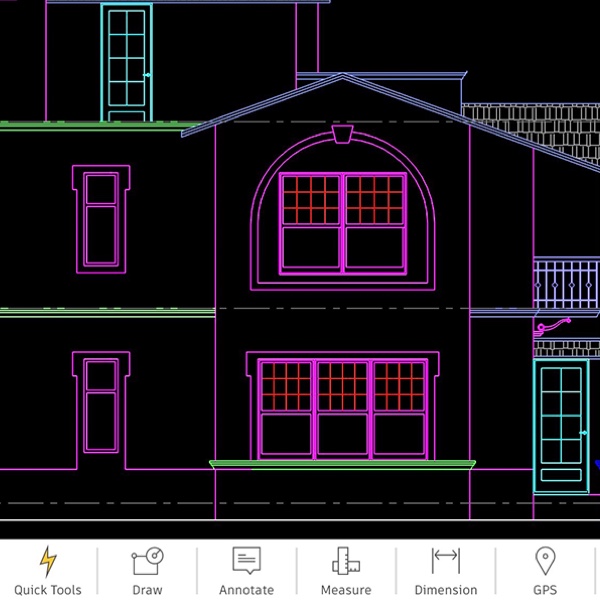
- Mobile and Web Apps: Autodesk offers mobile and web applications for AutoCAD, providing flexibility to view, create, and edit drawings on the go, directly from a web browser without the need for installation.
AutoCAD\"s comprehensive suite of tools and its adaptability across various industries make it an indispensable software for professional drafting and design.
Getting Started with AutoCAD
Embarking on your AutoCAD journey begins with understanding the interface and mastering the basic functions of this sophisticated design software. Follow these steps to kickstart your proficiency in AutoCAD, ensuring a solid foundation for your drafting and design projects.
- Familiarize Yourself with the Interface: Start by exploring the AutoCAD interface, including the ribbon, toolbars, and command line. This will help you navigate the software more efficiently.
- Open or Create a New Drawing: Learn how to open an existing drawing or start a new one from scratch. This step is crucial for understanding how to manage your design files.
- Basic Drawing Commands: Practice using basic drawing commands like LINE, CIRCLE, RECTANGLE, and POLYLINE to create simple geometric shapes. These commands are the building blocks of any AutoCAD drawing.
- Manipulate Objects: Learn how to select, move, copy, rotate, and scale objects. Mastering these commands will allow you to edit your drawings with precision.
- Using Layers: Understand how to use layers to organize your drawing. Layers help manage visibility and editing of different parts of your drawing.
- Dimensioning: Add dimensions to your drawing to communicate the size and scale of your design elements. This is a key skill for producing clear and informative drawings.
- Saving and Exporting: Save your work frequently in the AutoCAD native format (.dwg). Learn how to export your drawings to other formats like .pdf for sharing with others.
As you become more comfortable with these basics, you\"ll be well-prepared to explore more advanced features and tools within AutoCAD. Remember, practice and experimentation are key to becoming proficient in AutoCAD.
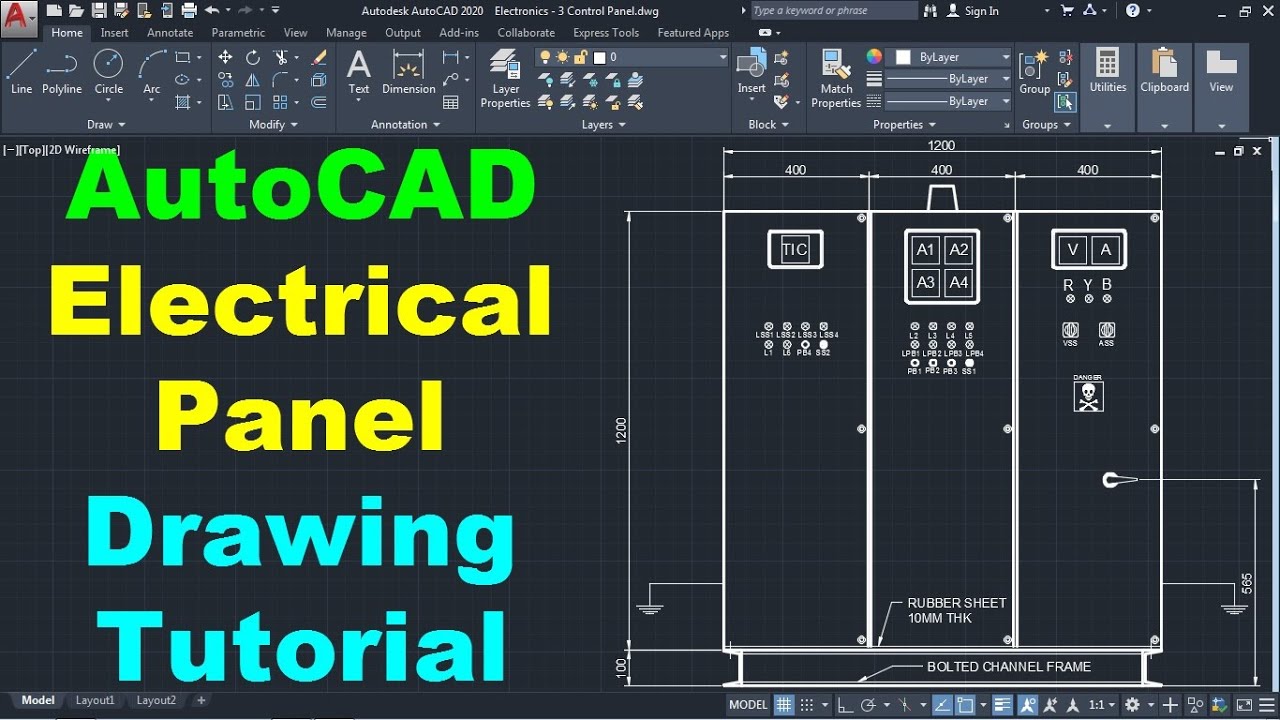
Basic Drawing and Editing Commands
Mastering the basic drawing and editing commands in AutoCAD is essential for creating precise and detailed drawings. These foundational commands enable you to efficiently sketch, modify, and refine your designs.
- LINE: Draws straight line segments. Use it to create the edges of objects or define boundaries.
- CIRCLE: Creates circles of any size. Essential for drafting round elements and arcs.
- RECTANGLE: Draws rectangles and squares. This command is crucial for creating various architectural and mechanical components.
- POLYLINE: Generates continuous lines and shapes with multiple segments. Polylines are versatile for outlining complex paths and shapes.
- ARC: Draws arc segments. Use arcs for curved features and details in your design.
- TRIM: Removes portions of objects to meet the edges of other objects. Trim is vital for shaping and refining your drawing.
- EXTEND: Lengthens objects to meet the edges of other objects. This command is useful for connecting disjointed lines or edges.
- COPY: Duplicates objects at a specified distance and direction. Copying is a time-saver for repeating elements in your design.
- MIRROR: Creates a mirrored copy of selected objects. Mirror is ideal for symmetrical designs or patterns.
- MOVE: Transfers objects from one location to another. Moving is fundamental for organizing and positioning elements within your drawing.
- ROTATE: Rotates objects around a base point. Rotation allows you to align objects at the desired angle.
- SCALE: Resizes objects proportionally or non-proportionally. Scaling adjusts the size of elements in your drawing to match design requirements.
By familiarizing yourself with these commands, you will lay the groundwork for creating detailed and accurate AutoCAD drawings. Practice using these commands to enhance your drawing efficiency and precision.

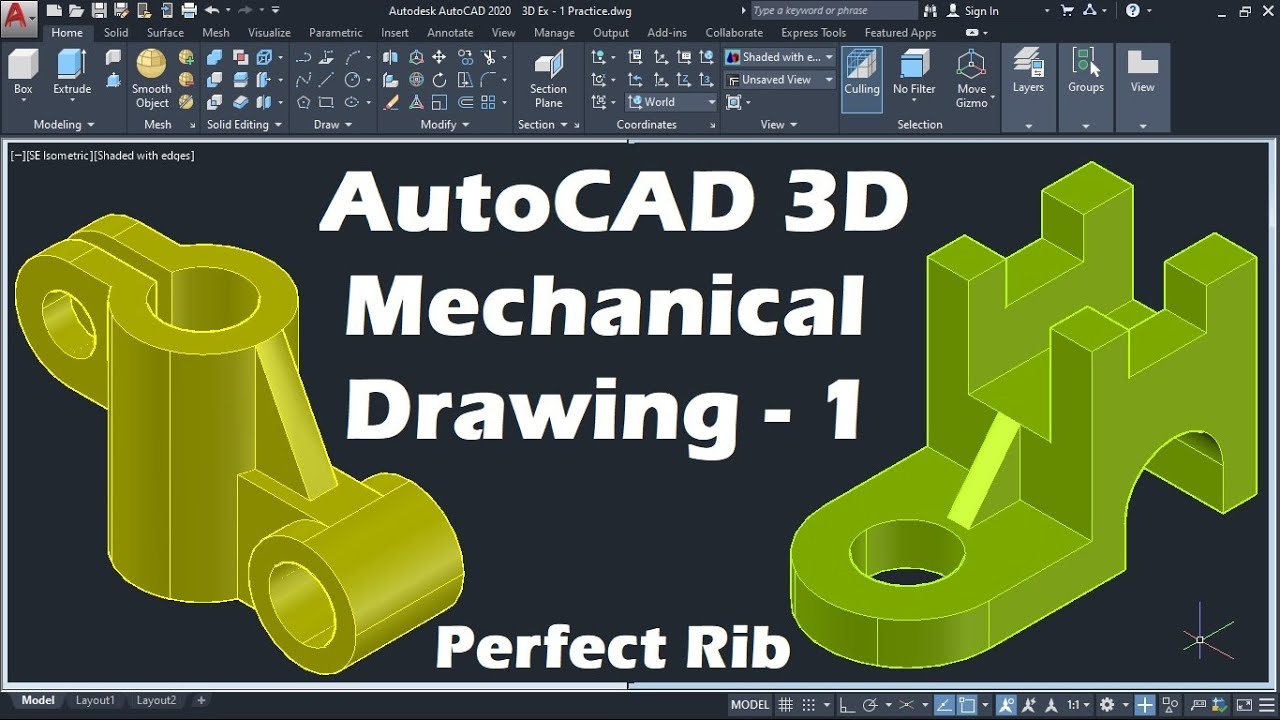
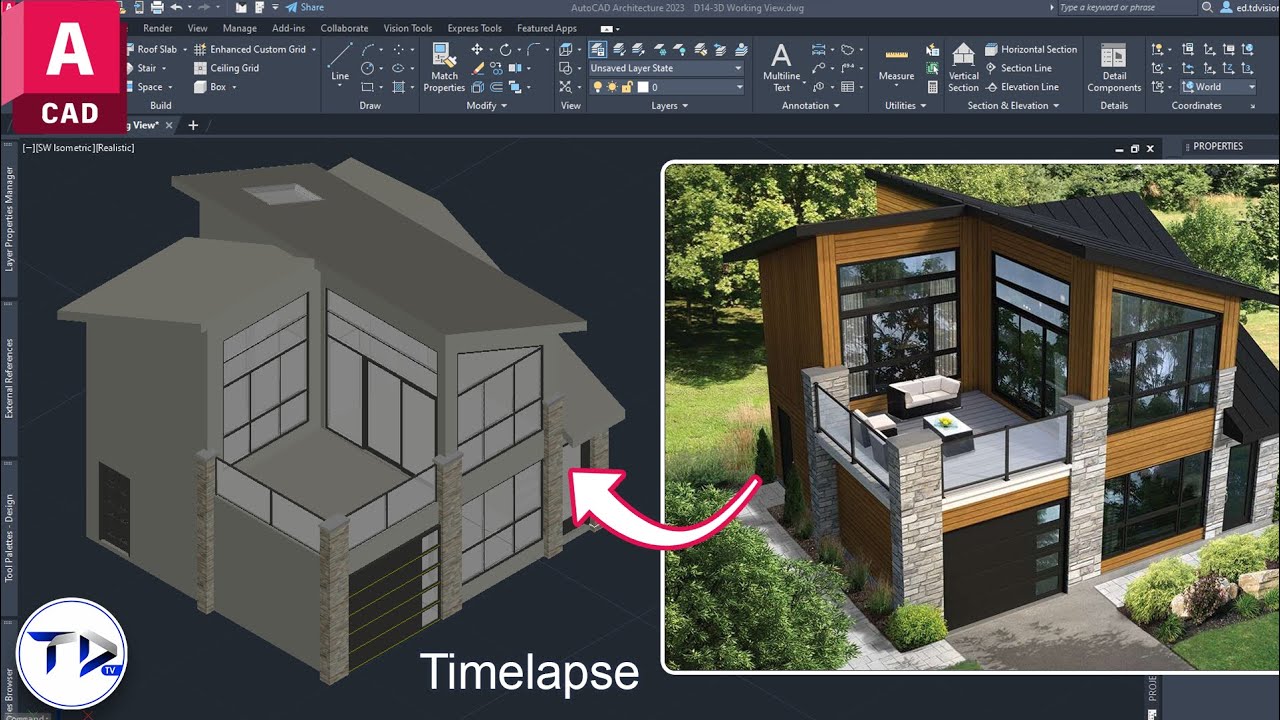
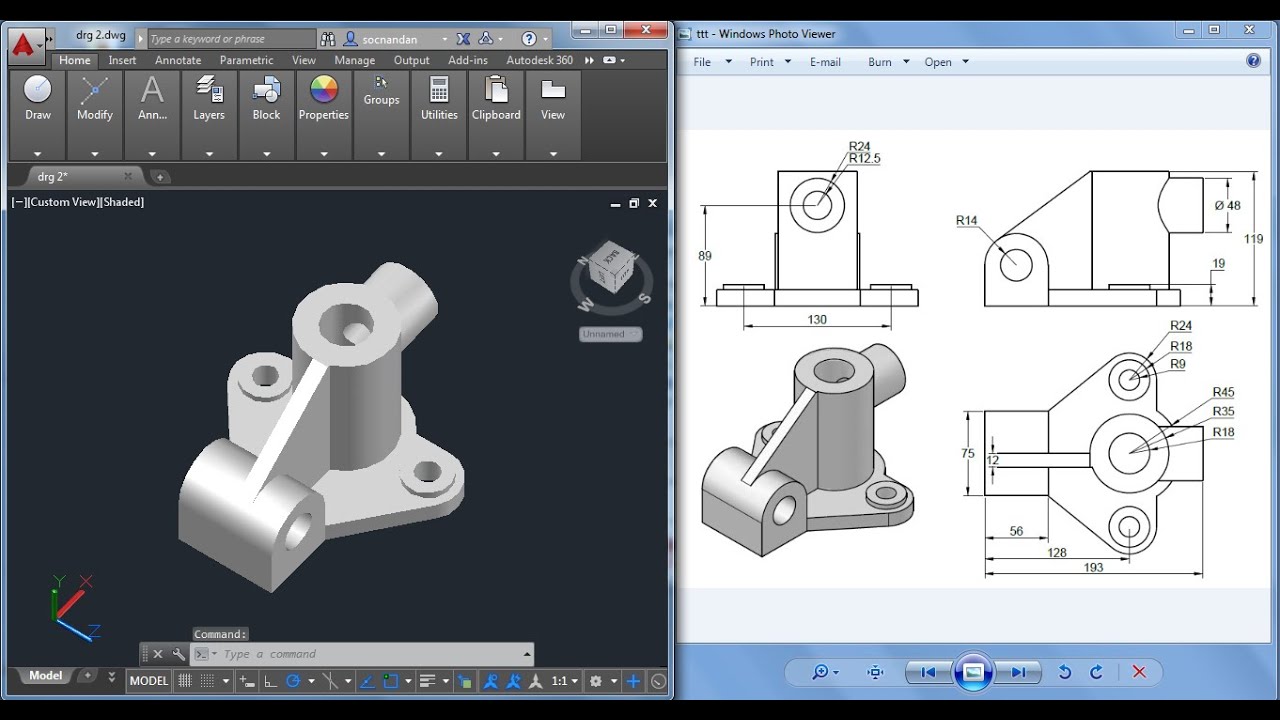
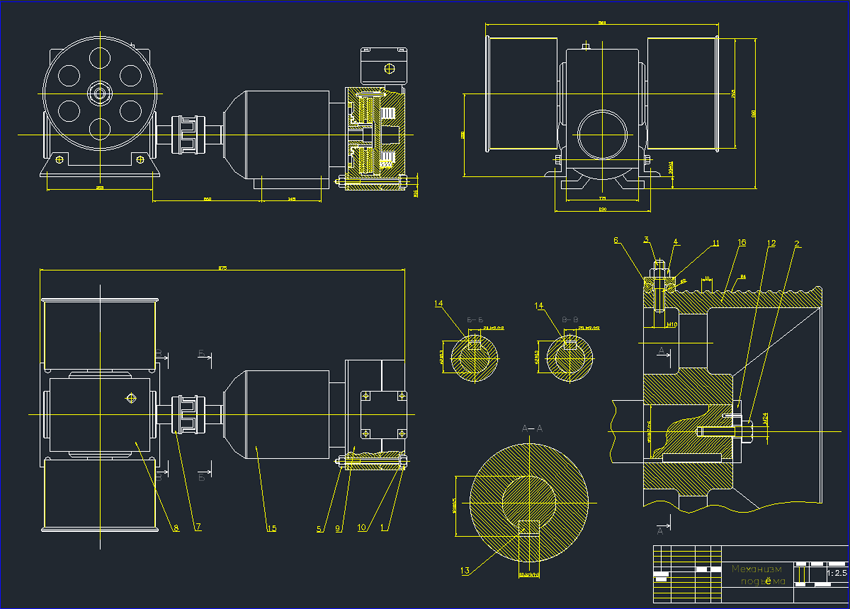
Creating 2D and 3D Models
AutoCAD\"s versatile environment allows for the creation of both intricate 2D drawings and robust 3D models, serving as a critical tool for visualizing projects in various dimensions. Here\"s how you can create both 2D and 3D models in AutoCAD.
For 2D Models:
- Use Basic Commands: Start with basic commands like LINE, CIRCLE, and RECTANGLE to sketch the outline of your design.
- Apply Precision Tools: Utilize precision tools such as OSNAP (Object Snap) for accuracy in your drawings.
- Layers and Properties: Organize your drawing by using layers and assigning properties like color and line type to different elements.
For 3D Models:
- Starting with 2D Shapes: Begin by creating 2D shapes that serve as the base for your 3D models. These can be lines, circles, or any shape that defines the perimeter of your object.
- Extrusion and Revolving: Use the EXTRUDE command to pull shapes into 3D forms. The REVOLVE command can turn your 2D shapes into 3D objects by revolving them around an axis.
- 3D Editing Tools: Utilize 3D editing tools such as UNION, SUBTRACT, and INTERSECT to modify and combine 3D shapes.
- Adding Details: Add details to your 3D models using commands like FILLET and CHAMFER for edges, and use SOLIDEDIT for more complex modifications.
Switching between different views (top, front, isometric) can help in visualizing and editing your models more effectively. With practice, you can leverage AutoCAD\"s full potential to create detailed 2D drawings and complex 3D models that bring your ideas to life.
_HOOK_
AutoCAD Drawing Techniques and Tips
Enhance your AutoCAD skills with these proven techniques and tips designed to streamline your workflow and improve the accuracy and efficiency of your drawings. From basic shortcuts to advanced drawing strategies, these insights will elevate your AutoCAD proficiency.
- Use Layers Wisely: Organize your drawings by assigning objects to layers with meaningful names and properties. This practice aids in managing the visibility and editability of different elements within your project.
- Master the Use of Commands: Familiarize yourself with key commands like LINE, CIRCLE, TRIM, and EXTEND. Knowing command shortcuts can significantly speed up your drawing process.
- Apply Object Snaps (OSNAP): Use OSNAP for precision in snapping to specific geometric points on objects. This ensures accuracy in the alignment and placement of elements.
- Utilize Block Libraries: Create and use blocks for repetitive elements to save time and ensure consistency across your drawings.
- Customize Your Workspace: Tailor the AutoCAD interface to fit your workflow by customizing toolbars, palettes, and command aliases. A personalized workspace can improve efficiency.
- Keep Drawings Clean: Regularly use the PURGE command to remove unused elements and the OVERKILL command to delete duplicate or overlapping objects, keeping your drawings streamlined and reducing file size.
- Embrace Keyboard Shortcuts: Keyboard shortcuts for frequently used commands and actions can drastically reduce drawing time and improve workflow efficiency.
- Explore Advanced Tools: Experiment with advanced features like dynamic blocks, data linking, and 3D modeling to expand your drawing capabilities and offer more to your projects.
- Practice Regularly: Consistent practice is key to mastering AutoCAD. Challenge yourself with new tools and techniques to continually enhance your skills.
Incorporating these techniques and tips into your daily use of AutoCAD will lead to more productive sessions and the creation of more precise, professional drawings.

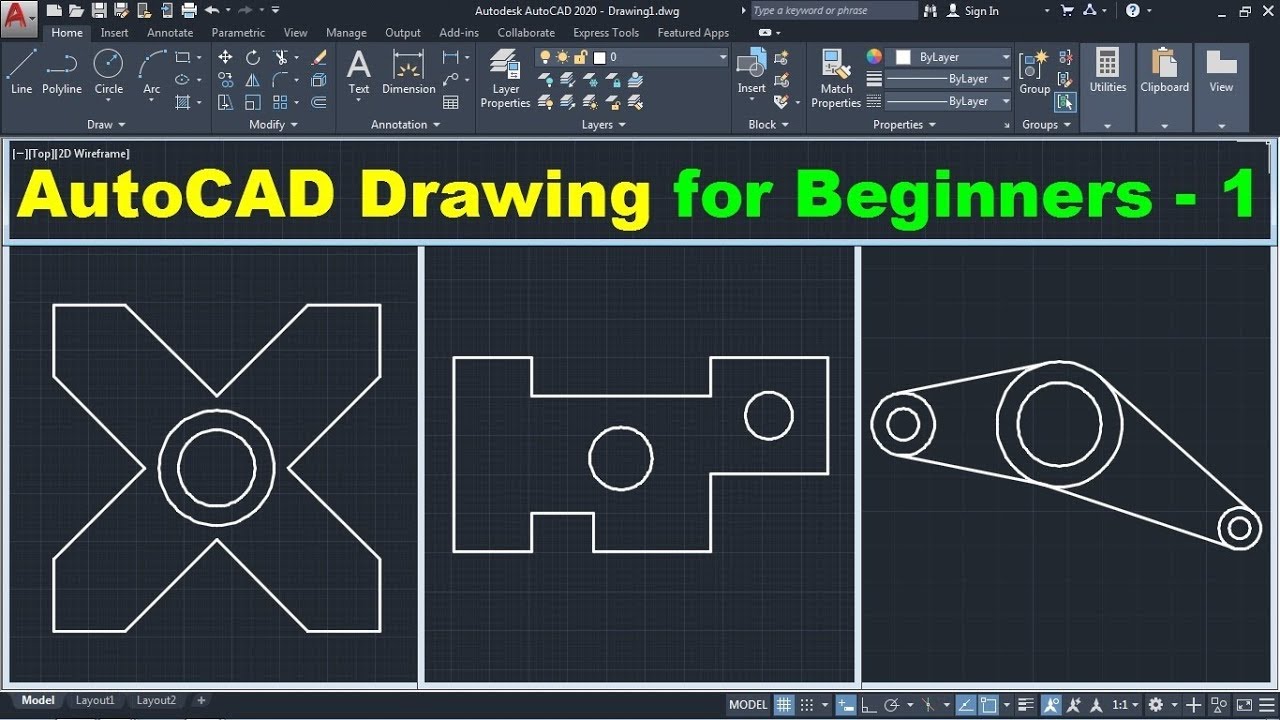
AutoCAD Basic Tutorial for Beginners - Part 1
Tutorial: Looking to learn a new skill? This comprehensive tutorial video will guide you through step by step, making it easy to master the technique. Get ready to level up your knowledge and become an expert in no time!
AutoCAD for Beginners - University Course
University Course: Ready to expand your horizons and dive deep into a subject? This captivating university course video promises to provide you with a wealth of knowledge and insights from top-notch professors. Transform yourself into a well-rounded scholar and watch your academic journey come to life.
Utilizing AutoCAD\"s Advanced Features
AutoCAD is not just about basic drawing and modeling; its advanced features can significantly enhance your project\"s efficiency and quality. Whether you\"re working on complex architectural designs, intricate engineering projects, or detailed mechanical parts, understanding and utilizing these features can transform the way you work.
- Parametric Constraints: Apply parametric constraints to control the dimensions and relationships between objects. This feature allows for dynamic adjustments and ensures design accuracy.
- 3D Modeling and Visualization: Beyond basic 3D models, AutoCAD offers advanced rendering tools and materials libraries that enable the creation of realistic visualizations and walkthroughs of your designs.
- Data Extraction: Use data extraction to gather information from objects in your drawings. This can be used for creating bills of materials, schedules, and tables directly from your models.
- Dynamic Blocks: Create dynamic blocks with adjustable parameters and actions. This allows for more flexible and reusable design elements, reducing the need to create multiple block variations.
- Customization with APIs: AutoCAD\"s application programming interfaces (APIs) such as AutoLISP, .NET, and ObjectARX allow for the customization of workflows and the automation of repetitive tasks, enhancing productivity.
- Collaboration Tools: Leverage collaboration tools like Xrefs (external references) to work on shared files and ensure team members are always working with the most up-to-date information.
- Sheet Sets: Manage entire sets of drawings with the Sheet Set Manager, which organizes, publishes, and manages your project files more efficiently.
- Advanced Annotation and Dimensioning Tools: Use advanced annotation tools for more detailed and clear communication within your drawings, ensuring that your designs are accurately understood and implemented.
By mastering these advanced features, you can unlock new levels of creativity, precision, and efficiency in your AutoCAD projects, pushing the boundaries of what\"s possible in design and drafting.

Collaboration and Sharing in AutoCAD
Collaboration and sharing are pivotal in AutoCAD, allowing multiple users to work on the same project simultaneously, thereby enhancing productivity and streamlining workflow. Here are the key features and practices for effective collaboration in AutoCAD.
- Shared Views: Use the Shared Views feature to share your designs with stakeholders without requiring them to have AutoCAD installed. This facilitates feedback and review processes.
- External References (Xrefs): Attach other drawing files as Xrefs to keep your project files synchronized. This method ensures that everyone has access to the latest drawings without duplicating data.
- AutoCAD Web and Mobile App: Utilize the AutoCAD web and mobile apps to access, edit, and share your AutoCAD drawings from anywhere, providing flexibility and enhancing collaboration.
- Cloud Storage and Collaboration Platforms: Integrate AutoCAD with cloud storage solutions and collaboration platforms to easily share and manage project files among team members.
- Data Linking: Link your drawings to external data sources, such as spreadsheets, to ensure that your drawings are updated automatically when the data changes, keeping everyone on the same page.
- Layouts and Sheets: Share and collaborate on layout views and sheet sets to streamline the review and markup process, ensuring that the project progresses smoothly and efficiently.
- Communication Tools: Utilize built-in communication tools such as comments and markups to provide clear feedback directly within the drawing, reducing misunderstandings and errors.
By leveraging these collaboration and sharing features, teams can work more cohesively, reduce errors, and ensure that projects are completed efficiently and accurately.
Customizing the AutoCAD Workspace
Customizing the AutoCAD workspace enhances productivity and creates an environment that suits your specific workflow. With the ability to tailor toolbars, command lines, and palettes, AutoCAD allows for a personalized drafting experience. Follow these steps to customize your workspace for maximum efficiency.
- Workspace Layout: Start by selecting a workspace layout that closely matches your workflow. You can choose from predefined workspaces or create a custom one that fits your needs.
- Custom Toolbars and Ribbons: Modify toolbars and ribbon panels to include commands you use frequently. This minimizes the need to search through menus and can significantly speed up your work.
- Command Aliases: Create command aliases for commonly used commands to reduce typing and streamline your workflow. This is a simple yet effective way to work faster in AutoCAD.
- Palettes and Panels: Arrange and dock palettes and panels in a way that they are easily accessible but not obstructive to your drawing area. Customizing these can help keep your screen organized and focused on your work.
- Screen Real Estate: Optimize your screen real estate by controlling the visibility of the UI elements. AutoCAD allows you to hide or display only what you need, maximizing your drawing space.
- Keyboard Shortcuts: Customize keyboard shortcuts for actions and commands you use frequently. This can drastically reduce drawing time and make the design process smoother.
- Profiles: Save your customized settings to a profile. This allows you to switch between different setups easily or transfer your preferred settings to another computer.
By customizing the AutoCAD workspace, you can streamline your drafting process, reduce repetitive tasks, and create a more efficient and enjoyable drafting environment tailored to your needs.
AutoCAD Drawing File Management
Effective file management in AutoCAD is crucial for maintaining the integrity of your drawings and ensuring efficient access and collaboration. By adhering to best practices for saving, organizing, and sharing your files, you can streamline your workflow and avoid common pitfalls.
- Organize Files Logically: Use a consistent naming convention and folder structure to organize your drawings. This makes it easier to locate and manage files, especially in large projects.
- Utilize Drawing Templates: Create and use templates (DWT files) for standard settings like layers, text styles, and layout views. This ensures consistency across your drawings and saves time.
- Implement Version Control: Keep track of different versions of your drawings to prevent data loss. Use a versioning system or simply save copies with incremental version numbers or dates.
- Backup Regularly: Regular backups of your AutoCAD files are essential. Consider using cloud storage or external drives for backups to protect against data loss.
- Use Xrefs for Large Projects: For projects that involve multiple drawings, use external references (Xrefs) to link drawings together. This reduces file sizes and facilitates easier updates.
- Manage File Paths: Keep external references and linked files in relative paths to ensure they remain linked when files are moved or shared with other users.
- Purge Unused Elements: Regularly use the PURGE command to remove unused blocks, layers, and other elements from your drawings to reduce file size and improve performance.
- Recover Damaged Files: Use the RECOVER command to repair damaged files. AutoCAD\"s Drawing Recovery Manager can also help recover unsaved changes in the event of a crash.
Adopting these file management strategies can significantly enhance your efficiency and ensure the safety and reliability of your AutoCAD projects.
_HOOK_
READ MORE:
Learning Resources and Tutorials for AutoCAD
Gaining proficiency in AutoCAD is essential for anyone looking to excel in fields requiring design and drafting skills. Thankfully, a wealth of resources is available to help learners at all levels, from beginners to advanced users. Here are some of the best ways to learn and master AutoCAD.
- Official Autodesk Resources: Autodesk provides comprehensive tutorials, guides, and documentation on their official website. These resources are tailored for both new and experienced users, covering everything from basic commands to advanced modeling techniques.
- Online Courses and Tutorials: Platforms like Coursera, Udemy, LinkedIn Learning, and edX offer a variety of AutoCAD courses. These range from introductory lessons to detailed studies on specific AutoCAD applications, such as architectural design or mechanical engineering.
- YouTube Tutorials: YouTube is a treasure trove of instructional videos offering step-by-step guides for various AutoCAD tasks. Channels dedicated to AutoCAD training can provide visual and practical learning experiences.
- Books and eBooks: Numerous books and eBooks are available that cater to learning AutoCAD. These resources often include exercises and projects to practice new skills.
- Community Forums and Blogs: Engaging with the AutoCAD community through forums and blogs can provide valuable insights and tips. Websites like the Autodesk forums, CADTutor, and blogs by AutoCAD experts are great places to ask questions and share knowledge.
- Practice Projects: Applying what you\"ve learned through practical projects is crucial. Try to work on various projects that challenge different aspects of your AutoCAD knowledge, from simple 2D drawings to complex 3D models.
- AutoCAD Webinars and Workshops: Autodesk and other educational platforms occasionally offer webinars and workshops. These can be excellent opportunities to learn from experts and stay updated with the latest AutoCAD features and best practices.
Regardless of your learning style, combining multiple resources and consistently practicing will significantly enhance your AutoCAD skills, preparing you for professional challenges in design and drafting.
Embrace the power of AutoCAD drawing to transform your design and drafting work. With the right techniques, resources, and practice, you can unlock unlimited creative potential and bring your visionary projects to life.