Topic tutorial autocad youtube: Embark on a journey to master AutoCAD with our comprehensive YouTube tutorials, designed to enhance your drafting and designing skills from the ground up.
Table of Content
- What is the best AutoCAD tutorial on YouTube?
- Getting Started with AutoCAD
- Basic Drawing and Editing Commands
- Creating Your First Drawing
- Learning Advanced Drawing Techniques
- Working with Layers and Properties
- YOUTUBE: AutoCAD Basic Tutorial for Beginners - Part 1
- Introduction to 3D Modeling
- Advanced 3D Modeling Techniques
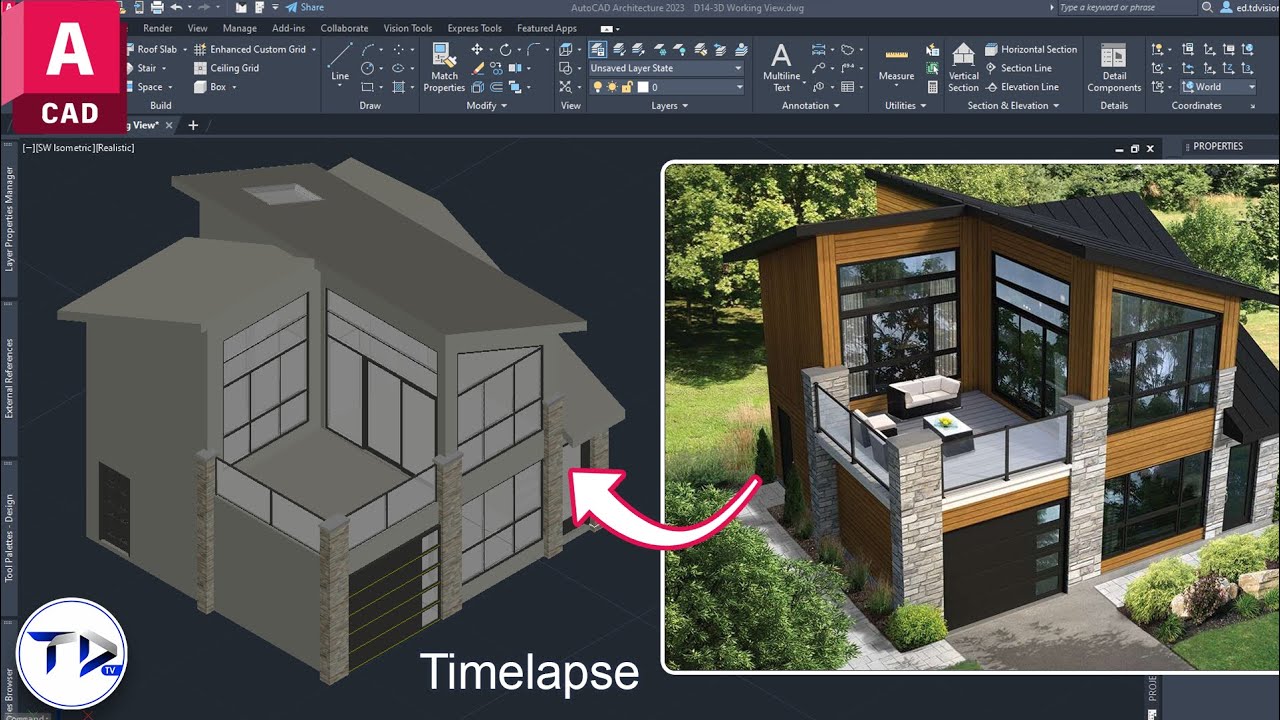
- Using AutoCAD for Architectural Projects
- AutoCAD Tips and Tricks for Efficiency
- Resources for Continuous Learning
What is the best AutoCAD tutorial on YouTube?
There are several AutoCAD tutorials available on YouTube that can be beneficial for beginners and advanced users. Here is a list of some popular AutoCAD tutorials that are highly regarded:
- AutoCAD - Complete Tutorial for Beginners - Part 1
- AutoCAD 2D Basics - Tutorial to draw a floor plan
- AutoCAD 3D Modeling - Tutorial for Beginners
- Advanced AutoCAD Techniques - Tutorial Series
These tutorials provide comprehensive step-by-step instructions and cover various aspects of using AutoCAD, from basic drafting techniques to advanced modeling and rendering.
It is important to note that the \"best\" AutoCAD tutorial may vary depending on individual learning preferences and goals. It is recommended to watch sample videos or read reviews to determine which tutorial aligns best with your learning needs.
READ MORE:
Getting Started with AutoCAD
Welcome to the first step in your AutoCAD learning journey! Whether you\"re a beginner or looking to refresh your skills, this section will guide you through the basics of AutoCAD, setting the foundation for your design and drafting expertise.
- Understanding the AutoCAD Interface: Begin by familiarizing yourself with the AutoCAD workspace and its various tools and panels. This will help you navigate and use the software more efficiently.
- Setting Up Your First Project: Learn how to start a new drawing, set drawing units, and manage file settings to ensure your project is correctly configured from the start.
- Basic Drawing Tools: Dive into the core drawing commands like Line, Circle, Rectangle, and Polyline. Practice using these tools to create simple shapes and layouts.
- Modifying Objects: Discover how to select, move, copy, rotate, and scale objects. These essential editing commands will enable you to refine your drawings and designs.
- Layer Management: Understand how to use layers to organize your drawing effectively. Learn how to create, rename, and manage layers to keep your project organized.
- Dimensioning and Text: Add dimensions and text to your drawings for clarity and communication. This step is crucial for conveying your design intent and specifications.
- Saving and Exporting: Ensure your work is saved and learn how to export your drawings in different formats for sharing or printing.
By completing these steps, you\"ll have a solid foundation in AutoCAD, ready to tackle more complex projects and techniques. Remember, practice is key to mastering AutoCAD, so don\"t hesitate to experiment with what you\"ve learned.

Basic Drawing and Editing Commands
Mastering the basic drawing and editing commands in AutoCAD is crucial for creating precise and detailed designs. This section covers the essential tools you need to start bringing your ideas to life.
- Line: The fundamental drawing tool for creating straight segments. Click two points to draw a line between them.
- Circle: Generate perfect circles by specifying the center point and radius or diameter.
- Rectangle: Create rectangles by defining two opposite corners. Modify properties to include fillets or chamfers as needed.
- Polyline: Draw connected lines and arcs as a single object. Polylines are versatile for creating complex shapes.
- Arc: Create curved segments by specifying three points: the start, center, and end points of the arc.
Editing commands enhance your drawing precision and efficiency:
- Trim: Remove unnecessary parts of objects that cross each other.
- Extend: Lengthen objects to meet the edges of another object.
- Copy: Duplicate objects at a specified distance and direction.
- Move: Relocate objects from one place to another.
- Rotate: Turn objects around a specified pivot point.
- Scale: Resize objects without altering their proportions.
- Mirror: Create a mirrored copy of objects across a specified axis.
Understanding these commands provides the foundation for complex designs and is essential for any AutoCAD user. Practice using these tools to become proficient in creating and modifying your drawings.
Creating Your First Drawing
Embarking on creating your first drawing in AutoCAD is an exciting step towards becoming proficient in computer-aided design. Follow these detailed steps to start your journey with confidence.
- Open AutoCAD and Start a New Drawing: Launch AutoCAD and select \"New Drawing\" from the start screen. Choose a template that matches the type of project you\"re working on.
- Set Up Units and Limits: Before you start drawing, set your drawing units to match the scale you\"ll be working in. Go to \"Format\" > \"Units\" and choose your preferred units (e.g., millimeters, inches).
- Understanding the Workspace: Familiarize yourself with the AutoCAD interface, including the ribbon, toolbars, and command line. These tools are your main interactions with AutoCAD.
- Draw Basic Shapes: Start by using simple commands like LINE, CIRCLE, and RECTANGLE to create basic shapes. Practice selecting and modifying these shapes to get comfortable with the process.
- Modify Your Drawing: Use editing commands such as MOVE, COPY, ROTATE, and SCALE to alter your drawing. Experiment with these commands to see how they change your design.
- Adding Details: As you become more comfortable, start adding details to your drawing. Use commands like TRIM, EXTEND, and OFFSET to refine your design.
- Layers: Organize your drawing by separating different elements onto layers. This will help manage visibility and editing of various components of your drawing.
- Save Your Work: Regularly save your drawing to prevent data loss. Use the SAVE or QSAVE command to save your file.
Creating your first drawing in AutoCAD is a milestone in your design journey. Take your time to explore and understand each step, and remember, practice is key to mastering AutoCAD.

Learning Advanced Drawing Techniques
Once you\"ve mastered the basics of AutoCAD, it\"s time to elevate your skills with advanced drawing techniques. These methods will enable you to create more complex and precise designs.
- Using Blocks and Attributes: Learn to create and insert blocks to save time on repetitive elements. Utilize attributes to add variable data to blocks for dynamic updates.
- Advanced Text and Dimensioning: Explore beyond basic text and dimensioning to include fields, tables, and special dimensioning tools like ordinate, radius, and diameter dimensions for detailed annotations.
- Parametric Constraints: Apply geometric and dimensional constraints to maintain relationships between drawing geometry as changes are made, ensuring design intent is maintained.
- Customization and Automation: Customize the AutoCAD interface, create custom commands, and learn to use AutoLISP for automation to improve efficiency and productivity.
- 3D Modeling Techniques: Move into 3D space by learning to use 3D modeling tools for creating solids, surfaces, and meshes. Understand the basics of navigating and visualizing in 3D.
- Advanced Rendering and Visualization: Use rendering tools to create realistic images of your 3D models, applying materials, lighting, and background scenes to enhance presentations.
- Layouts and Viewports: Master the creation of layouts and viewports for printing. Learn how to set up multiple views and scales within a single layout for professional-grade drawings.
- External References and Data Linking: Use external references (Xrefs) to insert other drawings into your current drawing. Link data from other applications like Excel to keep your drawings updated with external data sources.
Advancing your AutoCAD skills with these techniques opens up a world of possibilities for design and drafting. Practice regularly and explore each tool to fully harness the power of AutoCAD for your projects.

_HOOK_
Working with Layers and Properties
Layers are a fundamental aspect of organizing and managing your AutoCAD drawings, allowing you to separate different elements of your design for better visibility and editing. Understanding how to manipulate layer properties is crucial for efficient CAD work.
- Understanding Layers: Learn what layers are and how they can be used to organize different parts of your drawing. Each layer can represent a different aspect of your design, such as electrical layouts, plumbing, or architectural details.
- Creating and Managing Layers: Discover how to create new layers and manage them within the Layer Properties Manager. Learn to assign colors, line types, and line weights to each layer to enhance the readability of your drawing.
- Layer States: Explore how to save and restore layer states to quickly switch between different layer configurations, saving time when working on complex drawings or presenting your work to others.
- Using Layer Filters: Utilize layer filters to easily find and work with layers in large, complex drawings. Learn to create and apply filters to streamline your workflow.
- Freezing and Locking Layers: Understand how to freeze layers to improve performance and lock layers to prevent accidental modifications. These techniques are essential for maintaining the integrity of your design.
- Transparency and Plotting: Adjust layer transparency to visually differentiate elements of your drawing without altering the design. Learn which layer properties affect how your design will appear when plotted or printed.
- Assigning Objects to Layers: Practice assigning objects to different layers and switching objects between layers. This skill is crucial for keeping your drawing organized and flexible.
Mastering the use of layers and understanding layer properties will significantly enhance your ability to create clear, organized, and professional AutoCAD drawings.
AutoCAD Basic Tutorial for Beginners - Part 1
\"Discover the amazing world of AutoCAD in this captivating tutorial! Unleash your creativity and learn how to design stunning 2D and 3D models with the industry\'s leading software. Dive into the powerful features and transform your ideas into reality!\"
AutoCAD - Complete Tutorial for Beginners (Full Tutorial 1h40m)
\"Master AutoCAD with ease by following this in-depth tutorial! Whether you\'re a beginner or experienced user, this step-by-step guide will enhance your skills and broaden your knowledge. Become proficient in creating precise drawings and designs through clear instructions and practical examples.\"
Introduction to 3D Modeling
3D modeling in AutoCAD transforms how you visualize and present your designs, allowing for the creation of complex, detailed, and realistic representations of your projects. This section will guide you through the basics of starting with 3D modeling in AutoCAD.
- Understanding 3D Space: Begin by familiarizing yourself with navigating the 3D workspace. Learn to use the view cube, orbit, and pan to explore your model from various angles.
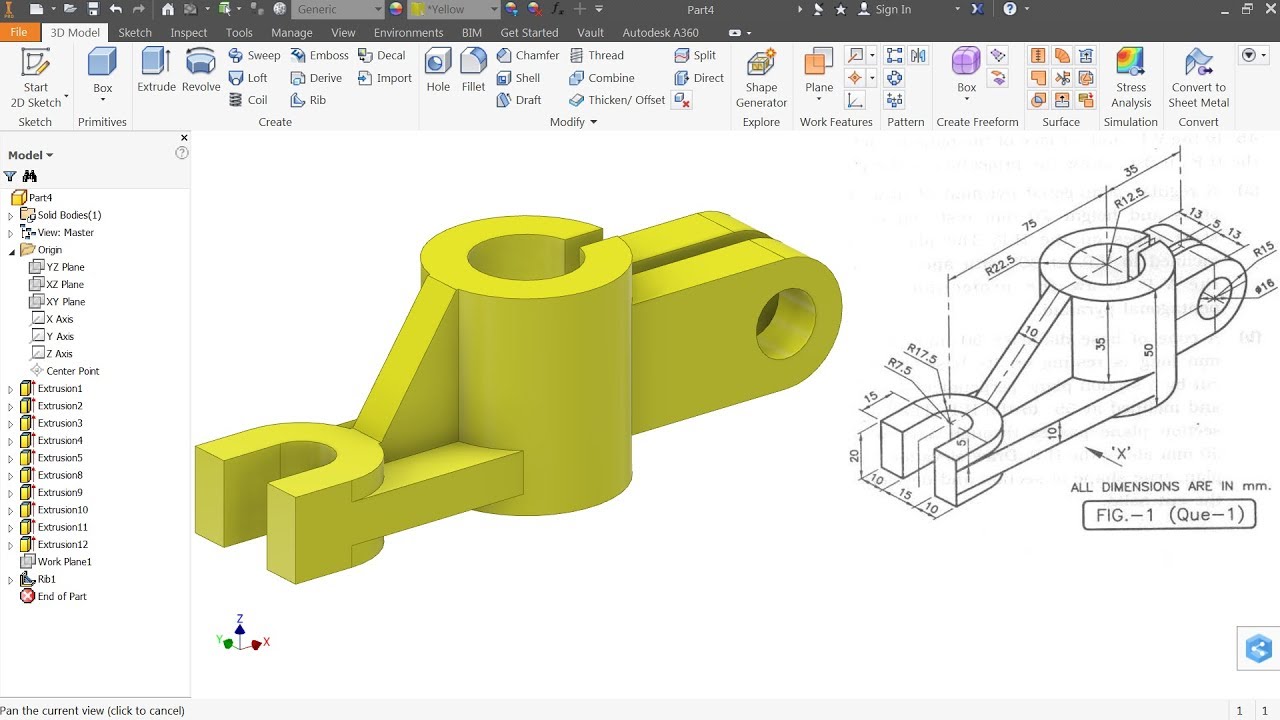
- Creating Simple 3D Objects: Start your 3D modeling journey by creating basic 3D shapes such as boxes, cylinders, spheres, and cones. These simple objects form the building blocks of more complex designs.
- Modifying 3D Objects: Learn how to modify 3D objects using commands like EXTRUDE, REVOLVE, and SWEEP. These tools allow you to create complex shapes and surfaces by extending and twisting 2D shapes into 3D forms.
- Working with UCS: Understand the User Coordinate System (UCS) and how it affects the creation and modification of 3D objects. Learn to manipulate the UCS to facilitate the modeling of objects in different orientations.
- Creating Complex Surfaces: Explore advanced surface modeling techniques to create more complex and detailed 3D models. Use tools like LOFT and BLEND to generate smooth and intricate surfaces.
- Solid Editing Tools: Dive into solid editing commands to refine your 3D models. Learn to use tools like UNION, SUBTRACT, and INTERSECT to combine or modify solids in various ways.
- 3D Materials and Rendering: Add materials to your 3D models to achieve a more realistic appearance. Learn the basics of rendering to visualize your designs with lighting and shadows, giving them a lifelike quality.
Entering the world of 3D modeling in AutoCAD opens up new possibilities for your designs, providing a deeper understanding of your projects and an enhanced ability to communicate your ideas.

Advanced 3D Modeling Techniques
For those ready to push the boundaries of 3D design in AutoCAD, advanced modeling techniques offer the tools to create more sophisticated and detailed models. This section explores techniques that provide precision and creativity in your 3D projects.
- Mesh Modeling: Dive into mesh modeling to create more organic shapes. Understand how to manipulate mesh objects with smooth and refine tools for intricate designs.
- Surface Modeling Complexities: Master complex surface modeling techniques that allow for the creation of intricate and smooth surfaces, using advanced tools like NETWORKSURF and SCULPT.
- 3D Solids and Boolean Operations: Take your solid modeling skills further with advanced Boolean operations. Learn how to use UNION, SUBTRACT, and INTERSECT to create complex solids from simpler ones.
- Customization of 3D Models: Customize your 3D models by creating and modifying solid faces, edges, and vertices for unique designs tailored to specific requirements.
- Advanced Rendering Techniques: Explore advanced rendering techniques to improve the realism of your models. Learn about custom materials, lighting effects, and environmental settings to enhance your presentations.
- 3D Printing Preparation: Prepare your models for 3D printing by ensuring they are watertight and correctly scaled. Learn to check for errors and export in formats suitable for 3D printing.
- Animation and Walkthroughs: Create animations and walkthroughs to present your designs dynamically. Understand the basics of setting up camera paths and animating the movement for presentations or client reviews.
These advanced techniques will enable you to fully utilize AutoCAD\"s 3D modeling capabilities, allowing for the creation of stunning, professional-grade models that stand out in any portfolio or presentation.

Using AutoCAD for Architectural Projects
AutoCAD is a powerful tool for architects, offering precision and flexibility for designing buildings, homes, and other architectural projects. This section provides insights into leveraging AutoCAD\"s capabilities for architectural design.
- Setting Up Your Drawing: Begin by setting up your drawing with the correct scale and units. Use architectural units and choose a template that suits architectural drafting.
- Creating Floor Plans: Learn to draw detailed floor plans, starting with the exterior walls, then interior walls, doors, and windows. Utilize layers to organize different elements of the design.
- Elevations and Sections: Create elevations and section views to provide a comprehensive understanding of the building. Use the VIEWBASE command to generate 2D views from 3D models.
- Adding Architectural Details: Include architectural details such as staircases, furniture, and fixtures to bring your designs to life. Use blocks and dynamic blocks to efficiently insert common elements.
- Layer Management for Architectural Drawings: Effective layer management is crucial in architectural drawings. Organize layers by material type, construction phase, or design element for clarity and efficiency.
- Dimensioning and Annotating: Apply accurate dimensions and annotations to your drawings for clear communication. Use associative dimensions to ensure that your measurements update with changes to the drawing.
- 3D Modeling for Visualization: Move beyond 2D plans to create 3D models of your designs. This allows for better visualization and helps in identifying potential design issues early in the project.
- Rendering and Presentation: Use AutoCAD\"s rendering tools to create realistic images of your architectural projects. This enhances presentations and helps clients visualize the final project.
By integrating these practices into your architectural projects, AutoCAD can significantly enhance your design process, from initial concepts to final presentations, making it an indispensable tool for architects.
AutoCAD Tips and Tricks for Efficiency
Maximizing efficiency in AutoCAD not only speeds up the drafting process but also enhances the quality of your work. Here are some tips and tricks to streamline your workflow and make the most out of AutoCAD\"s features.
- Customize Your Workspace: Tailor the AutoCAD interface to suit your workflow. Customize toolbars, command aliases, and palette locations to access frequently used tools more quickly.
- Use Keyboard Shortcuts: Keyboard shortcuts are a time-saver. Familiarize yourself with AutoCAD\"s default shortcuts and create custom ones for commands you use regularly.
- Apply Quick Select: Use the Quick Select feature to efficiently select objects based on properties, such as color or layer, speeding up modifications and edits.
- Utilize Dynamic Blocks: Dynamic blocks contain multiple configurations of a standard block, allowing for quick adjustments without needing to redraw the block for each scenario.
- Master the Use of Layers: Organizing your drawing with layers not only keeps it tidy but also makes it easier to edit specific elements without affecting the whole drawing.
- Implement Annotative Objects: Annotative objects automatically adjust their size and scale to match the view, making dimensioning and text labeling more straightforward.
- Save Time with Data Extraction: Extract information directly from your drawing for use in tables or external files, saving time on manual counting and measurement.
- Regularly Use Purge: Keep your files clean and reduce their size by regularly using the Purge command to remove unused objects and layers from your drawings.
- Explore External References (Xrefs): Xrefs allow you to include other drawings within your current drawing without increasing file size significantly, facilitating better management of large projects.
By incorporating these tips and tricks into your daily use of AutoCAD, you can significantly improve your drafting efficiency, allowing you to focus more on the design aspect of your projects.
_HOOK_
READ MORE:
Resources for Continuous Learning
Embarking on a journey of continuous learning in AutoCAD can significantly enhance your skills and knowledge in both 2D and 3D design. Here are curated resources that will help you stay ahead in your learning curve:
- YouTube Channels: YouTube is a treasure trove of learning material. Channels like AutoCAD official channel, CAD in Black, and The SourceCAD offer in-depth tutorials ranging from basic to advanced techniques. They regularly update their content, making it a valuable resource for both beginners and experienced users.
- Online Courses: Platforms such as Udemy, Coursera, and LinkedIn Learning provide comprehensive courses on AutoCAD. These courses cover various aspects, including drafting, modeling, and specific applications in engineering and architecture. Look for courses with high ratings and positive reviews to ensure quality learning.
- AutoCAD Blogs and Forums: Blogs like the AutoCAD Blog, CAD Notes, and forums such as the Autodesk forums and CADTutor offer a plethora of articles, tutorials, tips, and community support. Engaging with the community can also help solve specific problems and share knowledge.
- Books and eBooks: There are numerous books available for learning AutoCAD, suitable for all levels of expertise. \"Mastering AutoCAD\" and \"AutoCAD for Dummies\" are popular choices that provide detailed instructions and practical examples.
- Practice Projects: Applying what you learn through projects is crucial. Websites like GrabCAD and Behance allow you to explore real-world projects and contribute your own. This not only enhances your portfolio but also gives you hands-on experience.
- Software Updates: AutoCAD regularly updates its software to include new features and improvements. Keeping abreast of these updates on the Autodesk website can help you utilize the software to its fullest potential.
Remember, the key to mastering AutoCAD lies in consistent practice and staying curious. By leveraging these resources, you can ensure a robust and up-to-date knowledge base that will serve you well in your design endeavors.
Embarking on a journey of continuous learning in AutoCAD can significantly enhance your skills and knowledge in both 2D and 3D design. Here are curated resources that will help you stay ahead in your learning curve:
Remember, the key to mastering AutoCAD lies in consistent practice and staying curious. By leveraging these resources, you can ensure a robust and up-to-date knowledge base that will serve you well in your design endeavors.