Topic adobe illustrator ipad tutorial: Unlock your creative potential with our comprehensive "Adobe Illustrator iPad Tutorial," guiding you through every step of mastering vector design on your iPad, seamlessly blending power and portability.
Table of Content
- How to use Adobe Illustrator on iPad?
- Getting Started with Adobe Illustrator on iPad
- Understanding the Illustrator iPad Workspace
- Essential Tools: Pen, Pencil, Brush, and Eraser
- Creating and Editing Shapes and Text
- Effective Use of Layers and Groups for Organization
- Exploring Advanced Drawing Techniques
- YOUTUBE: Using Illustrator on iPad
- Typography: Adding Flair to Text
- Color Management and Printing Techniques
- Automating Tasks with Scripts and Actions
- Troubleshooting Common Issues in Illustrator on iPad
How to use Adobe Illustrator on iPad?
Here is a step-by-step guide on how to use Adobe Illustrator on iPad:
- First, make sure you have downloaded and installed Adobe Illustrator from the App Store.
- Open Adobe Illustrator on your iPad.
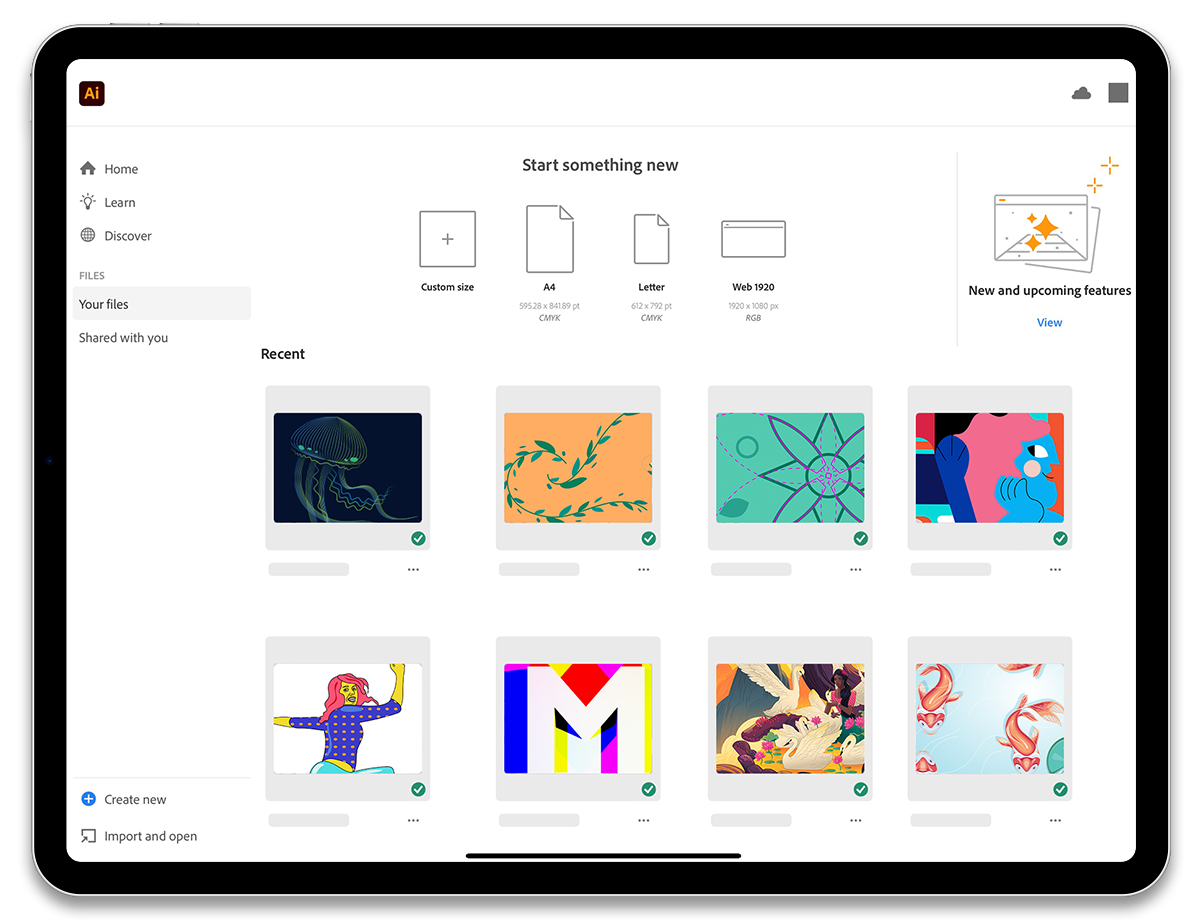
- You will be greeted with the home screen where you can create a new document or open an existing one.
- To create a new document, tap on the \"Create New\" button.
- Choose the desired preset or specify custom dimensions for your document.
- Once your document is created, you will be presented with the main workspace.
- On the left side of the workspace, you will find the tools panel. Tap on the desired tool to select it.
- Use the Apple Pencil or your finger to interact with the canvas and create your artwork.
- Tap on the layers panel on the right side of the workspace to manage the layers of your artwork.
- You can use the selection tool to select and manipulate individual elements or use the direct select tool to edit anchor points and paths.
- Tap on the color panel to choose the fill and stroke colors for your shapes.
- Experiment with different tools, brushes, and effects to enhance your artwork.
- To save your work, tap on the ellipsis (...) button in the top right corner of the screen and choose the \"Save\" option.
- You can also export your artwork in various formats by selecting the \"Export\" option from the same menu.
- Finally, when you are finished working, you can close the document by tapping on the \"X\" button in the top left corner or return to the home screen using the back arrow button.
READ MORE:
Getting Started with Adobe Illustrator on iPad
Embark on your journey with Adobe Illustrator on the iPad, an intuitive platform that brings your creative vision to life with precision and ease. Start by downloading Illustrator from the App Store, ensuring you have a compatible iPad model and a Creative Cloud subscription.
- Explore the Home Screen: Familiarize yourself with the Home Screen, which serves as your gateway to creating new documents and accessing existing ones.
- Understanding the Workspace: The Illustrator workspace on the iPad is designed to be simple and intuitive, helping you focus on your creative work with tools and features easily accessible.
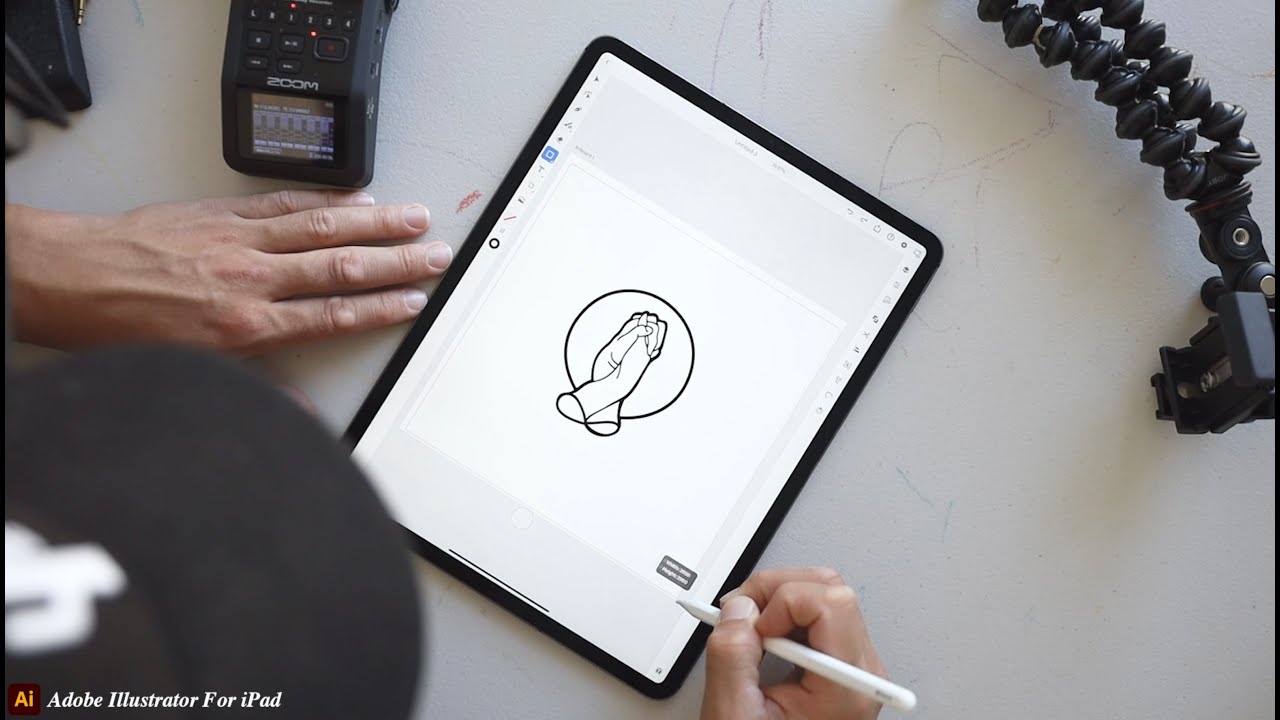
- Basic Tools: Get to know the primary tools like the Pen, Pencil, Brush, and Eraser tools, located in the left toolbar. These tools are vital for drawing, editing, and creating vector artwork.
- Drawing and Painting: Learn to use the Pen tool for precise anchor points and smooth points, utilizing touch shortcuts for efficiency.
- Pencil Tool Techniques: Discover the versatility of the Pencil tool for freehand drawing, adjusting the smoothing level for desired accuracy and curves.
- Direct Selection Tool: Use the Direct Selection tool for fine-tuning and editing paths and anchor points, enhancing your control over the design.
As you start creating, remember that Illustrator on the iPad supports cloud documents, allowing seamless workflow between your iPad and desktop. Embrace the power of touch and Apple Pencil, elevating your design experience to new heights.

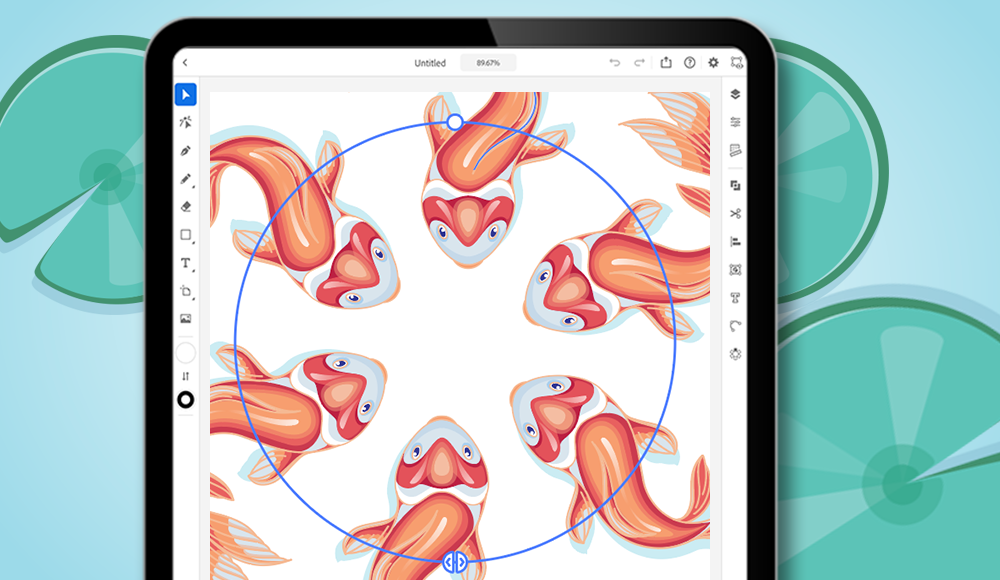
Understanding the Illustrator iPad Workspace
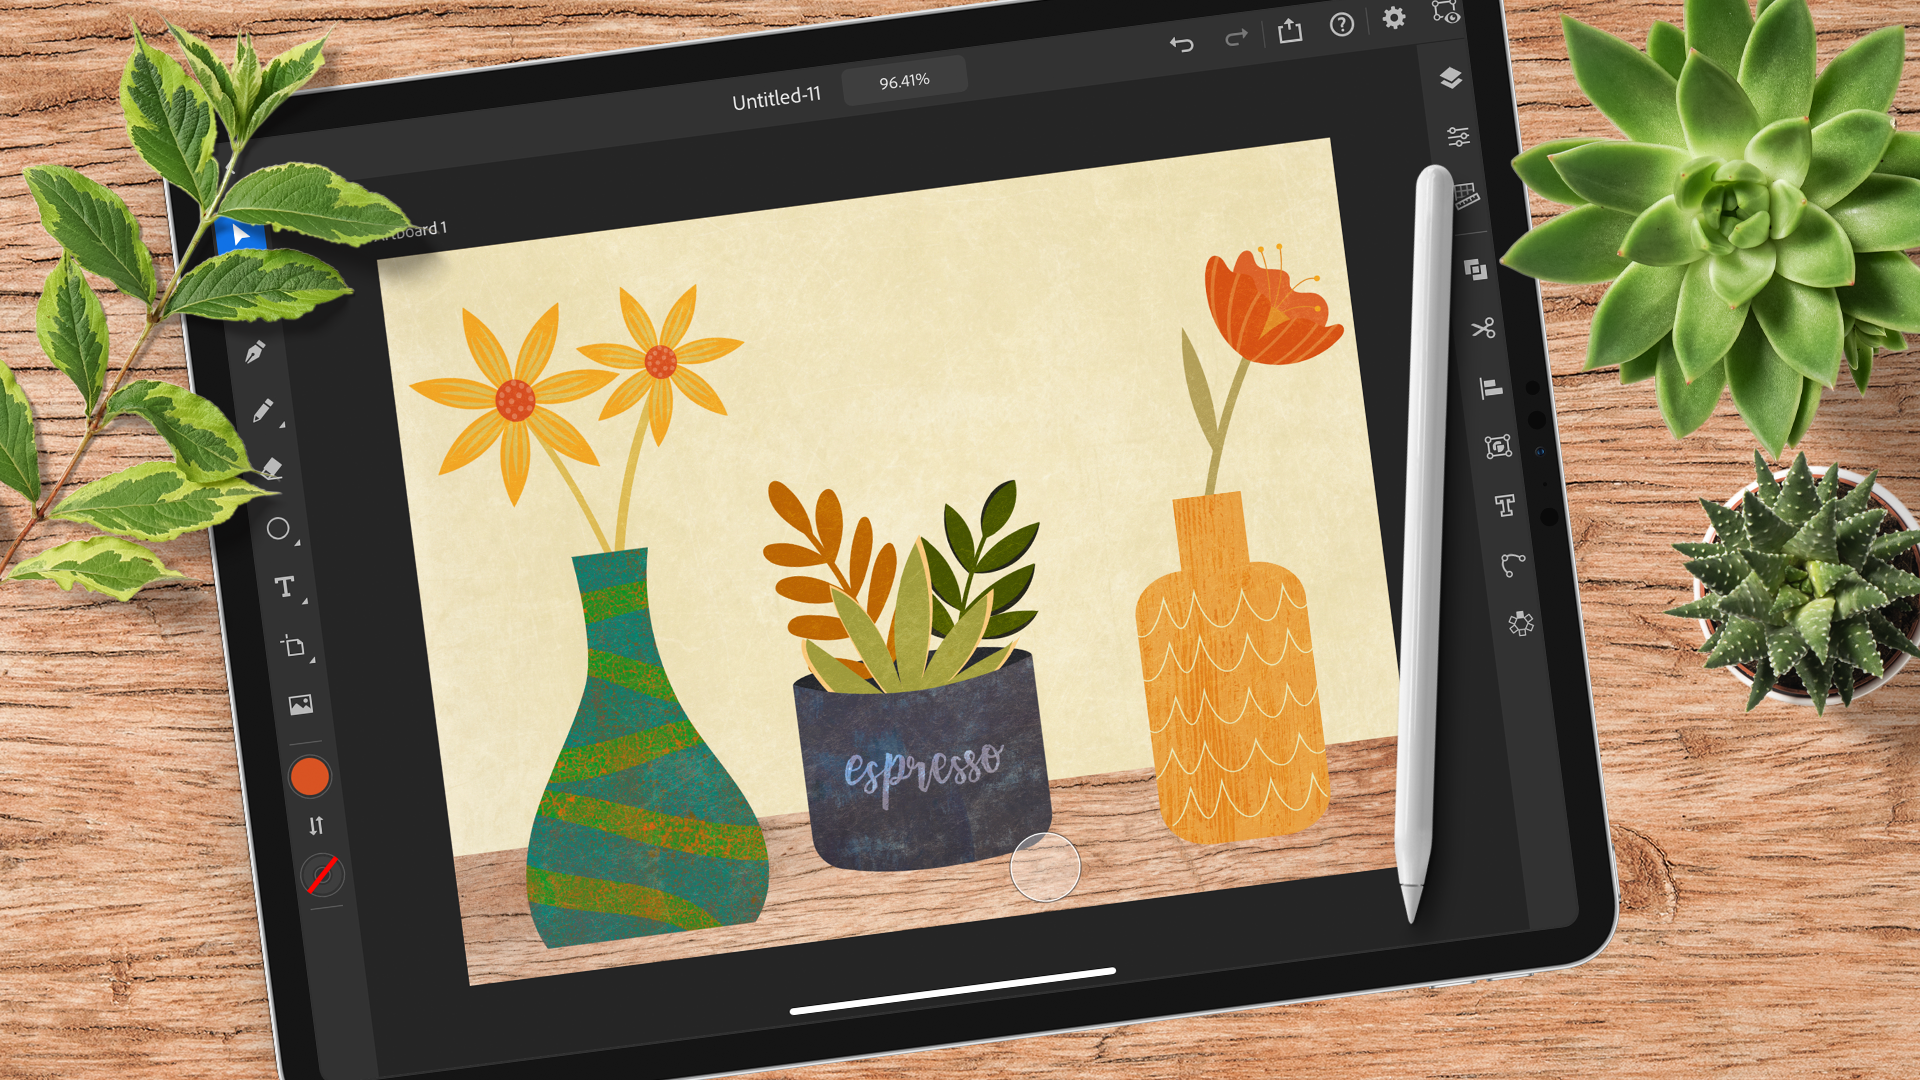
The Illustrator iPad workspace is meticulously designed to optimize your creative experience. It combines the precision of vector-based design with the intuitive touch interface of the iPad, making it a powerhouse for both novice and experienced designers.
- User Interface: The workspace is tailored to leverage the iPad\"s touch capabilities. Key tools and features are strategically positioned for easy access and efficient workflow.
- Tool Selection: Familiar tools like the Pen, Pencil, Brush, and Shape tools are readily available. The touch interface adds a new dimension to these tools, enhancing control and creativity.
- Touch Gestures: Utilize common touch gestures for navigation and editing. Pinch to zoom, tap to select, and swipe to navigate through your artwork with ease.
- Cloud Integration: Seamless integration with Adobe\"s Creative Cloud allows for smooth transition of work between your iPad and desktop, ensuring your projects are always up-to-date and accessible.
- Customizable Workspace: Personalize your workspace according to your workflow. Arrange tools and panels to suit your preferences, maximizing efficiency.
- Apple Pencil Compatibility: The workspace is optimized for the Apple Pencil, providing an enhanced level of precision and fluidity in your designs.
With its user-friendly interface and powerful tools, Illustrator on the iPad is designed to inspire creativity and transform your ideas into stunning visual designs.
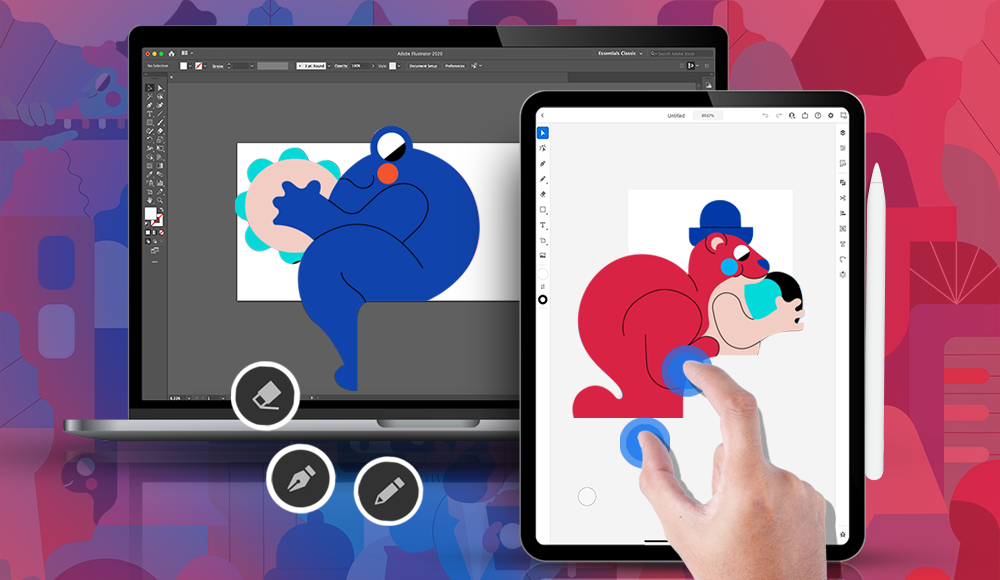
Essential Tools: Pen, Pencil, Brush, and Eraser
Adobe Illustrator on the iPad boasts an array of essential tools that empower artists and designers to create stunning vector graphics. Understanding these tools is key to maximizing the app\"s potential.
- Pen Tool: A fundamental tool in Illustrator, the Pen Tool allows for the creation of precise paths with anchor points. It\"s ideal for crafting complex shapes and detailed line work.
- Pencil Tool: This tool offers a more freeform approach to drawing. It\"s perfect for sketching and creating organic shapes, and its smoothing settings can be adjusted for finer control.
- Brush Tool: The Brush Tool is versatile, enabling artists to create varied stroke styles. It\"s particularly effective for adding artistic touches and dynamic strokes to artwork.
- Eraser Tool: Essential for correcting mistakes or refining designs, the Eraser Tool allows for the removal of portions of paths or shapes, making it a valuable tool for editing and refining artwork.
Each tool is optimized for use with the iPad\"s touch interface and the Apple Pencil, offering a natural and intuitive drawing experience. Familiarize yourself with these tools to unlock your creative potential in Adobe Illustrator on the iPad.
Creating and Editing Shapes and Text
In Adobe Illustrator on the iPad, creating and editing shapes and text is a fluid and intuitive process. This section will guide you through the essential steps to master these foundational skills.
- Creating Basic Shapes: Start by selecting the Shape tool to draw basic geometric forms like rectangles, circles, and polygons. You can easily adjust their size and proportions directly on the canvas.
- Custom Shapes with the Pen Tool: For more complex shapes, use the Pen tool to draw custom paths. This tool is perfect for creating unique designs and intricate details.
- Editing Shapes: Modify your shapes using the Direct Selection tool. This allows for precise adjustments to the shape\"s anchor points and curves, enabling fine-tuning of your design.
- Working with Text: Add text to your designs by selecting the Text tool. Illustrator on iPad offers robust text editing capabilities, allowing you to adjust font, size, color, and alignment.
- Text on Path: Create dynamic text effects by placing your text along a custom path. This feature adds a creative twist to your typography, making it follow curves or shapes.
- Combining Shapes: Utilize the Pathfinder tool to combine basic shapes into more complex designs. This tool is essential for crafting intricate graphics and logos.
These tools and techniques provide a solid foundation for creating and editing shapes and text in Illustrator on the iPad, giving you the flexibility to bring any design idea to life.
_HOOK_
Effective Use of Layers and Groups for Organization
Adobe Illustrator on the iPad offers robust features for organizing your artwork using layers and groups, essential for managing complex designs. This section will guide you on how to effectively use these features for better organization and workflow.
- Understanding Layers: Layers in Illustrator act like transparent sheets stacked on top of each other. Each element of your design can be placed on different layers, allowing you to separate and manage various parts of your artwork easily.
- Creating and Managing Layers: You can create new layers, rename them for clarity, and rearrange their order. This organization is crucial for complex illustrations, where different elements need to be isolated or locked for editing.
- Using Groups: Grouping allows you to combine multiple objects, so they can be moved and transformed as a single entity. This is especially useful for keeping related elements together, such as parts of a character or a logo.
- Editing Within Groups: Even after grouping objects, you can still edit individual elements within a group. This feature maintains the integrity of the group while allowing flexibility in editing.
- Layer and Group Visibility: Control the visibility of layers and groups to focus on specific parts of your design. This is helpful when working on detailed sections of your illustration without distraction from other elements.
- Organizing for Efficiency: Well-organized layers and groups not only keep your workspace tidy but also enhance your efficiency, allowing you to quickly find and edit elements of your design.
By mastering layers and groups in Illustrator on the iPad, you enhance your ability to create complex, organized, and easily editable designs.
Exploring Advanced Drawing Techniques
Delve into the advanced drawing capabilities of Adobe Illustrator on the iPad, which offers a range of sophisticated techniques to elevate your artwork. This guide will walk you through some of these advanced methods, enhancing your skills and creativity.
- Advanced Pen Tool Use: The Pen tool is a staple in Illustrator, allowing for intricate path creation. Learn to tap and drag to create smooth points and adjust bezier handles directly for precise control over your paths.
- Refined Brush Techniques: Explore the various brush options, including the Blob Brush and Paint Brush tools. These tools offer diverse stroke styles and textures, perfect for adding a unique touch to your designs.
- Direct Selection Tool Mastery: Gain expertise in using the Direct Selection tool for detailed editing. This tool is crucial for fine-tuning anchor points and adjusting path segments for perfect shapes and curves.
- Utilizing Touch Shortcuts: Illustrator on the iPad incorporates touch shortcuts for enhanced workflow. Learn these shortcuts to speed up your design process and improve efficiency.
- Creating Complex Shapes: Combine basic shapes and paths to create more complex and detailed designs. Use tools like Shape Builder for merging shapes and Pathfinder for more intricate combinations.
- Experimenting with Effects: Explore Illustrator\"s array of effects to add depth and flair to your artwork. From drop shadows to glows and color blends, these effects can transform simple illustrations into vibrant, eye-catching pieces.
By mastering these advanced drawing techniques in Adobe Illustrator on the iPad, you\"ll unlock a new realm of creative possibilities, pushing the boundaries of digital art.
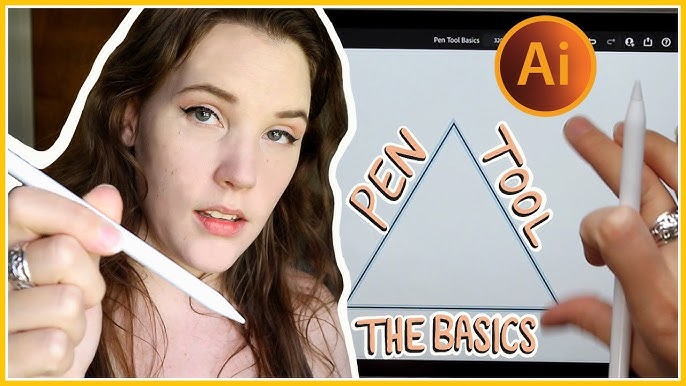
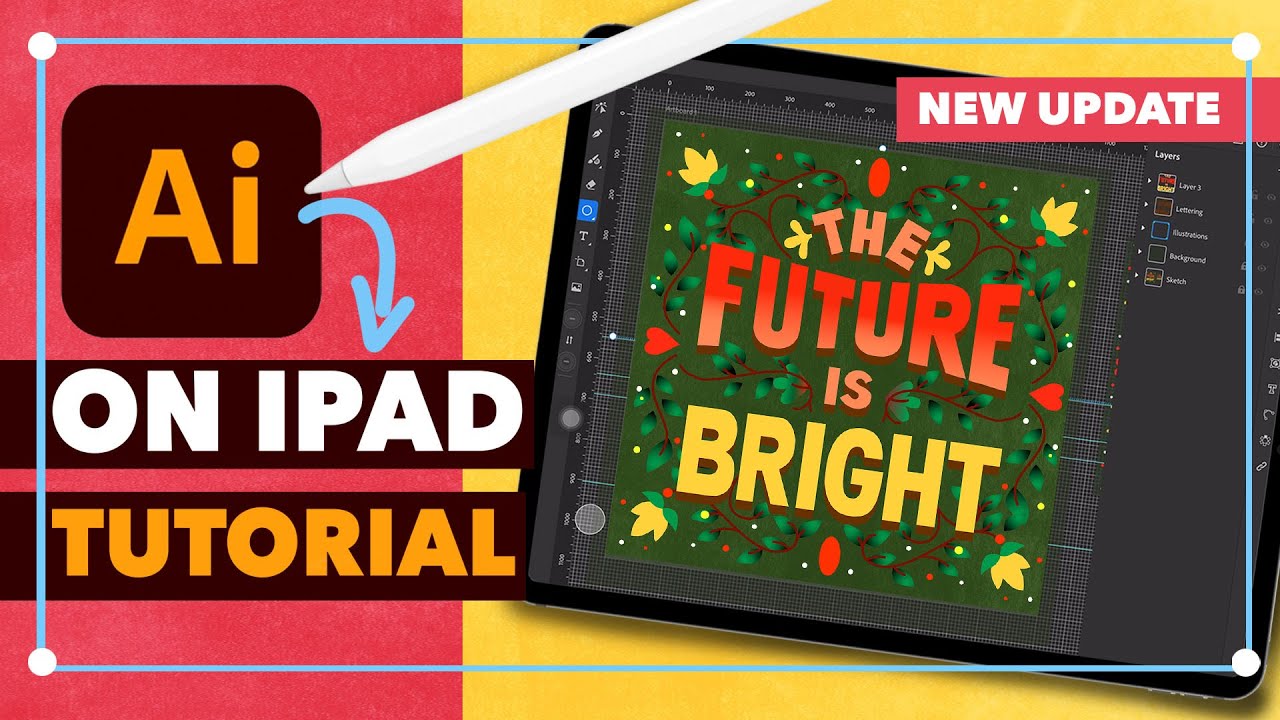
Using Illustrator on iPad
Discover the limitless possibilities of creating stunning designs with Illustrator! Watch our video tutorial to learn how to master the powerful tools and techniques that will take your illustrations to new heights of creativity and professionalism.
Illustrator on iPad Tutorial - The Definitive App Guide
Whether you\'re a beginner or an experienced designer, our step-by-step tutorial will guide you through the ins and outs of Illustrator. Learn essential tips and tricks that will enhance your skills and help you create visually captivating artwork. Don\'t miss out on this opportunity to become an Illustrator expert!
Typography: Adding Flair to Text
Adobe Illustrator on the iPad provides an impressive array of tools and features to enhance typography, enabling you to add a unique flair to your text. This section will guide you through some advanced techniques to make your text stand out.
- Using Different Fonts and Styles: Explore a variety of fonts available in Illustrator. You can experiment with different styles, weights, and sizes to find the perfect match for your design.
- Creating Text Effects: Use Illustrator\"s tools to create special text effects like drop shadows, glows, and color gradients. These effects can add depth and visual interest to your typography.
- Text on a Path: Go beyond traditional layouts by placing your text along a path. This is ideal for creating curved or circular text, adding a dynamic element to your design.
- Masking with Text: Use text as a mask to create interesting visuals. You can fill text with images or patterns for a unique look.
- Animating Text: While animation is not native to Illustrator on the iPad, you can create animated text effects by integrating with other Adobe apps like Photoshop or After Effects.
- Lettering Tips: For custom lettering, use the Pen and Brush tools to hand-draw letters, giving them a personal and artistic touch.
These techniques will help you enhance your typography skills in Adobe Illustrator on the iPad, allowing you to create text that is not only readable but also visually captivating.

Color Management and Printing Techniques
Adobe Illustrator on the iPad provides effective tools for color management and printing, ensuring your designs translate seamlessly from screen to print. Let\"s delve into these techniques to ensure your artwork looks as intended in its final form.
- Understanding Color Profiles: Familiarize yourself with color profiles like RGB and CMYK. Use RGB for digital work and CMYK for designs intended for printing to ensure color accuracy.
- Adjusting Colors: Utilize Illustrator\"s color adjustment tools to fine-tune hues, saturation, and brightness. This step is crucial to ensure your colors are consistent across different devices and mediums.
- Working with Swatches: Make use of the Swatches panel to create and manage color palettes, ensuring a cohesive color scheme throughout your design.
- Preparing for Printing: When preparing to print, check your document setup. Ensure the document size matches the print specifications and add necessary bleed and crop marks.
- Exporting Files for Print: Export your artwork in a print-ready format, typically PDF. Adjust settings like DPI (dots per inch) and color profiles in the export options to match printer requirements.
- Print Testing: Before final printing, conduct test prints to check for color accuracy and overall print quality. This step can save time and resources by identifying any issues early on.
By effectively managing colors and understanding printing requirements, you can achieve high-quality prints that reflect your artistic vision in Adobe Illustrator on the iPad.
Automating Tasks with Scripts and Actions
Automating tasks in Adobe Illustrator on the iPad can significantly enhance your productivity by streamlining repetitive tasks. While the iPad version of Illustrator doesn\"t support traditional scripts and actions like the desktop version, there are still ways to optimize your workflow.
- Use of Touch Shortcuts: Learn to use touch shortcuts and gestures effectively. These can help you perform tasks more quickly and efficiently, similar to how actions work on the desktop version.
- Data Merge with Variables Panel: Utilize the Variables panel for tasks like data-driven graphics, where you can automate the creation of multiple versions of an artwork by changing text or images based on a data source.
- Integration with Other Apps: For more complex automation, consider integrating Illustrator with other apps in the Adobe suite. For example, you can use Adobe XD for automating UI/UX design processes or Photoshop for batch processing images.
- Utilizing Creative Cloud Libraries: By using Creative Cloud Libraries, you can streamline your workflow by having quick access to frequently used graphics, colors, and text styles.
- Exporting and Batch Processing: While direct scripting might not be available, you can still use features like batch export to save time. This feature allows you to export multiple assets at once, saving time and effort.
While the iPad version of Illustrator has limitations compared to the desktop version regarding scripting and actions, these tips can help you work more efficiently and automate parts of your design process.
_HOOK_
READ MORE:
Troubleshooting Common Issues in Illustrator on iPad
Adobe Illustrator on the iPad is a powerful tool, but like any software, it may encounter issues. This section covers common problems users might face and provides practical solutions to resolve them efficiently.
- Crash Issues: If Illustrator crashes, first ensure your iPad\"s operating system and Illustrator app are up to date. Restarting the app or your device can often resolve these issues.
- File Recovery: In case of a crash, Illustrator on iPad offers options to recover unsaved files. Check the home screen for any recovered files after restarting the app.
- File Compatibility: When working with files across different platforms, ensure the file formats are compatible with the iPad version of Illustrator. Some complex files created on the desktop version may not open correctly on the iPad.
- GPU and Device Driver Issues: Ensure your iPad\"s firmware is updated. Outdated firmware can cause issues with Illustrator\"s performance, especially regarding rendering and GPU-intensive tasks.
- Wacom and Stylus Issues: For users employing external styluses like Wacom, ensure they are compatible with your iPad model and that their firmware is up to date.
- Memory and Performance Issues: If Illustrator is running slowly, try closing other apps to free up memory. Also, regularly clear your iPad\"s cache and restart it to maintain optimal performance.
For more specific troubleshooting related to your issues, the Adobe support community and help documents are excellent resources to consult. They provide detailed solutions and user discussions that can help resolve unique problems.
Embrace the creative journey with Adobe Illustrator on iPad, where your artistry meets cutting-edge technology. Explore, learn, and create with confidence, unlocking endless possibilities in the world of digital design. Start your Illustrator adventure today!