Topic how to animate lego in blender: Discover the magic of bringing LEGO to life with Blender in this comprehensive guide. Learn step-by-step how to model, animate, and render your favorite LEGO creations, transforming them into stunning animations. Start your creative journey today!
Table of Content
- How can I animate Lego in Blender?
- Setting Up Blender for LEGO Animation
- Modeling LEGO Bricks and Minifigures
- Importing LEGO Models into Blender
- Texturing and Material Setup for LEGO
- Rigging LEGO Minifigures for Animation
- Animating LEGO Characters and Objects
- YOUTUBE: How to Make a Lego Animation in Blender Part 1 - Models (2023 Updated)
- Using Blender\"s Physics Engine with LEGO
- Rendering and Compositing LEGO Animations
- Advanced Techniques: Custom LEGO Creations
- Resources and Plugins for LEGO Animation in Blender
How can I animate Lego in Blender?
To animate LEGO in Blender, you can follow the steps below:
- Start by downloading and installing the latest version of Blender from the official website.
- Create a new project in Blender by selecting \"File\" > \"New\" > \"General\".
- Import the LEGO model that you want to animate. You can either download pre-made LEGO models from online repositories or create your own using Blender\'s modeling tools.
- Once your LEGO model is imported, position it in the desired starting pose for your animation.
- To set up the animation, go to the \"Timeline\" editor in Blender. If it\'s not already open, you can open it by selecting \"Window\" > \"Timeline\" from the top menu.
- In the \"Timeline\" editor, you can set the start and end frames for your animation. You can also set the frame rate and other animation settings.
- With the timeline set up, you can now start animating your LEGO model. Select the LEGO model in the 3D viewport and switch to \"Pose Mode\" by selecting the \"Pose Mode\" option from the mode selection drop-down menu in the bottom center of the Blender interface.
- Use Blender\'s keyframe animation system to set different poses for your LEGO model at different frames. You can move the LEGO model\'s limbs, change its facial expressions, or make any other modifications to create the desired animation.
- As you set different poses, Blender will automatically create keyframes for the corresponding frames of your animation.
- Continue setting poses and keyframes to create the complete animation sequence for your LEGO model.
- Once you have finished animating, you can play back the animation in the \"Timeline\" editor to preview the result.
- Finally, you can render the animation by selecting \"Render\" > \"Render Animation\" from the top menu. You can customize the rendering settings and output format as per your requirements.
By following these steps, you should be able to animate your LEGO model in Blender.
READ MORE:
Setting Up Blender for LEGO Animation
Before diving into the world of LEGO animation with Blender, ensuring your setup is optimized is crucial for a smooth and efficient workflow. Follow these steps to get started:
- Download and Install Blender: Ensure you have the latest version of Blender installed. Visit the official Blender website to download it for free.
- Choose Your Workspace: Blender offers different workspaces for various tasks. For LEGO animation, the \"Animation\" workspace is a good starting point.
- Import LEGO Models: You can create your own LEGO models or find ready-made models online. Import these models into Blender for animation.
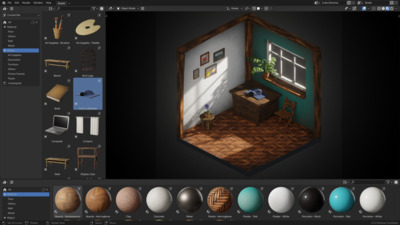
- Set Up Your Scene: Before animating, position your LEGO models within the Blender scene. Adjust the lighting and camera angle to suit your animation\"s needs.
- Customize Preferences: Go to the \"Edit\" menu, then \"Preferences\". Under the \"Add-ons\" tab, enable any plugins relevant to LEGO or animation to enhance your workflow.
With these initial steps, you\"ve laid the groundwork for creating captivating LEGO animations in Blender. Next, we\"ll explore modeling LEGO bricks and minifigures to bring your ideas to life.

Modeling LEGO Bricks and Minifigures
Creating realistic LEGO bricks and minifigures is a fundamental step in LEGO animation with Blender. This section guides you through modeling these essential elements for your animation projects.
- Understanding LEGO Dimensions: Start by researching the standard dimensions of LEGO bricks and minifigures to maintain accuracy in your models.
- Starting with Basic Shapes: Use Blender\"s basic shapes to start modeling. For bricks, cubes can be modified with extrusions and loop cuts to create the iconic LEGO studs.
- Adding Details to Minifigures: For minifigures, begin with a basic human shape and refine it to match the characteristic LEGO proportions. Use separate objects for movable parts like arms and legs to facilitate animation.
- Using Modifiers: Take advantage of Blender\"s modifiers, such as \"Mirror\" for symmetrical parts and \"Subdivision Surface\" to smooth out the models.
- Applying Materials: Assign materials to your LEGO models to mimic the plastic look. Utilize Blender\"s shading options to get the right color and glossiness.
- Creating Custom LEGO Pieces: For unique pieces, sketch out the design first, then model it by starting with the closest basic shape and modifying it to match your sketch.
By following these steps, you\"ll be able to create detailed and accurate LEGO bricks and minifigures that are ready for animation. The next step involves bringing these models to life through rigging and animation.
Importing LEGO Models into Blender
Once you have your LEGO bricks and minifigures modeled, or if you\"ve sourced them from online libraries, the next step is importing these models into Blender for animation. This process is straightforward and essential for beginning your LEGO animation project.
- Prepare Your Models: Ensure your LEGO models are saved in a format compatible with Blender, such as .obj or .fbx. This preparation is crucial for a seamless import process.
- Using Blender\"s Import Feature: Go to File > Import and select the appropriate file type for your models. Navigate to the location of your LEGO model files, select them, and click \"Import\".
- Adjusting the Scale: LEGO models imported from external sources may not have the correct scale. Select your model, press \"S\" to scale, and adjust it to match the Blender grid or other objects in your scene.
- Positioning Your Models: With your LEGO models imported, you can now position them within your scene. Use the \"G\" key to grab and move your models, and the \"R\" key to rotate them as needed.
- Checking for Errors: After importing, inspect your models for any missing parts or texture issues. This step ensures that your LEGO models are ready for the next phases of animation.
With your LEGO models successfully imported into Blender, you\"re now set to move onto texturing, rigging, and animating your creations, bringing your LEGO stories to life.

Texturing and Material Setup for LEGO
After importing your LEGO models into Blender, the next step is to apply textures and materials to give them a lifelike appearance. This section covers the process of creating realistic LEGO textures and materials in Blender.
- Selecting Your Material: Start by selecting your LEGO model and going to the Material Properties tab. Click \"New\" to create a new material.
- Configuring the Base Color: LEGO bricks have vibrant colors. Set the Base Color to match the LEGO piece\"s color. Use reference images for accuracy.
- Adjusting the Specular: LEGO bricks have a slight shine. Increase the Specular value to simulate this effect, giving your bricks a realistic plastic look.
- Setting the Roughness: Adjust the Roughness value to control the shininess of the surface. A lower value will make the LEGO brick appear glossier.
- Creating Custom Textures: For detailed models or to add decals, you can create or import custom textures. Use Blender\"s UV Editing workspace to map these textures onto your LEGO models.
- Using Normal Maps for Detail: To add extra details without increasing the model complexity, consider using Normal Maps. This can simulate the look of smaller indentations and textures on the LEGO surface.
- Previewing and Adjusting: Continuously preview your material settings under different lighting conditions. Adjust the settings as needed to achieve the most realistic look.
With these steps, your LEGO models will have a realistic appearance, ready for animation. Texturing and material setup is a crucial phase in LEGO animation, as it adds depth and realism to your scenes.
_HOOK_
Rigging LEGO Minifigures for Animation
Rigging is a crucial step in animating LEGO minifigures in Blender, allowing you to create realistic movements. Follow these steps to rig your LEGO minifigures for animation.
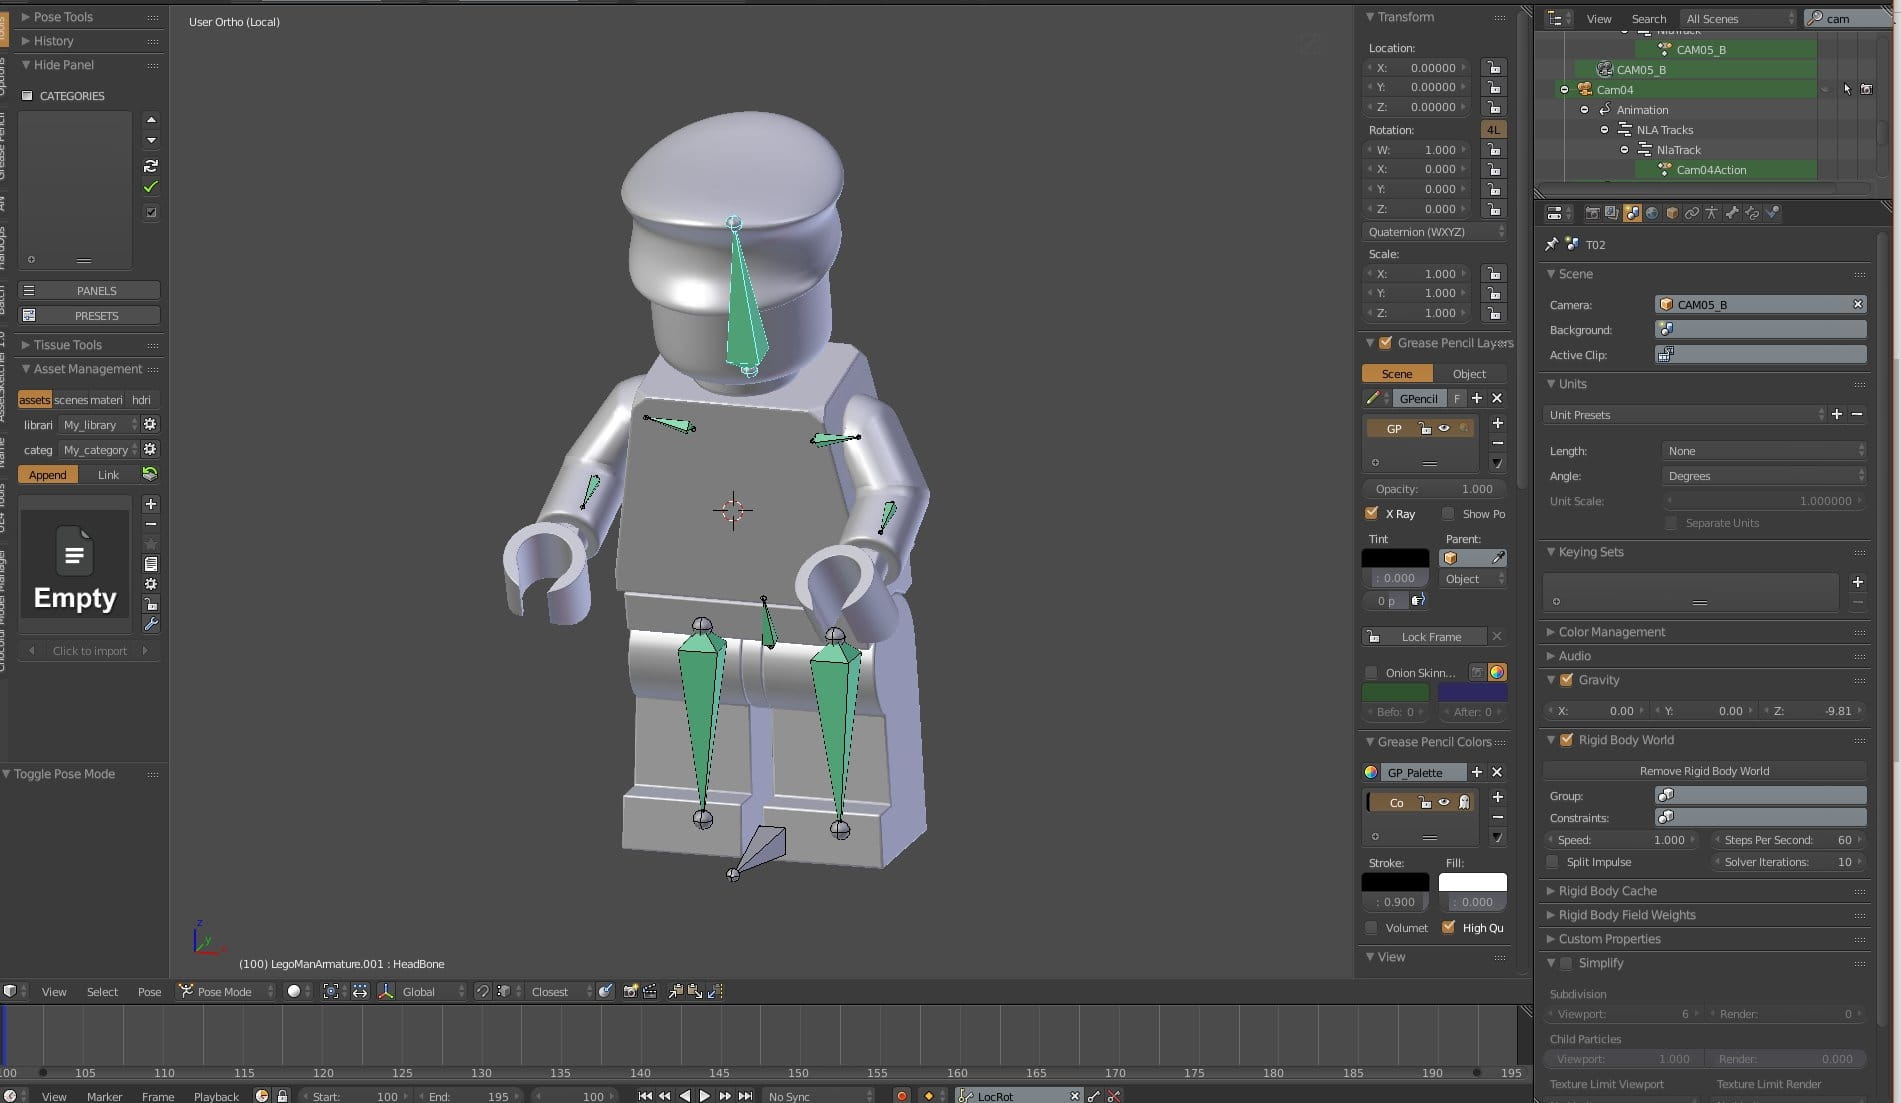
- Creating the Armature: Start by adding an armature to your scene. This serves as the skeleton for your minifigure. Place bones for each movable part: legs, arms, hands, head, and torso.
- Adjusting Bone Placement: Position the bones to match the joints of the LEGO minifigure. Ensure each bone aligns with the corresponding part of the model for accurate animation.
- Parenting the Mesh to the Armature: With the armature in place, select your LEGO minifigure model, then shift-select the armature, and use Ctrl+P to parent the mesh to the armature. Choose \"With Automatic Weights\" for initial skinning.
- Weight Painting: Enter Weight Paint mode to adjust the influence each bone has on the mesh. This step is crucial for ensuring natural movements of the minifigure parts.
- Adding Constraints: For parts that require specific movement limits (like the hinge movement of an arm), add constraints to the bones in the armature settings.
- Testing the Rig: Before proceeding to animation, test the rig by posing the minifigure. Adjust any bones or weights as needed to ensure smooth and realistic movement.
With your LEGO minifigure now rigged, you\"re ready to bring it to life through animation. Rigging is a meticulous process that, when done correctly, greatly enhances the realism and dynamic capabilities of your LEGO animation projects.

Animating LEGO Characters and Objects
Animating LEGO characters and objects in Blender brings your creations to life. This section guides you through the animation process, from simple movements to complex scenes.
- Understanding Keyframes: Keyframes are the cornerstone of animation in Blender. Start by moving your character or object to the starting position and insert a keyframe (press \"I\" and choose \"LocRotScale\").
- Creating Movement: Move the timeline to a different frame, reposition or rotate your character or object for the next movement, and insert another keyframe. Blender will interpolate the motion between these keyframes.
- Adjusting Animation Speed: To speed up or slow down the animation, adjust the distance between keyframes on the timeline. Closer keyframes create faster movements, while spaced-out keyframes slow down the action.
- Using the Graph Editor: For more control over the animation curves and to smooth out movements, use the Graph Editor. This tool allows you to fine-tune the acceleration and deceleration of your animations.
- Adding Secondary Actions: Enhance realism by adding secondary actions, like a minifigure\"s head turning or arms swinging while walking. These small details contribute significantly to the lifelike quality of the animation.
- Looping Animations: For repetitive actions, like walking, create a loop by copying the keyframes at the start of the sequence and pasting them at the end. Adjust as necessary for a seamless loop.
- Animating Facial Expressions: For minifigures with changeable faces, switch between different facial textures or models at key moments to convey emotions and reactions.
Through careful keyframe placement and attention to detail, you can animate LEGO characters and objects in Blender with dynamic and engaging movements. The possibilities are limited only by your imagination.

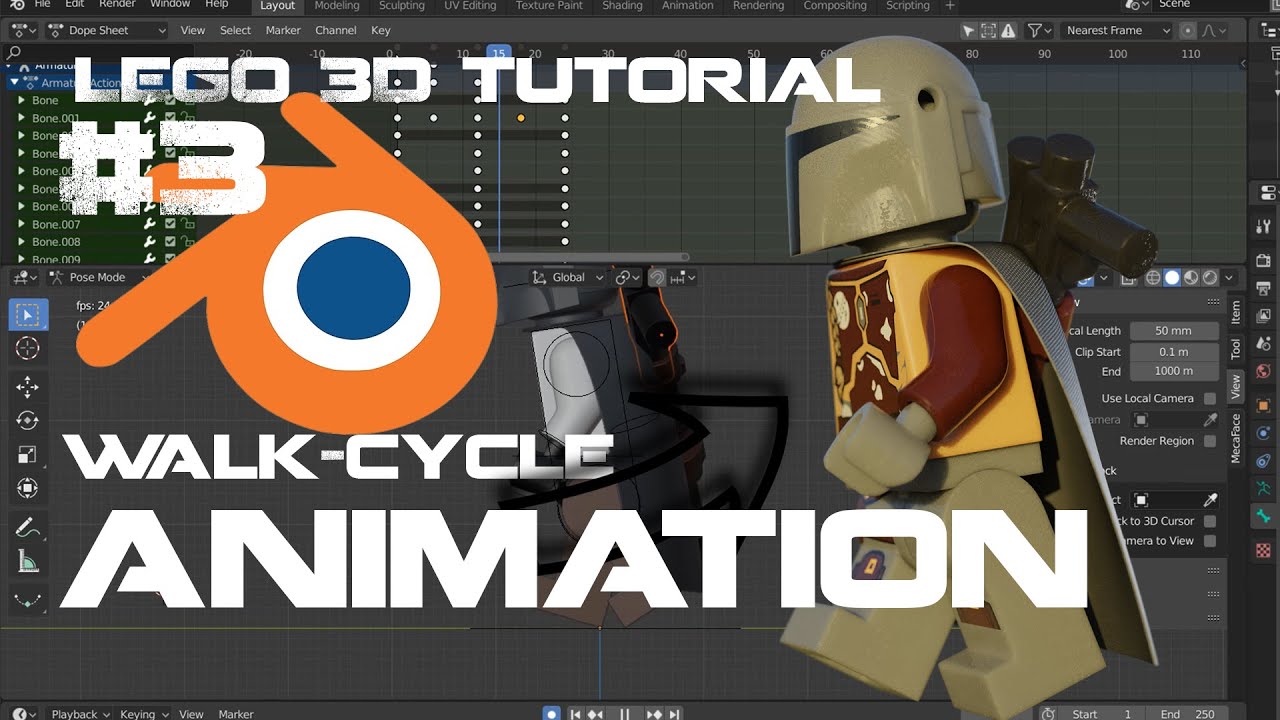
How to Make a Lego Animation in Blender Part 1 - Models (2023 Updated)
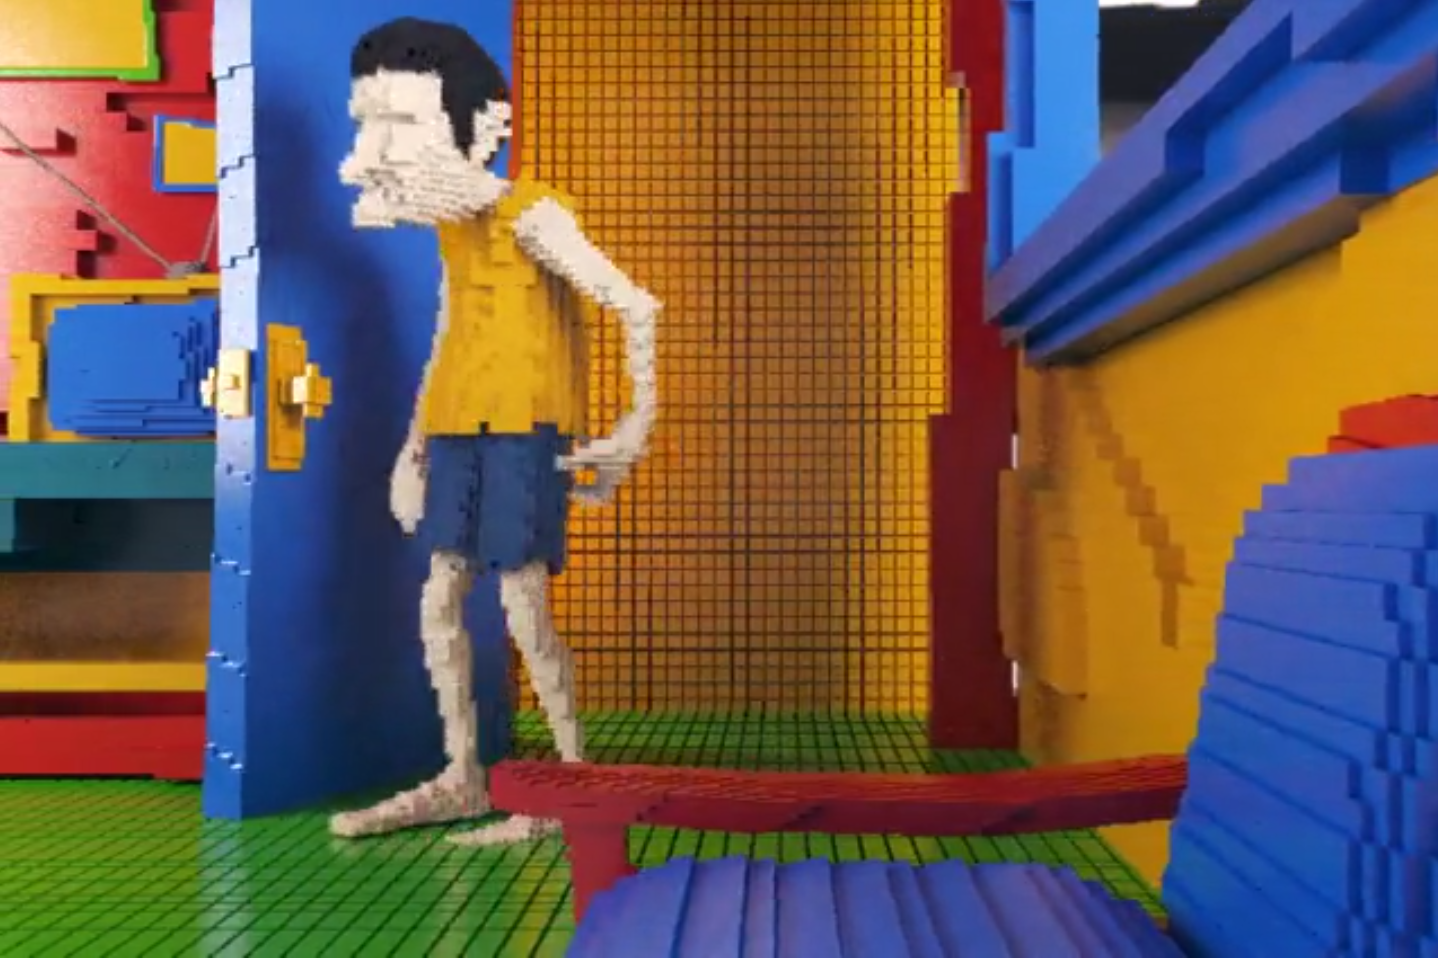
Animation: Immerse yourself in a magical world of animation with stunning visuals and captivating storytelling. This video will transport you to a different reality and leave you in awe of the creative possibilities of animation. Don\'t miss out on this enchanting experience!
Lego Animation in Blender: Easier Than You Think!
Easier: Discover the secret to making your life easier with this informative video. Find out ingenious hacks and time-saving tips that will simplify your daily routines. Say goodbye to stress and hello to a more convenient and efficient lifestyle. Watch now and unlock the key to an easier life!
Using Blender\"s Physics Engine with LEGO
Incorporating Blender\"s physics engine into your LEGO animations can add a level of realism and complexity that brings your scenes to life. This section explores how to utilize physics simulations with LEGO models.
- Setting Up Rigid Body Physics: Select your LEGO model and in the Physics Properties tab, choose \"Rigid Body\". This makes your model subject to gravity and collisions. Adjust mass and friction parameters based on the size and material of your LEGO piece.
- Creating Collisions: To make your LEGO models interact, ensure that both the moving object and the object it collides with have the \"Rigid Body\" physics property enabled. Tweak the collision shape for complex models for better accuracy.
- Simulating Gravity: Use Blender\"s gravity settings to simulate realistic falls or jumps. This can be particularly effective for scenes where LEGO characters or objects are dropping, jumping, or being thrown.
- Applying Force Fields: For dynamic effects like explosions or wind, add force fields to your scene. These can affect your LEGO models in various ways, depending on their settings and strengths.
- Using Constraints for Complex Simulations: Rigid Body Constraints allow you to limit the movements between two objects, useful for creating hinged doors or movable arms that stay connected to your LEGO models.
- Previewing and Baking the Simulation: Always preview your physics simulation by playing the animation. Once satisfied, bake the simulation to lock in the physics interactions for rendering.
By leveraging Blender\"s physics engine, you can add an extra dimension of interactivity and realism to your LEGO animations, from simple collisions to elaborate, physics-based sequences.
Rendering and Compositing LEGO Animations
The final step in creating LEGO animations in Blender is rendering and compositing. This process transforms your animated scenes into high-quality videos or images. Follow these steps to effectively render and composite your LEGO animations.
- Choosing the Right Render Engine: Blender offers different render engines, such as Eevee for real-time rendering and Cycles for photorealistic results. Choose the one that best suits your project\"s needs.
- Setting Up the Render Properties: Adjust the render properties, including resolution, frame rate, and sampling. Higher samples in Cycles produce better quality but take longer to render.
- Applying Lighting Effects: Good lighting is crucial for making your LEGO animations look professional. Use three-point lighting for a balanced scene or HDRI lighting for realistic environments.
- Using Cameras Wisely: Position your camera strategically to capture the best angles of your animation. Consider using camera movements to add dynamism to your shots.
- Rendering the Animation: Once everything is set up, go to Render > Render Animation or press Ctrl+F12 to start rendering your animation. Ensure you have enough storage space for the rendered frames.
- Compositing for Final Touches: Use Blender\"s Compositing tab to enhance your rendered animation. You can adjust color grading, add effects like blurs or glows, and integrate background elements or images.
- Exporting Your Animation: After compositing, export your animation in your desired format. Common formats include MP4 for videos or PNG sequences for high-quality frame-by-frame control.
Rendering and compositing are where your LEGO animation project comes together, culminating in a polished, professional-looking final product. By carefully following these steps, you can achieve stunning results that bring your LEGO stories to life.

Advanced Techniques: Custom LEGO Creations
For those looking to push the boundaries of LEGO animation in Blender, exploring advanced techniques for custom creations can open up a world of possibilities. This section delves into sophisticated methods to enhance your LEGO animations with unique, custom elements.
- Custom Modeling for Unique Pieces: While a vast library of LEGO pieces exists, sometimes your vision requires something unique. Use Blender’s modeling tools to create custom bricks or elements not found in standard sets.
- Texture Painting for Detailed Surfaces: For pieces that require intricate designs or decals, texture painting allows you to apply detailed graphics directly onto your LEGO models, giving them a personalized touch.
- Sculpting for Organic Shapes: To create organic or worn LEGO pieces, the sculpting tools in Blender can add texture and realism, making your scenes more dynamic and lifelike.
- Animation Nodes for Complex Movements: Use Blender\"s Animation Nodes add-on for procedural animations. This is particularly useful for creating complex or repetitive movements that are difficult to animate manually.
- Python Scripting for Custom Effects: For those with coding knowledge, Python scripting in Blender can automate tasks, create custom animation effects, or generate unique LEGO pieces programmatically.
- Integrating Real-World Physics Simulations: Beyond basic physics, explore advanced simulations for effects like water, fire, and destruction within your LEGO animations for added realism and impact.
- Using Blender’s Video Sequence Editor: For complex storytelling, combine your LEGO animations with live-action footage or other 3D elements using the Video Sequence Editor for a mixed media masterpiece.
By mastering these advanced techniques, you can elevate your LEGO animations from simple constructions to intricate, captivating creations that stand out. The only limit is your imagination and willingness to experiment.
_HOOK_
READ MORE:
Resources and Plugins for LEGO Animation in Blender
Finding the right resources and plugins can significantly enhance your LEGO animation projects in Blender. Whether you\"re looking for models, textures, or tools to streamline your workflow, here\"s a list of valuable assets to consider.
- LEGO Model Libraries: Websites like Mecabricks offer extensive libraries of LEGO bricks and minifigures in formats compatible with Blender, saving you time on modeling.
- Blender Add-ons for LEGO: Look for Blender plugins specifically designed for LEGO animations. These can automate the rigging process, offer custom brick building tools, or improve the import/export of LEGO models.
- Texture and Material Packs: Enhance your LEGO models with high-quality textures and materials found on Blender communities and marketplaces. These can add realism to your creations.
- Animation Tools: Explore add-ons that offer advanced animation features like auto-rigging, motion capture integration, or procedural animation to bring your LEGO characters to life.
- Tutorial Websites and YouTube Channels: Many experienced animators share their knowledge online. Look for tutorials specific to LEGO animation in Blender to learn new techniques and tips.
- Forums and Online Communities: Join Blender and LEGO animation communities to ask questions, share your work, and connect with other enthusiasts. Feedback and collaboration can inspire new ideas and improve your skills.
- Scripting and Automation Tools: For those comfortable with scripting, Python scripts can automate tedious tasks, create custom modifiers, or generate unique animations within Blender.
By leveraging these resources and plugins, you can streamline your LEGO animation process in Blender, allowing you to focus more on creativity and storytelling.
Embark on a creative adventure with LEGO animation in Blender, where your imagination can run wild. These steps and resources equip you to craft incredible animations, bringing your LEGO stories to vivid life. Start animating today!