Topic adobe illustrator insert image: Discover the seamless process of inserting images into Adobe Illustrator, a must-know technique for designers aiming to enrich their creative projects with visual depth and complexity.
Table of Content
- How can I insert an image in Adobe Illustrator?
- 1. Overview of Inserting Images into Adobe Illustrator
- 2. How to Use the Place Command to Insert Images
- 3. Copying and Pasting Images Directly into Illustrator
- 4. Understanding Linked vs. Embedded Images
- 5. Resizing and Adjusting Images After Insertion
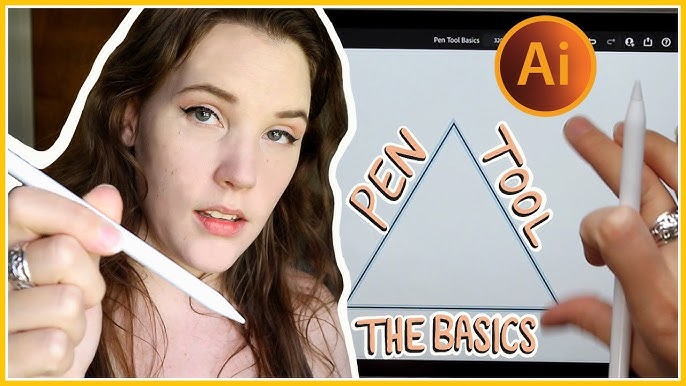
- YOUTUBE: - Inserting Images in Adobe Illustrator: A Beginner\'s Tutorial - Step-by-step Guide: Adding Images to Adobe Illustrator for Beginners - Beginners\' Tutorial: How to Insert Images in Adobe Illustrator - Adobe Illustrator Tutorial: Inserting Images for Beginners - Easy Image Insertion in Adobe Illustrator: A Beginner\'s Guide
- 6. Working with Image Formats and Compatibility
- 7. Using the Links Panel to Manage Inserted Images
- 8. Tips for Organizing and Layering Images
- 9. Advanced Techniques: Masking and Clipping Images
- 10. Best Practices for High-Quality Image Output
How can I insert an image in Adobe Illustrator?
To insert an image in Adobe Illustrator, you can follow these steps:
- Open the Adobe Illustrator software on your computer.
- Open the Illustrator document in which you want to insert the image.
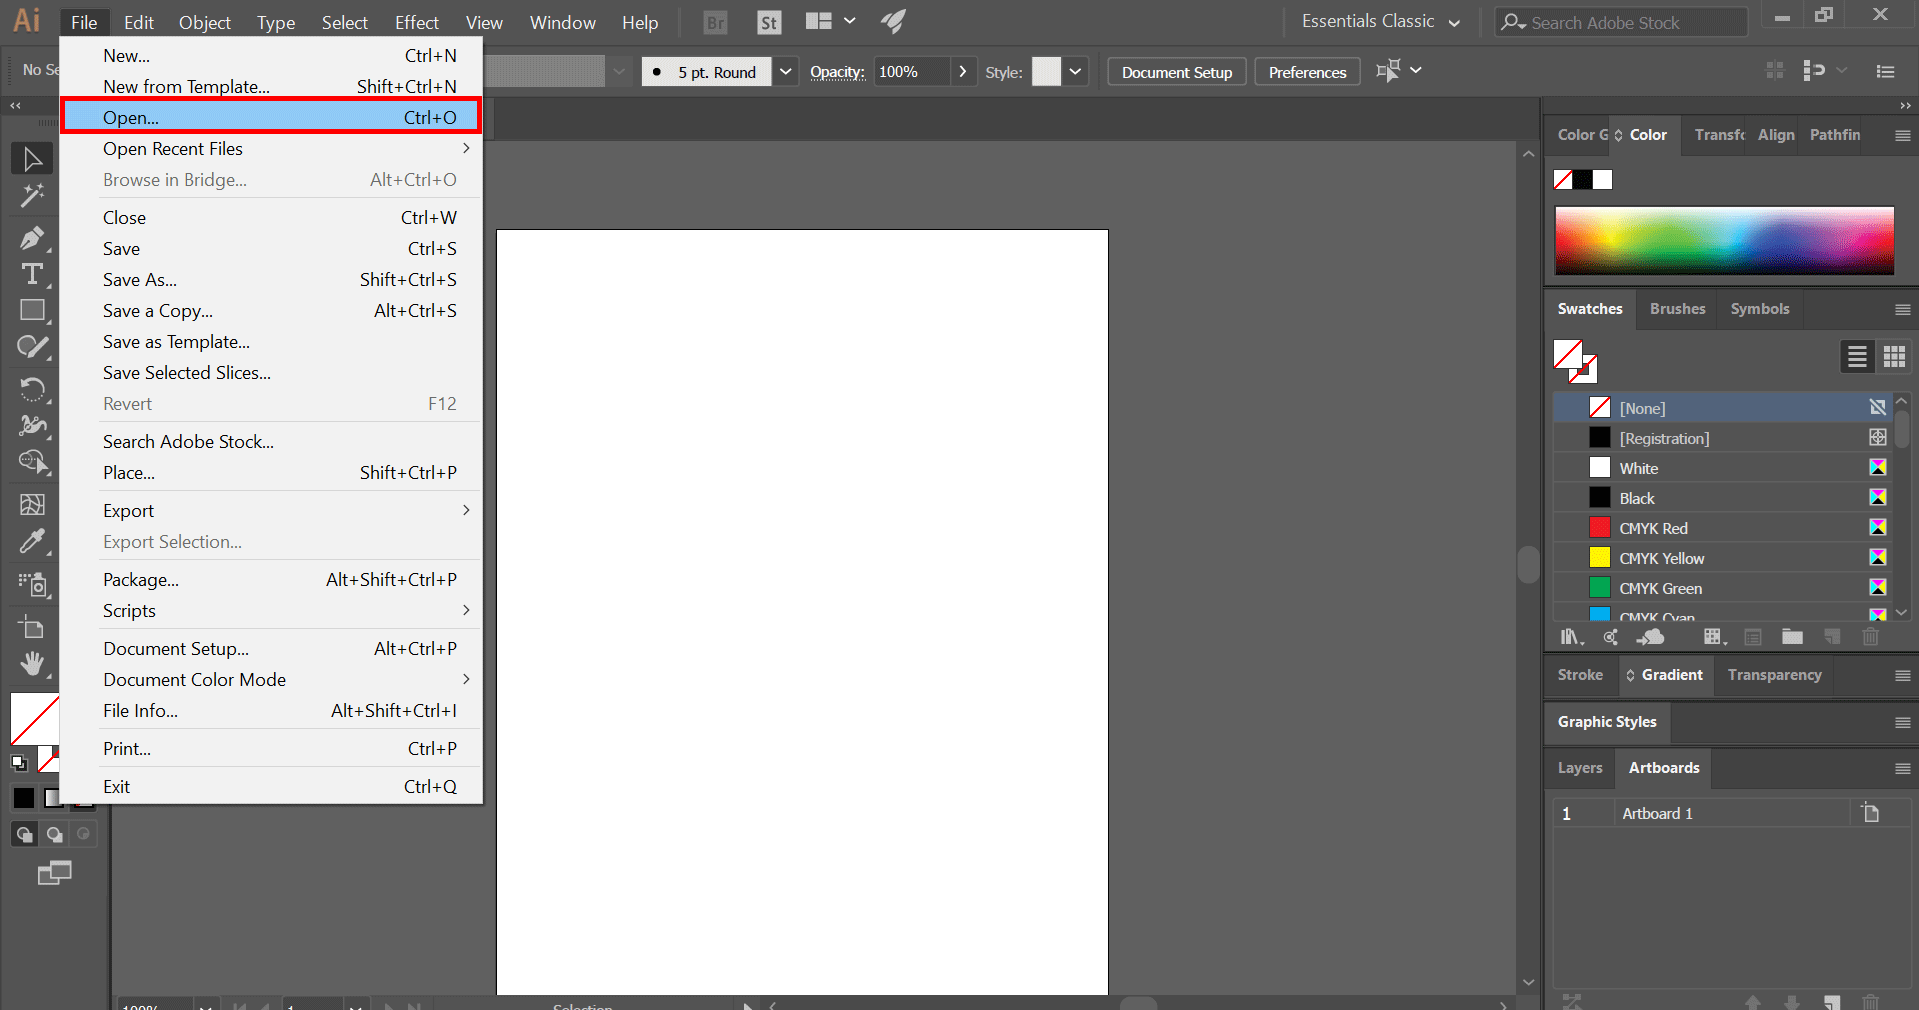
- Click on the \"File\" menu in the menu bar at the top of the screen.
- In the dropdown menu, select \"Place\" or \"Place Embedded\" (depending on your version of Illustrator).
- A file dialog box will appear, allowing you to browse and select the image file you want to insert.
- Select the image file and click \"Place\" or \"Open\".
- Click on the area of the document where you want to position the image.
- You can resize the image by clicking and dragging its edges or corners. Hold the Shift key while resizing to maintain the image\'s aspect ratio.
- Press Enter or Return on your keyboard to finalize the placement of the image.
That\'s it! You have successfully inserted an image in Adobe Illustrator.

READ MORE:
1. Overview of Inserting Images into Adobe Illustrator
Inserting images into Adobe Illustrator is a fundamental skill for graphic designers and illustrators, enabling the enhancement of vector designs with photographic elements. This process, known as \"placing images\", is versatile, allowing for both linked and embedded options depending on your project\"s needs.
To begin, Adobe Illustrator offers a straightforward mechanism for incorporating images into your artwork, which can significantly expand your creative possibilities. Whether you\"re working on a logo, a flyer, or a complex illustration, adding images can provide depth, context, and visual interest.
- Placing Images: Using the \"File > Place\" command, you can insert an image into your current document. This approach gives you the choice to link or embed the image directly within the Illustrator file.
- Copy and Paste: For simpler tasks, images can be copied from another source and pasted directly into Illustrator. This method is quick but less flexible compared to the Place command.
- Drag and Drop: Illustrator also supports dragging images from your desktop or a folder directly onto the artboard, offering a user-friendly way to add visual elements to your designs.
Each method has its own benefits, depending on the project\"s requirements. Linked images keep your Illustrator file size smaller and allow for easy updates, while embedded images ensure that everything is contained within a single file, making it more portable and straightforward to share.
Understanding the nuances of each option will help you make the best choice for your design needs, ensuring that your work remains both high-quality and efficient.
2. How to Use the Place Command to Insert Images
The Place command in Adobe Illustrator is a powerful feature that allows designers to insert images into their projects efficiently. This method is preferred for its flexibility in managing both linked and embedded images within Illustrator documents. Follow these detailed steps to utilize the Place command effectively:
- Open or Create a New Document: Begin by opening your existing project or creating a new document in Adobe Illustrator.
- Access the Place Command: Navigate to the top menu and select File > Place. This action opens a file browser window.
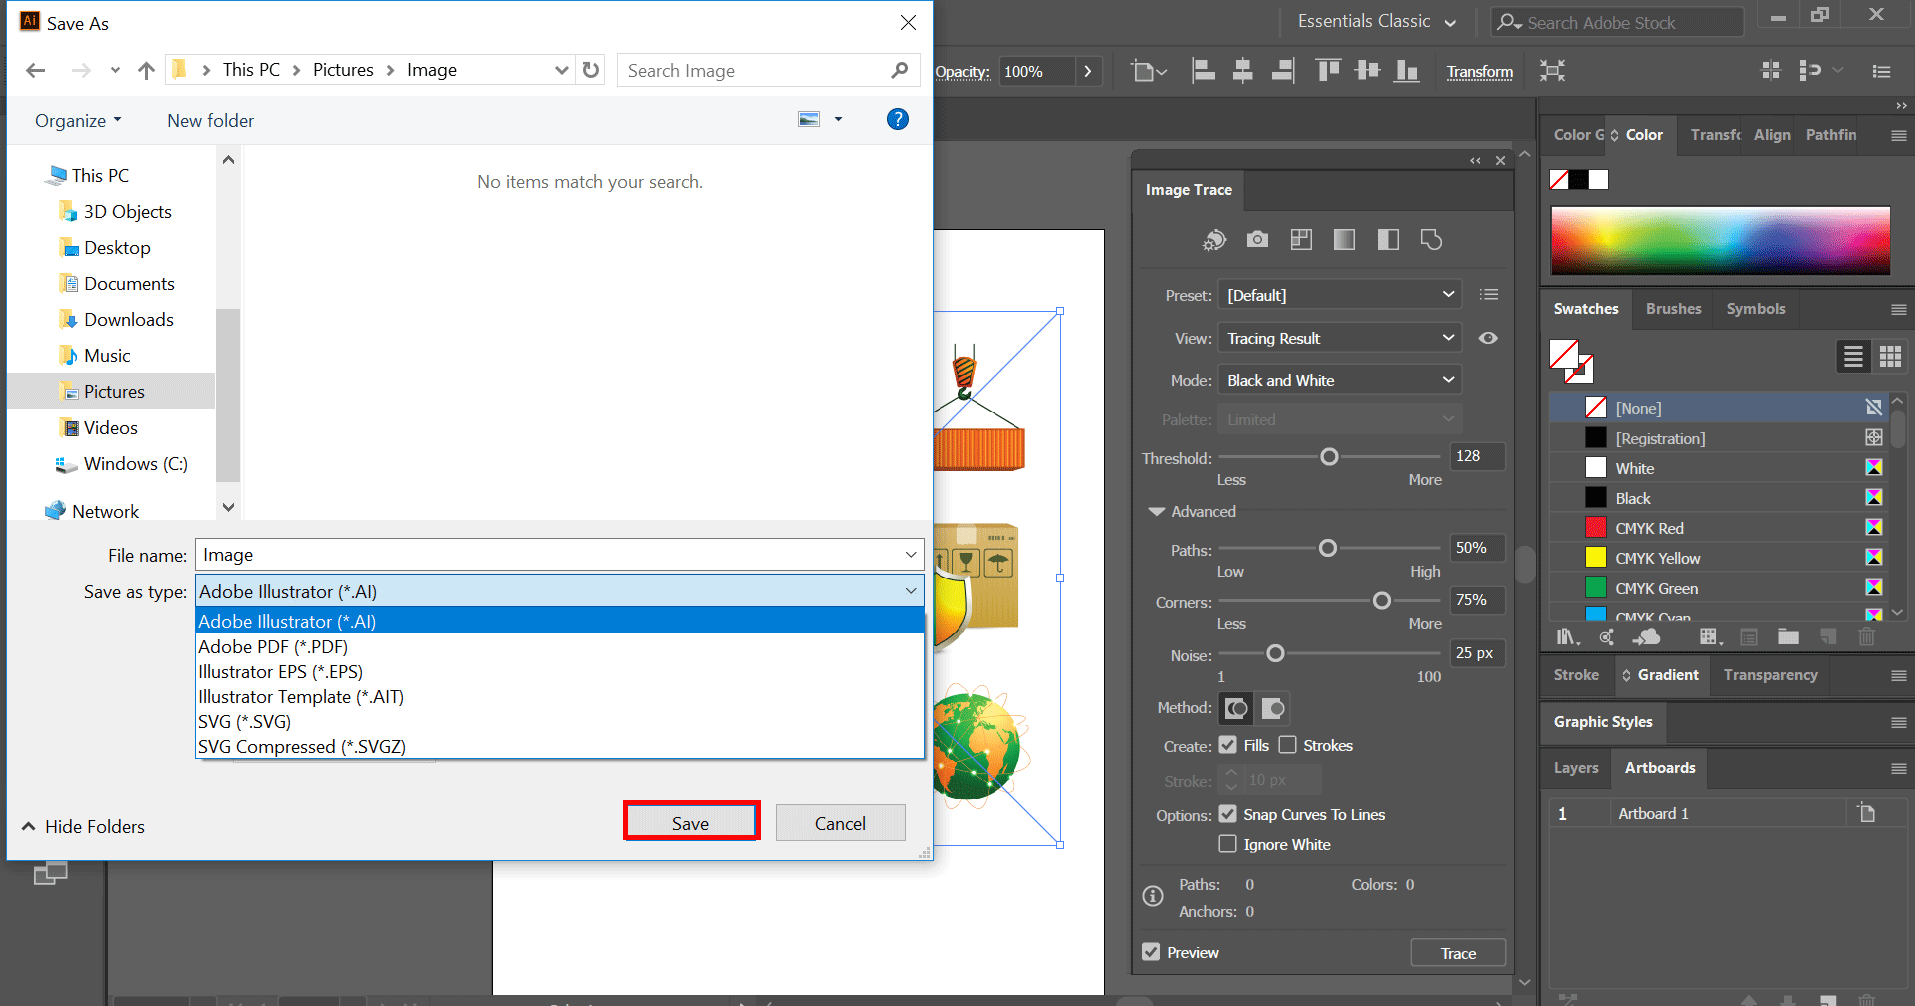
- Select Your Image: Browse through your files to find the image you wish to insert. Adobe Illustrator supports various formats, including JPEG, PNG, SVG, and more.
- Choose How to Insert: Upon selecting an image, you\"ll be presented with options to either link or embed it.
- Linked Images are not stored within the Illustrator file itself but referenced from their location on your computer. This keeps your Illustrator document size smaller and allows for easy updates to the image without needing to re-insert it.
- Embedded Images are fully incorporated into the Illustrator document, increasing the file size but ensuring the image is always available, even on different computers.
- Placement Options: Illustrator may offer additional options during placement, such as scaling and positioning. Make your selections based on your project\"s requirements.
- Finalize the Insertion: After choosing your settings, click Place to insert the image into your document. You can then move, scale, or edit the image as needed to fit your design.
Utilizing the Place command allows for greater control over how images are integrated into your Illustrator projects. Whether you\"re working on complex illustrations, marketing materials, or any design work, mastering the Place command is essential for a seamless design workflow.
3. Copying and Pasting Images Directly into Illustrator
Copying and pasting images into Adobe Illustrator is a straightforward process that allows for quick and easy integration of visuals from various sources. This method is particularly useful for incorporating images into your designs without going through the formal \"Place\" command. Here\"s a step-by-step guide to help you efficiently copy and paste images into Illustrator:
- Prepare Your Source Image: Open the image you want to use in its native application or a preview tool. Ensure the image is in a format that Illustrator supports, such as JPEG, PNG, or GIF.
- Copy the Image: Select the entire image or a specific part of it, depending on your needs. Right-click on the selection and choose \"Copy\" or use the keyboard shortcut Ctrl+C (Windows) or Command+C (Mac).
- Switch to Illustrator: Open your Adobe Illustrator project or create a new one where you wish to insert the copied image.
- Paste the Image: In Illustrator, navigate to the location in your document where you want to place the image. Right-click on the canvas and select \"Paste\" or use the keyboard shortcut Ctrl+V (Windows) or Command+V (Mac) to paste the image.
- Adjust the Pasted Image: Once the image is pasted, you can move, resize, or rotate it to fit your design. Use the selection tools available in Illustrator to make any necessary adjustments.
- Consider the Image Type: Be aware that pasting an image directly into Illustrator embeds the image into your project. Unlike linked images, embedded images increase the file size but ensure that your image is always available within the Illustrator file.
Copying and pasting images directly into Illustrator is an efficient way to quickly incorporate visual elements into your projects. It eliminates the need for additional steps and makes it easier to experiment with different images and layouts. Remember to consider the impact on file size and to use high-quality images to maintain the integrity of your design.
4. Understanding Linked vs. Embedded Images
When incorporating images into Adobe Illustrator, you have two main options: linking or embedding the images. Understanding the differences between these two methods is crucial for managing your Illustrator documents effectively. Here\"s a comprehensive guide to help you grasp the concept of linked versus embedded images:
- Linked Images:
- Linking an image means that Illustrator creates a reference to the file\"s location on your computer or network. The image itself is not stored within the Illustrator file, which keeps the file size smaller. However, it\"s important to note that if the linked file is moved, renamed, or deleted, the link will break, and the image will not display properly in your Illustrator document. Linked images are ideal for large files or when you need to keep your Illustrator file size manageable.
- Embedded Images:
- Embedding an image imports the entire image file into your Illustrator document. This increases the file size but ensures that the image is always available, regardless of the original file\"s location. Embedded images are suitable for ensuring that your document is self-contained and can be shared or moved without breaking image links. This method is preferred for critical images that must remain part of the document.
How to Choose Between Linked and Embedded Images:
- Consider File Size: Use linked images to keep your Illustrator file size smaller, especially useful for large projects or when incorporating high-resolution images.
- Assess Mobility: If you need to share your Illustrator files with others or work on different computers, embedding images ensures that your visuals always stay intact.
- Update Frequency: Linked images are easier to update since changes made to the original file automatically reflect in your Illustrator document, saving you the effort of re-importing images.
- Final Output: For final versions of your work, especially when sending to print or for publication, embedding images can be more reliable to ensure all visuals appear as intended.
Both linking and embedding images have their place in Adobe Illustrator workflows. Your choice should be guided by your project\"s specific needs, file size considerations, and the way you manage your files. By understanding these options, you can make informed decisions that best suit your design process and ensure your projects are efficient and effective.

_HOOK_
5. Resizing and Adjusting Images After Insertion
Once you\"ve inserted an image into Adobe Illustrator, whether through placing, linking, or pasting, you might find the need to adjust its size or make other modifications to fit your design. Illustrator provides powerful tools for resizing and adjusting images with precision. Here\"s how to effectively resize and adjust images after insertion:
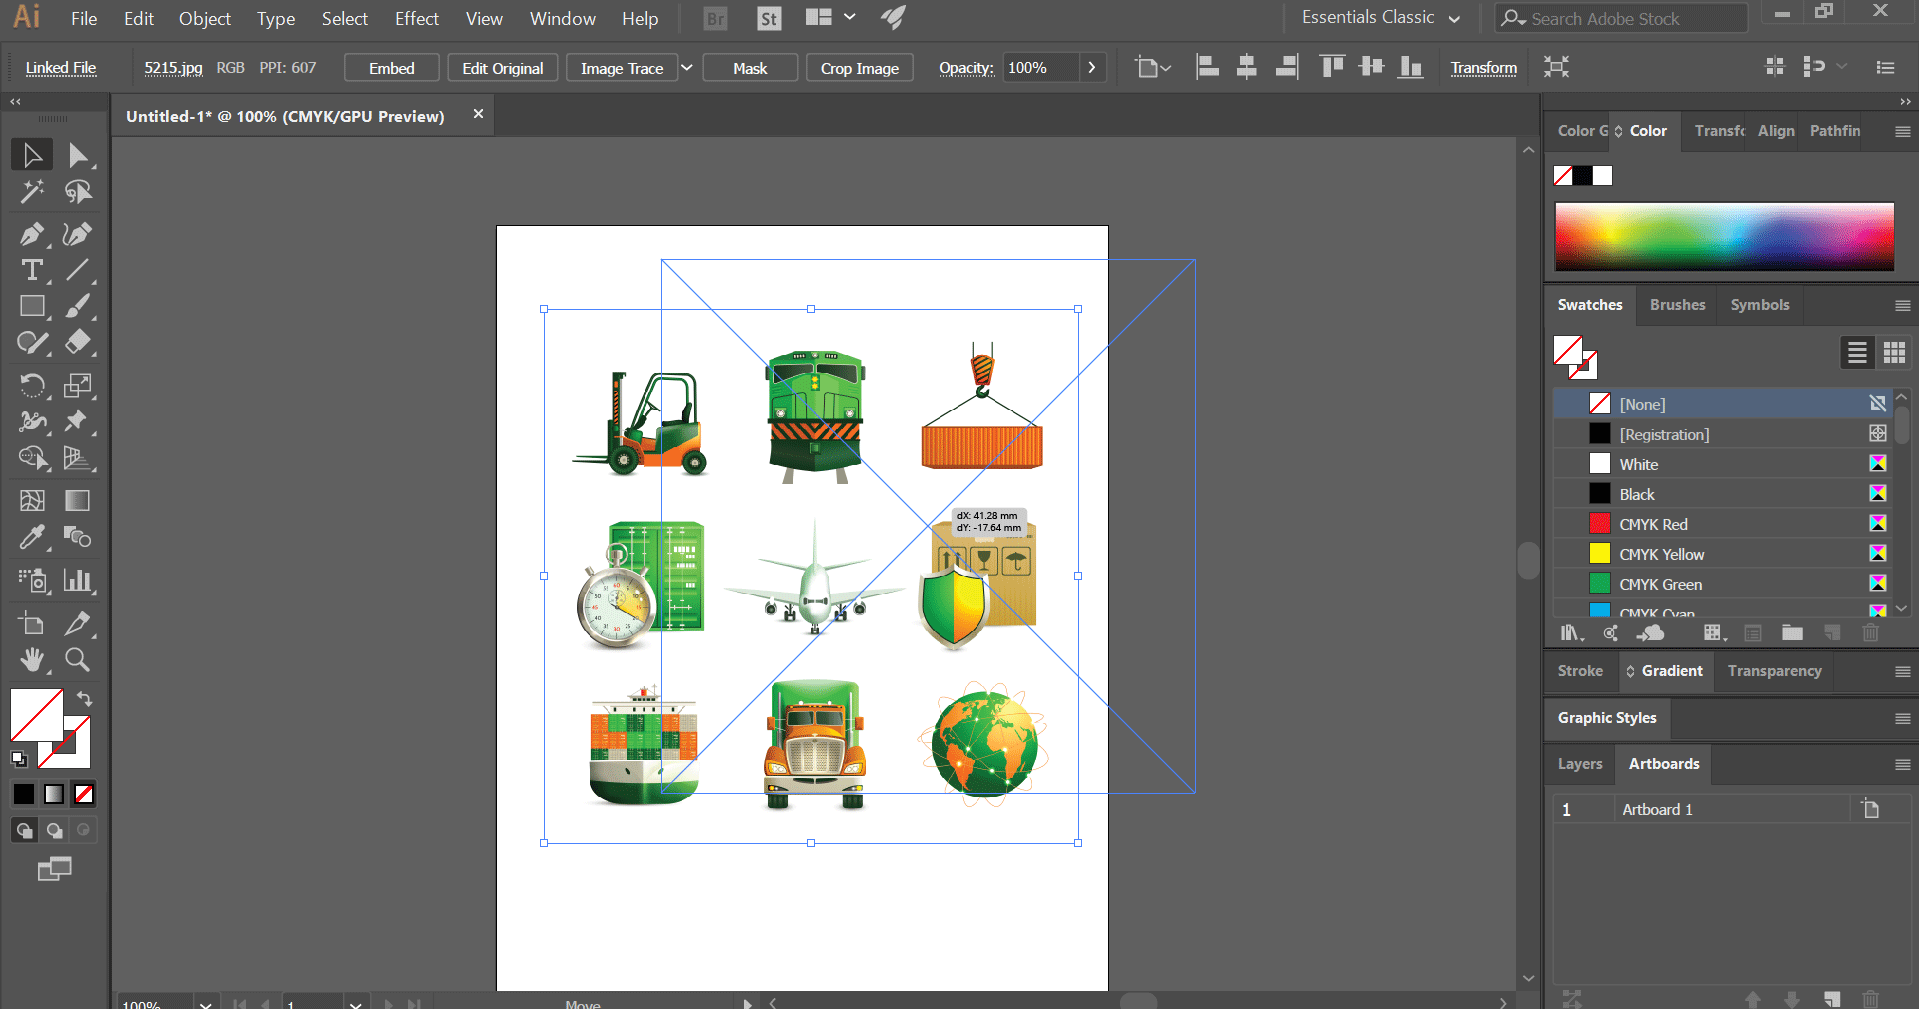
- Select the Image: Click on the image you wish to resize. If the image is grouped with other objects, you may need to use the Direct Selection tool (the white arrow) or ungroup the objects first.
- Use the Bounding Box: Once selected, a bounding box with handles will appear around the image. Click and drag these handles to resize the image. Holding the Shift key while dragging will maintain the image\"s proportions, preventing distortion.
- Input Exact Dimensions: For more precision, you can enter exact dimensions. With the image selected, look to the control panel at the top of the screen. Here, you can input specific values for width and height, ensuring precise control over the image size.
- Adjust Image Quality: If you\"re working with raster images (like JPEGs or PNGs), be mindful of resolution. Scaling an image up significantly can lead to pixelation. Consider the final use of your document and if high resolution is necessary, start with a high-resolution image.
- Experiment with Image Effects: Illustrator also offers a range of effects that can be applied to images. These are found under the Effect menu. You can add artistic touches, adjust colors, or apply filters to enhance the image\"s appearance within your design.
- Alignment and Distribution: Once your image is resized, you may need to align it relative to other elements in your document. Use the Align panel (Window > Align) to position your image precisely within the layout.
Adjusting and resizing images in Illustrator is a critical skill for designers, allowing for the seamless integration of visuals into complex projects. By mastering these tools, you can ensure that your images contribute effectively to your designs, maintaining quality and alignment with your creative vision.
- Inserting Images in Adobe Illustrator: A Beginner\'s Tutorial - Step-by-step Guide: Adding Images to Adobe Illustrator for Beginners - Beginners\' Tutorial: How to Insert Images in Adobe Illustrator - Adobe Illustrator Tutorial: Inserting Images for Beginners - Easy Image Insertion in Adobe Illustrator: A Beginner\'s Guide
\"Are you tired of pixelated images when inserting photos into your presentations? Our video will guide you through the best techniques to ensure high-quality and sharp visuals every time!\"
6. Working with Image Formats and Compatibility
Understanding image formats and their compatibility with Adobe Illustrator is essential for ensuring your design work is efficient and effective. Illustrator supports a wide range of image formats, each with its own advantages and use cases. Here\"s a guide to help you navigate working with different image formats and ensuring compatibility within your Illustrator projects:
- Vector vs. Raster:
- Illustrator excels at handling vector images (like AI, SVG, EPS) which are scalable without loss of quality. It also supports raster images (such as JPEG, PNG, GIF, BMP) which are pixel-based and can lose quality when scaled. Understanding the difference between these types can help you choose the right format for your project needs.
- AI (Adobe Illustrator Artwork):
- The native format of Illustrator, offering the best compatibility for vector graphics with support for layers, typography, and advanced effects.
- EPS (Encapsulated PostScript):
- A versatile vector format compatible with many different programs, ideal for graphics that need to be inserted into other documents.
- PDF (Portable Document Format):
- While primarily known for documents, PDFs can contain vector graphics and images, making them a good choice for sharing complex Illustrator designs that need to be viewed on a wide range of devices and software.
- SVG (Scalable Vector Graphics):
- An XML-based format for vector graphics, perfect for web use due to its scalability and small file size.
- JPEG, PNG, GIF:
- Common raster formats with varying degrees of compression and quality. JPEGs are best for photos, PNGs support transparency and are good for web graphics, and GIFs are ideal for simple animations and low-color images.
Choosing the Right Format:
- Consider the Final Use: Web projects might benefit from SVG or PNG formats, while print projects may require EPS or high-resolution JPEGs.
- Quality vs. File Size: Vector formats typically offer scalability without quality loss, making them ideal for logos and illustrations. Raster formats should be used cautiously, considering the balance between image quality and file size.
- Compatibility: Ensure the format you choose is compatible with the software and platforms where your design will be viewed or printed.
Working with the right image formats in Adobe Illustrator not only enhances your design workflow but also ensures your projects are versatile and compatible across various media and platforms. By understanding the strengths and limitations of each format, you can make informed decisions that align with your creative objectives and technical requirements.

7. Using the Links Panel to Manage Inserted Images
The Links Panel in Adobe Illustrator is a powerful tool for managing and tracking all the linked (not embedded) images in your documents. It offers a centralized location to control the status, update, and edit properties of your linked assets. Understanding how to use the Links Panel effectively can greatly enhance your workflow, especially in projects with numerous external images. Here\"s how to navigate and utilize the Links Panel for managing your inserted images:
- Accessing the Links Panel: You can open the Links Panel by going to Window > Links. This panel displays a list of all the linked images and graphics in your current document.
- Viewing Link Information: Each item in the Links Panel provides important information about the linked file, such as its name, type, color profile, and status (indicating whether the link is missing or modified).
- Relinking Images: If an image has been moved or its link is broken, you can relink it by selecting the image in the Links Panel, clicking the chain icon (Relink button), and choosing the new file location.
- Updating Modified Links: Illustrator notifies you if a linked image has been modified outside of Illustrator. To update the image to its latest version, select the modified link and click the Update Link button (two arrows in a circle).
- Embedding Linked Images: If you decide to embed a previously linked image directly into your Illustrator file, select the image in the Links Panel and click the Embed button (looks like a box). This converts the link into an embedded image, removing the dependency on the external file.
- Editing Original Images: You can open and edit a linked image in its native application by selecting the image in the Links Panel and clicking the Edit Original button (pencil icon). This is useful for making adjustments to the image without leaving Illustrator.
- Sorting and Organizing: The Links Panel allows you to sort and organize your linked images by name, status, and other properties, helping you keep track of your assets efficiently.
Utilizing the Links Panel not only simplifies the management of external images in your Illustrator projects but also ensures that your designs remain up to date and accurate. By mastering these features, you can maintain control over your linked assets, streamline your workflow, and avoid common pitfalls associated with missing or outdated images.

8. Tips for Organizing and Layering Images
Effective organization and layering of images in Adobe Illustrator can significantly enhance your design process, allowing for more efficient edits and revisions. Proper layer management ensures that your project remains flexible, enabling you to experiment with different compositions and adjustments easily. Here are some essential tips for organizing and layering images in Illustrator:
- Use Layers Wisely: Illustrator\"s Layers Panel is a powerful tool for managing the various elements of your design. Create separate layers for different types of content (e.g., background, main images, text) to keep your project organized and easily editable.
- Name Your Layers: Giving each layer a descriptive name helps you quickly find and select the correct layer, especially in complex projects with many elements. This practice saves time and reduces confusion during the design process.
- Lock and Hide Layers: To prevent accidental edits, you can lock layers that you\"re not currently working on. Similarly, hiding layers can simplify your view, allowing you to focus on specific parts of the design. Use the lock and eye icons in the Layers Panel to control visibility and editing access.
- Use Clipping Masks for Complex Images: When working with complex images or compositions, consider using clipping masks to control visibility within a specific area. This technique is great for fitting images into shapes or for creating interesting visual effects.
- Organize with Layer Groups: For projects with numerous elements, grouping related layers can streamline your workflow. Select the layers you want to group, then choose Options > New Layer Group. This makes it easier to move, hide, or lock multiple layers simultaneously.
- Adjust Layer Order: The stacking order of layers affects how images and objects interact on the canvas. You can change the order by dragging layers up or down in the Layers Panel. This is crucial for achieving the desired visual hierarchy and depth in your design.
- Utilize Opacity and Blending Modes: Adjusting the opacity and blending modes of layers can create dynamic effects and allow for nuanced control over how images interact. Experiment with these settings in the Transparency Panel to enhance the visual appeal of your project.
By implementing these tips, you can take full advantage of Illustrator\"s layering and organizing capabilities, making your design process more efficient and your projects more dynamic and flexible. Remember, the key to effective layer management is consistency and clarity, ensuring that your designs are both beautiful and easily navigable.
9. Advanced Techniques: Masking and Clipping Images
Masking and clipping are powerful techniques in Adobe Illustrator that allow you to create sophisticated designs by controlling the visibility of parts of your images. These methods enable designers to blend images with shapes, texts, and other elements, creating intricate compositions with ease. Here’s how to leverage masking and clipping in your Illustrator projects:
- Understanding Clipping Masks:
- A clipping mask is a shape (the mask) that conceals parts of the image or graphic beneath it, revealing only what\"s inside the mask shape. To create a clipping mask, place the shape you want to use as a mask above the image or graphic. Select both the mask shape and the image, then choose Object > Clipping Mask > Make (or use the shortcut Command+7 on Mac or Ctrl+7 on Windows).
- Working with Layer Masks:
- Layer masks in Illustrator function similarly to clipping masks but are used within the Layers panel. They allow for more complex and non-destructive editing, letting you hide or reveal parts of the images by painting on the mask with black or white colors.
- Using Opacity Masks:
- Opacity masks provide a way to create variable transparency in an image, where different parts of the image can have different levels of opacity based on the mask. To create an opacity mask, you need to have both your image and a grayscale image (the mask) where white areas are fully visible, black areas are transparent, and gray areas are semi-transparent. Select both and then click on the ‘Make Mask’ button in the Transparency panel.
- Experimenting with Text Masks:
- Text masks use text as the clipping path to reveal an image or graphic through the letters. This effect is created by placing an image over the text, selecting both, and then applying a clipping mask. This method is great for creating visually striking typographic designs.
- Editing and Releasing Masks:
- After creating a mask, you can still edit both the mask and the content beneath it. To edit a clipping mask or its contents, double-click on it to enter Isolation Mode. To release a mask, select it and choose Object > Clipping Mask > Release.
Mastering masking and clipping techniques in Illustrator opens up a world of creative possibilities, allowing you to combine text, images, and graphics in dynamic ways. Whether you\"re looking to create intricate designs or simply want to enhance the composition of your projects, these techniques offer the flexibility and control needed to bring your creative vision to life.
_HOOK_
READ MORE:
10. Best Practices for High-Quality Image Output
Ensuring high-quality image output in Adobe Illustrator is crucial for professional-looking designs, whether for digital media or print. Adhering to best practices from the start of your project can save time and enhance the final quality of your work. Here are key guidelines to follow for achieving the best image output:
- Start with High-Resolution Images:
- For projects that will be printed or require scaling, begin with the highest resolution images available. This prevents pixelation and ensures your images remain crisp and clear at any size.
- Understand Color Spaces:
- Use RGB color mode for projects intended for screens (web, mobile, video) and CMYK for projects that will be printed. Correct color space selection is vital for color accuracy in your final output.
- Use Vector Graphics Where Possible:
- Vector graphics (created in Illustrator or imported as SVG, AI, EPS files) are scalable without loss of quality, making them ideal for logos, icons, and complex illustrations.
- Monitor Document Raster Effects Settings:
- For effects like shadows or glows, ensure your Document Raster Effects Settings (under Effect > Document Raster Effects Settings) match your output resolution. For print, 300 DPI is standard, while 72 DPI is typically sufficient for web.
- Proof Colors for Print:
- Before finalizing your project for print, use the Proof Colors option (View > Proof Colors) to simulate how your colors will look in the selected color profile. This can help identify any potential color issues before printing.
- Outline Fonts Before Exporting:
- To avoid font mismatches or errors, convert text to outlines (Type > Create Outlines) before exporting your project. This ensures your text appears as intended on any system, without the need for embedded or installed fonts.
- Choose the Right Export Format:
- Select an export format that suits your project\"s needs. For example, use PNG or JPEG for images intended for the web, and PDF or EPS for high-quality print materials.
- Optimize File Size for Web Use:
- When exporting images for the web, balance quality with file size. Use the \"Save for Web\" feature (File > Export > Save for Web) to adjust quality settings and preview the image before saving.
Following these best practices in Adobe Illustrator ensures your projects not only look professional but are optimized for their intended use, whether in print or digital formats. High-quality image output is achievable through careful planning, appropriate settings, and a keen eye for detail throughout the design process.
Master the art of inserting images in Adobe Illustrator with our comprehensive guide, elevating your designs from good to great. Discover advanced techniques and best practices to ensure your projects stand out with professional, high-quality visuals.