Topic how to model in blender for beginners: Embark on a journey to master 3D modeling with Blender, tailored for beginners. This guide illuminates the path to unleash your creativity and bring your ideas to life in the digital realm.
Table of Content
- How can beginners learn to model in Blender?
- Understanding Blender’s Interface
- Basic 3D Modeling Concepts
- Starting with Simple Projects: The Classic Donut
- Navigating and Customizing the Viewport
- Mesh Editing Techniques
- YOUTUBE: Blender Tutorial for Complete Beginners - Part 1
- Working with Modifiers for Non-Destructive Modeling
- Materials and Texturing Basics
- Lighting and Rendering Your First Scene
- Introduction to Sculpting in Blender
- Animation Basics for 3D Models
- Exporting Your Models for Game Engines or 3D Printing
- Resources and Communities for Ongoing Learning
How can beginners learn to model in Blender?
As a beginner, learning to model in Blender can be an exciting and challenging journey. To help you get started, here is a step-by-step guide:
- Understand the Blender Interface: Familiarize yourself with the different panels, menus, and tools in Blender.
- Start with Basic Shapes: Begin by creating simple objects like cubes, spheres, and cylinders to get comfortable with the modeling process.
- Learn about Meshes and Vertices: Understand the concept of meshes and how they are made up of vertices, edges, and faces.
- Use the Modifiers: Experiment with modifiers like Subdivision Surface, Mirror, and Bevel to create more complex and detailed models.
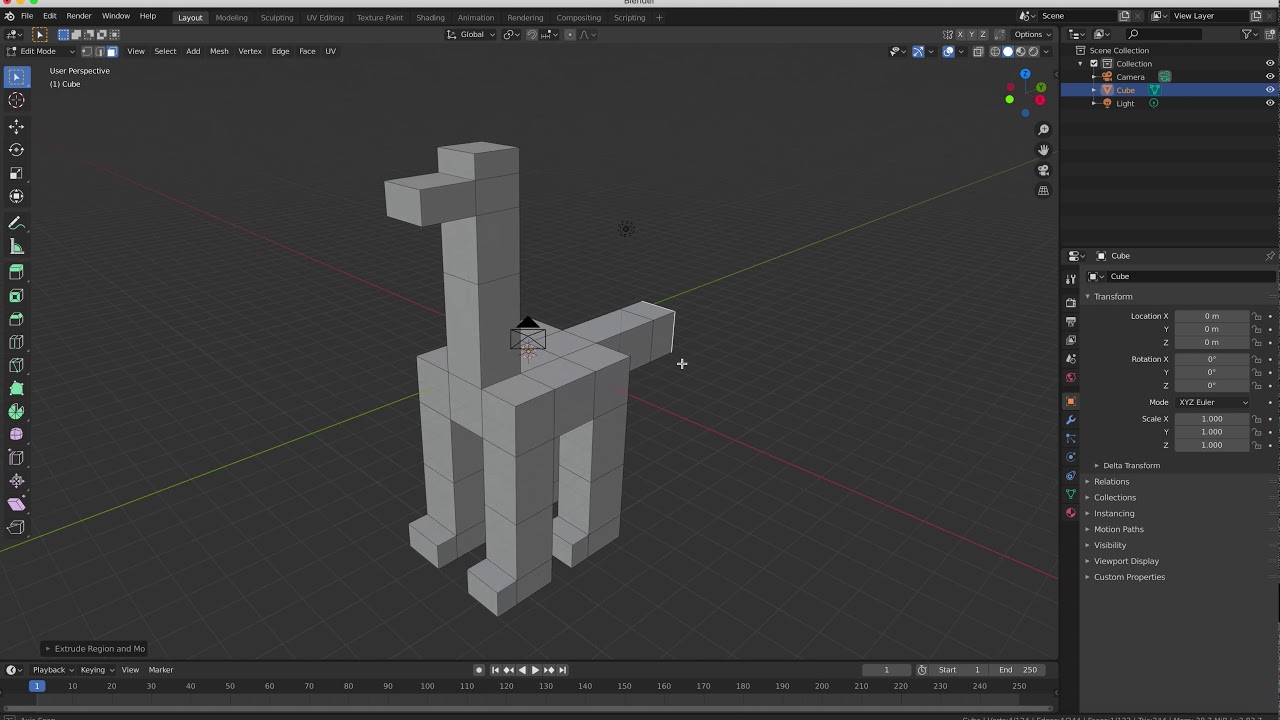
- Master the Extrusion Technique: Extrusion is a fundamental modeling technique in Blender. Learn how to extrude vertices, edges, and faces to create new geometry.
- Practice Loop Cuts: Loop cuts allow you to add edge loops to your mesh, enabling better edge control and geometry refinement.
- Utilize Proportional Editing: Proportional editing allows you to modify multiple vertices simultaneously and create smooth deformations. Experiment with different falloff types.
- Discover Sculpting: Blender offers sculpting tools for organic modeling. Learn how to sculpt and add fine details to your models.
- Explore UV Unwrapping: UV unwrapping is essential for applying textures to your models. Learn how to unwrap the UVs and create texture maps.
- Expand to Advanced Techniques: Once you are comfortable with the basics, explore advanced modeling techniques like retopology, boolean operations, and hard-surface modeling.
Remember, practice and patience are key when learning to model in Blender. Watch tutorials, join online communities, and keep experimenting to improve your skills and unleash your creativity. Happy modeling!
READ MORE:
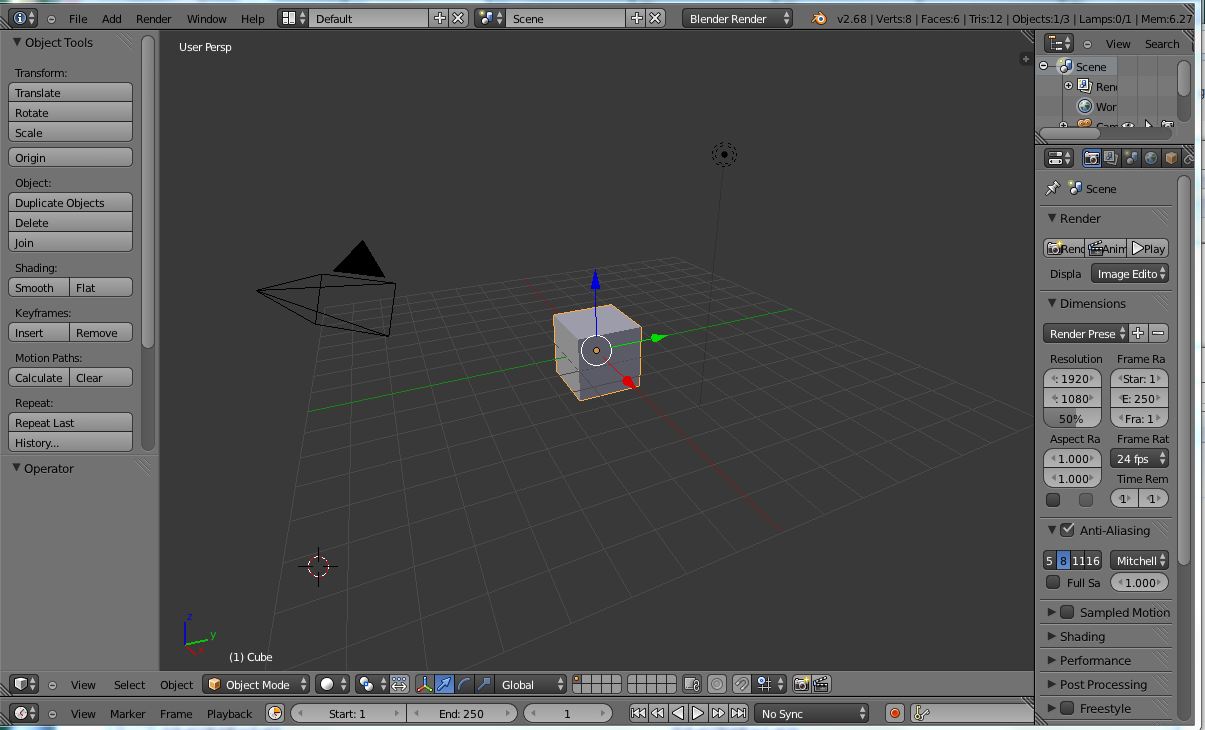
Understanding Blender’s Interface
Blender\"s interface might seem daunting at first, but it\"s designed to give you quick access to the tools you need for 3D modeling, animation, and rendering. Let\"s break down the main components to help you get started:
- 3D Viewport: This is the heart of Blender, where you can view and interact with your scene. You can navigate the view by panning, zooming, and rotating the camera.
- Toolbar: Located to the left of the 3D Viewport, the Toolbar contains tools for interacting with objects in your scene, such as move, rotate, and scale.
- Properties Panel: On the right side, this panel provides options and settings for the active object, material properties, world settings, and more.
- Timeline: At the bottom of the interface, the Timeline allows you to control animation playback, set keyframes, and manage animation timing.
- Outliner: The hierarchical view on the top right shows all objects in your scene, allowing you to select, hide, or lock objects easily.
- Menus: At the top, menus like File, Edit, and Render give you access to a wide range of operations, from opening and saving files to rendering your scenes.
To customize your workspace, Blender offers different layouts tailored to specific tasks, such as modeling, animation, or UV editing. You can switch between these layouts via the dropdown menu at the top of the screen or create your own custom layout by dragging and splitting views.
Understanding Blender’s interface is the first step towards mastering 3D modeling. Spend some time navigating and experimenting with different tools and views. Remember, practice and exploration are key to becoming proficient in Blender.
Basic 3D Modeling Concepts
Before diving into the practical aspects of using Blender, it\"s essential to grasp some fundamental 3D modeling concepts. These foundational ideas will help you understand how to create and manipulate objects in a 3D space.
- Vertices, Edges, and Faces: The basic building blocks of 3D models. Vertices are points in 3D space, edges connect two vertices, and faces are flat surfaces enclosed by edges.
- Meshes: A collection of vertices, edges, and faces that define the shape of a 3D object. Meshes can be simple, like a cube, or complex, like a character model.
- Primitives: Simple geometric shapes such as cubes, spheres, cylinders, and cones that can be used as the starting point for more complex models.
- Extrusion: A technique used to extend faces, edges, or vertices to add volume to an object. Extrusion is a fundamental tool in creating 3D shapes.
- Subdivision: A method of increasing the number of polygons in a mesh to create smoother, more detailed surfaces.
- Modifiers: Non-destructive tools that can be applied to objects to alter their geometry in various ways, such as bending, twisting, or smoothing.
Additionally, understanding the concept of UV mapping is crucial for texturing your models. UV mapping involves unwrapping a 3D object onto a 2D surface to accurately apply textures.
As you start your journey in 3D modeling with Blender, keep these concepts in mind. They are the foundation upon which all your future projects will be built. Experiment with creating basic shapes, applying modifiers, and exploring the effects of different mesh editing techniques to gain a deeper understanding of 3D modeling.
Starting with Simple Projects: The Classic Donut
Embarking on your 3D modeling journey in Blender starts with understanding the basics through simple, fun projects. One of the most iconic and beginner-friendly projects is creating a classic donut. This project covers fundamental Blender skills such as basic shape modeling, applying materials and textures, and simple lighting techniques. Let\"s dive into the steps to create your very own digital donut.
- Setting Up Your Blender Scene
- Begin by opening Blender and creating a new project. Select the default cube, press X, and choose \"Delete\" to clear the scene.
- Adding a Torus
- Press Shift + A to open the Add menu. Select \"Mesh\" then \"Torus\". This will be the base of your donut. In the Add Torus settings (left bottom corner), adjust the major and minor segments to smooth out the shape.
- Shaping Your Donut
- Switch to Edit Mode (Tab) with the torus selected. Use various tools like Grab (G), Scale (S), and Rotate (R) to adjust the torus into a more donut-like shape. Experiment with these tools to understand their functionality.
- Applying Materials
- In the Properties panel, go to the Material tab and click \"New\" to add a new material. Choose a color that resembles dough. For the icing, add another material by pressing the \"+\" button next to the material list, and assign a different, vibrant color.
- Adding Textures
- To give your donut a more realistic appearance, add a texture to the icing. Go to the Texture tab in the Properties panel, select \"New\", and choose a texture that mimics icing. Experiment with the settings to achieve the desired look.
- Lighting and Camera Setup
- Lighting is crucial for showcasing your model. Add a light source by pressing Shift + A and selecting \"Light\" > \"Point\". Adjust its position for the best effect. Set up the camera by pressing Shift + A and choosing \"Camera\". Position the camera to frame your donut appropriately.
- Rendering Your Donut
- Finally, it\"s time to render your scene. Go to the Render tab in the Properties panel, select \"Render Image\", and see your creation come to life. Adjust render settings as needed for higher quality images.
Completing the classic donut project in Blender not only teaches you the basics of 3D modeling but also provides a foundation for more complex projects. Remember, practice and experimentation are key to mastering Blender. Enjoy the process of learning and creating!

Navigating and Customizing the Viewport
Understanding how to effectively navigate and customize the Blender viewport is crucial for a smooth and efficient workflow. The viewport is your window into the 3D world of Blender, allowing you to view and interact with your models. Here are detailed steps to master viewport navigation and customization.
- Zooming In and Out
- To zoom in and out of your scene, use the scroll wheel on your mouse. Alternatively, you can press Ctrl + Middle Mouse Button and move the mouse up or down.
- Panning the View
- To pan the view, hold down the Shift key and then press and hold the Middle Mouse Button, moving the mouse in the direction you wish to pan.
- Rotating the View
- To rotate the view around your scene, simply press and hold the Middle Mouse Button and move the mouse. The scene will rotate around the point you are focused on.
- Focusing on an Object
- To focus the viewport on a selected object, select the object and press NumPad . (period key). This centers the object in your viewport, making it easier to work on.
- Switching Between Views
- Blender allows you to switch quickly between front, side, and top views using the numpad keys. Press NumPad 1 for front view, NumPad 3 for side view, and NumPad 7 for top view. Pressing these keys with Ctrl shows the opposite views.
- Changing Shading Modes
- To change the way your objects are displayed, you can switch between different shading modes. Press Z and move your mouse to select between Wireframe, Solid, Material, and Rendered views. This helps in understanding the geometry, material, and lighting effects on your objects.
- Customizing the Viewport Display
- In the right corner of the viewport, you\"ll find the viewport shading menu, where you can adjust the appearance of your viewport. Options like background color, object visibility, and overlays can be customized to suit your preferences and needs.
- Using the Camera View
- To see your scene from the camera\"s perspective, press NumPad 0. This is especially useful for setting up your final render. You can adjust the camera position by selecting the camera and using the same navigation controls.
Mastering these navigation and customization techniques will significantly enhance your 3D modeling experience in Blender. Remember, practice is key to becoming proficient, so take your time exploring the viewport and experimenting with its features.

_HOOK_
Mesh Editing Techniques
Mesh editing is a fundamental aspect of 3D modeling in Blender, allowing you to sculpt and refine your creations with precision. Understanding and mastering various mesh editing techniques is crucial for creating detailed and complex models. Here\"s a guide to essential mesh editing techniques in Blender.
- Selecting Vertices, Edges, and Faces
- In Edit Mode, you can select vertices, edges, or faces of your mesh by using the mode selection in the header. Use Shift + Click to select multiple elements, or B to box select a group of elements.
- Extruding
- Extruding is used to extend the mesh. Select a face, edge, or vertex and press E to extrude it. Move your mouse to adjust the extrusion distance and click to confirm the placement.
- Loop Cut and Slide
- The Loop Cut tool (Ctrl + R) adds a loop of edges around your mesh, which is useful for adding detail or adjusting the flow of geometry. Use the mouse wheel to increase the number of cuts, and slide the loop to position it.
- Merging Vertices
- To merge vertices, select them and use Alt + M. Choose from options like merging at the center, at the cursor, or by distance to reduce clutter and clean up your mesh.
- Subdividing
- Subdividing splits the selected faces into smaller parts. Select faces and right-click to open the context menu, then choose \"Subdivide\". This is great for adding more geometry to specific areas of your mesh.
- Beveling
- Beveling (Ctrl + B) rounds edges and vertices by adding extra geometry. This technique is essential for creating more realistic and less sharp edges on your model.
- Knife Tool
- The Knife tool (K) allows you to make precise cuts across your mesh. Click to start the cut, move your mouse to define the path, and press Enter to complete the cut. This is useful for adding detail or correcting topology.
- Using Proportional Editing
- Proportional Editing (O) allows you to move a vertex, edge, or face while influencing nearby vertices. This is great for making smooth, organic adjustments to your mesh. Scroll the mouse wheel to adjust the influence radius.
- Smoothing and Flattening
- For smoothing a mesh, use the Smooth tool in the Mesh Tools panel. To flatten areas, select faces and use the Scale tool (S), then press X, Y, or Z to constrain the scale to a specific axis, and type 0 to flatten.
By practicing these mesh editing techniques, you\"ll gain the skills necessary to create intricate and polished 3D models in Blender. Remember, the key to mastering Blender is patience and continual learning.

Blender Tutorial for Complete Beginners - Part 1
\"Are you eager to learn something new and exciting? Look no further! Our tutorial video is here to guide you step-by-step through the fascinating world of Blender. Unlock your potential and become a skilled Blender artist in no time. Start creating jaw-dropping animated masterpieces today!\"
Working with Modifiers for Non-Destructive Modeling
Modifiers in Blender offer a powerful way to add complexity and detail to your models without permanently altering the mesh geometry. This non-destructive approach allows for a flexible and efficient workflow, enabling you to make significant changes or adjustments at any stage of the modeling process. Here\"s how to effectively use modifiers for non-destructive modeling.
- Understanding Modifiers
- Modifiers are operations that affect your object\"s geometry in various ways, such as deforming, subdividing, or simplifying. They are applied in a stack, meaning you can layer multiple modifiers on a single object to achieve complex effects.
- Adding a Modifier
- To add a modifier, select your object and go to the Properties panel. Click on the Modifier tab (the wrench icon) and then click \"Add Modifier\". Choose the modifier you wish to apply from the dropdown menu.
- Subdivision Surface Modifier
- One of the most commonly used modifiers for smooth, high-detail models is the Subdivision Surface modifier. It subdivides the faces of your mesh to create a smoother appearance. Adjust the \"View\" and \"Render\" levels to control the amount of subdivision.
- Using the Mirror Modifier
- The Mirror modifier is invaluable for creating symmetrical models. It mirrors your object across a specified axis. This is particularly useful for characters or objects that are the same on both sides. Remember to apply any transformations (Ctrl+A) before using the Mirror modifier to ensure it behaves as expected.
- Boolean Modifier for Complex Shapes
- The Boolean modifier allows you to combine objects in ways that would be difficult to model manually. You can use it to subtract, intersect, or unite mesh objects, creating complex shapes and details with ease.
- Array Modifier for Repetitive Patterns
- For creating multiple instances of an object in an array, the Array modifier is your go-to tool. It can duplicate your object along any axis, with adjustable distances and rotation between copies, perfect for objects like fences, stairs, or patterned designs.
- Applying Modifiers
- While working non-destructively, you may eventually need to apply a modifier to make its changes permanent. This can be necessary for exporting or further editing. To apply a modifier, click the \"Apply\" button in the modifier panel. Be sure this is the final step in your modeling process, as it cannot be undone.
- Organizing the Modifier Stack
- The order of modifiers in the stack can significantly affect the outcome. Use the up and down arrows in the modifier panel to rearrange the stack. Experiment with different orders to achieve the desired effect.
Modifiers are a cornerstone of efficient and flexible modeling in Blender. By mastering these tools, you can significantly enhance your creative possibilities, making intricate models with less effort and more control over the final outcome.

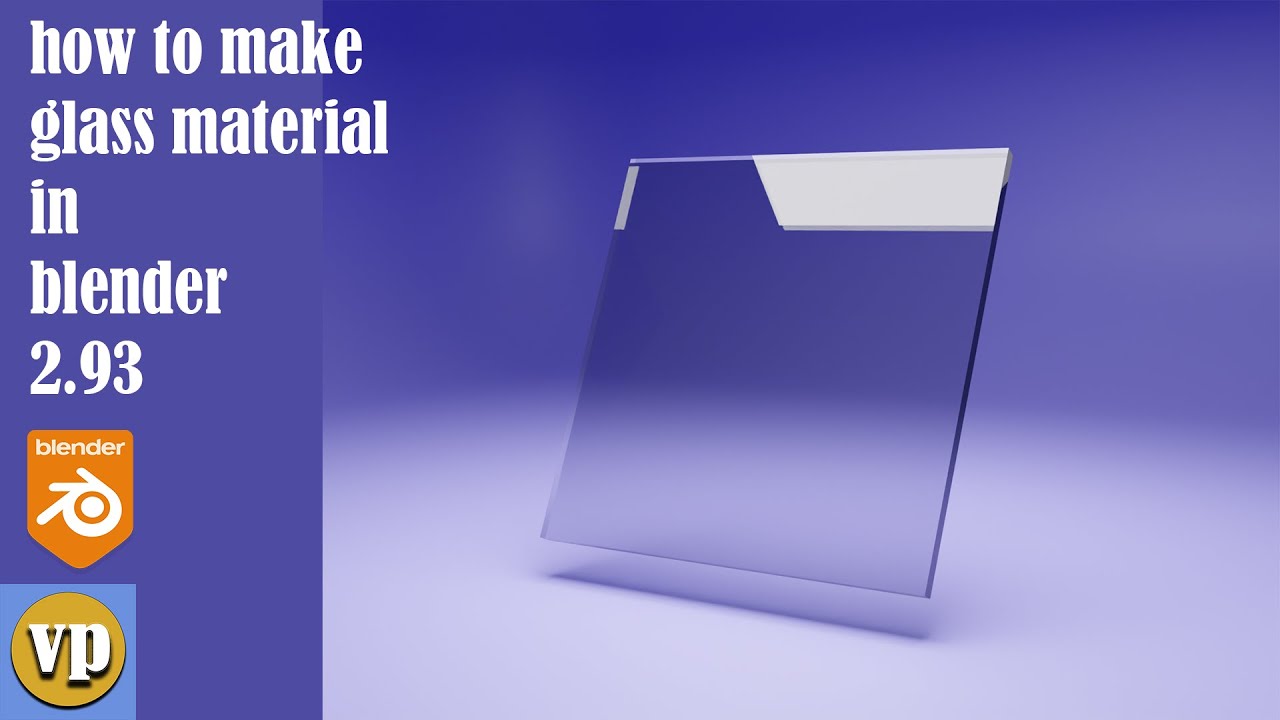
Materials and Texturing Basics
Materials and textures are essential for adding color, realism, and detail to your 3D models in Blender. They define how your objects interact with light and give them their appearance. This section covers the basics of creating and applying materials and textures to your models.
- Understanding Materials
- Materials in Blender are used to define the color, transparency, reflectivity, and texture of objects. They are what make your objects look like glass, metal, plastic, or any other material.
- Creating a New Material
- Select your object and go to the Material Properties tab (the red sphere icon). Click \"New\" to create a new material. Here, you can adjust the material\"s base color, specular highlights, roughness, and more to achieve the desired appearance.
- Applying Textures
- Textures are images or procedural patterns that add detail to your materials. To add a texture, switch to the Shader Editor, add a new Texture node (such as an Image Texture or Noise Texture), and connect it to the Base Color input of the material\"s shader.
- UV Unwrapping
- For image textures to accurately map onto your object, you need to UV unwrap it. This process projects the 3D surface of the model onto a 2D plane. In Edit Mode, select all faces and press U to unwrap. Use the UV Editor to adjust the layout of your UV map for better texture alignment.
- Using Nodes for Advanced Texturing
- The Shader Editor uses nodes to create complex material effects. You can mix textures, change their properties, and combine them with various shaders to create realistic or stylized materials. Experimenting with nodes can unlock virtually limitless possibilities for texturing your models.
- Adjusting Material Settings
- Within the Material Properties tab, you can further refine your material by adjusting settings such as Emission (for glowing materials), Transparency, and Subsurface Scattering (for materials like skin or wax).
- Previewing Materials
- Use the viewport shading mode to preview your materials in real-time. Switch between Solid, Material Preview, and Rendered modes to see how your materials and textures will look under different lighting conditions and render settings.
Mastering materials and texturing is a key step in bringing your 3D models to life. With practice, you\"ll learn how to create realistic surfaces that make your scenes and characters more engaging and believable.

Lighting and Rendering Your First Scene
Lighting is a crucial element in 3D modeling that adds depth, mood, and realism to your scene. Rendering is the process of converting your 3D scene into a final image or animation. This section will guide you through the basics of lighting your scene and rendering your first image in Blender.
- Understanding Lighting Types
- Blender offers several types of lights: Point, Sun, Spot, and Area. Point lights emit light in all directions from a single point. Sun lights simulate sunlight with parallel rays. Spot lights emit light in a cone shape. Area lights are similar to point lights but have a defined shape and size, offering a more controlled illumination.
- Adding a Light Source
- To add a light to your scene, press Shift + A in the 3D Viewport, navigate to Light, and choose the type of light you wish to add. Place the light in your scene by moving it to the desired location.
- Adjusting Light Properties
- Select your light and go to the Light Properties tab to adjust its settings. You can change the color, intensity (power), and other properties specific to the type of light. Experiment with these settings to achieve the desired effect in your scene.
- Using Three-Point Lighting
- A common lighting technique is three-point lighting, which uses three light sources: the key light, fill light, and back light. This setup creates depth and dimension, reducing flat-looking renders. Position these lights around your subject to highlight details and create shadows.
- Setting Up the Camera
- Your camera\"s position and angle are vital for framing your scene. Add a camera by pressing Shift + A and selecting Camera. Position it by selecting the camera, then pressing G to move and R to rotate. Use NumPad 0 to view through the camera.
- Choosing a Render Engine
- Blender offers several render engines, including Eevee (real-time) and Cycles (ray-traced). Select your render engine in the Render Properties tab. Eevee is faster but less realistic, while Cycles offers more realism but at a higher computational cost.
- Rendering Your Scene
- To render your image, go to the Render menu at the top of the screen and select \"Render Image\" or press F12. Adjust render settings like resolution and samples in the Render Properties tab for higher quality. Wait for Blender to complete the render process, which may take some time depending on your scene\"s complexity and your computer\"s power.
- Saving Your Render
- Once your scene is rendered, you can save the image by going to the Image menu in the Render window and selecting \"Save As\". Choose your preferred file format and location, then click \"Save As Image\" to save your work.
Lighting and rendering are exciting steps in the 3D modeling process, allowing you to see your work come to life. With practice, you\"ll learn how to effectively use lighting to enhance your scenes and render beautiful, realistic images.
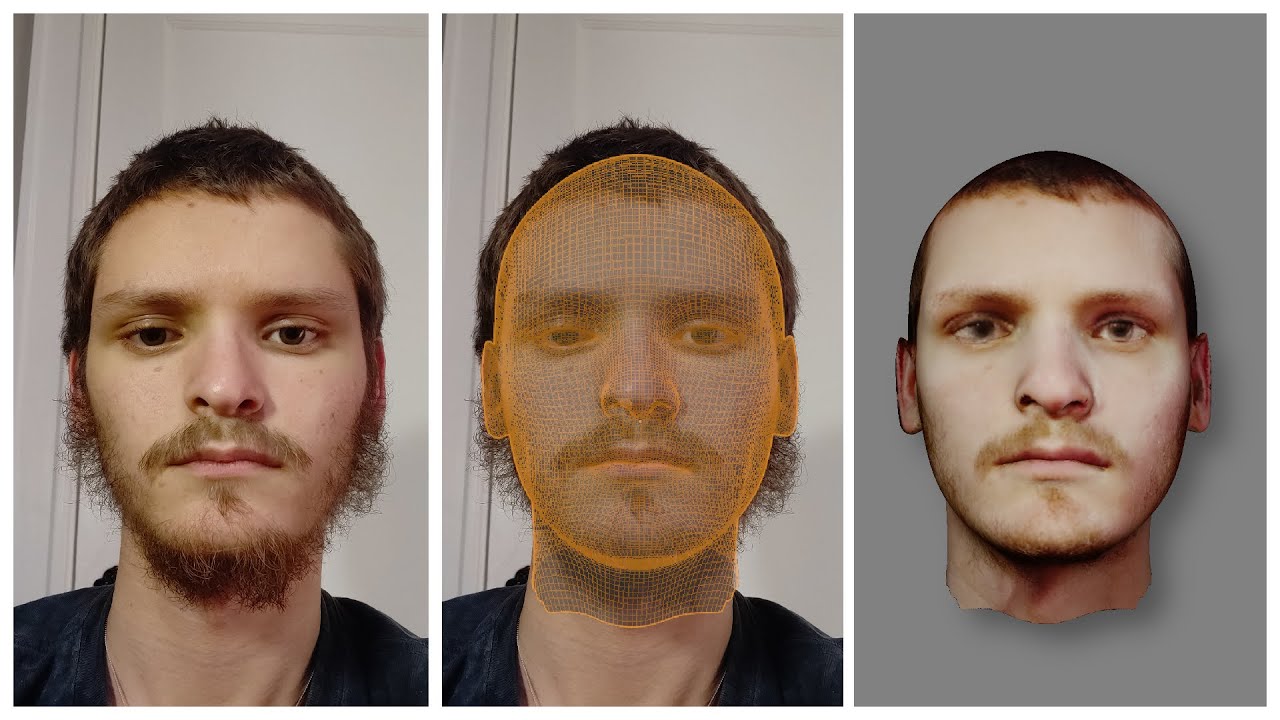
Introduction to Sculpting in Blender
Sculpting in Blender is a powerful technique that allows for intuitive, artist-driven modeling. It\"s akin to working with digital clay, where you can push, pull, smooth, and carve your models into any shape. This section introduces the basics of sculpting, guiding you through the tools and techniques to start sculpting in Blender.
- Setting Up Your Sculpting Workspace
- Blender provides a dedicated Sculpting workspace that optimizes the interface for sculpting tasks. Access it by clicking on the \"Sculpting\" tab at the top of the interface. This workspace displays the necessary tools and settings for sculpting.
- Understanding the Sculpting Tools
- Blender\"s sculpting mode offers a variety of brushes for different effects. The Grab brush moves vertices, allowing you to shape your mesh. The Clay brush adds volume, while the Smooth brush softens the surface. Experiment with different brushes to see their effects.
- Adjusting Brush Settings
- Each brush has adjustable settings like size, strength, and falloff. These can be accessed in the Tool Settings panel. Adjusting these settings allows for finer control over your sculpting process.
- Dyntopo for Dynamic Topology
- Dyntopo, or dynamic topology, is a feature that adjusts the mesh topology in real-time as you sculpt. It adds more geometry where needed, allowing for detailed sculpting without worrying about the initial mesh structure. Enable Dyntopo in the Sculpt menu, but be aware that it can increase your mesh\"s complexity.
- Symmetry for Balanced Sculpting
- Most models require symmetry, especially characters. Enable the Symmetry option in the Tool Settings panel to mirror your sculpting actions across an axis, ensuring uniformity and saving time.
- Masking for Controlled Edits
- Masking allows you to protect certain areas of your model from being sculpted. Use the Mask brush to paint areas you want to preserve, enabling focused edits on specific parts of your mesh.
- Using Multiresolution
- The Multiresolution modifier allows you to sculpt at different levels of detail, starting from a low-resolution base mesh. You can add detail progressively, stepping up the resolution as needed without losing the ability to make broad, structural changes.
- Practicing with Simple Shapes
- Begin your sculpting journey with simple shapes like spheres or cubes to familiarize yourself with the tools and techniques. As you become more comfortable, you can tackle more complex projects.
Sculpting in Blender is a rewarding skill that opens up new possibilities for 3D modeling. With patience and practice, you\"ll be able to bring your most imaginative ideas to life. Remember, the key to sculpting is experimentation and continual learning.

_HOOK_
Animation Basics for 3D Models
Animating your 3D models in Blender brings them to life, allowing you to create dynamic scenes and stories. This section covers the fundamentals of animation in Blender, guiding you through the process of making your models move.
- Understanding Keyframes
- Keyframes are the cornerstone of animation in Blender. They record the position, rotation, and scale of an object at a specific point in time. By setting keyframes at different points on the timeline, Blender interpolates the motion between them, creating animation.
- Inserting Keyframes
- To insert a keyframe, position your object at the start of the animation, choose the frame on the timeline where the motion will begin, and press I. Choose \"Location\", \"Rotation\", \"Scale\", or \"LocRotScale\" to set a keyframe for the selected properties. Move to another frame, reposition your object, and insert another keyframe.
- Using the Timeline
- The timeline at the bottom of the Blender interface allows you to scrub through your animation, set the start and end points of your animation, and control playback. Use it to review and refine your animation.
- Animating with the Graph Editor
- For more control over your animation, use the Graph Editor. It displays the animation curves for the keyframes you\"ve set, allowing you to adjust the timing and easing of the motion. Access it from the Editor Type menu in any of the panels.
- Creating Simple Animations
- Start with simple animations, like making an object move across the screen or rotate. Practice setting keyframes for different properties and using the Graph Editor to smooth out the motion.
- Understanding the Dope Sheet
- The Dope Sheet provides an overview of all the keyframes in your scene. It\"s useful for managing and editing keyframes for complex animations. Use it to copy, move, or delete keyframes across multiple objects and properties.
- Using Armatures for Character Animation
- For character animation, armatures (skeletons) are used to deform the model in a realistic manner. Create an armature and parent your mesh to it with automatic weights. Pose your character by selecting bones in Pose Mode and inserting keyframes.
- Exporting Your Animation
- Once your animation is complete, you can export it to various formats. Go to \"Render\" > \"Render Animation\" to render it as a video file or choose \"File\" > \"Export\" to export the animated model for use in games or other applications.
Animation in Blender can be as simple or complex as your project requires. By mastering the basics, you\"ll be well on your way to bringing your 3D creations to life in dynamic and engaging ways.
Exporting Your Models for Game Engines or 3D Printing
Once you have completed your 3D model in Blender, you may want to export it for use in a game engine like Unity or Unreal Engine, or for 3D printing. Each of these applications requires different preparation and export settings to ensure your model works correctly in its new environment. Here\"s how to prepare and export your models for game engines or 3D printing.
- Preparing Your Model for Export
- Before exporting, ensure your model is ready. This includes applying all modifiers, ensuring the scale and rotation are applied (Ctrl+A), and checking that the mesh has no non-manifold edges or other issues that could cause problems in the target application.
- Exporting for Game Engines
- Most game engines, including Unity and Unreal Engine, work well with the FBX or OBJ formats. To export your model, go to \"File\" > \"Export\" and select the format you need. When exporting as FBX, you have options to include animations, scale the model, and choose what parts of the model to export (meshes, armatures, etc.).
- Exporting for 3D Printing
- For 3D printing, the STL or OBJ formats are commonly used. Before exporting for 3D printing, make sure your model is solid (watertight) and the normals are facing outward. You can export your model by going to \"File\" > \"Export\" and selecting STL or OBJ. After exporting, use a slicing software to prepare your model for printing.
- Checking Scale and Units
- Ensure the scale and units in Blender match those expected by the game engine or 3D printer. Blender\"s default unit is meters, but you can adjust the scale and units in the Scene Properties tab to fit your needs.
- Optimizing Meshes for Export
- Especially for game development, optimizing your mesh can significantly improve performance. This includes reducing polygon count, ensuring textures are appropriately sized, and combining objects where possible to reduce draw calls.
- Testing Your Exported Model
- After exporting, it\"s important to test your model in its target environment. For game engines, import the model and check for any issues with scale, textures, or animations. For 3D printing, review your model in slicing software to ensure it\"s ready for printing.
Exporting your models from Blender is a critical step in the production pipeline, whether for digital applications or physical production. By following these guidelines, you can ensure that your models transition smoothly from Blender to your chosen platform or device.
READ MORE:
Resources and Communities for Ongoing Learning
Mastering Blender is a journey of continuous learning and exploration. Fortunately, there are numerous resources and communities available to support your growth as a 3D artist. Whether you\"re looking for tutorials, inspiration, or feedback on your work, these platforms can provide invaluable guidance and support.
- Blender Official Documentation
- The Blender Manual is an excellent starting point for beginners and a reference for advanced users. It covers all aspects of Blender, from basic navigation to complex animation techniques.
- Online Tutorials and Courses
- Websites like Blender Guru, CG Cookie, and Udemy offer a range of tutorials and courses for Blender users of all skill levels. From free YouTube tutorials to paid courses, there\"s something for everyone.
- Forums and Online Communities
- Blender Artists Forum and Reddit’s r/blender are active communities where you can ask questions, share your work, and connect with other Blender users. These platforms are great for receiving feedback and staying updated on the latest Blender news.
- Blender Network
- The Blender Network connects Blender professionals and enthusiasts from around the world. It\"s a great place to find collaborators, jobs, or just learn from the work of others.
- Books and Magazines
- There are several books and magazines dedicated to Blender and 3D modeling, offering in-depth tutorials, artist interviews, and project breakdowns. “Blender 3D: Noob to Pro” and “Blender Art Magazine” are notable examples.
- Conferences and Meetups
- Blender Conference and local Blender meetups offer fantastic opportunities to learn from experienced users and professionals in the industry. These events are great for networking and sharing knowledge.
- Blender Cloud
- Blender Cloud offers access to training, assets, and production files from Blender Foundation’s projects. It’s a subscription service that supports the development of Blender.
- YouTube Channels
- Many experienced Blender users share their knowledge through YouTube channels. Following channels like Blender Guru, CG Geek, and Ducky 3D can provide you with a steady stream of tips, tutorials, and project ideas.
By engaging with these resources and communities, you can accelerate your learning process and become part of the vibrant ecosystem that surrounds Blender. Remember, the key to improvement is practice and the willingness to learn from others.
Embark on your Blender journey with confidence as this guide illuminates the path from basic modeling to advanced techniques, ensuring a rewarding learning experience. Join the vibrant Blender community and unlock your creative potential today!