Topic how to add clothes to a model in blender: Discover the secrets to seamlessly adding clothes to your Blender models, enhancing realism and detail in your 3D creations with this essential guide for all skill levels.
Table of Content
- How can I add clothes to a model in Blender?
- Understanding Blender\"s Interface and Basic Modeling Techniques
- Choosing the Right Modeling Technique for Clothes
- Creating Clothes Using the Shrinkwrap Modifier
- Modeling Clothes from Scratch
- Using Cloth Simulation for Realistic Clothing Dynamics
- Texturing and Material Setup for Clothes
- YOUTUBE: Attach Clothes to Character in Blender for Animation
- Weight Painting for Clothes Rigging
- Finalizing and Exporting Your Model with Clothes
- Tips for Efficient Workflow in Clothing Design
- Advanced Techniques: Sculpting and Detailing Clothes
- Common Problems and Solutions in Clothing Modeling
- Resources and Tutorials for Further Learning
How can I add clothes to a model in Blender?
To add clothes to a model in Blender, you can follow these steps:
- First, make sure you have a model ready in Blender.
- Create or download the clothing item you want to add to your model. This can be a separate mesh or a pre-made clothing model.
- Select your model in Blender by right-clicking on it.
- In the Properties panel on the right-hand side, go to the Object Data tab (the icon looks like a triangle).
- Scroll down to the Vertex Groups section and click on the little plus icon to add a new vertex group.
- Name the vertex group something like \"Clothing\" or \"Shirt\".
- Select the clothing item you want to add, and in Edit Mode, select all the vertices.
- Assign those selected vertices to the vertex group you created (e.g., \"Clothing\") by clicking the \"Assign\" button in the Vertex Groups section.
- Exit Edit Mode and go back to Object Mode.
- Select the clothing item again and shift-select your model to make both objects active simultaneously.
- Press Ctrl + P to bring up the parent menu and select \"Object\" to parent the clothing item to your model.
- You can now move, rotate, and scale the clothing item to position it correctly on your model.
- If needed, you can further edit the clothing item\'s position and orientation in Edit Mode.
- Finally, you can adjust the materials and textures of the clothing item to make it look more realistic or match your desired style.
This process should allow you to successfully add clothes to a model in Blender. Remember to save your work regularly as you progress.
READ MORE:
Understanding Blender\"s Interface and Basic Modeling Techniques
Starting with Blender for clothing design begins with mastering its interface and fundamental modeling techniques. This foundation is critical for effectively adding clothes to your models.
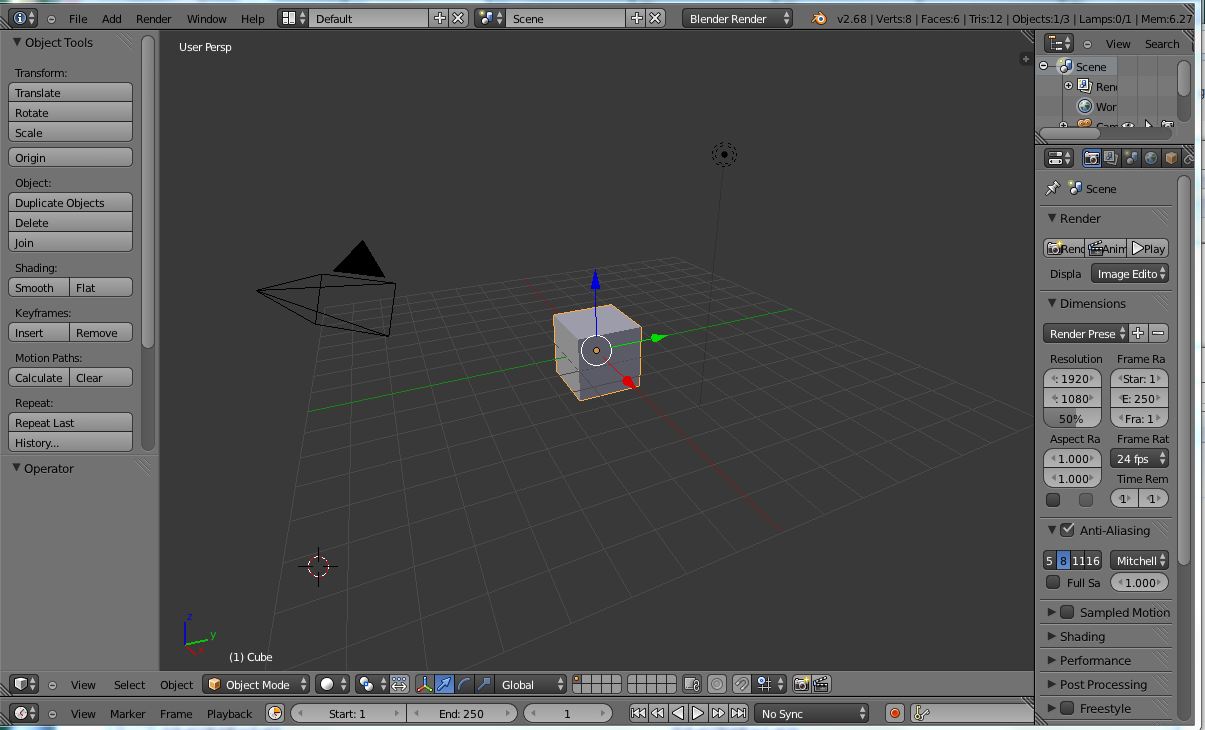
- Explore the Blender Interface: Familiarize yourself with the layout, including the 3D viewport, timeline, outliner, and properties panel. Knowing where tools are located is essential for efficient workflow.
- Basic Modeling Operations: Learn the core operations such as extrude, loop cut, and bevel. These are the building blocks for creating any model, including clothes.
- Understanding Meshes: Clothes in Blender are made using meshes. Grasp how vertices, edges, and faces work together to form the shape of your clothing.
- Manipulating Objects and Meshes: Practice moving, scaling, and rotating objects. For clothes, precise manipulation ensures they fit your model correctly.
- Using Modifiers: Get to know modifiers like Subdivision Surface for smoothing and Shrinkwrap for conforming clothes to your model’s body.
With a solid understanding of Blender’s interface and basic modeling techniques, you\"re well on your way to adding detailed and realistic clothes to your 3D models.

Choosing the Right Modeling Technique for Clothes
Selecting the appropriate modeling technique for creating clothes in Blender is crucial for achieving the desired level of realism and complexity. Here\"s how to make the right choice:
- Simulation vs. Manual Modeling: Decide whether to use cloth simulation for dynamic clothing or manual modeling for more control over the final look.
- Shrinkwrap Modifier: For tight-fitting clothes, the Shrinkwrap modifier can be a perfect choice, as it conforms the clothing mesh to the body of the model.
- Sculpting: For detailed and complex clothing designs, sculpting allows for artistic freedom, perfect for wrinkles and folds.
- Retopology Techniques: After sculpting, use retopology to create a lower-poly version of your clothes that is more suitable for animation.
- Particle System for Fabrics: Use Blender\"s particle system for creating realistic fur or hair on clothing pieces, adding another layer of detail.
Each technique has its advantages and scenarios where it shines the most. Consider your project\"s needs, the level of detail required, and the time available when choosing your approach to modeling clothes in Blender.
Creating Clothes Using the Shrinkwrap Modifier
The Shrinkwrap modifier in Blender is an effective tool for adding clothes to models, especially for tight-fitting garments. Follow these steps to utilize it:
- Create a basic mesh: Start by modeling a basic mesh that roughly matches the shape of your clothing item. This can be a simple plane for a T-shirt or a cylinder for pants.
- Position the mesh: Adjust the mesh so it envelops the area of the model where the clothing will be. Ensure it\"s slightly larger than the model\"s body part.
- Add the Shrinkwrap Modifier: Select your clothing mesh and go to the Modifiers tab. Add the Shrinkwrap modifier from the list.
- Configure the modifier: Set the target to your model. Adjust the offset to ensure the clothing doesn\"t intersect with the model\"s body. Experiment with the Wrap Method to get the best fit.
- Apply solidify modifier: To give your clothing thickness, add a Solidify modifier after the Shrinkwrap. Adjust the thickness to your liking.
- Final adjustments: Use the sculpting tools to add details such as folds and wrinkles. This step is crucial for realism.
Using the Shrinkwrap modifier allows for a non-destructive workflow, meaning you can easily adjust the clothing fit and style without starting over. This technique is ideal for creating custom-fit garments for your Blender models.

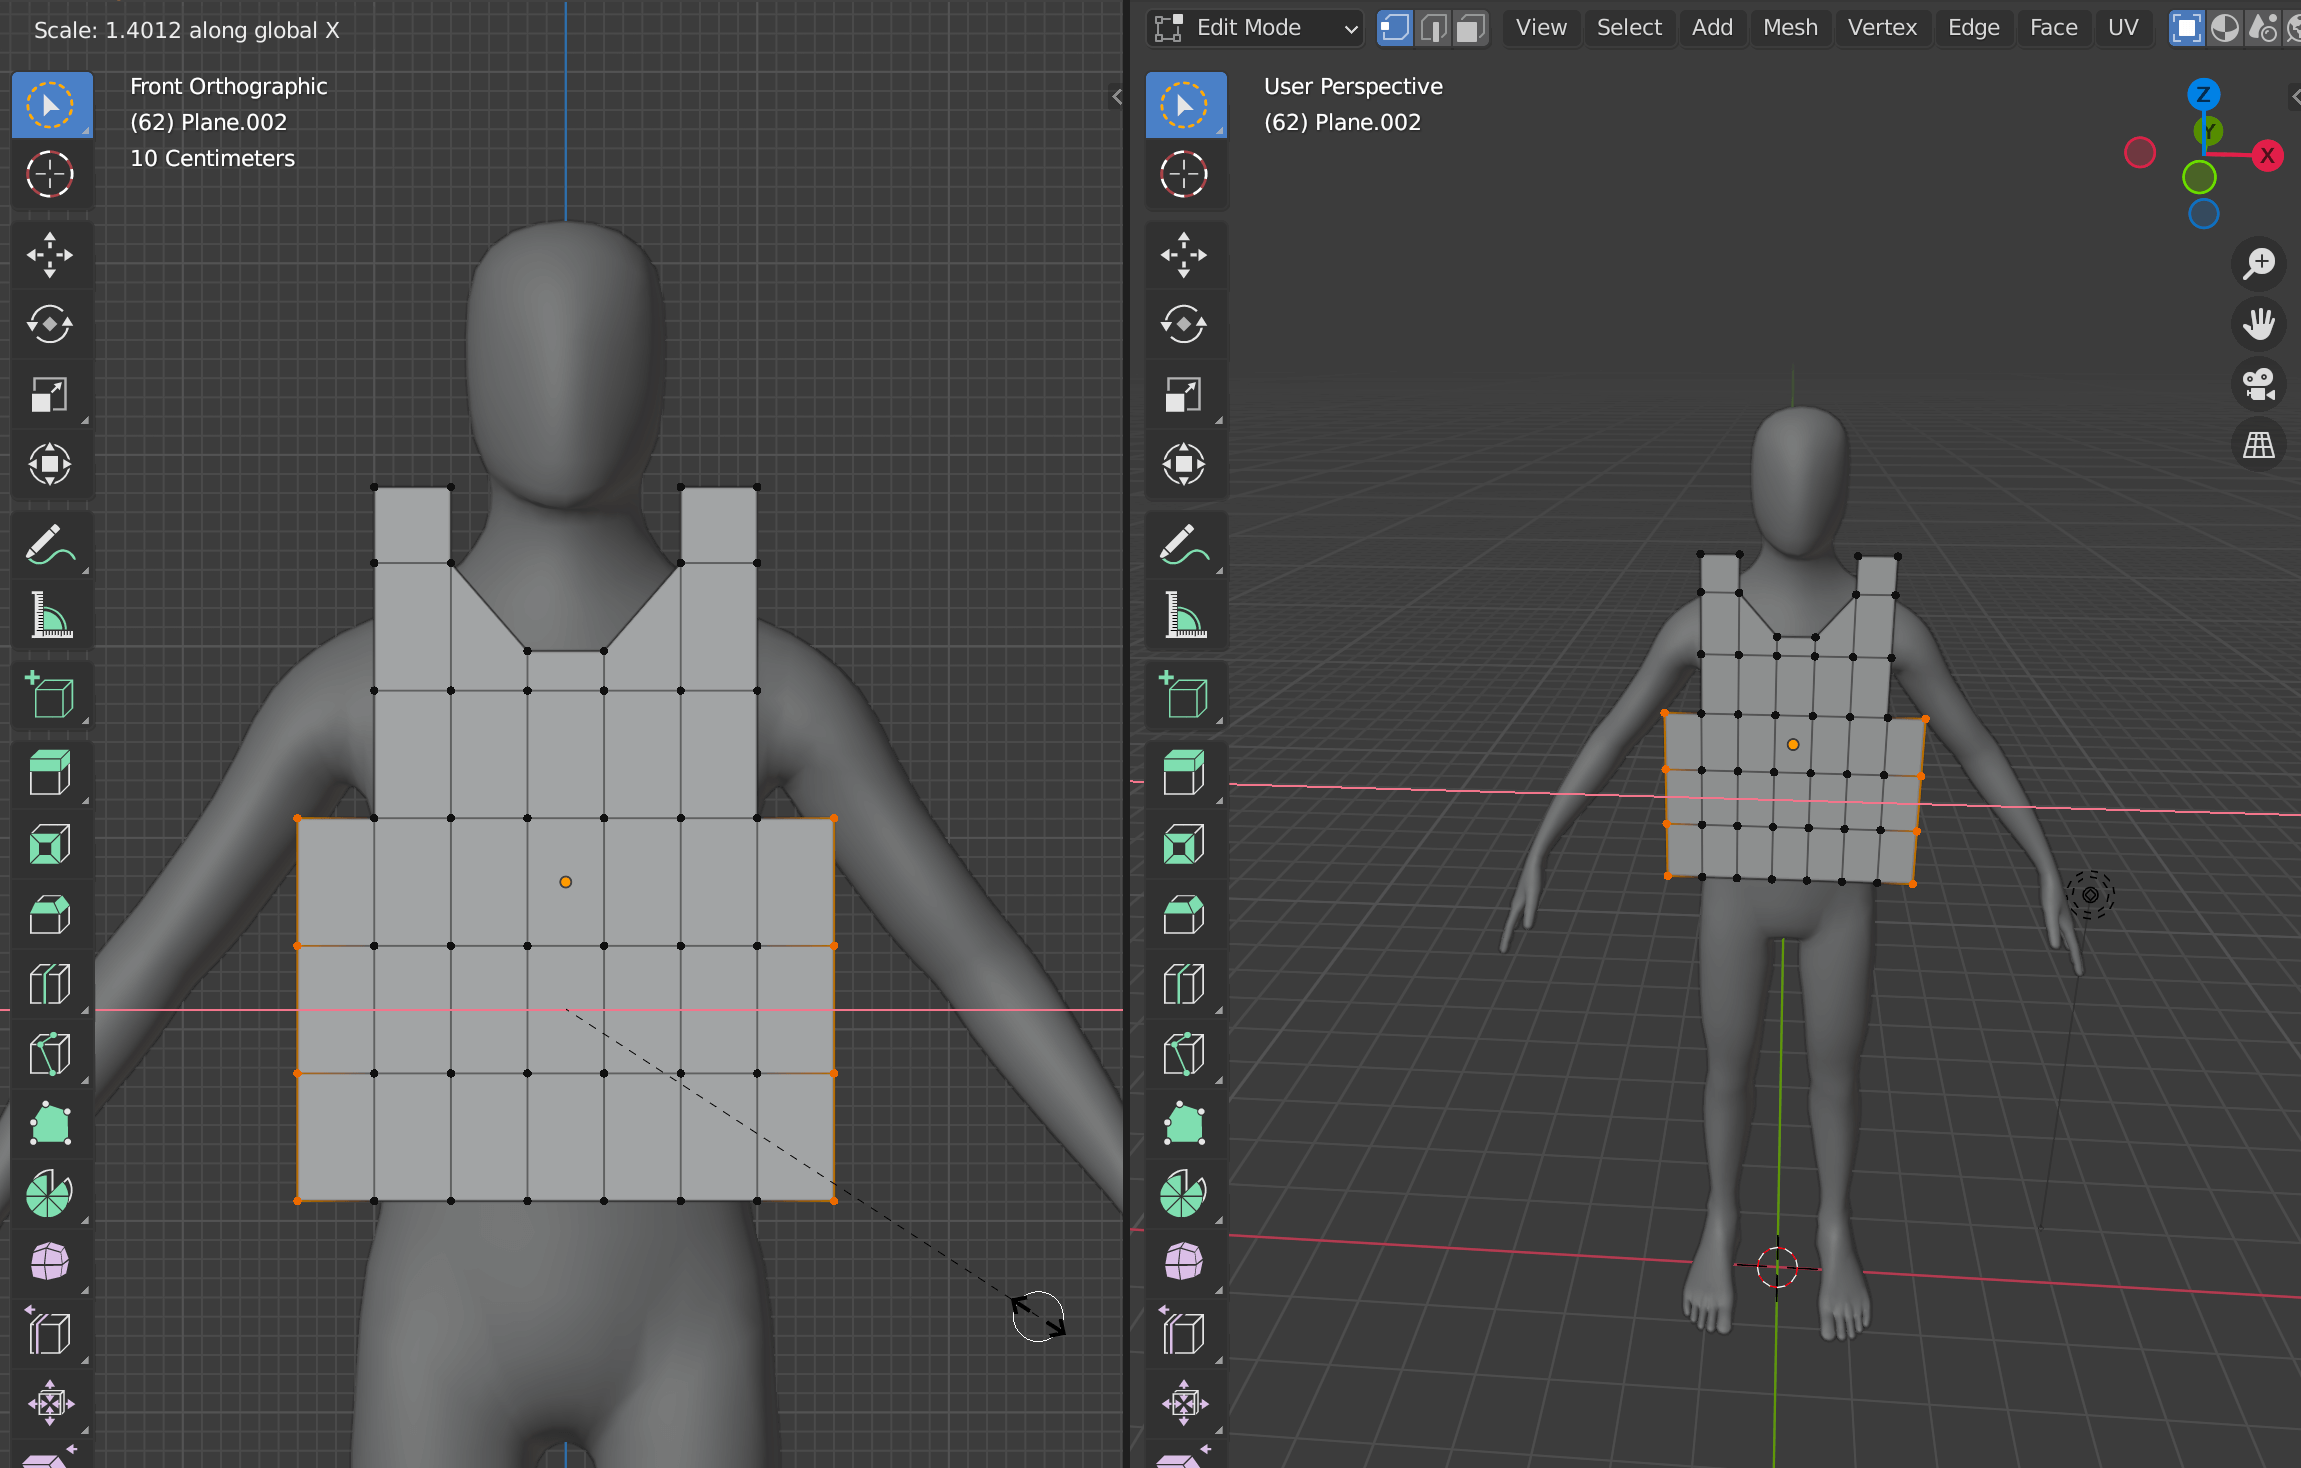
Modeling Clothes from Scratch
Creating clothes from scratch in Blender allows for complete customization. This method involves modeling the clothing item piece by piece, providing unparalleled control over the final appearance.
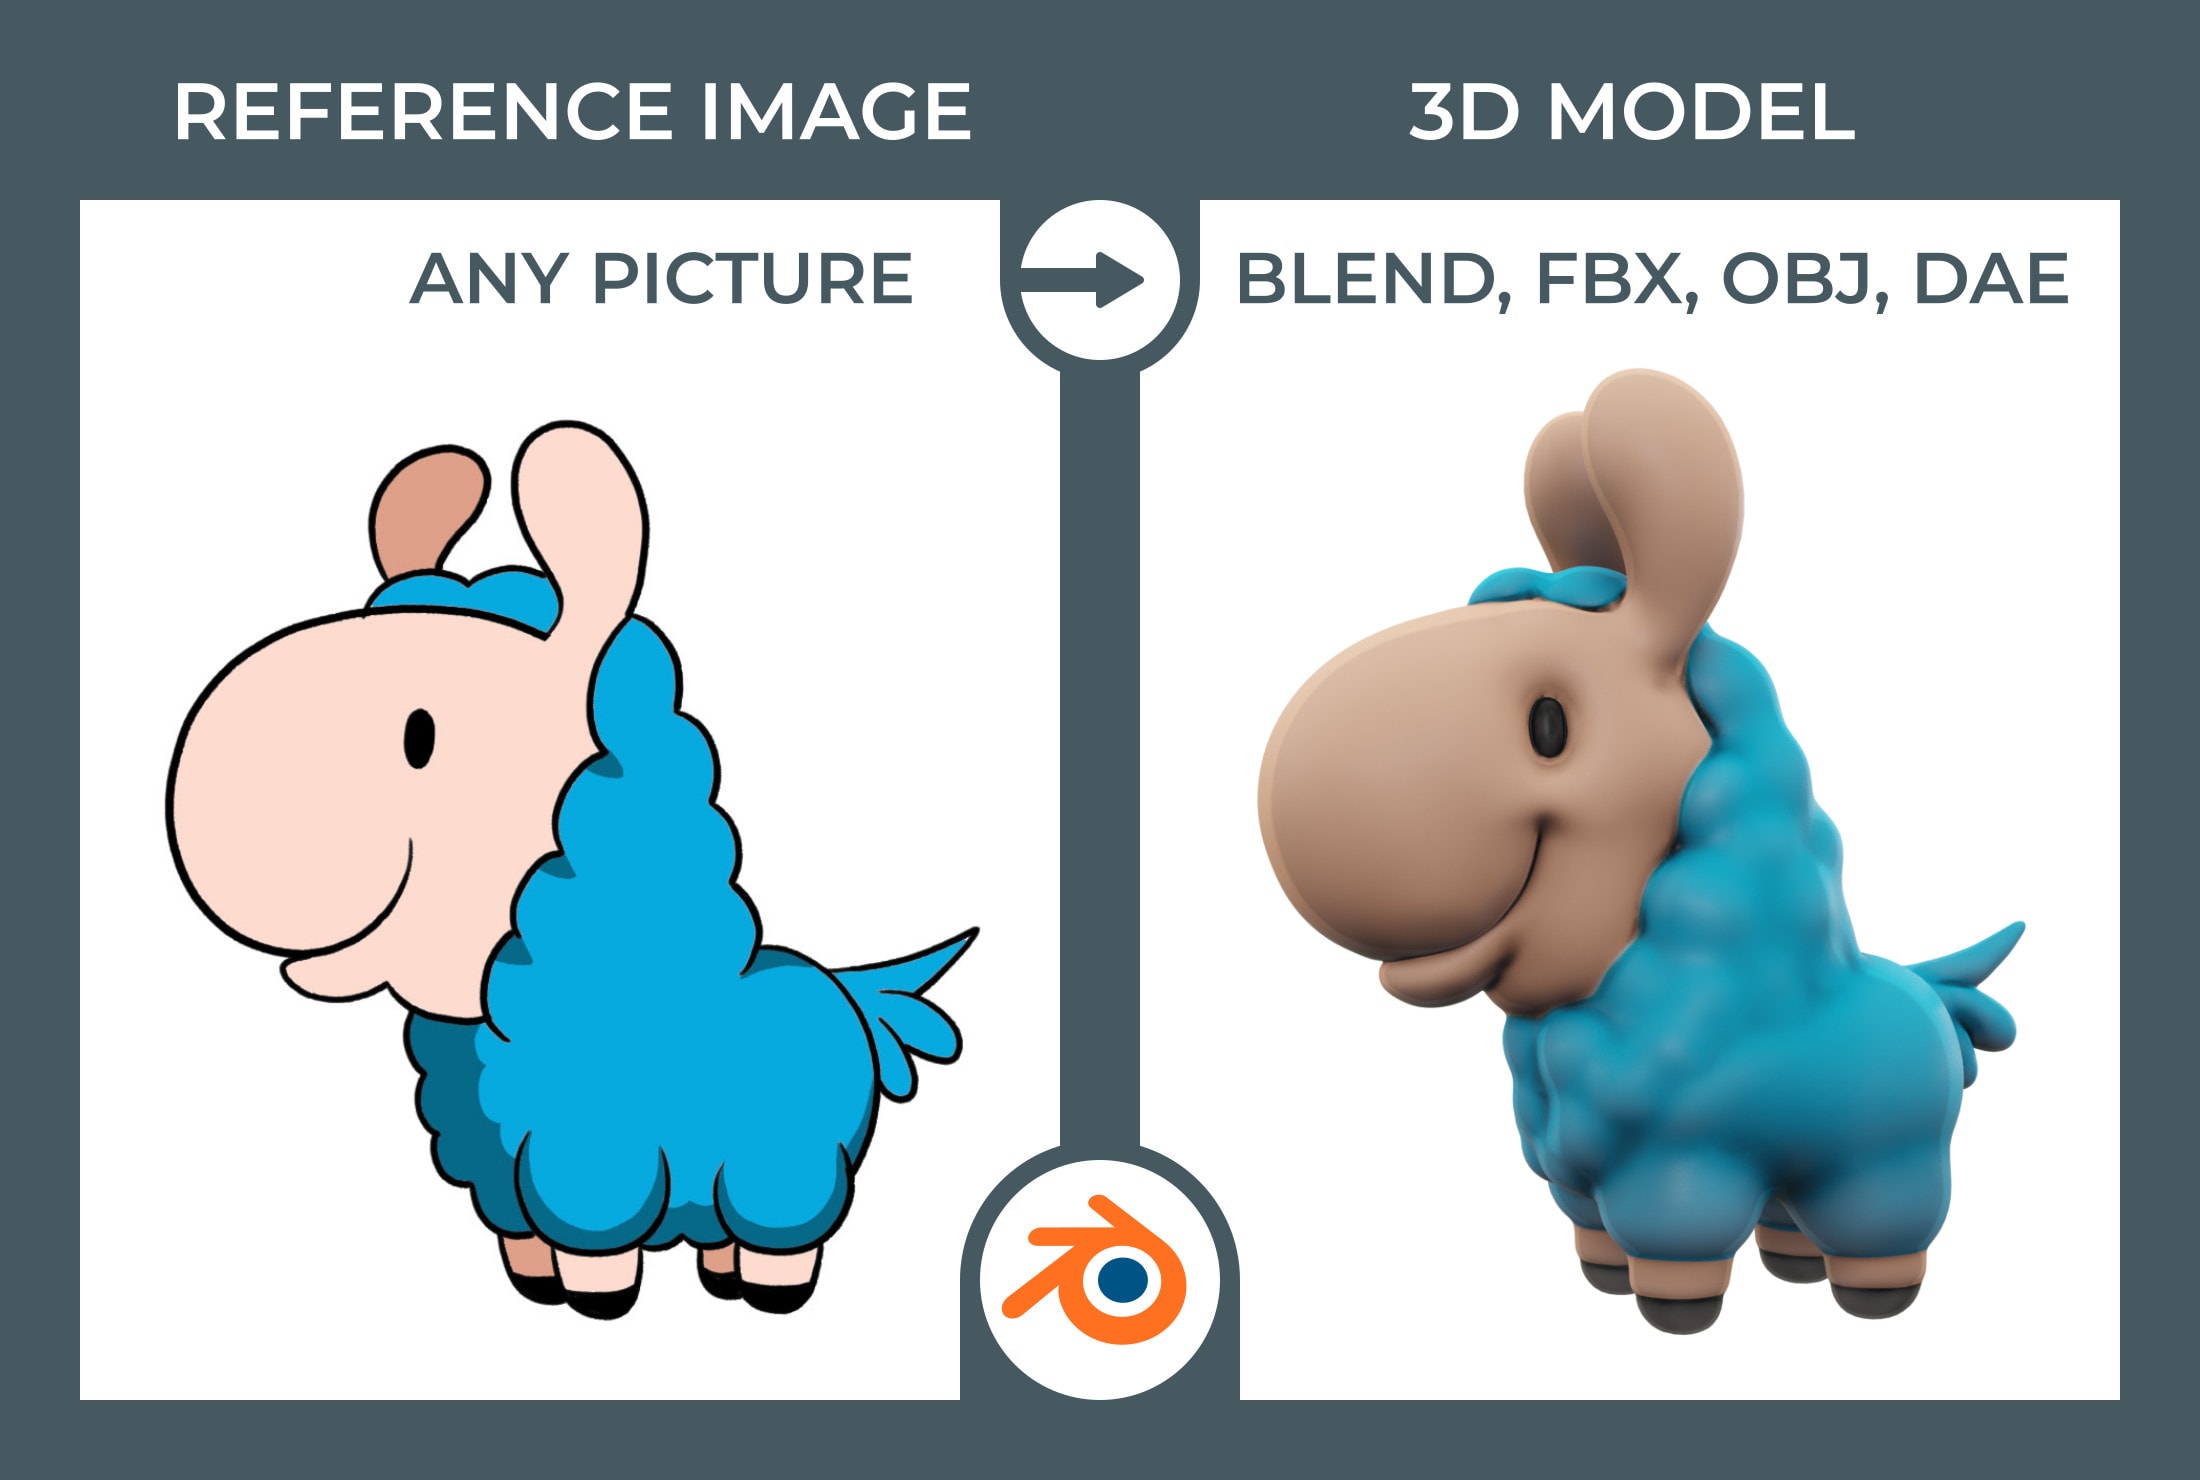
- Start with a Reference: Import a reference image into Blender to guide your modeling. This can be a sketch or photo of the clothing item.
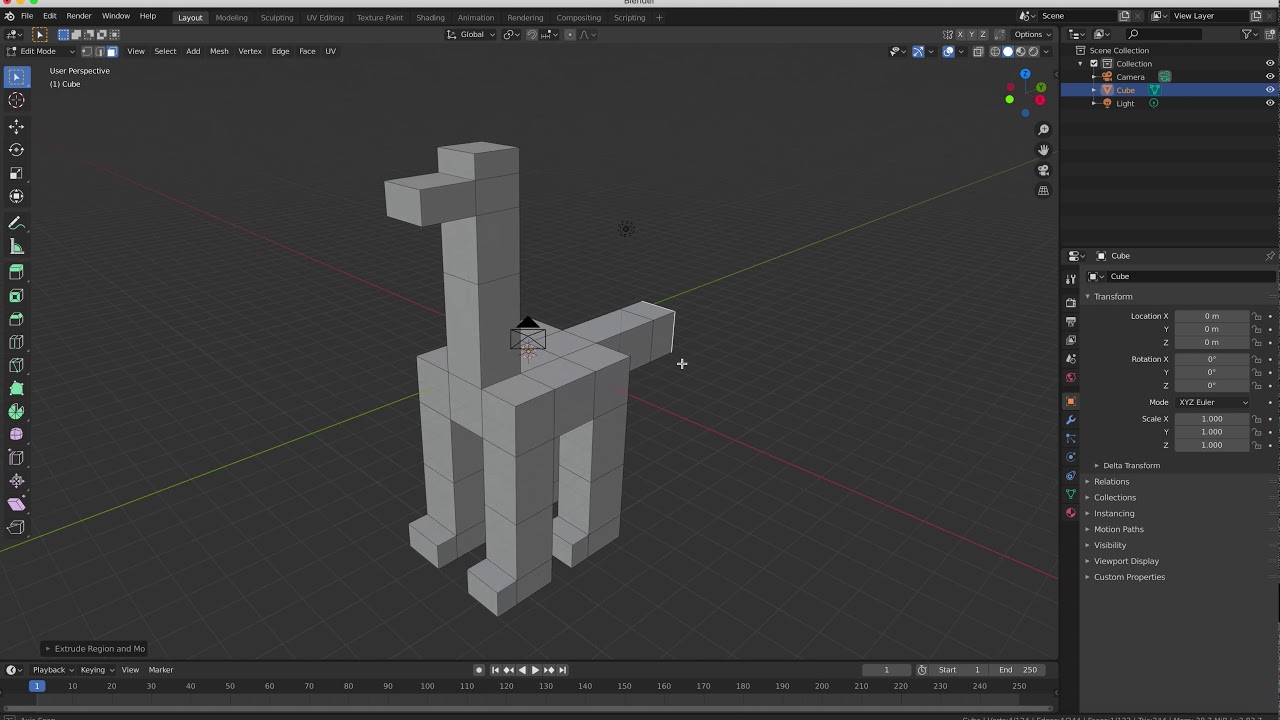
- Create a Base Mesh: Begin with a simple shape that matches the basic outline of your clothing piece. Planes for shirts or cylinders for sleeves are good starting points.
- Edit the Mesh: Use the edit mode to refine the shape of your mesh. Add loops, extrude areas for details, and use proportional editing for larger shape adjustments.
- Detailing: Once the basic shape is in place, add finer details like seams, buttons, and folds. The knife tool and sculpting tools are useful for this phase.
- UV Unwrapping: After modeling, unwrap your clothing model for texturing. This process projects the 3D model onto a 2D plane for easier texturing.
- Texturing: Apply materials and textures to your clothing. Use Blender\"s shading nodes to create realistic fabric materials.
- Rigging and Weight Painting: If the clothing is for an animated model, rigging and weight painting are necessary. They ensure that the clothing moves naturally with the model.
This method requires more time and effort but results in unique, highly customizable clothing that fits your model perfectly.

_HOOK_
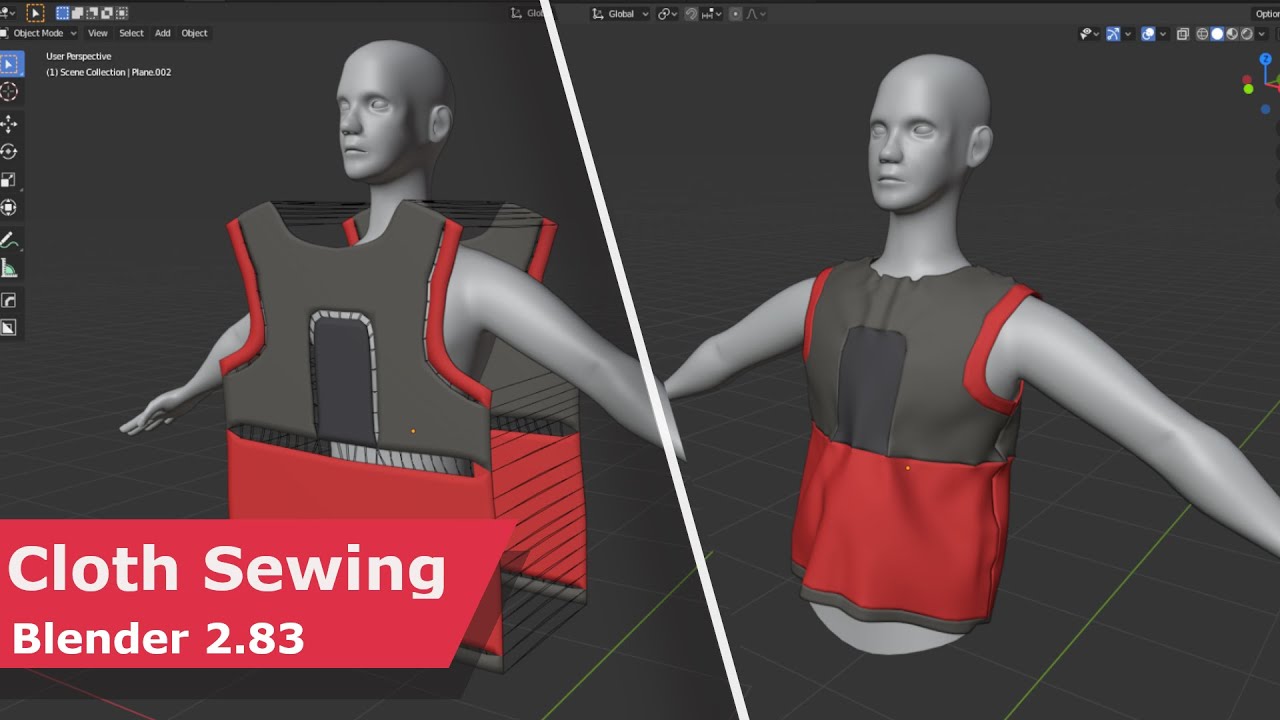
Using Cloth Simulation for Realistic Clothing Dynamics
Blender\"s cloth simulation feature enables the creation of clothing with realistic dynamics, perfect for animations where fabric movement is crucial. Here\"s how to implement it:
- Prepare Your Model: Ensure your character model is ready and appropriately rigged before starting the cloth simulation process.
- Create the Cloth Mesh: Model the clothing as you would for any static garment. It\"s important that the mesh is detailed enough for realistic folding and creasing.
- Configure Cloth Simulation: With the clothing mesh selected, go to the Physics tab and choose Cloth. This action turns your mesh into a cloth simulation object.
- Adjust Cloth Properties: Fine-tune properties such as Mass, Structural Stiffness, and Bending to match the type of fabric you\"re simulating. Different fabrics require different settings for realism.
- Collision Settings: Ensure your character model is set as a Collision object in the Physics tab. This step prevents the cloth from passing through the model.
- Pin Parts of the Cloth: For garments that need to stay in place, like the waistband of pants, use Vertex Groups to pin these areas during the simulation.
- Run the Simulation: Play the animation to see how the cloth behaves. Adjust settings and repeat as necessary to achieve the desired effect.
- Bake the Simulation: Once satisfied with the simulation, bake it to save the animation data, ensuring consistent playback.
This process allows for dynamic interaction between your character and their clothing, adding a layer of realism to animations that static models can\"t achieve.

Texturing and Material Setup for Clothes
Adding textures and materials to clothes in Blender transforms them from basic meshes into lifelike garments. Here\"s a step-by-step guide to achieve realistic clothing textures:
- UV Unwrapping: Before texturing, your clothing mesh needs UV unwrapping. This process maps the 3D surface of your clothing into a 2D layout, allowing for accurate texture application.
- Selecting Textures: Choose textures that closely match the fabric of your clothing. You can create your own textures or find them online. Consider texture resolution for close-up renders.
- Applying Textures: In the Shading tab, add a new material to your clothing mesh. Use the Image Texture node to apply your chosen fabric texture to the material.
- Adjusting Material Properties: Modify the material\"s properties to match the fabric\"s characteristics. Play with the Specular, Roughness, and Bump settings to make the texture look more realistic.
- Subsurface Scattering: For materials like skin or wax, consider adding subsurface scattering to simulate light passing through the material. This can add a subtle touch of realism to lighter fabrics.
- Adding Details: Use additional texture maps like bump maps, displacement maps, or normal maps to add details such as fabric weave, stitches, or embossed patterns.
- Testing in Different Lighting: To ensure your clothing looks good in any scene, test the material under various lighting conditions. Adjust as necessary to maintain realism.
With careful texturing and material setup, you can create clothes in Blender that look just as good in a virtual world as they do in the real one.
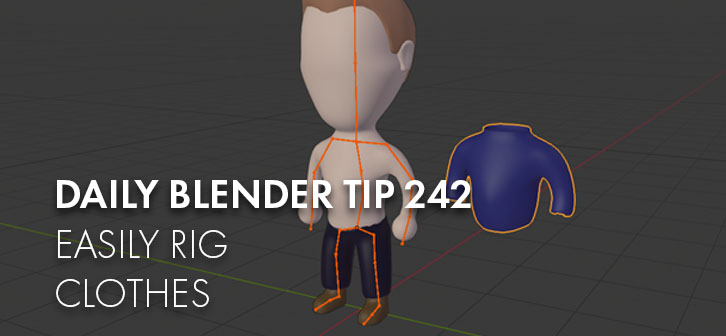
Attach Clothes to Character in Blender for Animation
\"Discover the incredible possibilities of Blender, the ultimate 3D animation software. Dive into the fascinating world of digital art and enhance your skills with our step-by-step tutorial. Unleash your creativity and bring your imagination to life!\"
Put Clothing on Models in Blender
\"Revamp your wardrobe and create your own fashion statement with our trendy Clothing video. Get inspired by the latest fashion trends, learn how to mix and match different pieces, and elevate your style game. Say goodbye to boring outfits and hello to a stylish and confident you!\"
Weight Painting for Clothes Rigging
Weight painting is a crucial step in rigging clothes in Blender, ensuring that garments move realistically with your character. This process involves assigning weights to vertices, dictating how much each part of the clothing is influenced by the bones of the rig.
- Parent the Clothing to the Rig: Start by parenting your clothing mesh to the character\"s armature. Use the \"Armature Deform\" option with automatic weights as a starting point.
- Select the Clothing Mesh: Enter Weight Paint mode by selecting the clothing mesh and switching to Weight Paint mode in the top left of the 3D viewport.
- Understanding the Colors: In Weight Paint mode, Blender uses a gradient from blue (no influence) to red (full influence) to show how much a bone affects the mesh. Areas in green to yellow have partial influence.
- Adjusting Weights: Use the brush tools to manually adjust the weights. Paint red to increase a bone\"s influence on the mesh or blue to decrease it. This ensures that the clothing deforms naturally with the character\"s movements.
- Focus on Problem Areas: Pay special attention to areas where clothing naturally folds or stretches, such as elbows, knees, and waistlines. These areas may require finer adjustments for realistic movement.
- Test the Rig: Regularly pose the character to test how the clothing moves. Adjust the weight painting as needed to correct any unnatural deformations.
- Use the Mirror Option: If your model is symmetrical, use the mirror option to speed up the weight painting process, ensuring consistent weights on both sides of the clothing.
Weight painting for clothes rigging is a blend of art and technique, requiring patience and practice to perfect. However, the result is clothing that moves believably with your character, adding a layer of realism to your animations.

Finalizing and Exporting Your Model with Clothes
Once you\"re satisfied with your model and its attire, the final steps are to prepare and export it for use in games, animations, or other 3D applications. Here\"s how to finalize and export your Blender project efficiently.
- Double-Check the Model: Ensure all clothing is correctly rigged, textured, and positioned on your character. This includes final adjustments to weight painting and verifying that all materials render correctly.
- Apply Modifiers: Before exporting, apply any necessary modifiers to your clothing and character model. This step is crucial for modifiers like Mirror or Subdivision Surface to ensure they are properly incorporated into the exported file.
- Clean Up the Mesh: Remove any unnecessary vertices, edges, or faces to optimize the model. Use the Decimate modifier if needed to reduce polygon count without significantly altering the model\"s appearance.
- Set the Origin Point: Adjust the origin point of your model to a logical location, such as the base of the feet or the center of the geometry. This aids in positioning the model in other software.
- Check the Scale and Rotation: Apply the scale and rotation (Ctrl+A in Object mode) to ensure that your model\"s size and orientation are consistent with other models in your project.
- Exporting Your Model: Choose the appropriate file format for your project (e.g., FBX for game engines, OBJ for general 3D use). Go to File > Export and select your format, ensuring to include all necessary data such as textures and armature.
- Testing in Target Environment: Import your exported model into the destination software or game engine to test functionality. Ensure the model, textures, and animations behave as expected.
Finalizing and exporting your Blender model with clothes is a critical step in the 3D modeling process, requiring attention to detail to ensure compatibility and performance in its intended application.

Tips for Efficient Workflow in Clothing Design
Creating clothing in Blender can be a detailed and time-consuming process. Here are some tips to streamline your workflow, making the process more efficient and enjoyable.
- Use Reference Images: Always have reference images on hand to guide your modeling. This can help speed up the process and ensure accuracy in your designs.
- Start Simple: Begin with basic shapes and gradually add details. This approach makes it easier to adjust the overall form before committing to finer details.
- Reuse and Modify Existing Models: Don\"t start from scratch if you don\"t have to. Modifying existing models can save time and provide a solid foundation for your designs.
- Organize Your Project: Use layers or collections to organize different parts of your clothing and model. This makes it easier to focus on specific areas without distraction.
- Utilize Modifiers: Modifiers like Mirror, Solidify, and Subdivision Surface can automate repetitive tasks and add complexity without manual modeling.
- Learn Shortcuts: Blender\"s keyboard shortcuts can dramatically speed up your workflow. Spend time learning these to make your design process more efficient.
- Batch Actions: When possible, perform actions like unwrapping or applying materials to multiple items at once to save time.
- Regularly Save Iterations: Save different versions of your project as you make significant changes. This allows you to experiment freely with the assurance that you can revert if necessary.
- Test Frequently: Regularly test your clothing on your model, especially if using simulations or animations. Early testing can identify issues before they become major problems.
By adopting these practices, you can make your clothing design process in Blender not only faster but also more enjoyable and productive.

_HOOK_
Advanced Techniques: Sculpting and Detailing Clothes
Sculpting and detailing clothes in Blender involve a series of steps to add realism and intricacy to your models. This advanced technique allows for the creation of high-resolution clothing details such as folds, wrinkles, and fabric textures. Follow these steps to master sculpting and detailing clothes in Blender:
- Prepare Your Base Mesh: Start with a clean, topology-friendly base mesh of your clothing item. Ensure it roughly conforms to your character model. Use modifiers like Subdivision Surface to smooth out the mesh.
- Enter Sculpt Mode: With the clothing mesh selected, switch to Sculpt Mode. Use the various sculpting brushes to define large folds and basic shapes of the clothing. The Grab, Inflate, and Smooth brushes are particularly useful at this stage.
- Add Multiresolution Modifier: For finer details, add a Multiresolution Modifier to your clothing mesh. This allows you to sculpt at a higher detail level without affecting the base mesh\"s topology.
- Detailing: Use the Draw, Crease, and Pinch brushes to add fine details such as creases and wrinkles. Pay attention to fabric behavior and reference images for realism. The Cloth brush can be particularly effective for creating realistic fabric folds.
- Custom Brushes: For intricate fabric textures and patterns, consider using custom brushes or alpha textures. These can be applied in Sculpt Mode to imprint detailed designs onto the clothing surface.
- Dynamic Topology: For areas requiring intricate details without concern for mesh topology, use Dynamic Topology to dynamically subdivide the mesh as you sculpt.
- Retopology: After sculpting, you may need to retopologize your mesh for animation or game asset creation. This process involves creating a new, low-poly mesh that captures the details of your sculpted model.
- Baking Normals: To preserve the details of your high-poly sculpt in a low-poly model, bake the normals. This involves transferring the details of the sculpted mesh onto a normal map, which can be applied to the low-poly version.
- Texturing and Shading: Finally, apply materials and textures to your clothing. Use the details from your sculpt as a guide to paint realistic textures or use the baked normal map to enhance the low-poly model\"s details.
By mastering these advanced sculpting and detailing techniques, you can create stunningly realistic and detailed clothing for your Blender models. Remember to frequently save your work and experiment with different brushes and settings to achieve the best results.
Common Problems and Solutions in Clothing Modeling
Modeling clothes in Blender can sometimes present challenges, especially for beginners. Here are some common problems encountered during clothing modeling and practical solutions to overcome them:
- Clipping Through the Body
- Solution: Use the Shrinkwrap modifier or the Solidify modifier to ensure the clothing conforms closely to the body model. Adjusting the offset can also help prevent clipping. For fine-tuning, switch to Sculpt Mode and gently nudge the vertices away from the body.
- Unnatural Cloth Dynamics
- Solution: Utilize Blender’s Cloth Simulation to create realistic cloth behavior. Tweak the cloth physics properties, such as stiffness and damping, to achieve more natural movement. Weight painting can also influence how the cloth behaves in relation to the model\"s movements.
- Difficulties with Wrinkles and Folds
- Solution: Sculpt Mode is your friend here. Use brushes like Grab, Crease, and Pinch to manually add folds and wrinkles. For dynamic wrinkles, consider using the Cloth Brush with a cloth simulation to automatically generate realistic folds.
- Texture Stretching
- Solution: Proper UV unwrapping is essential to prevent texture stretching. Use Blender’s UV editing tools to lay out the UV map efficiently. Applying a Subdivision Surface modifier before texturing can also help by increasing the mesh density.
- Rigging and Weight Painting Challenges
- Solution: Ensure your clothing mesh is properly rigged to the character’s armature. Use Automatic Weights for a starting point, then fine-tune the weight painting manually to ensure the cloth moves naturally with the character.
- High Poly Count
- Solution: To reduce the poly count without losing detail, use the Decimate modifier or retopologize your mesh. This is crucial for game assets or when aiming for real-time performance. Consider baking high-resolution details onto normal maps for low-poly models.
- Seams and Edges Not Matching
- Solution: To align seams and edges properly, use the Snap tool during editing to align vertices. For seamless joins, the Data Transfer modifier can project details from one mesh to another, helping to create a unified look.
Encountering issues is a normal part of the learning process in 3D modeling. With patience and practice, these solutions can help you overcome common hurdles in clothing modeling, leading to more polished and realistic results.
READ MORE:
Resources and Tutorials for Further Learning
Expanding your skills in clothing modeling within Blender can be an exciting journey. There are numerous resources and tutorials available that cater to all skill levels, from beginners to advanced users. Here’s a curated list of resources to further your learning and help you master the art of creating realistic clothing in Blender:
- Blender Official Documentation: Always a great starting point, the official Blender documentation offers comprehensive guides on all features, including cloth simulation and sculpting tools.
- BlenderNation: BlenderNation provides daily updates on Blender and a wide array of tutorials, including many focused on clothing and character design.
- YouTube Tutorials: YouTube is an invaluable resource for visual learners. Channels like Blender Guru, CG Geek, and FlippedNormals offer detailed tutorials on clothing modeling, from basic techniques to advanced sculpting and simulation.
- Blender Artists Forum: Joining the Blender Artists community can be very beneficial. It\"s a place to ask questions, share your work, and receive feedback from experienced Blender users.
- Online Courses: Platforms like Udemy, Coursera, and Skillshare feature courses on Blender that often include sections on character modeling and clothing. These can range from free to paid courses, depending on your budget and depth of information required.
- Books: For those who prefer written guides, books like \"Blender 3D Cookbook\" and \"Learning Blender: A Hands-On Guide to Creating 3D Animated Characters\" offer step-by-step instructions on various Blender techniques, including clothing modeling.
- CG Cookie: This learning platform is dedicated to Blender and offers in-depth courses and tutorials focused on character creation, including clothing and accessories.
Remember, practice and patience are key. Explore these resources at your own pace, experiment with different techniques, and don\"t be afraid to tackle challenging projects. With time, you\"ll see significant improvements in your ability to model realistic clothes in Blender.
Embark on a creative journey to elevate your Blender skills with our comprehensive guide on adding clothes to models. Unleash your potential and bring your characters to life with realism and flair. Happy modeling!