Topic how to model anything in blender: Embark on a creative journey to master Blender, the powerful, free 3D modeling software, with our step-by-step guide on how to model anything from scratch.
Table of Content
- How can I use Blender\'s beginner modeling tools to create any object?
- Understanding Blender\"s Interface
- Setting Up Your Project
- Basic Modeling Tools and Techniques
- Advanced Modeling Techniques
- Working with Modifiers
- Texturing and Materials
- YOUTUBE: The SIMPLE Way to Model ANYTHING in Blender
- Lighting Your Scene
- Rendering and Exporting
- Common Modeling Projects
- Tips for Efficient Workflow
How can I use Blender\'s beginner modeling tools to create any object?
To use Blender\'s beginner modeling tools to create any object, follow these steps:
- Start with a basic shape: Open Blender and select a basic primitive shape like a cube, sphere, or cylinder to serve as the foundation for your model.
- Enter Edit Mode: Press the
Tabkey or click on theEdit Modebutton at the bottom of the 3D Viewport to enter Edit Mode. This allows you to manipulate the vertices, edges, and faces of the selected object. - Modify the shape: Use the various editing tools available in Blender\'s toolbar or shortcut keys to modify the shape of your object. These tools include extrusion, scaling, rotation, smoothing, and more.
- Add details: Add more complexity to your model by creating additional geometry or sculpting details. You can use tools like the
Subdivision Surfacemodifier,Beveltool,Loop Cuttool, or even sculpting brushes for organic shapes. - Texture and materials: Once you\'re satisfied with the shape, you can apply textures and materials to your model. Blender provides a wide range of materials and the ability to create custom textures.
- UV unwrapping: If you want to apply textures to specific parts of your model, you\'ll need to UV unwrap it. This process involves assigning 2D coordinates to each vertex on the surface of the model for accurate texture mapping.
- Lighting and rendering: Set up lights to illuminate your scene and position the camera to get the desired view. Then, choose a rendering engine (e.g.,
CyclesorEevee) and adjust the rendering settings accordingly. - Render your model: Click on the
Rendertab and chooseRender ImageorRender Animationto generate the final render of your model.
Remember, modeling in Blender requires practice and experimentation. Don\'t be afraid to try different techniques and tools to achieve your desired result. With time and experience, you\'ll become more proficient in creating complex models in Blender.
READ MORE:
Understanding Blender\"s Interface
Blender\"s interface may seem daunting at first, but it\"s designed to streamline the 3D modeling process. Here\"s how to navigate it effectively:
- 3D Viewport: This is where your model appears and where most of the modeling work happens. You can rotate, zoom, and pan the view using mouse controls.
- Properties Panel: Located to the right of the 3D Viewport, this panel contains various tabs for modifying objects, materials, world settings, and more.
- Outliner: On the top right, the Outliner displays a hierarchical list of all objects in the scene, making it easy to select and manage them.
- Timeline: At the bottom, the Timeline allows you to manage animations, setting keyframes, and adjusting timing.
- Tool Shelf and Properties Shelf: Accessible by pressing T and N in the 3D Viewport, these shelves offer quick access to tools and properties related to the selected object or scene.
Start by customizing the interface to suit your workflow. Blender allows you to drag and resize panels, create new ones, and even save your layout. Familiarizing yourself with these elements will significantly enhance your modeling efficiency in Blender.
Setting Up Your Project
Properly setting up your Blender project lays the foundation for a smooth modeling process. Follow these steps to start on the right foot:
- Choose Your Project Settings: Open Blender and select \"File\" > \"New\" to start with a clean slate. Consider the units (metric or imperial) and scale according to the size of the object you\"re modeling.
- Set Up the Scene: Adjust your scene\"s lighting and camera angle from the \"World\" and \"Camera\" tabs in the Properties Panel. This preliminary setup can help visualize the final product.
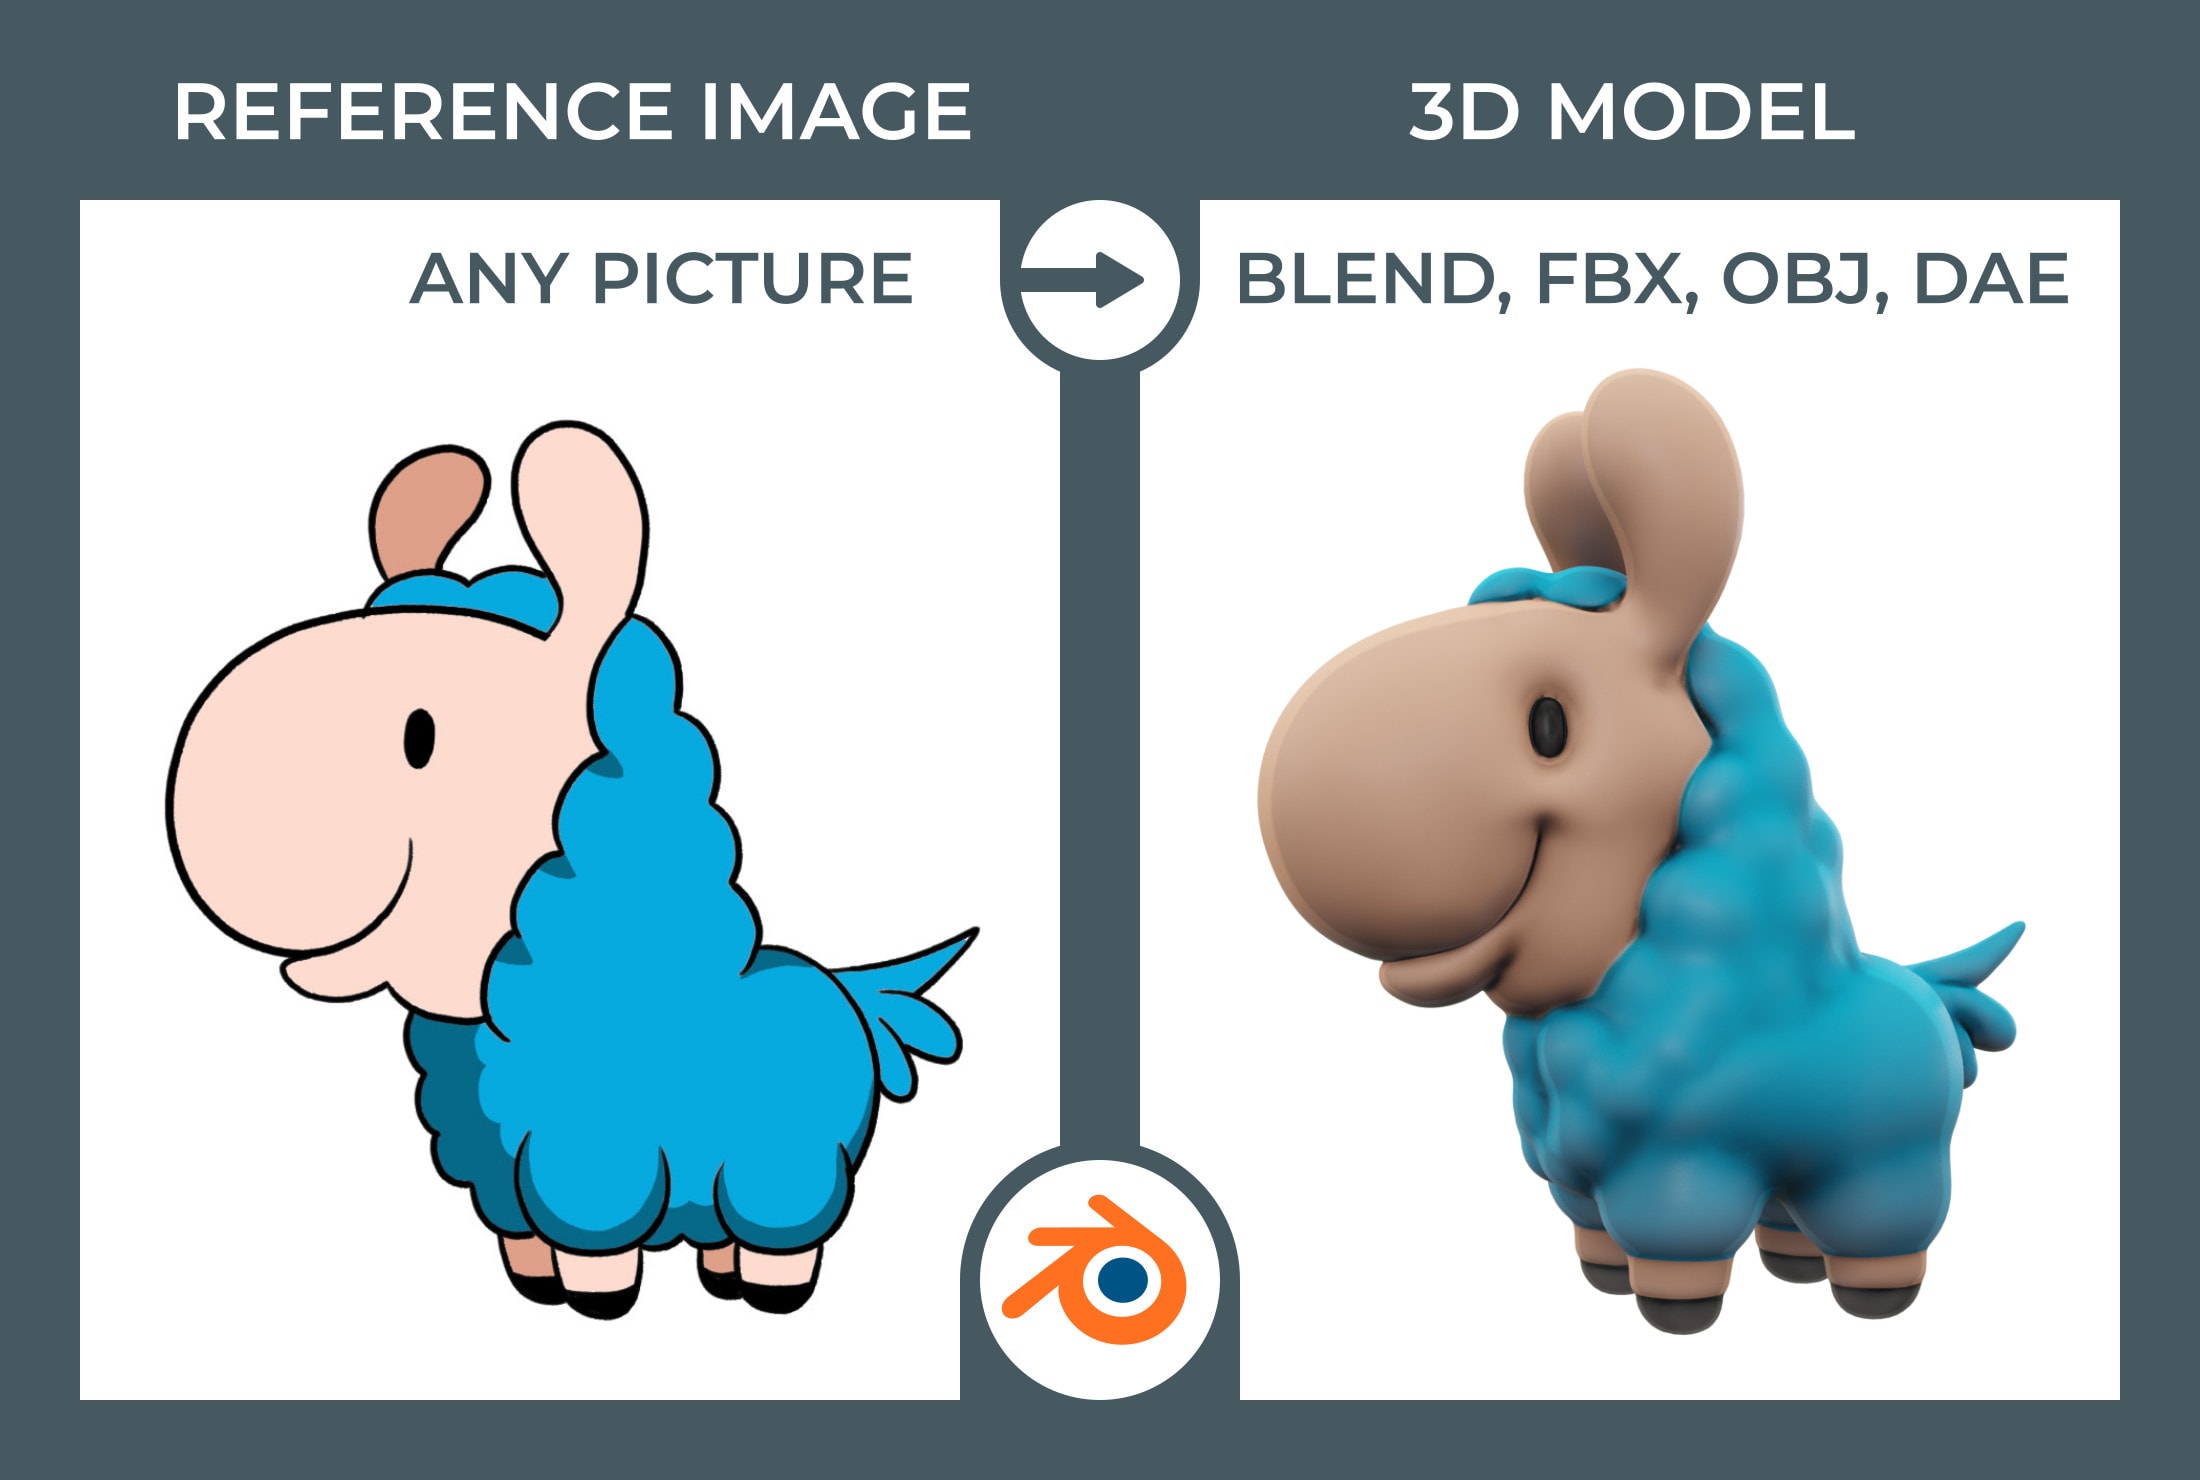
- Import Reference Images: If you\"re working from a reference, import it via \"Add\" > \"Image\" > \"Reference\". Place it in the 3D Viewport where it won\"t interfere with your modeling.
- Customize Interface for Efficiency: Arrange your workspace by dragging and dropping panels to access tools you frequently use. Save your layout for future projects.
- Save Your File: Regularly saving your project is crucial. Use \"File\" > \"Save As\" to name your project and choose a save location. Remember to periodically save your progress.
With your project set up, you\"re now ready to begin the exciting journey of bringing your 3D models to life in Blender.

Basic Modeling Tools and Techniques
Starting with Blender\"s basic modeling tools and techniques is crucial for newcomers. These foundational skills are the building blocks for creating any 3D model:
- Object Mode vs. Edit Mode: Learn the difference between these two modes. Object Mode is for selecting, moving, and scaling your entire model, while Edit Mode allows you to manipulate individual vertices, edges, and faces.
- Extruding: One of the most used techniques in 3D modeling. Select a face or edge and press E to extrude, creating new geometry connected to the original.
- Loop Cut and Slide: Press Ctrl+R and click on an object to add a loop cut. Scroll the mouse wheel to increase the number of cuts. This is great for adding detail to your model.
- Merging Vertices: To combine vertices, select them, press M, and choose a merging option. This is useful for closing gaps or simplifying geometry.
- Subdivision Surface Modifier: This modifier smooths your model by subdividing its geometry. It\"s excellent for creating organic shapes with minimal initial geometry.
Practice these techniques to develop a solid foundation in 3D modeling. As you become more comfortable, you\"ll find it easier to explore more complex tools and create intricate models in Blender.

Advanced Modeling Techniques
Once you\"re comfortable with the basics, dive into Blender\"s advanced modeling techniques to elevate your projects. These methods allow for more complexity and detail in your models:
- Sculpting: Switch to Sculpt Mode to mold your mesh like clay. This is ideal for organic models like characters and creatures. Use various brushes to add texture and fine details.
- Boolean Operations: Combine or subtract mesh objects with Boolean modifiers. This technique is perfect for creating complex shapes that would be difficult to model manually.
- Retopology: For high-poly models, retopology is essential to create a lower-poly version that maintains the original shape. Use the Shrinkwrap modifier and snapping tools to simplify meshes without losing detail.
- Proportional Editing: This tool allows you to move a vertex and have surrounding vertices move with it, based on a falloff. It\"s useful for making smooth, organic adjustments to your model.
- Shader Nodes: Learn to use Blender\"s node-based material and shader system to create complex surfaces and textures. Experiment with nodes to achieve realistic or stylized looks for your models.
These advanced techniques require patience and practice but offer greater control and precision in your modeling. Mastering them will enable you to tackle any project with confidence.
_HOOK_
Working with Modifiers
Modifiers in Blender are tools that non-destructively alter your mesh, offering a versatile way to enhance and manipulate models. Here’s how to effectively use modifiers in your projects:
- Subdivision Surface Modifier: Use this to smooth your model by increasing the number of polygons, making it appear more detailed and polished.
- Boolean Modifier: Combine, intersect, or subtract objects to create complex shapes. This modifier is essential for hard-surface modeling and creating intricate designs.
- Array Modifier: Duplicate your model along a specified axis, creating a sequence of objects. It’s perfect for making repeated elements, like a chain or a staircase.
- Mirror Modifier: Create a symmetrical model by mirroring it across an axis. This is extremely useful for objects with symmetry, reducing the work by half.
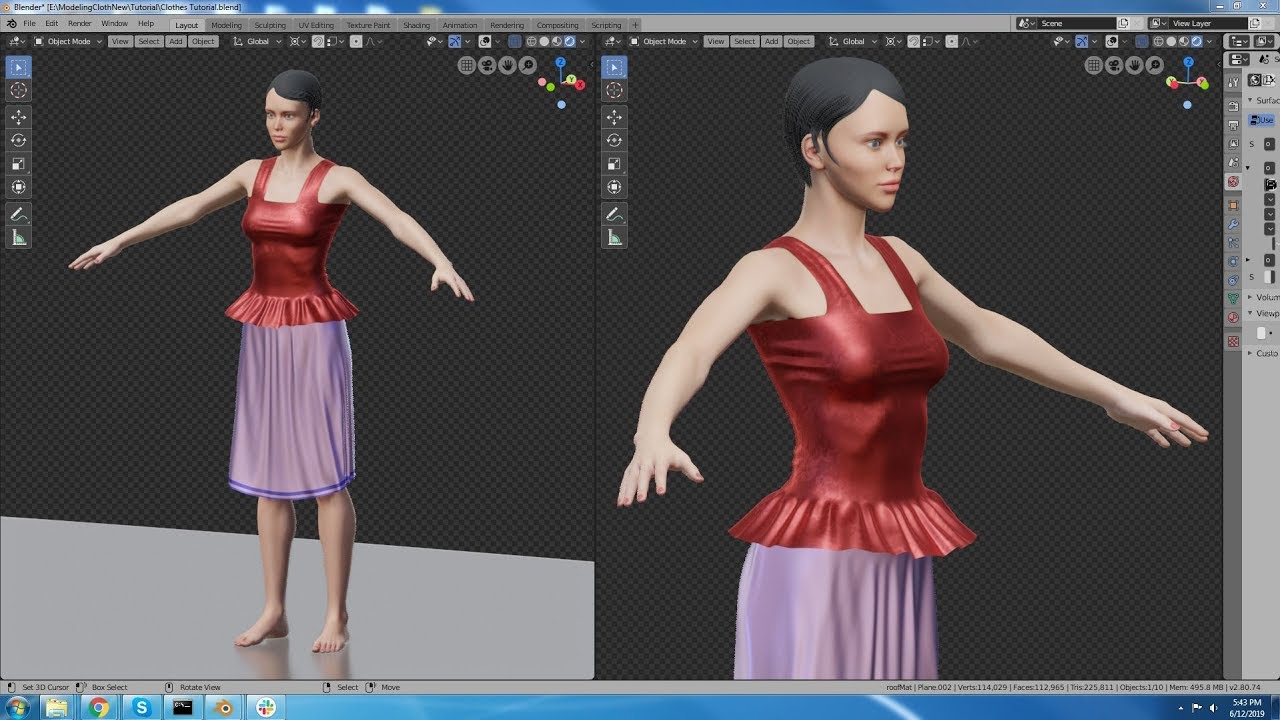
- Solidify Modifier: Add thickness to thin objects, ideal for clothing, leaves, or any model that requires volume.
- Armature Modifier: Rig your model with bones for animation. This modifier links your mesh to a skeleton, allowing for realistic movement and poses.
Modifiers can be stacked and combined in various ways to achieve desired effects. Experimenting with different modifiers will greatly expand your modeling capabilities in Blender.

Texturing and Materials
Texturing and applying materials are crucial steps in bringing your Blender models to life, adding realism and depth. Follow these steps to master texturing and materials:
- Understanding Materials: Materials define the color, roughness, and metallic properties of your object. In the Shader Editor, you can create materials using nodes to achieve the desired appearance.
- Applying Textures: Textures are images or procedural patterns that add detail to your material. You can use them for color (diffuse), bump mapping (for surface texture), or displacement (for geometry changes).
- UV Unwrapping: To apply a texture correctly, you need to unwrap your model, which projects the 3D surface onto a 2D plane. This allows you to accurately map your texture to the model.
- Using Nodes for Advanced Materials: Blender\"s node-based system allows for complex material creation. Combine different nodes like Mix Shader, Glossy BSDF, and Image Texture to create realistic or stylized materials.
- Texture Painting: For detailed control, use Blender\"s texture painting tools to paint directly onto your model. This is ideal for adding specific details like wear and tear, logos, or other decals.
Experiment with different materials and textures to understand their impact on the look of your model. With practice, you\"ll be able to create stunning, lifelike textures that make your models stand out.
The SIMPLE Way to Model ANYTHING in Blender
\"Discover the magic of Blender, the powerful software that allows you to bring your imagination to life! Watch our video and unlock a world of endless possibilities in animation, visual effects, and game development. Start creating breathtaking 3D masterpieces today!\"
How to Model Anything in 3D - Modeling Fundamentals
\"Step into the fascinating world of 3D modeling and witness the incredible potential it holds for creating stunning visual experiences. Our video guides you through the fundamentals of 3D modeling, providing you with the knowledge and inspiration needed to bring your ideas to life. Explore the endless creativity of 3D modeling and unleash your artistic vision!\"
Lighting Your Scene
Proper lighting is essential in 3D modeling to convey the mood, enhance realism, and highlight the details of your models. Here\"s how to effectively light your scene in Blender:
- Types of Lights: Blender offers several types of lights, including Point, Sun, Spot, and Area lights. Each has its use, from simulating sunlight to creating focused beams or soft, diffused lighting.
- Three-Point Lighting: A classic setup that uses three lights (key, fill, and back) to fully illuminate your model and avoid flat lighting. This technique provides depth and dimension to the scene.
- Using HDRI for Environment Lighting: High Dynamic Range Images (HDRI) can be used for realistic environmental lighting. They simulate light from the real world, providing a natural and dynamic light setup.
- Shadows and Reflections: Adjust the properties of your lights to control shadow softness and reflection intensity. This can add realism or artistic effect, depending on your project\"s needs.
- Color and Intensity: Experiment with light color and intensity to set the mood of your scene. Warmer lights can create a cozy atmosphere, while cooler lights can evoke a night or overcast day.
Lighting can dramatically change the appearance of your scene, so take your time to experiment with different setups. Understanding and mastering lighting will take your Blender projects to the next level.

Rendering and Exporting
Rendering transforms your 3D scene into a final image or animation, while exporting allows you to use your models in other applications. Here are key steps to effectively render and export your projects in Blender:
- Choosing the Right Renderer: Blender offers different rendering engines like Eevee (real-time) and Cycles (ray-traced). Choose based on your needs for speed or photorealism.
- Setting Up Camera and Resolution: Position your camera to capture the desired angle of your scene. Adjust the resolution and aspect ratio in the Output Properties for your final image or animation.
- Adjusting Render Settings: Explore render settings to optimize quality and speed. Adjust samples, light bounces, and denoising options for the best balance between render time and quality.
- Animation Settings: If rendering an animation, set your frame range, frame rate, and output format in the Output Properties.
- Exporting Your Model: To use your model in other software, export it in formats like OBJ, FBX, or STL. Go to \"File\" > \"Export\" and select your preferred format, ensuring you check any necessary options for compatibility.
Rendering and exporting are the final steps in your Blender project, allowing you to share your creations with the world or use them in various applications. Mastering these processes will complete your 3D modeling toolkit.

Common Modeling Projects
Blender is versatile, capable of a wide range of modeling projects. Whether you\"re a beginner or an experienced modeler, here are some common projects to practice your skills:
- Character Modeling: Creating characters, from humans to fantastical creatures, focusing on anatomy, expression, and dynamic poses.
- Architectural Visualization: Designing buildings and interior spaces, applying textures, lighting, and furniture to create realistic or conceptual architectural scenes.
- Product Design: Modeling objects with precision, from consumer electronics to furniture, emphasizing detail and material realism.
- Environmental Scenes: Crafting landscapes, cityscapes, or any natural or urban environment, integrating elements like vegetation, water, and atmospheric effects.
- Animation and Rigging: Bringing models to life through animation. This includes rigging characters or objects for motion and creating engaging animations.
- Game Assets: Creating models for video games, focusing on optimization for real-time performance while maintaining visual quality.
These projects can help you explore the breadth of Blender\"s capabilities and develop a portfolio that showcases your skills and creativity.

_HOOK_
READ MORE:
Tips for Efficient Workflow
Maximizing efficiency in Blender not only speeds up your modeling process but also enhances creativity. Here are some tips to streamline your workflow:
- Use Shortcuts: Blender\"s keyboard shortcuts save time. Memorize shortcuts for common actions like switching modes (Tab for toggling between Object and Edit mode), adding objects (Shift+A), and saving (Ctrl+S).
- Organize Your Scene: Use layers and collections to organize your models. This makes it easier to manage complex scenes and quickly select, hide, or isolate parts of your project.
- Customize the Interface: Tailor Blender\"s layout to fit your workflow. You can rearrange panels and windows to access tools you use most frequently with ease.
- Use Modifiers Wisely: Modifiers can be powerful but overusing them may slow down your workflow. Apply modifiers only when necessary and consider applying them permanently if they\"re no longer needed for editing.
- Keep a Clean Topology: A clean, well-organized mesh makes editing easier and avoids problems with texturing and animating. Use tools like loop cuts and the knife tool to maintain control over your mesh structure.
- Reuse Assets: Build a library of models, materials, and textures that you can reuse in future projects. This not only saves time but also helps maintain consistency across your work.
Adopting these practices will help you work more effectively in Blender, allowing you to focus on creativity and achieving high-quality results.
With these insights and techniques, you\"re well on your way to mastering Blender. Embrace the journey, experiment freely, and watch as your 3D modeling skills bring imaginative worlds to life.