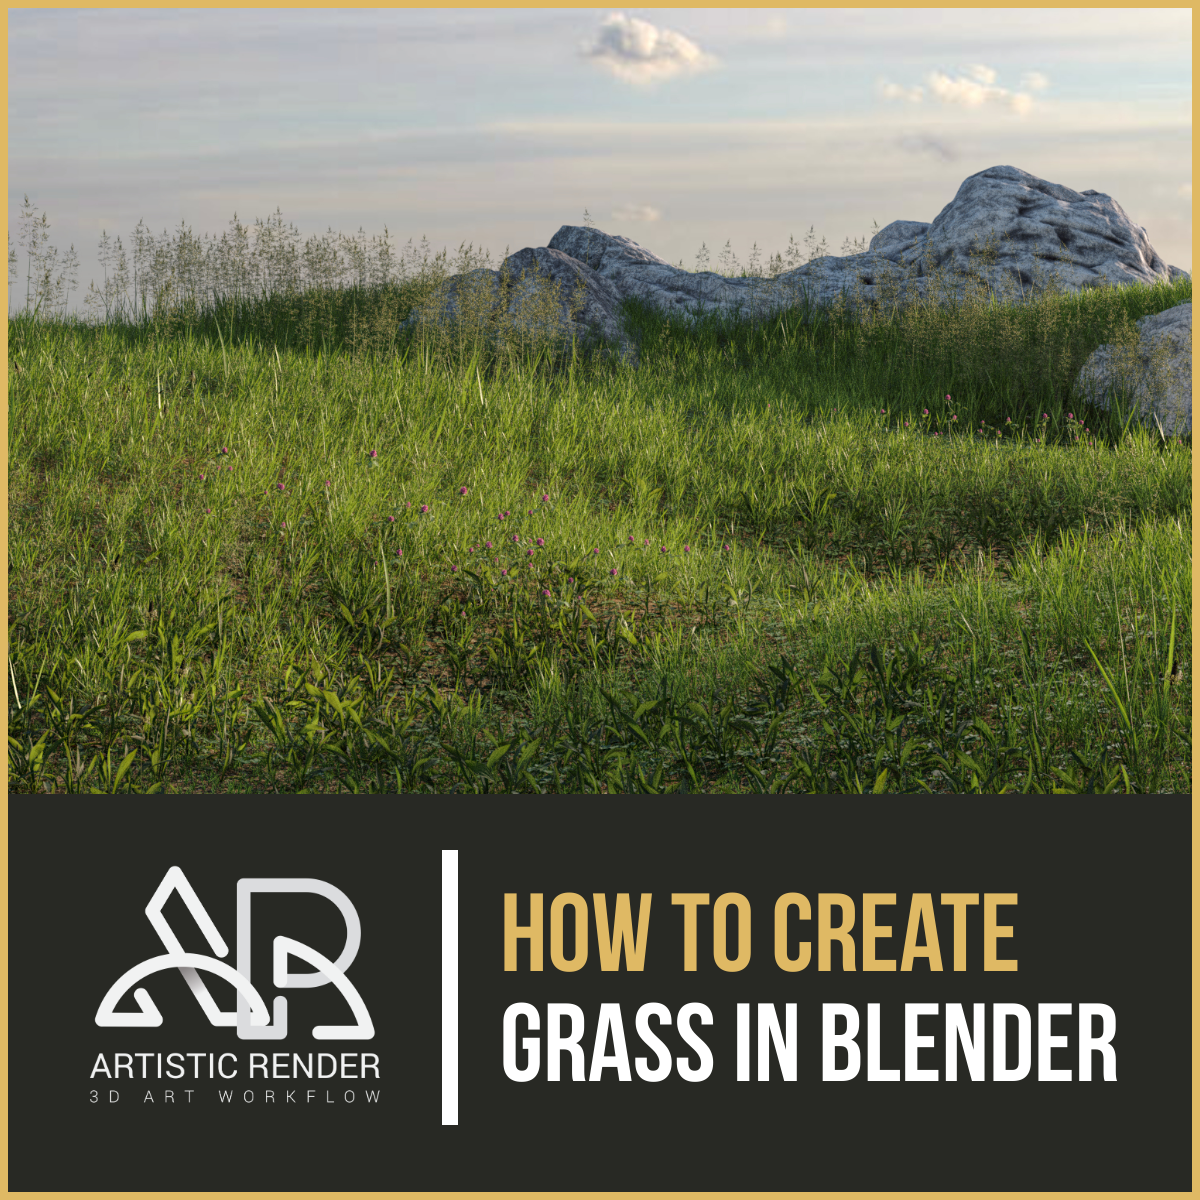
Topic how to make grass blender: Discover the secrets to creating lush, realistic grass in Blender with our comprehensive guide. Perfect for artists seeking to enhance their 3D landscapes and scenes.
Table of Content
- How to create grass in Blender quickly?
- Setting Up the Scene and Basic Shapes
- Modifiers and Texturing Techniques
- Shader Adjustments for Realism
- Creating and Managing Particle Systems for Grass
- Utilizing Weight Painting for Landscape Variation
- Dynamic Grass: Animation and Interaction
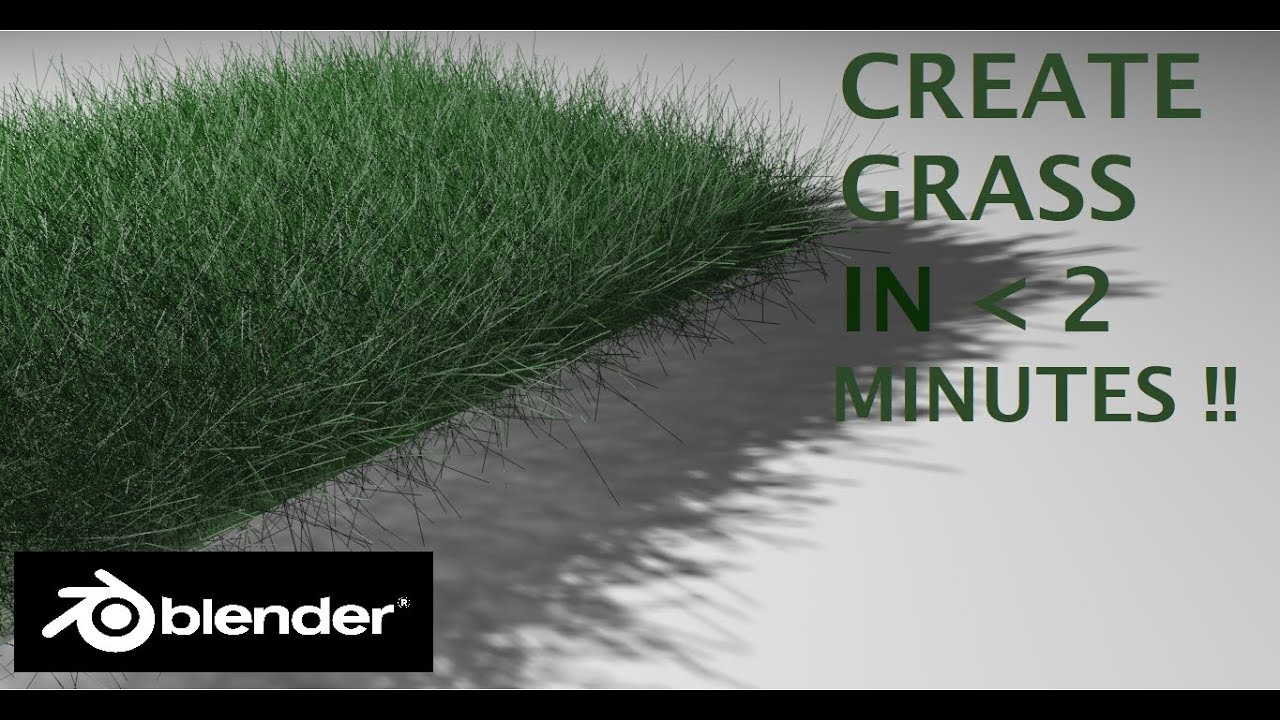
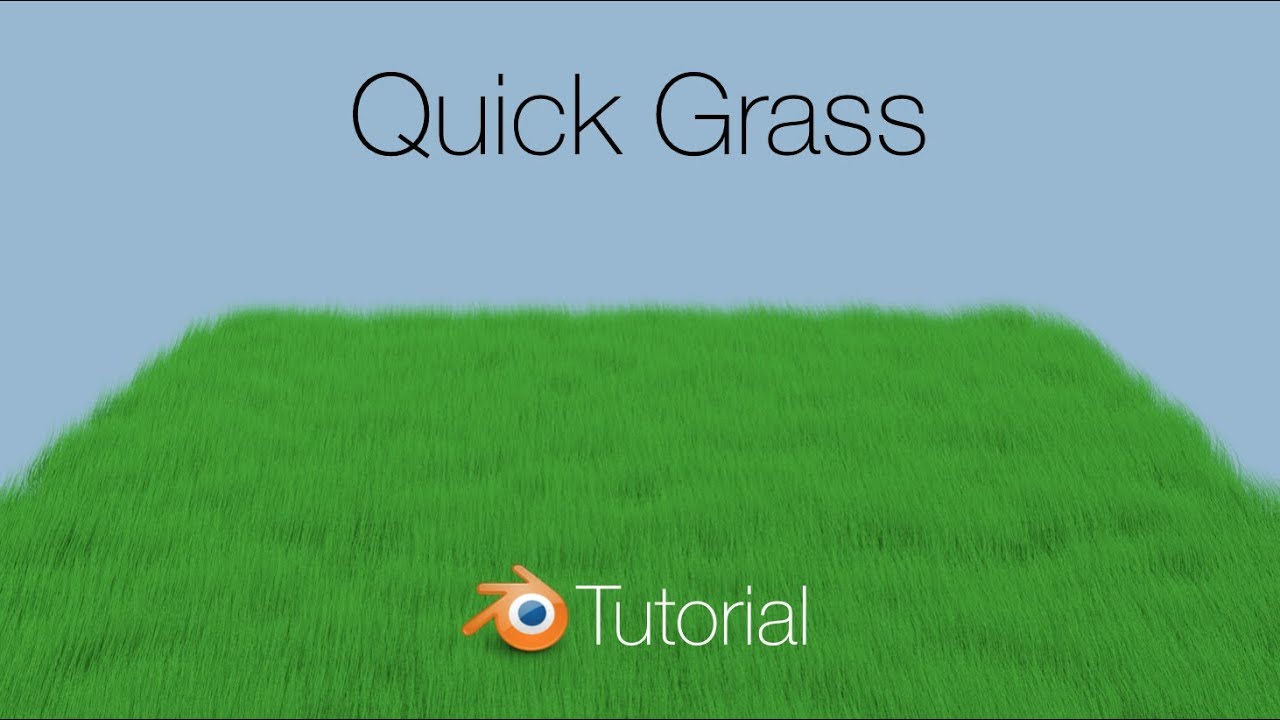
- YOUTUBE: Create Grass in 40 Seconds | Blender Tutorial
- Optimization Tips for Larger Scenes
- Advanced Techniques: Using Hair Particles and Mesh Particles
- Finishing Touches: Lighting and Rendering
How to create grass in Blender quickly?
To create grass in Blender quickly, you can use the following steps:
- Create a new plane in Blender by selecting \"Add\" > \"Mesh\" > \"Plane\".
- Enter Edit Mode by pressing the \"Tab\" key.
- Select all the vertices of the plane by pressing \"A\" multiple times until all vertices are highlighted.
- Extrude the vertices by pressing \"E\" and then moving the mouse to create height variations.
- Exit Edit Mode by pressing the \"Tab\" key.
- In the Object Properties panel, navigate to the \"Particle\" tab.
- Click on the \"New\" button to create a new particle system.
- Under the \"Emission\" section, set the type to \"Hair\".
- Adjust the \"Number\" to control the density of the grass.
- Enable the \"Advanced\" checkbox.
- Scroll down to the \"Length\" section and adjust the values to control the length variation of the grass.
- Under the \"Render\" section, set the \"Render As\" option to \"Object\".
- Click on the \"Object\" dropdown and select \"Collection\".
- Click on the \"Instance Collection\" dropdown and select a grass object or collection to use as the instances of the grass.
- Adjust the scale and rotation values to vary the appearance of the grass.
- Adjust other settings like \"Children\" and \"Clumping\" to achieve the desired look.
- Render the scene to see the generated grass.
By following these steps, you can quickly create grass in Blender using the particle system.
READ MORE:
Setting Up the Scene and Basic Shapes
Creating realistic grass in Blender starts with setting up your scene properly. This foundational step is crucial for achieving high-quality results. Follow these detailed steps to ensure your scene is ready for grass creation.
- Open Blender and create a new scene.
- Delete the default cube by selecting it and pressing X, then confirm deletion.
- Add a plane to act as your ground by going to Add > Mesh > Plane. Scale the plane as needed to match the size of your scene.
- Subdivide the plane to increase its detail. Go to Edit Mode, select the plane, right-click, and choose Subdivide. Increase the number of subdivisions in the bottom left panel for finer detail.
- Optional: Apply a Displacement modifier to the plane for more natural ground variation. Use a noise texture for the displacement source to simulate uneven ground.
This setup provides a solid base for adding grass to your Blender scene. With the ground prepared, you can move on to creating and distributing grass using Blender\"s powerful particle systems or other methods detailed in subsequent sections.
Modifiers and Texturing Techniques
To create realistic grass in Blender, modifiers and texturing techniques play a crucial role. This section will guide you through applying these methods to enhance the realism and detail of your grass.
- Subdivision Surface Modifier: Begin by adding a Subdivision Surface modifier to your grass mesh to smooth it out and increase the number of vertices for a more natural look. Adjust the subdivision levels according to the desired detail and performance balance.
- Displacement Modifier: For adding variation and realism to the grass blades, use a Displacement modifier with a noise texture. This will help in creating the uneven, natural appearance of grass. Control the strength and scale of the displacement to achieve the best result.
- Weight Painting: Utilize weight painting to control the density and distribution of the grass. This allows for varied lengths and densities in different areas, simulating natural growth patterns.
- Particle System: Use a Particle System to distribute the grass blades over your terrain. Adjust the density, randomness, and distribution settings to create a natural-looking grass field. The children settings within the particle system can be tweaked for variation in size and shape of the grass blades.
- Texturing: Apply a diffuse texture to give color to your grass. Enhance the realism by using a combination of textures for the base color, roughness, and specular highlights. UV mapping techniques can be employed to accurately apply these textures on the grass blades.
- Shader Editor: For more advanced control over the appearance of your grass, dive into the Shader Editor. Combine nodes such as Principled BSDF, Translucent, and Glossy shaders to mimic the complex light interactions on grass surfaces. Use a Fresnel node to simulate the way light reflects off grass at different angles.
Remember, the key to achieving realistic grass lies in the subtle variations and interactions of light on the surface. Experiment with different modifiers, textures, and shader setups to find the perfect look for your scene.
Shader Adjustments for Realism
Shader adjustments are essential for adding realism to your grass in Blender. This involves manipulating the material properties to simulate real-world light interactions with grass. Follow these steps to refine your grass shader for a more lifelike appearance.
- Principled BSDF Shader: Start with the Principled BSDF shader as your base. This shader is versatile and can mimic a wide range of materials, including the subtle light reflection and absorption characteristics of grass.
- Base Color: Adjust the base color to match the type of grass you\"re aiming to create. Use reference images to pick accurate colors. Remember that grass can vary in color from vibrant green to yellowish tones, depending on the environment and health of the grass.
- Subsurface Scattering: Grass blades have a semi-translucent property where light penetrates slightly before being scattered out. Increase the Subsurface Scattering value to simulate this effect, giving your grass a more natural, soft look when light hits it.
- Roughness and Specular: Tweak the roughness to control the shininess of the grass. A lower roughness value will make the grass appear wet or glossy, while a higher value will give it a dry, matte finish. Adjust the specular to achieve the right level of reflectivity.
- Translucency: To mimic the way light shines through grass blades, add a Translucent shader and mix it with the Principled BSDF shader using a Mix Shader node. Adjust the mix factor to control the balance between the diffuse and translucent effects.
- Displacement for Detail: For close-up shots where individual blades of grass are visible, use a Displacement node to add micro-detail to the surface of the grass, making it look more textured and realistic.
- Anisotropic Reflections: Grass blades have a directional quality to their surface that affects how they reflect light. Utilize the Anisotropic setting in the Principled BSDF shader to simulate this effect, making the reflections appear more realistic for grass.
By carefully adjusting these shader properties, you can significantly enhance the realism of your grass in Blender. Experiment with different values and combinations to see how they affect the appearance of your grass under various lighting conditions.
Creating and Managing Particle Systems for Grass
Creating realistic grass in Blender often involves using particle systems. These systems allow for the simulation of thousands of individual grass blades efficiently. This section will guide you through setting up and managing particle systems to create lush, realistic grass landscapes.
- Basic Particle System Setup: Start by adding a particle system to your ground mesh. In the Particle Properties panel, choose \"Hair\" as the type. This will represent your grass blades.
- Adjusting Grass Length and Distribution: Within the particle settings, adjust the \"Length\" and \"Number\" parameters to control the height and density of your grass. Use the \"Randomness\" settings to vary the height for a more natural appearance.
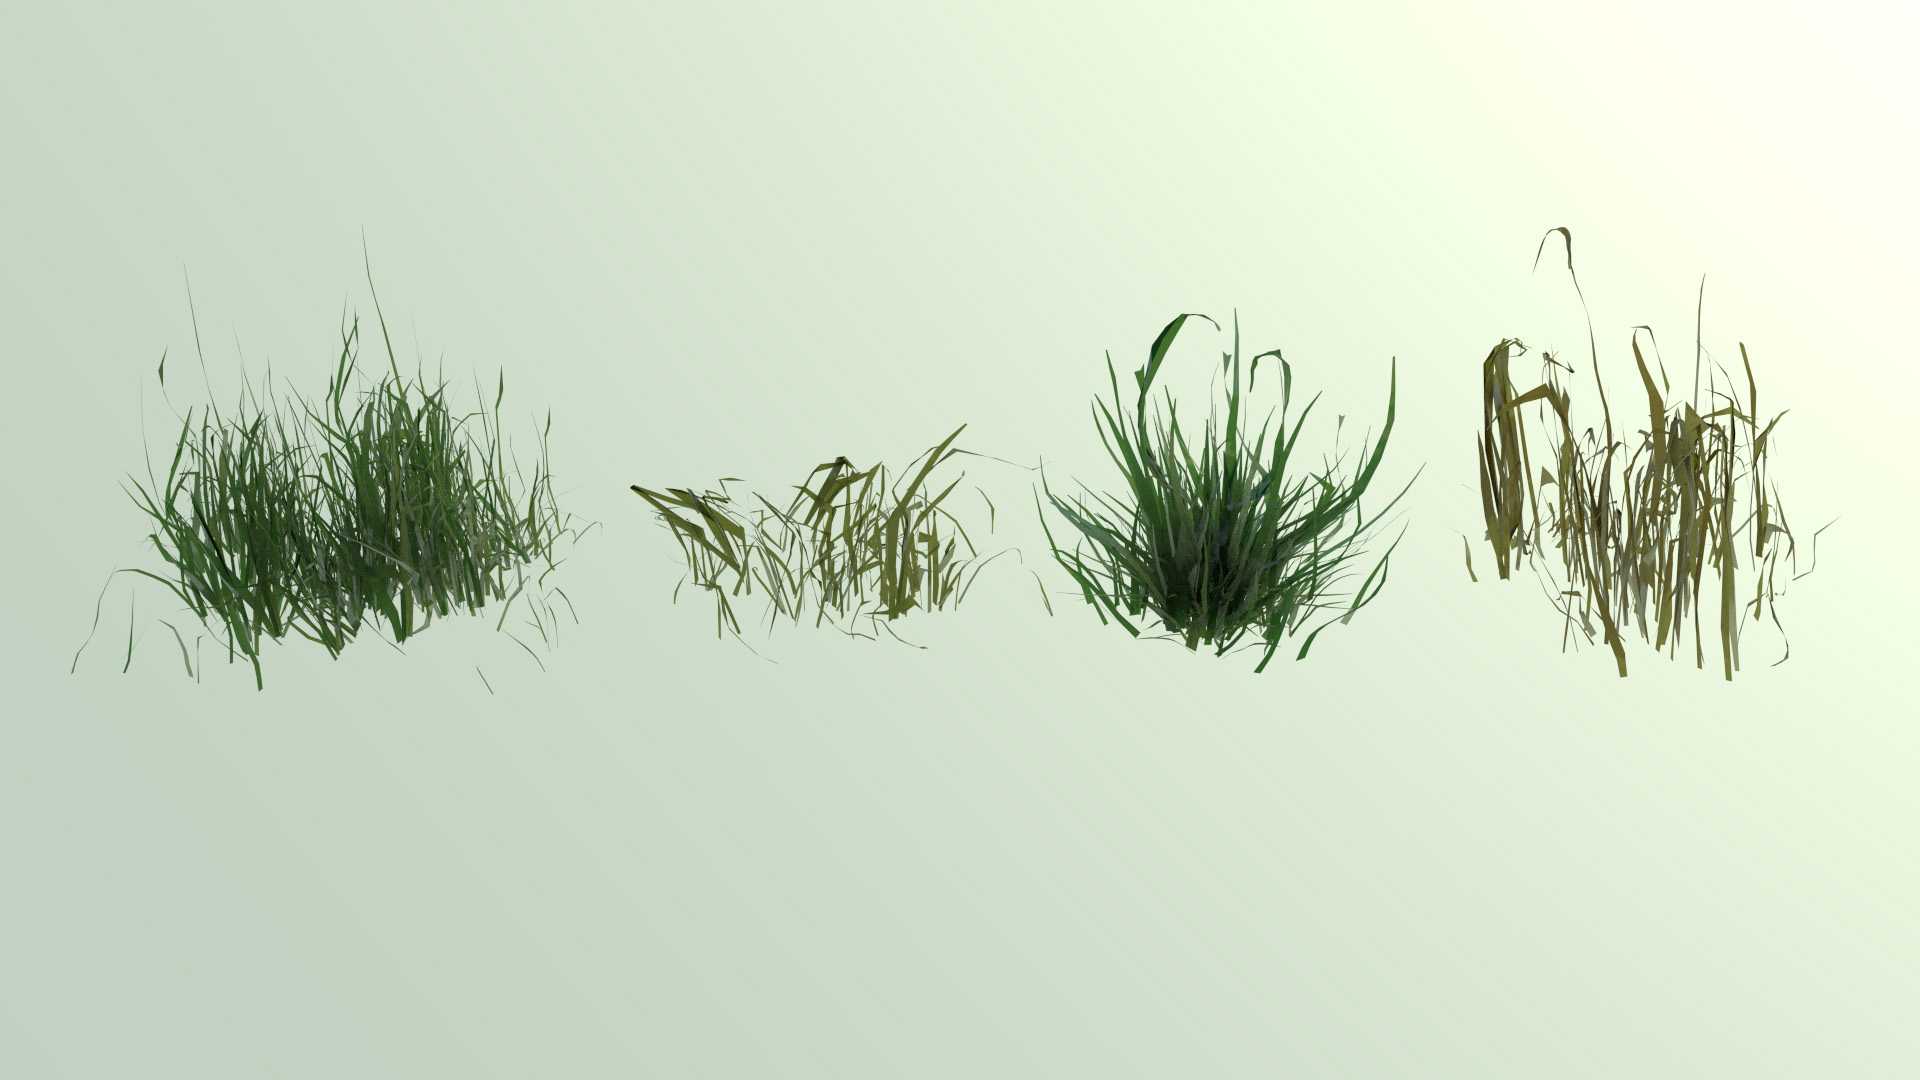
- Custom Grass Blade Models: For more realism, create a custom grass blade model and use it as the render object for your particle system. In the \"Render\" section of the particle settings, select \"Object\" and choose your custom grass blade model from the \"Instance Object\" dropdown.
- Variation with Children: Enable \"Children\" in the particle settings to generate additional blades around each parent particle, greatly increasing the apparent density of your grass without a significant performance hit. Use \"Interpolated\" or \"Simple\" children depending on the desired effect and adjust settings like \"Clump\", \"Shape\", and \"Radius\" for variation.
- Weight Painting for Distribution Control: Use weight painting on your ground mesh to control where grass grows. In weight paint mode, paint areas where you want more or less grass. Then, in the particle settings under \"Vertex Groups\", assign your weight paint group to the \"Density\" field to influence particle distribution based on the painted weights.
- Using Force Fields for Dynamic Effects: Add force fields like wind to your scene to simulate movement in your grass. Adjust the strength and direction of the force field to create natural-looking motion in the grass blades.
- Optimization for Performance: Manage the performance impact of grass in large scenes by adjusting the \"Display Amount\" in the viewport settings and using the \"Simplify\" option in the render settings. Consider also using level of detail (LOD) techniques for distant grass.
Through careful setup and management of particle systems, you can create vibrant and dynamic grass landscapes in Blender. Experiment with different settings and models to achieve the desired level of realism and performance for your project.

_HOOK_
Utilizing Weight Painting for Landscape Variation
Weight painting is a powerful technique in Blender that allows you to control the distribution and properties of grass across a landscape for more natural variation. This section provides a step-by-step guide on using weight painting to enhance your grassy scenes.
- Entering Weight Paint Mode: Select your landscape mesh and switch to Weight Paint mode. Here, you\"ll use brushes to paint vertex groups, which will influence where and how grass is generated on your terrain.
- Creating Vertex Groups for Grass Distribution: In the Object Data Properties tab, create a new vertex group. This group will be used to define areas of your landscape where grass will be denser or sparser.
- Painting Density: Use the weight paint brush to paint over your landscape. Areas painted with higher weights (red) will have denser grass, while lower weights (blue) will have sparser grass. This allows for the creation of paths, clearings, and variegated terrain.
- Adjusting Grass Length and Distribution: You can also create separate vertex groups for controlling other attributes such as grass length. Simply create another vertex group and paint accordingly. Then, in your particle system settings, assign this group to control the length or any other property of the grass.
- Refining Weight Paints: Use the subtract and smooth brushes to refine your weight painting for more nuanced landscape variation. Subtle changes can make a big difference in achieving a realistic appearance.
- Applying Weight Paint to Particle Systems: In the particle system settings under the Vertex Groups section, assign your created vertex groups to the respective fields like Density and Length. Adjust the influence sliders to fine-tune how much these painted weights affect the grass distribution and properties.
- Previewing and Adjusting in Real-Time: As you paint and adjust your vertex groups, use the particle edit mode to preview how the grass appears on your landscape. Make real-time adjustments to ensure the grass distribution looks natural and matches your vision for the scene.
By mastering weight painting for landscape variation, you can create more dynamic and visually appealing grassy scenes in Blender. This technique offers you precise control over where and how grass appears, enabling the creation of rich, varied environments that look closer to nature.
Dynamic Grass: Animation and Interaction
Animating grass in Blender adds a layer of realism to your scenes, making them feel alive and dynamic. This section explores techniques for animating grass to simulate natural movements and interactions with environmental factors like wind.
- Using Wind Force Fields: Add a Wind force field to your scene to simulate the effect of wind on grass. Position and orient the wind force field to control the direction and intensity of the wind. Adjust the strength and flow of the wind in the Physics properties to get the desired animation effect on the grass.
- Keyframing Force Field Strength: For varying wind effects, such as gusts or lulls, use keyframes to animate the strength and direction of the wind force field over time. This creates a more natural and realistic simulation of how grass reacts to changing wind conditions.
- Soft Body Physics for Grass Blades: Apply soft body physics to individual grass blades or clusters to allow them to bend and sway in response to forces. This method is more resource-intensive but results in very realistic grass movement. Adjust the soft body settings such as mass, stiffness, and damping to control how the grass moves.
- Animating Grass with Shape Keys: Create shape keys for your grass model to manually animate specific movements, such as bending or swaying. This approach gives you precise control over the animation but requires more setup time. Interpolate between different shape keys to simulate motion.
- Particle System Interaction: Ensure that your grass particle system is set to react to physics forces in the scene. This allows the grass generated by the particle system to interact dynamically with wind and other forces for more realistic behavior.
- Using Vertex Groups for Varied Animation: Utilize vertex groups to define areas of the grass that have different physical properties or react differently to forces. This can help simulate variations in grass rigidity and movement across your scene, adding to the realism.
- Optimizing Animation for Performance: For large fields of grass, consider using simplified proxy objects for animation to reduce computational load. Replace them with the detailed grass models only for rendering. Also, explore Blender\"s Simplify options to lower the detail of physics calculations during preview playback.
Animating grass effectively requires a balance between realism and performance. By applying these techniques, you can create scenes where the grass moves and interacts with the environment in a convincing manner, bringing your Blender landscapes to life.
Create Grass in 40 Seconds | Blender Tutorial
This mesmerizing video takes you on a journey through lush green grasslands, capturing the beauty and tranquility of nature. Immerse yourself in the vibrant colors and gentle swaying of the grass, for a truly calming and uplifting experience.
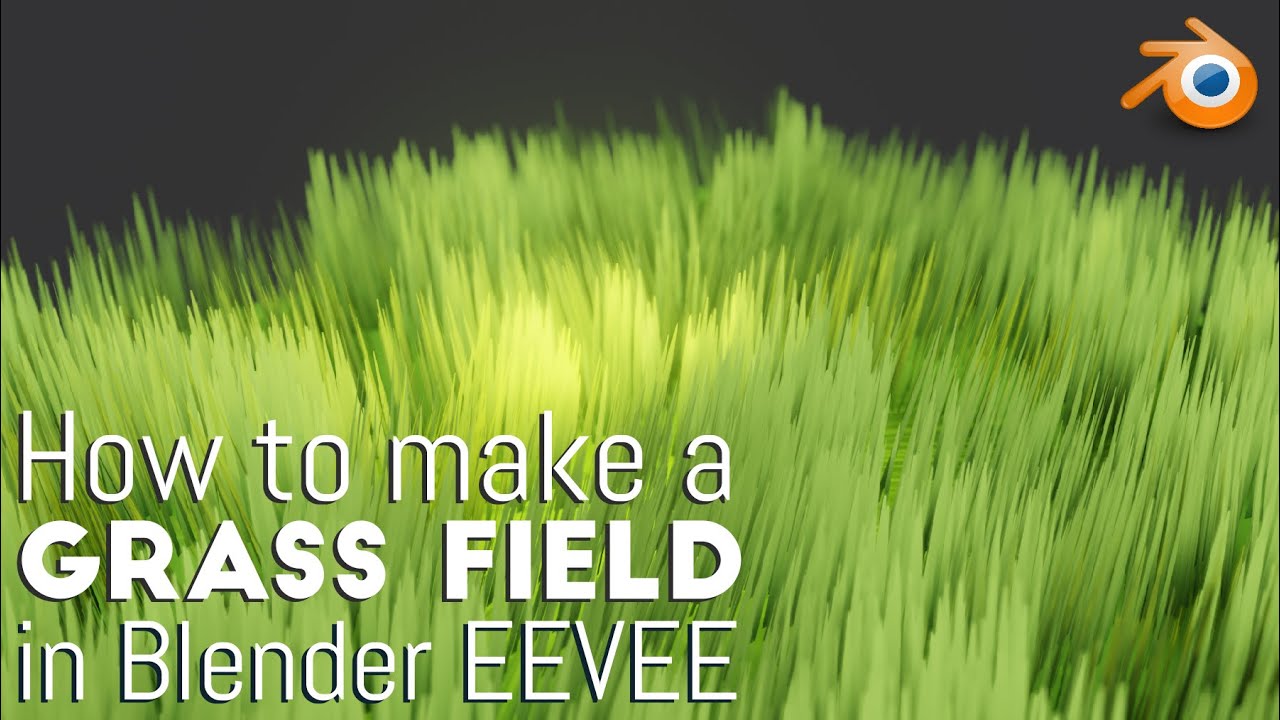
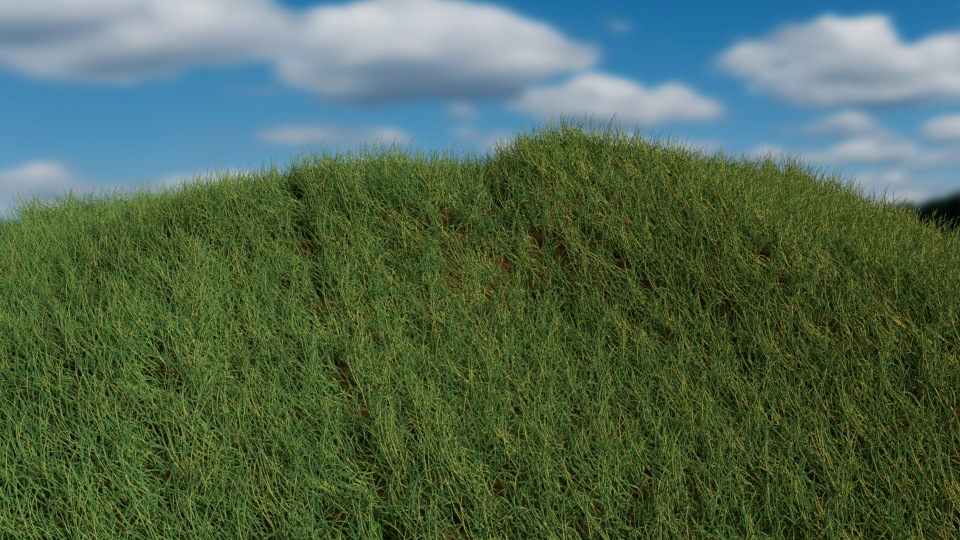
Make Realistic Grass in 1 Minute | Blender
Prepare to be amazed by the astonishing level of realism in this video. Every detail, from the blades of grass to the play of light and shadow, has been meticulously captured to create a breathtakingly lifelike scene. Get ready to feel like you\'re stepping into a world that\'s almost too real to be true!
Optimization Tips for Larger Scenes
Working with large scenes in Blender, especially those with extensive grass and foliage, can be challenging in terms of performance. The following tips will help you optimize your scenes, ensuring smoother workflows and faster render times while maintaining visual quality.
- Use Particle Systems Wisely: Instead of applying grass over the entire landscape, focus on areas visible to the camera. Limit the density and amount of particles in distant areas to save on resources.
- LOD (Level of Detail) Systems: Implement LOD systems for grass and foliage. Use simpler models or lower-resolution textures for objects that are farther from the camera. Blender\"s LOD functionality can help automate this process.
- Instancing: Make use of Blender\"s instancing features to duplicate grass and foliage without significantly increasing memory usage. This is particularly effective for repeating objects across a scene.
- Bake Lighting: For static scenes, consider baking lighting into textures. This can dramatically reduce render times and improve performance by eliminating the need for complex lighting calculations during rendering.
- Simplify Geometry: Simplify the geometry of your grass models, especially if they will be used en masse. Less complex models reduce the computational load during both viewport manipulation and rendering.
- Viewport Optimization: In the viewport, reduce the display amount of particles or switch to bounding box display for heavy models to improve responsiveness during editing.
- Render Optimization: Adjust render settings to optimize performance. This includes reducing the number of light bounces, using denoising, and considering the use of Eevee for previews or final renders when appropriate.
- Use Collections and Layers: Organize your scene using collections and layers. This allows you to easily manage visibility and renderability of different scene elements, optimizing both viewport and render performance.
- Optimize Textures: Reduce the resolution of textures for objects that do not require high detail, and make use of texture compression to decrease file sizes without significantly impacting visual quality.
By implementing these optimization techniques, you can manage large scenes more effectively in Blender, reducing render times and improving performance without compromising on the detail and quality of your grass and landscape elements.
Advanced Techniques: Using Hair Particles and Mesh Particles
For those looking to push the boundaries of realism in their Blender grass scenes, incorporating advanced techniques with hair particles and mesh particles offers unparalleled detail and flexibility. This guide delves into sophisticated methods to enhance the quality and authenticity of your grass.
- Customizing Hair Particles for Grass: Hair particles are not just for simulating hair or fur; they can be intricately customized to represent realistic grass blades. Adjust the hair particle settings such as length, thickness, and shape by using the taper object option. This allows for varying grass blade designs that closely mimic the diversity found in natural grass.
- Mesh Particles for Varied Grass Types: Beyond hair particles, mesh particles can be used to scatter complex grass models across your landscape. Create several variations of grass clumps as mesh objects to serve as your particles. This technique allows for the inclusion of different grass types within the same system, adding to the scene\"s overall diversity and realism.
- Combining Hair and Mesh Particles: For dynamic scenes, combine both hair and mesh particles. Use hair particles for the majority of the ground cover for efficiency, and intersperse mesh particles for detailed, varied clumps of grass. This hybrid approach balances performance with visual complexity.
- Texture Painting for Particle Distribution: Utilize texture painting to create maps that influence the distribution and density of your particle systems. By painting directly onto your terrain, you can precisely control where different types of grass appear, adding another layer of customization to your landscape.
- Dynamic Weight Maps for Animation: When animating grass, use dynamic weight maps to affect how different areas of grass react to forces such as wind. This can make certain areas of grass sway more dramatically than others, simulating natural variation in grass behavior.
- Particle Children for Detail: In both hair and mesh particle systems, utilize the children feature to multiply the number of displayed particles without a significant increase in computational load. This is particularly useful for creating dense grass fields where rendering each blade as a separate particle would be impractical.
- Performance Optimization: For large scenes, carefully manage the viewport and render settings for particle systems to maintain performance. Use techniques such as level of detail (LOD), viewport display reduction, and selective rendering to optimize your workflow and final output.
By mastering these advanced techniques, you can create stunningly realistic grass and ground cover in Blender. The key lies in experimenting with the settings and combinations of hair and mesh particles to achieve the desired effect, tailored to the specific needs of your project.
READ MORE:
Finishing Touches: Lighting and Rendering
The final steps in creating realistic grass in Blender involve careful attention to lighting and rendering settings. These elements are crucial for bringing your scene to life, highlighting the details of the grass, and integrating it seamlessly into the environment. Follow these tips to enhance the realism and visual appeal of your grassy landscapes.
- Lighting Setup: Choose a lighting setup that complements the natural environment you\"re aiming to simulate. Use an HDRI (High Dynamic Range Image) for realistic ambient lighting and add sun lamps to simulate direct sunlight. Adjust the direction and intensity of the sun lamp to match the time of day you are portraying.
- Color and Intensity of Lights: Modify the color temperature of your lights to match natural conditions. Cooler lights can simulate an overcast day, while warmer lights mimic the golden hour near sunrise or sunset. Adjusting the intensity can help simulate the brightness of the day or the softness of dusk.
- Shadows: Fine-tune the shadow settings to ensure they add depth and realism to your scene. Soften the shadows for a more diffuse light source or sharpen them for a bright, direct light. Correct shadow placement and softness can greatly enhance the natural appearance of grass.
- Depth of Field: Use depth of field to focus on specific areas of your grass, adding a photographic quality to your renders. This can highlight details in the foreground or create a sense of scale and distance in your scene.
- Render Settings: Choose the appropriate render engine (Cycles or Eevee) based on your needs. Cycles offers more realistic lighting and shadow interactions, while Eevee can significantly speed up render times for previews or less detail-intensive projects.
- Sampling and Noise Reduction: Increase the sampling rate for cleaner, more detailed renders, especially in scenes with complex lighting and shadow interactions. Use denoising tools to reduce grain and improve the overall quality of the render without excessively increasing render times.
- Post-Processing Effects: Apply post-processing effects in Blender\"s Compositor to enhance colors, adjust contrast, or add vignettes. These final adjustments can dramatically improve the mood and visual impact of your scene.
By carefully adjusting lighting and rendering settings, you can achieve stunningly realistic and visually captivating grass scenes in Blender. Remember, the goal is to complement the hard work you\"ve put into modeling, texturing, and animating your grass by presenting it in the best possible light.
Mastering grass creation in Blender opens a world of possibilities for your 3D landscapes. With these detailed guides, from basic setups to advanced techniques, you\"re now equipped to bring your scenes to life with stunning realism and detail.

_HOOK_