Topic how to make ice cream in vitamix blender: Discover the joy of making homemade ice cream with your Vitamix blender. This guide offers easy, delicious recipes and expert tips to ensure perfect, creamy results every time.
Table of Content
- What are the directions for making ice cream in a Vitamix blender?
- Choosing the Right Ingredients for Your Ice Cream
- Pre-Freezing Ingredients for Better Texture
- Step-by-Step Guide to Making Ice Cream in a Vitamix
- Variations: Flavors and Add-ins
- Tips for Achieving the Perfect Consistency
- How to Serve and Store Homemade Ice Cream
- YOUTUBE: How To Make Ice Cream In a Vitamix
- Common Mistakes to Avoid When Making Ice Cream in a Vitamix
- Advanced Techniques: Making Vegan and Dairy-Free Ice Cream
- FAQs: Troubleshooting Your Vitamix Ice Cream
What are the directions for making ice cream in a Vitamix blender?
Here is a step-by-step guide on how to make ice cream in a Vitamix blender:
- Place all the ingredients into the Vitamix container in the order listed.
- Secure the lid tightly.
- Start the blender on its lowest speed.
- Quickly increase the speed to its highest setting.
- Blend for about 30-60 seconds or until the mixture reaches a creamy consistency.
- Stop the blender and check the consistency. If needed, blend for a few more seconds.
- Once the ice cream has reached the desired consistency, stop the blender and serve immediately.
READ MORE:
Choosing the Right Ingredients for Your Ice Cream
Selecting the perfect ingredients is key to creating delicious and creamy ice cream in your Vitamix blender. Follow these tips to ensure your ice cream turns out just right.
- Base: Start with a high-quality base. For creamy ice cream, use heavy cream, full-fat milk, or a combination of both. For vegan options, coconut milk or cashew milk are excellent choices.
- Sweeteners: Granulated sugar, honey, maple syrup, or agave nectar can be used to sweeten your ice cream. Adjust according to taste and dietary preferences.
- Flavorings: Pure vanilla extract, cocoa powder, or fruit purees add depth and flavor. Be creative and experiment with different combinations.
- Add-ins: Chocolate chips, nuts, and fresh or frozen fruits can be mixed in after blending for texture and variety.
- Thickeners: For a thicker texture, consider adding a small amount of xanthan gum or guar gum. This is especially helpful for vegan ice creams.
Remember, the quality of your ingredients directly impacts the flavor and texture of your ice cream. Opt for fresh and high-quality components for the best results.

Pre-Freezing Ingredients for Better Texture
Pre-freezing certain ingredients before blending can significantly improve the texture of your homemade ice cream. Here’s how to do it for the best results.
- Fruits: If you’re using fruits, slice them and spread them out on a baking sheet lined with parchment paper. Freeze until solid, about 2-4 hours. This step is crucial for sorbets or fruit-flavored ice creams.
- Cream Base: For a creamier texture, you can also pre-freeze your milk or cream mixture. Pour it into an ice cube tray and freeze. This method helps create a smoother ice cream by reducing ice crystal formation.
- Freezer-Safe Container: Chill your ice cream storage container in the freezer before adding your finished ice cream. This helps prevent melting when transferring your ice cream.
Pre-freezing ingredients helps your Vitamix blend them more efficiently, leading to a creamier and smoother ice cream. Experiment with pre-freezing different ingredients to see how it enhances the texture of your homemade desserts.
Step-by-Step Guide to Making Ice Cream in a Vitamix
Creating ice cream in a Vitamix is simple and satisfying. Follow these steps to enjoy homemade ice cream in minutes.
- Prepare Your Ingredients: Gather all necessary ingredients based on your chosen recipe. If using fruits or a cream base, ensure they\"re pre-frozen as recommended.
- Blend Your Base: Add your liquid ingredients to the Vitamix first, followed by the solid pre-frozen items. This helps create a smooth blend without overworking your machine.
- Use the Tamper: While blending, use the tamper to push down the ingredients towards the blades. This assists in evenly blending the mixture without any chunks.
- Adjust to Desired Consistency: Start on a low setting, gradually increasing to high. Blend until the mixture is smooth but still thick. It should have the consistency of soft-serve ice cream.
- Add Mix-Ins: Once your base is blended, add any mix-ins like chocolate chips or nuts, and pulse a few times to distribute evenly.
- Freeze If Necessary: For a firmer texture, transfer the ice cream to a freezer-safe container and freeze for 2-4 hours.
- Serve and Enjoy: Serve your homemade ice cream immediately if you prefer a soft-serve texture, or after freezing for a more traditional ice cream consistency.
This step-by-step guide ensures a perfect batch of homemade ice cream using your Vitamix blender. Experiment with different ingredients and flavors to find your perfect recipe.

Variations: Flavors and Add-ins
Transform your homemade ice cream into a variety of delightful flavors with these add-in ideas. Experimenting with different combinations can lead to your new favorite dessert.
- Classic Vanilla: Add pure vanilla extract to your base mixture for a classic and creamy vanilla ice cream. It\"s simple but always a hit.
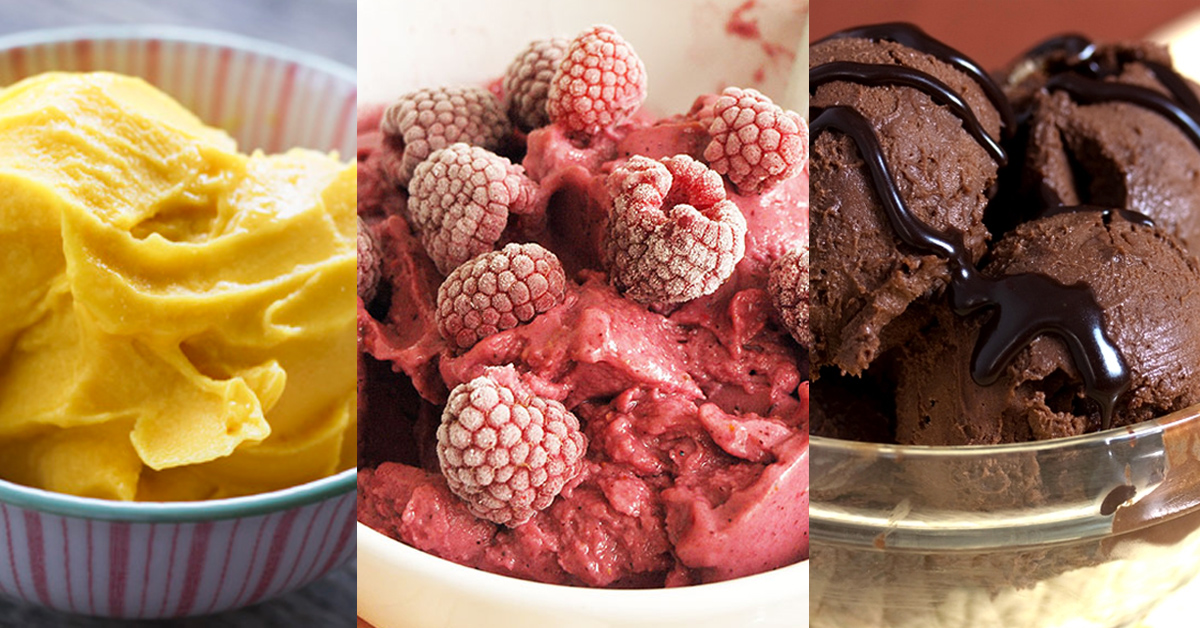
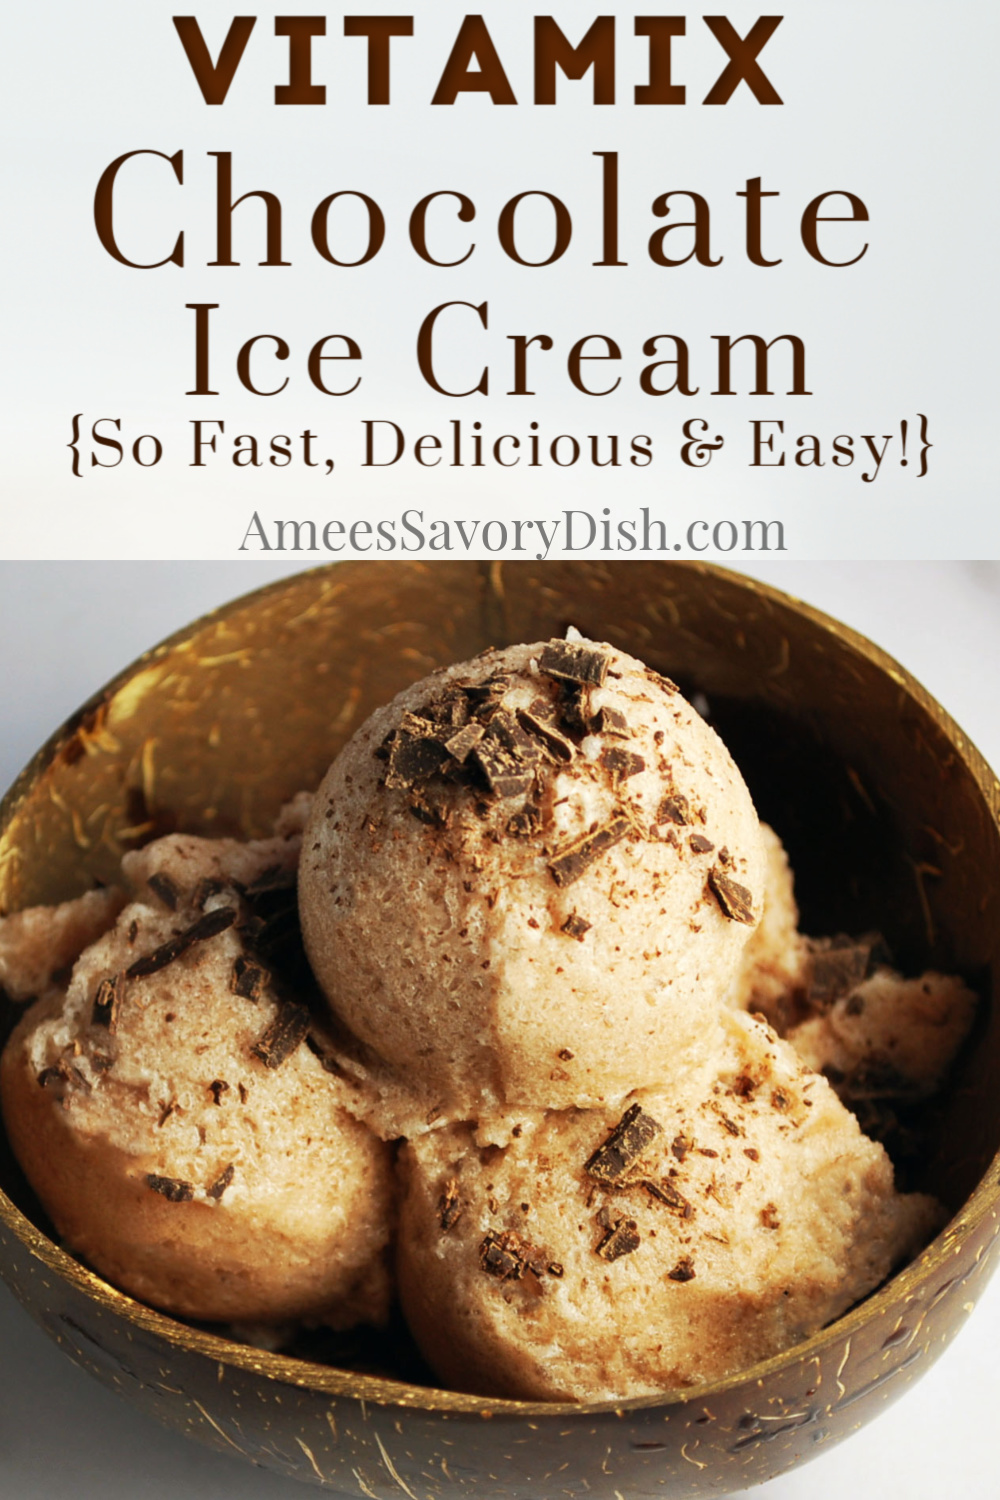
- Chocolate Heaven: Incorporate cocoa powder or melted chocolate into your base. For a double chocolate treat, add chocolate chips after blending.
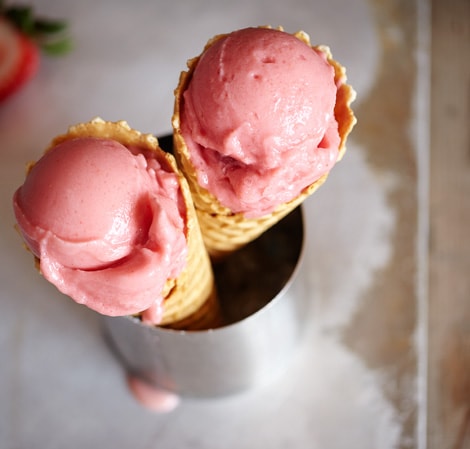
- Fruit Sorbets: Use frozen fruit like strawberries, mango, or banana as the main ingredient. Blend with a small amount of water or juice for a refreshing sorbet.
- Mint Chocolate Chip: Add a few drops of mint extract and a handful of chocolate chips for a refreshing twist on a classic flavor.
- Coffee Delight: Blend in cooled, strong brewed coffee or espresso with your base. Mix in chocolate flakes for an added crunch.
- Nutty Flavors: Swirl in peanut butter, almond butter, or hazelnut spread for a nutty flavor profile. Combine with chocolate chips or cocoa for a richer dessert.
- Seasonal Specials: Mix in pumpkin puree and pie spices for a fall flavor, or peppermint extract and crushed candy canes for a winter treat.
- Alcohol-Infused: For an adult version, add a splash of your favorite liqueur. Remember, alcohol doesn’t freeze, so use sparingly to maintain the desired texture.
These variations are just the beginning. Feel free to mix and match flavors and add-ins to create your own custom ice cream in your Vitamix blender.
_HOOK_
Tips for Achieving the Perfect Consistency
Getting the perfect consistency for your homemade ice cream is crucial for that premium, creamy texture. Follow these tips to ensure your Vitamix ice cream turns out just right every time.
- Balance Your Ingredients: Use the right ratio of fats, liquids, and solids. A good rule of thumb is a mix of cream and milk for dairy-based ice creams, or a high-fat plant-based milk for vegan versions.
- Pre-Freeze Your Ingredients: Freeze your fruits and any liquid base in ice cube trays before blending. This step is crucial for a smooth, creamy texture without ice crystals.
- Use the Tamper: The tamper tool helps push ingredients towards the blades for an even blend, helping achieve the right texture.
- Blend Gradually: Start on a low speed and gradually increase to high. This prevents the motor from overheating and helps achieve a smoother texture.
- Monitor the Thickness: Watch closely as you blend to reach the desired thickness. It should resemble soft-serve before freezing for a firmer texture.
- Don\"t Overblend: Blending for too long can cause the ice cream to melt from the heat generated by the blender. Blend just until you achieve the right consistency.
- Freeze After Blending: For a firmer consistency, transfer the blended ice cream to a freezer-safe container and freeze for at least 2 hours.
By following these tips, you can enjoy homemade ice cream with the perfect creamy texture, rivaling even the best store-bought varieties.

How to Serve and Store Homemade Ice Cream
Serving and storing your homemade ice cream properly can make a big difference in texture and taste. Here\"s how to do it right.
- Serving: For the best texture, remove your ice cream from the freezer and let it sit at room temperature for about 5-10 minutes before serving. This makes it easier to scoop and enhances the flavor.
- Storage Containers: Use an airtight, freezer-safe container to store your ice cream. Shallow containers can help ice cream freeze evenly and make scooping easier.
- Prevent Freezer Burn: Press a piece of parchment paper directly onto the surface of the ice cream before sealing the container. This helps prevent ice crystals from forming and protects against freezer burn.
- Label Your Ice Cream: Always label your ice cream with the flavor and the date it was made. Homemade ice cream is best enjoyed within two weeks for optimal flavor and texture.
- Refreezing: Try to avoid refreezing melted ice cream. This can lead to a grainy texture and ice crystals. Serve only what you\"ll eat, and return the rest to the freezer promptly.
With these tips, you can ensure your homemade ice cream remains delicious, creamy, and ready to enjoy whenever the craving strikes.
How To Make Ice Cream In a Vitamix
Treat yourself to a mouthwatering adventure with our irresistible ice cream video! Indulge in the creamy goodness of this delectable frozen dessert and discover unique flavors that will leave your taste buds begging for more. Don\'t miss out on the ultimate sweet temptation!
Best Vitamix Ice Cream Demo and Recipe
Enter the world of culinary creativity with Vitamix! Unlock the endless possibilities of healthy and delicious recipes with this powerhouse blender. Get ready to blend your way to gastronomic bliss as you explore the mind-blowing capabilities of the Vitamix. Don\'t wait, experience a whole new level of cooking today!
Common Mistakes to Avoid When Making Ice Cream in a Vitamix
Avoid these common pitfalls to ensure your Vitamix ice cream is a success every time.
- Not Using Frozen Ingredients: Failing to pre-freeze ingredients can result in a runny mixture instead of ice cream. Always use frozen fruits and freeze your base if possible.
- Overfilling the Blender: Filling the blender too full can prevent the mixture from blending evenly. Work in batches if necessary to ensure a smooth consistency.
- Overblending: Blending for too long can heat up the ingredients, causing them to melt. Blend just until you achieve the desired texture.
- Skipping the Tamper: Not using the tamper can leave chunks unblended. Use it to push ingredients towards the blades for an even blend.
- Ignoring the Fat Content: Using low-fat ingredients can result in icy ice cream. Use full-fat milk or cream for a creamier texture.
- Forgetting About Flavor Balance: Too much sugar or flavoring can overpower the ice cream. Taste as you go and adjust accordingly.
- Improper Storage: Not storing ice cream properly can lead to freezer burn and ice crystals. Use an airtight container and press parchment paper onto the surface before sealing.
By avoiding these mistakes, you can make delicious, creamy ice cream with your Vitamix blender every time.
Advanced Techniques: Making Vegan and Dairy-Free Ice Cream
Making vegan and dairy-free ice cream in your Vitamix offers a delicious alternative for those avoiding dairy. Here are some techniques to achieve creamy, satisfying results.
- Choose the Right Base: Coconut milk, almond milk, cashew milk, and oat milk are great dairy-free alternatives. Coconut milk, in particular, offers a creamy texture similar to traditional ice cream.
- Use Frozen Bananas: Frozen bananas can be blended into a creamy, sweet base that\"s perfect for vegan ice cream. They add natural sweetness and a smooth texture.
- Add Healthy Fats: Avocado or nut butters can be added to your base to enhance creaminess without dairy.
- Experiment with Thickeners: Ingredients like xanthan gum, guar gum, or arrowroot powder can help improve texture and mimic the mouthfeel of dairy-based ice cream.
- Incorporate Natural Sweeteners: Agave syrup, maple syrup, or dates can sweeten your ice cream without refined sugars.
- Flavor Creatively: Use cocoa powder, vanilla extract, fruit purees, or essential oils to add diverse flavors to your vegan ice cream.
- Freeze Properly: After blending, freeze your ice cream in an airtight container to prevent ice crystals. Stirring occasionally during the freezing process can also help improve texture.
With these advanced techniques, you can enjoy a variety of vegan and dairy-free ice creams that are just as delicious as their dairy counterparts.
READ MORE:
FAQs: Troubleshooting Your Vitamix Ice Cream
Encountering issues while making ice cream in your Vitamix? Here are some common questions and solutions to help you achieve perfect results.
- Why is my ice cream too runny? Ensure you\"re using enough frozen ingredients. Increase the proportion of frozen items or freeze your mixture before blending if necessary.
- Why is my ice cream too hard? If your ice cream comes out too hard, it may have been in the freezer too long. Let it sit out for a few minutes before serving, or add a bit more liquid base next time to adjust the consistency.
- How can I make my ice cream creamier? Use higher fat content ingredients like full-fat coconut milk for vegan options or heavy cream for dairy. Adding a small amount of alcohol can also prevent ice crystals and make it creamier.
- Why isn’t my ice cream blending smoothly? Make sure to use the tamper to push ingredients towards the blades. If the mixture is too thick, add a little more liquid to help it blend more easily.
- Can I add mix-ins directly in the blender? For best results, add mix-ins like chocolate chips or nuts after blending the base to the desired consistency, then pulse a few times to incorporate.
- How long should I freeze my ice cream for a firmer texture? For a firmer texture, freeze the ice cream for at least 2-4 hours. For best texture, consume within two weeks.
With these troubleshooting tips, you\"ll be able to enjoy delicious, homemade ice cream from your Vitamix with ease.
Embrace the art of making homemade ice cream with your Vitamix blender. From classic flavors to innovative creations, the possibilities are endless. Dive in and transform your kitchen into a gourmet ice cream parlor!
_HOOK_