Topic how to model a low poly character in blender: Embark on a creative journey to master modeling low poly characters in Blender, guiding beginners through essential techniques for bringing their unique visions to life in the digital world.
Table of Content
- How can I create a low poly character in Blender?
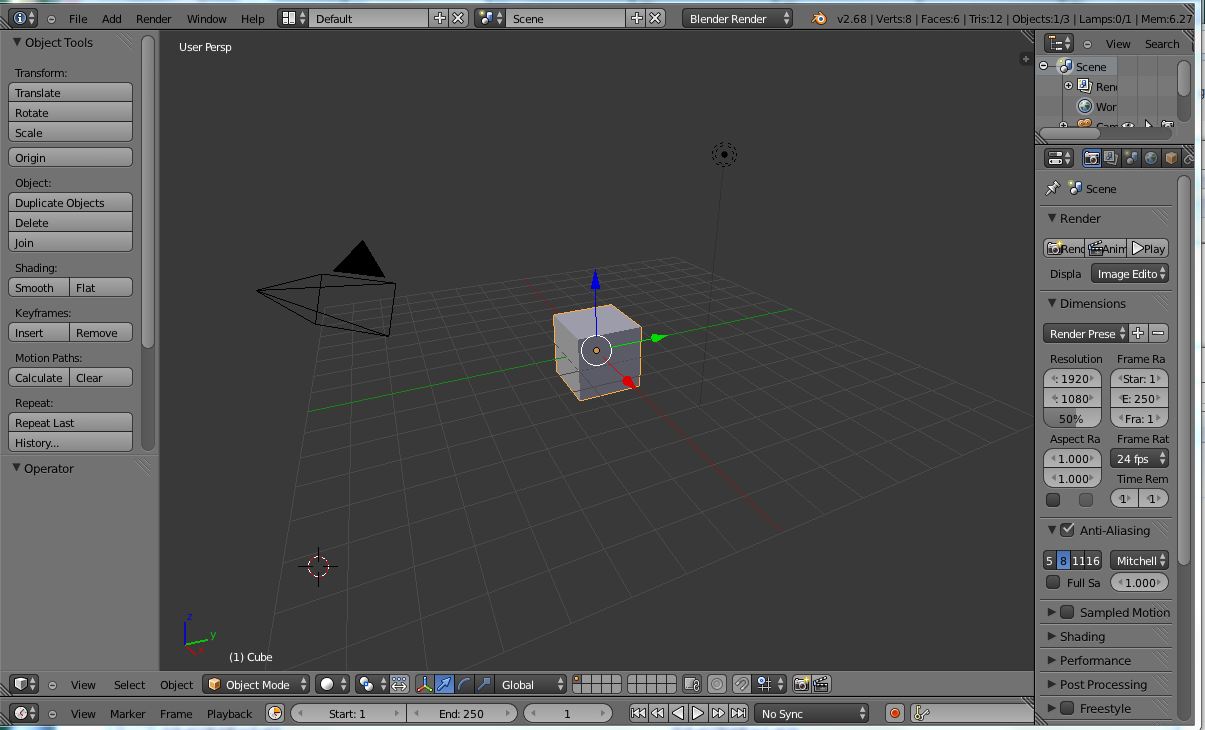
- Understanding Blender\"s Interface and Setup
- Starting with Basic Shapes for Character Modeling
- Refining the Model: Adding Details and Adjustments
- Texturing and UV Unwrapping for Low Poly Characters
- Rigging Your Character for Animation
- YOUTUBE: Making Low Poly Characters in Blender
- Animating Your Low Poly Character
- Exporting Your Character for Games or Other Media
- Tips and Tricks for Efficient Low Poly Modeling
How can I create a low poly character in Blender?
Creating a low poly character in Blender can be a fun and rewarding process. Here is a step-by-step guide to help you get started:
Start by opening Blender and creating a new project.
Switch to the Modeling workspace by selecting it from the dropdown menu at the top of the screen.
Select the default cube in the 3D viewport and press the \"Delete\" key to remove it.
Next, go to the Add menu (Shift + A) and choose \"Mesh\" to add a new mesh object.
Select \"Cube\" from the options to add a new cube to your scene.
In the properties panel (press N to open), adjust the dimensions of the cube to match the proportions of your character.
To start creating the basic shape of your character, enter Edit Mode by pressing the Tab key.
Select individual edges, vertices, or faces of the cube and use the transformation tools (G, R, S) to shape your character.
Continue refining the shape by adding more details using the extrude, bevel, and loop cut tools.
Once you\'re satisfied with the overall shape, you can focus on creating the head, limbs, and other body parts separately.
Use the same techniques of extruding, scaling, and shaping to create the different body parts.
Remember to work with a low number of polygons to maintain the low poly aesthetic.
After creating all the body parts, you can join them together by selecting them and pressing Ctrl + J.
Go back to Object Mode by pressing Tab, and you will have your low poly character ready.
At this point, you can further refine your character by adding materials, textures, and applying different shading techniques.
Finally, you can export your low poly character as an FBX or OBJ file to use it in other programs or game engines.
READ MORE:
Understanding Blender\"s Interface and Setup
Before diving into modeling, familiarizing yourself with Blender\"s interface is crucial. This section will guide you through the initial setup and provide an overview of the essential tools and panels used in character modeling.
- Launching Blender: Start Blender and familiarize yourself with the default screen, which includes the 3D viewport, timeline, and outliner.
- Customizing the Interface: Learn how to customize the interface according to your preferences. This might involve adjusting the layout, changing themes, or setting up shortcut keys.
- Navigating the 3D Viewport: Master the basics of navigating within the 3D viewport using your mouse or tablet. Practice zooming, panning, and rotating the view to examine models from any angle.
- Understanding Basic Tools: Get acquainted with Blender\"s basic modeling tools such as the move, rotate, and scale functions. These tools are fundamental in shaping your low poly character.
- Using the Properties Panel: The Properties panel is where you\"ll find settings related to the object\"s materials, modifiers, and physics properties. Knowing how to use this panel is vital for detailed model customization.
- Exploring Edit Mode: Edit Mode is where you\"ll spend most of your modeling time. Learn about vertex, edge, and face selection tools to modify your character\"s geometry.
- Setting Up a Reference Image: For accurate modeling, learn how to set up a reference image within Blender. This can help you maintain proportions and follow a design more closely.
Getting comfortable with Blender\"s interface and basic functionalities is the first step towards creating compelling low poly characters. Practice regularly to become more efficient in navigating and utilizing the software\"s features.
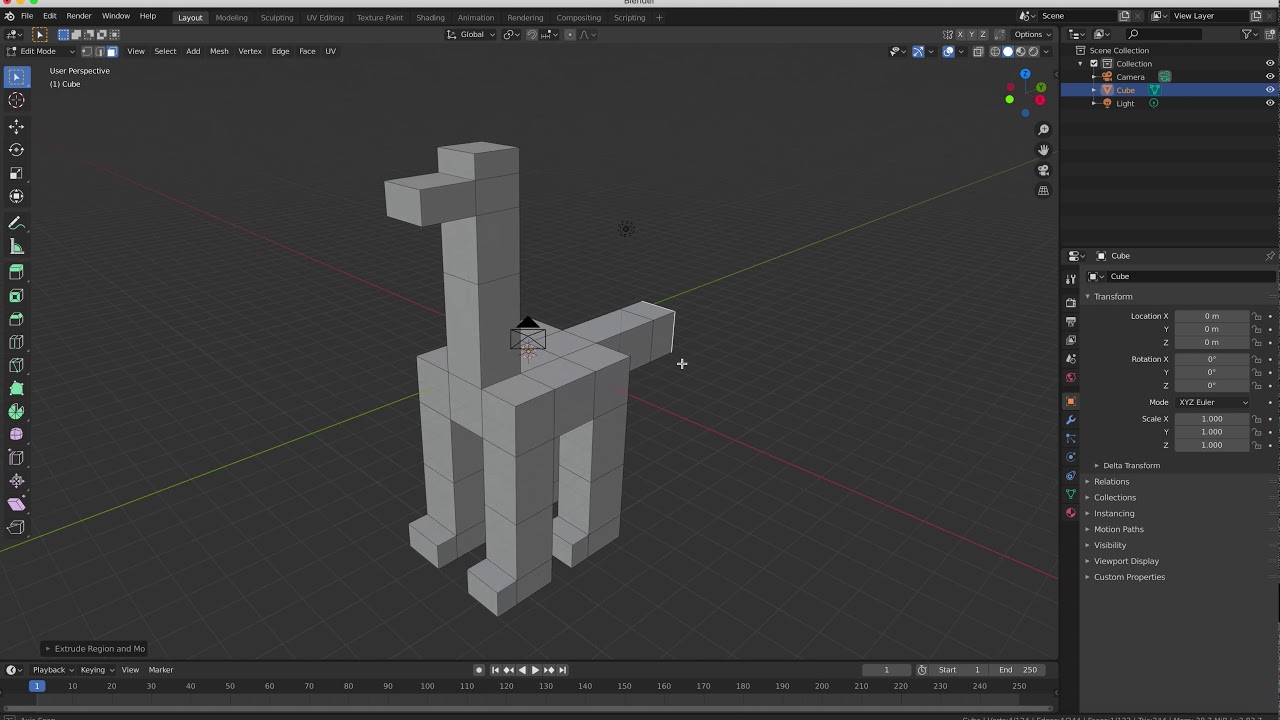
Starting with Basic Shapes for Character Modeling
Beginning your low poly character modeling in Blender starts with the fundamental step of using basic shapes. This approach simplifies the complex forms of a character into manageable parts, making it easier to control the overall geometry and maintain a low polygon count. Here\"s how to kickstart your modeling process:
- Block Out the Basic Form: Start by creating a simple cube. Use the scale tool to adjust its dimensions to match the basic shape of your character\"s torso. This serves as the foundation of your model.
- Add More Primitives: Continue adding other basic shapes like cylinders for arms and legs, and a sphere for the head. Adjust these primitives to align with the proportions of your character. Blender\"s modifiers, such as the Mirror modifier, can be particularly helpful at this stage for ensuring symmetry.
- Refinement: Once the basic outline is in place, begin refining the shapes. Use the edit mode to adjust vertices, edges, and faces to more closely match your character’s anatomy. Keep the adjustments simple to adhere to the low poly style.
- Extrude for Details: For areas that need more definition, like the hands or feet, use the extrude function to pull out additional geometry. Remember, the goal is to suggest detail without adding unnecessary complexity.
- Joining Shapes: As you work, you may need to join several shapes together to form a single mesh. This can be done by selecting the objects and using the ‘Join’ command (Ctrl+J). Ensure that the vertices are merged properly to maintain the integrity of the model.
- Checking Proportions: Periodically, review your model’s proportions. Adjust the basic shapes as needed to ensure that the character’s dimensions feel balanced and cohesive.
Throughout this process, it’s crucial to maintain a clear vision of your character\"s final form, while also embracing the creative freedom that low poly modeling provides. The simplicity of basic shapes not only makes the modeling process more approachable but also encourages a stylized aesthetic that is both charming and efficient for games and animations.
Tips:
- Use Blender’s orthographic views (front, side, and top) to accurately align and scale your shapes.
- Keep your polygon count in check by regularly reviewing and simplifying your geometry where possible.
- Remember, the undo function (Ctrl+Z) is your friend. Don’t be afraid to experiment with different forms and configurations.

Refining the Model: Adding Details and Adjustments
Beginning your low poly character modeling in Blender starts with the fundamental step of using basic shapes. This approach simplifies the complex forms of a character into manageable parts, making it easier to control the overall geometry and maintain a low polygon count. Here\"s how to kickstart your modeling process:
- Block Out the Basic Form: Start by creating a simple cube. Use the scale tool to adjust its dimensions to match the basic shape of your character\"s torso. This serves as the foundation of your model.
- Add More Primitives: Continue adding other basic shapes like cylinders for arms and legs, and a sphere for the head. Adjust these primitives to align with the proportions of your character. Blender\"s modifiers, such as the Mirror modifier, can be particularly helpful at this stage for ensuring symmetry.
- Refinement: Once the basic outline is in place, begin refining the shapes. Use the edit mode to adjust vertices, edges, and faces to more closely match your character’s anatomy. Keep the adjustments simple to adhere to the low poly style.
- Extrude for Details: For areas that need more definition, like the hands or feet, use the extrude function to pull out additional geometry. Remember, the goal is to suggest detail without adding unnecessary complexity.
- Joining Shapes: As you work, you may need to join several shapes together to form a single mesh. This can be done by selecting the objects and using the ‘Join’ command (Ctrl+J). Ensure that the vertices are merged properly to maintain the integrity of the model.
- Checking Proportions: Periodically, review your model’s proportions. Adjust the basic shapes as needed to ensure that the character’s dimensions feel balanced and cohesive.
Throughout this process, it’s crucial to maintain a clear vision of your character\"s final form, while also embracing the creative freedom that low poly modeling provides. The simplicity of basic shapes not only makes the modeling process more approachable but also encourages a stylized aesthetic that is both charming and efficient for games and animations.
Tips:
- Use Blender’s orthographic views (front, side, and top) to accurately align and scale your shapes.
- Keep your polygon count in check by regularly reviewing and simplifying your geometry where possible.
- Remember, the undo function (Ctrl+Z) is your friend. Don’t be afraid to experiment with different forms and configurations.
Texturing and UV Unwrapping for Low Poly Characters
Texturing and UV unwrapping are crucial steps in the process of creating low poly characters in Blender, allowing for the application of detailed visual elements without adding geometric complexity. This guide will walk you through the basic steps to texture and UV unwrap your low poly character efficiently.
- Understanding UV Unwrapping
- UV unwrapping is the process of projecting a 3D model\"s surface onto a 2D plane to apply textures accurately. Imagine unfolding a box and laying it flat to paint each side; that\"s essentially what UV unwrapping does for your 3D model.
- Marking Seams
- Before unwrapping, you need to mark seams on your model. Seams are edges where the mesh will be \"cut\" for unwrapping. Select edges that correspond to natural seams on the character, like the sides of clothes or the borders of different body parts. In Edit Mode, select the edges you want as seams, right-click, and choose \"Mark Seam\".
- Unwrapping the Model
- With seams marked, select your entire model in Edit Mode, and press U to bring up the UV mapping menu. Choose \"Unwrap\" to apply the UV unwrap. Blender will use the marked seams to unfold your model onto a 2D UV map.
- Adjusting the UV Map
- Open the UV/Image Editor window to see your model\"s UV layout. You may need to adjust the layout to make better use of the available space, ensuring textures are applied uniformly. You can move, scale, and rotate UV islands (sections of the unwrapped model) as needed.
- Applying Textures
- With the UV map prepared, you can start applying textures. In the Shader Editor, add a new material to your model. Use nodes to connect a texture image to the model\"s color input. Blender will use the UV map to correctly apply the texture to your model.
- Texture Painting
- If you want to add more details or colors, Blender\"s texture painting tools allow you to paint directly onto your 3D model, using the UV map as a guide. This is great for adding unique details like scars, tattoos, or specific patterns.
- Exporting Textures
- Once texturing is complete, you may need to export your textures, especially if you\"re using the model in a game engine or another 3D application. Ensure your textures are saved in a compatible format and linked correctly to your model.
By following these steps, you can effectively texture and UV unwrap your low poly characters in Blender, adding visual richness without compromising performance. Practice with different models and textures to refine your skills.
_HOOK_
Rigging Your Character for Animation
Rigging is the process of creating a skeleton for your character so that it can be animated. This step is crucial for bringing your low poly characters to life in Blender. Follow these steps to rig your character efficiently.
- Creating the Armature
- Start by adding an armature to your scene. Go to Add > Armature > Single Bone. This bone will serve as the base of your character\"s skeleton. Position it at the base of the spine or at the center of the character.
- Editing the Armature
- Enter Edit Mode to modify the armature. Extrude new bones from the initial bone to form the spine, limbs, and other parts of the skeleton. Make sure to name your bones according to their corresponding body parts for easier animation.
- Adjusting Bone Placement
- In Edit Mode, position the bones so they match the geometry of your character. Use the front, side, and top views for precise placement. The bones should mimic the way real bones are aligned within a body, considering the pivot points for natural movement.
- Setting Up Parent-Child Relationships
- Parenting is essential for a functional rig. Parent limbs to the torso, fingers to hands, and so on. Select the child bone, shift-select the parent bone, then press Ctrl+P to set a parent-child relationship. Choose \"Keep Offset\" to maintain the bones\" positions.
- Adding Inverse Kinematics (IK)
- IK simplifies the animation process by allowing for more intuitive control over limb movement. Select a bone at the end of a limb chain (e.g., a hand or foot), go to the Bone Constraints tab, and add an IK constraint. Set the target as the bone itself and the chain length to the number of bones in the limb.
- Weight Painting
- Weight painting defines how much influence a bone has on the vertices of the mesh. Select your mesh, shift-select the armature, and enter Weight Paint Mode. Paint over the mesh to assign weights. Red indicates high influence, while blue indicates no influence.
- Testing the Rig
- Before finalizing your rig, test it by posing your character. Enter Pose Mode, select bones, and rotate them to see how the mesh deforms. Make adjustments to the armature, weights, and constraints as needed to ensure smooth and realistic movement.
- Finalizing the Rig
- Once you\"re satisfied with the rig, it\"s time to finalize it. Make sure all bones are correctly named and organized. Save your work and prepare for animation. Your character is now rigged and ready to be brought to life through animation.
Rigging is a detailed process that requires patience and practice. By following these steps, you can create a functional rig for your low poly character in Blender, setting the stage for dynamic and engaging animations.

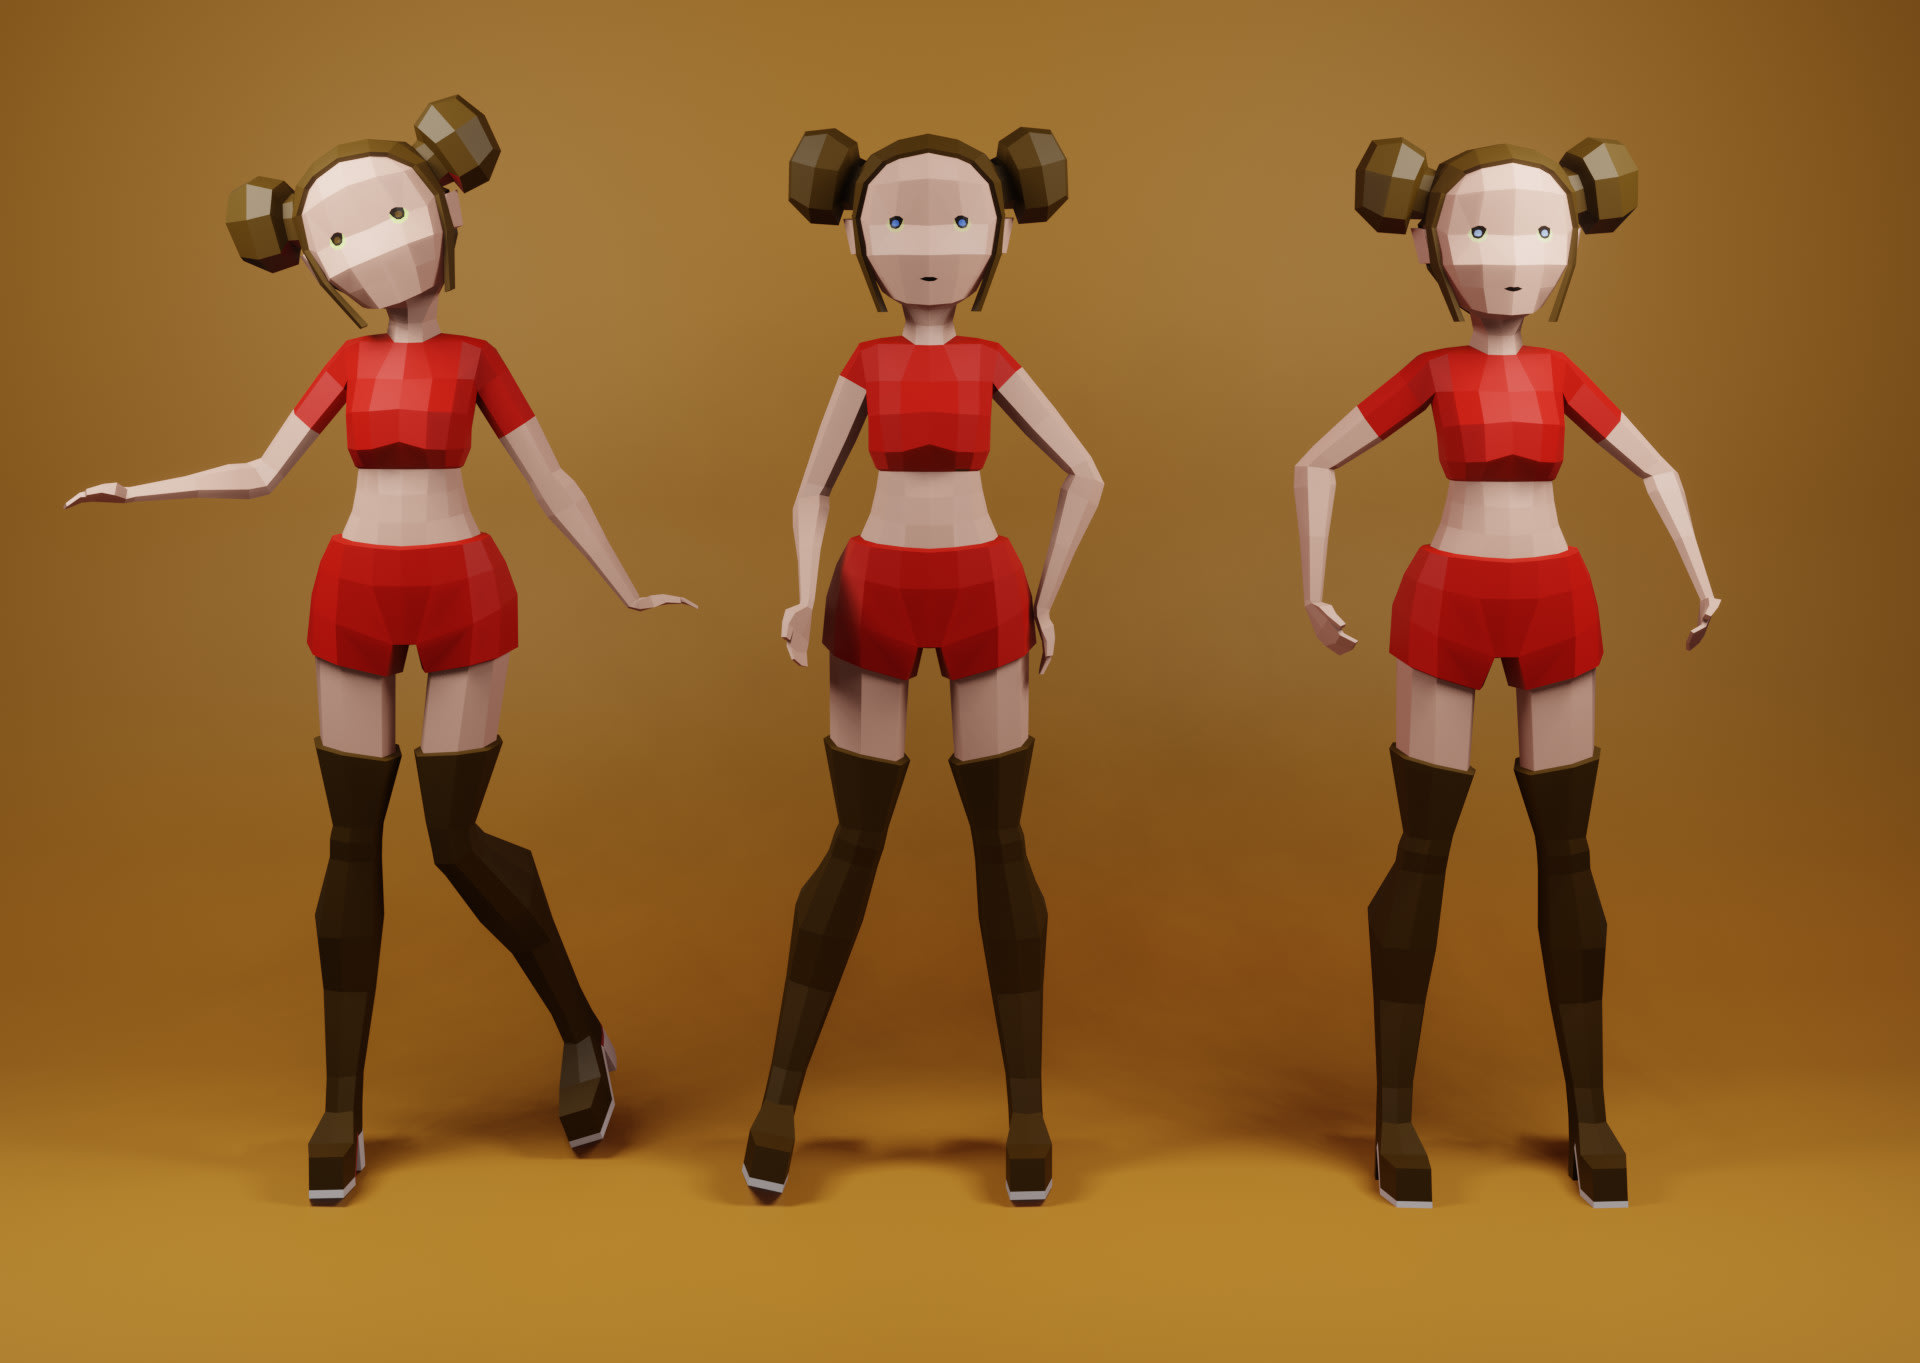
Making Low Poly Characters in Blender
\"Discover the mesmerizing world of Blender, the ultimate software for 3D modeling, animation, and rendering! Unleash your creativity and create stunning visual masterpieces with the power of Blender. Watch our video and embark on an awe-inspiring journey into the realm of digital artistry!\"
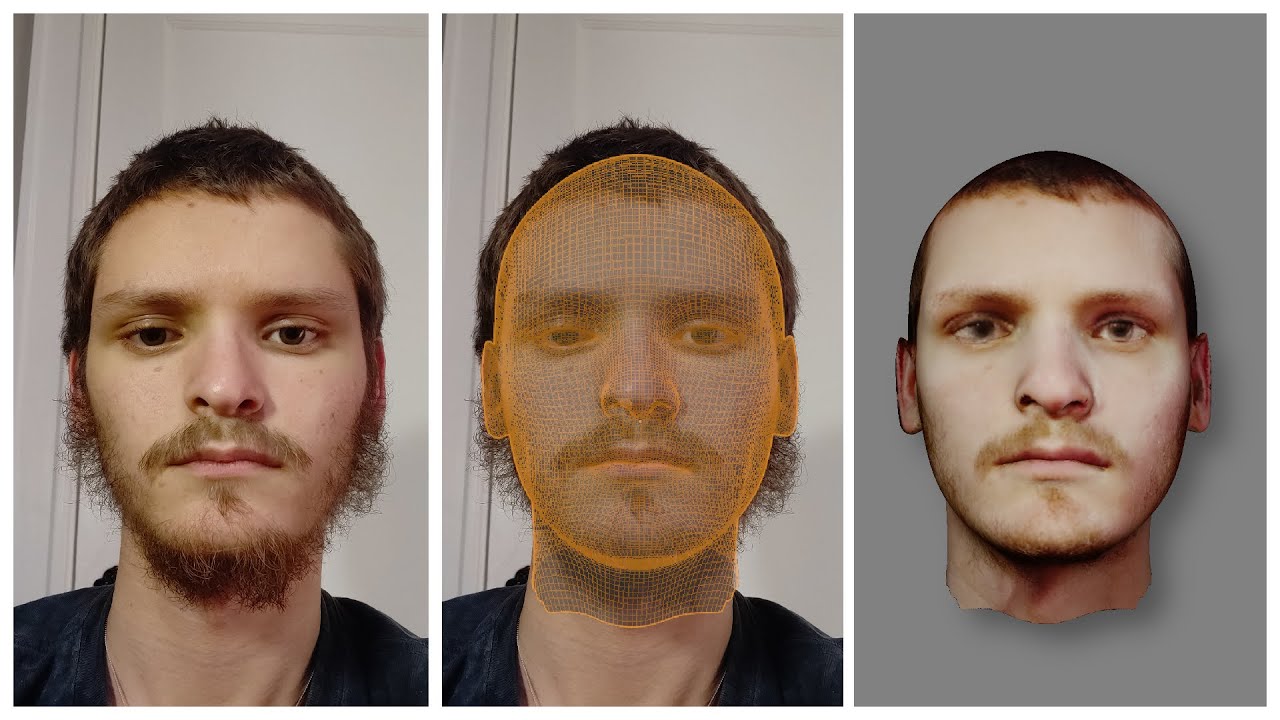
How to Make Low Poly Models That Don\'t Suck
\"Are you ready to dive into the captivating world of low poly art? Unlock the secrets behind this unique and stylish art form that combines minimalistic beauty with vibrant colors. Immerse yourself in our video and learn how to create stunning low poly masterpieces that will mesmerize your audience!\"
Animating Your Low Poly Character
Animating your low poly character in Blender involves bringing it to life through movement. This process can seem daunting at first, but by breaking it down into steps, you can create compelling animations. Here\"s how to get started.
- Setting Up the Scene
- Ensure your rigged character is ready and that you have a clear idea of the animation you want to create. Consider drafting a storyboard or having reference videos handy for complex movements.
- Understanding Keyframes
- Animations are created by setting keyframes, which are points in time that save the position, rotation, and scale of your character\"s bones. Blender interpolates the frames between these keyframes to create smooth motion.
- Inserting Keyframes
- Go to Pose Mode, select a bone, and move it to the starting position of your animation. With the bone selected, press \"I\" to insert a keyframe. You can choose to keyframe the location, rotation, scale, or all three. Move to another frame in the timeline, reposition the bone as needed for the next point in the animation, and insert another keyframe.
- Creating a Basic Animation Loop
- For a simple walking or running animation, start by keyframing the character in a neutral stance. Add keyframes for the extremes of the movement (e.g., legs and arms fully extended), then add in-between frames for smooth transitions. Looping animations require the first and last frames to be identical (minus the last frame) to create a seamless cycle.
- Timing and Spacing
- Adjust the timing of your keyframes in the timeline to control the speed of the animation. Spacing keyframes closer together will speed up the movement, while spacing them further apart will slow it down. Use the Graph Editor to fine-tune the easing between keyframes for more natural movement.
- Adding Secondary Motion
- Once your basic movement is animated, add secondary motions such as facial expressions, hair movement, or cloth simulation to add realism and character to your animation. These can be keyframed manually or, in the case of cloth and hair, simulated within Blender.
- Previewing and Refining
- Regularly preview your animation by playing it back in the viewport. This will help you spot and fix any unnatural movements or timing issues. Make adjustments as needed until you\"re satisfied with the result.
- Rendering Your Animation
- Once you\"re happy with your animation, it\"s time to render it. Set your rendering settings in the Properties panel, choose your output format and location, and click Render > Render Animation. Depending on the complexity of your scene and the length of your animation, rendering can take some time.
Animating a low poly character in Blender is a creative and rewarding process. By following these steps, you can breathe life into your characters, creating animations that can be used in games, films, or any other multimedia project.
Exporting Your Character for Games or Other Media
Once you have modeled, textured, rigged, and animated your low poly character in Blender, the next step is to export it for use in games or other media. This process can vary depending on the target platform, but the following steps will guide you through a general workflow.
- Choosing the Right File Format
- The most common file formats for exporting characters include FBX, OBJ, and glTF. FBX is widely used for game development as it supports animations, rigs, and textures. OBJ is great for static models, and glTF is becoming popular for web-based applications due to its efficiency and support for PBR (Physically Based Rendering) materials.
- Preparing Your Character
- Before exporting, make sure your character is ready. This includes applying all modifiers (except Armature), ensuring textures are correctly linked, and checking that the rig and animations work as expected. It\"s also a good idea to tidy up your scene, removing any unnecessary objects or materials.
- Exporting the Model
- Go to File > Export and select the appropriate file format for your project. In the export options, enable \"Selected Objects\" if you only want to export your character and its rig. For animations, ensure \"Bake Animation\" is enabled and set the appropriate frame range. If you\"re exporting for a game engine like Unity or Unreal, check any specific options required by the engine, such as scale and forward/up axes.
- Adjusting Export Settings
- Each file format has its settings, such as mesh smoothing (normals) and material export options. Adjust these settings based on your needs. For instance, if your game engine supports it, exporting normals can significantly improve the shading quality of your character.
- Testing in the Target Platform
- After exporting, import your character into the target platform (e.g., a game engine) to test it. Check for any issues with the model, textures, rig, or animations. It\"s common to need a few iterations to get everything working perfectly, especially when dealing with complex rigs or animations.
- Making Adjustments
- If you encounter issues, return to Blender to make necessary adjustments. This could involve fixing weights in weight painting, adjusting texture paths, or tweaking export settings. Repeat the export and test process until you\"re satisfied with the results.
- Optimization
- For game development, optimization is key. Consider reducing the texture sizes, simplifying the rig, or reducing the polygon count without significantly impacting the visual quality. This will help ensure your character performs well in the game environment.
Exporting your character from Blender is the final step in bringing your creation to life in games or other media. With careful preparation and attention to detail during the export process, you can achieve seamless integration and impressive results in your chosen platform.

READ MORE:
Tips and Tricks for Efficient Low Poly Modeling
Low poly modeling is a skill that combines artistic vision with technical discipline. Here are some tips and tricks to enhance your low poly modeling work in Blender, making the process more efficient and your models more effective.
- Start with a Plan
- Before diving into Blender, sketch your character or object. A clear plan helps you understand the necessary shapes and where you can simplify details.
- Use Modifiers Wisely
- Modifiers like Mirror and Subdivision Surface can speed up your workflow. Use the Mirror modifier for symmetrical models and Subdivision Surface to smooth your model without manually adding extra geometry. Just remember to apply them before finalizing your model for export.
- Keep Geometry Clean
- Efficient use of vertices, edges, and faces is key in low poly modeling. Avoid unnecessary subdivisions. Use loop cuts and edge slides to add detail only where it\"s needed, maintaining a clean topology.
- Focus on Silhouette
- The silhouette of your model is crucial. Even with a limited number of polygons, a well-defined silhouette can make your model recognizable and visually appealing.
- Optimize Your Textures
- Textures can add detail without increasing the polygon count. Use UV mapping to apply detailed textures efficiently, and consider using atlases to reduce the number of texture files needed.
- Reuse Elements
- Don’t reinvent the wheel for each model. Reuse elements like hands, feet, or heads across multiple models to save time. This is especially effective for characters within the same universe or game.
- Use References
- Reference images are invaluable for getting proportions and details right. Use background images in Blender to model against, ensuring accuracy and consistency.
- Be Mindful of Scale
- Consistent scale is essential, especially when creating models for games or scenes. Use Blender’s grid and measurement tools to keep your models to scale relative to each other.
- Learn Shortcuts
- Blender’s shortcuts can dramatically speed up your workflow. Familiarize yourself with the most common ones to make modeling, editing, and navigating your scene faster.
- Stay Organized
- Name your meshes, materials, and textures clearly. Keeping your project organized helps you and others navigate your file more easily, especially in complex scenes or collaborations.
By incorporating these tips into your low poly modeling workflow, you can improve both the speed and quality of your creations in Blender. Remember, practice and experimentation are key to mastering any art form, including 3D modeling.
Embark on a creative journey with Blender to bring your low poly characters to life! With these step-by-step guides, from modeling to exporting, you\"ll master the art of 3D creation and open a world of possibilities for your projects.