How to Make Models for Roblox in Blender: A Comprehensive Guide for Creators

Topic how to make models for roblox in blender: Unlock the potential of Blender for Roblox game development with this guide, empowering you to create stunning 3D models and bring your imaginative worlds to life.

What blender features are needed to create models for Roblox in Blender?

To create models for Roblox in Blender, you will need the following features and tools:

  • Basic Understanding of Blender: Familiarize yourself with Blender\'s interface and basic functions.
  • Mesh Modeling: Learn how to add, manipulate, and customize meshes to create the desired shapes for your Roblox model.
  • UV Mapping: Utilize UV mapping techniques to properly texture your model in Blender.
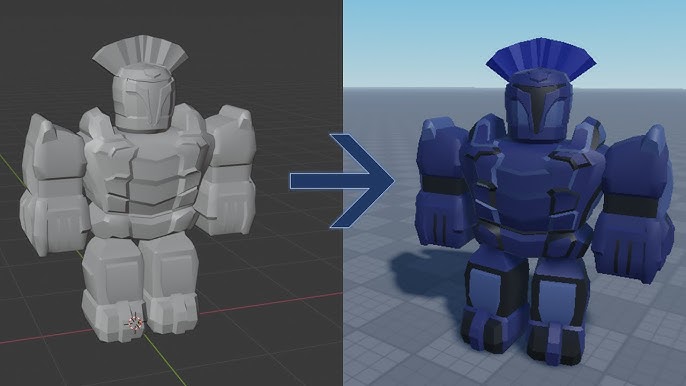
  • Texturing and Materials: Learn how to apply textures and materials to your model to give it a realistic appearance.
  • Exporting: Use Blender\'s export features to save your model in a compatible file format that can be imported into Roblox Studio.

Getting Started

  1. Download and install Blender from blender.org.
  2. Install the Roblox Blender Plugin to integrate Blender with Roblox Studio for seamless asset transfers.
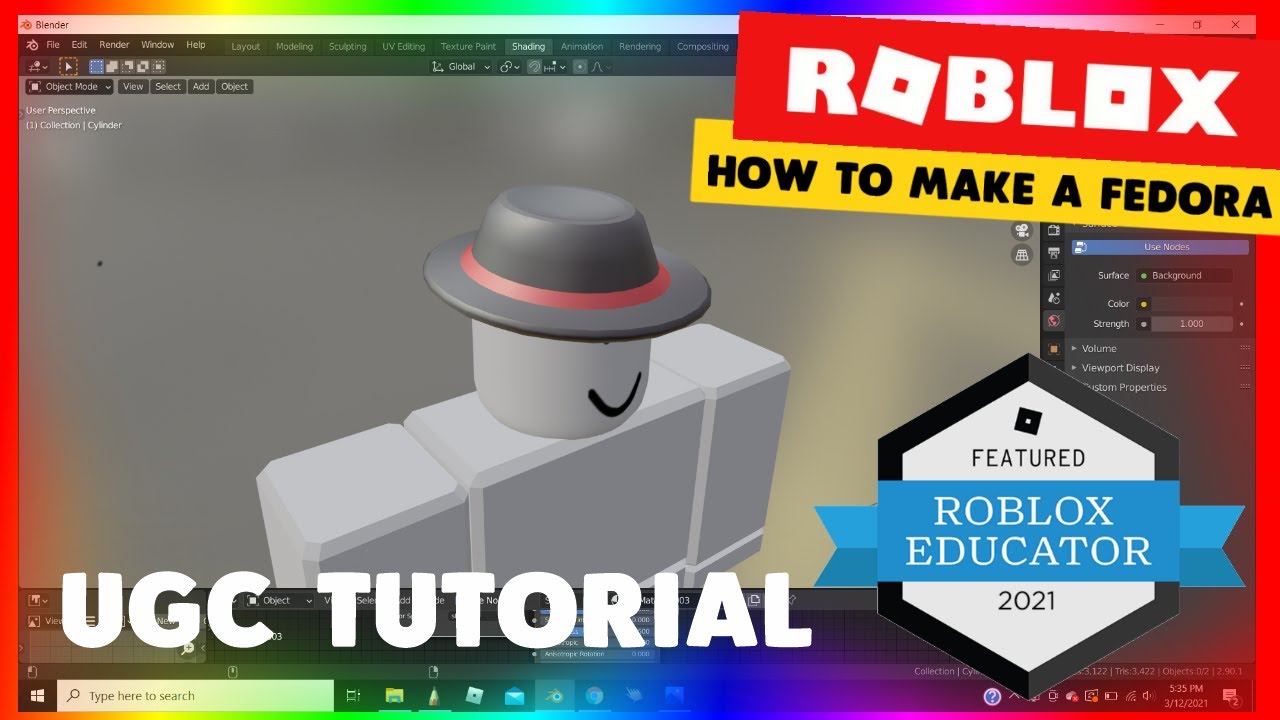
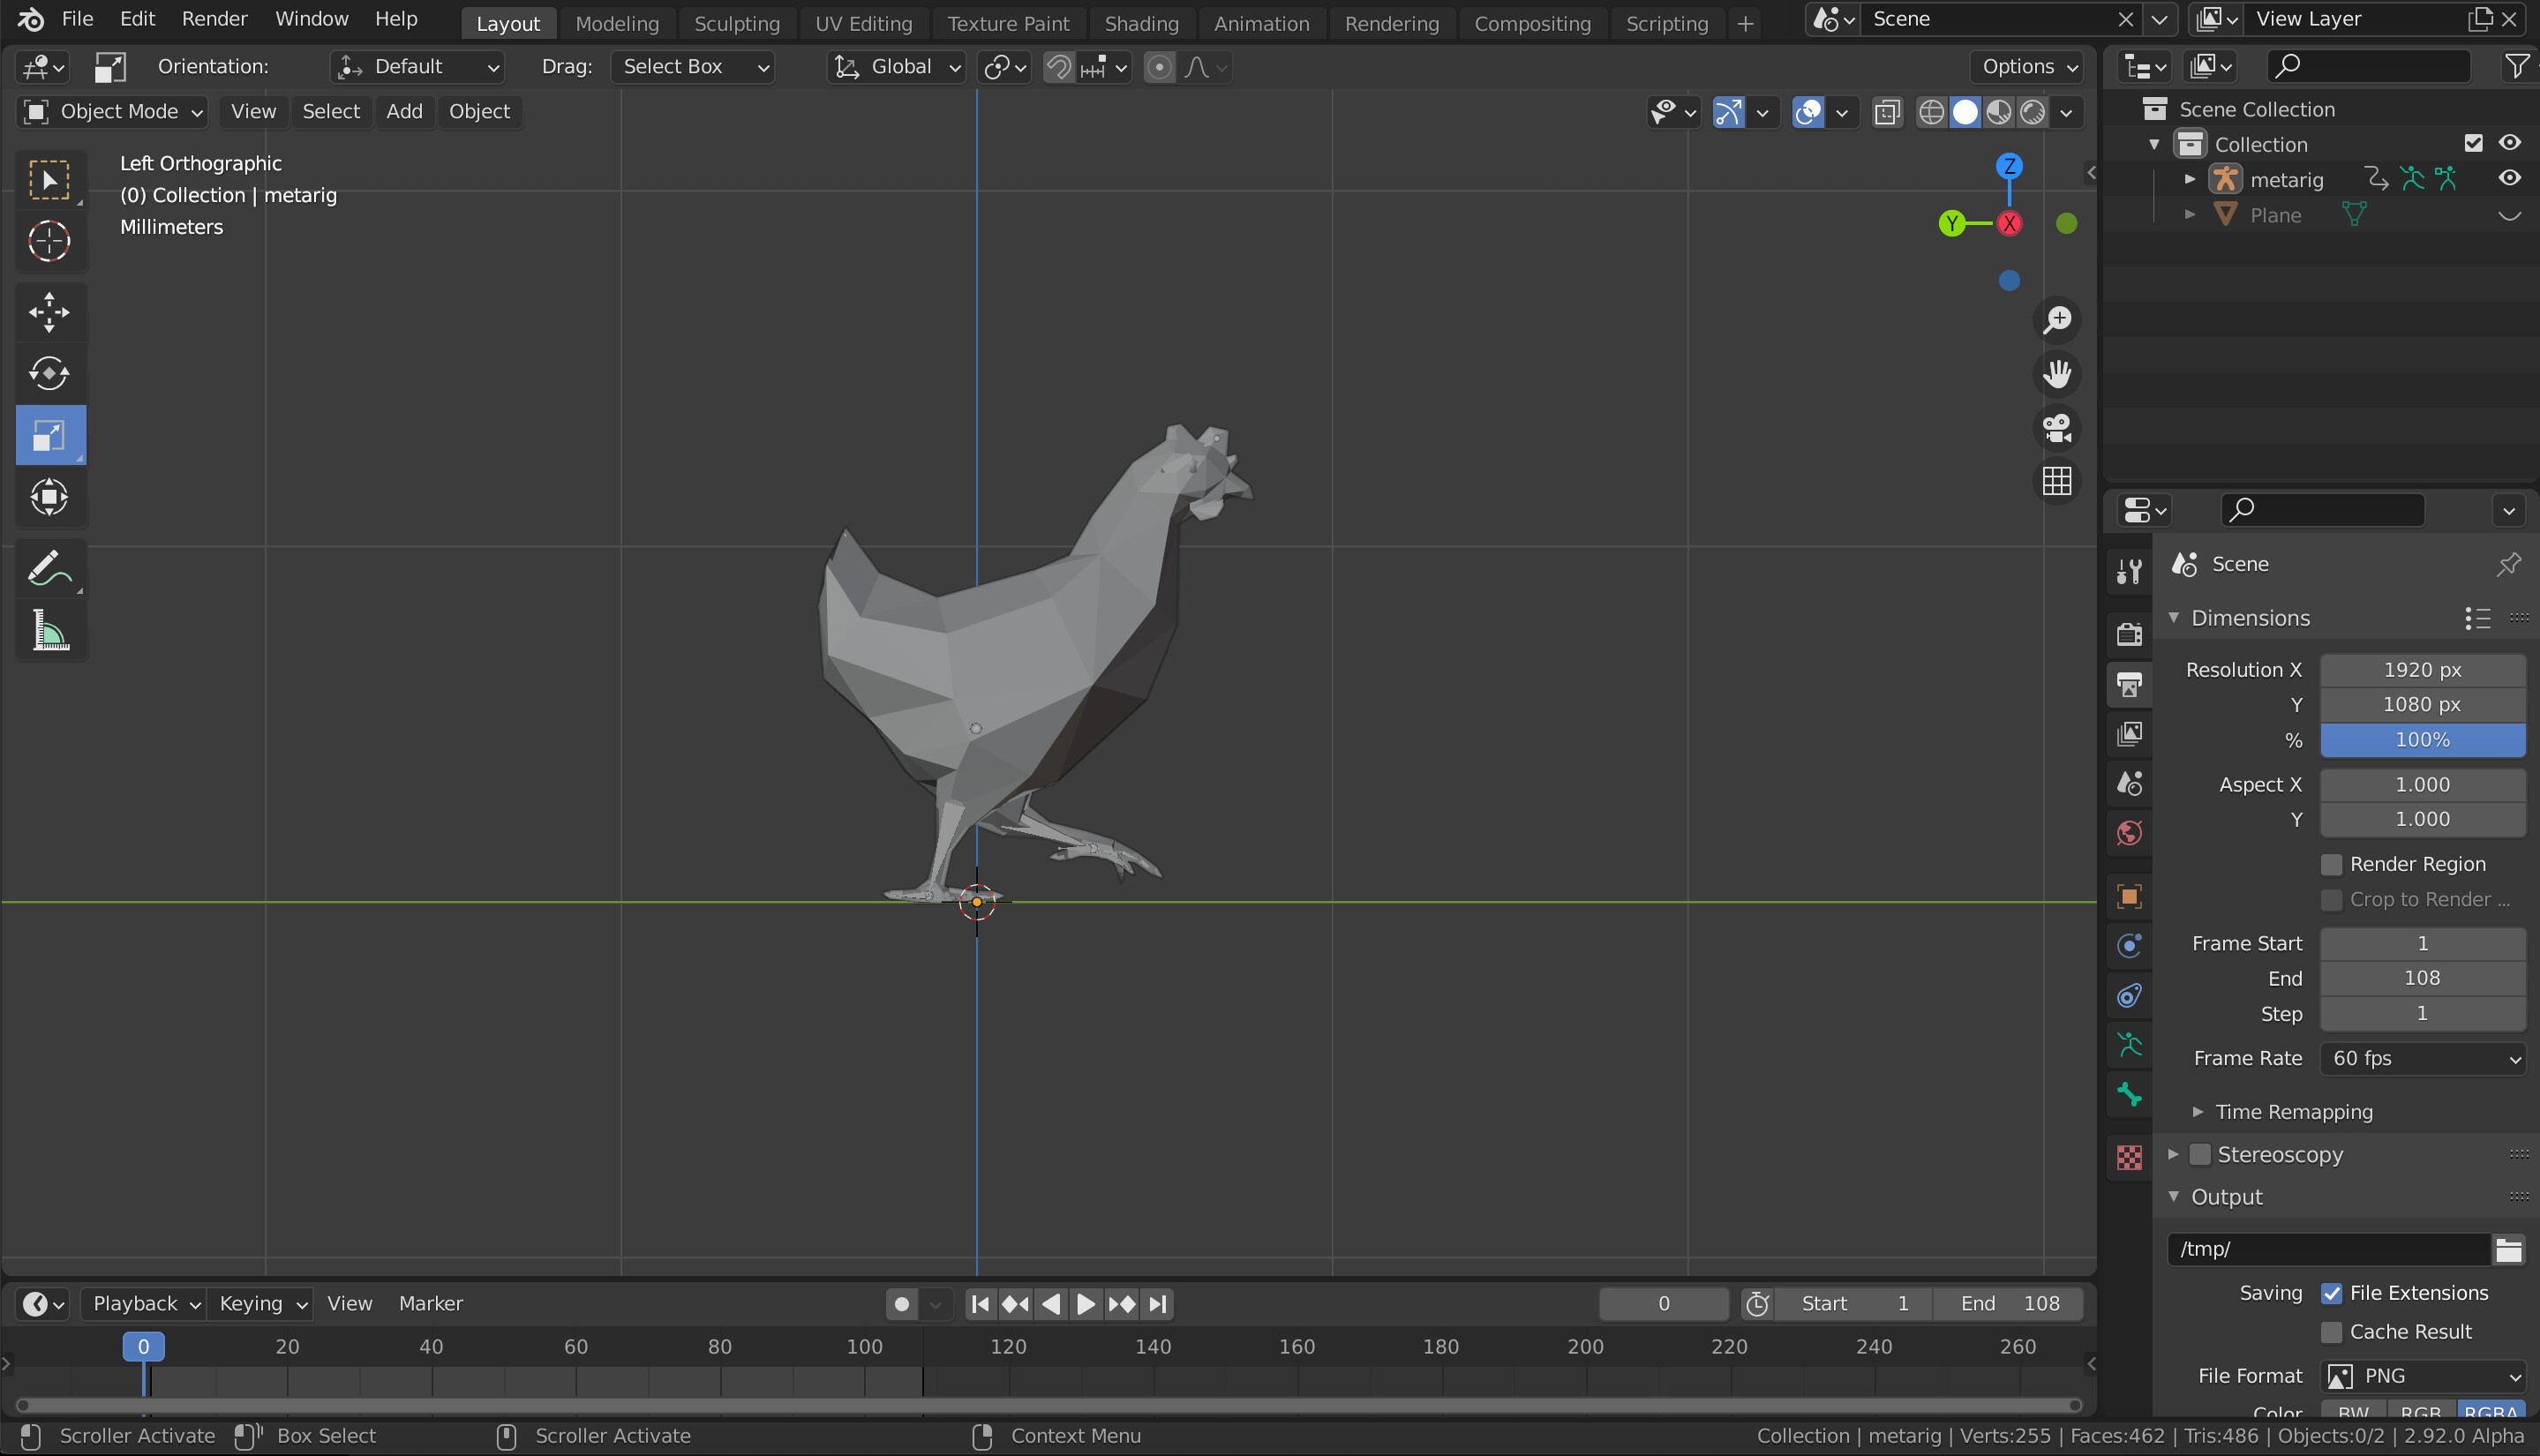
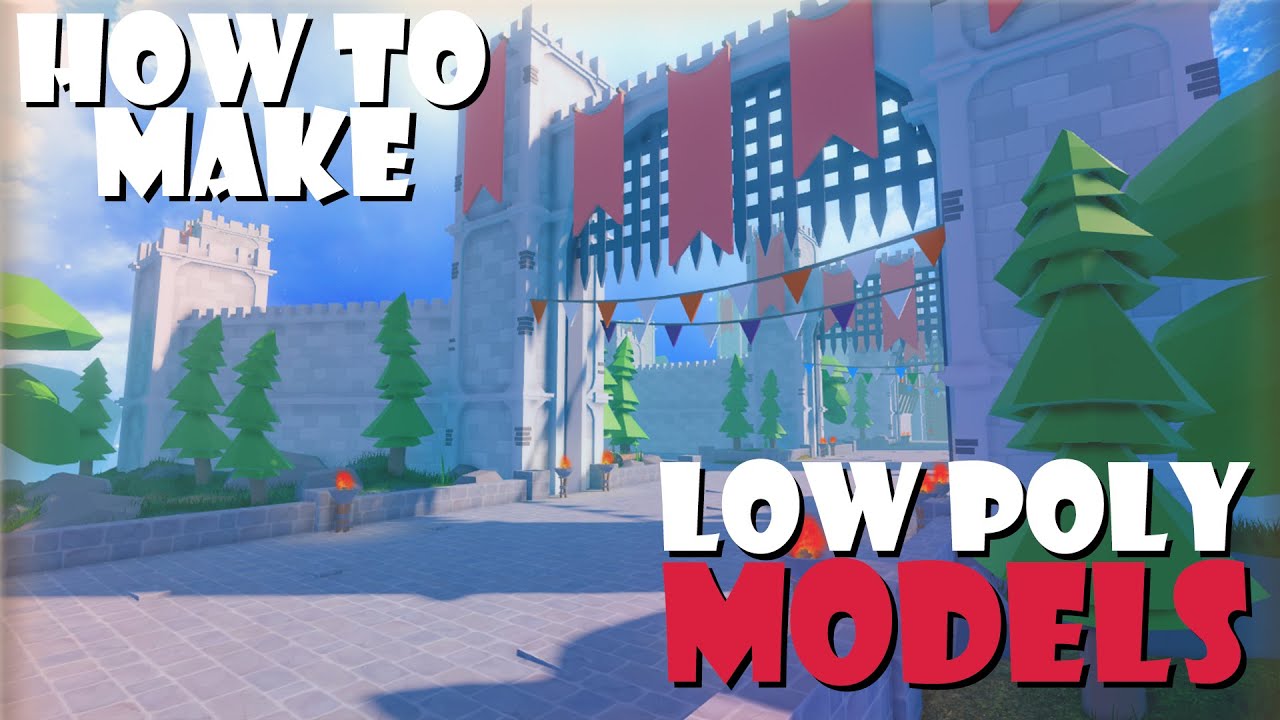
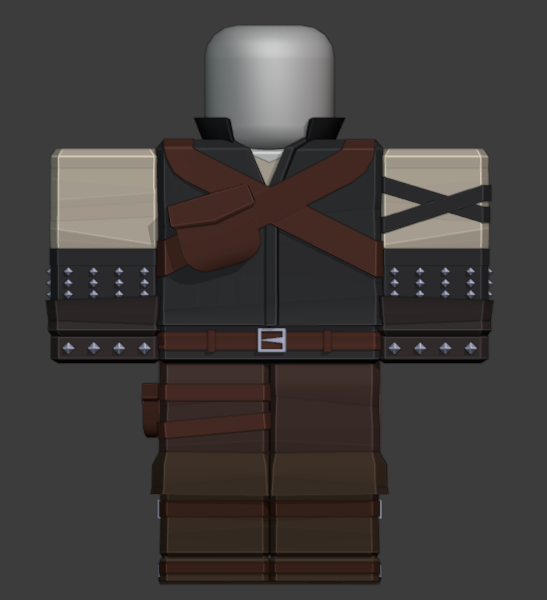
Getting Started

Modeling Your Asset

Begin with a basic shape and refine it to match your concept. Utilize Blender\"s modeling tools to extrude, sculpt, and modify your asset.

Adding Details

Enhance your model with textures, colors, and intricate details to bring your creation to life.

Modeling Your Asset

Exporting from Blender

  • Ensure your model fits within Roblox\"s performance and size guidelines.
  • Use the Roblox Blender Plugin to export your model directly to Roblox Studio.

Exporting from Blender

Importing to Roblox Studio

Once exported, your model will appear in Roblox Studio, ready for scripting and integration into your game.

Importing to Roblox Studio

_HOOK_

Best Practices

  • Keep polygons count low to ensure optimal game performance.
  • Test your models in-game to check for scale and usability.
  • Utilize Roblox\"s community resources and forums for feedback and tips.

Best Practices

Advanced Techniques

Explore advanced Blender functionalities like rigging and animation to create dynamic characters and objects.

StepDescription
1. ConceptualizeSketch your idea and plan your model\"s functionality.
2. ModelCreate your model using Blender\"s tools.
3. TextureApply textures and colors to your model.
4. ExportUse the Roblox Blender Plugin to export your model.
5. ImportImport your model into Roblox Studio and integrate it into your game.

Advanced Techniques

How to 3D Model Roblox Characters - Blender Tutorial

Dive into the fascinating realm of Blender, the powerful 3D creation software loved by artists and designers alike! Unleash your creativity, sculpt stunning visuals, and bring your imagination to life with Blender.

How to 3D Model Roblox Characters - Blender Tutorial

Dive into the fascinating realm of Blender, the powerful 3D creation software loved by artists and designers alike! Unleash your creativity, sculpt stunning visuals, and bring your imagination to life with Blender.

Conclusion

With Blender and Roblox Studio, you can bring your imaginative models to life in your Roblox games. Start creating today!

Conclusion

Modeling Your Asset

Begin with a basic shape and refine it to match your concept. Utilize Blender\"s modeling tools to extrude, sculpt, and modify your asset.

Adding Details

Enhance your model with textures, colors, and intricate details to bring your creation to life.

Modeling Your Asset

Exporting from Blender

  • Ensure your model fits within Roblox\"s performance and size guidelines.
  • Use the Roblox Blender Plugin to export your model directly to Roblox Studio.

Exporting from Blender

_HOOK_

Importing to Roblox Studio

Once exported, your model will appear in Roblox Studio, ready for scripting and integration into your game.

Importing to Roblox Studio

Best Practices

  • Keep polygons count low to ensure optimal game performance.
  • Test your models in-game to check for scale and usability.
  • Utilize Roblox\"s community resources and forums for feedback and tips.

Advanced Techniques

Explore advanced Blender functionalities like rigging and animation to create dynamic characters and objects.

Conclusion

With Blender and Roblox Studio, you can bring your imaginative models to life in your Roblox games. Start creating today!

Exporting from Blender

  • Ensure your model fits within Roblox\"s performance and size guidelines.
  • Use the Roblox Blender Plugin to export your model directly to Roblox Studio.

_HOOK_

Importing to Roblox Studio

Once exported, your model will appear in Roblox Studio, ready for scripting and integration into your game.

Best Practices

  • Keep polygons count low to ensure optimal game performance.
  • Test your models in-game to check for scale and usability.
  • Utilize Roblox\"s community resources and forums for feedback and tips.

Advanced Techniques

Explore advanced Blender functionalities like rigging and animation to create dynamic characters and objects.

StepDescription
1. ConceptualizeSketch your idea and plan your model\"s functionality.
2. ModelCreate your model using Blender\"s tools.
3. TextureApply textures and colors to your model.
4. ExportUse the Roblox Blender Plugin to export your model.
5. ImportImport your model into Roblox Studio and integrate it into your game.

Conclusion

With Blender and Roblox Studio, you can bring your imaginative models to life in your Roblox games. Start creating today!

Importing to Roblox Studio

Once exported, your model will appear in Roblox Studio, ready for scripting and integration into your game.

_HOOK_

Best Practices

  • Keep polygons count low to ensure optimal game performance.
  • Test your models in-game to check for scale and usability.
  • Utilize Roblox\"s community resources and forums for feedback and tips.

Advanced Techniques

Explore advanced Blender functionalities like rigging and animation to create dynamic characters and objects.

Conclusion

With Blender and Roblox Studio, you can bring your imaginative models to life in your Roblox games. Start creating today!

Best Practices

  • Keep polygons count low to ensure optimal game performance.
  • Test your models in-game to check for scale and usability.
  • Utilize Roblox\"s community resources and forums for feedback and tips.

Advanced Techniques

Explore advanced Blender functionalities like rigging and animation to create dynamic characters and objects.

StepDescription
1. ConceptualizeSketch your idea and plan your model\"s functionality.
2. ModelCreate your model using Blender\"s tools.
3. TextureApply textures and colors to your model.
4. ExportUse the Roblox Blender Plugin to export your model.
5. ImportImport your model into Roblox Studio and integrate it into your game.

_HOOK_

Conclusion

With Blender and Roblox Studio, you can bring your imaginative models to life in your Roblox games. Start creating today!

Advanced Techniques

Explore advanced Blender functionalities like rigging and animation to create dynamic characters and objects.

Conclusion

With Blender and Roblox Studio, you can bring your imaginative models to life in your Roblox games. Start creating today!

Conclusion

With Blender and Roblox Studio, you can bring your imaginative models to life in your Roblox games. Start creating today!

Introduction to Blender and Roblox Modeling

Blender and Roblox offer a powerful combination for creators looking to bring their visions to life in the Roblox universe. This section introduces the basics of using Blender for Roblox modeling, from setup to export.

  1. Understanding Blender: Blender is a comprehensive, free 3D modeling software used for creating detailed models, animations, and textures.
  2. Roblox Integration: The Roblox Blender Plugin enables seamless integration between Blender and Roblox, allowing for direct export of models into Roblox Studio.
  3. Starting with Blender: Familiarize yourself with Blender\"s interface, focusing on modeling tools, layout, and navigation to begin crafting your models.
  4. Modeling Basics: Start with simple shapes and gradually add details, using Blender\"s modeling tools to sculpt your Roblox assets.
  5. Texturing and Materials: Learn how to apply textures and materials in Blender to give your models a unique appearance.
  6. Exporting for Roblox: Use the Roblox Blender Plugin to export your models directly to Roblox Studio, ensuring they meet Roblox\"s performance and size guidelines.

With these steps, you\"ll begin your journey into 3D modeling for Roblox, creating assets that enhance your games and bring joy to players worldwide.

_HOOK_

Essential Tools and Software Setup

Before diving into modeling for Roblox with Blender, it\"s crucial to set up the necessary tools and software. This setup ensures a smooth workflow from modeling to integration into Roblox Studio.

  1. Download Blender: Visit the official Blender website to download the latest version of Blender. Ensure your system meets the software requirements for optimal performance.
  2. Roblox Studio: Install Roblox Studio, which will be used to import your models and create your game. Roblox Studio provides a range of tools for game development and testing.
  3. Roblox Blender Plugin: Download and install the Roblox Blender Plugin. This plugin facilitates the direct export of models from Blender to Roblox Studio, streamlining the development process.
  4. Learning Resources: Familiarize yourself with Blender and Roblox Studio through tutorials, guides, and community forums. Understanding the basics of 3D modeling and game development is essential.
  5. Graphics Software: For creating textures and detailed graphics for your models, consider using graphic software like Adobe Photoshop or GIMP.

With these tools and software in place, you\"re well on your way to creating custom models for Roblox. The combination of Blender\"s powerful modeling capabilities and Roblox Studio\"s game development environment opens up endless possibilities for creative expression.

Understanding Blender\"s Interface for Roblox Modeling

Blender\"s interface can be overwhelming for newcomers, but it\"s designed to offer robust tools for 3D modeling, including creating assets for Roblox games. This section will guide you through the essential components of Blender\"s interface tailored for Roblox modeling.

  • Main Areas: Blender\"s workspace is divided into several areas, including the 3D viewport, timeline, outliner, and properties panel. Understanding these areas will help you navigate and use Blender efficiently.
  • 3D Viewport: The 3D viewport is where you will spend most of your time. It\"s the visual interface where you create, edit, and view your models. Familiarize yourself with navigation controls like zoom, pan, and rotate to inspect your models from every angle.
  • Tools and Editors: Blender offers various tools and editors for modeling, texturing, and animating. The toolbar, located to the left of the 3D viewport, contains tools for manipulating your models. The properties editor, on the other hand, allows you to adjust object properties, materials, and modifiers.
  • Modifiers: Modifiers are powerful tools in Blender that automate certain modeling tasks and effects. For Roblox modeling, modifiers like Mirror, Subdivision Surface, and Solidify can be particularly useful to enhance your models without extensive manual work.
  • Shading and Texturing: Blender\"s shading and texturing tools are crucial for creating visually appealing models. Understanding how to apply and adjust materials and textures will enable you to create detailed and realistic assets for your Roblox games.
  • Exporting Models: Once your model is ready, exporting it correctly is crucial for use in Roblox. Familiarize yourself with the export settings to ensure your models are compatible with Roblox Studio, paying close attention to format, scale, and optimization.

By mastering Blender\"s interface and tools, you\"ll be well-equipped to create detailed and optimized models for your Roblox games, enhancing the player experience and bringing your creative visions to life.

Basic Modeling Techniques in Blender

Starting with basic modeling techniques in Blender can significantly enhance your Roblox game development process. Here, we\"ll cover foundational steps to get you started with creating custom models for your Roblox games.

  1. Understanding Blender\"s Geometry: Familiarize yourself with vertices, edges, and faces. These are the building blocks of your 3D models in Blender.
  2. Starting Simple: Begin with primitive shapes like cubes, spheres, and cylinders. Blender allows you to modify these shapes into complex models through various tools and techniques.
  3. Modifying Shapes: Learn how to use the Extrude, Loop Cut, and Bevel tools to add detail and complexity to your models. These tools are essential for shaping and refining your creations.
  4. Using Modifiers: Blender\"s modifiers can automate repetitive tasks and add complexity to your models efficiently. The Mirror modifier, for example, is great for creating symmetrical models.
  5. Sculpting: For more organic models, such as characters or terrain, the Sculpt Mode in Blender allows you to mold your model like clay, offering a more intuitive way to shape your assets.
  6. Texturing and Materials: Applying textures and materials to your model is crucial for realism and visual appeal. Blender provides powerful tools for UV unwrapping and texturing your models.
  7. Optimizing for Roblox: Keep your model\"s polygon count in mind to ensure it meets Roblox\"s performance requirements. Use tools like Decimate to reduce complexity without compromising on detail.

By mastering these basic techniques, you\"ll be well-equipped to start creating custom and engaging models for your Roblox games, enhancing the overall gaming experience for your players.

Texturing and Coloring Your Models

Texturing and coloring are critical steps in creating models for Roblox in Blender. They give life to your models, making them more realistic and appealing. Follow these steps to effectively texture and color your creations.

  1. UV Mapping: Before texturing, you need to unwrap your model. UV mapping is the process of projecting a 3D model onto a 2D plane to apply textures accurately.
  2. Creating Textures: Use image editing software to create or edit textures. These textures can include details like colors, patterns, and realism to apply to your model.
  3. Applying Textures in Blender: Import your textures into Blender and apply them to your model using the shading editor. This involves connecting your texture images to the Principled BSDF shader\"s color input.
  4. Texture Painting: Blender also allows you to directly paint on your models. This can be useful for adding details or modifying textures on specific parts of your model.
  5. PBR Materials: For more realistic textures, consider using Physically Based Rendering (PBR) materials, which simulate real-world light interactions with surfaces.
  6. Exporting Textured Models: When your model is ready, export it with textures applied for use in Roblox. Ensure to follow Roblox\"s guidelines for texture sizes and formats.

By mastering texturing and coloring, you can create models for Roblox that stand out and capture the imagination of players, enhancing the gaming experience.

Optimizing Models for Roblox\"s Performance Requirements

Creating models for Roblox in Blender involves more than just design; optimization is key to ensuring your models perform well within the game. Follow these guidelines to optimize your Blender models for Roblox\"s performance requirements.

  1. Reduce Polygon Count: High polygon counts can significantly impact game performance. Use Blender\"s decimate modifier to reduce the complexity of your models without losing essential details.
  2. Limit Texture Size: Large textures can cause longer loading times and increased memory usage. Opt for smaller texture sizes and consider using compressed textures to balance quality and performance.
  3. Use MeshParts Wisely: Convert your models to MeshParts in Roblox, which are optimized for performance. However, be mindful of the number of MeshParts you use, as each part can affect the game\"s overall performance.
  4. Optimize Assets Before Exporting: Before exporting your model to Roblox, make sure it\"s fully optimized in Blender. This includes applying modifiers, removing unnecessary vertices, and ensuring that your model\"s scale is appropriate for Roblox.
  5. Check Compatibility: Use the Roblox Studio\"s import feature to test your model\"s performance within the game environment. Adjust your model as necessary to meet Roblox\"s performance and compatibility standards.

By adhering to these optimization techniques, you can create models that not only look great but also perform efficiently in Roblox, providing a better experience for players.

_HOOK_

Exporting Models from Blender to Roblox

Exporting your Blender models to Roblox is a critical step in integrating your custom creations into your games. This process involves a few important steps to ensure your models are compatible and perform well in Roblox.

  1. Finalizing Your Model: Before exporting, ensure your model is fully optimized, adhering to Roblox\"s performance guidelines. This includes reducing polygon count and ensuring textures are appropriately sized.
  2. Using the Correct Export Format: Roblox primarily supports the FBX format for 3D models. In Blender, select your model and navigate to File > Export > FBX (.fbx).
  3. Export Settings: When exporting as FBX, adjust the export settings to match Roblox requirements. This often involves setting the scale, applying transformations, and choosing what components (e.g., mesh, armature) to include.
  4. Roblox Studio Import: With your FBX file exported, open Roblox Studio, and use the MeshPart object to import your model. Navigate to the MeshPart properties and upload your FBX file.
  5. Adjusting Scale and Position: Once imported into Roblox Studio, you may need to adjust the scale and position of your model to fit your game\"s environment correctly.
  6. Applying Textures: If your model uses external textures, ensure they are uploaded to Roblox and applied to your model within Roblox Studio for the correct appearance.

By following these steps, you can successfully export your Blender models into Roblox, bringing your custom assets into your game worlds.

Importing and Using Your Models in Roblox Studio

After exporting your Blender models, the next step is importing and using them in Roblox Studio to enhance your games. This process involves a few key steps to ensure your models integrate seamlessly into your Roblox projects.

  1. Preparing Your Model: Ensure your model is optimized and saved in the correct format (FBX) for Roblox. This includes applying any necessary textures and making sure the model adheres to Roblox\"s size and performance guidelines.
  2. Importing into Roblox Studio: In Roblox Studio, use the MeshPart object to import your model. Navigate to the MeshPart properties, and select the \"Import\" option to upload your FBX file.
  3. Adjusting Model Properties: Once imported, you may need to adjust your model\"s properties, such as size, position, and collision settings, to fit your game\"s environment and gameplay mechanics.
  4. Applying Textures: If your model uses external textures, ensure they are uploaded to Roblox and correctly linked to your model in Roblox Studio. This might involve setting up new materials in the Studio or adjusting the UV mapping.
  5. Testing Your Model: Test your model in-game to ensure it behaves as expected. Check for any issues with scaling, collisions, and interactions with other game elements.
  6. Making Adjustments: Based on your tests, you might need to return to Blender for further optimizations or adjustments, then re-import the model into Roblox Studio.

By carefully following these steps, you can effectively bring your custom Blender models into Roblox Studio, adding a unique touch to your Roblox games and experiences.

Advanced Modeling and Animation Techniques

Advancing your modeling and animation skills in Blender can elevate your Roblox games to new heights. Here, we\"ll explore techniques that allow for more complex and dynamic models and animations.

  1. Rigging Characters: Rigging is the process of creating a skeleton for a model so it can be animated. In Blender, use the armature system to rig your Roblox characters for animation.
  2. Weight Painting: Weight painting controls how the mesh of your model moves with the rigged skeleton. It\"s essential for creating realistic character movements.
  3. Advanced Animation Techniques: Explore Blender\"s animation tools, such as keyframing, inverse kinematics, and shape keys to create complex animations for your Roblox models.
  4. Creating Custom Animations: Use Blender\"s Timeline and Dope Sheet to create custom animations, which can then be exported and used in Roblox games to bring characters and objects to life.
  5. Utilizing Physics Simulations: Blender offers physics simulations like cloth, soft bodies, and fluids, which can be used to create dynamic elements within your Roblox games.
  6. Exporting Animations: Learn how to export animations from Blender to Roblox. Ensure your animations are compatible with Roblox by following the specific export guidelines.

By mastering these advanced techniques, you can create more engaging and interactive models and animations, greatly enhancing the player experience in your Roblox games.

Tips and Tricks for Efficient Roblox Model Creation

Creating models for Roblox in Blender can be streamlined with the right techniques and approaches. Here are some tips and tricks to enhance your model creation process, making it more efficient and effective.

  1. Understand Roblox\"s Requirements: Familiarize yourself with Roblox\"s model guidelines to ensure your creations are optimized for performance and compatibility.
  2. Utilize Blender\"s Modifiers: Modifiers like Mirror, Subdivision Surface, and Boolean can significantly speed up the modeling process and help create complex shapes more easily.
  3. Keep Models Simple: Simplify your models by reducing the polygon count without compromising on the essential details, to ensure they run smoothly in Roblox.
  4. Optimize Textures: Use textures wisely by compressing them and keeping the resolution in check to balance quality with performance.
  5. Use Layers and Groups: Organize your Blender project by using layers and groups for different parts of your model, making it easier to edit and export.
  6. Practice Efficient Rigging: For characters, use Blender\"s rigging tools effectively to create rigs that are easy to animate and perform well in Roblox.
  7. Export Properly: Ensure you export your models in a format compatible with Roblox, typically FBX, and check that all elements (textures, rigging) are correctly included.
  8. Test Frequently: Import your models into Roblox Studio regularly during the creation process to test for issues and ensure they look and function as expected.

By applying these tips, you can create Roblox models more efficiently, allowing you to spend more time on creativity and innovation.

Common Pitfalls and How to Avoid Them

Creating models for Roblox in Blender is a rewarding but challenging process. Awareness of common pitfalls and how to avoid them can save you time and frustration. Here are some key points to keep in mind.

  1. Ignoring Roblox\"s Import Guidelines: Always adhere to Roblox\"s guidelines for model sizes, polygon counts, and textures to ensure compatibility.
  2. Overcomplicating Models: Simple models not only perform better but also reduce the likelihood of issues during the import process. Focus on optimizing your models without unnecessary complexity.
  3. Neglecting Texture Optimization: Large or unoptimized textures can lead to performance issues. Use compressed textures and keep texture sizes within Roblox\"s recommended limits.
  4. Forgetting to Apply Scale and Rotation: In Blender, apply scale and rotation (Ctrl+A) before exporting to avoid unexpected results in Roblox Studio.
  5. Overlooking the Export Format: Ensure you export your models in a format supported by Roblox, typically FBX, and check that all necessary components are included.
  6. Not Testing Models in Roblox Studio: Import your models into Roblox Studio periodically during development to test for any issues and ensure they appear as expected.
  7. Avoiding Community Resources: The Roblox development community offers a wealth of knowledge. Engaging with forums and tutorials can provide solutions and prevent common mistakes.

By avoiding these pitfalls, you can streamline your workflow and create models that are both high-quality and fully compatible with Roblox.

_HOOK_

Resources for Learning and Community Support

Embarking on the journey of creating Roblox models with Blender is exciting, and numerous resources are available to support your learning curve and connect you with the community.

  • Official Blender Tutorials: The Blender website offers an array of tutorials for all skill levels, from beginners to advanced users, covering everything from basic navigation to complex modeling techniques.
  • Roblox Developer Forum: A vibrant community where creators share tips, tricks, and tutorials. It\"s a great place to ask questions and learn from experienced developers.
  • YouTube Channels: Numerous channels are dedicated to Blender modeling and Roblox game development, offering visual guides and walkthroughs for various techniques.
  • Roblox Blender Plugin: Utilize the official plugin for seamless integration between Blender and Roblox, streamlining the model export and import process.
  • Blender Discord Servers: Join Blender-focused Discord servers to chat in real-time with other Blender users, share your work, and get feedback or help.
  • Blender Artists Community: A forum for Blender artists where you can showcase your work, participate in contests, and engage in discussions about 3D modeling.
  • Online Courses and Workshops: Platforms like Udemy, Coursera, and Skillshare offer courses on Blender and game development that can help you improve your skills systematically.

Leveraging these resources can greatly enhance your ability to create stunning models for Roblox, offering both learning opportunities and community support throughout your development journey.

Conclusion and Encouragement for Beginners

Embarking on the journey of creating models for Roblox in Blender is an exciting adventure that opens up a world of creativity and innovation. While the learning curve might seem steep at first, the potential to bring your unique visions to life within the Roblox universe is immensely rewarding. Remember, every expert was once a beginner, and the key to mastery is persistence and continuous learning.

Don\"t be discouraged by initial challenges. Instead, view them as opportunities to grow and improve. The Roblox and Blender communities are incredibly supportive, and there are countless resources available to help you on your journey. Whether it\"s through forums, tutorials, or direct collaboration, you\"re never alone in your quest to create.

As you develop your skills, remember to share your knowledge and experiences with others. The path to becoming a proficient modeler and game developer is made richer by the community and connections you build along the way.

So, take that first step, keep experimenting, and never stop creating. Your unique contributions are what make the Roblox community so special. Happy modeling!

Embark on your Blender journey to create captivating Roblox models, unlocking endless creativity and possibilities. With dedication and the right resources, you\"re set to transform your visions into virtual realities. Start creating today!

FEATURED TOPIC