Topic how to make roblox models in blender: Discover the secrets of creating Roblox models in Blender, enhancing your games with custom 3D designs. This guide unlocks the potential for endless creativity and detailed game development.
Table of Content
- What are the steps to make Roblox models in Blender?
- Getting Started with Blender and Roblox
- Exporting Models from Roblox to Blender
- Creating Models in Blender for Roblox
- Importing Blender Models into Roblox
- Advanced Tips
- Resources and Learning
- Exporting Models from Roblox to Blender
- Creating Models in Blender for Roblox
- YOUTUBE: How to 3D Model Roblox Characters Blender Tutorial
- Importing Blender Models into Roblox
- Advanced Tips
- Resources and Learning
- Creating Models in Blender for Roblox
- Importing Blender Models into Roblox
- Advanced Tips
- Resources and Learning
- Importing Blender Models into Roblox
- Advanced Tips
- Resources and Learning
- Advanced Tips
- Resources and Learning
- Resources and Learning
- Introduction to Creating Roblox Models with Blender
- Preparing Your Workspace: Blender and Roblox Studio Setup
- Step-by-Step Guide to Exporting Roblox Models for Blender
- Mastering Blender Basics for Roblox Model Creation
- Advanced Modeling Techniques in Blender for Roblox
- Texturing and Material Application for Roblox Models
- Rigging and Animating Your Models for Roblox
- Optimizing Your Models for Better Performance in Roblox
- Importing Blender Models into Roblox Studio
- Common Pitfalls and How to Avoid Them
- Resources for Further Learning and Community Support
- Conclusion: Unleashing Your Creativity in Roblox with Blender
What are the steps to make Roblox models in Blender?
To make Roblox models in Blender, follow these steps:
- Install Blender on your computer if you haven\'t already.
- Open Blender and create a new project.
- Start by creating your 3D model using Blender\'s modeling tools.
- Ensure your model is optimized and meets the requirements for Roblox.
- Export your model from Blender in a compatible format such as .obj or .fbx.
- Open Roblox Studio and import your 3D model into your game.
- Adjust the positioning and scale of your model within Roblox Studio.
- Test your model in the Roblox game to ensure it works correctly.
READ MORE:
Getting Started with Blender and Roblox
- Download and install Blender, a free and open-source 3D creation suite.
- Ensure you have Roblox Studio installed to export models and for game development.

Exporting Models from Roblox to Blender
- In Roblox Studio, select the model you wish to export.
- Right-click the model and choose \"Export\" as an .obj file.
- Open Blender and go to File > Import > Wavefront (.obj) to import your model.

Creating Models in Blender for Roblox
Design your 3D model using Blender\"s tools and features. For beginners, start with basic shapes and gradually move to more complex structures.
Basic Modeling Tips
- Use Blender\"s sculpting tools for detailed model creation.
- Apply textures and materials to give your model a unique look.
- For animations, rig your model accordingly.

Importing Blender Models into Roblox
Once your model is ready and saved as an .obj file:
- Open Roblox Studio and create or open your game project.
- Navigate to the Toolbox, select \"Models\", and click on \"Import\".
- Choose your .obj file exported from Blender and adjust its properties in Roblox Studio.

_HOOK_
Advanced Tips
- Optimize your models by reducing polygons for better performance in Roblox.
- Experiment with different lighting and effects in Blender to enhance your model\"s appearance.

Resources and Learning
Explore online tutorials, forums, and the Blender community for tips, tricks, and advice on model creation.

Exporting Models from Roblox to Blender
- In Roblox Studio, select the model you wish to export.
- Right-click the model and choose \"Export\" as an .obj file.
- Open Blender and go to File > Import > Wavefront (.obj) to import your model.

Creating Models in Blender for Roblox
Design your 3D model using Blender\"s tools and features. For beginners, start with basic shapes and gradually move to more complex structures.
Basic Modeling Tips
- Use Blender\"s sculpting tools for detailed model creation.
- Apply textures and materials to give your model a unique look.
- For animations, rig your model accordingly.
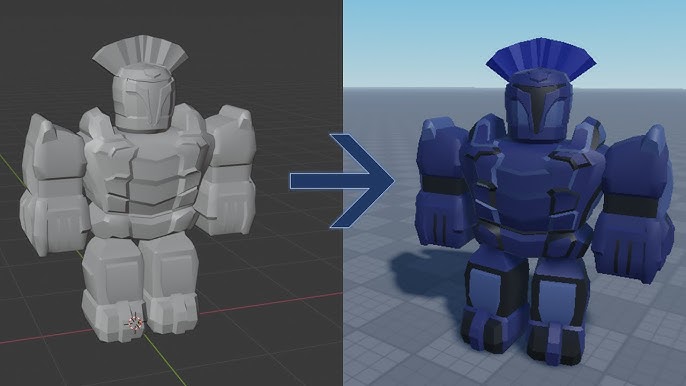
How to 3D Model Roblox Characters Blender Tutorial
Tutorial: Discover the ultimate guide to mastering new skills with our engaging tutorial video. Unlock the secrets to success and watch your knowledge soar to new heights. Get ready to learn and be inspired! Blender: Dive into the world of animation and design with our mesmerizing Blender video. Unleash your creativity as you explore the endless possibilities of this powerful software. Watch and be amazed!
Importing Blender Models into Roblox
Once your model is ready and saved as an .obj file:
- Open Roblox Studio and create or open your game project.
- Navigate to the Toolbox, select \"Models\", and click on \"Import\".
- Choose your .obj file exported from Blender and adjust its properties in Roblox Studio.

_HOOK_
Advanced Tips
- Optimize your models by reducing polygons for better performance in Roblox.
- Experiment with different lighting and effects in Blender to enhance your model\"s appearance.

Resources and Learning
Explore online tutorials, forums, and the Blender community for tips, tricks, and advice on model creation.
Creating Models in Blender for Roblox
Design your 3D model using Blender\"s tools and features. For beginners, start with basic shapes and gradually move to more complex structures.
Basic Modeling Tips
- Use Blender\"s sculpting tools for detailed model creation.
- Apply textures and materials to give your model a unique look.
- For animations, rig your model accordingly.
Importing Blender Models into Roblox
Once your model is ready and saved as an .obj file:
- Open Roblox Studio and create or open your game project.
- Navigate to the Toolbox, select \"Models\", and click on \"Import\".
- Choose your .obj file exported from Blender and adjust its properties in Roblox Studio.
Advanced Tips
- Optimize your models by reducing polygons for better performance in Roblox.
- Experiment with different lighting and effects in Blender to enhance your model\"s appearance.
_HOOK_
Resources and Learning
Explore online tutorials, forums, and the Blender community for tips, tricks, and advice on model creation.
Importing Blender Models into Roblox
Once your model is ready and saved as an .obj file:
- Open Roblox Studio and create or open your game project.
- Navigate to the Toolbox, select \"Models\", and click on \"Import\".
- Choose your .obj file exported from Blender and adjust its properties in Roblox Studio.
Advanced Tips
- Optimize your models by reducing polygons for better performance in Roblox.
- Experiment with different lighting and effects in Blender to enhance your model\"s appearance.
Resources and Learning
Explore online tutorials, forums, and the Blender community for tips, tricks, and advice on model creation.
Advanced Tips
- Optimize your models by reducing polygons for better performance in Roblox.
- Experiment with different lighting and effects in Blender to enhance your model\"s appearance.
_HOOK_
Resources and Learning
Explore online tutorials, forums, and the Blender community for tips, tricks, and advice on model creation.
Resources and Learning
Explore online tutorials, forums, and the Blender community for tips, tricks, and advice on model creation.
Introduction to Creating Roblox Models with Blender
Creating Roblox models with Blender opens a world of creativity and customization for your Roblox games. This section provides a comprehensive guide to help you start your journey in 3D modeling for Roblox using Blender, a powerful and free 3D creation suite.
- Understanding the Basics: Before diving into modeling, familiarize yourself with Blender\"s interface and basic functions. This foundation is crucial for efficient 3D modeling.
- Setting Up: Ensure you have both Blender and Roblox Studio installed. Blender is used for creating the models, while Roblox Studio will be where you import and use your creations.
- Exporting and Importing Models: Learn how to export models from Roblox Studio and import them into Blender for editing, as well as exporting your Blender creations back into Roblox Studio.
- Modeling Techniques: Discover essential modeling techniques in Blender to create detailed and optimized models for Roblox, including low poly modeling for better performance.
- Texturing and Materials: Explore how to apply textures and materials in Blender to bring your Roblox models to life with colors and detailed surfaces.
- Animating Models: If your project requires animated models, we\"ll cover the basics of rigging and animating your creations within Blender for use in Roblox.
By following this guide, you\"ll gain the skills and knowledge needed to create unique and custom models for your Roblox games, enhancing the gaming experience for your players.
Preparing Your Workspace: Blender and Roblox Studio Setup
Setting up your workspace correctly is the first step towards creating custom Roblox models in Blender. This preparation ensures a smooth workflow from model creation to implementation in your Roblox game. Follow these steps to get started:
- Install Blender: Download and install the latest version of Blender from the official website. Ensure your computer meets the software\"s system requirements for optimal performance.
- Install Roblox Studio: Similarly, download and install Roblox Studio, which will be used to import your models and incorporate them into your games.
- Configure Blender for Roblox Modeling: Familiarize yourself with Blender\"s interface. Customize your layout to have easy access to tools you\"ll frequently use for Roblox model creation.
- Roblox Blender Plugin: Consider installing the Roblox Blender Plugin if available. This plugin simplifies the process of transferring models between Blender and Roblox Studio by allowing direct uploads.
- Learn Basic Navigation: Spend some time learning Blender\"s navigation controls, including zoom, rotate, and pan. Knowing how to efficiently move around your workspace is crucial for modeling.
- Understand Roblox\"s Requirements: Roblox models have specific requirements, such as polygon count limits. Familiarize yourself with these requirements to ensure your models are compatible with Roblox.
- Organize Your Project Files: Keep your workspace tidy by organizing your project files. Create separate folders for different models and their associated textures to streamline your workflow.
By following these steps, you\"ll create a productive environment that bridges Blender and Roblox Studio, making it easier to bring your creative visions to life in your Roblox games.
Step-by-Step Guide to Exporting Roblox Models for Blender
Exporting models from Roblox to Blender is a straightforward process that allows you to edit and enhance your creations with advanced tools. Follow these detailed steps to successfully export your Roblox models for use in Blender:
- Choose Your Model in Roblox Studio: Open Roblox Studio and select the model you wish to export. Ensure the model is yours or you have permission to use it.
- Export the Model: Right-click on the model and select \"Export\". Save the model as an .obj file, a format compatible with Blender.
- Prepare Blender: Open Blender and clear the default scene to make space for your imported model. This can be done by pressing \"A\" to select all and then \"X\" to delete.
- Importing into Blender: In Blender, navigate to File > Import > Wavefront (.obj). Locate and select the .obj file you exported from Roblox Studio.
- Adjusting the Model: Once imported, you may need to adjust the scale, rotation, or position of your model to suit your needs in Blender. Use the transform tools in Blender for these adjustments.
- Save Your Project: After making the necessary edits, save your Blender project to avoid losing any work. You can then continue to refine your model with Blender’s extensive tools.
This guide ensures a seamless transition of your Roblox models into Blender, allowing you to unleash the full potential of your creations with more sophisticated modeling and texturing tools.
_HOOK_
Mastering Blender Basics for Roblox Model Creation
Mastering the basics of Blender is essential for creating detailed and optimized models for Roblox. This section outlines the foundational skills you need to start your 3D modeling journey. By understanding these basics, you\"ll be able to craft models that are not only visually appealing but also optimized for performance in Roblox.
- Understanding the Interface: Familiarize yourself with Blender\"s interface, including the 3D viewport, outliner, properties panel, and timeline. Knowing where everything is will significantly speed up your workflow.
- Basic Modeling Techniques: Learn how to manipulate vertices, edges, and faces to create basic shapes. Start with simple objects like cubes and spheres before moving on to more complex forms.
- Modifiers: Modifiers can automate and simplify tasks. Familiarize yourself with common modifiers like Subdivision Surface for smoothing and Boolean for combining or subtracting shapes.
- Materials and Texturing: Explore how to apply materials and textures to your models. This will add color, realism, and detail to your creations.
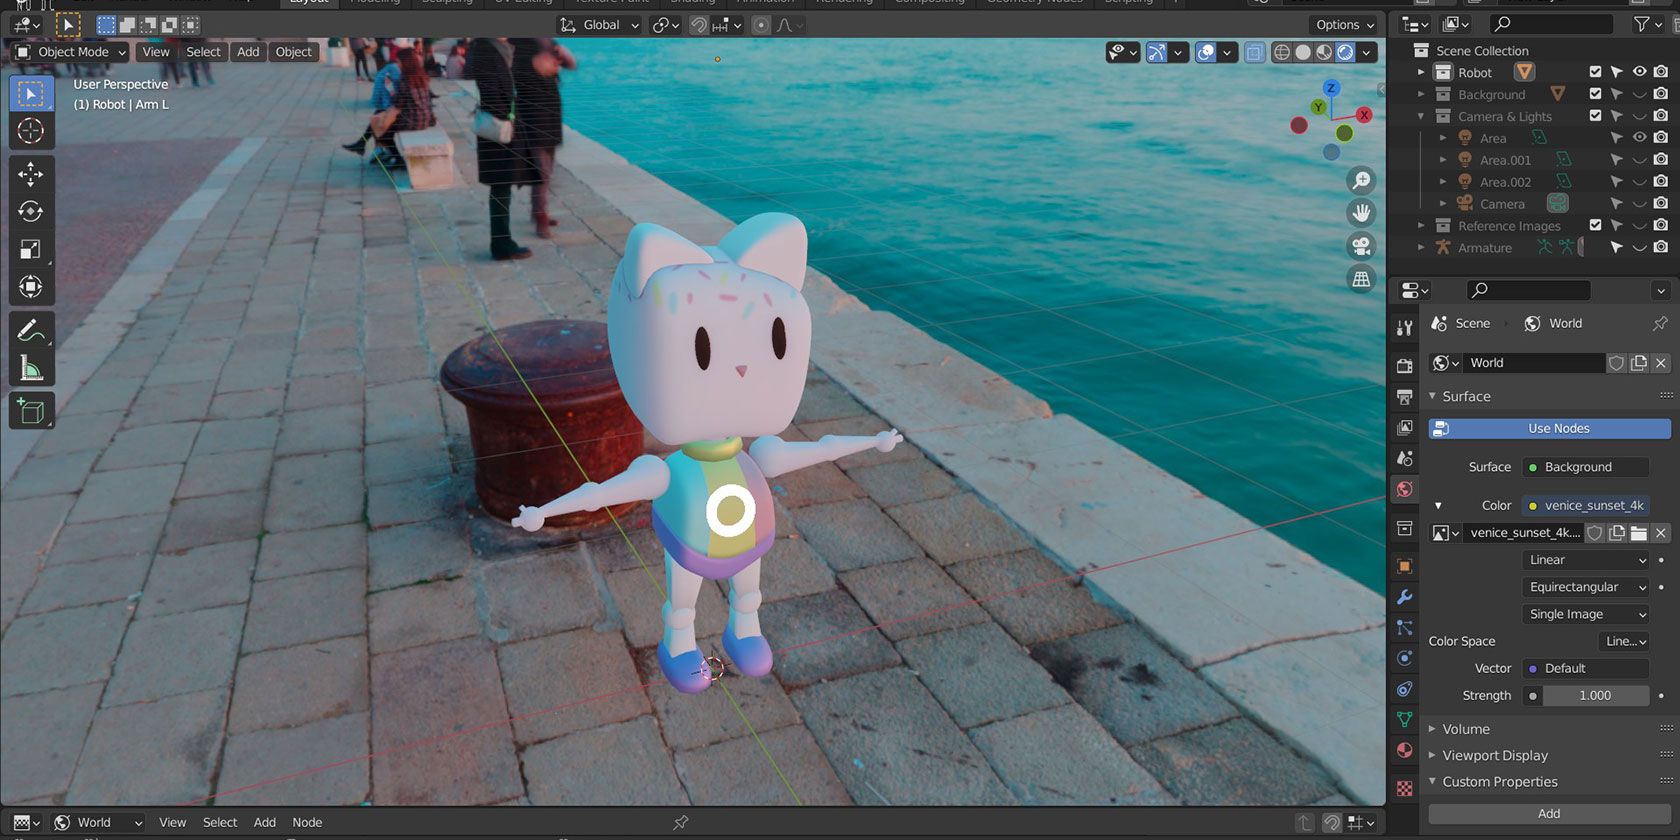
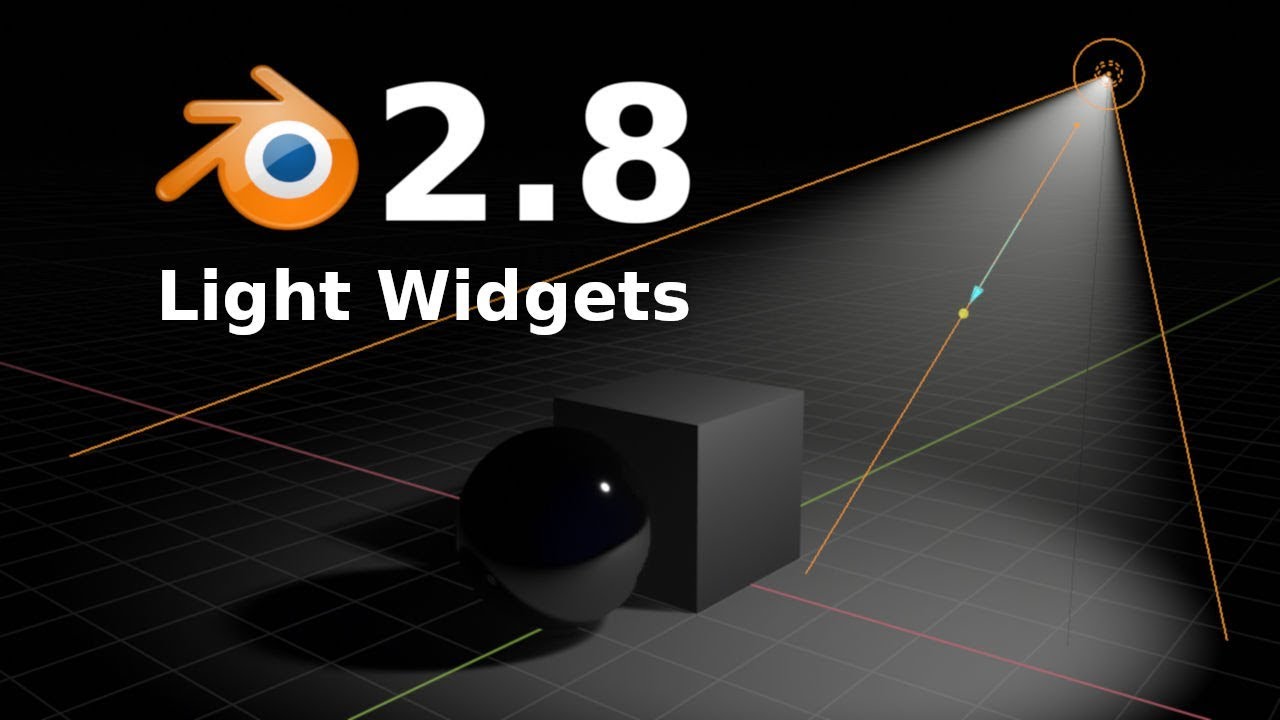
- Lighting: Understanding basic lighting will help you highlight your models\" best features and create the desired mood or atmosphere.
- Exporting Models: Learn the proper way to export your models from Blender in a format that Roblox Studio can import, typically as .obj files.
These foundational skills in Blender will enable you to create diverse and detailed models for Roblox, enhancing your games and experiences. With practice, you can move from basic models to complex and animated creations, bringing your imaginative visions to life in Roblox.
Advanced Modeling Techniques in Blender for Roblox
Advancing your Blender skills will allow you to create more sophisticated and detailed models for Roblox. This section delves into advanced techniques that can elevate your 3D modeling, making your creations stand out in Roblox games.
- Subdivision Surface Modifier: Use the Subdivision Surface modifier to smooth out your models and add more geometry for detailed sculpting.
- Sculpting Tools: Blender\"s sculpting tools offer a hands-on approach to model shaping, allowing for intricate details that are difficult to achieve with basic modeling techniques.
- UV Unwrapping and Texturing: Master UV unwrapping to apply textures accurately to your models. This skill is crucial for adding realistic or stylized finishes to your creations.
- Rigging and Weight Painting: For models that require animation, learn rigging and weight painting to control how your model moves. This is essential for creating characters or other animated elements.
- Particle Systems and Physics: Experiment with Blender\"s particle systems and physics simulations to add effects like fire, smoke, or cloth dynamics to your Roblox models.
- Optimization Techniques: Learn how to optimize your models for performance in Roblox, focusing on reducing polygon counts without sacrificing visual quality.
- Custom Shaders and Materials: While Roblox has its own material system, understanding Blender\"s shader editor can help you create textures that look great when imported into Roblox.
These advanced techniques require time and practice to master, but they will significantly enhance the quality and functionality of your Roblox models. As you become more comfortable with Blender, integrating these methods into your workflow will become second nature.
Texturing and Material Application for Roblox Models
Applying textures and materials to your Roblox models in Blender is a pivotal step in bringing your creations to life. This section covers the essentials of texturing and material application, ensuring your models look as good in Roblox as they do in Blender.
- Understanding Textures and Materials: Begin by learning the difference between textures (the image files applied to a model) and materials (the shaders that define the surface appearance).
- Creating Textures: Use Blender\"s texture painting tools or external image editing software to create textures. Ensure they are optimized for Roblox\"s performance requirements.
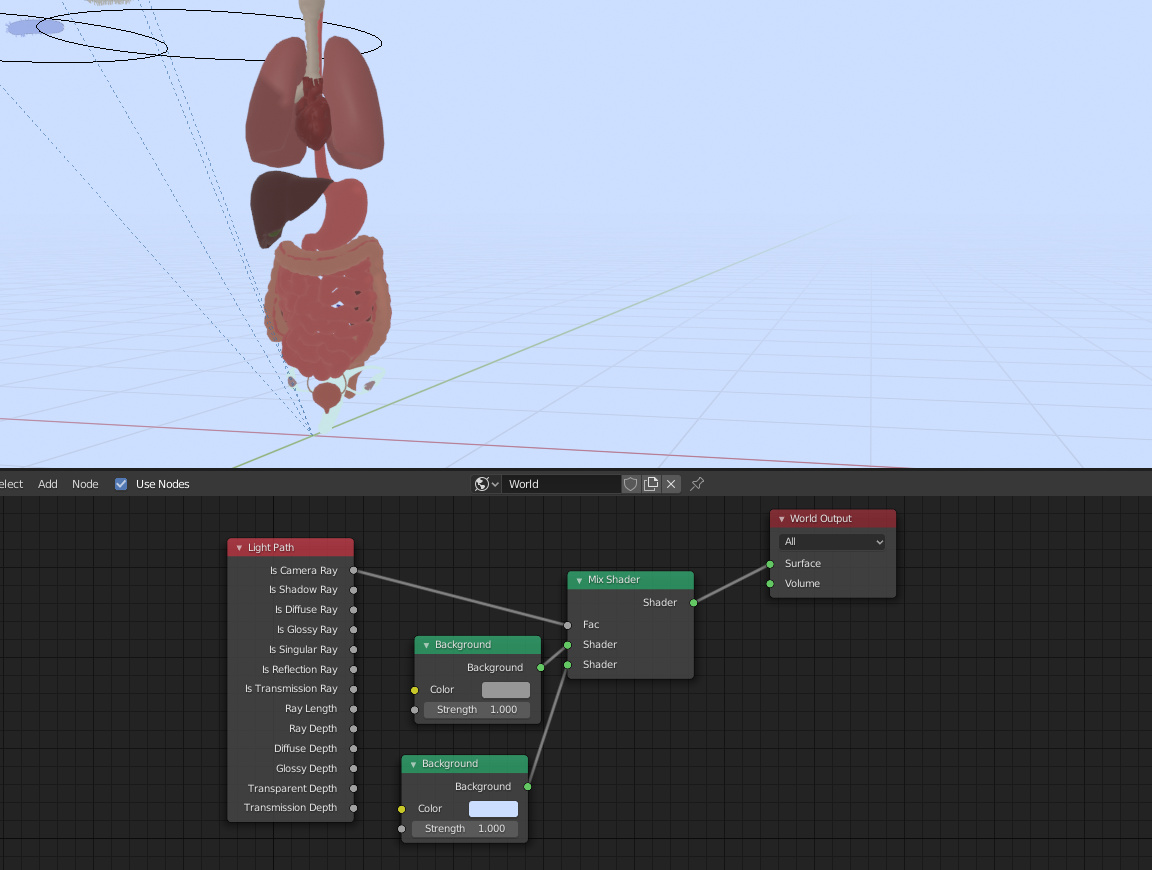
- Applying Materials in Blender: In Blender, materials can be created and applied to your model using the Shader Editor. Familiarize yourself with nodes such as the Principled BSDF for versatile material creation.
- UV Unwrapping: UV unwrap your model to accurately map textures onto its surface. This process requires marking seams and unwrapping the mesh to lay it out flat for texturing.
- Exporting Textures: When your model and its textures are ready, ensure to export the textures alongside your model. Blender allows you to bake textures, which can be useful for complex shading effects.
- Importing into Roblox: Import your model and its associated textures into Roblox Studio. Apply the textures to your model within Roblox Studio to see the final appearance.
- Testing in Game: Always test your textured models in-game to ensure they appear correctly and perform well under various lighting conditions and distances.
By mastering these steps, you can create visually stunning models for Roblox that maintain high performance and engage your audience.
Rigging and Animating Your Models for Roblox
To rig and animate models for Roblox using Blender, start by ensuring you have both Blender and the Roblox Studio setup. Here\"s a comprehensive guide to help you through the process:
- Exporting Your Rig from Roblox: Begin by enabling the Blender rig exporter/animation importer plugin in Roblox. Click on your desired rig and choose \"Export rig\" to save the .obj file. In Blender, import this file to start working on your animation.
- Setting Up Blender: Adjust Blender\"s scene units to match Roblox Studio\"s scale, ensuring a seamless transition of models between the two platforms. Import your model and prepare for rigging by adjusting scene and scale settings accordingly.
- Creating and Positioning Bones: Add an armature in Blender and create bones within your mesh. These bones will act as the skeleton of your model, enabling you to animate its movements. Make sure to position the bones accurately to match the intended movements of your model.
- Parenting and Weighting: Once your bones are positioned, parent your mesh to the armature and assign vertices to specific bones. This step is crucial for defining how different parts of your model will move in relation to each other.
- Animating Your Model: With your model rigged, switch to Pose Mode in Blender and begin animating. Create keyframes for different poses, adjusting the bones to achieve the desired motion. Ensure to set the animation parameters, such as frame rate and loop settings, according to your needs.
- Exporting and Importing Animations: After animating, export your animation from Blender and import it into Roblox. Use the provided tools to copy the animation data to Roblox, where you can upload and apply it to your models.
Throughout this process, regularly test your animations in Roblox Studio to ensure they work as expected. Adjustments may be needed to optimize the performance and appearance of your models within the Roblox environment.
Remember, rigging and animating models for Roblox can be a detailed process that requires patience and practice. Refer to Blender and Roblox forums and tutorials for additional tips and troubleshooting advice.
Optimizing Your Models for Better Performance in Roblox
Optimizing models for Roblox in Blender involves refining your game elements to ensure they run smoothly across various devices, enhancing the user experience, and improving game stability and ratings. This guide covers key strategies for achieving better performance.
- Minimize Part Count: Use fewer parts in your models. Instead of multiple parts for similar objects, use a single part with different textures to reduce the load on the game\"s engine.
- Optimize Textures: High-resolution textures can slow down game performance, especially on lower-end devices. Use optimized, lower-resolution textures to improve performance without sacrificing visual quality.
- Efficient Scripting: Ensure your Lua scripts are efficient and do not overload the system with unnecessary instructions. Optimize loops and other script elements to reduce the strain on system resources.
- Utilize Level of Detail (LoD): Implement Roblox\"s Level of Detail feature to reduce detail for distant game objects, freeing up resources and improving performance for larger games.
- Manage In-Game Physics: Adjust physics settings appropriately by deactivating physics for parts that do not require it and minimizing unnecessary collisions to enhance performance.
- Optimize Lighting: Limit dynamic lights and use shadowless lights where possible, as lighting calculations are computationally expensive and can impact game performance.
- Streamline Scripts: Write scripts effectively by avoiding unnecessary loops and optimizing collision settings to ensure smoother gameplay.
By following these optimization techniques, you can significantly improve the performance and player experience of your Roblox games created with Blender models. Remember, optimization is an ongoing process that may require iterative adjustments to achieve the best balance between performance and visual quality.
_HOOK_
Importing Blender Models into Roblox Studio
Bringing your Blender models into Roblox Studio enhances your game\"s visual appeal and allows for more personalized and detailed environments. Here\"s how you can import Blender models into Roblox Studio:
- Prepare Your Model in Blender: Ensure your model is ready for export. Apply necessary modifications and ensure it\"s within Roblox\"s mesh requirements for a smooth import process.
- Export Your Model: From Blender, export your model as an .FBX, .GLTF, or .OBJ file. These file formats are compatible with Roblox Studio for importing.
- Use Roblox Studio\"s Import Feature: In Roblox Studio, access the \"Import\" feature through the Home or Avatar tab. Here, you can import your .FBX, .GLTF, or .OBJ file directly into your project.
- Adjust Import Settings: Within the importer, you\"ll have options to adjust settings relevant to your model, such as anchoring, scaling, and whether to import as a single model or separate meshes.
- Verify and Import: Before finalizing the import, verify your model in the preview panel. Adjust any settings if necessary, then import your model into Roblox Studio.
For detailed steps on using Roblox\"s Blender Plugin or the 3D Importer tool, consult Roblox Creator Hub\"s official documentation. These tools provide streamlined processes for transferring models directly from Blender to Roblox, saving time and reducing potential errors from manual file handling.
Remember, optimizing your Blender models before import can significantly impact performance within Roblox, ensuring a smooth gameplay experience for all users.
Common Pitfalls and How to Avoid Them
When creating Roblox models in Blender, developers often face challenges that can hinder the development process. Understanding these common pitfalls and how to avoid them is crucial for a smooth workflow. Here are some of the most common issues and tips for overcoming them:
- Overcomplicating Models: Creating models with too many details can lead to performance issues in Roblox. It\"s essential to keep models as simple as possible, focusing on optimizing polygon counts without compromising on the visual quality.
- Inefficient Texturing: High-resolution textures look great but can significantly affect game performance. Opt for lower resolution textures and efficient UV mapping to reduce the load on the Roblox engine.
- Ignoring Roblox Import Guidelines: Roblox has specific guidelines for importing models, including size and file format limitations. Familiarize yourself with these requirements to avoid import errors and ensure compatibility.
- Not Utilizing Blender\"s Advanced Features: Blender offers powerful tools for texturing, rigging, and animation. Not using these features to their full potential can result in less dynamic and engaging models.
- Lack of Planning: Jumping straight into modeling without a clear plan or reference can lead to time-consuming revisions. Spend time planning your model, considering its role in the game and how it interacts with other elements.
- Forgetting to Optimize for Performance: Always optimize your Blender models for performance in Roblox. This includes reducing the number of materials, merging objects where possible, and ensuring animations are efficient.
To enhance your modeling skills and avoid these pitfalls, invest time in learning Blender\"s interface and features. Explore tutorials and resources available online, practice regularly, and experiment with different techniques to find what works best for your projects.
Resources for Further Learning and Community Support
Finding resources for enhancing your skills in making Roblox models with Blender is crucial for both beginners and experienced creators. The following resources provide a wealth of information and community support to help you on your journey.
- Blender Tutorials: Start with the official Blender Foundation’s tutorials. They offer comprehensive guides that cover everything from basic to advanced modeling techniques.
- Roblox Developer Hub: The Roblox Developer Hub is an essential resource for understanding how to import models into Roblox Studio and make them interactive within the Roblox environment.
- YouTube Channels: There are numerous YouTube channels dedicated to Roblox and Blender tutorials. Look for creators who specialize in model creation, texturing, rigging, and animation to get a wide range of insights and tips.
- Online Courses: Platforms like Udemy and Coursera offer courses specifically for Blender and Roblox development. These can be a great way to get structured learning from basic to advanced levels.
- Community Forums: Join forums on the Blender Artists Community and the Roblox Developer Forum. These platforms allow you to ask questions, share your work, and get feedback from experienced developers.
- Discord Servers: There are active Discord communities focused on Blender and Roblox where you can find real-time help, participate in community projects, and meet other creators.
- Books and eBooks: Look for books and eBooks that cover 3D modeling with Blender and game development for Roblox. They can provide in-depth knowledge and are great for reference.
- Meetups and Conferences: Participate in meetups, webinars, and conferences related to Blender and Roblox. These events are fantastic opportunities to learn from experts and network with other developers.
By leveraging these resources, you can continuously improve your skills, stay updated with the latest trends and techniques, and find inspiration for your next Roblox project. Remember, the key to mastering Roblox model creation with Blender is practice, persistence, and actively engaging with the community.
READ MORE:
Conclusion: Unleashing Your Creativity in Roblox with Blender
Merging the capabilities of Blender with the platform of Roblox opens up a universe of creativity and innovation. As you embark on this journey of model creation, it\"s essential to embrace both the challenges and the triumphs that come with learning and mastering new skills. The process of designing, texturing, rigging, and animating your models for Roblox can seem daunting at first, but with patience and practice, it becomes an incredibly rewarding experience.
- Experiment and Learn: The path to mastery is through consistent practice and experimentation. Don\"t be afraid to try new techniques or tackle complex projects.
- Engage with the Community: Collaboration and feedback from the Roblox and Blender communities can accelerate your learning and inspire you to push your limits.
- Share Your Work: Presenting your models and games to the world is not just a way to showcase your talent, but also to contribute to the growth and diversity of the Roblox ecosystem.
- Keep Updating Your Skills: The digital world evolves rapidly, with new tools and techniques emerging regularly. Stay curious and keep learning to keep your creations at the cutting edge.
Ultimately, the journey of creating Roblox models in Blender is about expressing your creativity and bringing your imaginative visions to life. Whether you aspire to create games for fun or dream of becoming a professional game developer, the skills you develop through this process are invaluable. So, embrace the journey, enjoy the process, and let your creativity soar. The Roblox universe is vast, and it\"s waiting for your unique contributions.
Embark on a creative journey to master Roblox model creation with Blender, unlocking endless possibilities. Transform your visions into reality, enhance your skills, and join a community of innovators shaping the future of gaming.