Topic blender to roblox: Discover the seamless integration of Blender to Roblox, empowering creators to bring their imaginative 3D models to life in captivating Roblox games.
Table of Content
- What is the process for importing Blender files into Roblox?
- Getting Started
- Roblox Blender Plugin
- Creating and Exporting Models
- Textures and Materials
- Animations and Rigging
- Importing to Roblox
- Advanced Tips
- Conclusion
- Roblox Blender Plugin
- Creating and Exporting Models
- YOUTUBE: Blender to Roblox Studio Full Guide
- Textures and Materials
- Animations and Rigging
- Importing to Roblox
- Advanced Tips
- Conclusion
- Creating and Exporting Models
- Textures and Materials
- Animations and Rigging
- Importing to Roblox
- Advanced Tips
- Conclusion
- Textures and Materials
- Animations and Rigging
- Importing to Roblox
- Advanced Tips
- Conclusion
- Animations and Rigging
- Importing to Roblox
- Advanced Tips
- Conclusion
- Importing to Roblox
- Advanced Tips
- Conclusion
- Advanced Tips
- Conclusion
- Conclusion
- Introduction to Blender and Roblox Integration
- Benefits of Using the Roblox Blender Plugin
- How to Install and Setup the Roblox Blender Plugin
- Creating Your First 3D Model in Blender for Roblox
- Exporting Models from Blender to Roblox
- Advanced Tips for Blender Models in Roblox
- Animating Your Models in Blender for Roblox
- Common Issues and Solutions
- Additional Resources and Community Support
What is the process for importing Blender files into Roblox?
To import Blender files into Roblox, you can follow these steps:
- First, create or design your 3D model in Blender.
- Once your model is ready, export it from Blender in a format that Roblox supports, such as FBX or OBJ.
- Open Roblox Studio and create a new place or open an existing one where you want to import your Blender model.
- Click on the \"Model\" tab in Roblox Studio and then select \"Import.\" Choose the exported Blender file from your computer.
- Adjust the scale and position of the imported model to fit within your Roblox world.
- You can also apply textures and materials to the model within Roblox Studio if needed.
- Once you are satisfied with the placement and appearance of the imported Blender model, you can save your project in Roblox Studio.
- You can now test your game or place in Roblox to see the imported Blender model in action.
READ MORE:
Getting Started
- Download and install Blender, a free and open-source 3D creation suite.
- Ensure you have the latest version of Roblox Studio to utilize new features and compatibility.

Roblox Blender Plugin
The Roblox Blender Plugin is an essential tool for creators looking to import their Blender models directly into Roblox Studio.
- Link your Roblox account with Blender for direct model transfers.
- Reduce the need for exporting and importing files, streamlining your development process.
Creating and Exporting Models
Follow best practices for modeling in Blender to ensure compatibility with Roblox:
- Start with basic shapes and refine them into your desired 3D models.
- Keep an eye on polygon counts to meet Roblox\"s import requirements.

Textures and Materials
Customize your models with unique textures and materials in Blender before importing them into Roblox.
_HOOK_
Animations and Rigging
Utilize Blender\"s rigging and animation tools to bring your Roblox characters to life.

Importing to Roblox
- Use the Blender plugin to upload your models directly to Roblox Studio.
- Adjust settings in Roblox Studio to ensure your models look as intended.
Advanced Tips
- Explore Blender\"s advanced modeling tools for more complex creations.
- Keep up to date with the latest Roblox Studio features for new possibilities.

Conclusion
Integrating Blender with Roblox opens up a world of creative possibilities. By following these guidelines, you can enhance your game development workflow and bring your imaginative ideas to life in Roblox.

Roblox Blender Plugin
The Roblox Blender Plugin is an essential tool for creators looking to import their Blender models directly into Roblox Studio.
- Link your Roblox account with Blender for direct model transfers.
- Reduce the need for exporting and importing files, streamlining your development process.

_HOOK_
Creating and Exporting Models
Follow best practices for modeling in Blender to ensure compatibility with Roblox:
- Start with basic shapes and refine them into your desired 3D models.
- Keep an eye on polygon counts to meet Roblox\"s import requirements.
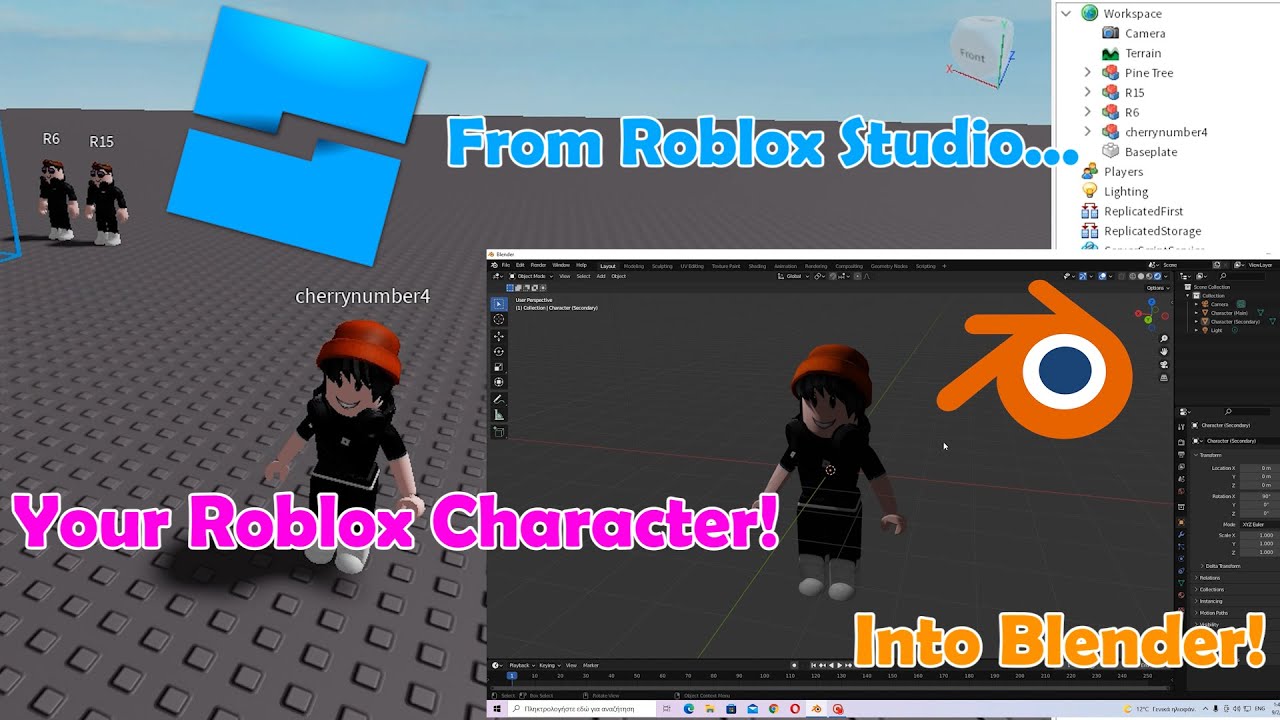
Blender to Roblox Studio Full Guide
Transition: Step into a world of possibilities with our captivating video on transition. Explore new beginnings, changes, and growth in this inspiring visual journey that will leave you feeling motivated and empowered. Conversion: Discover the magic of turning potential into reality in our engaging video on conversion. Witness how opportunities are transformed into success stories, and be inspired to unlock your own potential for greatness.
Textures and Materials
Customize your models with unique textures and materials in Blender before importing them into Roblox.
Animations and Rigging
Utilize Blender\"s rigging and animation tools to bring your Roblox characters to life.
Importing to Roblox
- Use the Blender plugin to upload your models directly to Roblox Studio.
- Adjust settings in Roblox Studio to ensure your models look as intended.
Advanced Tips
- Explore Blender\"s advanced modeling tools for more complex creations.
- Keep up to date with the latest Roblox Studio features for new possibilities.
_HOOK_
Conclusion
Integrating Blender with Roblox opens up a world of creative possibilities. By following these guidelines, you can enhance your game development workflow and bring your imaginative ideas to life in Roblox.
Creating and Exporting Models
Follow best practices for modeling in Blender to ensure compatibility with Roblox:
- Start with basic shapes and refine them into your desired 3D models.
- Keep an eye on polygon counts to meet Roblox\"s import requirements.
Textures and Materials
Customize your models with unique textures and materials in Blender before importing them into Roblox.
Animations and Rigging
Utilize Blender\"s rigging and animation tools to bring your Roblox characters to life.
Importing to Roblox
- Use the Blender plugin to upload your models directly to Roblox Studio.
- Adjust settings in Roblox Studio to ensure your models look as intended.
_HOOK_
Advanced Tips
- Explore Blender\"s advanced modeling tools for more complex creations.
- Keep up to date with the latest Roblox Studio features for new possibilities.
Conclusion
Integrating Blender with Roblox opens up a world of creative possibilities. By following these guidelines, you can enhance your game development workflow and bring your imaginative ideas to life in Roblox.
Animations and Rigging
Utilize Blender\"s rigging and animation tools to bring your Roblox characters to life.
Importing to Roblox
- Use the Blender plugin to upload your models directly to Roblox Studio.
- Adjust settings in Roblox Studio to ensure your models look as intended.
Advanced Tips
- Explore Blender\"s advanced modeling tools for more complex creations.
- Keep up to date with the latest Roblox Studio features for new possibilities.
_HOOK_
Conclusion
Integrating Blender with Roblox opens up a world of creative possibilities. By following these guidelines, you can enhance your game development workflow and bring your imaginative ideas to life in Roblox.
Importing to Roblox
- Use the Blender plugin to upload your models directly to Roblox Studio.
- Adjust settings in Roblox Studio to ensure your models look as intended.
Advanced Tips
- Explore Blender\"s advanced modeling tools for more complex creations.
- Keep up to date with the latest Roblox Studio features for new possibilities.
Conclusion
Integrating Blender with Roblox opens up a world of creative possibilities. By following these guidelines, you can enhance your game development workflow and bring your imaginative ideas to life in Roblox.
Advanced Tips
- Explore Blender\"s advanced modeling tools for more complex creations.
- Keep up to date with the latest Roblox Studio features for new possibilities.
_HOOK_
Conclusion
Integrating Blender with Roblox opens up a world of creative possibilities. By following these guidelines, you can enhance your game development workflow and bring your imaginative ideas to life in Roblox.
Conclusion
Integrating Blender with Roblox opens up a world of creative possibilities. By following these guidelines, you can enhance your game development workflow and bring your imaginative ideas to life in Roblox.
Introduction to Blender and Roblox Integration
The integration of Blender with Roblox provides a streamlined pathway for creators to bring their 3D models and animations from Blender, a powerful open-source 3D creation suite, directly into Roblox, a global platform where millions of people gather to create, share, and play games. This synergy offers an efficient, creative process for game developers and artists alike.
- Understanding the Basics: Blender is widely recognized for its robust features that allow for the creation of detailed 3D models, textures, and animations. Roblox, on the other hand, is a platform that allows users to create and share their own games, offering a unique opportunity for Blender artists to bring their creations to life in an interactive environment.
- Benefits of Integration: The direct import capability from Blender to Roblox simplifies the workflow, eliminating the need for complex file conversions and ensuring a smoother transition of assets. This integration not only saves time but also maintains the integrity of the original 3D models and animations.
- Getting Started: To begin, users must have both Blender and Roblox Studio installed. From there, utilizing the Roblox Blender Plugin, creators can easily link their Roblox account with Blender, enabling them to directly transfer their 3D models into Roblox Studio.
- Enhancing Your Creations: Beyond basic model imports, the integration supports advanced features like animations and rigging, allowing for more dynamic and engaging game elements. This opens up vast possibilities for game development, from character design to intricate environmental elements.
- Community and Support: Both Blender and Roblox boast vibrant communities with extensive documentation, tutorials, and forums where creators can find support, share their work, and collaborate with others. This community aspect is invaluable for both beginners and experienced users looking to expand their skills.
In summary, the Blender to Roblox integration empowers creators to seamlessly transition their work from concept to playable game, enriching the Roblox universe with their unique visions and creations.
Benefits of Using the Roblox Blender Plugin
The Roblox Blender Plugin revolutionizes the way creators design and import 3D models into Roblox Studio. This powerful tool streamlines the development process, making it easier and more efficient to bring your Blender creations to life within the Roblox platform.
- Seamless Integration: Directly link your Blender and Roblox accounts for an integrated workflow, allowing for the easy transfer of models without the need for cumbersome file conversions.
- Time-Saving: The plugin significantly reduces the time spent on exporting and importing models by automating the process, enabling creators to focus more on design and less on technicalities.
- Enhanced Compatibility: Ensures that models created in Blender are fully compatible with Roblox Studio, minimizing errors and compatibility issues.
- Streamlined Development: By simplifying the process of bringing 3D models into Roblox, the plugin facilitates a smoother development experience, encouraging creativity and experimentation.
- Community Support: Access to a robust community of creators who share tips, tricks, and tutorials on maximizing the use of the Blender plugin with Roblox.
This plugin not only enhances the creative capabilities of Roblox developers but also fosters a more collaborative and innovative community by making 3D game development more accessible to everyone.
How to Install and Setup the Roblox Blender Plugin
To begin using the Roblox Blender Plugin, a tool that facilitates the direct transfer of 3D models from Blender to Roblox, follow these detailed steps to ensure a smooth setup and integration process.
- Download Blender: Ensure you have the latest version of Blender installed on your computer. Blender is free and can be downloaded from the official Blender website.
- Install Roblox Studio: Similarly, make sure you have Roblox Studio installed, which is necessary for uploading your creations to the Roblox platform.
- Download the Roblox Blender Plugin: The plugin can be found on the Roblox Developer website or through community forums where it\"s available for download.
- Install the Plugin in Blender: Open Blender, go to Edit > Preferences > Add-ons, and click \"Install\" to select the downloaded plugin file. Ensure the plugin is enabled after installation.
- Link Your Roblox Account: Within Blender, open the plugin settings and follow the instructions to link your Roblox account, enabling direct uploads to Roblox Studio.
- Configure Export Settings: Before exporting your first model, review and adjust the export settings within the plugin to ensure compatibility with Roblox\"s platform requirements.
- Export Your Model: With the plugin configured and your model ready, use the plugin to export your creation directly into Roblox Studio, ready for use in your games.
This streamlined workflow not only saves time but also enhances the creative process, allowing for more efficient development and iteration of game assets and models within Roblox.
_HOOK_
Creating Your First 3D Model in Blender for Roblox
Creating your first 3D model in Blender for use in Roblox games can be an exciting journey. This guide will walk you through the basic steps to get started, from conceptualization to exporting your model for Roblox.
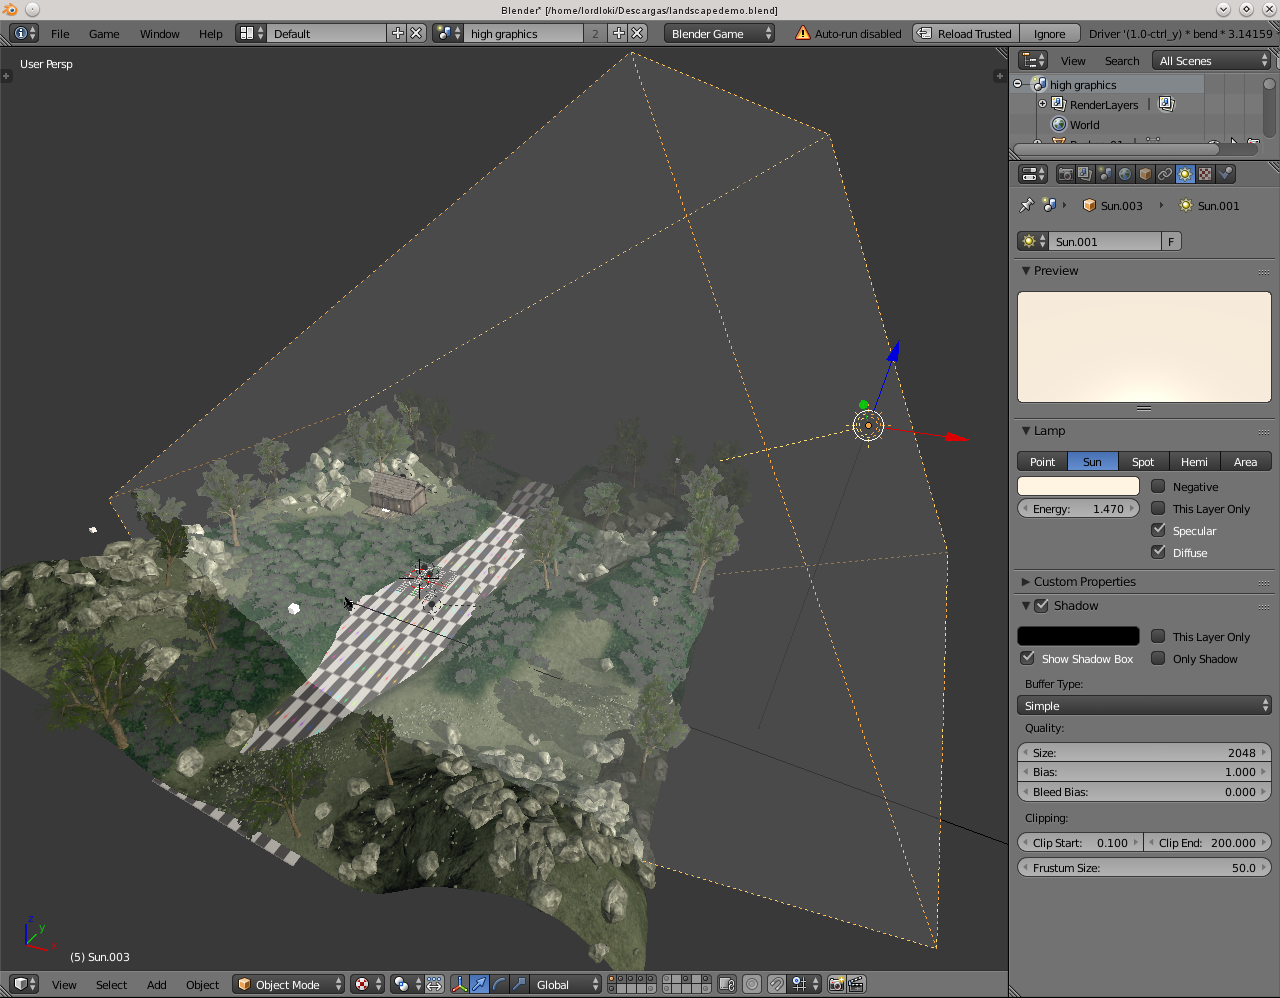
- Open Blender: Start by launching Blender. You\"ll be greeted with a default scene. It\"s a good idea to familiarize yourself with Blender\"s interface if you haven\"t already.
- Deleting the Default Cube: Most Blender projects start by deleting the default cube. Press \"A\" to select all if it\"s not already selected, and then press \"X\" to delete.
- Conceptualizing Your Model: Have a clear idea of what you want to create. Sketching your idea on paper can be a helpful first step.
- Modeling: Begin modeling by adding a new mesh (Shift+A) and choosing the type that best fits your initial shape. Use Blender\"s extensive modeling tools to sculpt your model.
- Texturing: After modeling, you can add textures to give your model color and detail. This step is crucial for making your model look as good in Roblox as it does in Blender.
- Exporting Your Model: Once you\"re satisfied with your model, you\"ll need to export it in a format compatible with Roblox (usually .fbx or .obj). Go to File > Export and choose the appropriate format.
- Importing into Roblox: Open Roblox Studio, navigate to the Toolbox, and select \"Import\". Choose your exported file and follow the prompts to import your model into your game.
This is a simplified overview of the process. Each step involves a variety of tools and techniques within Blender. As you become more comfortable with Blender, you\"ll discover more advanced methods to enhance your models for Roblox.
Exporting Models from Blender to Roblox
Exporting models from Blender to Roblox involves a few critical steps to ensure compatibility and optimal performance in Roblox Studio. By following these guidelines, you can efficiently transfer your 3D creations into Roblox.
- Prepare Your Model in Blender: Before exporting, ensure your model adheres to Roblox\"s specifications. Adjust the scene unit length to centimeters and scale appropriately to match Roblox Studio\"s environment.
- Export Settings: Navigate to File > Export > FBX (.fbx) in Blender. Configure your export settings to include meshes and armature, apply modifiers, and set the correct orientation. Specifically:
- Apply Unit: Scale to ensure the model\"s size matches what you designed.
- Set Forward to -Z Forward and Up to Y Up for proper orientation.
- Include necessary elements like Meshes and Armature.
- Toggle the Embed Textures option if your model includes textures, ensuring they are packaged with the FBX file.
- Importing into Roblox Studio: Within Roblox Studio, create a new place or open an existing one. Use the MeshPart object to import your FBX file by selecting \"Insert Object\" > \"MeshPart\" and then specifying your exported FBX file.
- Adjustments in Roblox Studio: Once imported, you may need to adjust the scale, position, and rotation of your model to fit the game environment. If your model includes animations, ensure they are also imported correctly and function as intended.
This streamlined process facilitated by the Roblox Blender Plugin allows for a direct and efficient way to bring your Blender creations into Roblox, enhancing your game development workflow.
Advanced Tips for Blender Models in Roblox
Creating Blender models for Roblox can be enhanced with advanced techniques to improve aesthetics, realism, and functionality. These tips leverage the robust features of Blender and the integration capabilities of the Roblox Blender Plugin, ensuring your models stand out in the Roblox platform.
- Utilizing the Roblox Blender Plugin: Streamline your workflow by using the Roblox Blender Plugin to directly transfer 3D models from Blender to Roblox Studio, saving time and minimizing errors.
- Animation Techniques: For dynamic and engaging models, leverage advanced animation techniques. Export animation data from Blender and import it into Roblox for fluid character movements and interactions.
- Non-Destructive Modeling Practices: Maintain the integrity of your character\"s skinning and animation data by using non-destructive sculpting techniques. Alter the shape of your character by only modifying the position of existing vertices without adding or deleting them.
- Edge Flow and Topology: Ensure your model\"s vertices follow the organic curvature and muscle groups of the design. Avoid modifying crucial facial regions to preserve the character\"s expressions and animations.
- Texture and Material Enhancement: Improve the visual quality of your models with advanced texturing techniques. Use node-based material setups to create realistic surfaces, including the use of bump maps for detailed textures and displacement for realistic clothing folds.
- IK Constraints and Rigging: Implement IK constraints for more natural and intuitive character poses. Generate IK constraints in Blender for parts like hands and feet to simplify animation processes.
By adopting these advanced techniques, you can significantly elevate the quality and performance of your Blender models in Roblox, creating more immersive and interactive gaming experiences.
Animating Your Models in Blender for Roblox
Animating models in Blender for Roblox combines creativity with technical skills. This guide will walk you through the process of bringing your models to life with animations that can be exported to Roblox.
- Understanding Roblox Asset Requirements: Before starting, ensure your models meet Roblox\"s specifications. All animations must be optimized for the platform, considering file size and format restrictions.
- Rigging Your Model: Rigging is the first step in animation, creating a skeleton that defines how your model moves. In Blender, use the Armature tool for rigging, ensuring all bones are named according to Roblox’s conventions.
- Animating in Blender: With your model rigged, use Blender\"s animation tools to bring your character to life. Keyframe animation, motion capture, and shape keys are among the methods you can employ. Remember to optimize animations for smooth playback in Roblox.
- Exporting Animations: Export your animations using the FBX format, which is compatible with Roblox. The Roblox Blender Plugin can simplify this process by allowing direct transfers from Blender to Roblox Studio, ensuring a seamless workflow.
- Importing into Roblox Studio: Once exported, import your animations into Roblox Studio. Adjust settings such as scale, position, and rotation to ensure your animated model works as intended within your Roblox game.
By following these steps and leveraging tools like the Roblox Blender Plugin, you can create engaging animations for your Roblox games, enhancing player experience with dynamic and interactive content.
Common Issues and Solutions
Working with Blender and Roblox often involves navigating through a series of common issues. Here, we outline some typical problems and their solutions to help streamline your workflow.
- Animation Import: When importing animations from Blender to Roblox, ensure you use the \"Export animation\" option in Blender and then use \"Load large animation\" in Roblox to paste the copied text. This process transfers the animation directly into Roblox.
- Scaling Issues: A common problem involves unexpected scaling of parts when importing models from Blender to Roblox. To avoid this, ensure that doors, windows, or similar parts are either joined as one object or imported separately and reassembled in Roblox Studio. Adjusting the Y and Z sizes post-import can also offer a temporary fix.
- Shading Anomalies: Weird shading can often occur due to improper normal calculations or UV mapping. Enabling \"Auto Smooth\" in the Object Data Properties or recalculating outside normals can help resolve these issues. Additionally, ensure your UV maps are correctly set up to prevent texture misalignment.
- Modifier Application: Always check the \"Apply Modifiers\" checkbox when exporting models to ensure modifiers like Edge Split are applied. This step is crucial for maintaining the intended appearance of your model.
- Backface Culling: Roblox uses backface culling, which can make one side of your meshes invisible. To counter this, apply the Solidify modifier in Blender to ensure visibility from all angles. Roblox\"s \"DoubleSided\" property on MeshPart instances can also disable backface culling without increasing poly count.
These solutions target the most frequent hurdles faced when bridging Blender and Roblox. By applying these fixes, you can ensure a smoother transition of your 3D models and animations from Blender into your Roblox projects.
_HOOK_
READ MORE:
Additional Resources and Community Support
The integration of Blender with Roblox opens a world of possibilities for creators, and several resources are available to facilitate this process. Whether you\"re looking to streamline your workflow, learn new skills, or seek community support, the following resources will be invaluable.
- Roblox Blender Plugin: An essential tool that connects Blender directly with Roblox, allowing for seamless transfer of 3D models between the two platforms. It\"s an open-source tool that encourages community contributions.
- Open Cloud APIs: Demonstrates the integration capabilities between Roblox and external tools like Blender. These APIs provide a foundation for the community to build upon and improve the interoperability between Blender and Roblox.
- RBX Toolbox: A free Blender addon designed to enhance the workflow for modelers and developers. It includes features like quick spawn of Dummy Heads, hair mesh templates, hair texture shaders, and tools for creating layered clothing.
- Roblox Creator Hub Tutorials: Offers structured tutorials covering everything from modeling in Blender to importing models into Roblox Studio. These tutorials are designed for both beginners and experienced users looking to refine their skills.
Engaging with these resources not only enhances your ability to create and animate within Roblox but also connects you with a broader community of creators facing similar challenges and sharing solutions. Don\"t hesitate to dive into the forums and tutorials linked above to expand your knowledge and contribute to the growing community of Roblox developers and Blender artists.
Embark on a creative journey from Blender to Roblox, unlocking endless possibilities in 3D modeling and animation. This guide illuminates the path for both novices and seasoned creators, fostering a vibrant community eager to share, learn, and expand their digital horizons.