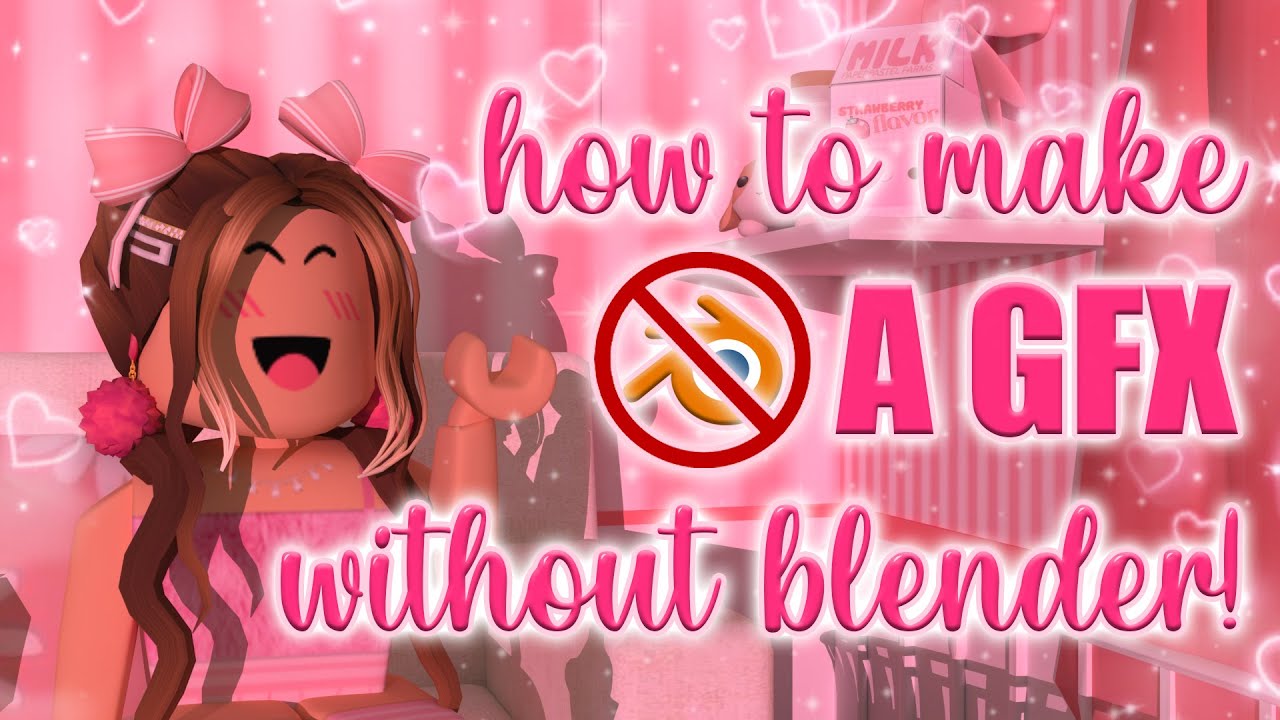
Topic how to make roblox gfx without blender: Discover the secrets to creating eye-catching Roblox GFX without Blender, perfect for beginners eager to dive into the world of Roblox visual art with ease and creativity.
Table of Content
- What tools or plugins can be used to create Roblox GFX without using Blender?
- Getting Started with Roblox Studio
- Setting Up Your Scene
- Character and Object Placement
- Improving Your GFX
- Exporting Your GFX
- Setting Up Your Scene
- Character and Object Placement
- Improving Your GFX
- Exporting Your GFX
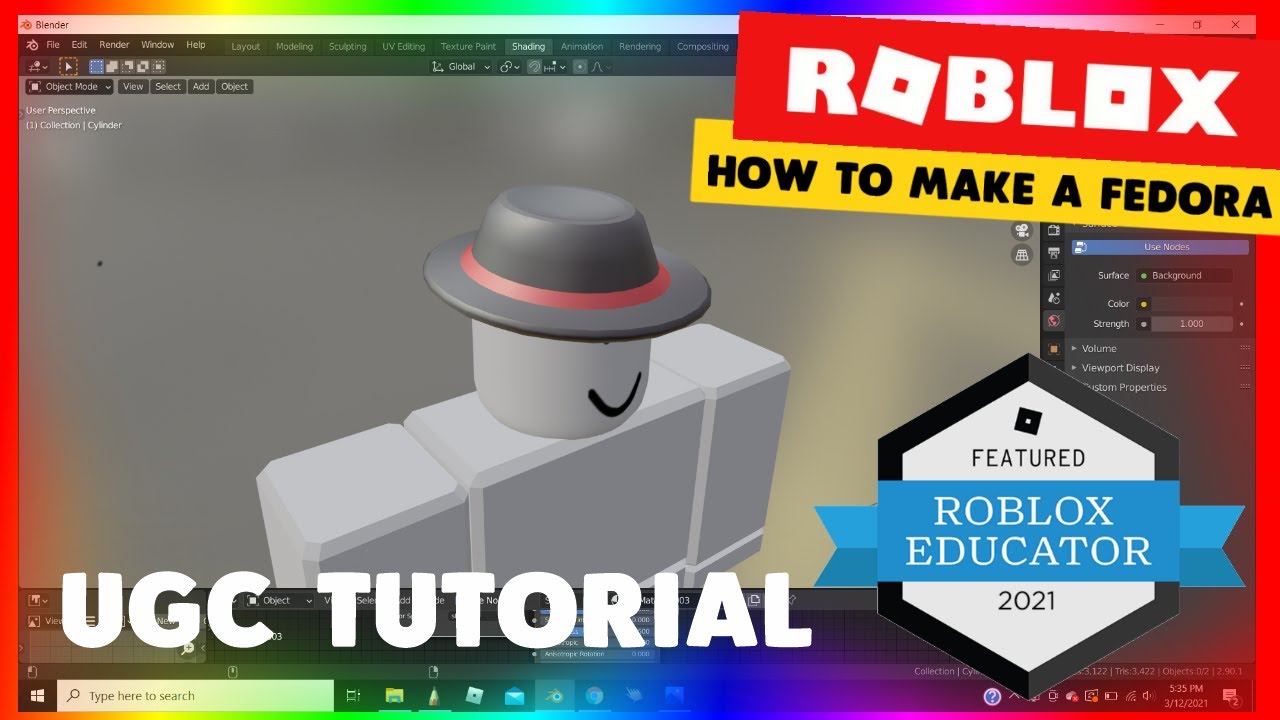
- YOUTUBE: How to Make GFX Without Blender
- Character and Object Placement
- Improving Your GFX
- Exporting Your GFX
- Improving Your GFX
- Exporting Your GFX
- Exporting Your GFX
- Getting Started with Roblox Studio
- Setting Up Your Scene
- Character and Object Placement
- Improving Your GFX
- Exporting Your GFX
What tools or plugins can be used to create Roblox GFX without using Blender?
To create Roblox GFX without using Blender, you can utilize the following tools or plugins:
- Character Plugin: This plugin can be used to create character designs for your Roblox GFX.
Additionally, you can follow the tutorial provided by experienced creators on platforms like YouTube to learn how to create appealing Roblox GFX without using Blender. Experimenting with different tools and techniques can help you achieve the desired results.
READ MORE:
Getting Started with Roblox Studio
- Open Roblox Studio and select the Baseplate template.
- Navigate to the View tab, and ensure the Properties and Explorer panels are open.
- Use the Toolbox to access and import Roblox models for your scene.
Setting Up Your Scene
To create a GFX, you need to set up your scene within Roblox Studio. This involves placing characters, objects, and customizing the lighting to enhance the visual appeal of your GFX.
Character and Object Placement
- Insert your Roblox character or any desired models into the scene.
- Adjust the position, scale, and rotation of objects to create a dynamic composition.
Improving Your GFX
Enhance the quality of your GFX by experimenting with different lighting settings, camera angles, and incorporating custom backgrounds. These elements can drastically improve the visual outcome of your GFX.

_HOOK_
Exporting Your GFX
Once satisfied with your scene setup, use the screenshot feature in Roblox Studio to capture your GFX. For higher quality images, consider using the built-in rendering features or third-party screen capture tools.
Additional Tips
- Explore Roblox Studio\"s plugins for advanced features and effects.
- Practice with different themes and settings to refine your GFX creation skills.
- Join Roblox developer forums and communities for inspiration and feedback.
Setting Up Your Scene
To create a GFX, you need to set up your scene within Roblox Studio. This involves placing characters, objects, and customizing the lighting to enhance the visual appeal of your GFX.
Character and Object Placement
- Insert your Roblox character or any desired models into the scene.
- Adjust the position, scale, and rotation of objects to create a dynamic composition.

Improving Your GFX
Enhance the quality of your GFX by experimenting with different lighting settings, camera angles, and incorporating custom backgrounds. These elements can drastically improve the visual outcome of your GFX.
Exporting Your GFX
Once satisfied with your scene setup, use the screenshot feature in Roblox Studio to capture your GFX. For higher quality images, consider using the built-in rendering features or third-party screen capture tools.
Additional Tips
- Explore Roblox Studio\"s plugins for advanced features and effects.
- Practice with different themes and settings to refine your GFX creation skills.
- Join Roblox developer forums and communities for inspiration and feedback.
_HOOK_
How to Make GFX Without Blender
Tutorial: Discover an engaging and informative tutorial video that will guide you through step-by-step instructions on mastering a new skill. Get ready to learn and be inspired! Easy: Dive into a fun and straightforward video that breaks down complex concepts into simple, easy-to-understand explanations. Sit back, relax, and enjoy an effortless learning experience.
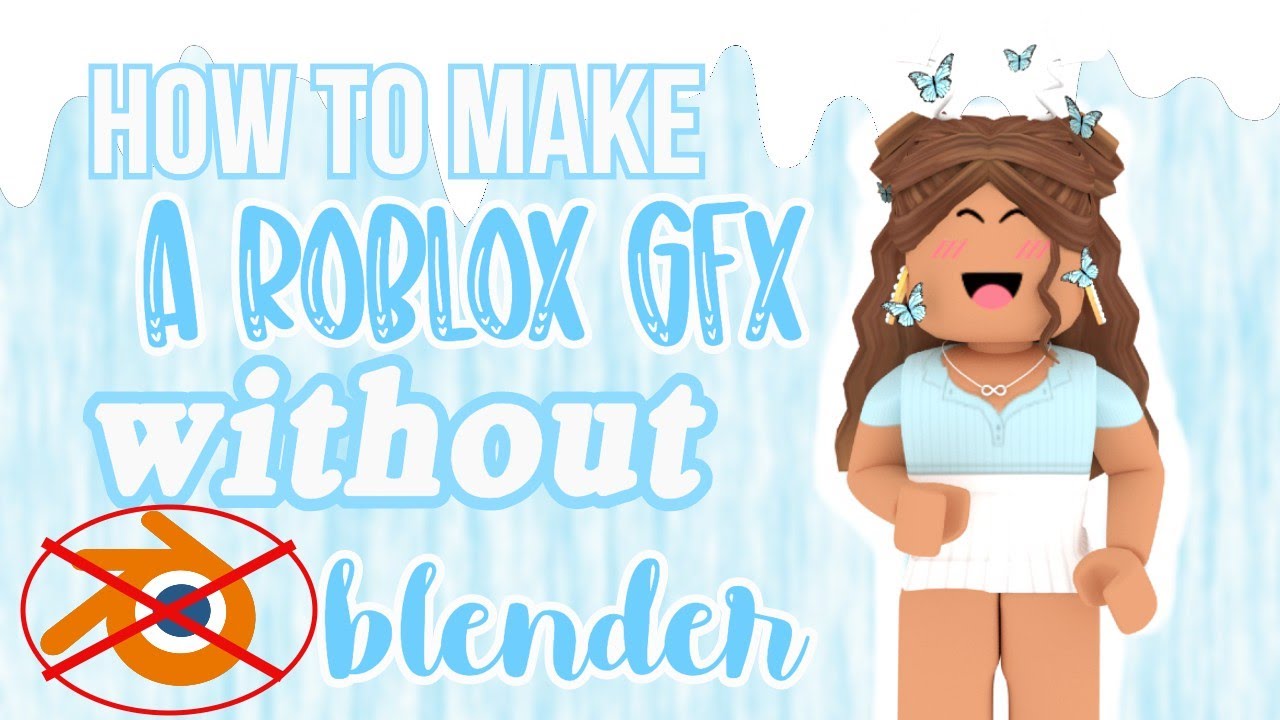
How to Make a Roblox GFX Without Roblox Studio or Blender Easy
Shorts In this video I show you how to make a GFX even without blender OR Roblox studio. Hope you enjoyed My editing ...
Character and Object Placement
- Insert your Roblox character or any desired models into the scene.
- Adjust the position, scale, and rotation of objects to create a dynamic composition.

Improving Your GFX
Enhance the quality of your GFX by experimenting with different lighting settings, camera angles, and incorporating custom backgrounds. These elements can drastically improve the visual outcome of your GFX.
Exporting Your GFX
Once satisfied with your scene setup, use the screenshot feature in Roblox Studio to capture your GFX. For higher quality images, consider using the built-in rendering features or third-party screen capture tools.
Additional Tips
- Explore Roblox Studio\"s plugins for advanced features and effects.
- Practice with different themes and settings to refine your GFX creation skills.
- Join Roblox developer forums and communities for inspiration and feedback.
_HOOK_
Exporting Your GFX
Once satisfied with your scene setup, use the screenshot feature in Roblox Studio to capture your GFX. For higher quality images, consider using the built-in rendering features or third-party screen capture tools.
Additional Tips
- Explore Roblox Studio\"s plugins for advanced features and effects.
- Practice with different themes and settings to refine your GFX creation skills.
- Join Roblox developer forums and communities for inspiration and feedback.
Getting Started with Roblox Studio
Creating Roblox GFX without Blender starts with a fundamental step: setting up your environment in Roblox Studio. This guide will walk you through the initial setup, character insertion, and scene preparation for your GFX creations.
- Open Roblox Studio: Begin by launching Roblox Studio on your computer. Select the \"Baseplate\" template to start with a clean slate.
- Customize Your Environment: Customize the baseplate by adjusting its size and changing its material to something like neon for a distinct look. This is particularly useful when setting up a green screen for character rendering without Blender.
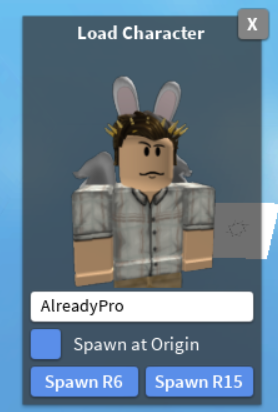
- Insert Characters: Use a character insertion plugin to add Roblox characters to your scene. This makes your GFX feel more lively and dynamic. Customize the characters by adjusting their position, rotation, and scale to fit your scene perfectly.
- Adjust Lighting and Effects: Enhance your scene with appropriate lighting and post-processing effects to create the desired mood and atmosphere. This could include adjusting the lighting technology to \"Future\" for more realistic effects or adding color correction to make colors more vibrant.
- Prepare for Export: Once your scene is set up, you can export your environment and characters as .obj files for further editing in external software, if needed. Alternatively, you can take screenshots directly within Roblox Studio for simpler GFX projects.
Remember, the key to making compelling Roblox GFX without Blender lies in experimenting with Roblox Studio\"s versatile tools and exploring creative ways to present your characters and scenes.
Setting Up Your Scene
After getting acquainted with Roblox Studio, the next step in creating Roblox GFX without Blender is setting up your scene. This phase is crucial as it lays the foundation for the visual storytelling of your GFX. Follow these steps to craft a compelling scene that brings your Roblox characters and environments to life.
- Choose a Theme: Decide on the theme of your GFX. It could be anything from a serene landscape to an action-packed scene. This will guide your decisions on models, lighting, and camera angles.
- Import Models and Assets: Use the Toolbox to import Roblox models, or create your own assets within Roblox Studio to add to your scene. This can include buildings, natural landscapes, vehicles, and more.
- Place Characters: Insert your Roblox character or any models you want to feature in your GFX. Position them within your scene to tell a story or showcase them in the best light.
- Adjust Lighting: Lighting plays a pivotal role in setting the mood and highlighting key elements of your scene. Experiment with Roblox Studio\"s lighting settings to achieve the desired effect, whether it\"s a sunny day or a mysterious night scene.
- Set Camera Angles: Experiment with different camera angles to find the most flattering or interesting perspective for your GFX. Consider wide shots for landscapes or close-ups for character portraits.
- Add Effects: Utilize Roblox Studio’s effects, such as fog, bloom, or color correction, to add depth and atmosphere to your scene. This can greatly enhance the visual appeal of your GFX.
Remember, the quality of your GFX heavily relies on how well you can set up your scene. Take your time to experiment with different settings and compositions to create visually striking images that stand out.
Character and Object Placement
Mastering character and object placement within Roblox Studio is essential for creating engaging and visually appealing GFX without the need for Blender. This section guides you through the detailed process of inserting characters, adjusting their positioning, and effectively integrating objects to enhance your scenes.
- Inserting Characters: Utilize character insertion plugins available within Roblox Studio to add characters to your scene. This can bring your GFX to life, making it more dynamic and engaging.
- Adjusting Characters: Once inserted, you can move, rotate, and scale your characters. For a more detailed setup, consider changing the material of the character to SmoothPlastic for a refined look.
- Green Screen Setup: For those looking to incorporate custom backgrounds easily, setting up a green screen can be beneficial. This involves changing the baseplate\"s material to neon and adjusting its color to bright green or lime green, ensuring no projected shadows are visible.
- Optimizing Scene Lighting: Proper lighting can significantly impact the mood and feel of your GFX. Experiment with Roblox Studio\"s lighting technologies, such as the Future setting for more realistic effects, and adjust post-processing effects like bloom to fine-tune your scene\"s ambiance.
- Object Integration: Place objects and assets around your characters to build out your scene. This could include anything from furniture to natural elements, depending on your theme. Adjust these objects\" position, rotation, and scale to fit naturally within your environment.
- Finalizing the Pose: Use your preferred animation editor within Roblox Studio to pose your characters. Ensure to remove any names above characters by adjusting the DisplayDistanceType property of the Humanoid to None, and clear out any unnecessary effects like ParticleEmitter or fire to keep the focus on your subjects.
With thoughtful character and object placement, you can create compelling scenes that capture the essence of your theme. Experimentation is key, so take the time to try different compositions and settings to see what works best for your GFX.
Improving Your GFX
Once you have set up your scene in Roblox Studio and placed your characters and objects, the next step is to refine and improve your GFX to achieve a high-quality and visually appealing outcome. Here are some tips and techniques to enhance your GFX creations:
- Enhance Lighting: Good lighting is crucial for creating mood and depth in your GFX. Experiment with different lighting settings, including intensity, color, and angle, to highlight key elements of your scene and add realism.
- Utilize Post-Processing Effects: Roblox Studio offers various post-processing effects such as depth of field, bloom, and color correction. These can add a professional touch to your GFX, making them stand out.
- Experiment with Camera Angles: Changing the camera angle can dramatically alter the perception of your scene. Try various angles and compositions to find the most striking or appealing setup for your GFX.
- Custom Backgrounds: While Roblox Studio offers a range of environments, creating or importing custom backgrounds can give your GFX a unique look and feel. This could involve using green screens for easy background replacement.
- Detailing and Texturing: Pay attention to details in your scene, including textures and materials of objects and characters. High-quality textures can significantly improve the realism and appeal of your GFX.
- Editing and Enhancement: After exporting your image from Roblox Studio, use photo editing software to make final adjustments. This can include tweaking brightness and contrast, adding filters, or even compositing multiple images.
Improving your Roblox GFX involves a mix of artistic vision and technical skills. By focusing on lighting, composition, and post-processing, you can create captivating images that showcase your creativity and skill within the Roblox universe.
_HOOK_
READ MORE:
Exporting Your GFX
Finalizing your Roblox GFX involves exporting your creation out of Roblox Studio and potentially applying further enhancements using external software. This process ensures that your GFX is ready for sharing or use in various applications. Here\"s a streamlined approach to exporting and polishing your GFX:
- Prepare for Export: Before exporting, ensure your scene is exactly as you want it. This includes final adjustments to character placements, lighting, and camera angles.
- Using the Screenshot Feature: Roblox Studio\"s built-in screenshot tool can be used to capture your scene directly. This is a straightforward method for simpler GFX projects.
- Exporting Models: For more complex scenes or if you need to edit elements individually, you might need to export parts of your scene as .obj files. Right-click on the desired elements in the Explorer window and select \"Export Selection.\"
- Opening in 3D Viewer: After exporting, locate the .obj files on your computer and open them with a 3D Viewer or similar software. This allows for additional adjustments and the application of custom backgrounds.
- Enhancing in Photo Editing Software: Use photo editing tools like Photoshop or Pixlr for final touches. This can include color correction, adding text, or blending your GFX with custom backgrounds.
- Exporting the Final Image: Once your GFX looks perfect, export the final image. Choose a high-resolution format like PNG to ensure the best quality. Remember to check settings such as aspect ratio and image size according to your needs.
By carefully following these steps, you can efficiently export and refine your Roblox GFX, ensuring a high-quality final product ready for any use, from social media sharing to inclusion in game projects.
Embrace the power of Roblox Studio to unleash your creativity and make stunning Roblox GFX without Blender. With these tips, enhance your digital art skills, bringing your imaginative worlds and characters to life effortlessly.