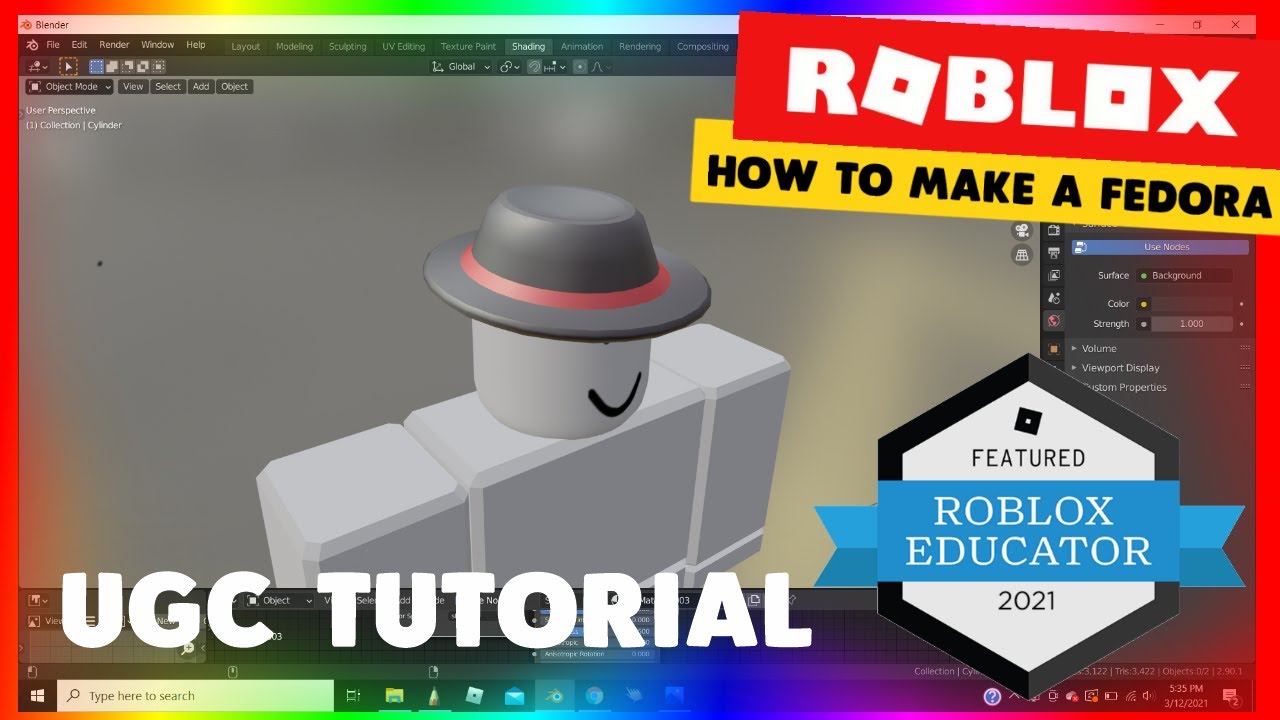
Topic how to upload blender models to roblox: Discover the seamless process of uploading Blender models to Roblox, enhancing your game development with custom 3D assets. This guide simplifies each step, ensuring your creative visions come to life in the Roblox universe.
Table of Content
- What is the process for uploading Blender models to Roblox?
- Preparing Your Blender Model
- Exporting Your Model
- Importing to Roblox Studio
- Tips for a Successful Import
- Exporting Your Model
- Importing to Roblox Studio
- Tips for a Successful Import
- YOUTUBE: Import Models From Blender To Roblox Studio With Color
- Importing to Roblox Studio
- Tips for a Successful Import
- Tips for a Successful Import
- Introduction to Blender and Roblox Integration
- Step-by-Step Guide to Preparing Your Blender Model
- Exporting Models from Blender: Best Practices
- Importing Blender Models into Roblox Studio
- Adjusting and Optimizing Your Model in Roblox
- Common Issues and Troubleshooting Tips
- Advanced Techniques: Animations and Textures
- Using Roblox Plugins for Blender for Enhanced Workflow
- Community Resources and Support for Developers
- Conclusion: Unleashing Your Creativity
What is the process for uploading Blender models to Roblox?
Uploading Blender models to Roblox involves a few steps to ensure that the models are compatible and can be imported correctly into Roblox Studio. Here is a detailed guide on how to do it:
- First, you need to have your Blender model ready for export. Make sure the model is properly UV unwrapped and textured.
- Export the model from Blender as an FBX file. Go to File > Export > FBX (.fbx) and save the file to your computer.
- Open Roblox Studio and create a new place or open an existing one where you want to import the Blender model.
- In Roblox Studio, go to the \"Model\" tab and click on \"Import\" to bring up the file selection dialog.
- Select the FBX file that you exported from Blender and click \"Open\" to import it into Roblox Studio.
- Adjust the position and scale of the imported model as needed to fit your scene.
- Once you are satisfied with the placement of the model, you can save your changes in Roblox Studio.
- Test your game to see how the Blender model looks and interacts within the Roblox environment.
By following these steps, you can successfully upload Blender models to Roblox and enhance your game creation possibilities.
READ MORE:
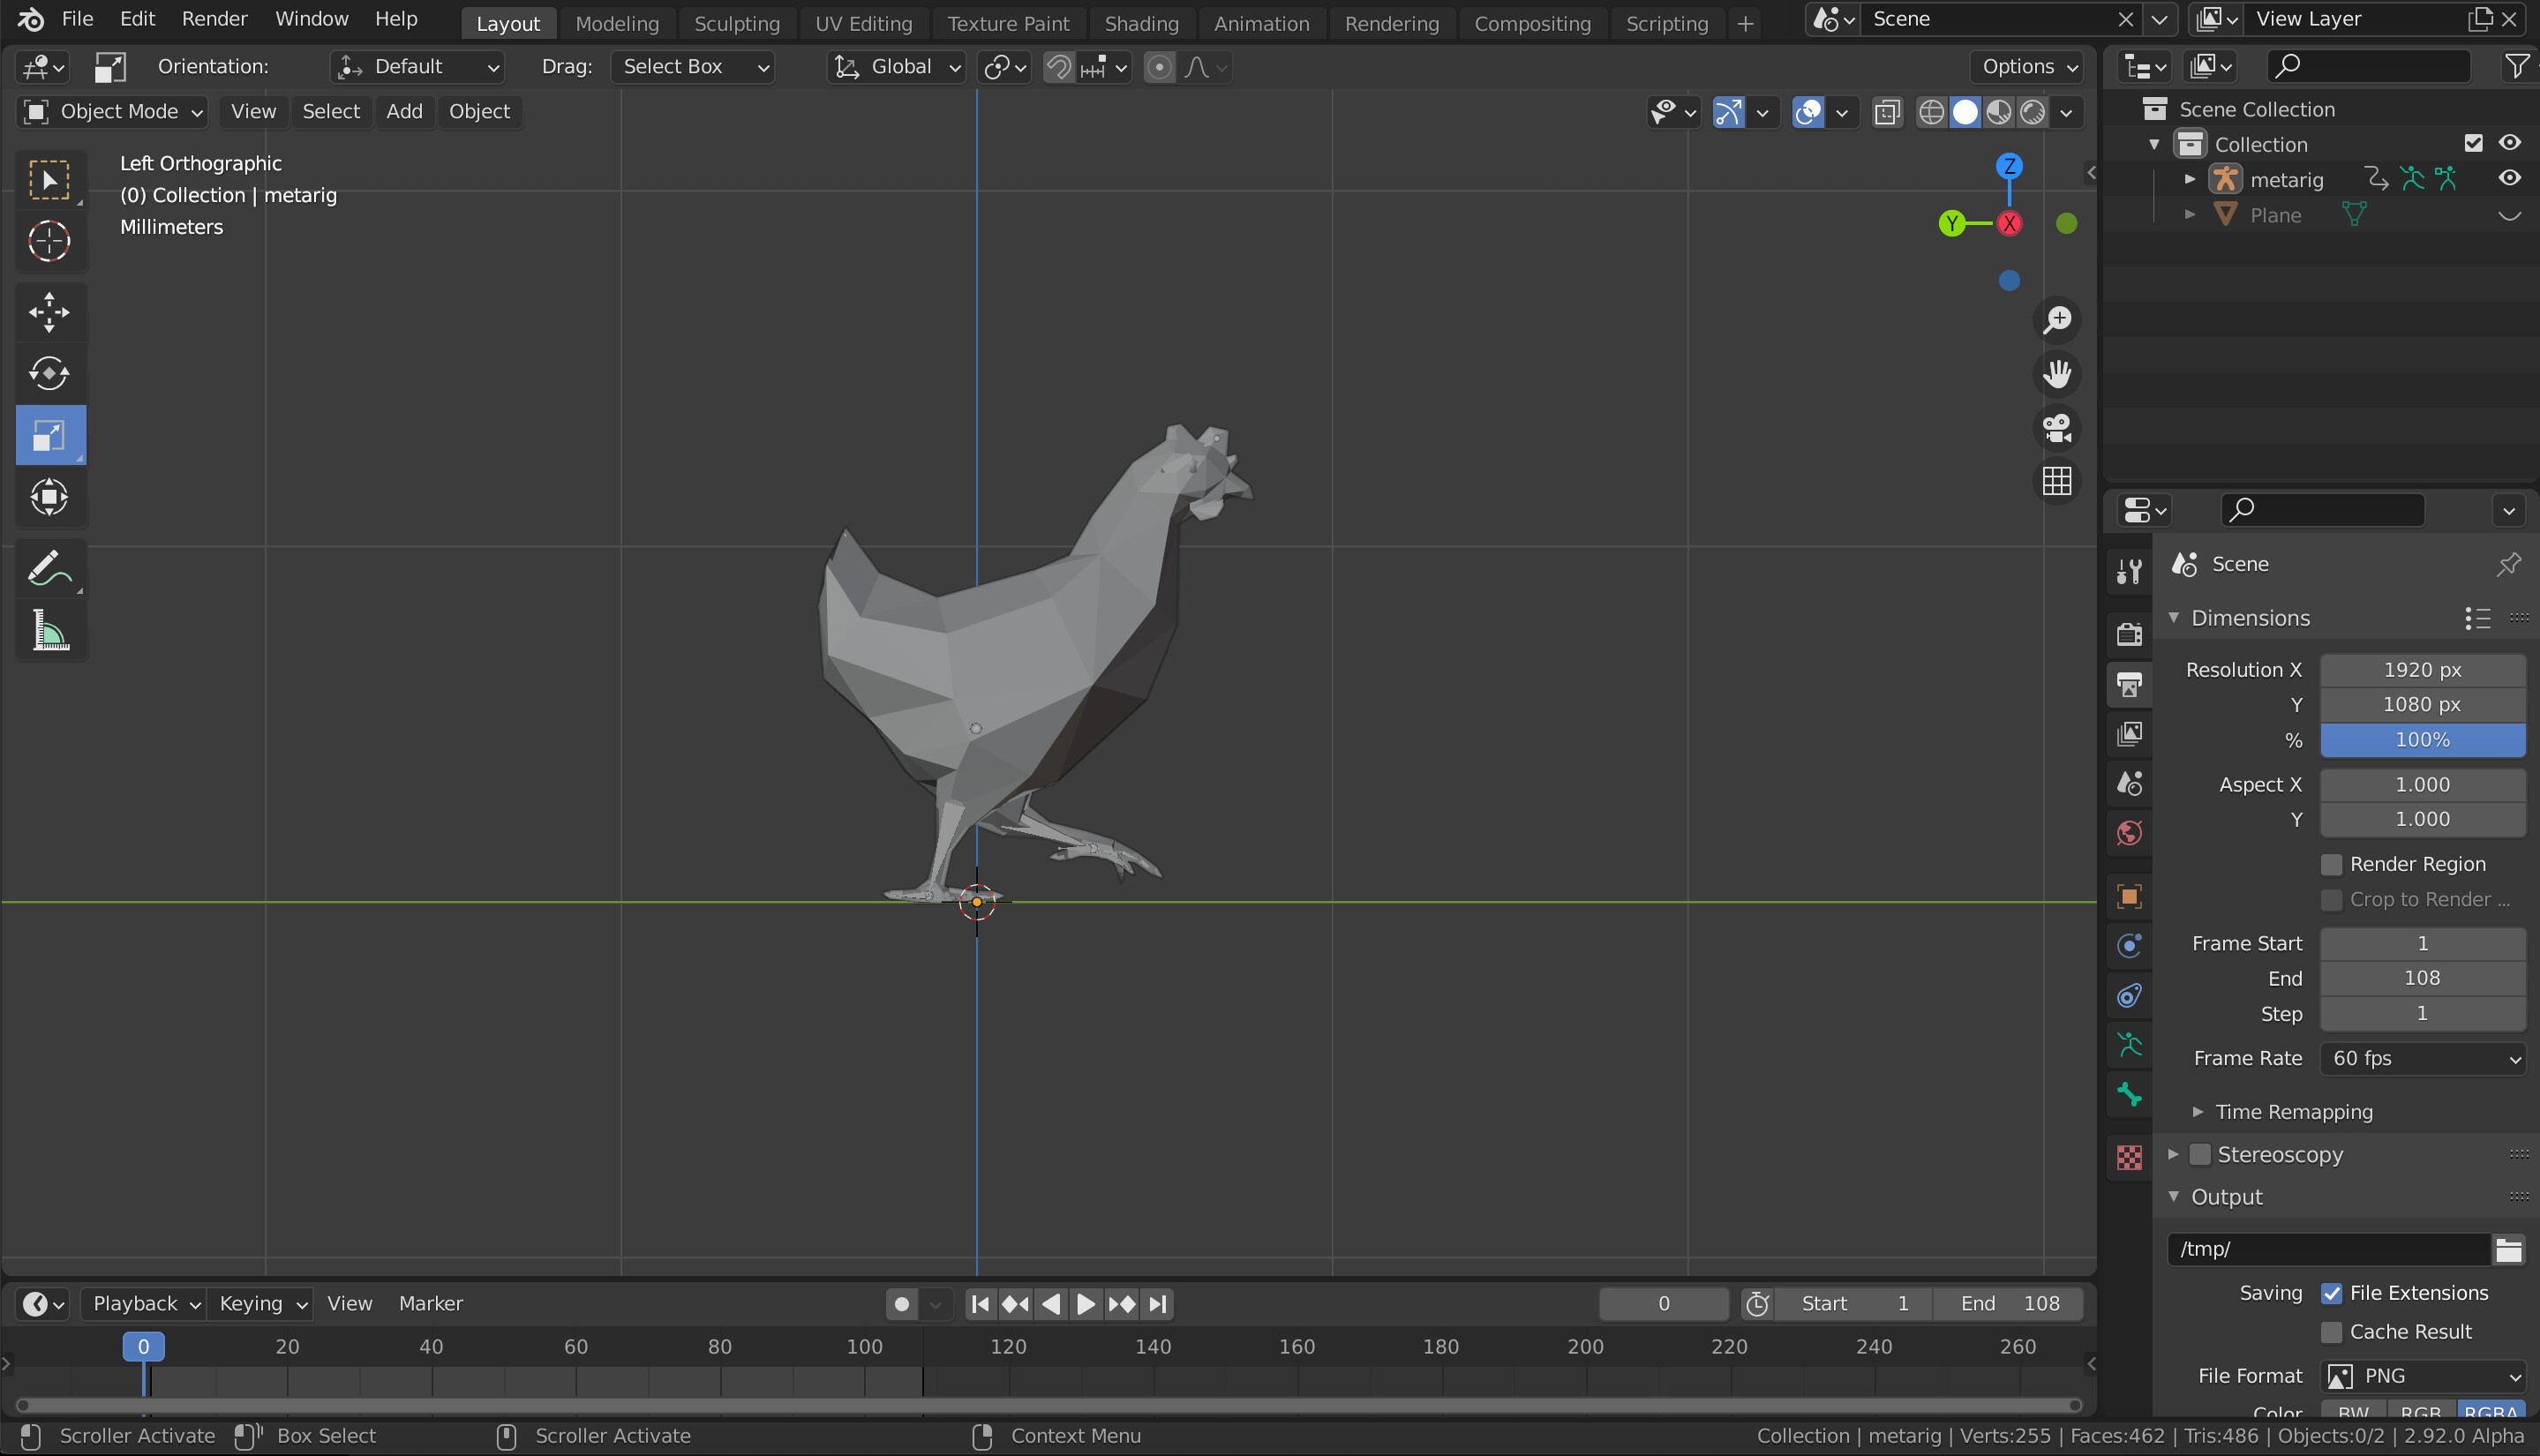
Preparing Your Blender Model
- Open your project in Blender and finalize your model.
- Ensure all objects are correctly named and organized for easier identification in Roblox Studio.
- Apply any necessary modifiers to your model before exporting.

Exporting Your Model
To export your model from Blender for use in Roblox, follow these steps:
- Go to File > Export and select FBX (.fbx) as the format.
- In the export options, ensure \"Selected Objects\" is checked to export only the objects you need.
- Adjust the scale if necessary to match Roblox\"s units.
- Click Export FBX to save your file.

Importing to Roblox Studio
With your model exported, it\"s time to import it into Roblox Studio:
- Open Roblox Studio and navigate to the workspace where you want to add your model.
- Go to the View tab, click on Toolbox, and select My Models.
- Click on Import and select the FBX file you exported from Blender.
- Adjust the model\"s position and scale as needed in your game environment.

Tips for a Successful Import
- Ensure your textures are properly mapped in Blender, as incorrect mapping can lead to issues in Roblox.
- If your model includes animations, verify they are correctly exported and compatible with Roblox\"s requirements.
- Use the Roblox Blender Plugin for a more streamlined workflow, allowing direct uploads from Blender to Roblox.
Conclusion
By following these steps, you can enhance your Roblox games with custom 3D models from Blender, opening up endless possibilities for creativity and game development. Happy building!

_HOOK_
Exporting Your Model
To export your model from Blender for use in Roblox, follow these steps:
- Go to File > Export and select FBX (.fbx) as the format.
- In the export options, ensure \"Selected Objects\" is checked to export only the objects you need.
- Adjust the scale if necessary to match Roblox\"s units.
- Click Export FBX to save your file.

Importing to Roblox Studio
With your model exported, it\"s time to import it into Roblox Studio:
- Open Roblox Studio and navigate to the workspace where you want to add your model.
- Go to the View tab, click on Toolbox, and select My Models.
- Click on Import and select the FBX file you exported from Blender.
- Adjust the model\"s position and scale as needed in your game environment.
Tips for a Successful Import
- Ensure your textures are properly mapped in Blender, as incorrect mapping can lead to issues in Roblox.
- If your model includes animations, verify they are correctly exported and compatible with Roblox\"s requirements.
- Use the Roblox Blender Plugin for a more streamlined workflow, allowing direct uploads from Blender to Roblox.
Conclusion
By following these steps, you can enhance your Roblox games with custom 3D models from Blender, opening up endless possibilities for creativity and game development. Happy building!

Import Models From Blender To Roblox Studio With Color
Upload: \"Get ready to showcase your creativity and talent by uploading your latest work. Share your masterpiece with the world in just a few simple clicks. Watch our video to learn how!\" Import: \"Discover the magic of importing high-quality content to enhance your projects. Unlock new possibilities and elevate your work to the next level. Watch our video to master the art of importing effectively.\"
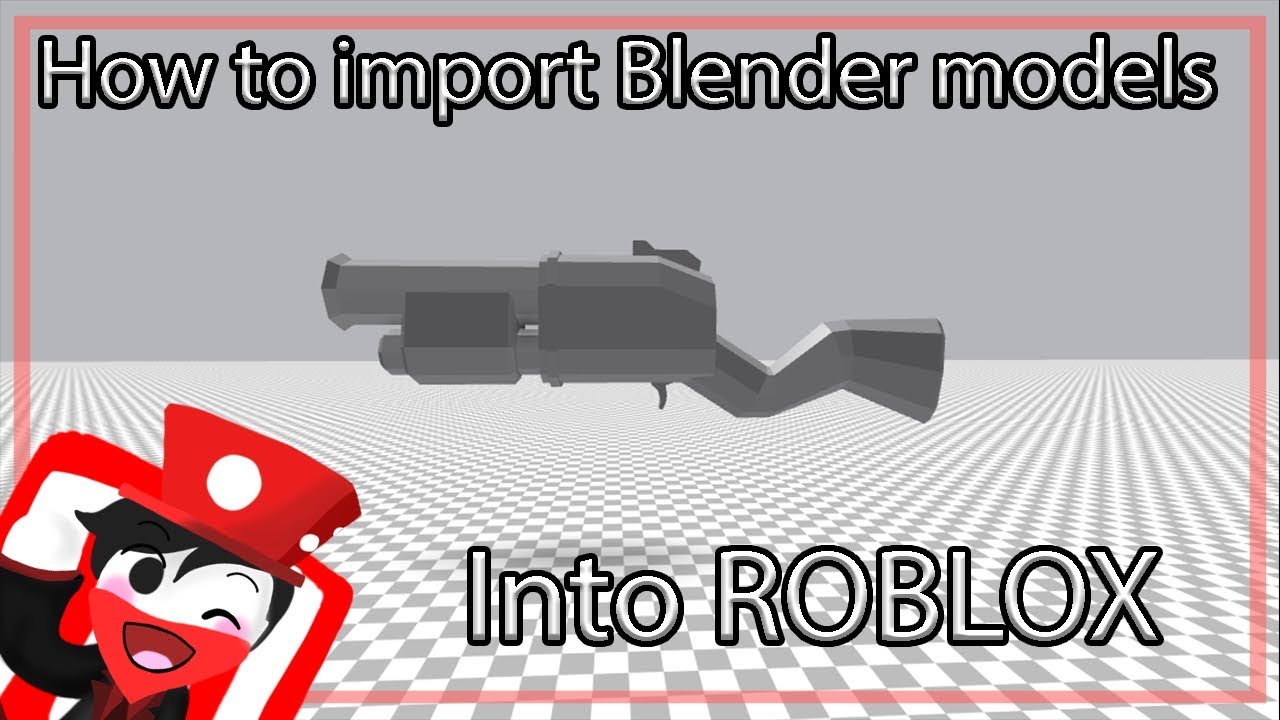
How to Import Models from Blender to Roblox
shorts #blender #roblox How to import blender models to roblox.
Importing to Roblox Studio
With your model exported, it\"s time to import it into Roblox Studio:
- Open Roblox Studio and navigate to the workspace where you want to add your model.
- Go to the View tab, click on Toolbox, and select My Models.
- Click on Import and select the FBX file you exported from Blender.
- Adjust the model\"s position and scale as needed in your game environment.

Tips for a Successful Import
- Ensure your textures are properly mapped in Blender, as incorrect mapping can lead to issues in Roblox.
- If your model includes animations, verify they are correctly exported and compatible with Roblox\"s requirements.
- Use the Roblox Blender Plugin for a more streamlined workflow, allowing direct uploads from Blender to Roblox.
Conclusion
By following these steps, you can enhance your Roblox games with custom 3D models from Blender, opening up endless possibilities for creativity and game development. Happy building!

_HOOK_
Tips for a Successful Import
- Ensure your textures are properly mapped in Blender, as incorrect mapping can lead to issues in Roblox.
- If your model includes animations, verify they are correctly exported and compatible with Roblox\"s requirements.
- Use the Roblox Blender Plugin for a more streamlined workflow, allowing direct uploads from Blender to Roblox.
Conclusion
By following these steps, you can enhance your Roblox games with custom 3D models from Blender, opening up endless possibilities for creativity and game development. Happy building!
Introduction to Blender and Roblox Integration
Integrating Blender models into Roblox games opens up a vast array of creative possibilities for developers. This section explores the seamless connection between Blender, a powerful open-source 3D modeling software, and Roblox, a leading platform for immersive game creation. By mastering this integration, developers can significantly enhance the visual quality and uniqueness of their Roblox games with custom 3D models, textures, and animations.
Blender offers a comprehensive toolkit for 3D design, including modeling, texturing, and animation, making it an ideal choice for creating detailed game assets. When these models are uploaded to Roblox, they bring personalized and intricate designs that can set a game apart in a crowded marketplace.
Utilizing the Roblox Blender Plugin simplifies the process by allowing direct uploads of Blender models to Roblox Studio, streamlining workflow and enhancing efficiency. This integration supports a wide range of model complexities, from simple objects to complex scenes, including support for animations and textures, thereby expanding the creative potential within Roblox.
- Understanding the fundamentals of Blender and Roblox compatibility.
- Preparing your Blender models for export with the correct format and settings.
- Using the Roblox Blender Plugin for direct model import to Roblox Studio.
- Optimizing models in Roblox Studio for performance and visual appeal.
This comprehensive approach ensures that your transition from Blender to Roblox is smooth, allowing for the creation of engaging and visually stunning game environments. Whether you\"re a seasoned developer or new to game design, mastering Blender to Roblox integration is a crucial step in unleashing your creative potential.
Step-by-Step Guide to Preparing Your Blender Model
Preparing your Blender model for Roblox is a crucial step to ensure a smooth import process. This guide outlines the essential steps to get your 3D model ready for Roblox Studio.
- Model Optimization: Simplify your model to reduce polygons without compromising on detail. Roblox supports models with efficient geometry, which helps in maintaining performance in-game.
- Apply Textures and Materials: Ensure your model\"s textures are correctly applied. Roblox can import textures, but they must be properly mapped in Blender. Consider using seamless textures to enhance the model\"s appearance.
- Scale and Orientation: Adjust your model\"s scale to match Roblox\"s unit system. Roblox units are similar to meters in Blender. Also, ensure your model\"s orientation is correct, with the front facing the positive Y-axis.
- Clean Up Your Scene: Remove any unnecessary objects or layers from your Blender file. Only the objects you intend to export to Roblox should be present to avoid confusion during the import process.
- Apply Modifiers: Before exporting, apply any modifiers to your mesh. This includes modifiers like Subdivision Surface, which should be applied to get the desired geometry in Roblox.
- Exporting Your Model: Go to File > Export > FBX. In the export settings, select \"Selected Objects\" if you\"re only exporting part of your scene. Ensure the scale is set correctly and that you include any necessary options like \"Apply Transform\".
Following these steps will ensure your Blender model is optimized, correctly textured, and ready for a successful import into Roblox Studio, where you can further enhance your game\"s visual appeal.
Exporting Models from Blender: Best Practices
Exporting models from Blender to Roblox involves several critical steps to ensure compatibility and performance in your game. Follow these best practices to prepare your 3D models for a successful transition to Roblox Studio.
- Choose the Right Export Format: Export your model as an FBX file, which is the preferred format for Roblox. This format supports a wide range of features, including textures, animations, and complex geometries.
- Optimize Your Model: Before exporting, ensure your model is optimized for performance in Roblox. This includes reducing polygon count and simplifying textures without sacrificing quality.
- Apply Scale and Rotation: In Blender, apply scale and rotation to your model (Ctrl+A) to ensure it imports into Roblox at the correct size and orientation.
- Include Necessary Components: When exporting, include all necessary components such as textures and animations. Check the \"Selected Objects\" option if you\"re only exporting a part of your Blender scene.
- Set Proper Export Settings: In the FBX export options, ensure that you\"ve selected the correct settings for scale, forward direction, and up direction to match Roblox\"s requirements. Typically, \"-Z Forward\" and \"Y Up\" are recommended.
- Test Your Export: After exporting, import your FBX file into a new Blender project to ensure everything is intact. This step helps identify any potential issues before importing into Roblox Studio.
Following these guidelines will help ensure that your Blender models are correctly prepared and exported, ready for use in Roblox Studio. This careful preparation allows for a smoother development process and enhances the visual quality of your Roblox games.
Importing Blender Models into Roblox Studio
Once you\"ve prepared and exported your Blender model, the next step is importing it into Roblox Studio. This process integrates your custom 3D models into your game projects, allowing for unique game environments and elements. Follow this step-by-step guide to ensure a smooth import process.
- Open Roblox Studio: Start by launching Roblox Studio and opening the project you want to import your model into.
- Access the Toolbox: In Roblox Studio, click on the \"View\" tab and find the \"Toolbox\" section. Within the Toolbox, select \"My Models\" to prepare for importing.
- Import Model: Click on the \"Import\" button within the Toolbox. Navigate to and select the FBX file you exported from Blender. Roblox Studio will then process and import your model.
- Check for Errors: After importing, check for any errors or issues in the import dialog. Roblox Studio will alert you to any problems with the model or textures.
- Adjust Model Settings: Once imported, you may need to adjust your model\"s position, scale, or rotation to fit your game\"s environment correctly. Use the properties panel in Roblox Studio to make these adjustments.
- Apply Textures: If your model included textures, ensure they are correctly applied within Roblox Studio. You may need to manually adjust texture mappings or upload additional texture files as decals.
Following these steps will help you successfully integrate your Blender models into Roblox Studio, enhancing your game with custom visuals and designs. Remember, experimenting with different settings and adjustments can further optimize your models for the best in-game performance and appearance.
_HOOK_
Adjusting and Optimizing Your Model in Roblox
After successfully importing your Blender model into Roblox Studio, fine-tuning and optimization are key steps to ensure your model looks and performs best in-game. Here are detailed steps and tips to adjust and optimize your model within Roblox Studio.
- Adjust Model Position and Orientation: Use the move and rotate tools in Roblox Studio to correctly position your model within your game environment. Ensure it aligns with the game\"s world coordinates for a seamless integration.
- Scale Models Appropriately: Depending on the original size and scale settings in Blender, you may need to adjust the scale of your model in Roblox Studio to fit the game\"s design and proportions.
- Optimize Parts and Textures: If your model consists of multiple parts or high-resolution textures, consider optimizing these to improve game performance. This might include reducing the number of parts or compressing textures.
- Collision Settings: Adjust the collision settings of your model to ensure it interacts with the game environment as intended. This can be critical for gameplay mechanics involving player movement and object interaction.
- Use MeshParts for Complex Models: For complex models, consider converting parts of your model into MeshParts in Roblox Studio. This can significantly reduce the number of triangles and parts, improving performance.
- Test in Different Environments: Test your model under various game conditions and lighting settings to ensure it looks good and performs well across different scenarios. Make adjustments as necessary based on feedback and performance metrics.
By following these steps, you can ensure that your Blender models are not only visually appealing in Roblox but also optimized for the best possible performance, enhancing the player\"s experience in your game.
Common Issues and Troubleshooting Tips
Uploading Blender models to Roblox can sometimes present challenges. This section covers common issues you might encounter and provides practical troubleshooting tips to help you resolve them efficiently.
- Model Does Not Appear in Roblox Studio: Ensure the model was exported with the correct settings in Blender, including the right format (FBX) and that \"Selected Objects\" was checked if only exporting a part of the scene.
- Textures Not Displaying Correctly: Verify that textures are properly applied and mapped in Blender. Also, ensure that the textures are uploaded to Roblox and linked to the model correctly.
- Model Too Large or Too Small: Check the scale settings during the export from Blender and adjust accordingly. Roblox and Blender use different units, so you may need to scale your model up or down.
- Performance Issues with Complex Models: If your model causes lag in Roblox, consider reducing the polygon count or splitting the model into smaller parts to optimize performance.
- Animations Not Importing: Make sure animations are properly exported from Blender and that Roblox supports the animation format. You may need to adjust settings in Blender for compatibility.
- Errors During Import: If Roblox Studio displays errors during import, check for unsupported features or elements in your Blender model. Simplify the model or remove problematic parts and try importing again.
These tips should help you overcome common obstacles when integrating Blender models into Roblox, ensuring a smoother development process and a better gaming experience.
Advanced Techniques: Animations and Textures
Enhancing your Blender models with animations and textures before uploading to Roblox can significantly improve the visual appeal and interactivity of your game. This section delves into advanced techniques for adding animations and textures to your models, ensuring they are Roblox-ready.
- Preparing Textures in Blender: Make sure your textures are UV-mapped to your model in Blender. This process ensures that textures align correctly on your model once imported into Roblox.
- Exporting Textures: When exporting your model as an FBX file, include the texture files. It\"s essential to check that the \"Embed Textures\" option is selected if available, or alternatively, export the textures separately in a format supported by Roblox, such as PNG or JPG.
- Animating Your Model: Blender allows for sophisticated animation techniques. Before exporting your animated model, ensure that all animations are baked and that you\"re using a supported format that Roblox can import, such as FBX for skeletal animations.
- Importing Animated Models: When importing an animated model into Roblox, use the \"Import\" feature in Roblox Studio and select your FBX file. Ensure that the \"Animation\" option is checked to import any embedded animations.
- Applying Textures in Roblox: Once your model is in Roblox, you may need to apply or adjust textures manually. This can involve uploading texture files to Roblox and applying them to the model as Decals or Textures within the properties of the model\"s parts.
- Testing Animations: After importing, thoroughly test animations within Roblox Studio to ensure they play correctly. Adjust the animation properties as needed to achieve the desired effect in your game.
By applying these advanced techniques, your Blender models will not only look more appealing with accurate textures but also come to life with engaging animations, making your Roblox games more dynamic and immersive.
Using Roblox Plugins for Blender for Enhanced Workflow
Roblox offers plugins for Blender that streamline the process of uploading models directly to Roblox Studio, enhancing workflow efficiency and reducing the steps involved in the model transfer. Utilizing these plugins can significantly speed up development time and improve the accuracy of your 3D models in Roblox.
- Install the Roblox Blender Plugin: Start by downloading and installing the official Roblox plugin for Blender. This tool integrates your Roblox account with Blender, enabling direct uploads.
- Link Your Roblox Account: Once installed, open the plugin settings in Blender and link your Roblox account. This step is crucial for enabling the direct transfer of models.
- Prepare Your Model for Export: Ensure your model is ready for Roblox by following the standard preparation steps, including optimizing geometry and applying textures.
- Direct Upload to Roblox Studio: With the plugin activated and your account linked, you can directly upload your Blender model to Roblox Studio. This bypasses the need for exporting and importing FBX files manually.
- Adjust and Optimize in Roblox Studio: After uploading, you may need to make final adjustments to your model in Roblox Studio, such as positioning, scaling, and optimizing for performance.
By leveraging the Roblox Blender Plugin, developers can enjoy a more efficient workflow, making it easier to bring detailed and complex Blender models into Roblox games. This integration not only saves time but also ensures that models maintain their integrity and visual fidelity when transferred to the Roblox environment.
Community Resources and Support for Developers
The Roblox developer community is rich with resources and support channels designed to help developers successfully upload and integrate Blender models into their Roblox games. Here are key resources and avenues for support:
- Roblox Developer Forum: A vibrant community where developers can share knowledge, ask questions, and collaborate on projects. The forum features a section dedicated to art design, including discussions on Blender models.
- Roblox Developer Hub: Offers comprehensive documentation, tutorials, and guides on various aspects of Roblox game development, including model importing and asset creation.
- YouTube Tutorials: A wealth of video content is available from experienced developers demonstrating the process of creating, exporting, and importing Blender models into Roblox.
- Roblox Blender Plugin: Direct support for the Roblox Blender Plugin is available, including installation guides, usage tips, and troubleshooting advice.
- Community Plugins and Tools: Developers have created and shared their own tools and plugins to streamline the Blender to Roblox workflow, often accompanied by tutorials and support forums.
- Discord Channels: There are several Roblox development communities on Discord where developers can seek real-time advice, share their work, and find collaborators.
Leveraging these community resources and support channels can greatly enhance your development workflow and help solve challenges you may encounter when working with Blender models in Roblox.
_HOOK_
READ MORE:
Conclusion: Unleashing Your Creativity
Mastering the process of uploading Blender models to Roblox opens a new realm of creativity and customization for game developers. By integrating custom 3D models, textures, and animations, you can significantly enhance the visual appeal and interactivity of your Roblox games. This guide has walked you through each step of the process, from preparing and exporting models in Blender to optimizing and troubleshooting them in Roblox Studio.
Embracing these techniques not only improves your workflow but also encourages innovation, allowing you to bring your most ambitious game ideas to life. The Roblox platform, coupled with Blender\"s powerful modeling tools, provides an unparalleled opportunity for creativity. As you continue to explore and experiment, remember the wealth of resources and community support available to help you navigate any challenges.
Whether you\"re a seasoned developer or just starting out, the journey of creating and sharing your unique visions within the Roblox universe is both rewarding and inspiring. Let your creativity flow, and see where it takes you in the world of Roblox game development.
Unlock the full potential of your Roblox games by mastering the art of uploading Blender models, where creativity knows no bounds. Transform your game worlds with custom assets to captivate and engage players like never before.