Topic blender delete bones: Discover the essential techniques for deleting bones in Blender, a crucial skill for animators and modelers aiming to refine their rigs and enhance animations with precision and ease.
Table of Content
- How do I delete bones in Blender while ensuring that child bones are automatically re-parented?
- Basic Method for Deleting Bones
- Advanced Bone Deletion Techniques
- Common Issues and Solutions
- Advanced Bone Deletion Techniques
- Common Issues and Solutions
- Common Issues and Solutions
- Understanding Blender\"s Bone Deletion Basics
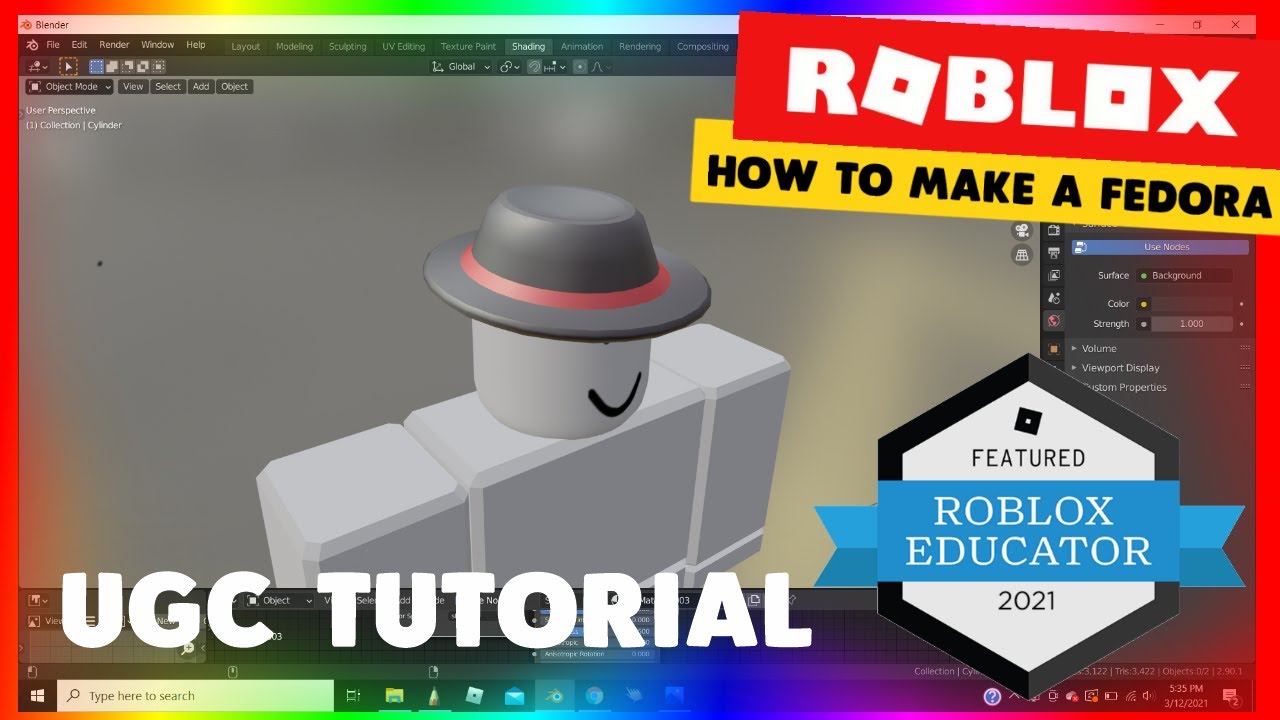
- YOUTUBE: Removing Armature from Character in Blender
- Step-by-Step Guide to Deleting Bones in Edit Mode
- Advanced Techniques for Managing Bone Hierarchies
- Common Pitfalls and How to Avoid Them
- Optimizing Your Workflow When Deleting Bones
- Case Studies: Real-World Examples of Bone Deletion
- FAQs: Expert Answers to Your Bone Deletion Questions
- Tools and Add-ons to Enhance Bone Deletion Processes
- Future Updates and What They Mean for Bone Deletion
How do I delete bones in Blender while ensuring that child bones are automatically re-parented?
To delete bones in Blender while ensuring that child bones are automatically re-parented, follow these steps:
- Open Blender and navigate to the Armature you want to work on.
- Switch to Edit Mode by pressing Tab or selecting it from the drop-down menu in the bottom left corner.
- Select the bone you want to delete by right-clicking on it.
- If the bone has children, they will be automatically re-parented when you delete the bone.
- Press X or Delete on your keyboard to bring up the Delete menu.
- Choose \"Bones\" from the options to delete the selected bone.
- Your child bones will now be re-parented to the nearest available parent bone.
READ MORE:
Basic Method for Deleting Bones
- Select the bone in Edit Mode.
- Press \"X\" and choose \"Delete\" or \"Dissolve Bones\" from the menu.
- If \"Dissolve Bones\" does not achieve the desired result, ensure you select \"Delete\" to remove the bone entirely.
Note: Bones will not delete if only part of the bone (head or tail) is selected. Ensure the entire bone is selected for deletion.
Advanced Bone Deletion Techniques
For more complex armatures, such as mirrored rigs, you may need to perform additional steps:
- Disable \"X-Mirror\" in the armature\"s edit mode.
- Delete the bones intended for replacement through mirroring.
- Duplicate and mirror the armature along the X-axis.
- Remove unwanted bones from the duplicate.
- Re-enable \"X-Mirror\" and adjust the bone roll as necessary.
This method is useful for ensuring mirrored constraints and proper naming conventions across your rig.
Common Issues and Solutions
- When attempting to mirror bones, naming conventions may cause confusion. Ensure you follow Blender\"s naming standards closely.
- If using \"Flip Names\" during mirroring, be aware of potential numbering issues. Manual renaming may be necessary for accuracy.
- For duplicating and mirroring bones with constraints, a precise approach is required to maintain rig integrity.
Deleting bones in Blender requires attention to detail, especially in complex rigs. Following these guidelines will help maintain your model\"s integrity while making necessary adjustments.
Advanced Bone Deletion Techniques
For more complex armatures, such as mirrored rigs, you may need to perform additional steps:
- Disable \"X-Mirror\" in the armature\"s edit mode.
- Delete the bones intended for replacement through mirroring.
- Duplicate and mirror the armature along the X-axis.
- Remove unwanted bones from the duplicate.
- Re-enable \"X-Mirror\" and adjust the bone roll as necessary.
This method is useful for ensuring mirrored constraints and proper naming conventions across your rig.
_HOOK_
Common Issues and Solutions
- When attempting to mirror bones, naming conventions may cause confusion. Ensure you follow Blender\"s naming standards closely.
- If using \"Flip Names\" during mirroring, be aware of potential numbering issues. Manual renaming may be necessary for accuracy.
- For duplicating and mirroring bones with constraints, a precise approach is required to maintain rig integrity.
Deleting bones in Blender requires attention to detail, especially in complex rigs. Following these guidelines will help maintain your model\"s integrity while making necessary adjustments.
Understanding Blender\"s Bone Deletion Basics
Deleting bones in Blender is an essential skill for animators and modelers working with armatures. Before you start deleting bones, it\"s crucial to understand the basics of bone structure and how bones are managed within Blender\"s environment. Bones in Blender are used to create armatures, which are skeletal structures that control mesh animation and deformation.
- Working in the Correct Mode: To delete bones, you must be in Edit Mode. Bones cannot be deleted in Object Mode because this mode is used for selecting and manipulating entire objects, including armatures, but not the bones within them.
- Selecting Bones: In Edit Mode, you can select the bone or bones you wish to delete. It\"s important to ensure that the entire bone is selected; partial selection might prevent deletion.
- Deletion Process: Once the bone is selected, pressing the X key will bring up a deletion menu. Choose \"Delete Bones\" from this menu to remove the selected bone or bones from the armature. Be cautious as deleting bones can affect the armature\"s structure and any associated animations.
- Adjusting the Remaining Structure: After deleting bones, you may need to adjust the remaining bone hierarchy to ensure the armature functions as intended. This might involve re-parenting bones or adjusting bone constraints.
Remember, practicing these steps on simple armatures before applying them to complex models can help you understand the impact of deleting bones on both the structure and animation of your models. Experimenting with bone deletion in a controlled environment is a great way to learn the nuances of Blender\"s armature system.

Removing Armature from Character in Blender
Editing: Discover the captivating world of editing in this video as we unveil the secrets behind transforming raw footage into a masterpiece. Dive into the magic of cuts, transitions, and effects! Mesh: Uncover the endless possibilities of mesh in this visually stunning video. Explore how intricate patterns come to life through the interweaving of threads, creating a mesmerizing blend of beauty and innovation. Join us on this artful journey!
Removing Armature from Mesh - Deleting Bones in Blender
Have you ever wanted to unrig your mesh, and remove the bones or armature? Have you tried deleting the bones only for the ...
Step-by-Step Guide to Deleting Bones in Edit Mode
Deleting bones within Blender\"s Edit Mode is a straightforward process, essential for refining armatures in your 3D models. Follow these steps to successfully delete unwanted bones from your armature.
- Switch to Edit Mode: Ensure you are in Edit Mode for the armature. You can switch to Edit Mode by selecting the armature, then pressing Tab or selecting Edit Mode from the mode dropdown menu in the 3D Viewport.
- Select the Bone: Left-click on the bone you wish to delete. If you need to select multiple bones, hold Shift and click on each additional bone.
- Delete the Bone: With the bone(s) selected, press X or Delete on your keyboard. A confirmation menu will appear, asking what you want to delete. Select \"Delete Bones\" from the list.
- Confirm Deletion: After selecting \"Delete Bones,\" the selected bones will be removed from your armature. If you have selected the wrong bone(s), press Ctrl + Z to undo the action.
- Adjust the Armature: Deleting bones may alter the structure of your armature or affect connected parent-child relationships. Review your armature and make any necessary adjustments to ensure it behaves as expected.
Remember, deleting bones is a permanent action once you save your Blender file. It\"s a good practice to make a duplicate of your armature before making significant changes, allowing you to revert back if needed.
Advanced Techniques for Managing Bone Hierarchies
Managing bone hierarchies in Blender involves advanced techniques that ensure efficient animation and rigging processes. These methods enhance control over complex armatures and their behaviors during animation.
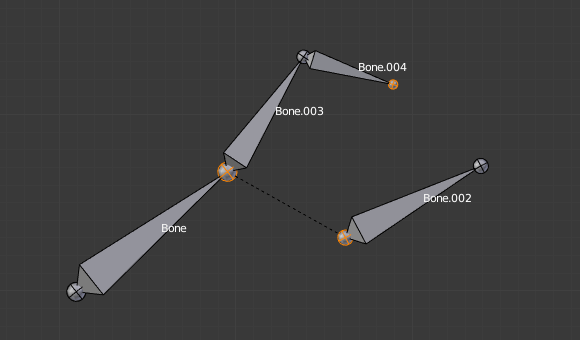
- Understanding Parent-Child Relationships: Bones in Blender are organized in a hierarchy, where parent bones can control the movement and rotation of their child bones. This is crucial for creating realistic movements in character joints and other rigged objects.
- Using Inverse Kinematics (IK): IK simplifies animation by allowing the position of a child bone to determine the orientation of its parent bones. This is especially useful for animating limbs and ensuring that movements appear natural.
- Custom Bone Shapes: For better control and visibility, you can replace the visual representation of bones with custom shapes. This does not affect the bone\"s functionality but makes the rig easier to manipulate.
- Constraints and Drivers: Applying constraints and drivers to bones can automate movements and create more complex animations with less manual keyframing. For example, a rotation constraint could make one bone rotate in response to another bone\"s movement.
- Layers and Groups: Organizing bones into layers and groups can simplify the rigging and animation process, making it easier to focus on specific parts of the armature without distraction from other bones.
- Non-Uniform Scaling: Be cautious with non-uniform scaling of parent bones, as it can lead to unexpected deformations. Uniform scaling is generally safer and more predictable.
These advanced techniques require practice and understanding of Blender\"s rigging and animation tools. Experiment with different methods to find the best approach for your project. Remember, complex hierarchies can make the animation process more efficient but may require more setup time initially.

_HOOK_
Common Pitfalls and How to Avoid Them
When working with armatures in Blender, particularly in deleting bones, several common pitfalls can hinder the process. Recognizing and avoiding these pitfalls can save time and frustration.
- Deleting Bones Without Considering Dependencies: Before deleting a bone, consider its role in the armature. Deleting a parent bone without reassigning child bones can disrupt your hierarchy, leading to unexpected animation behavior.
- Not Using Layers for Complex Armatures: For complex rigs, failing to organize bones in layers can make the armature difficult to navigate and manage. Use layers to isolate and work on different parts of the armature without affecting unrelated bones.
- Ignoring Bone Roll Angles: Bone roll angles are crucial for correct deformation and animation. Deleting and then re-adding bones without adjusting roll angles can lead to improper mesh deformation. Always check and correct bone roll angles during rigging.
- Overlooking Weight Painting: Deleting bones affects weight painting. Ensure to redo weight painting for affected vertices to maintain the intended deformation. Use weight painting tools to adjust vertex group weights appropriately after modifying the armature.
- Forgetting to Recalculate Roll: After deleting or adjusting bones, it\"s essential to recalculate bone rolls to ensure uniformity across the armature. Use the Recalculate Roll feature in Edit Mode to standardize bone orientations.
- Not Saving a Backup Before Making Major Changes: Always save a backup of your project before deleting bones or making significant adjustments to your armature. This safety measure allows you to revert to a previous state if something goes wrong.
By being mindful of these common pitfalls and adopting best practices, you can navigate the complexities of bone deletion and armature adjustment in Blender more effectively, leading to smoother animations and more controlled deformations.

Optimizing Your Workflow When Deleting Bones
Optimizing your workflow in Blender, especially when it comes to deleting bones, can significantly enhance your rigging and animation processes. Here are several strategies to streamline your tasks:
- Utilize Procedural Techniques: Incorporate procedural methods to automatically create or delete bones based on specific attributes or components within your rig. This approach can drastically reduce manual adjustments and promote efficiency.
- Edit Mode Constraints: Leverage constraints in Edit Mode to guide the rest of your armature without the need to manually adjust every bone. This can simplify the addition of new components to your rig and speed up the rigging process.
- Component-Based Workflow: Adopt a component-based workflow to facilitate the reuse of rigging components. This method allows for a more modular and efficient rigging process, making it easier to manage complex rigs.
- Armature Naming and Export Settings: Ensure your Armature object isn\"t named \"Armature\" to avoid import issues with game engines like Unreal Engine 4. Utilize specific export settings for armatures and animations to maintain compatibility and functionality across different platforms.
- Custom Properties and Metadata: Use Blender\"s custom properties to add useful metadata to your bones and armature, which can be leveraged for automation and scripting in external engines or tools.
- Feedback and Collaboration: Engage with the Blender community and participate in discussions to stay updated on new tools and techniques. Sharing experiences and solutions can lead to workflow improvements and new functionalities.
Implementing these strategies can significantly improve your rigging workflow, making the process of deleting and managing bones more efficient and less time-consuming. By staying informed about Blender\"s latest developments and participating in the community, you can further enhance your skills and workflows.
Case Studies: Real-World Examples of Bone Deletion
In the world of 3D modeling and animation, understanding how to effectively delete bones in Blender is crucial for optimizing and refining your projects. Here, we explore various real-world case studies that highlight the application of bone deletion techniques in Blender, each showcasing the need for precision and understanding in managing complex armatures.
1. Improving MMD Model Bone Hierarchies
One case involves the use of Blender operators for enhancing imported MMD model bone hierarchies. The process involves deleting zero-weight bones and vertex groups, which are common in models imported for VRChat. This technique significantly reduces the model\"s complexity, resulting in faster import times and more optimized performance in Unity.
2. Converting Blender Rigs for Unity
Another case study involves the conversion of Blender rigs to be compatible with Unity\"s Mecanim. A common challenge is dealing with redundant def bones, which are not necessary for the rig to function in Unity. By creating a separate armature with a matching bone hierarchy or utilizing specific Blender plugins, artists can streamline the rig without compromising the model\"s integrity.
3. Addressing Extra Bones in Unity Imports
In instances where models imported into Unity contain extra, unwanted bones, a straightforward solution is outlined. By selecting the armature in Blender\"s edit mode, users can deselect the deform option for unwanted bones, ensuring they are not included upon export. This method is particularly useful for removing bones that do not influence the model\"s animation but are automatically generated during the import process.
4. General Bone Deletion Tips
A general tip for deleting bones in Blender involves ensuring the entire bone is selected before attempting deletion. A common mistake is selecting only a part of the bone, such as the head or tail, which prevents the bone from being deleted. Using the correct deletion command is crucial for effective bone management in Blender.
These case studies demonstrate the diverse applications of bone deletion in Blender, from optimizing models for game engines to refining rig hierarchies. By applying these techniques, artists and developers can significantly improve their workflow and the performance of their 3D models.
FAQs: Expert Answers to Your Bone Deletion Questions
When working with Blender, manipulating bones within your models is a common but intricate task. Below are some frequently asked questions and expert answers to guide you through the process of deleting and managing bones effectively.
- How do I delete a bone in Blender?
- To delete a bone, enter Edit Mode, select the bone you wish to remove, and press \"X\". Choose \"Delete Bones\" from the options. If you\"re trying to dissolve a bone but see no effect, ensure you\"re selecting \"Delete\" instead of \"Dissolve\".
- Can I move bones in Blender and how?
- Yes, bones can be moved within Blender. To do this, select the bone in Edit Mode or Pose Mode, then press \"G\" to grab and move it. For precise movement along an axis, use \"G\" followed by \"X\", \"Y\", or \"Z\".
- How do I remove a bone without affecting the mesh?
- To remove a bone without affecting the attached mesh, ensure the bone\"s influence is transferred or removed from the vertex groups it affects before deletion. This can be done manually in the Vertex Groups panel or through weight painting adjustments.
- What\"s the difference between deleting and dissolving bones in Blender?
- Deleting a bone removes it and its influence entirely from the armature. Dissolving might be expected to blend the bone\"s influence with adjacent bones or remove it while keeping the armature\"s structure, but in Blender, \"Dissolve\" does not apply to bones as it does with mesh editing. Always use the \"Delete\" option for bones.
- How do I ensure a bone is completely selected for deletion?
- A common mistake is not having the whole bone selected, which prevents deletion. Make sure both the head and tail of the bone are highlighted before pressing \"X\" to delete.
These FAQs cover the basics of managing and deleting bones in Blender, providing a solid foundation for more advanced rigging and animation work.
Tools and Add-ons to Enhance Bone Deletion Processes
Blender\"s versatility is significantly enhanced by various tools and add-ons designed to streamline and improve the bone deletion process. These tools offer a range of functionalities from cleaning up bone hierarchies to renaming bones for better organization. Below, we explore some of the most notable tools and add-ons available.
1. Blender Neitri Tools
Developed for the VRChat community, this addon is tailored for managing bone hierarchies, especially in imported MMD models. It includes features to delete zero weight bones and vertex groups, remove bone constraints, and delete a bone while transferring its weights to the parent bone, thus optimizing the model for better performance in Unity.
2. Bone_Rename (VFX Grace)
A comprehensive tool designed for renaming bones, objects, materials, and vertex groups. It supports batch processing for modifying prefixes, suffixes, replacing, or deleting specified characters. This addon is particularly useful for organizing and managing complex armatures by quickly renaming bones according to customizable presets.
3. CC/iC Blender Tools
This addon facilitates the importing and auto-setup of characters from Character Creator 3 & 4 and iClone 7 & 8. While its primary focus is on character setup, its inclusion in bone management workflows is invaluable, especially when dealing with characters created in these specific programs.
These tools and add-ons are instrumental in refining the rigging and animation process within Blender, offering both efficiency and enhanced control over bone structures. Whether you\"re cleaning up imported models or organizing a complex rig, integrating these solutions into your workflow can significantly improve your results.
_HOOK_
READ MORE:
Future Updates and What They Mean for Bone Deletion
As Blender evolves, the introduction of new features and improvements directly impacts the workflow of animators and riggers, including bone deletion processes. The upcoming years promise significant advancements, with a focus on finalizing key projects and enhancing performance and usability.
- Extensions Platform: A community-moderated website for sharing and discovering add-ons, themes, and asset libraries, aiming to streamline the Blender experience.
- GPU-based Compositor: Leveraging GPU acceleration for real-time interaction, aiming to make the compositor production-ready with render passes and missing features for a unified CPU and GPU compositing behavior.
- EEVEE Next: A massive refactor of Blender\"s real-time rendering engine to introduce new features like screen space global illumination and displacement support, enhancing visual feedback for bone editing and deletion.
- Grease Pencil 3.0: A full rewrite to increase performance and memory usage, paving the way for new features that could influence bone manipulation and animation workflows.
- Brush Assets: Improved support for brushes in painting and sculpting, contributing to more efficient bone weight painting and vertex group management.
These updates are part of Blender\"s ongoing commitment to enhancing its core functionality and usability, making it an even more powerful tool for animators and riggers. The focus on finishing projects like the GPU-based Compositor and EEVEE Next indicates a move towards more efficient, real-time workflows, which could significantly affect how bones are created, manipulated, and deleted within Blender.
For more detailed insights into how these future updates will influence bone deletion and rigging workflows, keeping an eye on the official Blender development blogs and forums is recommended.
Embark on a transformative journey with Blender, mastering the art of bone deletion to elevate your animation and rigging skills. Discover cutting-edge techniques and future updates that promise to revolutionize your workflow and unleash your creative potential.