Topic how to make a roblox character in blender: Discover the exciting world of 3D modeling by learning how to make a Roblox character in Blender, a journey that blends creativity with technical skills to bring your unique visions to life in the Roblox universe.
Table of Content
- How can I import a Roblox character into Blender for customization?
- Getting Started
- Steps to Create Your Character
- Additional Tips
- Conclusion
- Steps to Create Your Character
- Additional Tips
- Conclusion
- Additional Tips
- Conclusion
- Conclusion
- Introduction to Creating Roblox Characters in Blender
- YOUTUBE: How to 3D Model Roblox Characters in Blender Tutorial
- Essential Tools and Software Requirements
- Understanding Blender\"s Interface for Roblox Design
- Step-by-Step Process: Modeling Your Character
- Importing Roblox Assets into Blender
- Rigging Your Character for Animation
- Texturing and Adding Details
- Exporting Your Character Back to Roblox
- Advanced Tips for Customization and Animation
- Common Pitfalls and How to Avoid Them
- Resources for Learning More and Getting Help
- Conclusion: Bringing Your Character to Life
How can I import a Roblox character into Blender for customization?
To import a Roblox character into Blender for customization, you can follow these steps:
- Open ROBLOX Studio and select the character you want to export.
- Right-click on the selected character in the explorer panel.
- Choose the \'Export Selection\' option to save the character file to your computer.
- Open Blender on your computer.
- Go to \'File\' in the Blender menu and select \'Import\'.
- Choose the file format of the exported Roblox character (such as .obj or .fbx) and locate the file on your computer.
- Click \'Import\' to bring the Roblox character into Blender.
- You can now customize the imported Roblox character in Blender using various tools and features.
READ MORE:
Getting Started
- Ensure you have Blender installed. Any version above 2.8 is recommended for compatibility with most Roblox assets.
- Basic knowledge of Blender\"s interface and controls is beneficial.

Steps to Create Your Character
- Modeling: Start by opening Blender and creating a new project. Use Roblox character templates or start from scratch to model your character.
- Importing Roblox Assets: Import Roblox assets if needed by exporting them from Roblox Studio as .obj files and then importing into Blender.
- Rigging: Rig your model for animation. This involves attaching a skeleton to your model so it can move.
- Texturing: Apply colors and textures to your character to bring it to life.
- Exporting: Once your character is complete, export it as an .obj file to import back into Roblox Studio.

Additional Tips
- Utilize Blender add-ons designed for Roblox to streamline the import and export process.
- Practice with simple projects to familiarize yourself with the workflow before attempting complex characters.
Conclusion
Creating a Roblox character in Blender is a rewarding process that allows for high levels of customization and creativity. With patience and practice, you can bring your unique characters to life in the Roblox universe.

_HOOK_
Steps to Create Your Character
- Modeling: Start by opening Blender and creating a new project. Use Roblox character templates or start from scratch to model your character.
- Importing Roblox Assets: Import Roblox assets if needed by exporting them from Roblox Studio as .obj files and then importing into Blender.
- Rigging: Rig your model for animation. This involves attaching a skeleton to your model so it can move.
- Texturing: Apply colors and textures to your character to bring it to life.
- Exporting: Once your character is complete, export it as an .obj file to import back into Roblox Studio.

Additional Tips
- Utilize Blender add-ons designed for Roblox to streamline the import and export process.
- Practice with simple projects to familiarize yourself with the workflow before attempting complex characters.

Conclusion
Creating a Roblox character in Blender is a rewarding process that allows for high levels of customization and creativity. With patience and practice, you can bring your unique characters to life in the Roblox universe.
_HOOK_
Conclusion
Creating a Roblox character in Blender is a rewarding process that allows for high levels of customization and creativity. With patience and practice, you can bring your unique characters to life in the Roblox universe.

Introduction to Creating Roblox Characters in Blender
Blender, a powerful free and open-source 3D creation suite, offers extensive capabilities for modeling, animating, and rendering. When it comes to creating Roblox characters, Blender provides a versatile platform for both beginners and experienced users. This section will guide you through the basics of getting started with Blender to create and customize your own Roblox characters.
- Understand Blender\"s Interface: Familiarize yourself with Blender\"s user interface, including navigation, object manipulation, and the properties panel.
- Preparing Your Workspace: Setting up Blender for Roblox character creation involves adjusting certain settings to optimize your workflow.
- Importing Roblox Assets: Learn how to import Roblox models into Blender for editing or use as a reference for your character designs.
- Modeling Basics: Get to grips with Blender\"s modeling tools to start creating your character from scratch or modifying existing models.
- Texturing and Materials: Explore how to apply textures and materials to your character to bring out the details and make it stand out.
- Rigging and Animation: Introduction to rigging your character for movement and creating basic animations to see it come to life.
- Exporting for Roblox: Finally, learn the process for exporting your finished character back into Roblox, ready for use in games and experiences.
Creating a Roblox character in Blender can be a rewarding experience, offering endless possibilities for customization and creativity. Whether you\"re looking to design characters for your own games or simply wish to bring your ideas to life, Blender provides all the tools you need to succeed.
How to 3D Model Roblox Characters in Blender Tutorial
\"Unlock the power of 3D animation and design with Blender! From creating stunning visuals to bringing characters to life, delve into the world of digital artistry with this versatile and powerful software tool.\"
How to 3D Model Roblox Characters in Blender Tutorial
\"Unlock the power of 3D animation and design with Blender! From creating stunning visuals to bringing characters to life, delve into the world of digital artistry with this versatile and powerful software tool.\"
Essential Tools and Software Requirements
Before embarking on your journey to create a Roblox character in Blender, it\"s crucial to equip yourself with the right tools and software. This section outlines the essential requirements to ensure a smooth and successful character creation process.
- Blender: The latest version of Blender is recommended for compatibility with Roblox assets. Blender 3.4+ is ideal for utilizing its full range of features for 3D modeling, rigging, and animation.
- Roblox Studio: For importing your character into Roblox, Roblox Studio is essential. It allows you to upload and integrate your character into games.
- Roblox Blender Plugin: A useful add-on that facilitates the transfer of models between Blender and Roblox Studio, streamlining the workflow.
- FBX or OBJ Files: Knowledge of importing and exporting these file formats is crucial as Roblox assets and Blender models often utilize them.
- Basic 3D Modeling Knowledge: Familiarity with Blender’s interface and basic 3D modeling techniques is beneficial for a smooth start.
Having these tools and a basic understanding of Blender and Roblox Studio will set the foundation for creating custom Roblox characters. Each element plays a pivotal role in the character creation process, from modeling and texturing to rigging and finally exporting your character for use in Roblox.
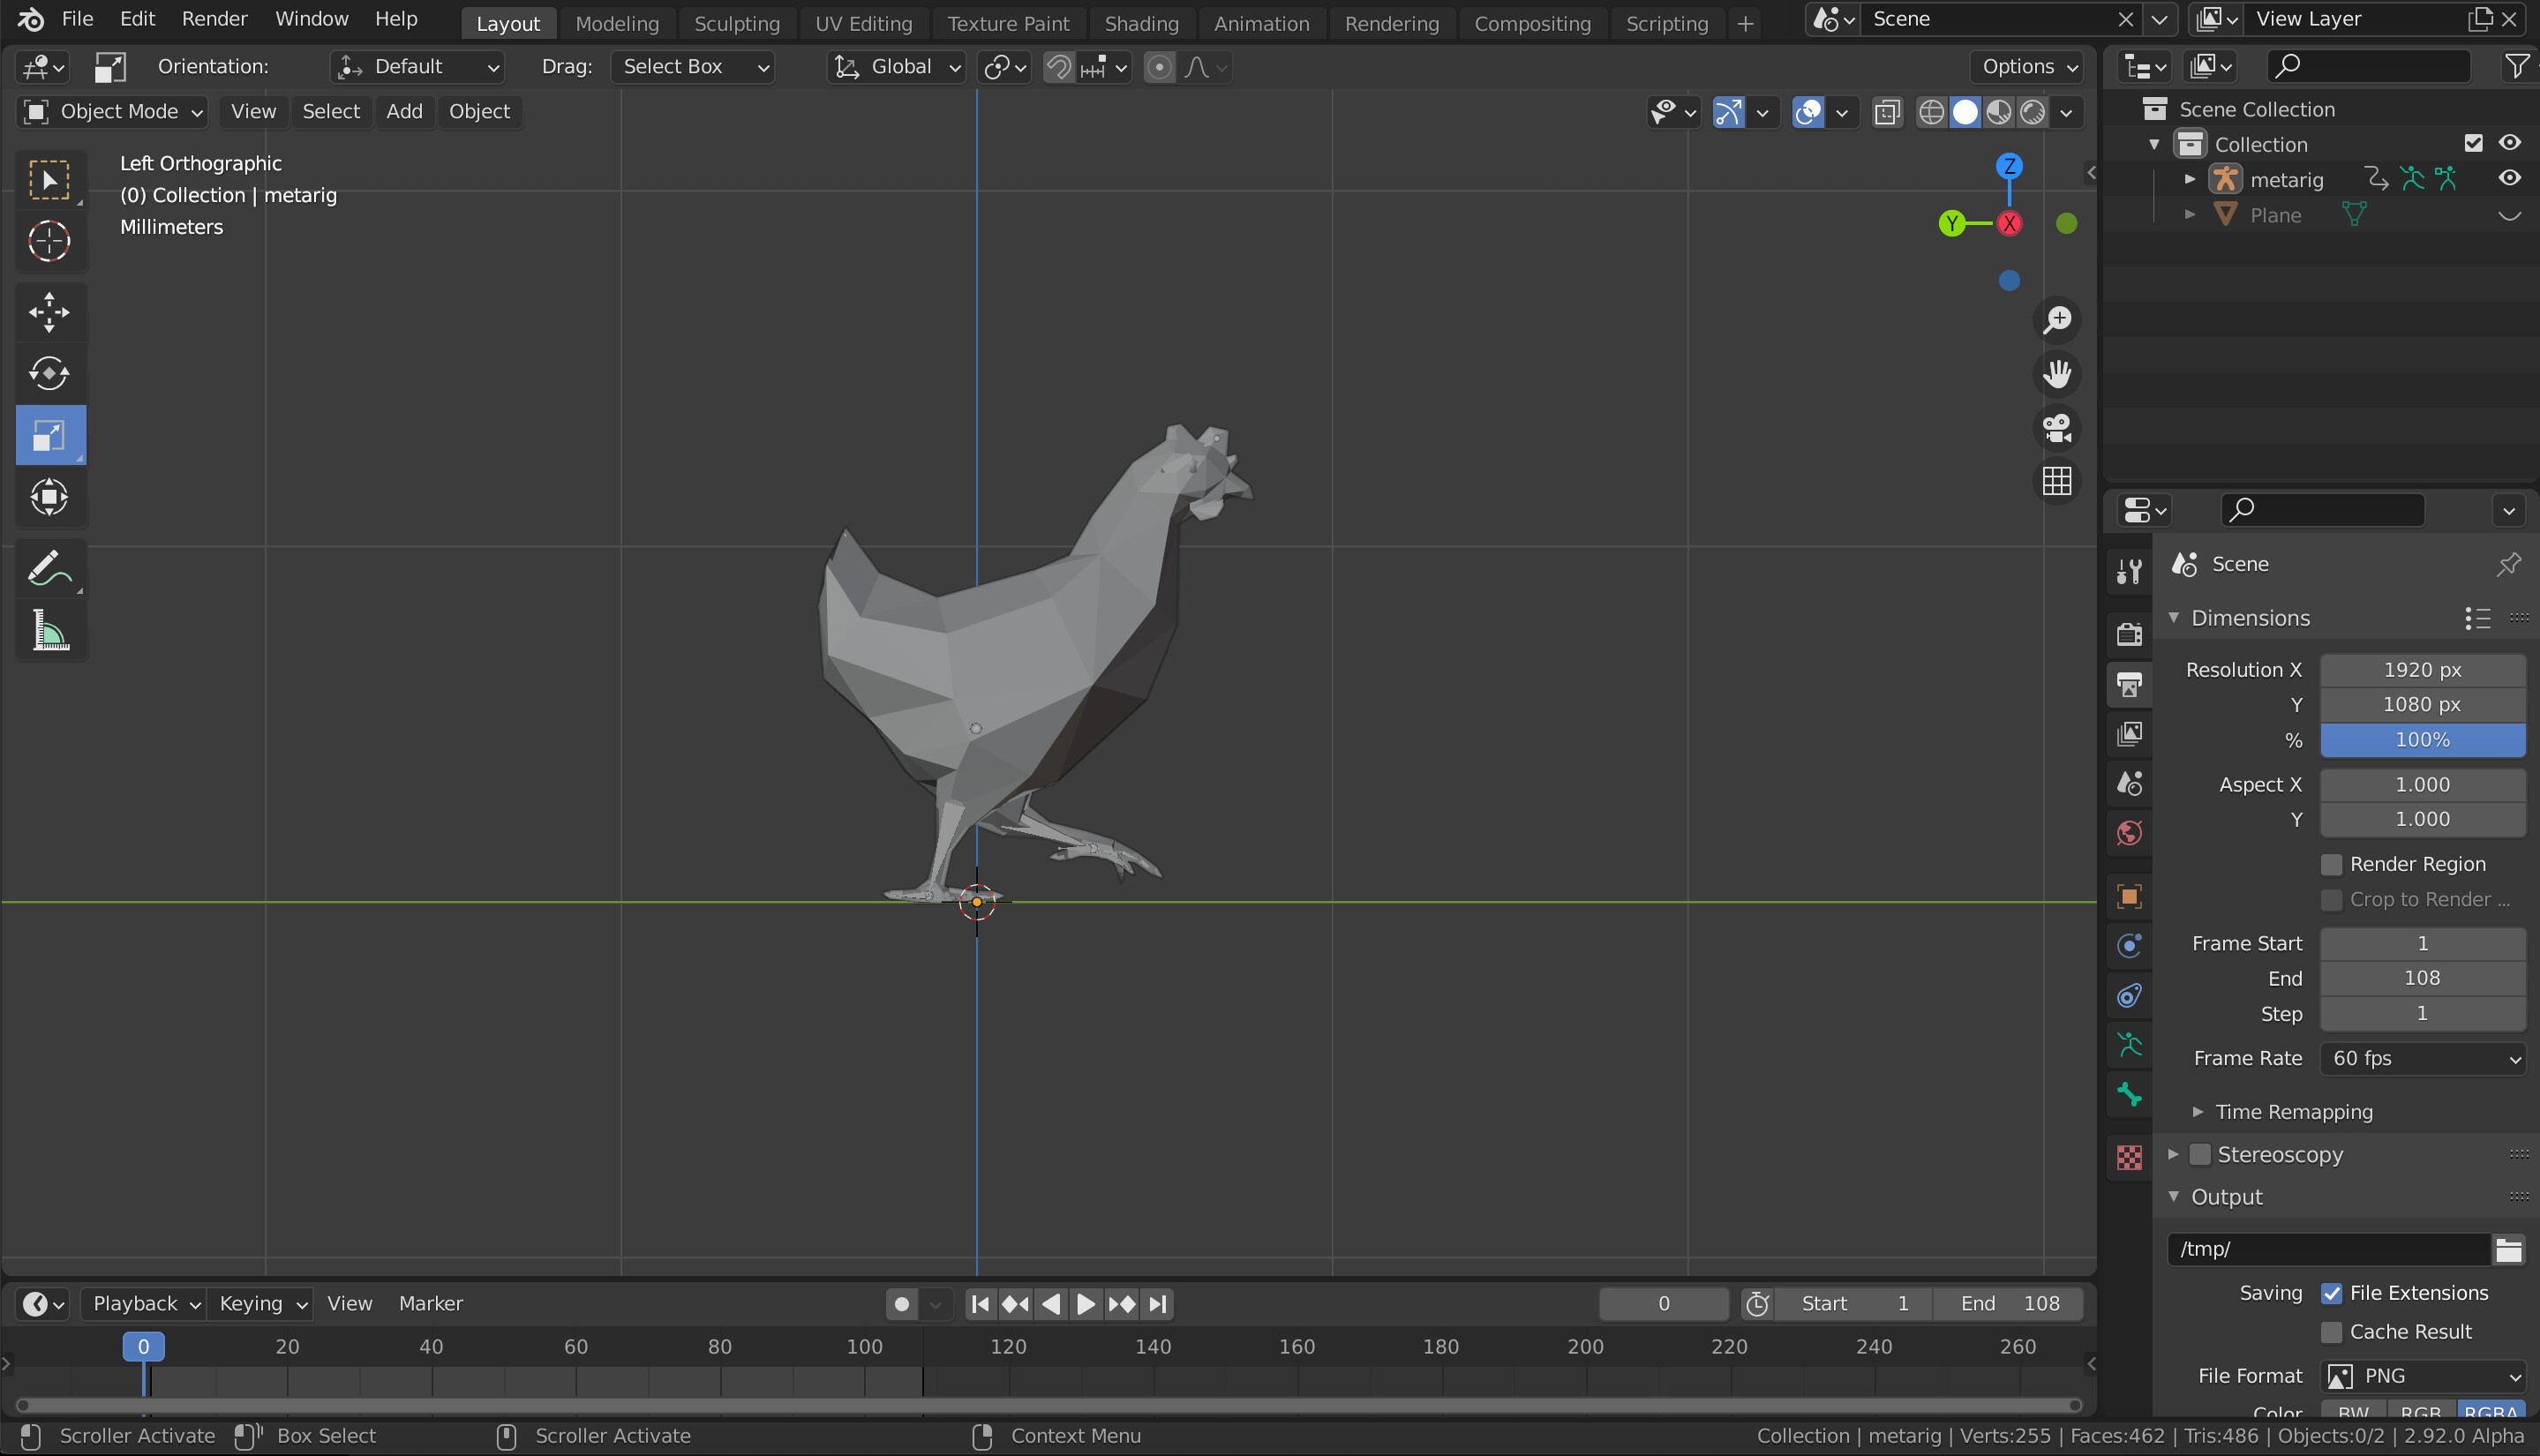
Understanding Blender\"s Interface for Roblox Design
Blender\"s interface is a powerful gateway to creating detailed Roblox characters. It offers a wide range of tools and features tailored to 3D modeling, animation, and rendering. This section aims to demystify Blender\"s interface, making it accessible for Roblox designers of all skill levels.
- Navigating the Interface: Familiarize yourself with Blender\"s layout, including the 3D viewport, timeline, outliner, and properties panel.
- Importing Models: Learn how to import Roblox models into Blender for editing. This usually involves using the FBX format for seamless integration.
- Modeling Tools: Get to know the essential modeling tools like extrude, loop cut, and sculpting tools to modify and create your character models.
- Materials and Texturing: Understand how to apply materials and textures to your model to achieve the desired look and feel for your character.
- Animation and Rigging: Explore Blender\"s rigging and animation tools to bring your characters to life with realistic movements.
- Exporting to Roblox: Master the process of exporting your finished models from Blender back into Roblox, ensuring they\"re ready for use in your games.
By mastering Blender\"s interface and toolset, you can unlock your creative potential, allowing you to craft unique and compelling characters for the Roblox platform. Whether you\"re a beginner or looking to refine your skills, understanding Blender\"s interface is your first step towards becoming a proficient Roblox character designer.
Step-by-Step Process: Modeling Your Character
Modeling a Roblox character in Blender involves a series of steps that guide you from the initial import to the final touches. This comprehensive approach ensures your character not only fits within the Roblox universe but also stands out with its unique features.
- Importing Your Character Model: Begin by importing your Roblox character model into Blender. Use the FBX or OBJ file formats for a seamless transition.
- Setting Up the Model: Once imported, adjust the model\"s scale, rotation, and position to match your design needs.
- Basic Modeling Techniques: Utilize Blender\"s modeling tools such as extrude, loop cut, and sculpt to shape your character. Focus on creating distinctive features that enhance its personality.
- Refining Shapes: Pay attention to the character\"s proportions and anatomy, refining shapes and adding details to capture the essence of your design.
- Adding Accessories and Clothing: Design and model accessories, clothing, and other elements to add depth and context to your character.
- Texturing and Materials: Apply textures and materials to your character to bring out colors, patterns, and intricate details.
- Previewing and Adjusting: Regularly preview your model in different lighting and angles. Make adjustments as necessary to ensure the character looks great from all perspectives.
- Finalizing the Model: Complete your model by ensuring all elements are well-integrated and the character meets your vision.
Throughout the modeling process, it\"s important to continuously reference your character\"s concept art or inspiration to maintain consistency and authenticity. With patience and practice, you\"ll be able to create a Roblox character in Blender that is both captivating and true to your creative vision.
_HOOK_
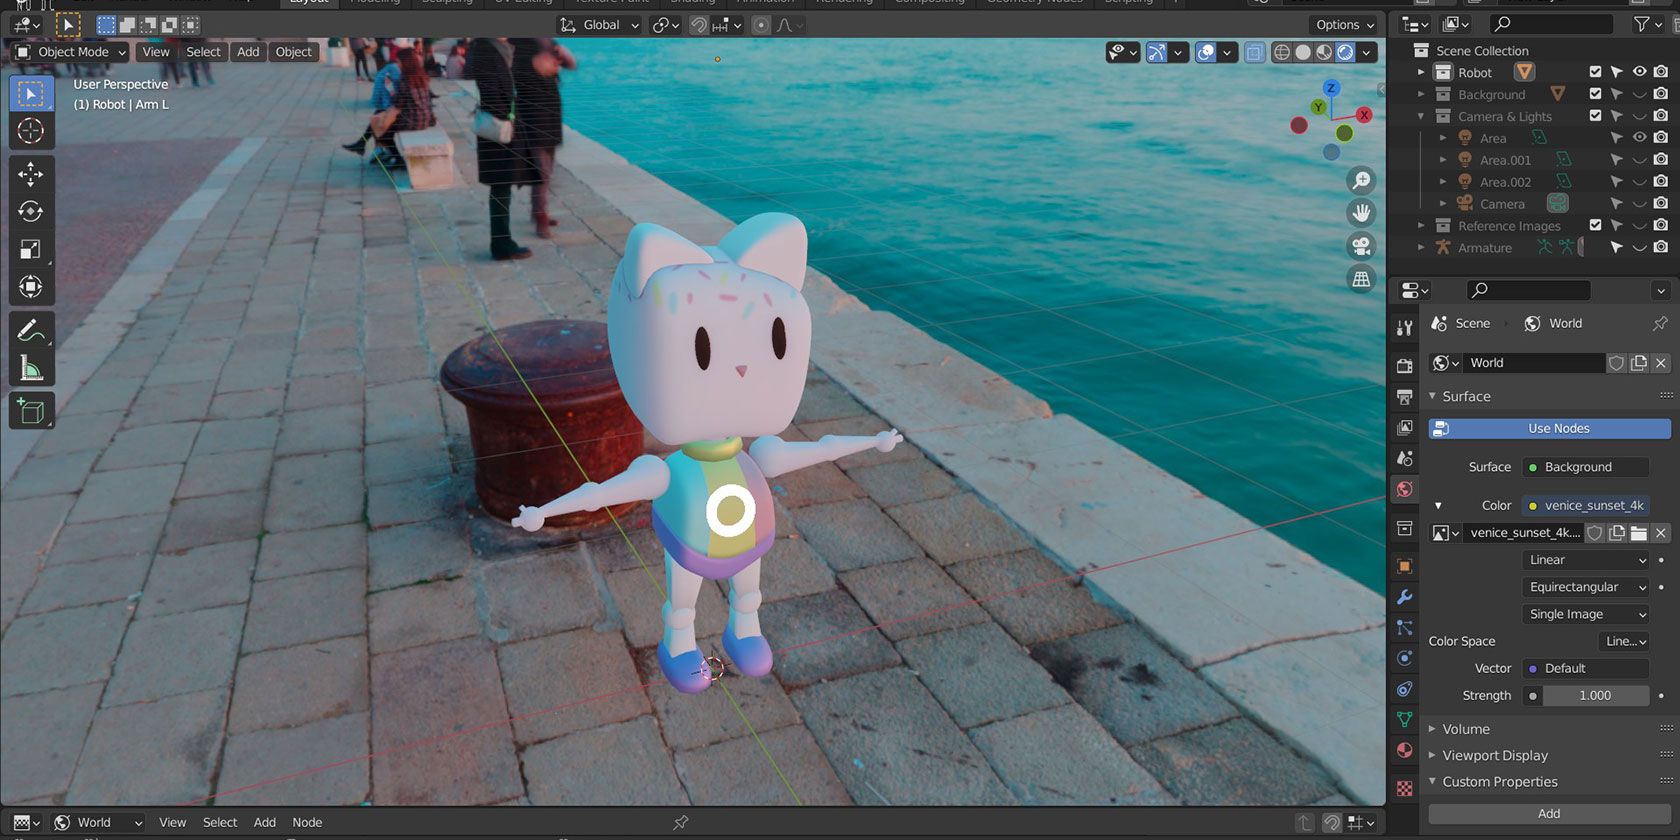
Importing Roblox Assets into Blender
Integrating Roblox assets into Blender is a crucial step in customizing and creating your unique character. This guide simplifies the process, making it accessible for users of all experience levels.
- Exporting from Roblox Studio: Begin by selecting the model you wish to work with in Roblox Studio. Right-click and choose \"Export\" to save the model as an .obj file.
- Preparing Blender: Open Blender and navigate to \"File\" in the top menu. Select \"Import\" and then choose the .obj file format.
- Importing Your Model: Locate and select the .obj file you exported from Roblox Studio. Click \"Import OBJ\" to bring your model into Blender.
- Adjusting the Model: Once imported, you may need to adjust the scale, rotation, and position of your model to fit your design needs.
- Utilizing Roblox Blender Plugins: For a more streamlined process, consider using dedicated Roblox Blender plugins that allow for direct import and export between Blender and Roblox, enhancing efficiency and workflow.
By following these steps, you can successfully import Roblox assets into Blender, setting the stage for further customization and creation of your Roblox character. This process bridges the gap between Roblox\"s vast asset library and Blender\"s powerful modeling tools, unlocking new possibilities for creativity and design.
Rigging Your Character for Animation
Rigging is the process of creating the bone structure of a 3D model so it can be animated. In Blender, rigging a Roblox character involves specific steps to ensure your character can move in a realistic or intended manner within the Roblox platform.
- Importing Your Character: Start with a model imported into Blender. Ensure it\"s positioned and scaled correctly.
- Adding a Skeleton: Utilize Blender\"s armature system to add a skeleton to your model. This involves creating bones for each part of the body you wish to animate.
- Positioning Bones: Carefully position the bones to match the character\"s anatomy. Use mirror mode to ensure symmetry where applicable.
- Parenting Mesh to Bones: Parent your character\"s mesh to the armature to link the skeleton with the model. This can be done using automatic weights for a quick start or manually painting weights for more control.
- Testing Rig Movements: Pose your character in Blender to test the rigging. Adjust any bones or weights as necessary to ensure smooth movement.
- Exporting for Roblox: Once your character is rigged and tested, export it in a format compatible with Roblox, typically as an FBX file, to use in your games.
Proper rigging is crucial for bringing your character to life with animations. Whether you\"re aiming for simple movements or complex animations, a well-rigged character provides the foundation for dynamic and engaging Roblox content.
Texturing and Adding Details
Texturing is a crucial step in character creation, adding color, depth, and realism to your Roblox character in Blender. This process allows you to bring your character to life with detailed skins, clothing, and accessories. Follow these steps to effectively texture and add details to your character:
- Understanding Textures: Learn about the types of textures you can apply, including diffuse, specular, and normal maps, to enhance the visual appeal of your character.
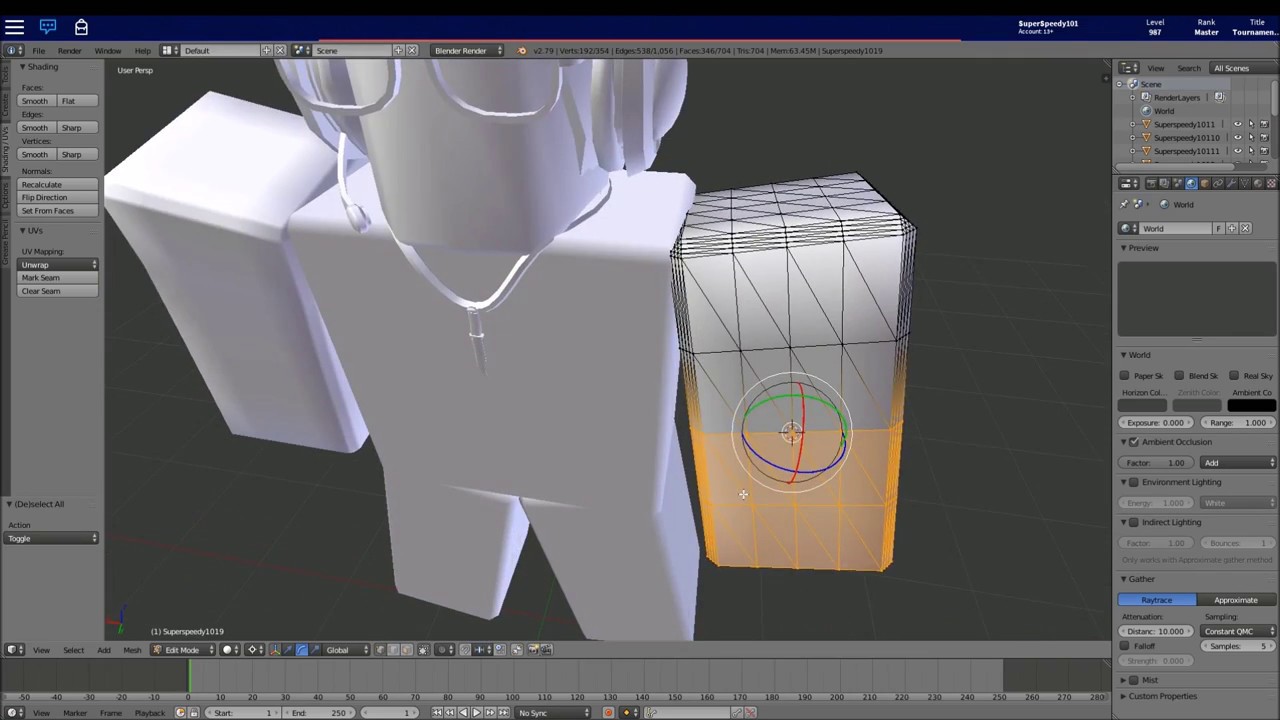
- UV Mapping: Begin by unwrapping your character model to create a UV map. This step is essential for accurately applying textures to your model.
- Applying Textures: Use Blender\"s shading and texturing tools to apply your chosen textures to the model. You can import custom textures or use Blender\"s built-in options.
- Detailing with Materials: Add materials to your character for more complex effects like glossiness, metallic finishes, or transparency.
- Adding Clothing and Accessories: Model or import clothing and accessories. Apply textures and materials to these items to match your character\"s style.
- Final Touches: Use Blender\"s painting tools to add fine details such as facial features, logos, or patterns directly onto your character\"s texture.
By following these steps, you can create a character that not only fits the aesthetic of the Roblox world but also stands out with its unique design and detailed texturing. Remember, the key to successful texturing is experimentation and practice, so don\"t hesitate to try different techniques and tools to achieve the desired outcome.
Exporting Your Character Back to Roblox
After creating and customizing your character in Blender, the final step is to export it back to Roblox. This process ensures your character can be used within the Roblox platform, allowing for integration into games and experiences. Follow these detailed steps to successfully export your character:
- Final Review: Ensure your character is fully textured, rigged, and meets all Roblox specifications. Double-check textures, animations, and mesh integrity.
- Preparing for Export: Select your character model in Blender. Make sure all parts are correctly joined or parented if necessary.
- Exporting as FBX: Go to File > Export > FBX (.fbx). In the export options, ensure \"Selected Objects\" is checked, and in the \"Armature\" options, uncheck \"Add Leaf Bones\" to maintain compatibility with Roblox.
- Setting Export Parameters: Set the path mode to \"Copy\" and enable the \"Embed Textures\" option to include all textures within the FBX file. This is crucial for maintaining the appearance of your character.
- Uploading to Roblox: Open Roblox Studio, navigate to the toolbox, and select \"Import\" under the \"Models\" tab. Choose your exported FBX file and upload it. Roblox Studio will process the file and add your character to your inventory.
- Testing in Game: Place your character into a game environment to ensure it behaves as expected. Pay attention to animations, textures, and overall functionality.
Exporting your character correctly is essential for a seamless transition back to Roblox. By following these steps, you ensure your character not only looks good in Blender but also performs well within the Roblox universe, ready to enhance your games and stories.
Advanced Tips for Customization and Animation
To elevate your Roblox characters created in Blender, incorporating advanced customization and animation techniques is key. These tips will help you enhance the quality and uniqueness of your designs, making them stand out in any Roblox game.
- Custom Rigging for Unique Movements: Beyond basic rigging, consider creating custom rigs that offer unique movements specific to your character\"s personality or abilities.
- Utilizing Shape Keys for Facial Expressions: Shape keys in Blender allow for detailed facial animations. Use them to add expressions and lip-syncing to your characters for more dynamic interactions.
- Advanced Texturing Techniques: Explore node-based materials and procedural texturing to create more complex and realistic surfaces on your characters.
- Animation Layers: Use Blender\"s NLA (Nonlinear Animation) Editor to layer animations. This allows for more complex sequences by blending different actions.
- Physics and Cloth Simulation: For characters with capes, hair, or loose clothing, utilize Blender\"s physics simulations to add realistic movement and flow.
- Exporting Animation Sequences: When exporting animations back to Roblox, ensure to fine-tune your export settings in Blender to maintain the animation quality and compatibility.
By applying these advanced techniques, you can push the boundaries of character design and animation within Roblox, creating truly immersive and engaging experiences for players. Remember, experimentation and continuous learning are key to mastering these skills in Blender.
_HOOK_
Common Pitfalls and How to Avoid Them
Creating Roblox characters in Blender is an exciting process, but it comes with its own set of challenges. Being aware of these common pitfalls can help you navigate through them smoothly and improve your character creation workflow.
- Ignoring Scale and Proportions: A common mistake is not paying attention to the scale and proportions of your character, which can result in models that don\"t fit well within the Roblox environment. Always reference the standard Roblox character dimensions during your design process.
- Overcomplicating the Model: Adding too much detail to your model can cause issues when importing into Roblox, due to file size limits and performance considerations. Keep your models optimized by focusing on essential details.
- Incorrect Rigging: Improper rigging can lead to animation issues. Ensure your rig matches the Roblox standard skeleton structure to maintain compatibility with animations and movements within the platform.
- Texture Mapping Errors: Incorrect UV mapping or overly complex textures can result in visual glitches. Keep your UV layouts clean and textures within recommended resolutions.
- Exporting Issues: Failing to export your character correctly can lead to compatibility issues with Roblox. Double-check your export settings, particularly focusing on format and embedded textures.
By avoiding these pitfalls, you can streamline your character creation process in Blender and ensure your creations are ready for the Roblox platform. Remember, practice and patience are key to mastering the art of character design.
Resources for Learning More and Getting Help
To further your knowledge in creating Roblox characters in Blender and to get help when you need it, there are numerous resources available. These resources range from official tutorials to community forums, providing insights, tips, and support for your 3D modeling journey.
- Blender Official Tutorials: The Blender website offers a comprehensive series of tutorials for all skill levels, covering everything from basic navigation to advanced modeling techniques.
- Roblox Developer Hub: The Developer Hub on Roblox\"s official site provides guidelines, documentation, and tutorials specifically tailored to creating assets for Roblox.
- YouTube Tutorials: YouTube is a goldmine for Blender tutorials, with many creators focusing on Roblox character design. These videos range from beginner to advanced levels.
- Blender Community Forums: Forums like Blender Artists and the Blender subreddit are great places to ask questions, share your work, and receive feedback from experienced users.
- Roblox Developer Forum: A dedicated community for Roblox developers, offering support, project showcases, and collaboration opportunities.
- Blender Add-ons and Plugins: Explore add-ons like the Roblox Blender Plugin, which streamlines the process of importing and exporting between Blender and Roblox.
Leveraging these resources can significantly enhance your ability to create detailed and functional Roblox characters in Blender, whether you\"re a beginner or looking to refine your skills.
READ MORE:
Conclusion: Bringing Your Character to Life
Creating a Roblox character in Blender is a journey that combines creativity with technical skill, allowing you to bring your unique visions to the Roblox universe. From initial modeling and texturing to rigging and exporting, each step offers an opportunity to inject personality and life into your creations. Remember, the key to success lies in experimentation, practice, and leveraging the vast array of resources available to you. Whether you\"re crafting characters for your own games or looking to share your creations with the wider Roblox community, the skills you develop through this process will serve you well. Embrace the challenges, celebrate your achievements, and continue to push the boundaries of what\"s possible in Roblox with Blender.
Embark on the rewarding journey of creating your Roblox character in Blender, where your creativity meets endless possibilities. Master these skills, and watch as your unique characters come to life, ready to explore the expansive world of Roblox.