Topic how to import from blender to roblox: Discover the seamless process of importing Blender models into Roblox with our easy-to-follow guide, designed to enhance your game development and bring your creative visions to life in the Roblox universe.
Table of Content
- How can I import from Blender to Roblox?
- Step 1: Preparing Your Model in Blender
- Step 2: Exporting from Blender
- Step 3: Importing into Roblox
- Tips for a Successful Import
- Step 2: Exporting from Blender
- Step 3: Importing into Roblox
- Tips for a Successful Import
- Step 3: Importing into Roblox
- Tips for a Successful Import
- Tips for a Successful Import
- YOUTUBE: Full Guide: Importing and Exporting on Roblox Blender
- Introduction to Blender and Roblox Integration
- Understanding Blender\"s Compatibility with Roblox
- Preparing Your 3D Model in Blender for Roblox
- Step-by-Step Guide to Exporting Models from Blender
- Importing Your Blender Models into Roblox Studio
- Adjusting and Optimizing Models within Roblox Studio
- Troubleshooting Common Issues During Import
- Best Practices for a Smooth Blender to Roblox Workflow
- Advanced Techniques for Professional Model Integration
- Community Resources and Support for Blender to Roblox Creators
How can I import from Blender to Roblox?
To import models from Blender to Roblox, you can follow these steps:
- First, create and design your model in Blender.
- Once your model is ready, export it from Blender in a compatible format such as .obj or .fbx. To do this, go to File > Export and select the desired format.
- Go to Roblox Studio and open the place where you want to import the model.
- Click on the \"View\" tab at the top of the screen and select \"Explorer\" to open the Explorer window.
- In the Explorer window, click on the \"+\" icon next to \"Workspace\" to create a new part.
- Right-click on the new part and select \"Insert Object\" > \"MeshPart\" to add a new MeshPart to your place.
- In the Properties window, find the \"MeshID\" property and click on the folder icon next to it.
- Locate and select the .obj or .fbx file that you exported from Blender.
- Your Blender model should now be imported into Roblox as a MeshPart.
READ MORE:
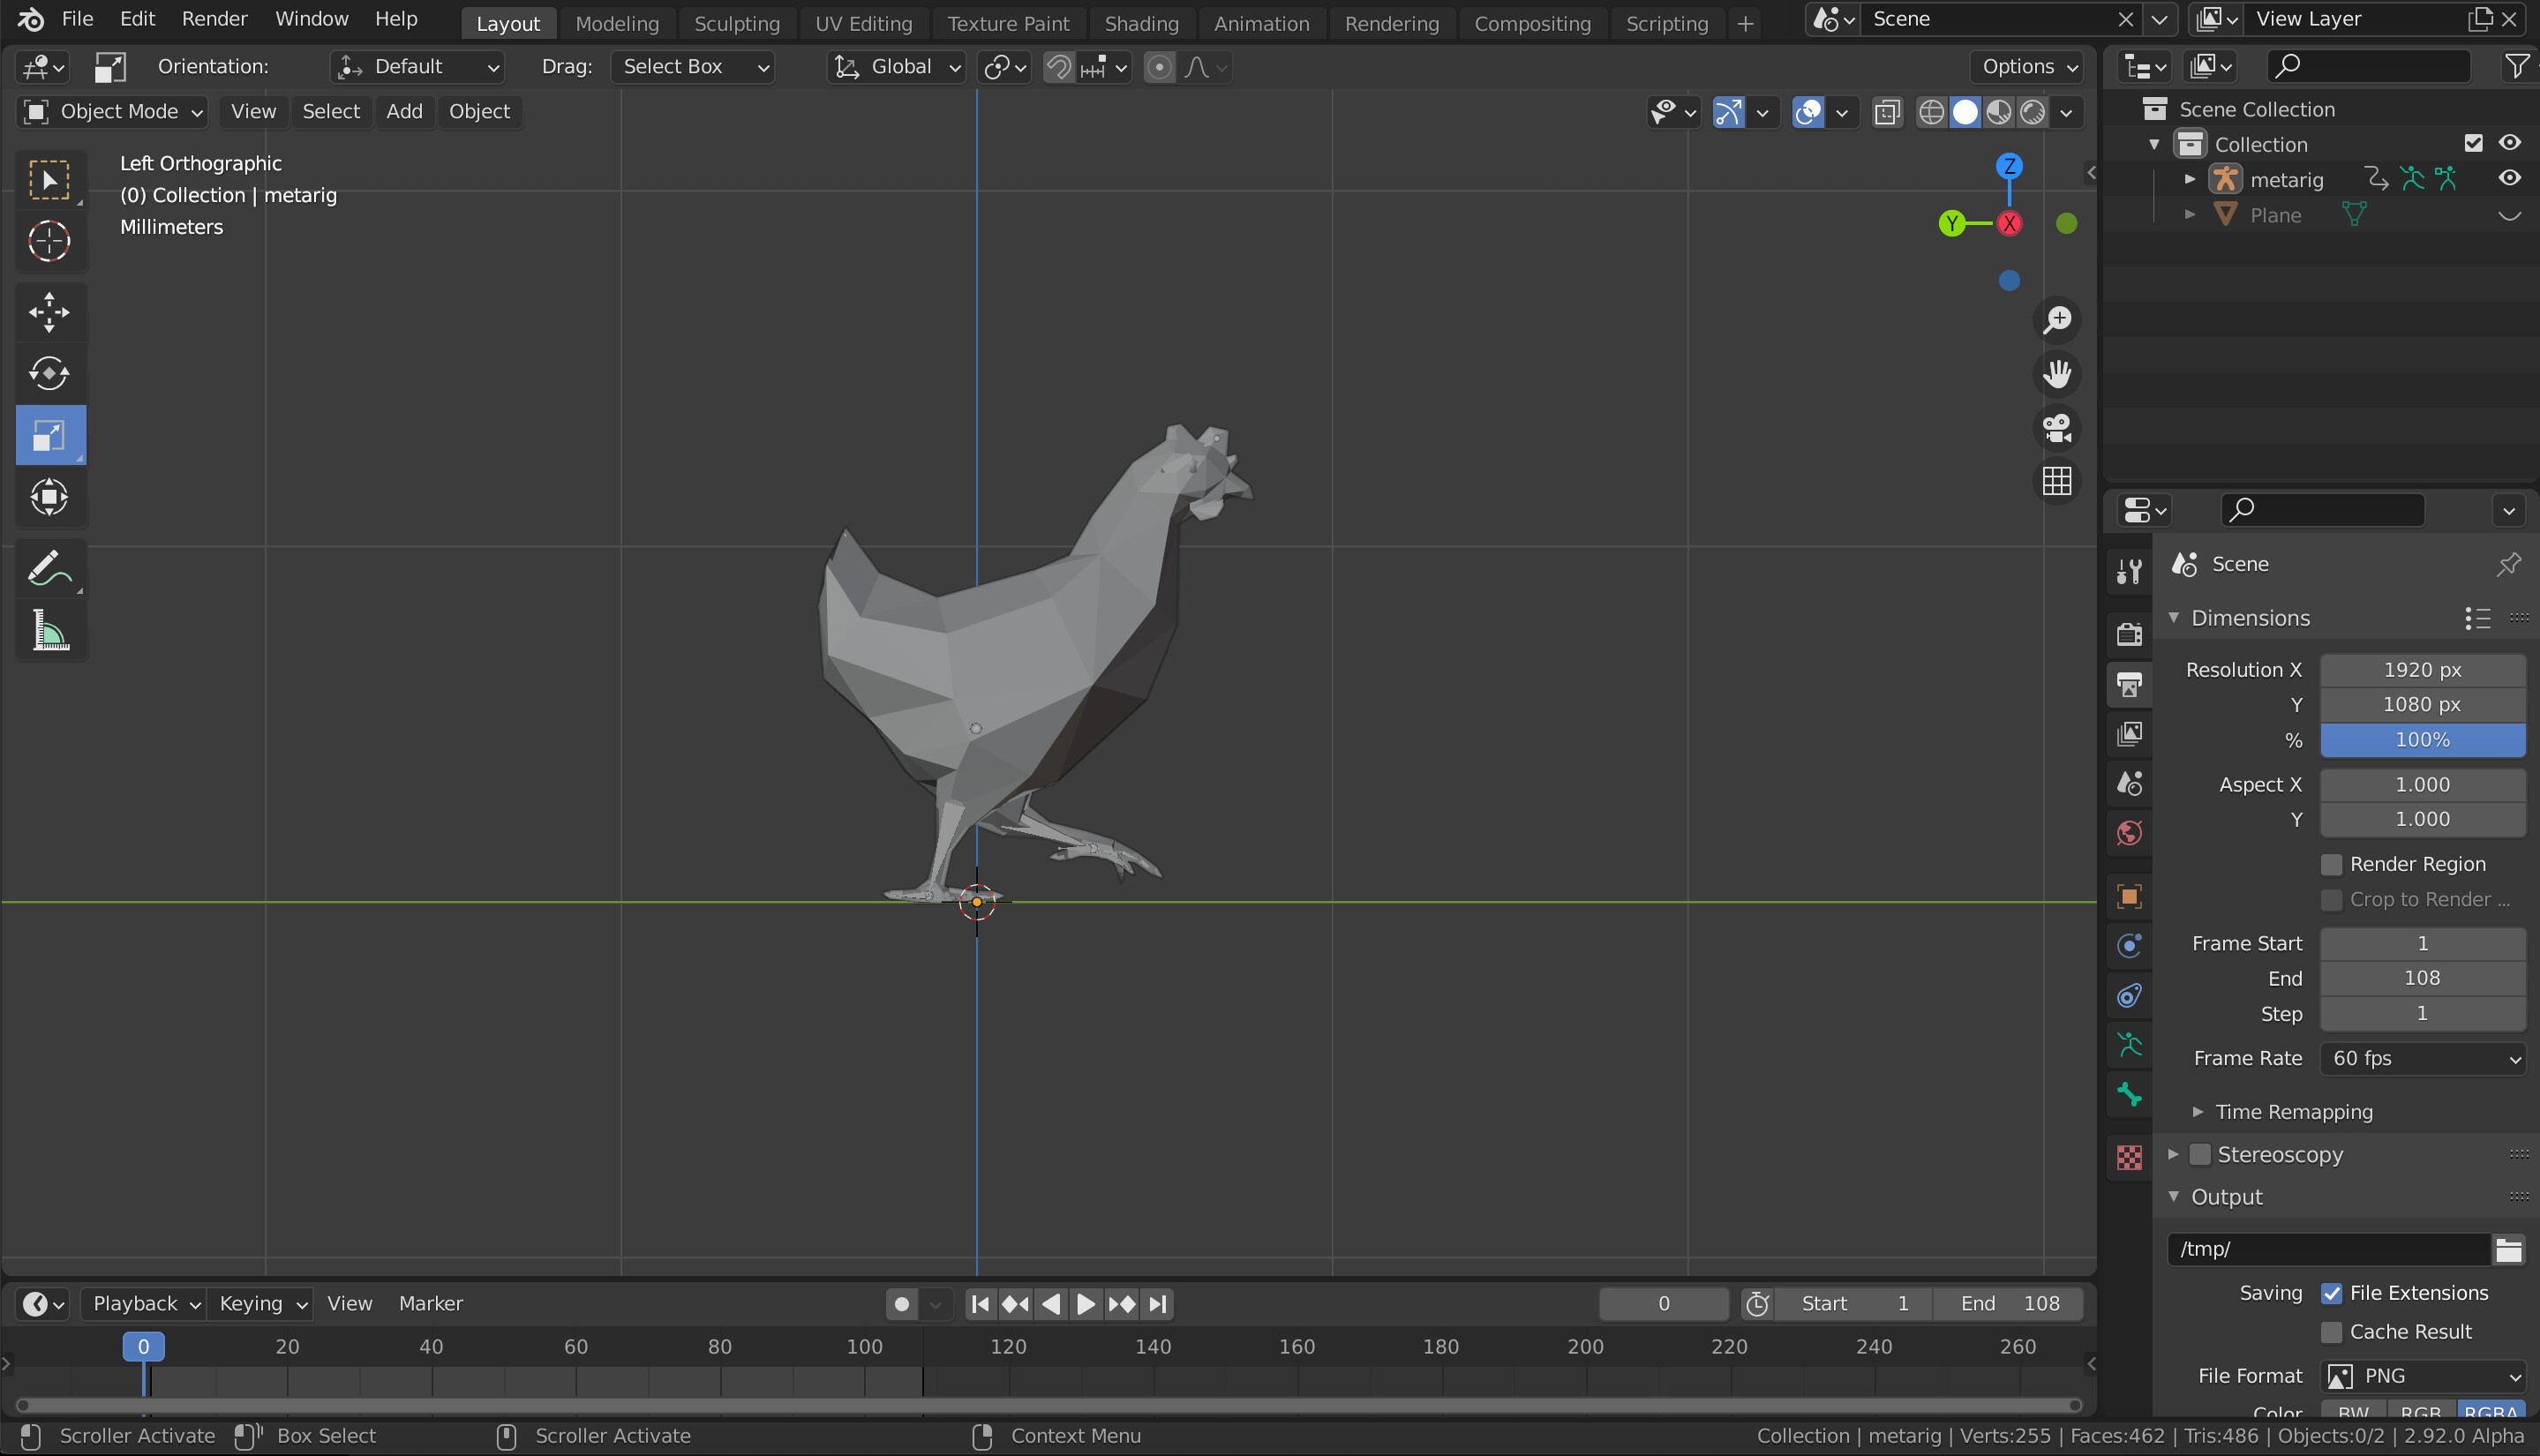
Step 1: Preparing Your Model in Blender
- Ensure your Blender model does not exceed the 5,000 polygon limit set by Roblox. If necessary, simplify your model or divide it into parts.
- Apply any necessary modifiers and ensure your model is correctly textured.
- Select the model you wish to export.

Step 2: Exporting from Blender
Roblox primarily supports the .FBX and .OBJ file formats for 3D models.
- Go to File > Export in Blender.
- Select FBX (.fbx) or Wavefront (.obj) as the export format.
- In the export options, make sure to select Selected Objects if you only want to export part of your scene.
- Click Export FBX or Export OBJ.

Step 3: Importing into Roblox
- Open Roblox Studio and navigate to the workspace where you want to import your model.
- Go to the View tab and open the Toolbox.
- Select Import from the options.
- Locate and select your exported .FBX or .OBJ file.
- Adjust the scale, rotation, and position as needed in your Roblox scene.

Tips for a Successful Import
- Check the scale of your model in Blender before exporting. Roblox and Blender use different units of measurement, so adjustments may be necessary.
- If importing a textured model, ensure all textures are correctly linked and exported with the model.
- Use the Roblox Blender Plugin for a more streamlined process, allowing direct upload of models to Roblox from Blender.
_HOOK_
Step 2: Exporting from Blender
Roblox primarily supports the .FBX and .OBJ file formats for 3D models.
- Go to File > Export in Blender.
- Select FBX (.fbx) or Wavefront (.obj) as the export format.
- In the export options, make sure to select Selected Objects if you only want to export part of your scene.
- Click Export FBX or Export OBJ.

Step 3: Importing into Roblox
- Open Roblox Studio and navigate to the workspace where you want to import your model.
- Go to the View tab and open the Toolbox.
- Select Import from the options.
- Locate and select your exported .FBX or .OBJ file.
- Adjust the scale, rotation, and position as needed in your Roblox scene.

Tips for a Successful Import
- Check the scale of your model in Blender before exporting. Roblox and Blender use different units of measurement, so adjustments may be necessary.
- If importing a textured model, ensure all textures are correctly linked and exported with the model.
- Use the Roblox Blender Plugin for a more streamlined process, allowing direct upload of models to Roblox from Blender.

_HOOK_
Tips for a Successful Import
- Check the scale of your model in Blender before exporting. Roblox and Blender use different units of measurement, so adjustments may be necessary.
- If importing a textured model, ensure all textures are correctly linked and exported with the model.
- Use the Roblox Blender Plugin for a more streamlined process, allowing direct upload of models to Roblox from Blender.

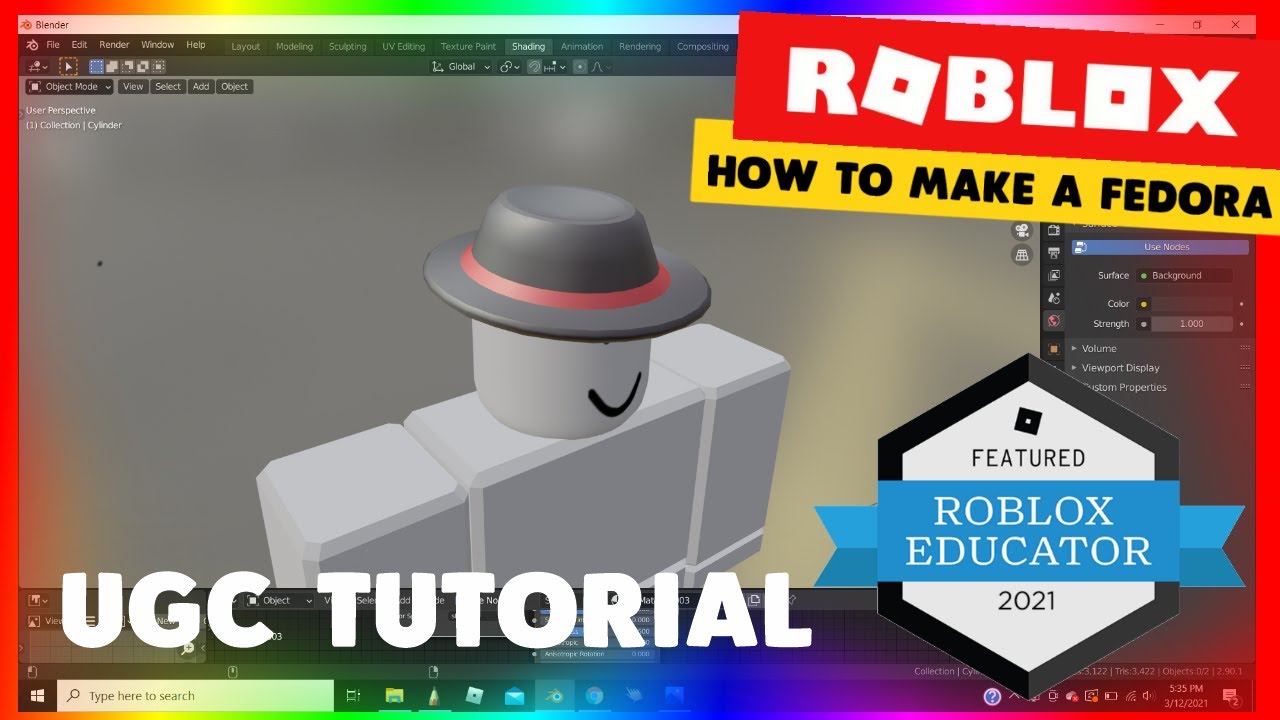
Full Guide: Importing and Exporting on Roblox Blender
Tutorial: Learn step-by-step in this informative video tutorial how to master a new skill or craft. Whether it\'s cooking, photography, or DIY projects, you\'ll gain valuable knowledge and inspiration to enhance your abilities.
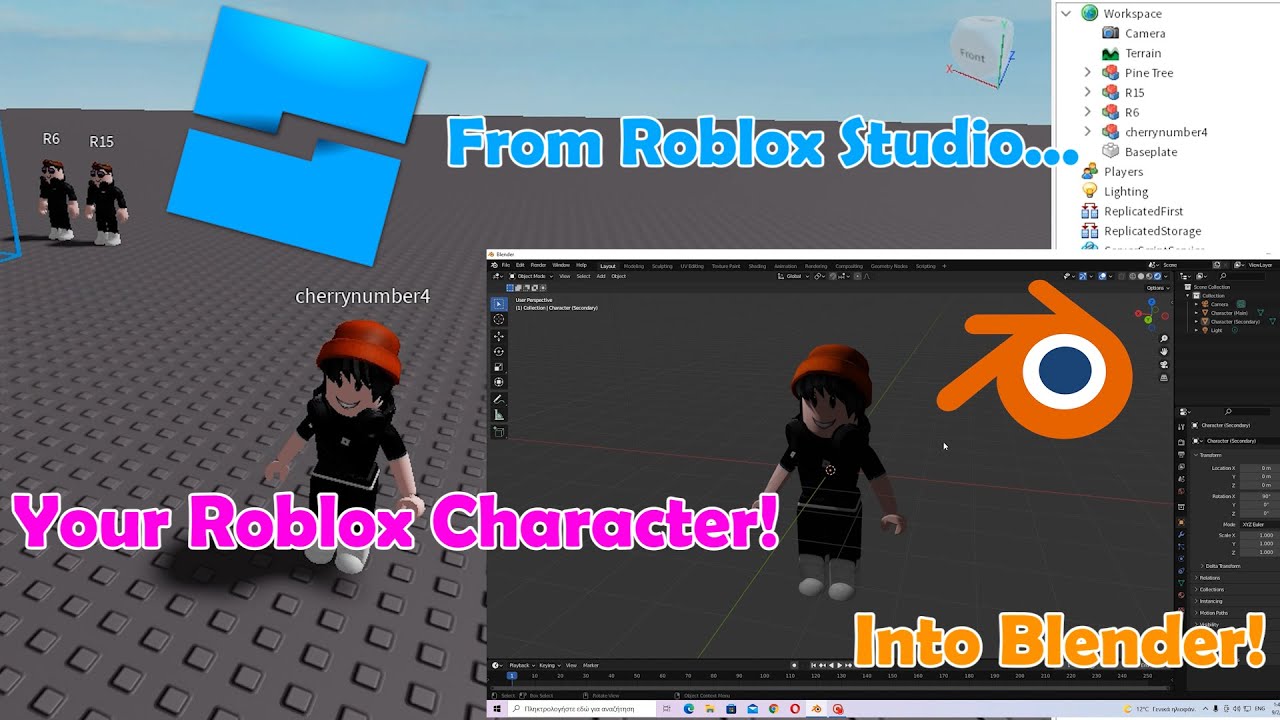
How to Import Models from Blender to Roblox Studio with Color
This is how to import models from blender to roblox studio with texture Twitter: https://twitter.com/Kingkade_ Discord: ...
Introduction to Blender and Roblox Integration
Integrating Blender models into Roblox opens a world of creativity for game developers. This synergy allows for the transfer of detailed 3D models from Blender, a powerful free and open-source 3D creation suite, into Roblox, a platform renowned for its immersive multiplayer experiences. Understanding how to effectively move your creations from Blender to Roblox can significantly enhance the visual quality and functionality of your games.
- Begin by ensuring your Blender model meets Roblox\"s requirements, including the polygon count limit.
- Export your Blender model using the supported file formats, such as FBX or OBJ, which are crucial for compatibility.
- Import your model into Roblox Studio, where you can then incorporate it into your game environment, adjusting scale, rotation, and position as necessary.
Additionally, leveraging tools like the Roblox Blender Plugin can streamline the process, allowing for a more efficient workflow by directly uploading models from Blender to Roblox. This integration not only saves time but also minimizes the potential for errors during the file transfer process.
- Understanding Blender\"s export settings is vital for a successful import into Roblox.
- Knowledge of Roblox Studio\"s import options will enable you to fine-tune your models for the perfect fit within your game\"s world.
By mastering these steps, developers can bring their detailed, custom 3D models into Roblox, enhancing the gaming experience with rich, immersive environments and characters.
Understanding Blender\"s Compatibility with Roblox
Blender and Roblox offer a dynamic duo for 3D game development, but it\"s important to understand their compatibility to maximize efficiency and creativity. Blender, with its comprehensive suite of modeling, rigging, and animation tools, can seem daunting. However, its compatibility with Roblox\"s platform is designed to be user-friendly, enabling creators to bring their visions to life with relative ease.
- Roblox supports the import of models in the FBX and OBJ formats, which are standard export options in Blender.
- Before importing to Roblox, models must adhere to specific criteria, such as polygon count limits, to ensure performance and compatibility within Roblox\"s environment.
- Textures and materials may need to be adjusted or reapplied within Roblox Studio to match the original Blender design closely.
To facilitate a smoother transition from Blender to Roblox:
- Optimize your Blender models by reducing the polygon count without significantly compromising on detail, to meet Roblox\"s requirements.
- Export your models using Blender\"s export functionality, selecting either the FBX or OBJ file format based on your needs.
- Import the model into Roblox Studio, where you can further refine and integrate it into your game.
Understanding these key points of compatibility between Blender and Roblox simplifies the process, enabling creators to efficiently bring detailed, custom models into their games. This integration not only enhances the visual appeal of Roblox games but also opens up new avenues for creative expression.
Preparing Your 3D Model in Blender for Roblox
Blender and Roblox offer a dynamic duo for 3D game development, but it\"s important to understand their compatibility to maximize efficiency and creativity. Blender, with its comprehensive suite of modeling, rigging, and animation tools, can seem daunting. However, its compatibility with Roblox\"s platform is designed to be user-friendly, enabling creators to bring their visions to life with relative ease.
- Roblox supports the import of models in the FBX and OBJ formats, which are standard export options in Blender.
- Before importing to Roblox, models must adhere to specific criteria, such as polygon count limits, to ensure performance and compatibility within Roblox\"s environment.
- Textures and materials may need to be adjusted or reapplied within Roblox Studio to match the original Blender design closely.
To facilitate a smoother transition from Blender to Roblox:
- Optimize your Blender models by reducing the polygon count without significantly compromising on detail, to meet Roblox\"s requirements.
- Export your models using Blender\"s export functionality, selecting either the FBX or OBJ file format based on your needs.
- Import the model into Roblox Studio, where you can further refine and integrate it into your game.
Understanding these key points of compatibility between Blender and Roblox simplifies the process, enabling creators to efficiently bring detailed, custom models into their games. This integration not only enhances the visual appeal of Roblox games but also opens up new avenues for creative expression.
Step-by-Step Guide to Exporting Models from Blender
Exporting your 3D models from Blender to Roblox is a straightforward process that involves several key steps to ensure compatibility and optimize your models for the Roblox platform. Here’s a detailed guide to take you through each step of the process.
- Select Your Model: Begin by selecting the model you wish to export in Blender.
- Choose Export Format: Navigate to File > Export in Blender. From the export options, select the FBX format for its versatility and support for animations.
- Export Settings: In the Export FBX dialog, adjust settings to match Roblox requirements. Ensure \"Selected Objects\" is checked to export only the selected model. If your model includes an armature, select \"Only Deform Bones\" under the Armatures section to include necessary rigging data.
- Finalize Export: Confirm the \"Apply Scalings\" option is set to your preference, typically \"FBX Units Scale\" to maintain the correct size ratio. Click \"Export FBX\" to save your model.
After exporting your model, it\"s crucial to verify the file format and ensure compatibility with Roblox. The key points to check include:
- File type is FBX for 3D models, ensuring support within Roblox.
- Model size and scale are appropriate for the Roblox environment.
- The pivot point of the model is accurately placed to avoid import issues.
To avoid common exporting errors:
- Include all textures and materials in the FBX file to prevent \"Materials not found\" errors.
- For animations, utilize the Roblox Animation Editor as Roblox only supports animations created with it.
- Check the scale of your model to ensure it meets Roblox\"s requirements, avoiding \"Invalid scale\" errors.
By following these steps and tips, you can efficiently export your Blender models to Roblox, ready for import into Roblox Studio for further development and integration into your games.
_HOOK_
Importing Your Blender Models into Roblox Studio
Importing models from Blender into Roblox Studio involves a series of steps designed to ensure your 3D creations can be seamlessly integrated into your Roblox projects. The process leverages Blender\"s capabilities and Roblox Studio\"s functionality to bring your models to life in the Roblox environment.
- Ensure you have the Roblox Blender Plugin installed. This add-on links your Roblox account to Blender, allowing for direct transfer of 3D models from Blender to Roblox Studio, bypassing the need for manual file exporting and importing.
- Start by exporting your Blender model as a .obj file. This is crucial because Roblox primarily supports the .obj format for imports. From Blender, navigate to File > Export > Wavefront (.obj).
- Before importing into Roblox Studio, be mindful of the polygon count. Roblox has a limit of 5,000 polygons for objects. If your model exceeds this, consider breaking it down into smaller parts.
- Open Roblox Studio and create a new place or open an existing one where you want to import your model.
- Within Roblox Studio, go to the Models tab and select Import. Navigate to and select the .obj file you exported from Blender.
- After selecting your model, Roblox Studio will process the import. You may need to adjust the placement or scale once the model is imported to ensure it fits within your game\"s environment correctly.
Remember, the Roblox Blender Plugin can significantly streamline this process by allowing you to directly transfer models from Blender to Roblox Studio, making it a valuable tool for developers looking to integrate Blender models into their Roblox games efficiently.
For more detailed instructions on using the Roblox Blender Plugin and tips for optimizing your models for Roblox, visit the Roblox Developer Forum and Blender FAQs websites.
Adjusting and Optimizing Models within Roblox Studio
Adjusting and optimizing models within Roblox Studio is crucial for ensuring your game runs smoothly across a variety of devices. This process involves reviewing and refining your models and their settings to enhance performance without compromising on quality. Here are the essential steps to optimize your models:
- Review Physics and Rendering Parameters: Analyze each asset\"s physics and rendering settings to ensure they\"re optimized for performance. Adjust parameters like BasePart.CastShadow and texture sizes to reduce the load on the engine.
- Cull Nonessential Content: Remove or simplify unnecessary elements from your models, such as excessive polygons, duplicate textures, or overly complex geometries. This step can significantly decrease the rendering time and memory usage.
- Utilize the OptimizeModel Plugin: The OptimizeModel plugin automates the conversion of SpecialMeshes into MeshParts and optimizes them for Roblox, simplifying the process of reducing mesh complexity and improving game performance.
- Code Optimization: Ensure your scripts are efficient by avoiding excessive loops, using local variables, and employing performance-friendly practices like using += for arithmetic operations and optimizing loop conditions.
- Use Task Library for Efficient Waiting: Replace traditional wait() functions with the task library\"s task.wait() for more efficient asynchronous operations, reducing script lag.
- Optimize Asset Usage: Combine meshes where possible to reduce draw calls, and consider the level of detail necessary for distant objects to minimize the impact on performance.
- Delete Layered Transparencies: Minimize the use of overlapping transparencies, which can cause rendering slowdowns, especially in areas with multiple semi-transparent layers.
By following these steps, you can significantly improve the performance of your Roblox game, ensuring a better experience for all players, regardless of their device\"s capabilities.
Troubleshooting Common Issues During Import
When importing models from Blender to Roblox, creators may encounter several common issues. Here are solutions to some of the most frequently encountered problems:
- Improper Rigging: If limbs or parts of the rig appear separated or incorrectly positioned, ensure that the rig is correctly set up in Blender before export. Adjusting the pose mode and setting frame ranges correctly can help with animation imports.
- Animation Import Issues: For animations not importing correctly, using the Roblox Animation Plugin\"s import options correctly is crucial. Ensure animations are exported with the right settings, particularly ensuring that \"Armature Only\" is selected to avoid mesh issues.
- Scaling Problems: Scaling issues can be resolved by joining objects that should scale together or adjusting object sizes in Roblox Studio after import. Ensuring export settings match Roblox\"s requirements can prevent scaling errors.
- Missing Textures: If textures or clothes are missing upon import, ensure that all parts and accessories are correctly exported and imported. Using the correct plugin settings and possibly re-exporting with the correct naming conventions may solve texture issues.
- Collision and Boundaries: To fix collision issues where models do not interact with the environment as expected, adjusting the mesh\"s collision settings in Roblox or using invisible collision parts may be necessary. Ensuring the mesh bounds correctly in Blender can also help.
- Shading or UV Map Errors: Shading issues often stem from incorrect UV mapping or normals settings. Adjusting shading settings, recalculating normals, or manually editing UV maps in Blender can correct these issues.
- Parts Disconnected or Misaligned: For rigs where parts do not align or connect properly, ensuring that all joints and connections are correctly set up in Blender is essential. Re-exporting the rig after checking these settings may resolve the issue.
These solutions should address the most common issues faced during the import process. If problems persist, reviewing the detailed settings and steps for exporting from Blender and importing to Roblox, as well as seeking advice from community forums, may provide additional insights.
Best Practices for a Smooth Blender to Roblox Workflow
To ensure a seamless transition from Blender to Roblox, adopting certain best practices can significantly enhance your workflow. These practices cover various aspects of the process, from model preparation in Blender to optimization and import in Roblox Studio.
- Model Optimization: Before exporting your model from Blender, it\"s crucial to check for backface culling and apply necessary modifiers like Solidify to adjust the mesh\"s thickness, ensuring it\"s optimized for Roblox\"s environment. Roblox now supports a DoubleSided property on MeshPart instances, which simplifies handling backface culling without increasing the poly count.
- Collision Handling: For realistic collision in Roblox, using primitives wherever possible is recommended. For complex shapes, consider using simpler, invisible Roblox primitives for collision detection to ensure performance and accuracy.
- Utilizing the Roblox Blender Plugin: This plugin simplifies the process by allowing direct transfer of models from Blender to Roblox, reducing errors and saving time on exporting and importing.
- Coordinate and Scale Adjustment: Be mindful of the differences in coordinate systems and scaling between Blender and Roblox. Adjusting these before import can prevent issues with model orientation and size.
- Texture and Material Compatibility: Ensure your textures and materials are correctly formatted and included in your FBX file to avoid missing textures and material errors in Roblox.
- Import Settings in Roblox Studio: Familiarize yourself with Roblox Studio\"s 3D Importer settings to customize how your models are imported, such as setting pivot points, ensuring correct scaling, and choosing the appropriate rigging data settings.
- Non-Destructive Modeling: When preparing your model in Blender, use non-destructive modeling techniques to ensure that your model\"s geometry is compatible with Roblox\"s requirements, preserving the mesh\"s integrity and animation data.
- Edge Flow and Model Topology: Pay attention to the edge flow and topology of your model, especially for character models, to ensure that animations and rigging behave as expected in Roblox.
By adhering to these best practices, developers can create a more efficient and error-free workflow from Blender to Roblox, resulting in higher quality models and a smoother development process.
Advanced Techniques for Professional Model Integration
Integrating Blender models into Roblox with professional finesse requires a deeper understanding of both platforms\" advanced features. Here are some techniques to enhance the quality and efficiency of your model integration process.
- Utilize the Roblox Blender Plugin: This plugin streamlines the process of transferring models directly from Blender to Roblox Studio, eliminating the need for manual file exports and imports. Its integration with Roblox\"s Open Cloud API enables swift updates and synchronization of models.
- Advanced Rigging and Animation Mapping: Use utility scripts to map bones from Blender\"s armature to Roblox\"s rigging system, ensuring seamless animation transfers. This involves mapping keyframes by bone name and generating IK constraints for enhanced animation quality.
- Master UV Mapping for Textures: Perfecting UV mapping in Blender is crucial for detailed texturing in Roblox. This technique allows for efficient texture mapping on 3D models, ensuring that textures align correctly when imported into Roblox Studio.
- Implement PBR Textures: Physically Based Rendering (PBR) textures add realism to your models by simulating real-world light interactions. Importing PBR textures involves connecting various map types (Albedo, Normal, Roughness, Metalness) to your Blender model before exporting to Roblox.
- Optimize Model and Rig for Roblox: Adjust your model\"s pivot points, scale, and transform properties in Blender to match Roblox\"s requirements. Clean up any unnecessary geometry or artifacts to ensure the model imports smoothly into Roblox Studio.
- Exporting and Importing Best Practices: When exporting from Blender, ensure your model is in a compatible file format (.FBX or .OBJ) and that all textures are correctly mapped. Use Roblox Studio\"s 3D Importer settings to fine-tune the importation process, addressing any potential errors or warnings.
These advanced techniques not only enhance the visual quality of your models but also optimize the integration process, making it more efficient and less prone to errors. By mastering these methods, you can significantly improve your Blender to Roblox workflow.
_HOOK_
READ MORE:
Community Resources and Support for Blender to Roblox Creators
The Blender to Roblox creation process is supported by a vibrant community and a plethora of resources. Whether you are a beginner just starting out with Blender, or an experienced developer looking to integrate complex models into Roblox, there are numerous channels, forums, and tools available to assist you.
- YouTube Tutorials: A wide range of YouTube channels offer tutorials specifically tailored to Blender users of all skill levels. Channels like Blender Made Easy, CG Geek, and Blender Guru provide detailed guides on everything from basic modeling to advanced animation and texturing techniques suitable for Roblox development.
- Roblox Developer Forum: The Developer Forum is a treasure trove of guides, tips, and plugins shared by the community. It includes specific threads dedicated to Blender development resources, offering advice on low poly modeling, UV unwrapping, and much more tailored for Roblox creators.
- Blender Official Support: Blender.org offers extensive documentation, FAQs, and tutorials for users. The site also hosts forums like Blender Artists Forum and Stack Exchange where creators can ask questions and share insights with fellow Blender enthusiasts.
- Blender Community on Discord: For real-time assistance and networking, the Blender community on Discord is an excellent platform. It connects artists, designers, and game developers to chat, create, and collaborate together.
- Roblox Creator Hub: For integrating your Blender projects into Roblox, the Roblox Creator Hub provides documentation, tools, and resources to facilitate the import process, making it easier to bring your 3D models to life within Roblox Studio.
Utilizing these resources can significantly ease the process of learning Blender and integrating your creations into Roblox. They offer a supportive environment for creators at every level, from beginners to advanced developers, looking to expand their skills and contribute to their games on Roblox.
Embark on a creative journey from Blender to Roblox, transforming your 3D models into interactive experiences. With our comprehensive guide, you\"ll discover the seamless integration process, supported by a vibrant community and abundant resources, to bring your imaginative worlds to life in Roblox.