Topic how to get models for blender: Discover the ultimate guide on how to get models for Blender, from free resources to advanced creation techniques, ensuring a seamless 3D design experience for beginners and professionals alike.
Table of Content
- How to find and import pre-made models for Blender?
- Finding and Downloading Blender Models
- Top Websites for Free Blender Models
- Using Blender Marketplaces for High-Quality Models
- Importing Models into Blender from Other Formats
- Creating Your Own Models in Blender
- Understanding Blender\"s File Formats for Model Import
- YOUTUBE: Sketchfab addon for Blender: Get 1000s of FREE 3D Models
- Navigating Legal Considerations: Licenses and Usage Rights
- Optimizing Models for Better Performance in Blender
- Community Resources for Learning and Sharing Blender Models
- Advanced Tips for Managing and Organizing Your Blender Model Library
How to find and import pre-made models for Blender?
To find and import pre-made models for Blender, you can follow these steps:
- Go to reputable 3D model marketplaces such as CGtrader or turbosquid. These websites offer a wide range of pre-made models that you can use in Blender.
- Use the search bar on the marketplace website to enter keywords related to the type of model you are looking for. For example, if you need a car model, search for \"car\" or \"vehicle.\"
- Review the search results and select a model that meets your requirements. Pay attention to the model\'s details, price, and licenses.
- Once you find a suitable model, click on it to access its product page. Here, you\'ll find more information about the model, including images, descriptions, and supported file formats.
- Make sure that the model you choose is compatible with Blender. Look for the supported file formats, and ensure that Blender can import them. Common formats include FBX and OBJ.
- After confirming compatibility, download the model file to your computer. Some marketplaces may require you to purchase the model before downloading.
- Open Blender on your computer.
- In Blender, go to the \"File\" menu and select \"Import.\"
- Choose the appropriate import option based on the file format of the downloaded model. For example, if you downloaded an FBX file, select the \"FBX\" option.
- Browse to the location where you saved the downloaded model file, select it, and click \"Import.\"
- The pre-made model should now be imported into Blender and ready for use in your projects.
By following these steps and exploring reputable 3D model marketplaces, you can easily find and import pre-made models into Blender for your creative endeavors.
READ MORE:
Finding and Downloading Blender Models
Finding and downloading models for Blender can enhance your 3D projects significantly. Here\"s a step-by-step guide to help you navigate through this process:
- Identify Your Needs: Determine the type of model you need for your project, considering style, complexity, and purpose.
- Search for Models: Utilize popular Blender model repositories like Blender Market, TurboSquid, and Sketchfab. Use keywords related to your project to find relevant models.
- Check Compatibility: Ensure the model is compatible with your version of Blender. Look for models that come in .blend format for easier integration.
- Review Licenses: Before downloading, review the model\"s license to ensure it matches your project\"s needs, whether it\"s for personal use, commercial use, or both.
- Download and Extract: Once you\"ve found the right model, download and extract the files. Most models come in ZIP or RAR formats.
- Import into Blender: Open Blender, go to File > Import, and select the appropriate file format of your downloaded model to add it to your scene.
By following these steps, you\"ll be able to efficiently find and download high-quality Blender models that can bring your 3D creations to life.
Top Websites for Free Blender Models
Finding free Blender models is easy if you know where to look. Here are some of the top websites offering high-quality Blender models for free, catering to a variety of needs and project types:
- BlenderKit: Integrated directly into Blender, BlenderKit offers thousands of free models, materials, and brushes, making it a convenient resource for users.
- CGTrader: While known for its marketplace of paid models, CGTrader also offers a selection of free 3D models, including ones compatible with Blender.
- TurboSquid: TurboSquid provides a mix of free and paid 3D models. Their free collection is expansive, with options for various applications.
- Sketchfab: Sketchfab hosts a wide range of 3D models, many of which are available for free and can be downloaded in formats compatible with Blender.
- Blend Swap: Dedicated entirely to Blender, Blend Swap is a community-driven site where users share and download Blender models under Creative Commons licenses.
- Free3D: Free3D has a substantial collection of free models, including a section specifically for Blender-compatible models.
These websites not only provide access to thousands of models but also foster a community of 3D artists who share their work, making it easier for everyone to bring their ideas to life.

Using Blender Marketplaces for High-Quality Models
For those seeking professional-grade models for their projects, Blender marketplaces offer a treasure trove of high-quality assets. Here\"s how to make the most of these platforms:
- Explore Top Marketplaces: Begin with renowned Blender marketplaces such as Blender Market, CGTrader, and TurboSquid. These sites specialize in providing a wide array of models suitable for various Blender projects.
- Utilize Filters for Efficient Searching: Use the platforms\" filtering options to narrow down your search based on category, price, and compatibility. This makes it easier to find what you\"re looking for without sifting through irrelevant results.
- Examine Model Details: Before purchasing, review the model\"s details, including polygon count, textures, materials, and included files. This ensures the model meets your project\"s requirements and Blender compatibility.
- Read User Reviews and Ratings: Check feedback from other users to gauge the quality and usability of the model. High ratings and positive reviews are good indicators of a worthwhile investment.
- Check for Support and Updates: Opt for models that offer support or updates from the creators. This can be crucial for troubleshooting or when needing adjustments for your specific project needs.
- Understand Licensing: Ensure you comprehend the licensing agreement for any model you purchase. Licenses can vary, affecting how you can use the model in personal or commercial projects.
By following these guidelines, you can efficiently find and acquire high-quality models that elevate your Blender projects, saving time and enhancing your creations\" overall quality.
Importing Models into Blender from Other Formats
Blender supports a variety of file formats, allowing you to import models from other software seamlessly. Here’s how to import models into Blender from other formats:
- Open Blender: Launch Blender and open your project or start a new one.
- Access Import Options: Go to the File menu in the top left corner, hover over Import, and a list of compatible file formats will appear, such as FBX, OBJ, STL, and more.
- Select File Format: Choose the format of the model you wish to import. This depends on the file format of the model you have. Common formats include .obj (Wavefront Object) and .fbx (Filmbox).
- Navigate to Your File: Use the file browser to navigate to the location of your model file on your computer.
- Adjust Import Settings: Before importing, you may adjust settings specific to the file format. These options vary but can include scale, rotation, and the inclusion of textures or materials.
- Import the Model: After adjusting settings as needed, click the Import button to add the model to your Blender scene.
After importing, you might need to adjust the model\"s scale, rotation, or materials to fit your scene properly. Blender\"s vast support for different formats makes it a versatile tool for incorporating models from various sources into your projects.
_HOOK_
Creating Your Own Models in Blender
Creating your own 3D models in Blender is a rewarding skill that opens up endless possibilities for any 3D project. Here\"s a step-by-step guide to get you started:
- Start with a Plan: Before opening Blender, have a clear idea of what you want to create. Sketching your concept can help visualize the final product.
- Open Blender and Set Up Your Scene: Launch Blender and select a new project. Adjust your workspace to suit your modeling process.
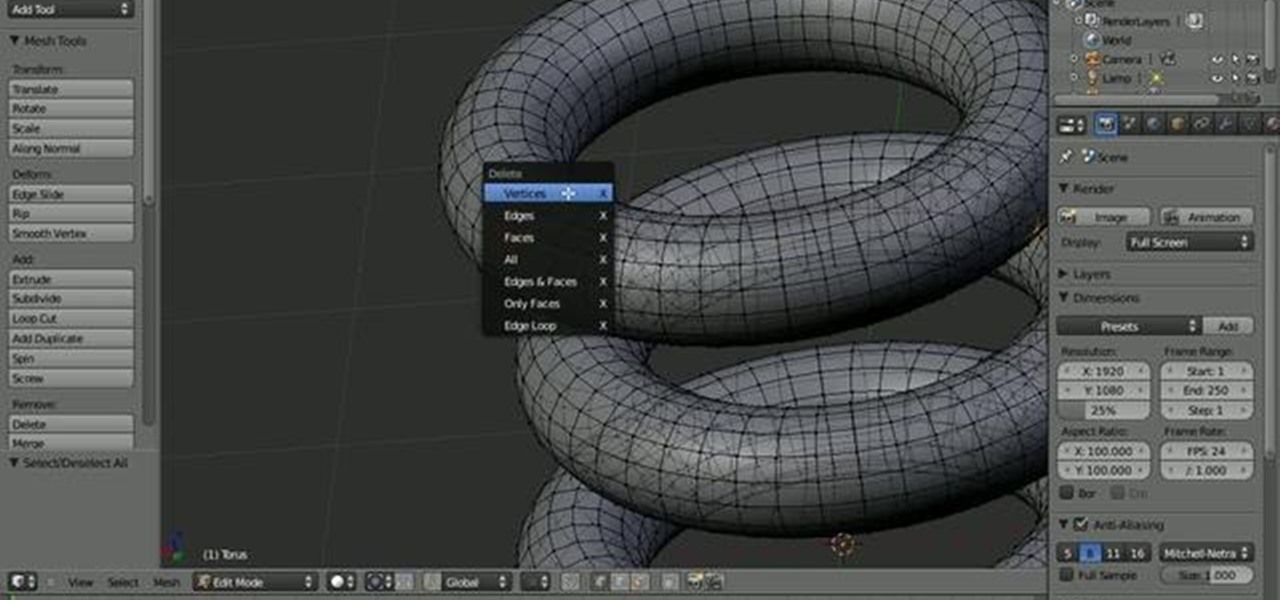
- Choose a Starting Shape: Blender allows you to start with basic shapes (meshes) like cubes, spheres, cylinders, etc. Press \"Shift+A\" to add your chosen mesh to the scene.
- Modify Your Mesh: Enter Edit Mode by pressing \"Tab\". You can now move, scale, and rotate vertices, edges, and faces to start shaping your model.
- Use Modifiers: Blender\"s modifiers can automate tasks like smoothing, subdividing, or mirroring your model. These can be found in the Properties panel under the Modifiers tab.
- Detailing Your Model: Add details by extruding faces (E key), creating loops (Ctrl+R), and sculpting. The Sculpt Mode offers advanced tools for adding complex details.
- Apply Textures and Materials: Once your model is shaped, you can apply materials and textures to enhance its appearance. This is done in the Shading tab.
- Lighting and Rendering: Add lights to your scene to highlight your model\"s features. Finally, render your scene to see the final product.
Remember, practice and experimentation are key to mastering Blender. Start with simple projects and gradually tackle more complex ones as you become more comfortable with the tools and processes.
Understanding Blender\"s File Formats for Model Import
Blender supports a wide range of file formats for importing models, making it highly versatile for 3D artists. Knowing which formats are compatible can help you integrate models from various sources seamlessly. Here\"s an overview:
- BLEND: Blender\"s native format, containing all data for a project including objects, scenes, and animations.
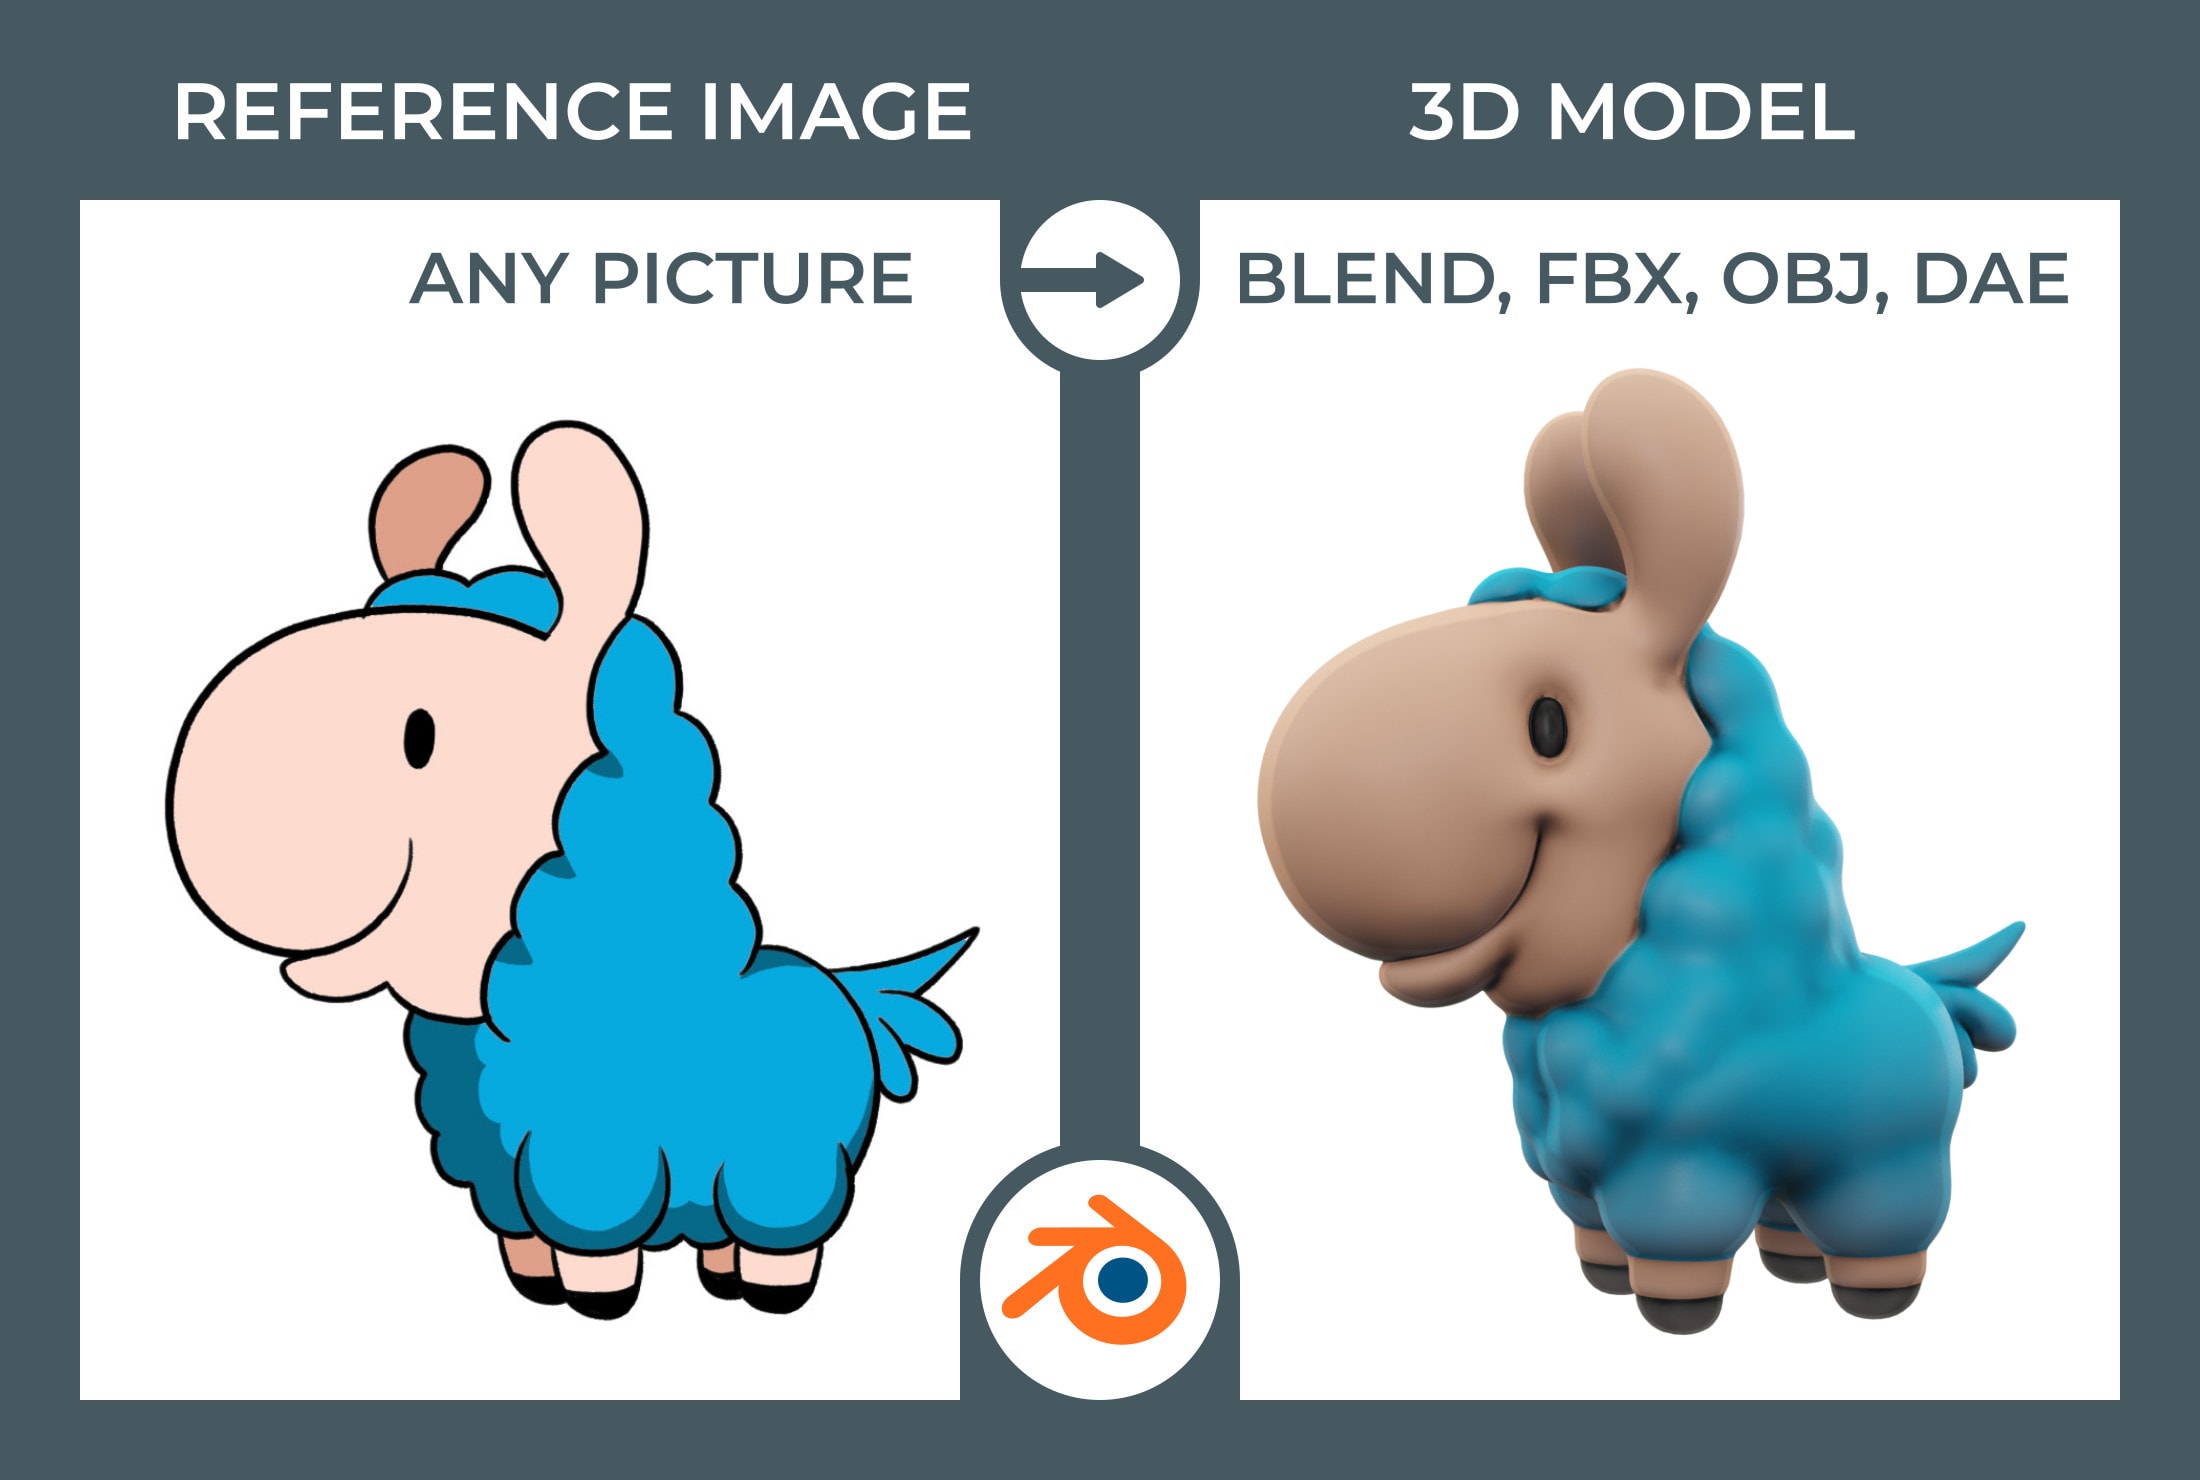
- OBJ (Wavefront): A widely used format that supports geometry definition. Ideal for importing and exporting models between Blender and other software.
- FBX (Filmbox): A comprehensive format used for exchanging digital assets and animations. Supports complex models with textures, animations, and more.
- STL (Stereolithography): Commonly used for 3D printing, this format focuses on the geometry of models without support for textures or animations.
- DAE (Collada): An interchange file format that supports geometry, textures, animations, and more. Useful for exchanging files with many graphics applications.
- GLTF/GLB: A modern format designed for efficient delivery and loading of 3D models, particularly in web applications. Supports animations, materials, and more.
- 3DS (3D Studio): An older format from Autodesk 3D Studio. Limited in features compared to newer formats but still in use.
- PLY (Polygon File Format or Stanford Triangle Format): Primarily used for object scan data, supporting vertex, color, and texture information.
When importing a model into Blender, it\"s crucial to choose the correct format based on your project\"s needs and the data contained within the model. This ensures compatibility and preserves the integrity of the model\"s details.

Sketchfab addon for Blender: Get 1000s of FREE 3D Models
Sketchfab: Experience a whole new level of immersive 3D content with Sketchfab. Dive into stunning virtual worlds and explore a vast collection of models, from architectural masterpieces to fantastical creatures. Get ready to be mesmerized!
How to Import Models With Textures in Blender
Import Models: Unlock endless creative possibilities with the ability to import models to your project. Seamlessly incorporate pre-made 3D assets and bring your vision to life with ease. Say goodbye to limitations and embrace the freedom of importing models. Let your imagination run wild!
Navigating Legal Considerations: Licenses and Usage Rights
When using or sharing Blender models, understanding the legal implications is crucial. Here are key points to navigate licenses and usage rights effectively:
- Know the License Types: Blender models can come with various licenses, such as Creative Commons (CC), GNU General Public License (GPL), or proprietary licenses. Each type dictates how a model can be used, modified, and distributed.
- Read the License Agreement: Before downloading or using a model, carefully read its license agreement. It provides specific details on what is and isn\"t allowed with the model.
- Attribution Requirements: Many licenses require you to give credit to the original creator. Ensure you understand and comply with these attribution requirements.
- Commercial Use: If you plan to use the model for commercial purposes, verify that the license permits this. Some licenses restrict commercial use or require purchasing a commercial license.
- Modification and Redistribution: Licenses may have stipulations regarding whether you can modify the model and how you can share those modifications. Some might allow it freely, while others may impose conditions.
- Check for Additional Permissions: Even if a model is under a permissive license, you might need additional permissions for elements that are not covered by the license, such as trademarks or personality rights.
- Stay Informed on License Updates: Licenses can change, and creators might update the terms associated with their models. Regularly check the terms of use for any models you\"re utilizing long-term.
Adhering to these guidelines helps protect you legally and respects the creators\" rights, fostering a healthy and creative Blender community.
Optimizing Models for Better Performance in Blender
Optimizing models in Blender can significantly improve your workflow and render times. Here are essential tips to enhance model performance:
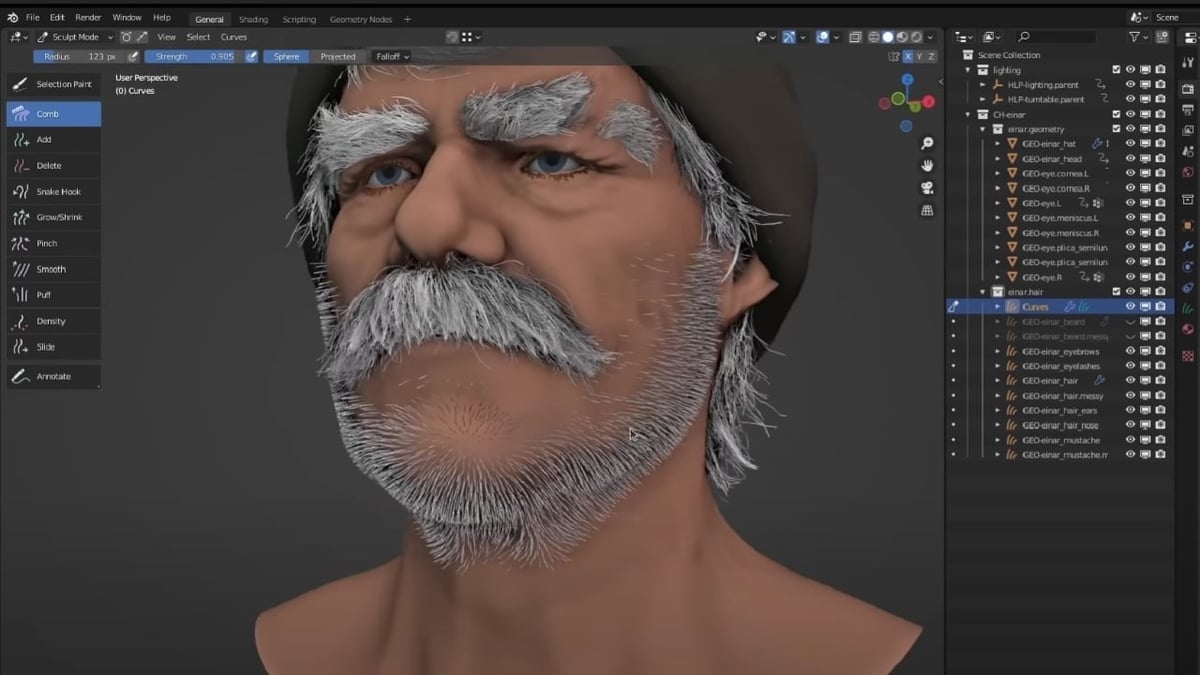
- Reduce Polygon Count: High-poly models can slow down performance. Use modifiers like Decimate to reduce the polygon count without drastically affecting the model\"s appearance.
- Manage Textures Wisely: Large textures can consume a lot of memory. Optimize texture resolution and compress textures without losing significant detail to improve performance.
- Utilize Blender\"s Simplify Option: Blender\"s Simplify option, found in the Scene Properties panel, allows you to globally reduce the detail levels for rendering, which can speed up preview and final renders.
- Optimize Materials: Complex materials can increase render times. Simplify shaders and reduce the number of nodes in material setups to improve performance.
- Use Instancing: For repeating objects, use Blender\"s instancing feature to duplicate objects without consuming additional memory. This is especially useful for scenes with vegetation or crowds.
- Limit Subdivision Surface Modifiers: Subdivision Surface modifiers enhance the detail of your models but can also increase polygon counts significantly. Use them sparingly and apply only the necessary subdivision levels.
- Clean Up Your Scene: Remove any unnecessary objects, vertices, or data blocks from your scene to lighten the load on Blender\"s processing.
- Optimize Lighting: Excessive or complex lighting setups can slow down rendering. Use fewer light sources and consider baking lighting for static scenes or objects.
By applying these strategies, you can maintain high-quality visuals while ensuring your Blender projects run smoothly and efficiently.

Community Resources for Learning and Sharing Blender Models
The Blender community is vibrant and supportive, offering a wealth of resources for learning and sharing models. Whether you\"re a beginner or an experienced artist, these platforms can help you improve your skills and find inspiration:
- Blender Artists Community: An online forum where users can discuss everything related to Blender, share their work, and get feedback from other artists.
- BlenderNation: A central hub for Blender news, tutorials, and art. It also features a \"Models & Rigs\" section where creators share free assets.
- Blender Cloud: An official Blender resource offering tutorials, assets, and project files. Subscription fees support the development of Blender.
- Blender Studio: Provides access to training, assets, and films created by Blender\"s dedicated team, helping users to learn through practical projects.
- CG Cookie: A learning platform with a focus on Blender, offering courses and tutorials for all skill levels, from beginner to advanced.
- Sketchfab: Allows artists to publish and share 3D models online. It supports Blender exports, making it easy to showcase Blender projects.
- BlenderKit: Integrated directly within Blender, it offers thousands of assets, including models, materials, and brushes, contributed by the community.
- Discord and Reddit: There are several Blender-focused Discord servers and Reddit communities where artists share tips, assets, and offer support.
Engaging with these resources not only helps you to grow as a Blender artist but also contributes to the flourishing Blender community. Sharing your work and knowledge can inspire others and lead to collaborative opportunities.
_HOOK_
READ MORE:
Advanced Tips for Managing and Organizing Your Blender Model Library
Efficiently managing and organizing your Blender model library can significantly enhance your workflow and productivity. Here are advanced tips to help you maintain an organized library:
- Use Blender\"s Asset Browser: Take advantage of Blender\"s Asset Browser to categorize and access your models easily. It allows for tagging, searching, and previewing assets within Blender.
- Implement a Consistent Naming Convention: Establish a clear and consistent naming convention for your files and folders. This practice helps in quickly identifying assets, especially in complex projects.
- Create a Dedicated Project Structure: Organize your projects in a dedicated folder structure, segregating them by type, project, or any other category that suits your workflow.
- Utilize Collections for Organization: In Blender, use collections to organize your scene and assets. Collections can be used to group objects logically, making them easier to manage and locate.
- Archive Old Projects: Regularly archive old projects and models to keep your working directory clean and manageable. Use external storage or cloud services for archiving.
- Leverage External Libraries: Consider using external library management tools or cloud storage solutions to organize and access your models from anywhere. This is especially useful for team collaboration.
- Optimize Your Models: Regularly review and optimize your models by removing unused materials, textures, and data blocks. This not only organizes your library but also improves Blender\"s performance.
- Backup Your Library: Implement a robust backup strategy to prevent data loss. Regular backups ensure that your models and projects are safe in case of hardware failure or other issues.
By adopting these advanced organization and management practices, you can streamline your Blender workflow, ensuring efficiency and productivity in your 3D modeling projects.
Mastering Blender is an exciting journey, and having access to the right models can transform your projects. Explore, create, and optimize your 3D models with Blender, and join a community of artists who share your passion for creativity.


