Topic how to make blender quieter: Discover effective strategies to significantly reduce blender noise, transforming your kitchen into a quieter, more peaceful environment with our easy-to-follow tips.
Table of Content
- How can I make my blender quieter?
- Place a Soft Towel or Silicone Mat Underneath
- Move Blender Away from Walls and Corners
- Use a Sound Enclosure Box
- Place the Blender on a Stable Surface
- Invest in a Quieter Blender Model
- Utilize a Rubber or Silicone Mat for Additional Dampening
- YOUTUBE: DIY Baffle Box - Make Small Kitchen Appliance Quiet
- Adjust Blending Speeds Appropriately
- Fill the Blender Jar Appropriately to Avoid Excess Noise
- DIY Soundproofing Solutions Around the Blender
- Maintenance Tips to Keep Your Blender Running Smoothly and Quietly
How can I make my blender quieter?
To make your blender quieter, you can follow these steps:
- Place the blender on a non-slip mat or towel to help dampen the vibrations.
- Move the blender to a different location, preferably away from walls or enclosed spaces.
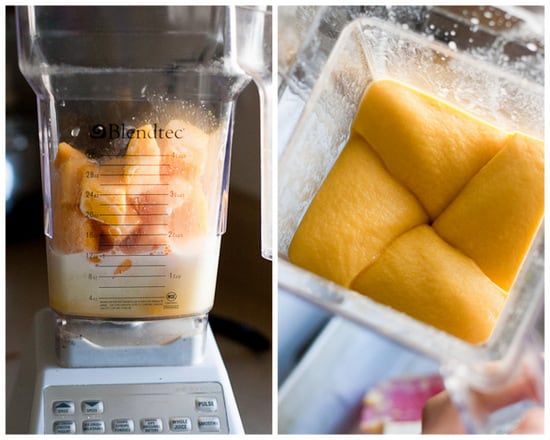
- Use smaller ice cubes or partially melt them before blending, as crushing larger ice cubes can create more noise.
- Inspect the blender for any loose parts and tighten them if necessary.
- Consider investing in a blender silencer pad or a sound-dampening enclosure specifically designed for blenders.
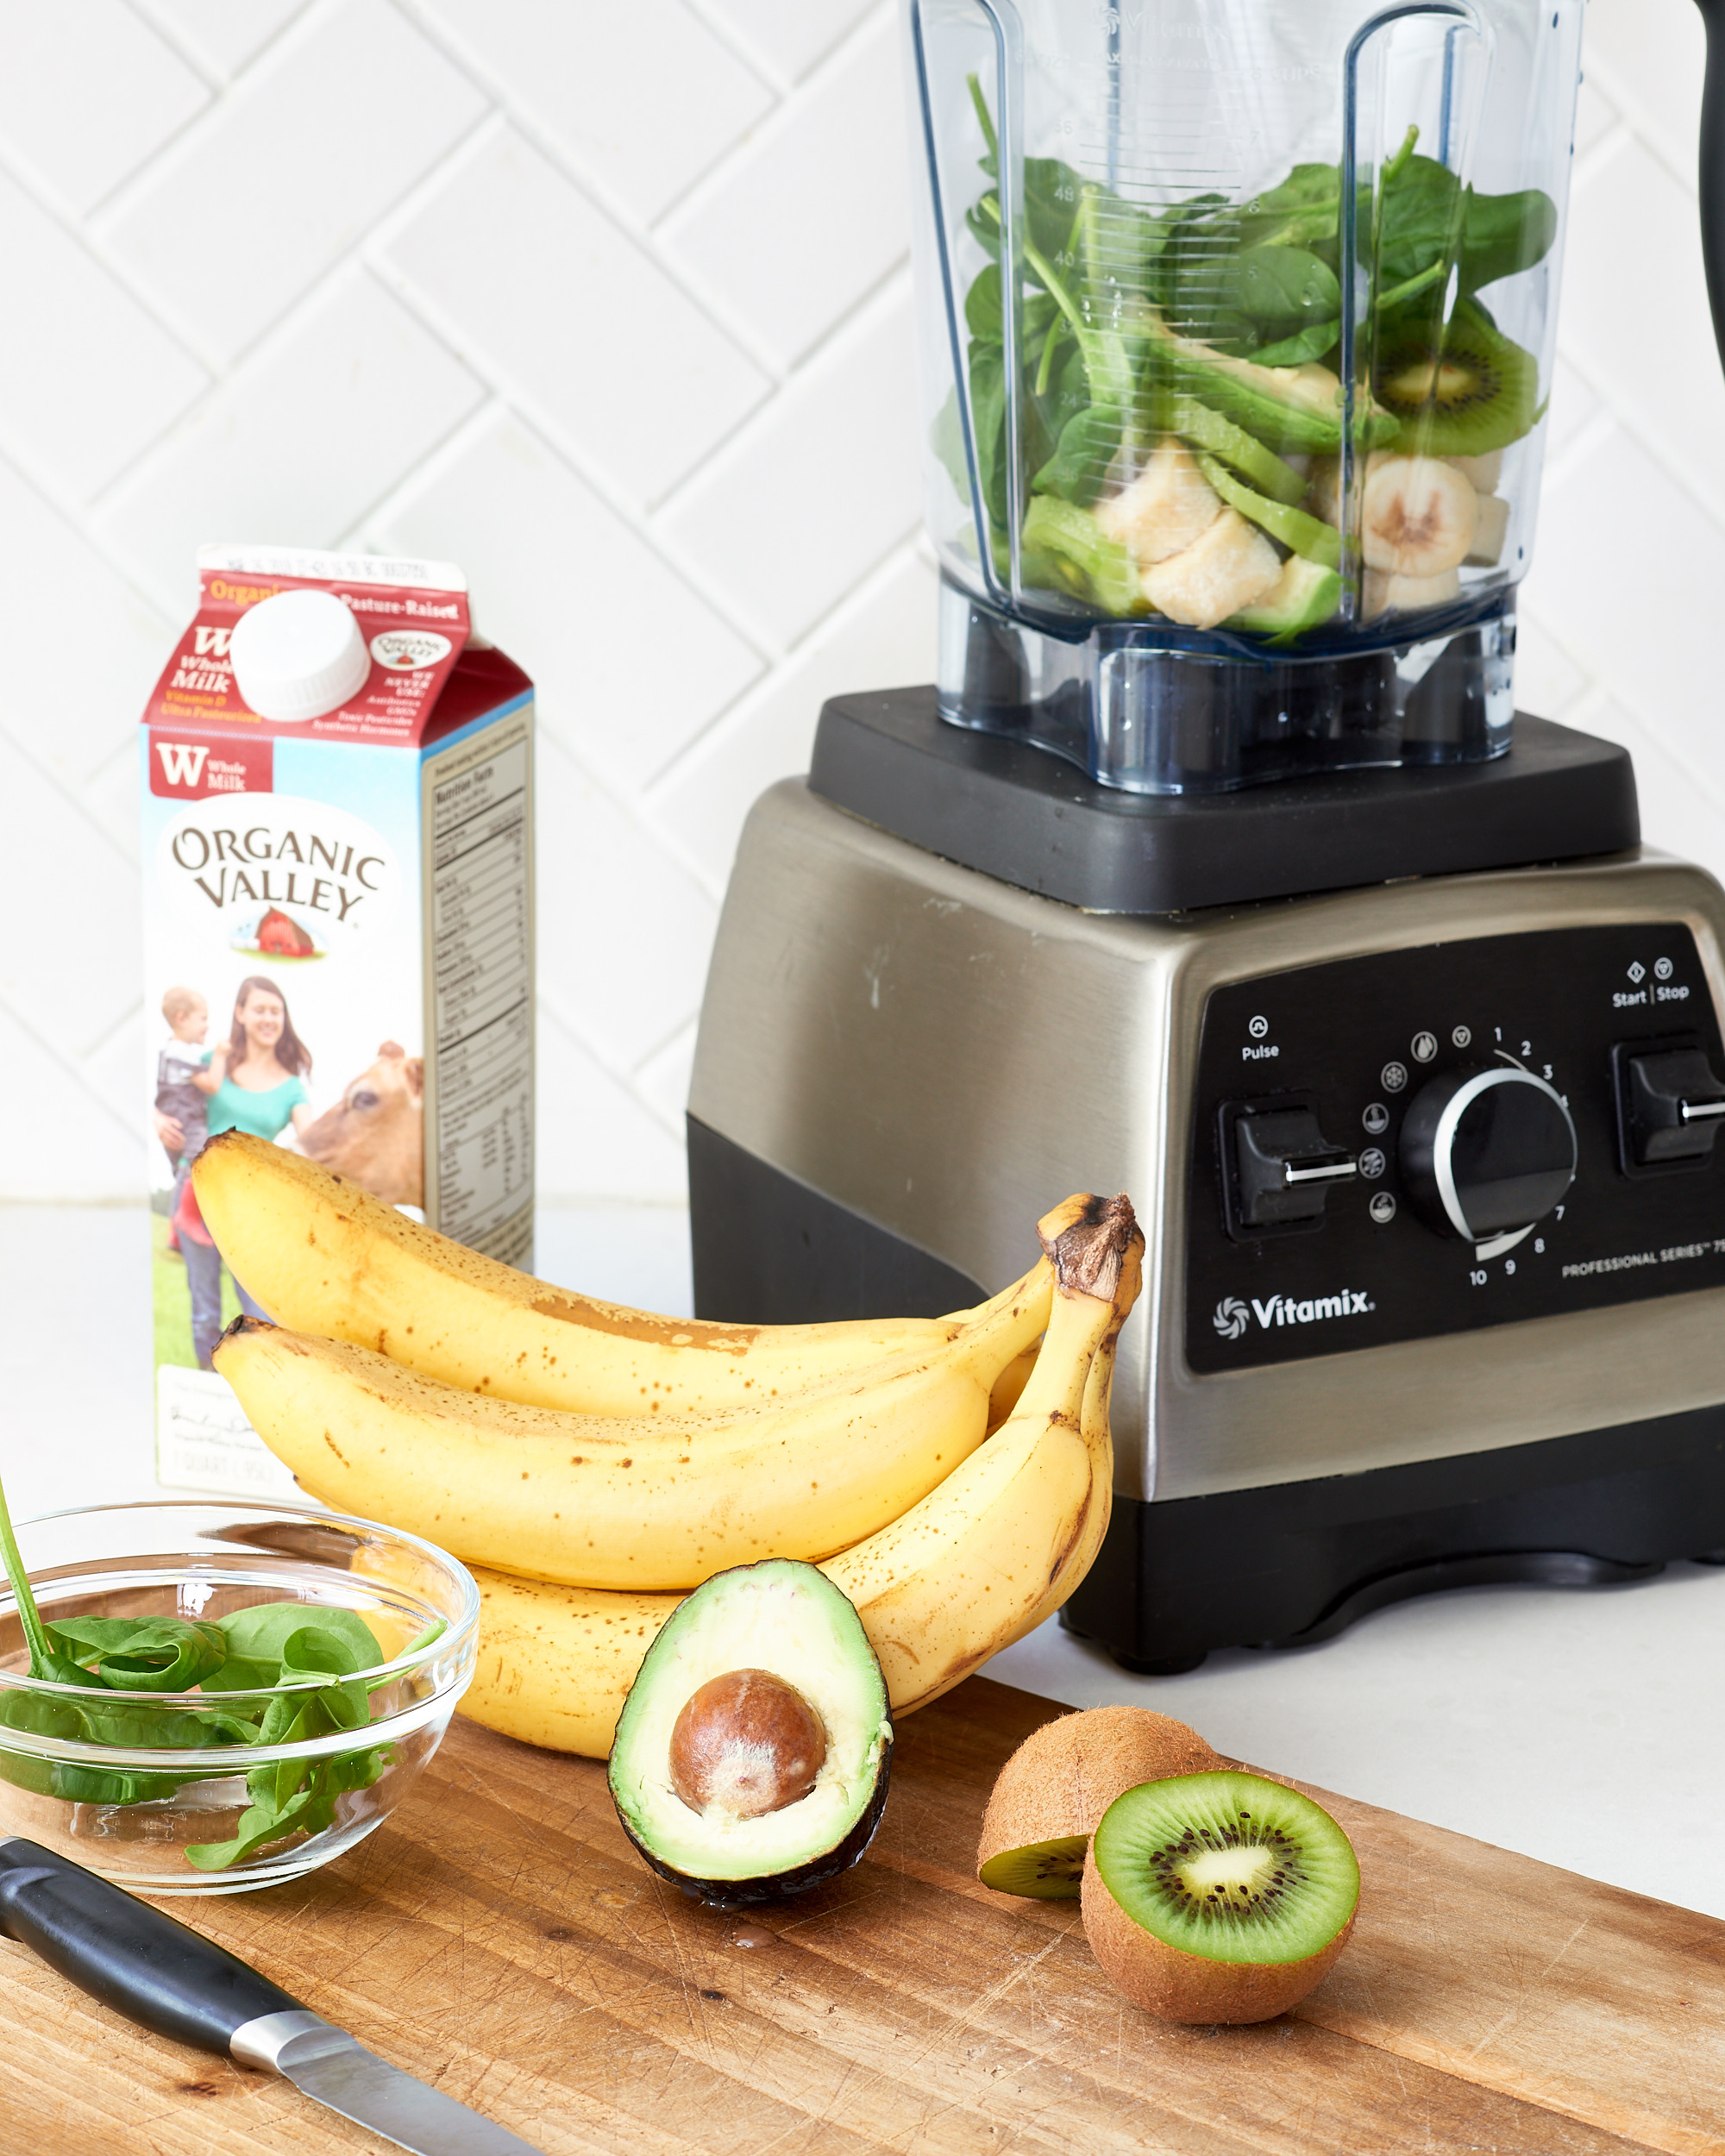
- Blend softer or liquid ingredients first before adding harder ingredients, as this can reduce the strain on the motor and minimize noise.
- Try using the blender at a lower speed setting if the noise level allows it.
- If possible, upgrade to a blender model known for its quiet operation.
- Regularly clean and maintain your blender to ensure it operates smoothly and quietly.
READ MORE:
Place a Soft Towel or Silicone Mat Underneath
Reducing blender noise can be as simple as using a soft towel or silicone mat. This method works by dampening the vibrations between the blender and the surface it sits on, which are a major contributor to the overall noise level. Here\"s how to do it effectively:
- Choose a Thick, Soft Towel or a Silicone Mat: Look for a towel that\"s absorbent and plush, or a silicone mat designed for kitchen use. These materials are excellent at absorbing vibrations.
- Place the Towel or Mat Under Your Blender: Before you start blending, position the towel or mat directly underneath your blender. Ensure it covers the entire base to maximize vibration absorption.
- Test for Stability: After placing the towel or mat, make sure your blender still sits stable on your countertop. Stability is key to safe blending operations and effective noise reduction.
- Blend as Usual: With the towel or mat in place, proceed to blend your ingredients. You should notice a significant reduction in noise, thanks to the added layer of vibration dampening.
This simple yet effective approach can make a noticeable difference in the sound level of your blender, making your kitchen a more peaceful place.

Move Blender Away from Walls and Corners
Positioning your blender away from walls and corners can significantly reduce noise levels in your kitchen. Sound waves bounce off surfaces and amplify within corners, making your blender sound louder than it actually is. Here’s a straightforward approach to minimize this effect:
- Identify a New Location: Find a spot on your countertop that is as far away from walls and corners as possible. Central areas are typically best.
- Check for Stability and Accessibility: Ensure the new location is stable and that you can easily access your blender without any inconvenience.
- Test the Sound Difference: Once you’ve moved your blender, do a test blend to compare the noise level to its previous position. You should notice a reduction in the echo and amplification of sound.
- Adjust as Needed: If the noise level is still higher than desired, consider combining this step with other noise reduction methods, such as placing a soft towel or silicone mat underneath the blender.
By moving your blender away from walls and corners, you can enjoy a quieter blending experience without the need for expensive equipment or complicated setups.
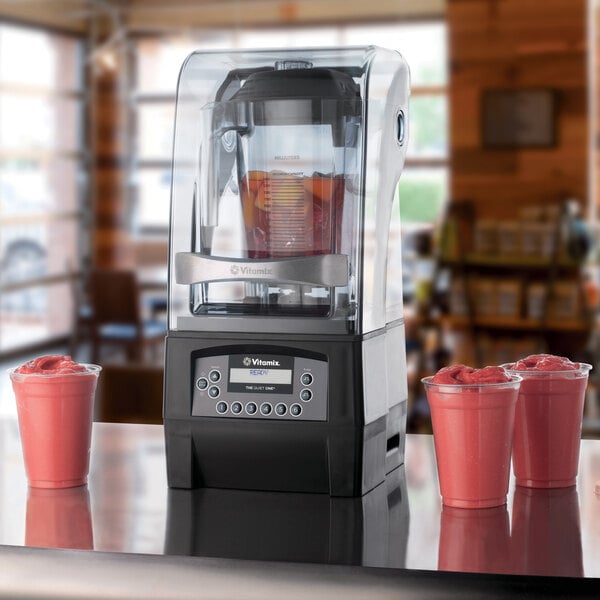
Use a Sound Enclosure Box
Investing in or creating a sound enclosure box for your blender is an excellent way to significantly reduce noise. These boxes are designed to absorb and contain the sound emitted by your blender, making your blending process much quieter. Here’s how to utilize a sound enclosure box effectively:
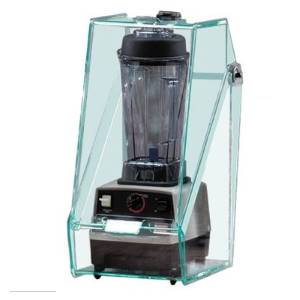
- Select the Right Size: Ensure the sound enclosure box fits your blender. It should be large enough to enclose the blender comfortably without touching the sides.
- Material Matters: Sound enclosure boxes made from thick, sound-absorbing materials such as acrylic or polycarbonate are most effective. These materials are designed to dampen noise efficiently.
- Easy Access: Choose a box with a front opening for easy access to your blender. This feature is crucial for convenience and regular use.
- Ventilation: Ensure the box has ventilation to prevent your blender from overheating. Adequate airflow is essential for safe operation.
- Combine with Other Methods: For the best results, use the sound enclosure box in conjunction with other noise reduction techniques, such as placing a mat underneath the blender.
A sound enclosure box can be a game-changer for those who use their blender frequently and wish to maintain a peaceful kitchen environment.

Place the Blender on a Stable Surface
Ensuring your blender is placed on a stable surface is crucial for reducing noise and vibration during use. An unstable surface can amplify vibrations and sound, making the blender louder. Follow these steps to secure your blender:
- Choose the Right Surface: Opt for a heavy, solid countertop or table that doesn\"t wobble. Hard surfaces are usually better at minimizing vibration than softer ones.
- Test for Stability: Before placing your blender, press down on the surface to check for any movement or instability. Make any necessary adjustments to ensure the surface is completely stable.
- Use Non-Slip Pads: Place non-slip pads or a mat under your blender. These pads not only prevent the blender from moving during operation but also help absorb vibrations, further reducing noise.
- Avoid Empty Spaces: Ensure there are no hollow spaces underneath the surface where your blender is placed, as these can amplify sound. Solid surfaces work best.
- Regular Surface Check: Periodically check the stability of the surface where your blender is placed, especially if it\"s frequently used. This ensures ongoing noise reduction.
By placing your blender on a stable surface, you can significantly reduce noise and make your blending experience more enjoyable.
_HOOK_
Invest in a Quieter Blender Model
One of the most effective ways to ensure a quieter blending experience is to invest in a blender designed to operate more quietly. Manufacturers are increasingly focusing on reducing noise, offering models that blend efficiently with less sound. Here’s how to choose a quieter blender:
- Research Noise Levels: Look for blenders that advertise low noise levels or are specifically designed for quiet operation. Noise levels are often measured in decibels (dB), so compare these figures if available.
- Check Reviews: Read online reviews and testimonials from users who have prioritized quiet operation. Their experiences can provide valuable insights into how quiet the blender really is in practical use.
- Look for Noise Reduction Features: Some blenders come with built-in sound enclosures or are made with noise-dampening materials. These features can significantly reduce noise output.
- Consider the Blender’s Power: Higher power doesn’t always mean more noise. Some high-performance blenders are designed to be efficient and quiet, thanks to better engineering and design.
- Understand the Investment: Quieter blender models may come with a higher price tag due to the advanced technology and materials used. Consider this an investment in your comfort and quality of life.
Choosing a quieter blender model can transform your blending experience, making it more pleasant and less disruptive to your home environment.

Utilize a Rubber or Silicone Mat for Additional Dampening
Placing a rubber or silicone mat under your blender is a simple and effective way to reduce noise by dampening vibrations. These mats are specifically designed to absorb sound and provide a stable foundation for appliances. Here’s how to use them effectively:
- Select the Right Mat: Choose a mat made from dense rubber or silicone. These materials are best for absorbing vibrations and reducing noise transmission.
- Size Matters: Ensure the mat is large enough to fit under your blender but not so large that it extends far beyond the base. This ensures maximum efficiency in vibration absorption.
- Place the Mat Under the Blender: Before using your blender, place the mat directly underneath it. The mat should be on a stable surface to prevent any slippage or safety issues.
- Test the Blender: After setting up the mat, use your blender as you normally would. You should notice a reduction in noise and vibration immediately.
- Maintenance: Keep the mat clean and dry to maintain its effectiveness. Wipe it down regularly to prevent buildup of food particles or liquids.
Using a rubber or silicone mat is an inexpensive yet highly effective way to make your blending experience quieter and more enjoyable.

DIY Baffle Box - Make Small Kitchen Appliance Quiet
\"Say goodbye to the annoying background noises in your Blender videos! Discover the ultimate solution for noise reduction and enjoy a crystal clear audio experience. Watch our video to learn how to easily enhance the sound quality of your Blender creations.\"
Reduce the noise of your blender by 40%? No problem with the Optimum 9400X sound cover
\"Looking for the perfect sound cover for your Optimum 9400X Blender? Look no further! Our video showcases the top-notch option that guarantees optimal noise suppression, allowing you to enjoy the ultimate blending experience without any disturbance. Don\'t miss out on discovering the ultimate sound cover solution!\"
Adjust Blending Speeds Appropriately
Modulating the speed of your blender can have a significant impact on the noise level during operation. Higher speeds generate more noise, so adjusting speeds according to your blending needs can help keep the noise to a minimum. Here’s how to adjust blending speeds appropriately:
- Start Low: Begin blending at the lowest speed and gradually increase as needed. This approach reduces the initial noise surge and allows for more control over the blending process.
- Understand Your Ingredients: Harder ingredients may require a higher speed to blend properly, while softer ingredients can be blended well at lower speeds. Adjust accordingly to minimize noise.
- Use Pulse Feature: For tasks that don’t require continuous blending, use the pulse feature. This allows for short bursts of power, reducing overall noise output.
- Avoid Max Speed When Unnecessary: Only use the highest speed settings when absolutely necessary. Often, ingredients can be effectively blended at medium speeds, which are quieter.
- Be Mindful of Blending Time: Longer blending times at high speeds will increase noise. Aim to blend efficiently by preparing ingredients in advance for quicker blending at lower speeds.
By adjusting blending speeds appropriately, you can significantly reduce the noise level of your blender, making for a more pleasant kitchen environment.
Fill the Blender Jar Appropriately to Avoid Excess Noise
Filling your blender jar to the appropriate level is crucial for minimizing noise. An overly full or too empty blender can cause unnecessary noise due to the motor working harder than it needs to or the ingredients splashing excessively. Follow these tips for optimal filling:
- Understand Optimal Fill Levels: Most blenders indicate the maximum fill line on the jar. For blending liquids, staying below this line helps prevent overflow and reduces noise from excessive splashing.
- Avoid Overfilling: Overfilling can strain the blender\"s motor, leading to increased noise. It can also cause leaks, which create more mess and noise.
- Minimize Air Space for Dry Ingredients: When blending dry ingredients, a more compact fill can prevent them from bouncing around too much, which reduces noise.
- Use the Tamper if Available: For blenders equipped with a tamper, use it to gently press ingredients towards the blades. This can reduce the need for higher speeds and decrease noise.
- Blend in Batches if Necessary: If you have a large quantity to blend, consider doing it in batches. This not only ensures better blending consistency but also keeps noise levels down.
By filling your blender jar appropriately, you can enjoy quieter operation and smoother blends without unnecessary noise.

DIY Soundproofing Solutions Around the Blender
Reducing blender noise doesn\"t have to be expensive or complicated. With some creative DIY solutions, you can significantly decrease the sound level of your blending activities. Here are several effective methods:
- Build a Soundproof Enclosure: Construct a simple box using dense materials like MDF (Medium Density Fiberboard) or acrylic sheets to encase your blender. Ensure there\"s enough air circulation to prevent overheating. Adding acoustic foam inside the box can further dampen the sound.
- Use Mass-Loaded Vinyl (MLV): Line the area around your blender with MLV, a thin and flexible yet highly effective soundproofing material. You can place it on the walls or underneath the blender to absorb and block noise.
- Install Acoustic Panels: Mount acoustic panels on the walls near your blender. These panels are designed to absorb sound waves, reducing the noise that bounces around the room.
- DIY Anti-Vibration Pads: Create your own anti-vibration pads by cutting up an old yoga mat or thick rubber into squares. Place these pads under your blender to minimize the vibrations transmitted to the countertop.
- Sound Dampening Curtains: Hang heavy sound dampening curtains around your blending area. These curtains can absorb sound, reducing the noise that escapes into the rest of your home.
- Fill Gaps and Cracks: Use acoustic sealant to fill any gaps or cracks in the walls or windows near your blending station. This prevents sound from leaking out and amplifying in other rooms.
Remember, the effectiveness of these solutions can vary based on the specific model of your blender and the layout of your kitchen. Experimenting with different methods and combinations can help you find the best solution for your needs.

_HOOK_
READ MORE:
Maintenance Tips to Keep Your Blender Running Smoothly and Quietly
Regular maintenance of your blender can greatly enhance its performance and longevity while minimizing noise. Here are some essential tips to keep your blender in top condition:
- Regular Cleaning: After each use, disassemble the blender jar from the base and clean all parts thoroughly. Use warm, soapy water for the jar and a damp cloth for the base. Avoid immersing the motor base in water to prevent electrical damage.
- Blade Care: Check the blades regularly for any signs of dulling or damage. Sharp blades cut through ingredients more efficiently, requiring less motor power and reducing overall noise. Consider replacing the blades if they become dull or damaged.
- Tighten Loose Parts: Periodically check and tighten any loose parts, such as the screws on the base or the blade assembly. Loose parts can cause additional vibration and noise during operation.
- Lubricate Bearings: If your blender\"s manual suggests lubrication, apply a small amount of food-grade lubricant to the blade assembly bearings. This helps the blades to rotate smoothly, reducing friction and noise.
- Check for Wear and Tear: Inspect your blender for any signs of wear and tear, such as cracks in the jar or a frayed power cord. Addressing these issues early can prevent more serious problems and noise issues later.
- Store Properly: When not in use, store your blender in a dry, cool place. Avoid stacking heavy items on top of the blender to prevent damage to its parts.
- Use Correctly: Always start the blender on the lowest speed and gradually increase to higher speeds to reduce the initial load on the motor. This can help prevent sudden noises and extend the motor\"s life.
By following these maintenance tips, you can ensure your blender operates efficiently and quietly, providing you with smooth blends for years to come.
With these practical tips and DIY solutions, transforming your loud blender into a quiet kitchen companion is easier than you think. Embrace these strategies to enjoy peaceful blending experiences without compromising on performance.