Topic mac os blender: Discover the power of Mac OS Blender for 3D modeling and animation, unlocking endless creative possibilities with this comprehensive guide tailored for Mac users.
Table of Content
- How to install Blender on macOS?
- Downloading and Installing Blender for MacOS
- System Requirements for Blender on MacOS
- Optimizing Blender for Apple Silicon Macs
- Developing and Building Blender on MacOS
- Blender Tutorials for MacOS Users
- Community and Support for Blender MacOS Users
- YOUTUBE: Blender 3.1 on M1 MacBooks
- Advanced Features and Add-ons for Blender on MacOS
- Blender Integration with MacOS Features
- Comparing Blender with Other Rendering Software on MacOS
- Photogrammetry with Blender on MacOS: Using SnapMesh
How to install Blender on macOS?
To install Blender on macOS, follow these steps:
- Go to the Blender website at https://www.blender.org/download/.
- Scroll down until you see the section for macOS downloads.
- Click on the download link for the macOS version that matches your system. There are versions available for Intel-based Macs and Apple Silicon Macs.
- Once the download is complete, locate the downloaded file, which should be a disk image (dmg-file).
- Double-click on the dmg-file to mount the disk image.
- A new window will open showing the contents of the disk image.
- Drag the Blender.app icon into the Applications folder shortcut or any other desired location on your Mac.
- Wait for the copying process to complete.
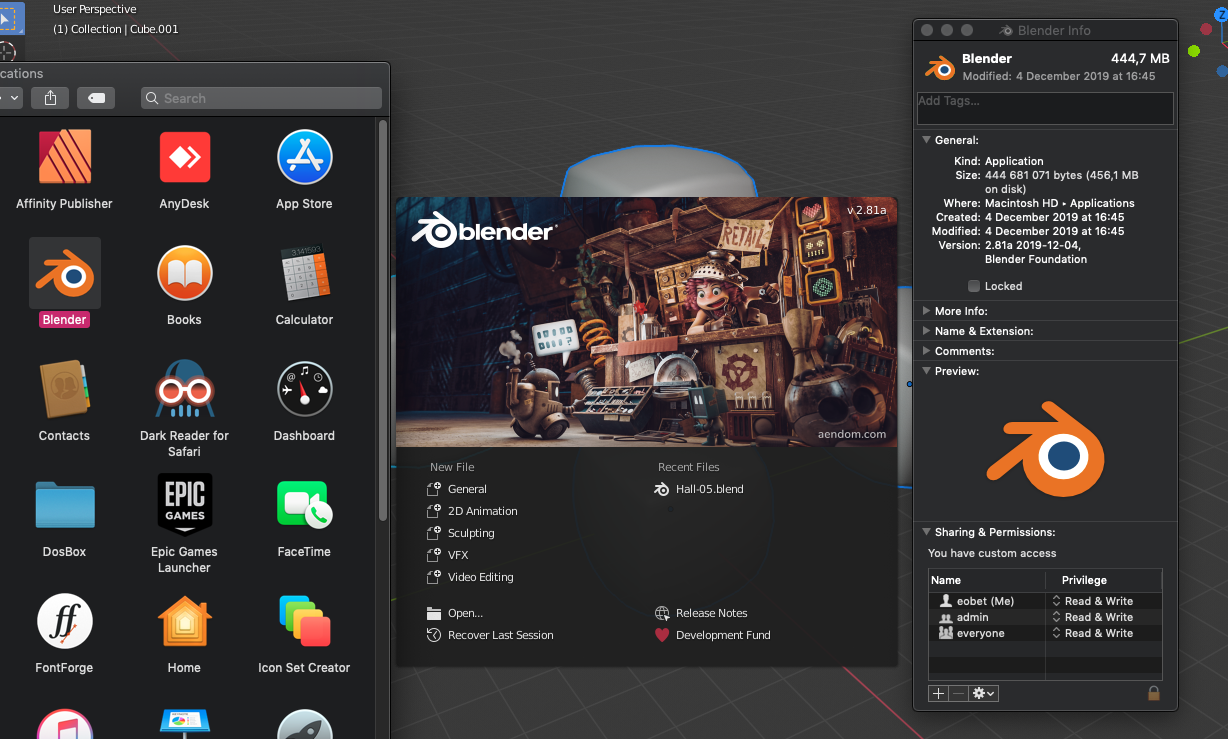
- To use Blender, go to the Applications folder (or the folder where you placed Blender) and double-click on the Blender.app icon.
- Blender should now launch on your macOS system.
READ MORE:
Downloading and Installing Blender for MacOS
To start your journey with Blender on MacOS, follow these simple steps to download and install the software, ensuring you have access to powerful 3D modeling and animation tools.
- Visit the official Blender website at www.blender.org/download/ to find the latest version of Blender suitable for MacOS.
- Choose the version compatible with your Mac, whether it\"s for Intel or Apple Silicon, and click the download link.
- Once the download is complete, locate the .dmg file in your Downloads folder and double-click to open it.
- Drag the Blender icon to your Applications folder to install the application.
- After the installation process is finished, you can launch Blender from your Applications folder.
- If you encounter a security prompt preventing the app from opening because it was downloaded from the internet, go to System Preferences > Security & Privacy > General tab, and click \"Open Anyway\".
With Blender successfully installed, you\"re now ready to explore the vast capabilities of 3D modeling, animation, rendering, and more on your Mac.

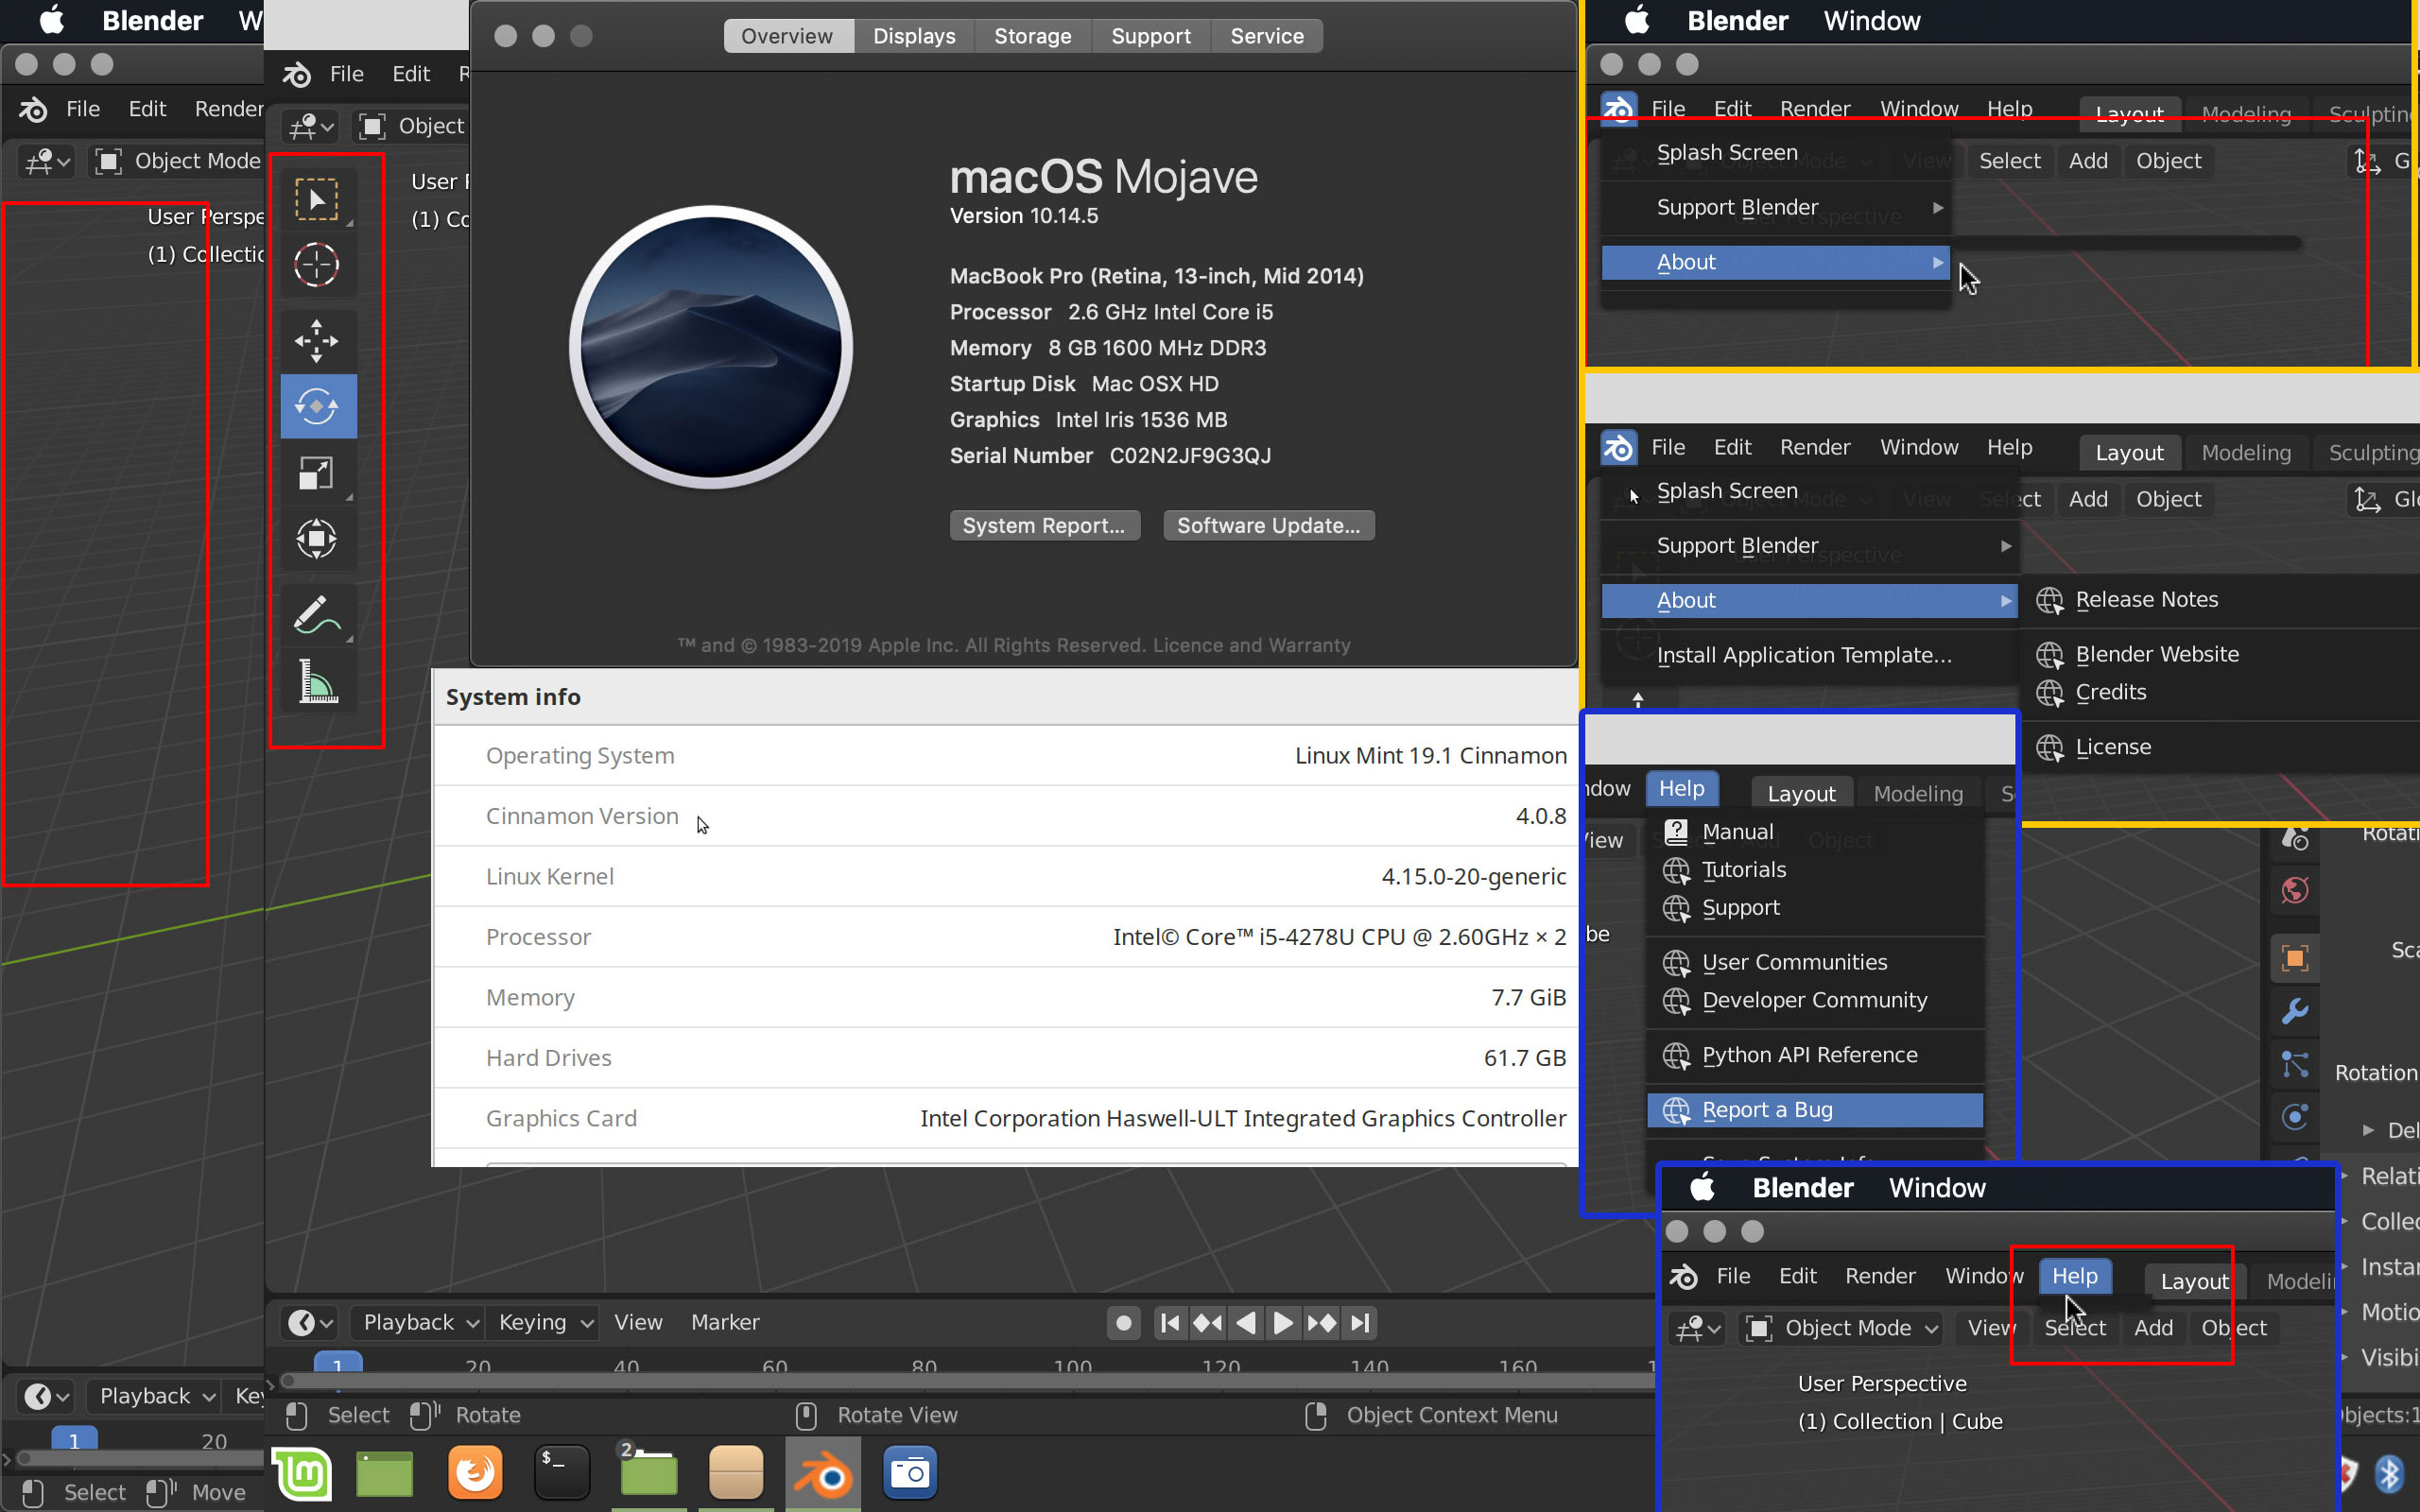
System Requirements for Blender on MacOS
To ensure Blender runs smoothly on your Mac, it\"s important to meet the following system requirements:
- Operating System: macOS 10.13 (High Sierra) or later, with a preference for the latest version to access all features and updates.
- Processor: Intel CPU with SSE4.2 support. For Apple Silicon Macs (M1, M1 Pro, M1 Max, or later), Blender has been optimized for better performance.
- Graphics Card: AMD or NVIDIA graphics card with latest drivers. Apple Silicon Macs benefit from integrated GPU support. For Cycles rendering, a Metal GPU with 2GB RAM minimum is recommended.
- Memory: 8 GB RAM minimum, with 16 GB RAM or more recommended for complex scenes or high-resolution textures.
- Display: 1280×768 display resolution minimum, with 1920×1080 or higher recommended. Full support for Retina displays.
- Mouse, Trackpad, or Tablet: Three-button mouse or trackpad for navigation. A pen tablet is recommended for sculpting, texture painting, and Grease Pencil drawing.
Meeting these requirements ensures that Blender operates efficiently, allowing you to fully explore your creativity without technical limitations.

Optimizing Blender for Apple Silicon Macs
Optimizing Blender for Apple Silicon Macs involves several key adjustments and considerations to fully leverage the performance capabilities of the M1, M1 Pro, M1 Max, and subsequent Apple Silicon chips. These steps ensure Blender runs efficiently, making the most of the hardware\"s computational power and graphics capabilities.
- Ensure Compatibility: First, verify that you are using a version of Blender optimized for Apple Silicon. Starting with Blender 2.93 LTS and beyond, versions have been specifically tailored to support Apple Silicon, offering significant performance improvements.
- Update macOS: Keep your macOS updated to the latest version to ensure maximum compatibility and performance with Blender. Apple frequently releases updates that enhance the performance and stability of apps running on Apple Silicon.
- Utilize Metal: Blender has introduced Metal GPU rendering support, significantly speeding up rendering times on Apple Silicon Macs. Ensure that your Blender settings are configured to use Metal for rendering to take advantage of this feature.
- Adjust Blender Preferences: Navigate to Blender\"s Preferences and under the System tab, select Metal as the Compute Device. This setting enables Blender to use the GPU more effectively, accelerating rendering and viewport performance.
- Optimize for Efficiency: When working on complex projects, optimize your Blender settings for efficiency. This includes managing subdivision levels, optimizing modifiers, and using simplified shaders when working in the viewport to maintain a responsive experience.
- Memory Management: Apple Silicon Macs often have unified memory architectures. Efficiently managing your project\"s memory use can prevent bottlenecks, especially in complex scenes or when using high-resolution textures.
- Explore Blender Add-ons: Some add-ons and plugins are specifically optimized for or compatible with Apple Silicon. These can enhance Blender\"s functionality or improve performance for certain tasks.
In addition to these steps, participating in the Blender community can provide access to further tips and optimizations shared by other Apple Silicon users. Regularly updating Blender ensures you benefit from the latest performance improvements and features designed for Apple Silicon Macs.
Developing and Building Blender on MacOS
Developing and building Blender on MacOS is a straightforward process that involves setting up your environment, downloading the Blender source code, and compiling it. This allows developers to modify Blender, contribute to its development, or create custom versions for specific needs. Here\"s a step-by-step guide to getting started:
- Install Development Tools: First, ensure that Xcode and the Command Line Tools are installed. Xcode can be downloaded from the Mac App Store, and Command Line Tools can be installed by running xcode-select --install in the Terminal.
- Install Dependencies: Blender depends on several libraries and tools, such as CMake and Git. These can be installed using Homebrew, a package manager for MacOS, with commands like brew install cmake git.
- Clone Blender\"s Source Code: Use Git to clone Blender\"s repository to your local machine with git clone https://git.blender.org/blender.git. Navigate to the cloned directory to start working on the source.
- Prepare the Build: Run make update to update all the submodules and download necessary libraries. This step ensures that you have the latest dependencies required for building Blender.
- Compile Blender: Compile Blender by running make in the root of the Blender source directory. This process might take some time depending on your system\"s specifications.
- Run Blender: After the compilation is complete, you can run Blender directly from the build directory. For example, the executable might be located in ./build_darwin/bin/Blender.app.
Note that the steps above are for a basic build. For advanced configurations or to contribute to Blender\"s development, refer to the detailed documentation available on Blender\"s official development website. Building Blender on MacOS offers an exciting opportunity to explore and contribute to the development of this powerful open-source 3D creation suite.

_HOOK_
Blender Tutorials for MacOS Users
Finding the right Blender tutorials can help MacOS users navigate the unique aspects of Blender on their operating system, from setup to advanced 3D modeling techniques. Here are some key areas to focus on:
- Getting Started: Look for tutorials specifically designed for MacOS users. These can help you understand the installation process, interface differences, and how to customize settings for a Mac environment.
- Navigation and Shortcuts: MacOS users might find navigating Blender a bit different due to the absence of a three-button mouse by default. Seek tutorials that offer tips on using the Magic Mouse or touchpad for orbiting, panning, and zooming in the viewport.
- Rendering with Metal: With Apple\"s Metal API, rendering on MacOS can be significantly faster. Tutorials that cover Metal GPU rendering settings and optimization can be particularly useful for improving performance.
- Using Blender\"s Features: Whether it\"s sculpting, animation, or texturing, find tutorials that guide you through Blender\"s vast toolset. Prioritize those that address any MacOS-specific considerations or workarounds.
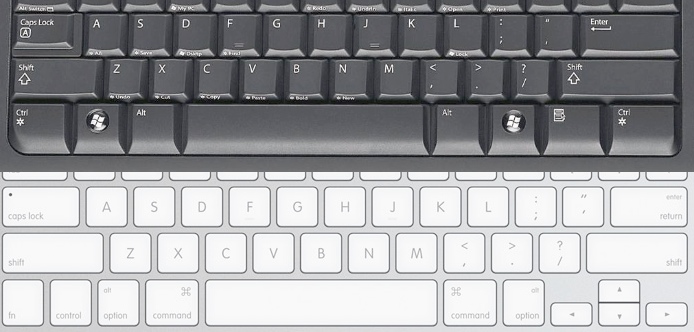
- Keyboard Shortcuts for MacOS: Keyboard shortcuts can greatly enhance your efficiency in Blender. Look for a comprehensive guide to Blender keyboard shortcuts tailored for MacOS to streamline your workflow.
- Advanced Techniques: As you become more comfortable with Blender, delve into advanced tutorials that explore complex modeling, realistic texturing, and dynamic simulations. These can help you push the boundaries of what you can create on a Mac.
Blender\"s community and official website offer a wealth of tutorials for users of all skill levels. Participating in forums and community groups can also provide valuable insights and tips tailored to MacOS users. Whether you\"re a beginner looking to understand the basics or an experienced artist seeking to refine your skills, there\"s a tutorial out there for you.
Community and Support for Blender MacOS Users
The Blender community offers robust support and a wealth of resources for MacOS users, ensuring that everyone from beginners to advanced users can find help, share their work, and connect with others. Below are key avenues for support and engagement within the Blender community for MacOS users:
- Blender Artists Forum: A vibrant online community where MacOS users can ask questions, share tips, and showcase their work. It\"s a great place for seeking advice on specific issues or learning new techniques.
- Blender Stack Exchange: For more technical questions, the Blender Stack Exchange is a Q&A site where users can post queries and receive answers from the community. It covers a wide range of topics, including troubleshooting on MacOS.
- Blender Developer Talk: For those interested in Blender\"s development or looking to contribute, the Blender Developer Talk forums are a valuable resource. Discussions often include development on MacOS systems, including compiling and optimizing Blender for MacOS.
- Blender Chat: Real-time communication platforms like Blender.chat provide channels dedicated to various topics, including support for MacOS users. It\"s a quick way to get help or connect with other Blender enthusiasts.
- Blender Documentation: The official Blender documentation is an extensive resource that includes installation guides, feature descriptions, and tutorials. It\"s regularly updated to include information relevant to MacOS users.
- Social Media and Meetups: Social media platforms, such as Twitter (using hashtags like #b3d or #Blender3d), and local Blender meetups can also be great ways to connect with the community, discover new tips, and share experiences specific to using Blender on MacOS.
Whether you\"re facing a technical challenge, looking for feedback on your latest project, or simply wanting to connect with other Blender users, the community and support resources available to MacOS users are extensive and welcoming.

Blender 3.1 on M1 MacBooks
Experience the revolutionary power of M1 MacBooks and take your productivity to new heights. Witness the seamless combination of performance, efficiency, and stunning visuals that will redefine your digital world. Don\'t miss the chance to explore the future of computing.
Using Blender on M1 Pro MacBook Pro
Unleash the true potential of your creativity with the M1 Pro MacBook Pro. Witness unmatched power and speed as you dive into demanding tasks effortlessly. Get ready for an immersive experience that will elevate your work and bring your ideas to life like never before. Don\'t wait, dive into a world of limitless possibilities.
Advanced Features and Add-ons for Blender on MacOS
Blender\"s versatility is significantly enhanced by its advanced features and the wide range of add-ons available for MacOS users. These add-ons extend Blender\"s functionality, offering tools for everything from animation to rendering, and improving workflow efficiency. Here\"s an overview of some key advanced features and recommended add-ons for MacOS users:
- Geometry Nodes: An advanced procedural modeling tool that allows you to create and manipulate meshes using node-based workflows. It\"s powerful for creating complex patterns and structures without manual modeling.
- Sculpting Tools: Blender\"s sculpting tools are continually evolving, with features like dynamic topology, voxel remeshing, and multi-resolution sculpting, enabling highly detailed and intricate model creation.
- Grease Pencil: A unique tool that blends 2D drawing with 3D animation, allowing artists to draw directly in the 3D viewport. It\"s perfect for storyboarding, 2D animation, and combining 2D/3D art styles.
- Eevee and Cycles: Blender\"s rendering engines, Eevee (real-time) and Cycles (path-traced), offer advanced rendering capabilities. MacOS users can benefit from Metal support in Cycles for accelerated rendering performance.
Recommended Add-ons for MacOS Users:
- BlenderKit: Provides access to a vast library of models, materials, and brushes directly within Blender, streamlining the asset import process.
- Hard Ops/BoxCutter: A suite of tools designed for hard surface modeling, offering advanced boolean operations, beveling, and mesh optimization techniques.
- Auto-Rig Pro: A comprehensive rigging and animation tool, simplifying the character rigging process and offering advanced features for animators.
- Node Wrangler: Enhances Blender\"s node-based workflows (compositing, shading, etc.), adding shortcuts and tools to speed up node management and previewing.
- Animation Nodes: A node-based visual scripting system, enabling complex procedural animations and effects that are difficult to achieve with traditional keyframe animation.
These advanced features and add-ons can help MacOS users unlock Blender\"s full potential, catering to a wide range of creative projects from simple models to complex animations and renderings. Leveraging these tools can significantly enhance productivity and creative expression in Blender.
Blender Integration with MacOS Features
Blender\"s integration with MacOS features enhances the user experience by leveraging the unique capabilities of the MacOS ecosystem. This integration focuses on optimizing performance, user interface compatibility, and leveraging MacOS-specific technologies. Here are some of the key integrations and benefits for MacOS users:
- Metal API Support: Blender leverages Apple\"s Metal API for rendering, providing significant speed improvements and efficiency in rendering tasks. This integration allows for better utilization of the GPU, offering faster performance and smoother workflows for MacOS users.
- Touch Bar Support: For Macs equipped with a Touch Bar, Blender can integrate with this feature, offering contextual toolsets and shortcuts right at the user\"s fingertips. This allows for a more intuitive and streamlined workflow, with quick access to common functions and settings.
- Retina Display Optimization: Blender is optimized for Retina displays, ensuring crisp and clear visuals. This is particularly beneficial for artists and designers who require high-resolution displays for detailed work in modeling, texturing, and animation.
- Native File Management: Integration with MacOS\"s native file management system allows for seamless import and export of files. This includes support for drag-and-drop functionality, Finder previews, and the use of tags for better organization of Blender projects.
- Gesture Controls: Blender supports MacOS\"s gesture controls, enabling users to navigate through the interface and manipulate objects in the viewport with ease. Multi-touch gestures such as pinch-to-zoom, rotate, and swipe enhance the user\"s ability to interact with their projects in a more natural and intuitive way.
- Notification Center Integration: Blender can integrate with the MacOS Notification Center to alert users about render completions, updates, or other important notifications. This allows users to stay informed without needing to constantly check the application.
These integrations make Blender a powerful and efficient tool for MacOS users, enabling them to take full advantage of their hardware and operating system features. Whether you are a hobbyist or a professional, these features enhance your 3D creation process on a Mac.

Comparing Blender with Other Rendering Software on MacOS
Blender is a powerful, open-source 3D creation suite that offers a comprehensive range of tools for modeling, rendering, animation, and post-production. When comparing Blender to other rendering software available for MacOS, several factors come into play, including cost, ease of use, feature set, and community support. Here\"s how Blender stacks up against other popular rendering software on MacOS:
- Cost: One of Blender\"s most significant advantages is its price point—it is entirely free. This contrasts with other software like Autodesk Maya or Cinema 4D, which require subscriptions or purchases.
- Feature Set: Blender boasts a comprehensive feature set that rivals that of many paid alternatives. It includes advanced modeling, sculpting, animation, simulation, rendering, compositing, and video editing capabilities. While some specialized software may offer more advanced tools in specific areas (e.g., Cinema 4D for motion graphics), Blender remains competitive across a broad range of functions.
- Ease of Use: Blender has a steep learning curve compared to some other software, such as SketchUp, known for its user-friendly interface. However, Blender\"s interface has been significantly improved in recent versions, making it more accessible to new users.
- Community and Support: Blender\"s large and active community provides a wealth of tutorials, forums, and free resources, which is a significant advantage for learners and professionals alike. While other software also offers community support, the open-source nature of Blender fosters a uniquely collaborative and resource-rich environment.
- Performance and Compatibility: Blender runs efficiently on MacOS, taking advantage of Metal for rendering with the Cycles engine, which can lead to faster rendering times compared to software that does not support Metal. Other software, like Autodesk\"s Maya, also offers good performance on MacOS but may require more powerful hardware for optimal performance.
In summary, Blender stands out for its no-cost offering, comprehensive feature set, and strong community support, making it a compelling choice for many MacOS users. While other software may offer advantages in specific areas, Blender\"s generalist approach and continuous development make it a versatile and powerful option for 3D artists and designers on MacOS.
_HOOK_
READ MORE:
Photogrammetry with Blender on MacOS: Using SnapMesh
Photogrammetry in Blender on MacOS reaches new heights with the introduction of SnapMesh, a plugin that seamlessly integrates Apple\"s RealityKit Object Capture API, enabling users to create high-quality 3D models from photographs directly within Blender. This integration simplifies the photogrammetry process, making it accessible even to those without prior knowledge. Here\"s how to utilize SnapMesh for photogrammetry in Blender on MacOS:
- Install SnapMesh: First, ensure that you have the latest version of Blender installed on your MacOS. Then, download and install the SnapMesh plugin from the Blender Market or the official SnapMesh website.
- Prepare Your Photographs: For optimal results, capture photos of your subject from multiple angles, ensuring good coverage and overlap. The quality and number of photos directly influence the accuracy and detail of the 3D model.
- Import Photos into Blender: With SnapMesh installed, open Blender and import your photos using the SnapMesh interface. The plugin guides you through the process, simplifying the setup.
- Create Your 3D Model: SnapMesh utilizes the RealityKit Object Capture API to process the photographs. Start the photogrammetry process within Blender, and SnapMesh will generate a detailed 3D model from your images.
- Edit and Refine: Once the initial model is created, you can use Blender\"s powerful editing tools to refine the model, correct any imperfections, and enhance details.
- Export and Use Your Model: After refining your model, it can be exported from Blender in various formats for use in other projects, including animations, game development, or virtual reality experiences.
Using SnapMesh for photogrammetry in Blender on MacOS not only streamlines the creation of 3D models from photographs but also leverages the power of MacOS technologies, offering an integrated and efficient workflow. Whether you\"re a hobbyist or a professional, SnapMesh opens up new possibilities in the realm of digital creation.
Discover the limitless possibilities of Blender on MacOS, from photogrammetry with SnapMesh to advanced features and community support. Unleash your creativity and elevate your 3D modeling, animation, and rendering skills on your Mac today.