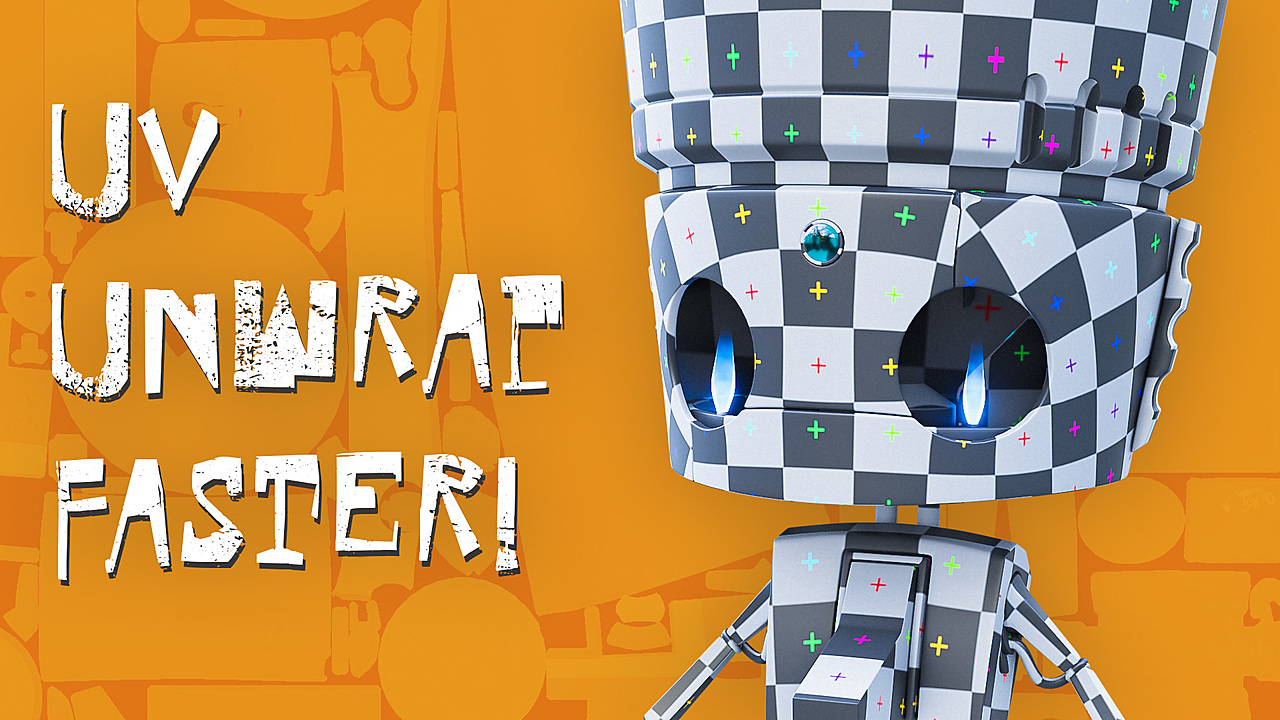
Topic how to unwrap uv in blender: Discover the art of UV unwrapping in Blender, mastering both basic and advanced techniques to elevate your 3D modeling projects. This guide offers step-by-step instructions, efficiency tips, and real-world examples to enhance your skills.
Table of Content
- How can I unwrap UV in Blender?
- Comprehensive Guide to UV Unwrapping in Blender
- Introduction to UV Unwrapping in Blender
- Basic Steps for UV Unwrapping
- YOUTUBE: UV Unwrapping Explained for Beginners Blender Tutorial
- Advanced UV Unwrapping Techniques
- Efficiency Tips for UV Unwrapping
- Utilizing Blender Add-ons for UV Unwrapping
- Common Pitfalls and How to Avoid Them
- Exporting and Managing UV Maps
- Case Studies: Real-World UV Unwrapping Examples
- Conclusion and Further Resources
How can I unwrap UV in Blender?
To unwrap UV in Blender, follow these steps:
- Select the faces you want to unwrap in the 3D Viewport.
- Go to the UV menu and choose \'Unwrap\' or simply press \'U\' and select \'Unwrap\'.
- You can also unwrap by going to the UV Editor and selecting \'Unwrap\'.
- Identify the flow of the mesh and plan where to place the seams for better unwrapping results.
- In the UV Editor, start placing the seams on the mesh to guide the unwrapping process.
READ MORE:
Comprehensive Guide to UV Unwrapping in Blender
Learn the essentials of UV Unwrapping in Blender to enhance your 3D modeling and texturing workflow. This guide covers everything from basic concepts to advanced techniques.
Getting Started with UV Unwrapping
- Begin by selecting your model and entering Edit Mode.
- Mark seams on your model to define how it will be unwrapped.
- Use the Unwrap command to generate the UV map.
Advanced Techniques
- Pinning: Pin parts of your UV map to prevent them from moving during further unwrapping.
- Seams and Stretching: Understand how seams can cause stretching and how to minimize it.
- Moving and Hiding Islands: Organize your UV layout by moving and hiding islands.
Efficiency Tips
Maximize your productivity with these UV unwrapping tips:
- Unwrap your model in stages for better control over the UV map.
- Consider using box mapping for simpler models.
- Utilize add-ons like UV Squares and UV Packmaster Pro for enhanced functionality.
Exporting and Managing UV Layouts
Learn how to export your UV layout for external texturing and how to manage UVs efficiently in Blender.
Conclusion
Mastering UV unwrapping in Blender is essential for creating detailed and realistic textures. By applying the techniques and tips outlined in this guide, you can significantly improve your 3D modeling and texturing projects.

Introduction to UV Unwrapping in Blender
UV unwrapping in Blender is an essential skill for any 3D artist looking to apply textures accurately to their models. It involves projecting a 3D model onto a 2D plane to create a map that dictates how a texture wraps around the model. This process allows artists to control the placement of textures, making sure they fit perfectly without stretching or distortion. Understanding the basics of UV unwrapping is crucial for creating high-quality 3D models in Blender.
Before diving into UV unwrapping, it\"s important to plan your approach based on the end use of the UV map, whether it\"s for texturing, shading, or exporting to other software. This planning stage involves deciding on the necessity of overlapping UV maps and considering texture resolution distribution across different parts of the model. For simpler objects, Blender provides a default UV map for primitives added through the menu, which can often suffice without the need for further unwrapping.
Efficient UV unwrapping techniques include using the \"Average Island Scale\" and \"Pack Islands\" functions in the UV editor to ensure uniform scaling and optimal packing of UV islands within the texture space. Beginners are advised to unwrap models in stages, selecting faces and applying the most suitable unwrapping method for each section, rather than attempting to unwrap the entire model at once.
Advanced users can leverage Blender\"s add-ons like UV Squares and UV Packmaster Pro to streamline the unwrapping process, align UV maps into grids, and efficiently pack UVs to maximize texture density. Exporting UV layouts for use in external programs is also possible directly from the UV editor, providing flexibility in your texturing workflow.
In summary, mastering UV unwrapping in Blender opens up vast possibilities for texturing and detailing 3D models. By starting with a solid understanding of basic principles and gradually incorporating advanced techniques and tools, artists can achieve detailed and realistic textures for their 3D creations.

Basic Steps for UV Unwrapping
- Planning Your Unwrap: Before starting, decide on the purpose of your UV map. Consider if overlaps are acceptable, the texel density required, and if the model will use a unique texture map or share textures.
- Using Default UV Maps for Primitives: Blender automatically generates UV maps for primitive shapes, which you can use for simple objects to save time.
- Average Island Scale and Pack Islands: Utilize these tools in the UV editor to ensure your UV islands are scaled uniformly and packed efficiently within the texture space.
- Unwrap in Stages: Rather than unwrapping the entire model at once, select and unwrap different parts of the model individually, using the most suitable algorithm for each part.
- Consider Alternative Mapping Methods: For some projects, box mapping might be sufficient, eliminating the need for a traditional UV map.
- Leverage Blender Add-ons: Tools like UV Squares and UV Packmaster Pro can greatly enhance the unwrapping process by aligning UV maps into grids and packing UVs efficiently.
- Export UV Layout: For texturing in external programs, export your UV layout directly from Blender in various file formats.
- Sync Selection in UV Editor: Toggle between seeing only selected faces or all faces in the UV editor to aid in managing your UV map.
- Select Similar for Efficient Selections: Use this feature to quickly select similar elements in your model, aiding in quicker unwrapping.
- Use Correct Face Attributes: Enable this option to help Blender automatically adjust the UV map as you edit your model, ensuring better UV map integrity.
This guide combines insights and techniques from both Artistic Render and CG Cookie, presenting a comprehensive approach to UV unwrapping in Blender. Emphasizing the importance of planning, leveraging Blender\"s built-in tools and add-ons, and adopting a methodical approach to unwrapping, you can achieve optimal results for your 3D models.

UV Unwrapping Explained for Beginners Blender Tutorial
Beginners: \"Looking to start your journey into the world of [keyword] but not sure where to begin? Our video for beginners breaks down the basics in a clear and engaging way, perfect for newcomers.\" Tutorial: \"Ready to level up your skills? Our in-depth tutorial video will guide you step by step through [keyword], helping you master new techniques and achieve impressive results. Watch now for expert tips!\"
UV Unwrapping Blender Tutorial
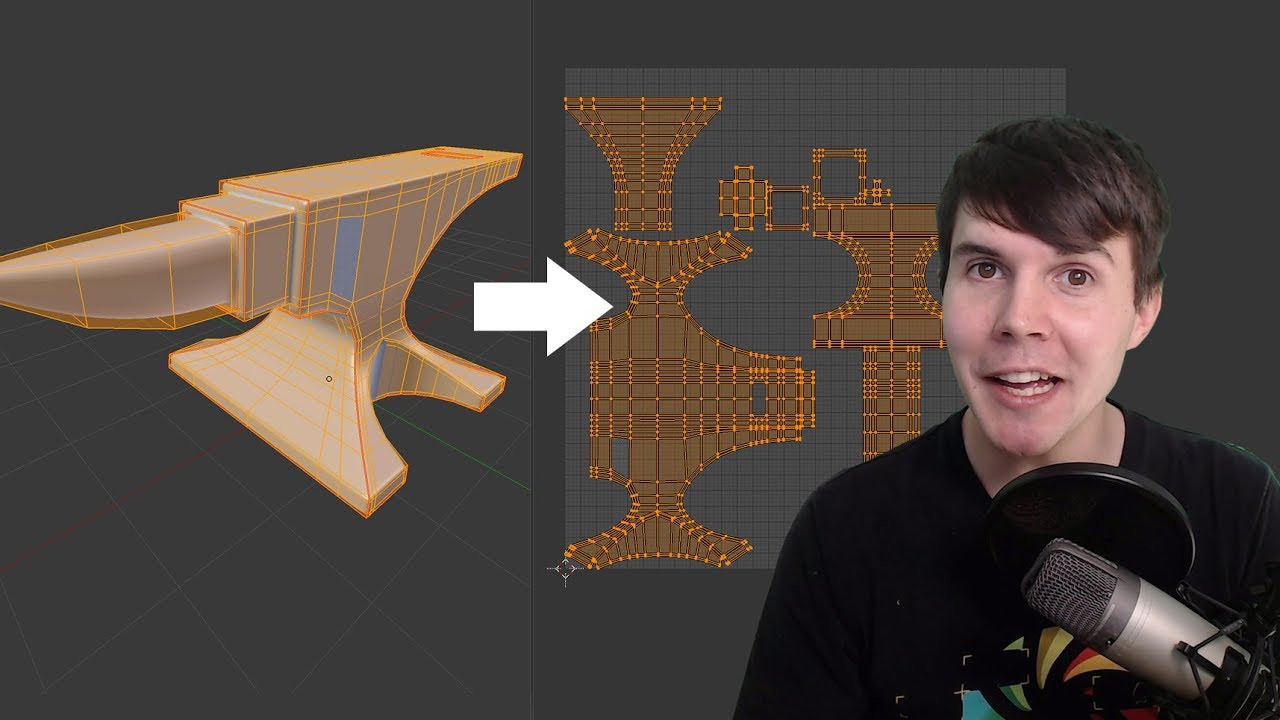
I documented the process of developing this Cave Troll and created a tutorial on how to Unwrap UVs in Blender along the way.
Advanced UV Unwrapping Techniques
Advanced UV unwrapping techniques in Blender leverage more sophisticated methods and tools to achieve precise and efficient texture mapping, catering to complex models and specific project requirements. These techniques include the use of various Blender features and add-ons to optimize the UV mapping process.
- Edge Tagging and Live Unwrap: Utilize edge tagging to select paths for seams rapidly, enhancing unwrapping speed. Live Unwrap updates the UV map in real time as you adjust seams, providing instant feedback.
- Subdivision Surface Awareness: When working with subdivision surfaces, it\"s crucial to manage UV stretching by adjusting seams in Edit Mode while monitoring the effects on the subdivided model.
- Straightening UVs: Use Auto Align and Follow Active Quads to straighten UV edges and islands, ensuring textures apply neatly without distortion.
- Pinning: Pin specific vertices or islands in the UV Editor to maintain their position while unwrapping other parts of the model, useful for complex unwrapping tasks.
- UV Island Management: Techniques for hiding, moving, or scaling UV islands to manage texture space efficiently and avoid overlapping or wasted space.
- Seam Placement for Subdiv Surfaces: Carefully place seams to minimize stretching caused by subdivision, using visualization tools to identify and correct issues.
- Advanced Packing with Add-ons: Employ advanced packing tools like UVPackmaster for efficient space utilization within the UV map, surpassing Blender\"s built-in capabilities.
- Separating, Stitching, and Welding UVs: Use these tools to adjust and refine UV maps by disconnecting or merging UV islands and vertices, enhancing the coherence of the UV layout.
- Utilizing Pivot Points and the 2D Cursor: Leverage different pivot points for scaling and arranging UV islands, using the 2D cursor for precise placement within the texture space.
- Texture Coordination for Shaders: In node-based shading workflows, manage multiple UV maps and textures for intricate material effects, utilizing UV Map and Texture Coordinate nodes for versatile texture application.
These advanced techniques, sourced from both Artistic Render and CG Cookie, represent just the tip of the iceberg when it comes to UV unwrapping in Blender. They enable artists to tackle more complex unwrapping scenarios with precision, ultimately leading to better texture application and higher quality renders.

_HOOK_
Efficiency Tips for UV Unwrapping
Efficiency in UV unwrapping is key to a smooth workflow in Blender. By adopting certain strategies and utilizing Blender\"s robust toolset, you can significantly improve your UV unwrapping efficiency. Here are some tips gathered from various experts.
- Plan Your Unwrapping: Start by understanding the purpose of your UV map. Consider whether overlaps are permissible, the importance of texel density, and the final use of the UV map.
- Use Default UV Maps for Primitives: Blender automatically generates UV maps for primitive shapes. This feature can save time when working with simple objects.
- Average Island Scale and Pack Islands: These tools in the UV editor ensure that UV islands are scaled uniformly and packed efficiently within the texture space.
- Unwrap in Stages: Instead of unwrapping the entire model at once, tackle it in sections to utilize the most suitable unwrapping method for each part.
- Explore Box Mapping: For certain projects, box mapping may suffice, eliminating the need for traditional UV mapping.
- Utilize Blender Add-ons: Add-ons like UV Squares and UV Packmaster Pro can significantly enhance productivity by aligning UV maps into grids and optimizing UV packing.
- Export UV Layouts: Blender allows the exportation of UV layouts, which is particularly useful for texturing in external programs.
- Sync Selection in UV Editor: This feature allows for a more streamlined selection process between the 3D viewport and UV editor.
- Select Similar for Efficient Selections: Quickly select similar elements in your model to expedite the unwrapping process.
- Correct Face Attributes Dynamically: Enable this option to help Blender automatically adjust the UV map as the model is edited.
Implementing these tips, derived from Artistic Render and CG Cookie, can greatly enhance your UV unwrapping efficiency, leading to a more streamlined and effective texturing workflow in Blender.
Utilizing Blender Add-ons for UV Unwrapping
Blender\"s functionality for UV unwrapping can be significantly enhanced with the use of add-ons. These tools are designed to streamline the UV mapping process, offering features that go beyond the default capabilities of Blender. This section outlines some of the most popular and useful add-ons for UV unwrapping, providing guidance on how to integrate them into your workflow.
UV Squares: This add-on is ideal for transforming UV maps into grid-aligned squares. It\"s particularly useful for objects that require uniform texture distribution. After installing UV Squares, you can easily straighten and align your UV maps with just a few clicks, making it a time-saver for both simple and complex models.
TexTools: TexTools is a comprehensive suite for UV mapping and texture work in Blender. It offers a wide range of tools for UV unwrapping, including alignment, scaling, and layout optimization features. TexTools can significantly improve the efficiency of your UV mapping process, especially for complex models that require detailed texture work.
UVPackmaster: UVPackmaster is an advanced UV packing solution that optimizes the space usage of your UV maps. It uses a sophisticated algorithm to tightly pack UV islands, minimizing wasted texture space. This add-on is essential for projects where texture resolution is critical, ensuring you get the most out of your textures.
How to Install and Use Add-ons:
- Download the add-on from the Blender Market or the developer\"s website.
- In Blender, go to Edit > Preferences > Add-ons > Install, and select the downloaded file.
- Enable the add-on by checking the box next to its name in the Add-ons tab.
- Access the add-on\"s features through the UV Editing workspace, where new panels or tools will appear depending on the add-on.
Integrating these add-ons into your UV unwrapping workflow can greatly enhance your productivity and the quality of your UV maps. Experiment with different tools to find the best combination for your specific needs. Remember, the goal is to create efficient, well-organized UV maps that serve your texturing needs.
Common Pitfalls and How to Avoid Them
UV unwrapping in Blender is a critical process for texturing models effectively, but there are common pitfalls that can disrupt this process. Understanding these pitfalls and how to avoid them can significantly improve your UV mapping workflow.
- Ignoring Average Island Scale and Pack Islands: Utilize the \"Average Island Scale\" and \"Pack Islands\" operators in the UV editor to ensure uniform scale across your UV map and optimize texture space usage, preventing UV islands from overlapping or being placed outside the texture space.
- Unwrapping the Entire Model at Once: Beginners often unwrap the whole model in one go, which can lead to inefficient UV maps. Instead, unwrap your model in stages, selecting and unwrapping different parts separately with the most suitable algorithm for each geometry type.
- Overlooking Box Mapping: In some cases, you might not need a UV map at all. Box mapping can be a viable alternative, especially for objects where a projection from all six sides suffices, providing a quick and seamless texturing method without the need for precise UV maps.
- Not Utilizing UV Squares and UV Packmaster Pro Plugins: These add-ons can significantly enhance your productivity by aligning UV maps into grids and packing UVs efficiently to maximize texture density, respectively.
- Failing to Export UV Layouts: Exporting your UV layout can be crucial when painting textures in external programs. Ensure to export your UV layout for reference, choosing the appropriate resolution and file format for your project.
- Incorrect Selection Synchronization in UV Editor: Managing UV sync selection properly allows for better visibility and selection control in the UV editor, aiding in precise UV map adjustments and troubleshooting.
- Not Using Pinning to Secure UV Islands: Pinning allows you to anchor certain parts of your UV map, preventing them from being altered during further unwrapping. This is especially useful when making adjustments or adding seams to your model.
- Overlapping Islands due to Unpinned Adjustments: When adjusting your UV map, ensure that pinned islands are moved aside to prevent overlap with newly unwrapped islands, keeping your UV workspace organized.
By being mindful of these pitfalls and adopting the suggested strategies, you can avoid common mistakes and improve the quality and efficiency of your UV unwrapping process in Blender.
Exporting and Managing UV Maps
Effectively exporting and managing UV maps in Blender involves a series of steps that ensure your UV layouts are efficiently utilized and easily integrated into your texturing workflow. This guide provides key tips and strategies for handling UV maps from Blender.
Exporting UV Layouts: Blender allows the export of UV layouts, which can be used as a reference in external texturing applications. To export a UV layout, access the UV menu in the UV editor and select \"Export UV Layout\". This option enables you to save your UV map in various file formats, including PNG, facilitating a seamless transition to texture painting or adjustment in other software.
Managing UV Maps: Efficient UV map management is crucial for maintaining the quality and organization of your texture work. Blender offers several tools and features for UV map manipulation:
- Separating, Stitching, and Welding UVs: Use the \"Y\" key to separate selected UVs, making them independent. Stitch UVs together with the \"V\" key for unified larger islands, and weld vertices with \"Shift+W\" to consolidate their position, optimizing UV space.
- Using Add-ons: Enhance your UV mapping workflow with add-ons like UV Squares and UVPackmaster 2 Pro. UV Squares aligns UV maps into grids, improving texture uniformity, while UVPackmaster 2 Pro efficiently packs UV islands, maximizing texture space utilization.
- UV Unwrapping Workflows: Employ different unwrapping tools and strategies for varied project needs. Consider smart UV projects for initial unwrapping and utilize texture coordinate nodes in the shader editor for flexible texturing approaches.
- Sync Selection and LookDev Mode: Leverage synchronized selection between the UV Editor and 3D view to streamline the unwrapping process. Utilize LookDev mode to visually assess and adjust the scale and rotation of UV maps on your model.
Adopting these practices for exporting and managing UV maps in Blender will greatly enhance the efficiency and effectiveness of your texturing process, ensuring high-quality results in your 3D projects.

Case Studies: Real-World UV Unwrapping Examples
This section delves into practical applications of UV unwrapping techniques in Blender, showcasing how different strategies are applied in real-world projects. By examining these case studies, users can gain insights into the versatility and challenges of UV mapping across various types of models and textures.
- Character Modeling: For character models, UV unwrapping plays a crucial role in applying detailed textures to complex geometries. A case study might explore how seams are strategically placed to minimize visibility, and how the unwrap accommodates deformation during animation.
- Architectural Visualization: In architectural visualization, UV unwrapping ensures that textures like bricks, tiles, and wood grains align correctly with the model\"s geometry. A detailed examination could reveal the use of project from view unwrapping for flat surfaces and the importance of scale uniformity.
- Game Assets: UV unwrapping for game assets often focuses on optimizing texture space and reducing texture stretching. A case study could discuss the balance between texture resolution and performance, showcasing techniques like packing and the use of atlases for multiple objects.
- Product Design: In product design, UV unwrapping must ensure that material textures accurately reflect real-world objects. This might involve complex unwrapping to simulate the appearance of fabrics, metals, and other materials under different lighting conditions.
Each case study emphasizes a unique aspect of UV unwrapping, from the initial selection of seams to the final adjustments in the UV editor. By exploring these examples, users can understand the critical thinking and technical skills required to tackle their UV mapping challenges in Blender.
_HOOK_
READ MORE:
Conclusion and Further Resources
Mastering UV unwrapping in Blender is a journey that combines the art of 3D modeling with the science of texture mapping. Throughout this guide, we\"ve explored various techniques and tools that can enhance your UV unwrapping workflow. From basic steps to advanced tactics, efficiency tips, and the use of Blender add-ons, each section is designed to equip you with the knowledge to tackle UV mapping challenges effectively.
As you continue to develop your skills, remember that UV unwrapping is as much about practice and experimentation as it is about understanding the underlying principles. Here are some further resources to aid your learning:
- Blender Manual: The official Blender manual is an invaluable resource for understanding all aspects of Blender, including detailed sections on UV mapping and texture work.
- Online Tutorials and Courses: Websites like CG Cookie, Blender Guru, and ArtStation offer tutorials ranging from beginner to advanced levels, covering a wide array of UV mapping techniques and case studies.
- Blender Communities: Joining Blender forums and communities can provide you with insights from other artists, feedback on your work, and answers to specific questions you might have.
- Practice Projects: There\"s no substitute for hands-on practice. Challenge yourself with projects that push your boundaries and apply the techniques you\"ve learned in different scenarios.
In conclusion, UV unwrapping is a crucial skill in the toolbox of any 3D artist. With patience, practice, and the right resources, you can achieve highly detailed and realistic textures for your models. Keep exploring, learning, and creating, and let your artistic vision guide you through the fascinating world of 3D texturing and modeling in Blender.
Embark on a journey to master UV unwrapping in Blender, transforming your 3D models with precise textures and realism. This comprehensive guide illuminates the path from basic techniques to advanced strategies, empowering artists at every level to unleash their creative potential.