Topic how to make butter in the blender: Discover the joy of making fresh, creamy butter at home with your blender. This simple guide will lead you through each step, ensuring delicious results with minimal effort. Start your butter-making adventure today!
Table of Content
- How long does it take to make butter in the blender?
- Choosing the Right Ingredients and Equipment
- Preparation Before Blending
- Blending Process
- Separating Butter and Buttermilk
- Rinsing and Washing the Butter
- Flavoring and Storing Your Homemade Butter
- YOUTUBE: How to Make Butter in a Blender
- Troubleshooting Common Issues
- Benefits of Homemade Butter
- Recipes and Variations
- Cleaning and Maintenance of Your Blender
How long does it take to make butter in the blender?
Making butter in a blender is a quick and easy process that typically takes around 5-10 minutes.
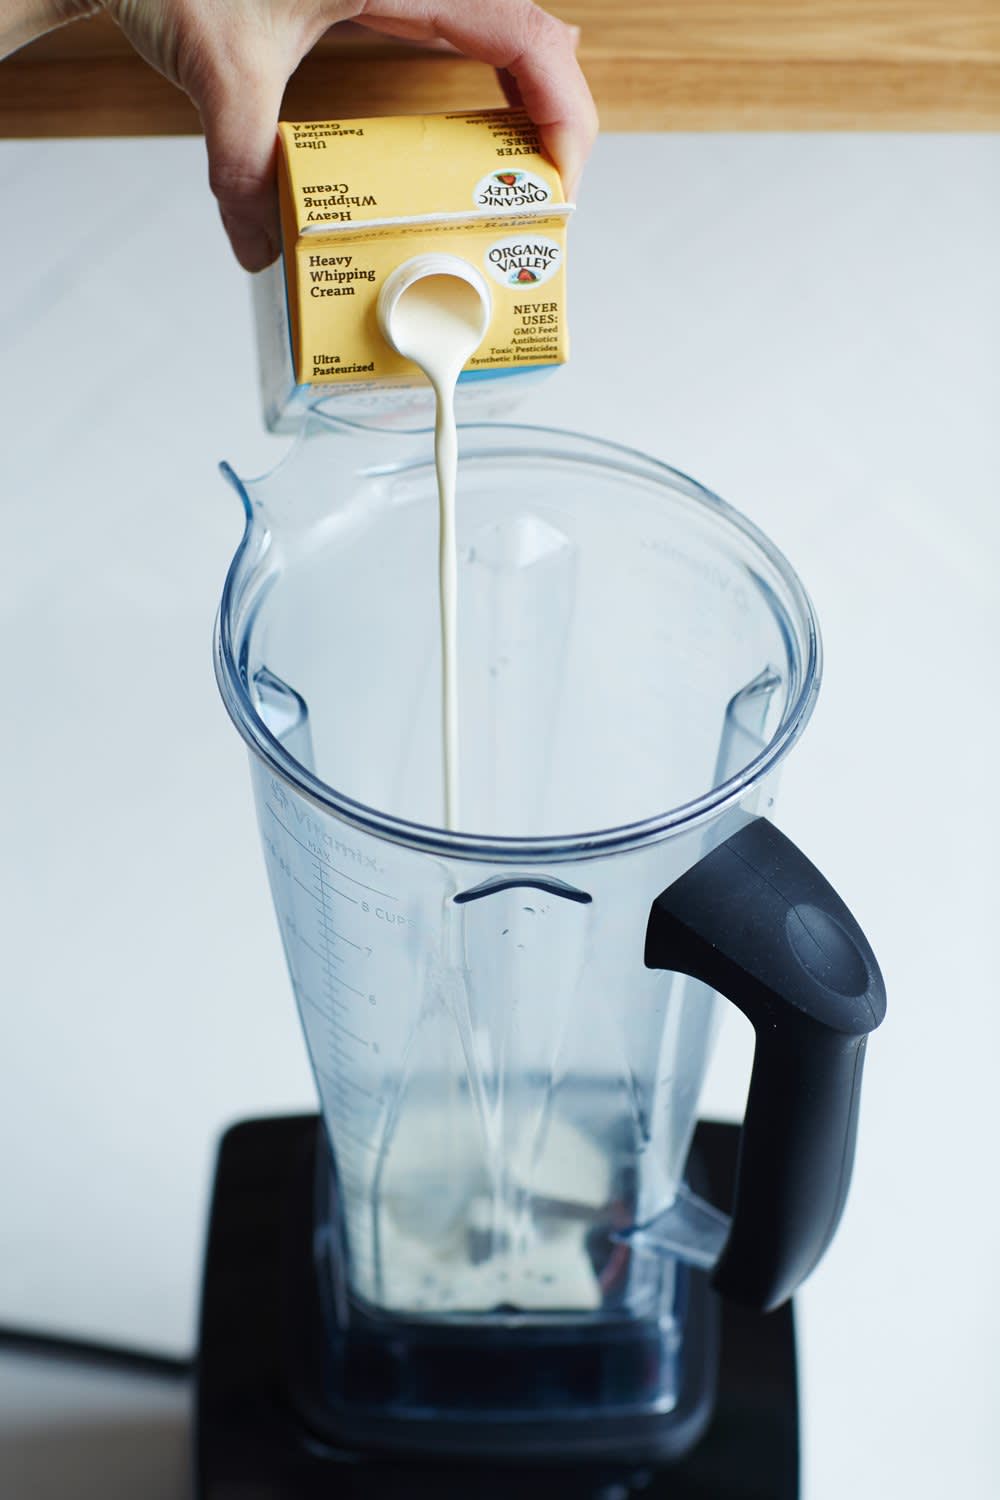
- Pour heavy cream into your blender and blend on high speed until the cream starts to thicken.
- Continue blending until the cream separates into solid butter and buttermilk. This usually takes a few minutes.
- Once separation occurs, stop blending and carefully strain out the buttermilk from the blender. You can use a cheesecloth or a fine-mesh strainer for this step.
- Gently press the solid butter to remove any excess liquid.
- Rinse the butter under cold water to remove any remaining buttermilk. This helps to improve the butter\'s shelf life.
- Continue kneading and pressing the butter until it becomes smooth and malleable.
- Finally, shape the butter into a block or roll it into a log using parchment paper. You can also add salt or other seasonings at this stage if desired.
- Store the homemade butter in an airtight container in the refrigerator until ready to use.
With these simple steps, you can make your own delicious homemade butter in no time using a blender!
READ MORE:
Choosing the Right Ingredients and Equipment
For making butter in a blender, the quality of your ingredients and the reliability of your equipment are crucial. Here\"s how to choose them:
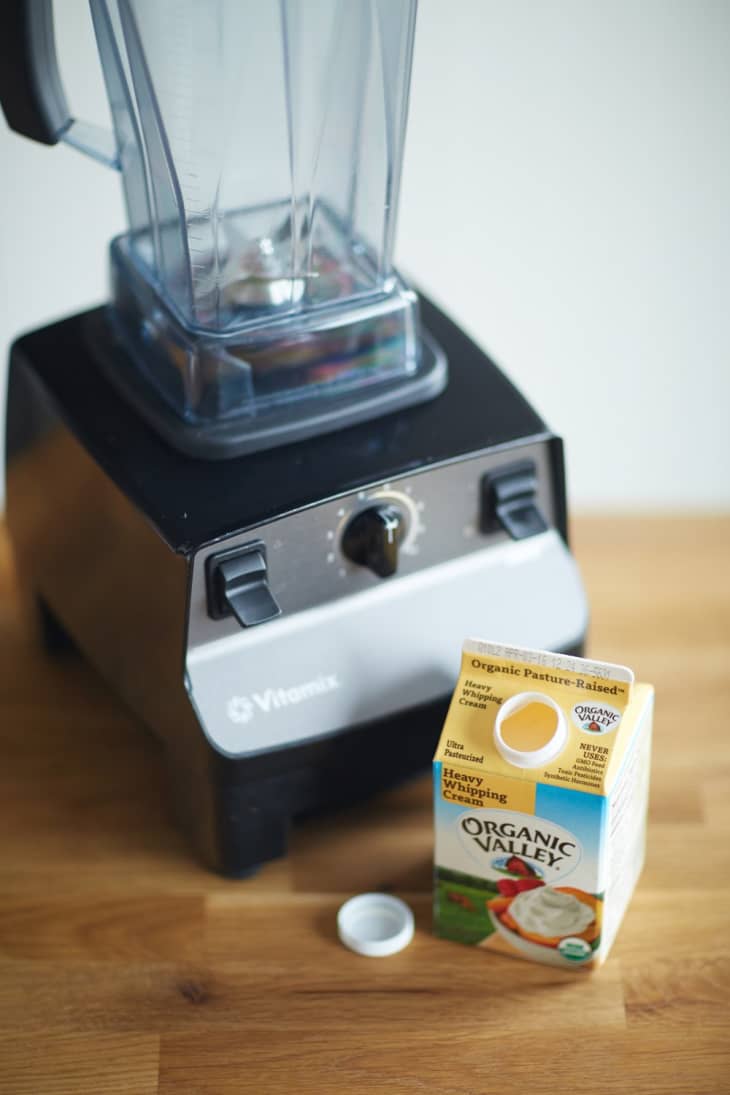
- Heavy Cream: Opt for high-quality, fresh heavy cream with a high fat content, preferably organic or sourced from grass-fed cows for the best flavor and texture.
- Blender: A high-powered blender is ideal for making butter, as it can efficiently turn cream into butter in a few minutes. Ensure your blender can handle the thick consistency without overheating.
- Storage Containers: Prepare clean, airtight containers for storing your homemade butter. Glass jars or plastic containers with tight lids are perfect.
- Additional Equipment: Have a spatula for scraping the sides of the blender, a sieve or cheesecloth for separating the buttermilk, and a bowl for washing the butter.
By carefully selecting your ingredients and ensuring you have the right equipment, you\"ll set yourself up for success in making delicious homemade butter.

Preparation Before Blending
Proper preparation is key to smooth butter-making in your blender. Follow these steps to ensure everything is ready:
- Chill the Cream: Place your heavy cream in the refrigerator for at least an hour before blending. Cold cream turns into butter more easily.
- Prepare Your Blender: Ensure your blender is clean and dry. Assemble it and make sure it\"s ready to use.
- Measure the Cream: Depending on the size of your blender, you may need to work in batches. Measure out the cream to avoid overfilling your blender, which could make the blending process less efficient.
- Set Up Your Workspace: Have a bowl ready for catching buttermilk once the butter separates, and lay out a cheesecloth or fine sieve for straining. Also, prepare a container for storing the finished butter.
This preparation ensures a seamless butter-making process, allowing the cream to blend smoothly into butter with minimal hassle.
Blending Process
Turning cream into butter using a blender involves a straightforward yet fascinating process. Here\"s how to do it:
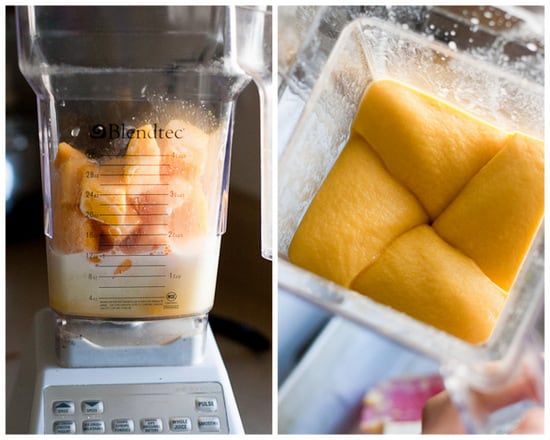
- Start Blending: Pour the chilled cream into your blender. Secure the lid tightly. Start blending on a low speed, gradually increasing to medium-high. This helps prevent splashing and allows the cream to thicken evenly.
- Observe the Stages: First, the cream will turn into whipped cream. Continue blending, and you\"ll notice the mixture thickening further and starting to separate into butter and buttermilk.
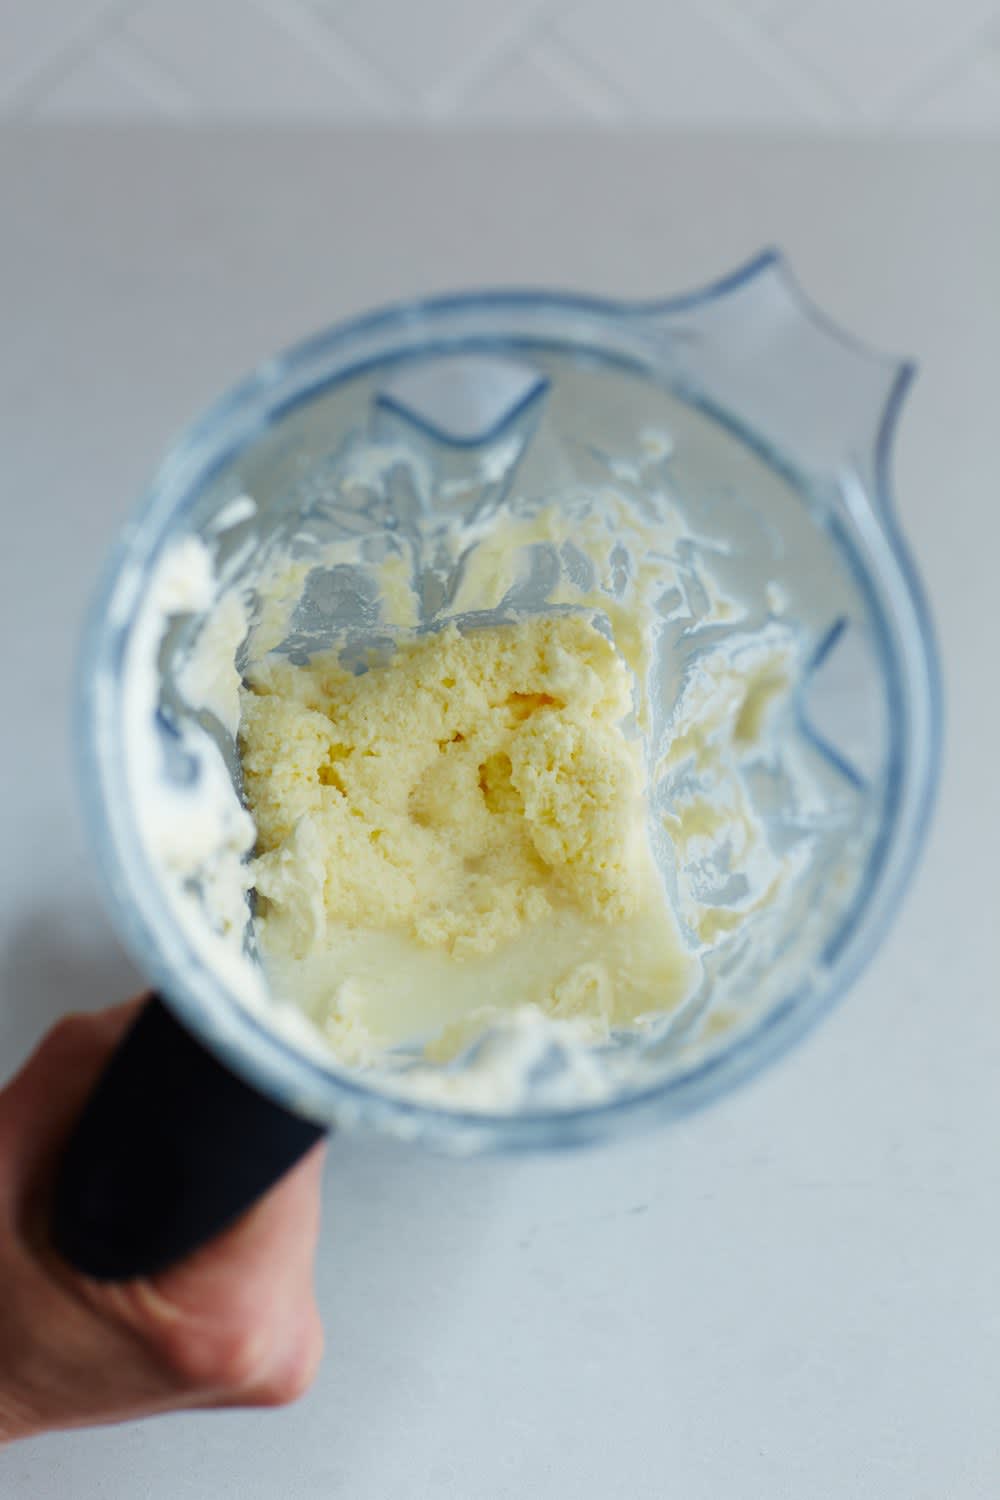
- Butter Formation: Once you see solid chunks of butter forming and separating from the liquid buttermilk, stop the blender. This usually takes between 3 to 8 minutes, depending on your blender\"s speed and the cream\"s fat content.
- Separate Butter from Buttermilk: Use a sieve or cheesecloth to strain out the buttermilk, reserving it for other recipes if desired. You\"ll be left with solid butter.
Be attentive during the blending process to avoid over-processing, which can affect the texture of your butter. Enjoy the transformation from cream to butter, and get ready to rinse and store your homemade dairy delight.

Separating Butter and Buttermilk
After the blending process, you\"ll need to separate the butter from the buttermilk. This step is essential for finishing your homemade butter. Here\"s how to do it efficiently:
- Pause When Separated: Once you notice that the butter solids have separated from the buttermilk, stop the blender.
- Strain the Mixture: Pour the contents of the blender through a sieve or cheesecloth over a bowl. This will catch the solid butter while allowing the buttermilk to drain away.
- Reserve Buttermilk: Don\"t discard the buttermilk! It\"s a valuable by-product that can be used in baking or cooking. Store it in a separate container in the refrigerator.
- Press the Butter: Use a spatula or the back of a spoon to press the butter against the sieve or cheesecloth. This helps remove any remaining buttermilk, which is crucial for extending the shelf life of your butter.
Separating your butter and buttermilk properly ensures you get the most out of your ingredients and helps in creating a purer, longer-lasting homemade butter.
_HOOK_
Rinsing and Washing the Butter
After separating the butter from the buttermilk, rinsing it is a crucial step to improve its taste, texture, and longevity. Follow these steps to properly rinse and wash your homemade butter:
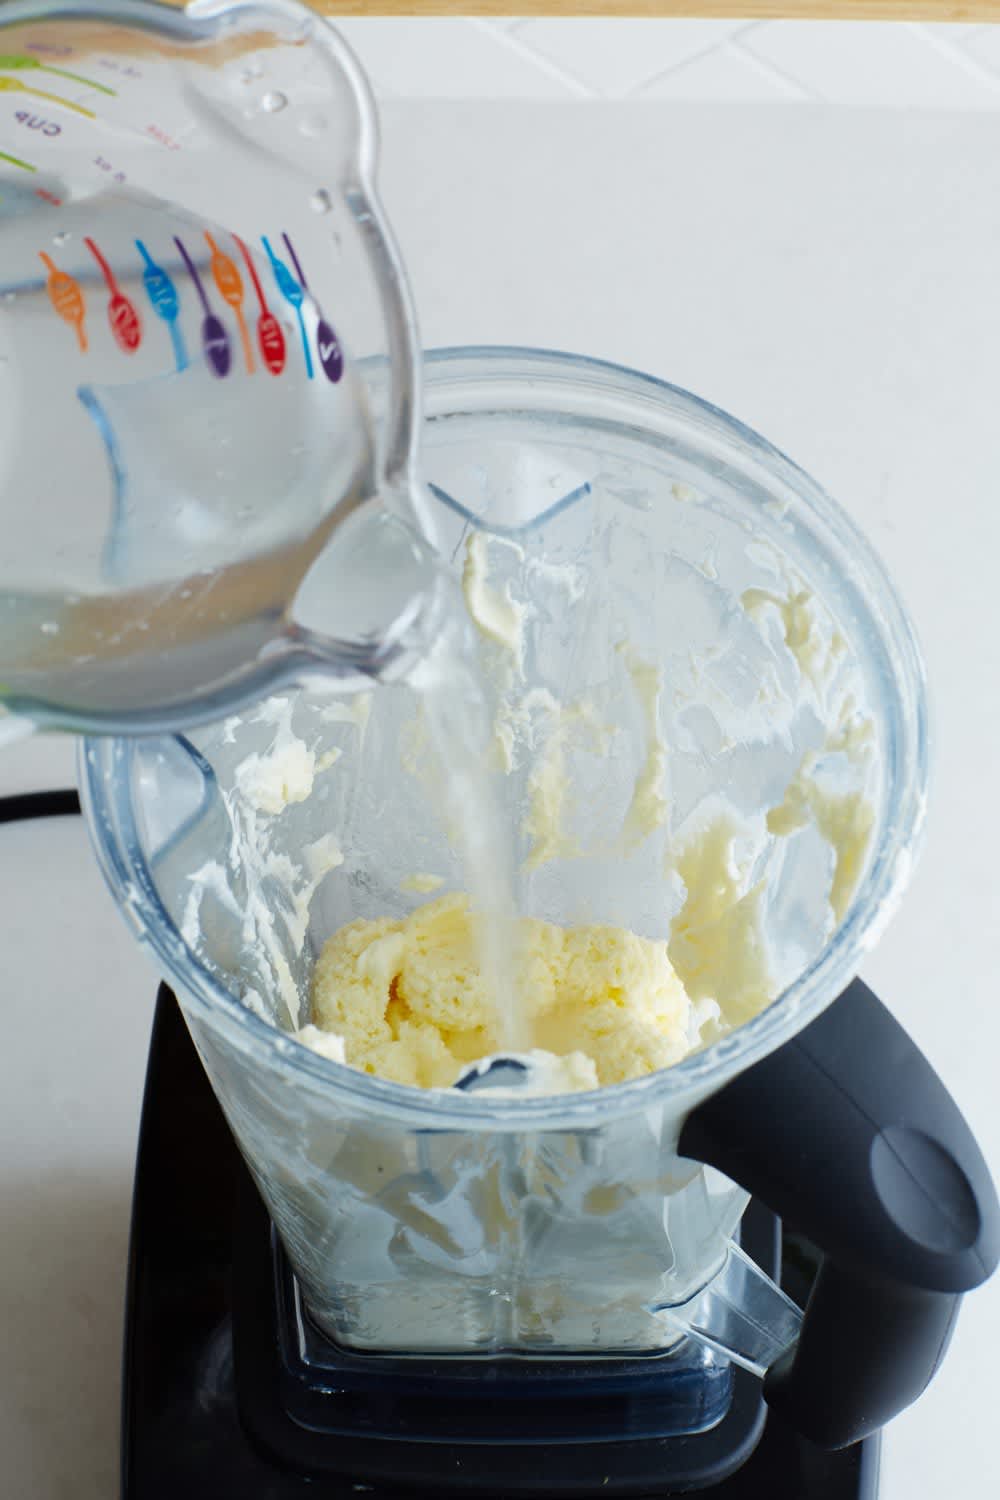
- Cold Water Rinse: Place the butter in a bowl of cold water. The water should be as cold as possible to firm up the butter and make it easier to handle.
- Knead the Butter: Gently knead the butter in the water. This process helps remove any remaining buttermilk trapped within the butter. Buttermilk can cause the butter to spoil faster, so thorough rinsing is important.
- Change the Water: Once the water becomes milky, drain it and refill the bowl with fresh cold water. Repeat the rinsing and kneading process until the water remains clear, indicating that most of the buttermilk has been removed.
- Dry the Butter: After the final rinse, remove the butter from the water and gently pat it dry with a clean kitchen towel or paper towels. Removing as much moisture as possible is key to preserving the butter.
Rinsing and washing your butter not only extends its shelf life but also enhances its flavor by removing any lingering buttermilk. Enjoy your clean, fresh homemade butter!
:strip_icc()/recipes-how-to-cooking-basics-how-to-soften-butter-06-83f8c3379118464a9bcd932d609a66ba.jpg)
Flavoring and Storing Your Homemade Butter
Customizing the flavor of your homemade butter and storing it correctly ensures you can enjoy it at its best. Here\"s how to add flavors and keep your butter fresh:
- Adding Flavors: For flavored butter, consider mixing in salt, herbs, garlic, or honey. Add these ingredients after rinsing but before storing. Mix thoroughly for even distribution.
- Salting Your Butter: If you prefer salted butter, add salt to taste. Start with a small amount, mix well, and taste; you can always add more if needed.
For storing your butter:
- Refrigeration: Store butter in an airtight container in the refrigerator. This keeps it fresh and prevents it from absorbing odors. Homemade butter can last up to a month when stored properly.
- Freezing: For longer storage, wrap the butter in parchment paper and then place it in a freezer bag. Butter can be frozen for up to a year. Thaw in the refrigerator before use.
By flavoring and storing your butter correctly, you\"ll enhance its taste and extend its shelf life, making your butter-making efforts even more rewarding.
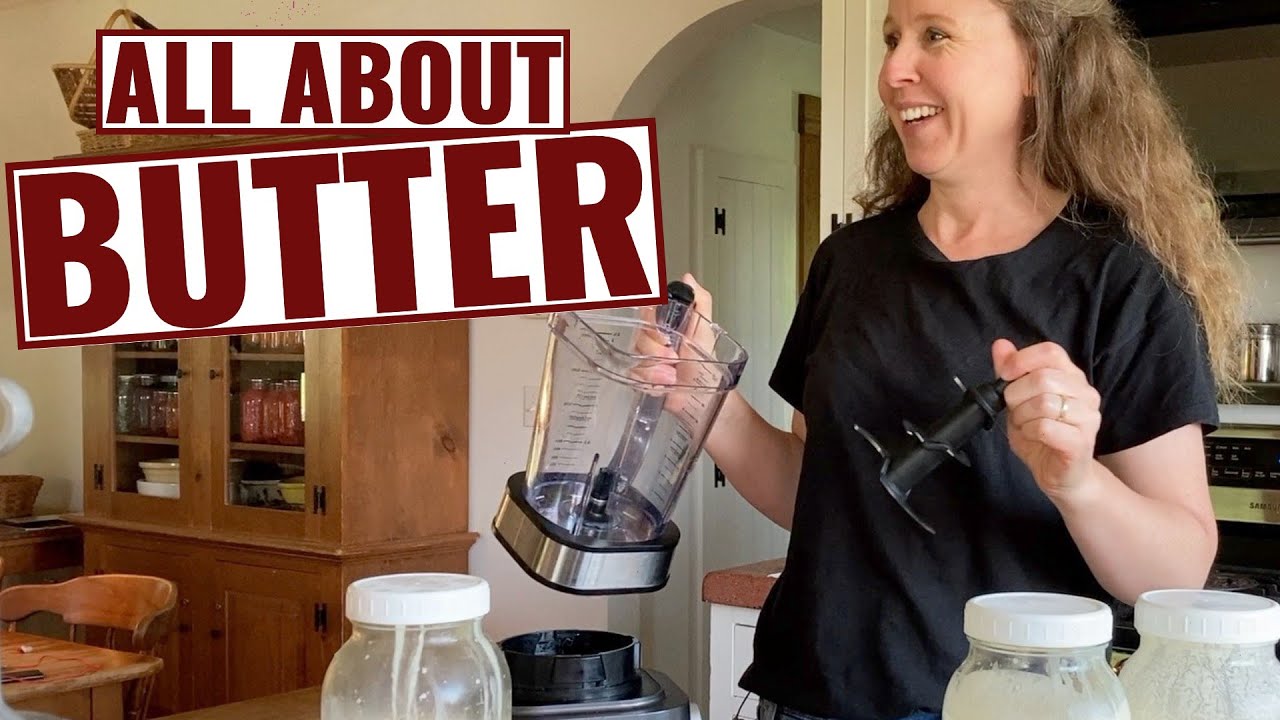
How to Make Butter in a Blender
\"Discover the secret to perfecting your pancakes with the silky smoothness of butter! In our video, we\'ll show you the art of achieving that heavenly golden brown texture and mouthwatering flavor. Get ready to elevate your breakfast game to buttery perfection!\"
How to Make Butter in a Blender
\"Ready to whip up some culinary magic? Our video will guide you through the mesmerizing world of blenders, transforming simple ingredients into delectable creations. Unleash the power of precision and speed with our blender tips and recipes, and unlock a world of endless culinary possibilities!\"
Troubleshooting Common Issues
Even with careful preparation, you may encounter some issues while making butter in a blender. Here are solutions to common problems:
- Butter Doesn\"t Form: If after several minutes of blending, butter hasn’t formed, your cream may not be cold enough. Try chilling the cream further before attempting again.
- Butter Is Too Soft: This can happen if the butter gets too warm during processing. Place it in the refrigerator for a short time to firm up before rinsing and shaping.
- Buttermilk Is Hard to Separate: If you’re having trouble separating the buttermilk, ensure you’re using a fine mesh sieve or cheesecloth. Gently pressing the butter can help release more liquid.
- Butter Tastes Bland: Homemade butter will taste different from store-bought, but if it’s too bland, consider adding a bit of salt to enhance the flavor.
- Butter Spoils Quickly: Make sure all the buttermilk is thoroughly rinsed out and the butter is stored correctly in an airtight container in the refrigerator.
By addressing these issues, you can enjoy smooth, flavorful homemade butter made right in your blender.

Benefits of Homemade Butter
Homemade butter offers several advantages over store-bought varieties, making it a worthwhile endeavor. Here are some key benefits:
- Freshness: You control the quality and freshness of the ingredients, resulting in a fresher, more flavorful butter.
- Healthier Options: By choosing organic or grass-fed cream, you can make a healthier butter with better nutritional profile, including higher levels of omega-3 fatty acids and vitamins.
- Custom Flavors: Homemade butter allows you to experiment with different flavors by adding herbs, spices, or salt to suit your taste preferences.
- Reduced Waste: Making butter at home reduces packaging waste and allows you to reuse containers, contributing to a more sustainable lifestyle.
- Economic Benefits: Over time, making your own butter can be cost-effective, especially if you purchase cream in bulk or on sale.
- Satisfaction: The process of making butter is simple and rewarding, offering a sense of accomplishment and the joy of creating something delicious with your own hands.
These benefits highlight why many choose to make their own butter, enjoying not just the superior taste but also the health and environmental advantages.
Recipes and Variations
Once you\"ve mastered basic butter-making, explore these recipes and variations to enhance your culinary creations:
- Herb-Infused Butter: Mix in fresh or dried herbs such as rosemary, thyme, or basil for a flavorful addition to bread, vegetables, or meats.
- Honey Butter: Combine softened butter with honey and a pinch of salt for a sweet spread perfect for breakfast or brunch.
- Garlic Butter: Add minced garlic and a little parsley to your butter for a delicious complement to bread, pasta, or seafood dishes.
- Cinnamon Sugar Butter: Stir in cinnamon and sugar to taste for a delightful topping on toast, pancakes, or sweet potatoes.
- Lemon Zest Butter: Incorporate lemon zest and a bit of juice for a citrusy butter that\"s great on fish or as a component in baking.
These variations are just the beginning. Experiment with different combinations to find your favorites or to tailor your butter to specific dishes. Homemade butter is a versatile ingredient that can be customized in countless delicious ways.
_HOOK_
READ MORE:
Cleaning and Maintenance of Your Blender
Keeping your blender in top condition is essential for making butter and other recipes. Here\"s how to clean and maintain it properly:
- Immediate Cleaning: After each use, rinse the blender jar and lid with warm water to remove any residue. This prevents butter or other ingredients from hardening and becoming difficult to clean.
- Deep Cleaning: Fill the blender halfway with warm water and add a drop of dish soap. Blend on high for 30 seconds, then rinse thoroughly. This helps to remove any leftover grease or particles.
- Drying: Disassemble the blender jar from the base and remove the blade if possible. Air dry all components or use a clean towel to dry them manually. Ensure everything is completely dry before reassembling.
- Blade Care: Check the blades regularly for any signs of wear or dullness. Sharp blades are crucial for efficient blending. If the blades are dull, consult the manufacturer\"s instructions for sharpening or replacement.
- Storage: Store your blender in a dry place. If storing for an extended period, place a dry cloth inside the jar to absorb any moisture and prevent odors.
Proper cleaning and maintenance will extend the life of your blender, ensuring it\"s always ready for your next butter-making session or any other culinary task.
Embrace the simplicity and satisfaction of making your own butter in a blender. With these steps and tips, you\"re ready to enjoy fresh, flavorful butter that will elevate your meals and impress your guests.