Topic how to make butter in a blender: Discover the joy of making your own butter with a blender! This simple, step-by-step guide will show you how to turn cream into rich, creamy butter in minutes, right in your kitchen. Perfect for beginners and culinary enthusiasts alike.
Table of Content
- How do I make butter using a blender?
- Choosing the Right Ingredients and Equipment
- Preparing the Cream
- The Blending Process
- Separating the Butter from Buttermilk
- Rinsing and Washing the Butter
- YOUTUBE: How to Make Butter in a Blender
- Flavoring and Storing Your Homemade Butter
- Troubleshooting Common Issues
- Health Benefits and Uses of Homemade Butter
- FAQs and Expert Tips
How do I make butter using a blender?
To make butter using a blender, you can follow these simple steps:
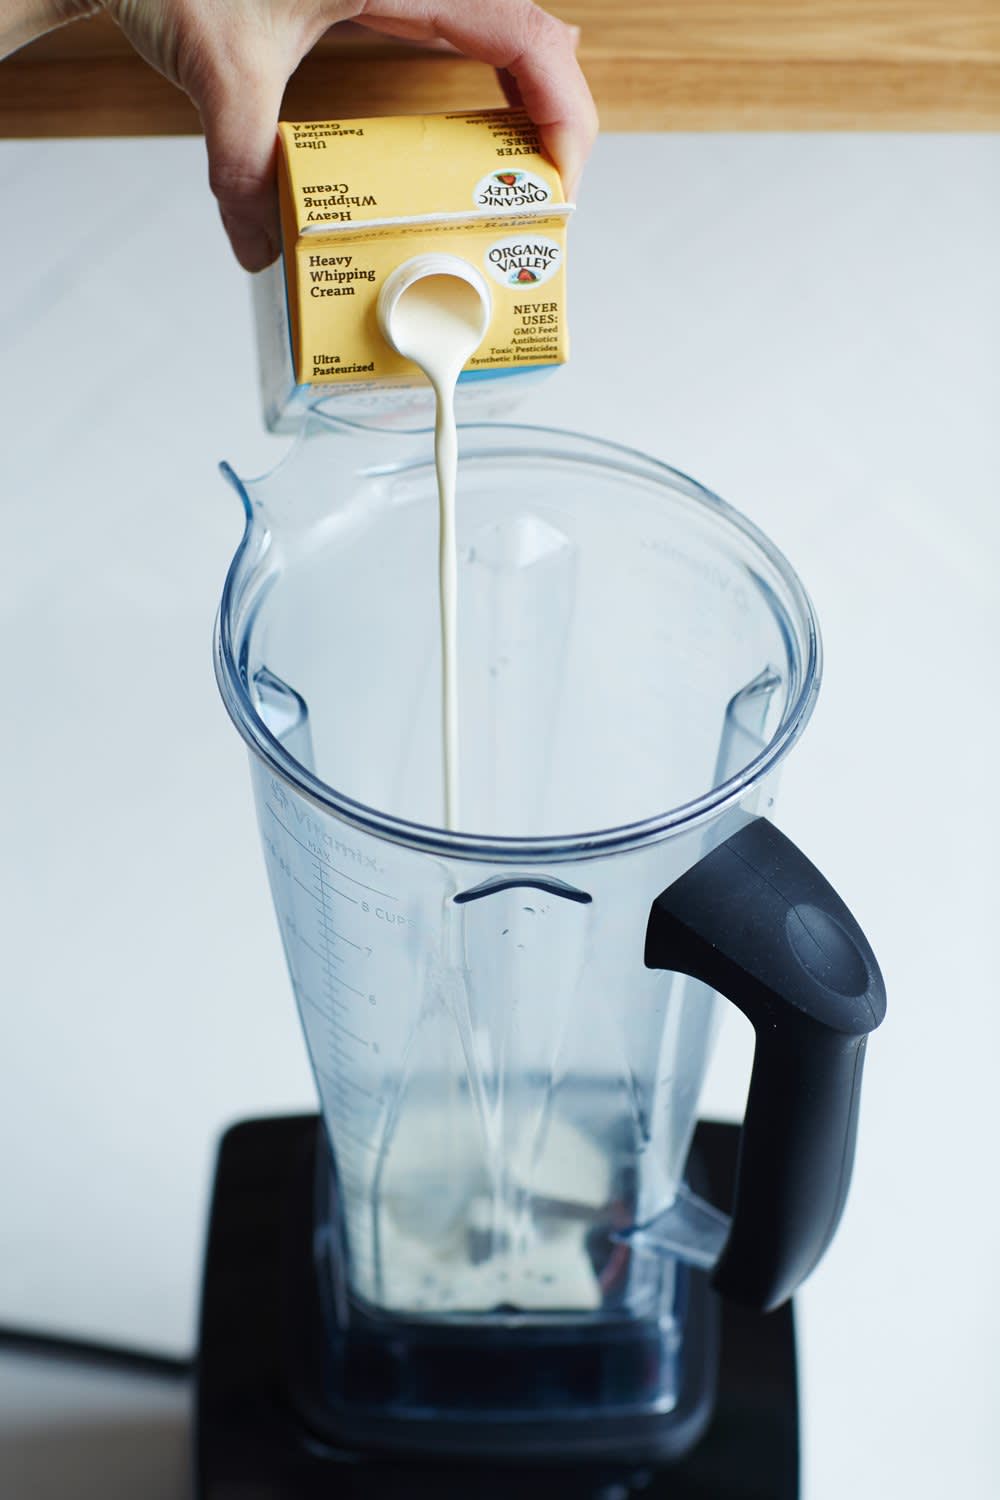
- Pour heavy cream into your blender and blend on high speed.
- Continue blending until the heavy cream begins to separate, typically after a few minutes.
- Once the cream separates, you will notice that the butterfat solids have clumped together, leaving a liquid called buttermilk.
- Strain the mixture to separate the butterfat solids from the buttermilk. You can use a fine mesh strainer or cheesecloth for this step.
- Rinse the butterfat solids under cold water to remove any excess buttermilk.
- If desired, you can add a pinch of salt to enhance the flavor and knead it into the butter using a spatula.
- Shape the butter into a block or stick by placing it in a mold or wrapping it tightly in parchment paper or plastic wrap.
- Refrigerate the butter for at least 30 minutes to allow it to solidify.
And there you have it! Your homemade butter made using a blender. Enjoy spreading it on your favorite bread or using it in your cooking and baking recipes.
READ MORE:
Choosing the Right Ingredients and Equipment
Creating butter in a blender starts with selecting high-quality ingredients and the appropriate equipment. Here\"s what you need to know to begin.
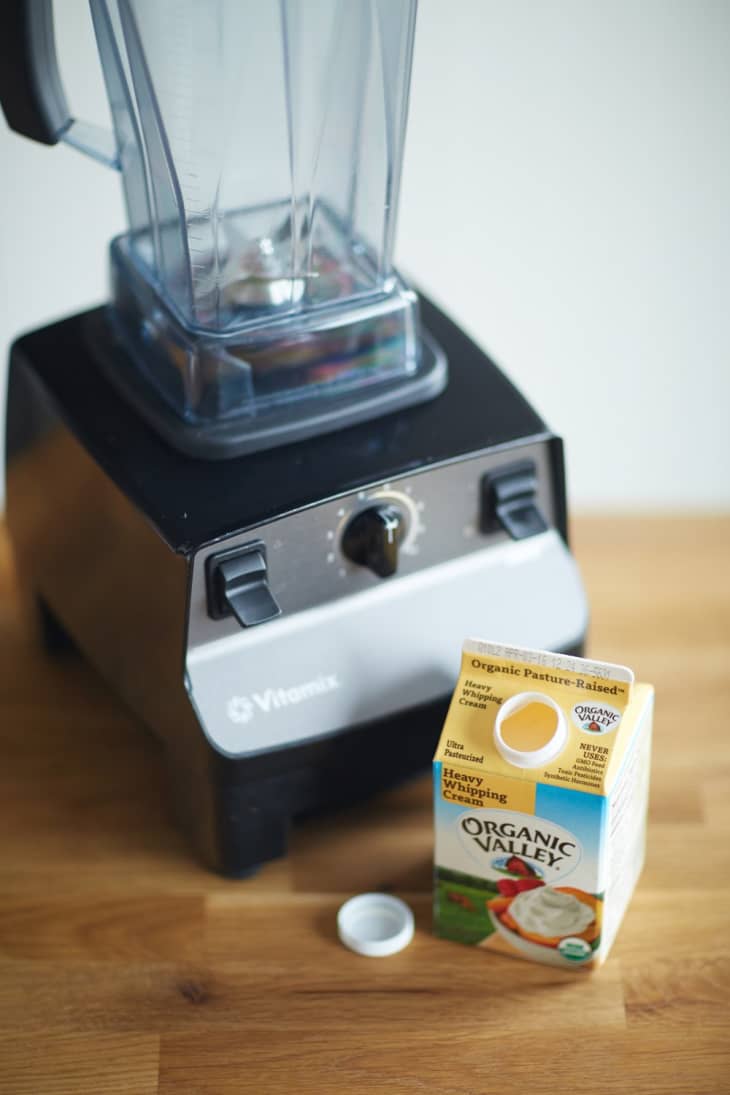
- Ingredients: Use heavy cream with at least 35% fat content for the best results. For a richer taste, consider using cream from grass-fed cows. Let the cream sit at room temperature for about 30 minutes before blending to ensure it churns more effectively.
- Equipment: Any standard blender will do, but make sure it\"s clean and dry. You\"ll also need a rubber spatula for scraping the sides of the blender, a strainer or cheesecloth for separating the butter from the buttermilk, and clean, cold water for rinsing the butter.
Fill your blender no more than halfway with cream to prevent overflow and ensure the cream churns properly. Starting with at least a half-cup of cream is recommended. The process involves blending the cream until it separates into butter and buttermilk, then washing the butter with cold water to remove any remaining buttermilk.
Remember, the quality of your ingredients and the efficiency of your equipment play crucial roles in the success of your homemade butter. By following these guidelines, you\"re well on your way to enjoying fresh, creamy butter made right in your kitchen.

Preparing the Cream
Proper preparation of the cream is crucial for making butter in a blender. Follow these steps to ensure your cream is ready for the transformation.
- Choose the Right Cream: Opt for heavy whipping cream with a high fat content, ideally over 35%. This type of cream will churn into butter more efficiently, yielding a richer flavor.
- Temperature Matters: Allow the cream to sit at room temperature for about 30 minutes before you begin. Room temperature cream separates into butter and buttermilk more easily than cold cream.
- Cream Volume: Do not fill your blender more than halfway with cream to avoid overflow and ensure thorough churning. Starting with a minimum of a half-cup of cream is recommended.
- Culturing Option: For an enhanced flavor profile, consider culturing your cream before churning. Mix pasteurized cream with a spoonful of live culture yogurt or kefir, cover, and refrigerate overnight or up to 48 hours. Allow the cultured cream to come to room temperature before proceeding.
These preparation steps are foundational to achieving the best texture and flavor in your homemade butter. By starting with the right kind of cream and ensuring it is properly prepared, you\"re setting yourself up for success.

The Blending Process
Turning cream into butter in a blender is a straightforward but magical process. Here’s how to do it:
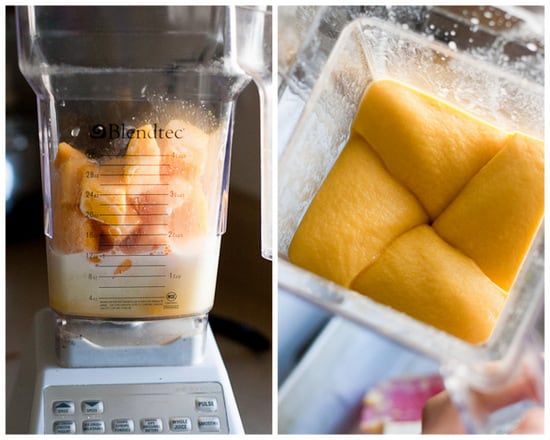
- Start Blending: Pour the room temperature cream into the blender. Begin blending on a low speed to gradually incorporate air and start the churning process.
- Increase Speed: Gradually increase the speed to medium or high. This helps the cream to thicken and start separating into butter solids and buttermilk. The entire process can take anywhere from 2 to 10 minutes, depending on your blender\"s power and the amount of cream.
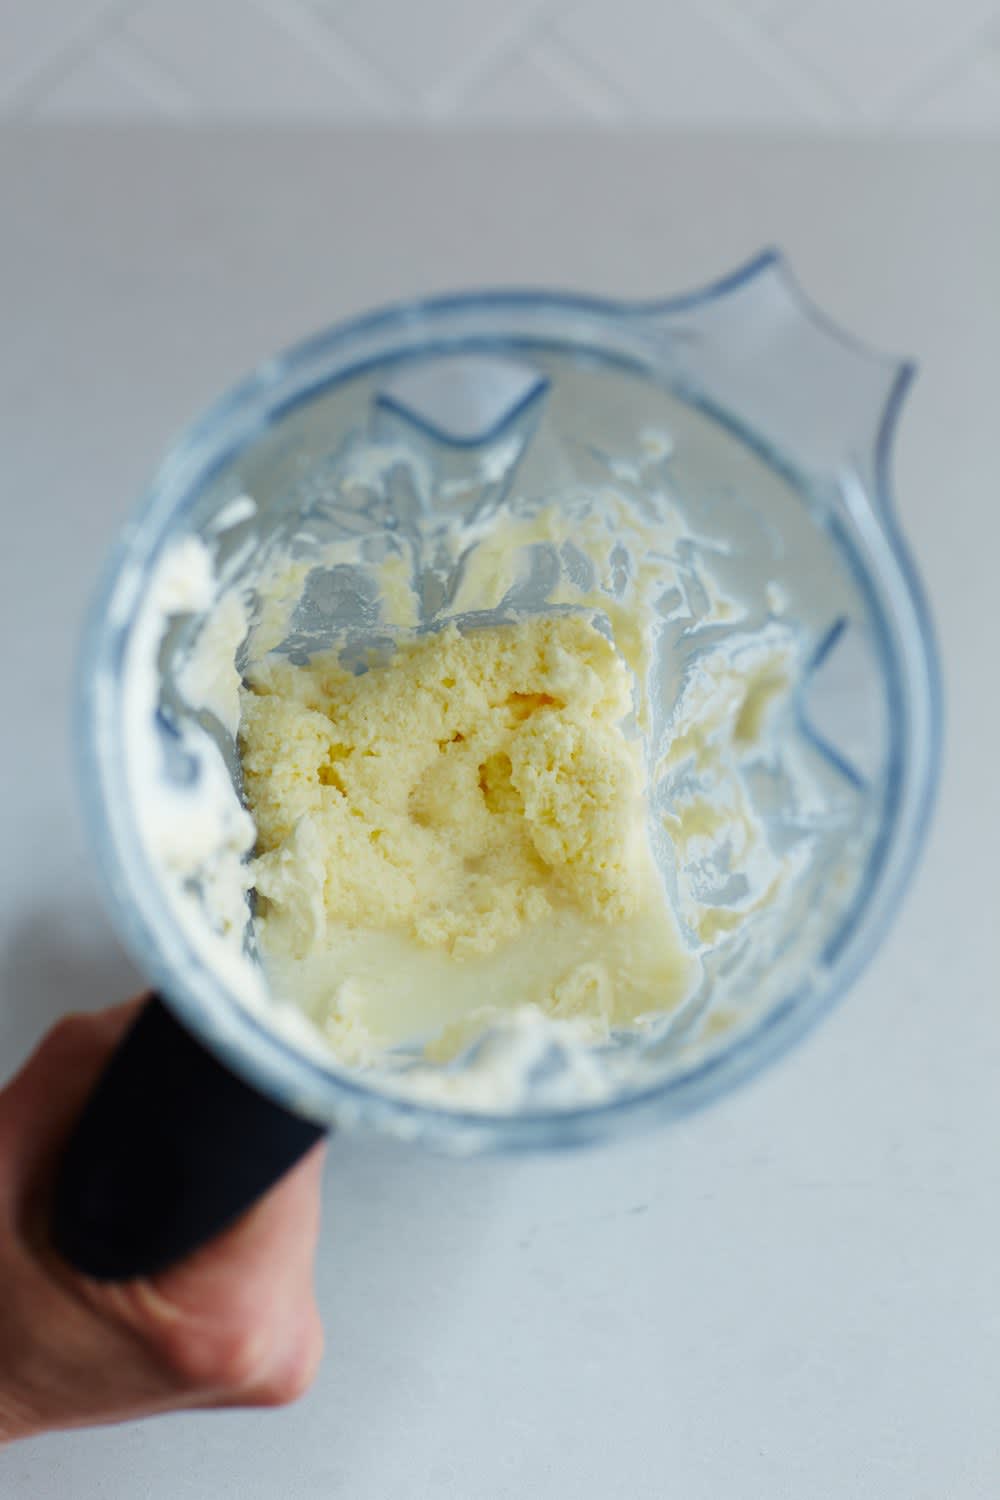
- Monitor Consistency: Watch for the moment when the mixture suddenly shifts from whipped cream to a thicker, yellowish substance—that’s your butter beginning to form. You may need to stop the blender and use a spatula to push any cream from the sides back into the center.
- Stop When Separated: Once you see the butter separating from the buttermilk, stop the blender. The butter will clump together, and the buttermilk will remain liquid.
- Drain Buttermilk: Pour off the buttermilk (you can save it for other recipes). You might need to use a strainer or cheesecloth to ensure you separate all the buttermilk from the butter solids.
After the blending process, you\"ll have fresh, unsalted butter. You can enhance its flavor and longevity by washing it, which involves kneading it under cold water to remove any remaining buttermilk. This step also helps in keeping the butter fresh for longer.
Separating the Butter from Buttermilk
Once your cream has transformed into butter and buttermilk, the next step is separating these two components. Here\"s how to efficiently do it:
- Pause and Observe: After the blending process, when the butter has clumped together and separated from the buttermilk, stop the blender. You should see a clear distinction between the solid butter and the liquid buttermilk.
- Drain the Buttermilk: Carefully pour off the buttermilk from the blender, leaving just the butter behind. Use a fine mesh strainer or cheesecloth to catch any small bits of butter. Reserve the buttermilk for baking or other recipes.
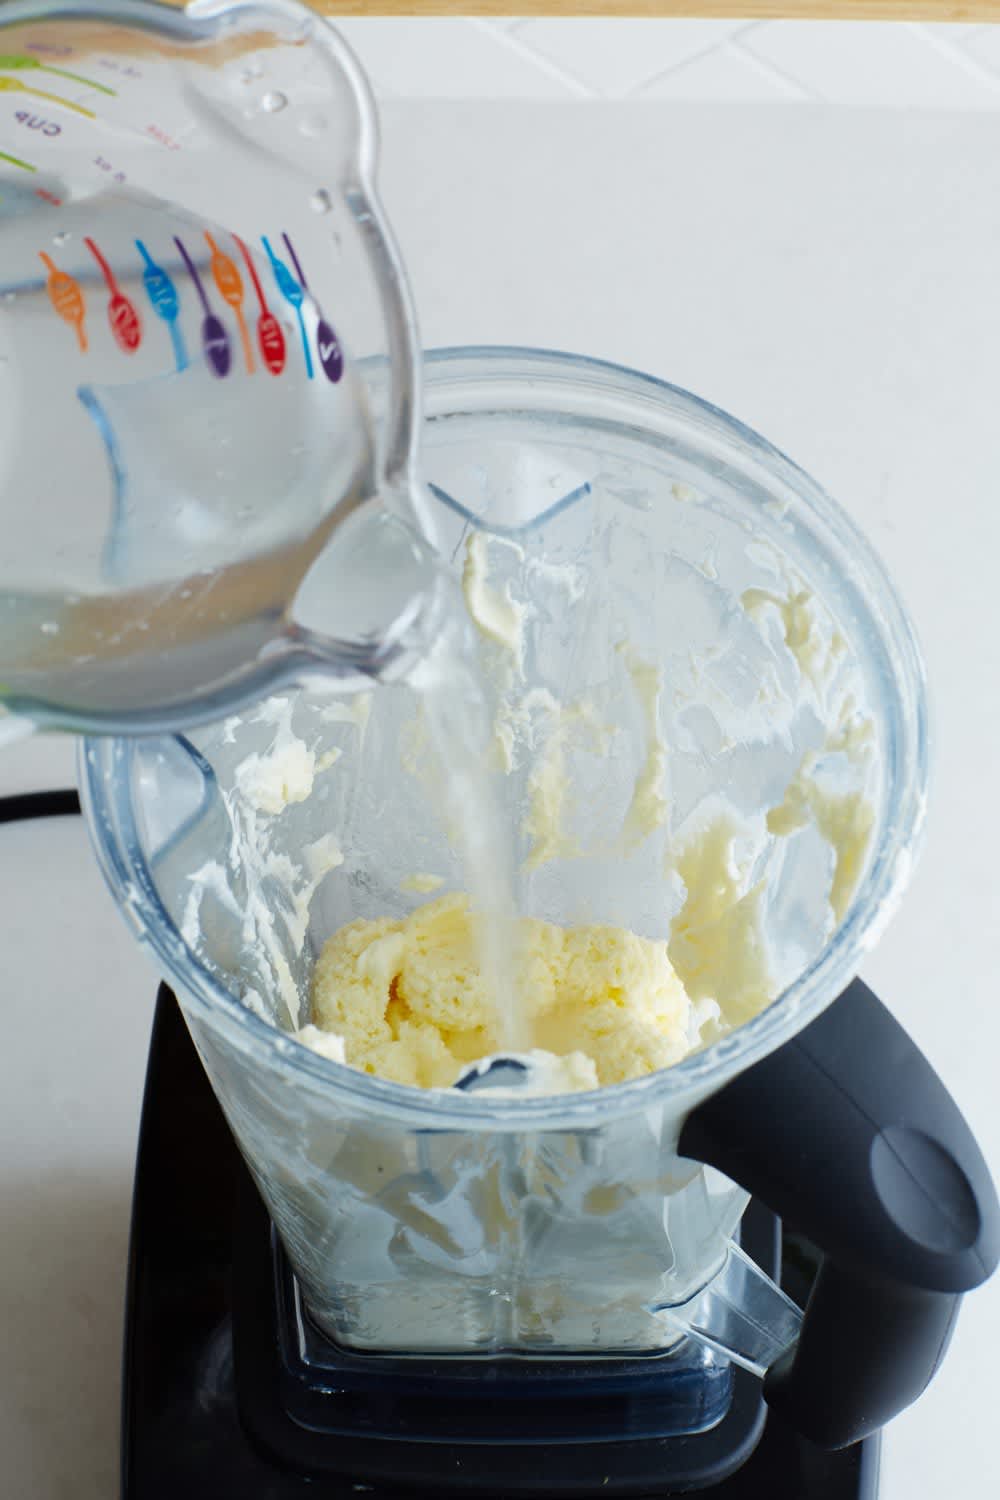
- Rinse the Butter: Add cold water to the blender with the butter. Blend for a few seconds, then drain. This helps to wash away any remaining buttermilk, which can spoil the butter if left inside.
- Repeat if Necessary: You may need to rinse the butter several times with fresh cold water until the water runs clear. This ensures all buttermilk is removed, which prolongs the butter\"s freshness and improves its taste.
- Remove Excess Water: After the final rinse, transfer the butter to a clean surface or bowl. Press it gently with a spatula or the back of a spoon to remove any excess water.
This process not only separates your homemade butter from the buttermilk but also cleans the butter, making it ready for storage or immediate use. Enjoy the fruits of your labor with fresh, creamy butter on your favorite dishes!
:strip_icc()/recipes-how-to-cooking-basics-how-to-soften-butter-06-83f8c3379118464a9bcd932d609a66ba.jpg)
_HOOK_
Rinsing and Washing the Butter
After separating the butter from the buttermilk, the next crucial step is rinsing and washing the butter to remove any remaining buttermilk, which enhances its flavor and shelf life. Follow these detailed steps:
- First Rinse: Add cold water to the blender or bowl containing the butter. The water should just cover the butter. Blend or stir gently for a few seconds, then pour off the water and buttermilk mixture. This helps to remove any remaining buttermilk.
- Repeat Washing: Repeat the rinsing process with fresh cold water until the water runs clear. This might take several attempts. Each rinse helps to further purify the butter, removing buttermilk and improving the taste and longevity of your butter.
- Drain Well: After the final rinse, carefully drain off all the water. You can use a strainer or cheesecloth to hold the butter while draining to ensure no butter is lost.
- Remove Excess Moisture: To ensure your butter is not too wet, press it gently with a spatula or a spoon against the side of the bowl or strainer. This action helps to squeeze out any trapped water, making the butter firmer and easier to handle.
Proper rinsing and washing not only improve the taste and texture of your homemade butter but also increase its shelf life by removing lactic acid and other elements that can lead to spoilage. Now, your butter is ready for flavoring, storing, or immediate use.
How to Make Butter in a Blender
Indulge in the creamy, smooth goodness of butter as we take you on a mouthwatering journey of its rich history and tantalizing uses. Explore the art of creating scrumptious recipes that will leave you reaching for that butter knife again and again.
Flavoring and Storing Your Homemade Butter
Once you\"ve made your butter, adding flavors and storing it properly will ensure it\"s delicious and lasts longer. Follow these steps for flavoring and storing your homemade butter:
- Flavoring Your Butter: For flavored butter, consider adding salt, herbs, garlic, or honey. Add your chosen flavors to the butter and mix thoroughly. For each cup of butter, start with 1/4 teaspoon of salt or 1 tablespoon of fresh herbs or honey, adjusting to taste.
- Shaping: You can shape your butter using molds or simply form it into a log using parchment paper. This can make storage easier and give your butter a professional look.
- Storing in the Refrigerator: Wrap your butter tightly in parchment paper or plastic wrap and store it in the refrigerator. Properly stored, your butter can last for up to a month.
- Freezing for Longevity: For longer storage, wrap your butter in parchment paper, then place it in a zip-lock freezer bag. Butter can be frozen for up to a year. Thaw in the refrigerator before use.
By flavoring and properly storing your butter, you can enjoy the rich taste of homemade butter anytime. Whether spreading it on fresh bread or cooking with it, your butter will be a flavorful addition to any dish.

How to Make Homemade Butter in a Blender
Unleash your inner chef with our delightful homemade cooking secrets! From traditional family recipes to inventive creations, join us as we unlock the secrets to crafting unforgettable dishes right in the comfort of your own kitchen. Get ready to wow your loved ones with your newfound culinary skills.
Troubleshooting Common Issues
Encountering problems while making butter in a blender is not uncommon. Here are solutions to some common issues you might face:
- Cream Not Turning into Butter: If the cream isn\"t turning into butter, it may not be at the right temperature. Room temperature is ideal. Also, ensure the cream has a high enough fat content (at least 35%).
- Butter Seems Too Soft or Melty: If your butter is too soft or melty after churning, it might be due to over-processing. Try churning the cream for a shorter period next time, and ensure it is properly chilled before starting.
- Butter is Too Hard: If the butter turns out too hard, it could be overwashed or not enough buttermilk was removed. Next time, try reducing the number of washes with cold water.
- Buttermilk Separation Issues: If you\"re having trouble getting the buttermilk to separate, ensure you\"re blending at a high enough speed and for a sufficient duration. It might also help to increase the volume of cream you start with.
- Unpleasant Taste: An unpleasant taste can be the result of not thoroughly washing the butter to remove all the buttermilk. Ensure you rinse the butter multiple times until the water runs clear.
With these troubleshooting tips, you should be able to overcome common issues and enjoy delicious homemade butter made in your blender.
Health Benefits and Uses of Homemade Butter
Homemade butter isn\"t just a delicious addition to your meals; it also offers a range of health benefits and versatile uses in the kitchen. Here are some key points:
- Nutrient-Rich: Homemade butter is a good source of vitamins A, D, E, and K2, essential for bone health, immune function, and skin health.
- Contains Healthy Fats: It includes short and medium-chain fatty acids, which can help with weight management and reduce heart disease risk when consumed in moderation.
- Conjugated Linoleic Acid (CLA): Grass-fed butter contains higher levels of CLA, which has been associated with reduced body fat and improved immune function.
- Butyrate Content: Butter is a source of butyrate, a short-chain fatty acid beneficial for gut health and inflammation reduction.
- Culinary Uses: Beyond spreading on bread, homemade butter can enhance the flavor of baked goods, sautéed vegetables, and sauces. It can also be the base for compound butters infused with herbs, garlic, or spices for added flavor.
- Creamier Texture: Homemade butter tends to be creamier and fresher than store-bought versions, providing a richer taste to recipes.
Incorporating homemade butter into your diet can offer unique flavors and nutritional benefits, making it a worthwhile addition to your culinary repertoire.

READ MORE:
FAQs and Expert Tips
Here are some frequently asked questions and expert tips to help you perfect your homemade butter:
- How long does it take to make butter in a blender? The process typically takes between 2 to 10 minutes, depending on the cream\"s temperature and the blender\"s speed.
- Can I use low-fat or skimmed milk cream to make butter? No, low-fat or skimmed milk cream won\"t churn into butter. Use heavy cream with a fat content of at least 35%.
- Why is my butter too soft? Butter can turn out soft if over-churned or if the cream was too warm. Try chilling the cream beforehand and churning for a shorter period.
- How can I flavor my butter? You can add salt, herbs, garlic, or even sweeteners like honey or maple syrup to your butter after it has been formed and washed.
- How should I store homemade butter? Wrap it tightly in parchment paper or plastic and store it in the refrigerator for up to a month, or freeze it for longer storage.
Expert Tip: To achieve the best consistency, let the cream sit at room temperature for about 30 minutes before blending. This will help the cream churn more efficiently into butter. Additionally, starting with at least a half-cup of cream and not filling your blender more than halfway full can prevent spills and ensure a smooth churning process.
Embrace the simplicity and satisfaction of making your own butter with a blender. This guide demystifies the process, ensuring you can enjoy fresh, creamy butter that elevates your cooking and baking to new heights.
_HOOK_