Topic how to make animations with blender: Embark on a creative journey with Blender and unlock the potential to bring your animations to life. This guide offers step-by-step instructions to harness Blender"s powerful tools for your artistic expression.
Table of Content
- How to make animations with Blender?
- Understanding Blender\"s Animation Toolset
- Setting Up Your Project: From Modeling to Rigging
- Basic Animation Techniques: Keyframes and Motion Paths
- Advanced Animation Features: Constraints, Drivers, and Shape Keys
- Character Rigging for Animation
- Creating Realistic Textures and Materials
- YOUTUBE: Animation for Beginners - Blender Tutorial
- Lighting and Rendering Your Animation
- Animating Characters: Walk Cycles and Actions
- Animating Objects and Scenes for Games
- Exporting and Sharing Your Animations
How to make animations with Blender?
To make animations with Blender, follow these steps:
- Open Blender and create a new project.
- Create or import the 3D models or objects you want to animate.
- Select the object you want to animate by clicking on it.
- In the Timeline window, set the start and end frames for your animation.
- Go to the Animation workspace by selecting it from the workspace dropdown at the top of the window.
- In the 3D Viewport, select the object you want to animate.
- Press I on your keyboard and choose the type of keyframe you want to set (location, rotation, etc.).
- Move to a different frame in the timeline.
- Modify the object\'s position, rotation, or any other properties you want to animate.
- Press I again and choose the same keyframe type to set a new keyframe.
- Repeat steps 8-10 for each frame where you want to animate the object.
- Play or scrub through the timeline to preview your animation.
- Adjust the timing and interpolation of keyframes as needed using the Graph Editor or Dope Sheet.
- Render your animation by choosing the appropriate rendering settings and output format.
- Save your animation as a video file.
These steps provide a general overview of the animation process in Blender. There are many more advanced techniques and options available in Blender, but this should give you a good starting point to create basic animations.
READ MORE:
Understanding Blender\"s Animation Toolset
Blender\"s animation toolset offers a comprehensive suite of features that cater to both novices and professionals in the animation industry. To start animating in Blender, it\"s crucial to familiarize yourself with its primary components. This section guides you through the essential tools and concepts.
- Timeline: The foundation for animation in Blender. It allows you to manage keyframes, which are essential for creating animations. The timeline displays your animation sequence and enables you to navigate through frames.
- Dope Sheet: Offers an expanded view of your animation. It\"s particularly useful for re-timing animations and managing keyframes across different objects and their properties.
- Graph Editor: Provides detailed control over the interpolation of keyframes. This tool is essential for fine-tuning the velocity and timing of your animations, allowing for smoother transitions and more dynamic movements.
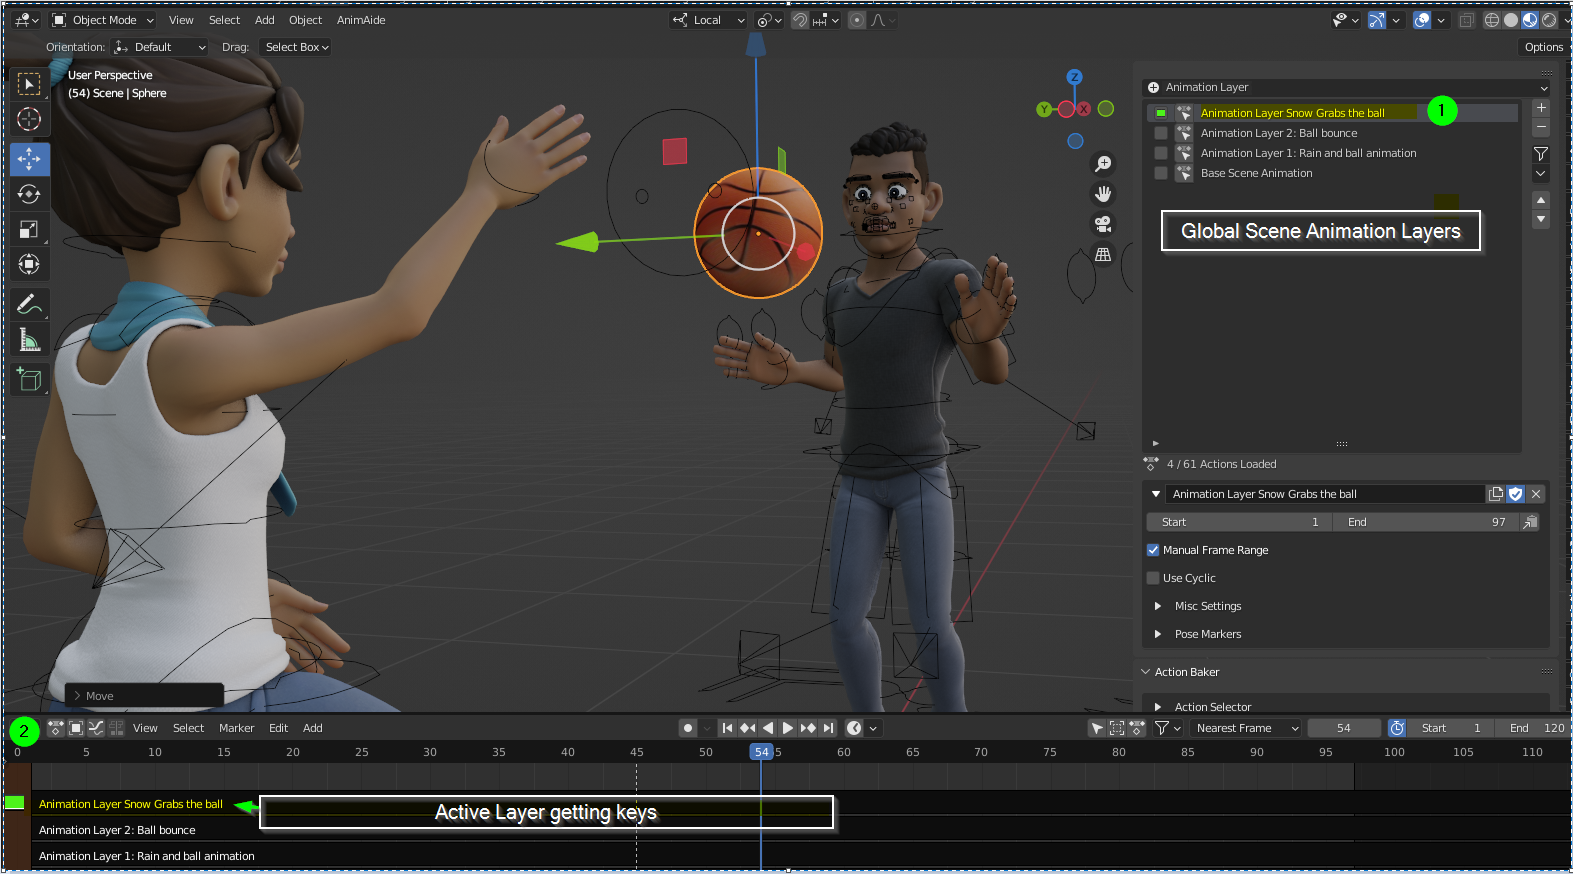
- NLA Editor (Non-Linear Animation): Enables you to layer and blend different animations. This tool is crucial for creating complex sequences by combining simpler actions.
- Armature (Rigging): A set of tools for creating skeletal structures that can be used to animate character models. Rigging is a preparatory step for character animation, allowing you to create natural and realistic movements.
- Shape Keys: Allow for deformations that can be animated, such as facial expressions. They are versatile tools for adding nuances to your animations.
- Drivers: These are used to create relationships between different properties, allowing the animation of one property to control another automatically. This feature is powerful for creating complex, automated movements and effects.
- Constraints: Offer control over the properties of objects with conditions. Constraints are used to limit movements, automate actions, or create relationships between objects within your scene.
Starting with these fundamental tools, you can explore the vast capabilities of Blender\"s animation system. Experimentation and practice are key to mastering these tools and incorporating them into your workflow for creating compelling animations.

Setting Up Your Project: From Modeling to Rigging
Setting up your project correctly from the start is crucial for a smooth animation process in Blender. This phase involves several key steps, from the initial modeling of your character or object to rigging it for animation. Follow these steps to ensure your project is set up for success.
- Concept and Planning: Begin with a clear concept and plan for your project. Sketch or find reference images to guide your modeling process. Planning your scenes, characters, and actions in advance can save time and improve the quality of your animation.
- Modeling Your Character or Object: Use Blender\"s modeling tools to create your character or object. Focus on topology and ensure that your model has a clean, animation-friendly mesh structure. This step is crucial for achieving realistic movements and deformations in the animation phase.
- Texturing and Materials: After modeling, apply textures and materials to your model. This process involves unwrapping the UVs of your model and painting or applying images to give your model color, realism, and depth.
- Rigging: Rigging is the process of adding bones to your model to create a skeleton that can be animated. Start by creating a basic armature that matches your model\"s structure, then parent the mesh to the armature with automatic weights to allow for deformations. Ensure that the rig is intuitive and efficient for animating.
- Weight Painting: Fine-tune the deformation of your model by adjusting the weight painting. This step involves specifying how much influence each bone has on different parts of the mesh. Proper weight painting is essential for achieving natural-looking movements.
- Setting Up Controls (Rig Controls): Create custom controls for your rig to make the animation process easier. These controls, often created with empties or custom shapes, allow animators to manipulate the rig without directly selecting the bones.
By carefully following these steps, you\"ll set a solid foundation for your animation project in Blender. This preparation is key to a smooth animation workflow and achieving high-quality results in your final project.
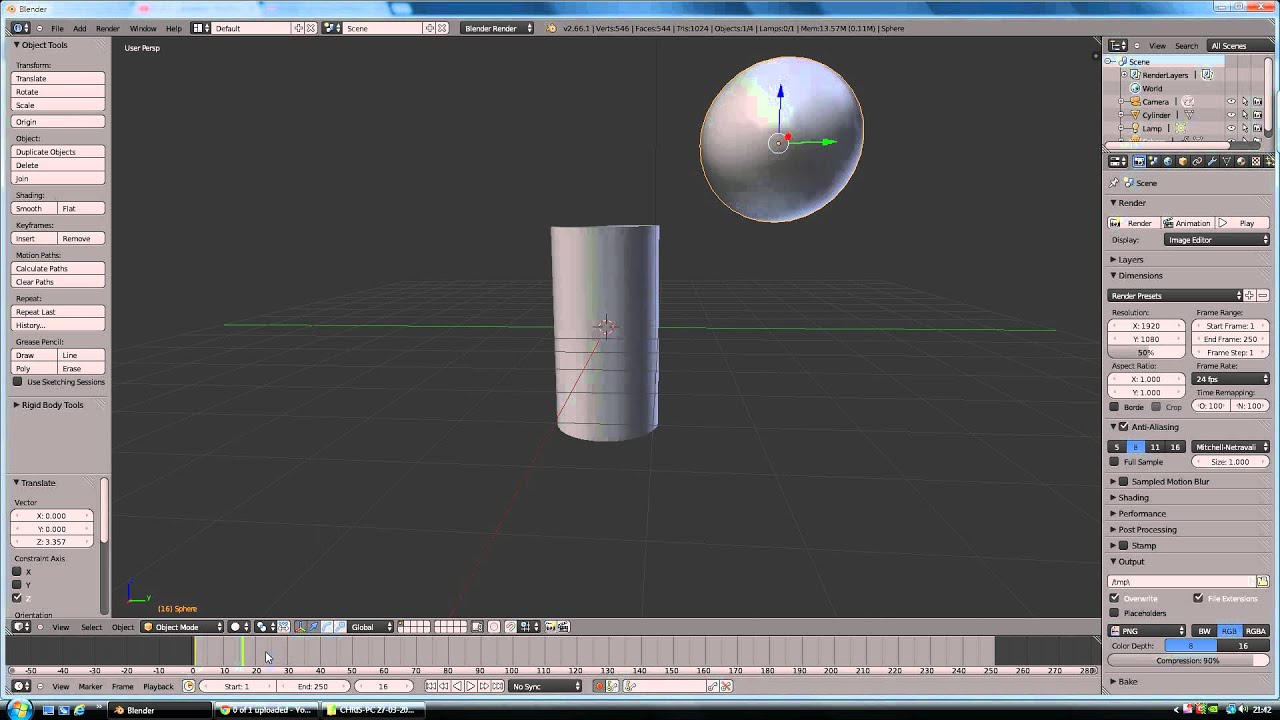
Basic Animation Techniques: Keyframes and Motion Paths
Mastering the basics of animation in Blender is essential for bringing your projects to life. Two fundamental concepts in animation are keyframes and motion paths. Understanding and applying these techniques will enable you to create dynamic animations with precision and ease.
- Understanding Keyframes:
- Keyframes are the cornerstone of animation, marking the start and end points of any movement. In Blender, you create an animation by specifying keyframes at certain points in time for your object\"s properties, such as location, rotation, and scale.
- To insert a keyframe, select your object, move to the desired frame on the timeline, adjust the property you wish to animate, and press I to insert a keyframe. You can choose which property to keyframe, such as location, rotation, or scale.
- Blender automatically interpolates the frames between keyframes, creating smooth transitions. You can adjust the interpolation method in the Graph Editor for different effects.
- Creating Motion Paths:
- Motion paths visualize the trajectory of an object\"s movement in the 3D space over time. They help in planning and refining animations.
- After setting keyframes for your object, you can generate its motion path by selecting the object, going to the Object Properties panel, and under the Motion Paths section, clicking on \"Calculate\". This will display the path your object takes between keyframes.
- Motion paths can be adjusted by editing the keyframes or directly manipulating the handles in the Graph Editor, allowing for precise control over the animation\"s flow and timing.
By utilizing keyframes and motion paths effectively, you can create animations that are both dynamic and precise. Experiment with different keyframe types and interpolation methods to discover the vast possibilities for animating your projects in Blender.
Advanced Animation Features: Constraints, Drivers, and Shape Keys
As you delve deeper into the world of animation with Blender, you\"ll encounter advanced features that offer greater control and flexibility. Constraints, drivers, and shape keys are powerful tools that can elevate your animations to new heights. Understanding how to use these features effectively will unlock more complex and dynamic animations.
- Constraints:
- Constraints are used to control an object\"s properties (like its location, rotation, and scale) based on other objects or conditions. They are essential for creating realistic interactions between objects in your scene.
- Track To constraint makes an object point towards another object, useful for targeting or eye movement.
- IK (Inverse Kinematics) constraint simplifies the process of animating limbs by controlling movement from the end effector, making character animation more intuitive.
- Drivers:
- Drivers offer a way to automate animation by creating a relationship where the change in one property directly affects another. They\"re perfect for creating complex, dependent movements without manually keyframing every detail.
- To add a driver, right-click on a property (such as the scale of an object), and choose Add Driver. Then, configure its settings in the Graph Editor under Drivers, specifying the driven property and the driver.
- Drivers can be used for facial animations, where the rotation of a control bone can drive the intensity of a smile or frown.
- Shape Keys:
- Shape keys are used to deform objects in a smooth transition from one shape to another. They are particularly useful for facial expressions and morphing objects.
- Create shape keys in the Object Data properties panel. The Base Key represents the original mesh, while additional keys represent the target deformations.
- Animating between these keys allows for smooth transitions. For example, morphing a neutral face into a smile by adjusting the value of the smile shape key.
By mastering these advanced animation features, you can create more sophisticated and nuanced animations in Blender. Constraints, drivers, and shape keys each offer unique advantages that, when used together, can significantly enhance the quality and complexity of your animation projects.

_HOOK_
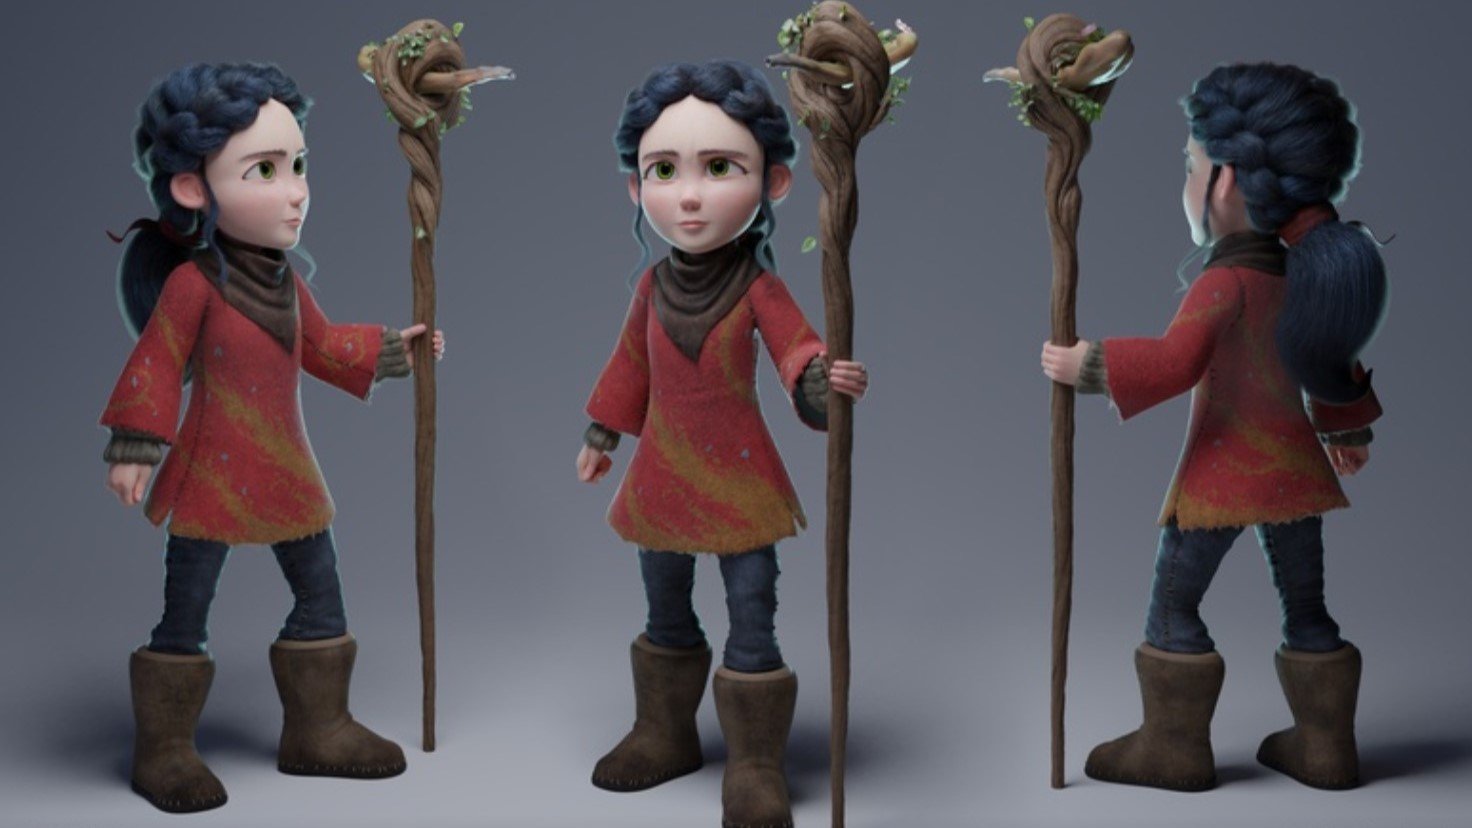
Character Rigging for Animation
Character rigging is a crucial step in the animation process, providing a skeletal structure that allows for the realistic movement of characters. This section will guide you through the basics of rigging a character in Blender, ensuring that your characters move naturally and responsively.
- Understanding the Basics:
- Before starting, it\"s essential to understand that rigging involves creating a series of bones that mimic the skeletal structure of your character. These bones are then used to animate the character by posing and keyframing movements.
- Creating the Armature:
- Begin by adding an armature object to your scene. This can be done by going to Add > Armature. Position the first bone at the base of the spine or at another central location of your character.
- Continue adding bones outward from the initial bone, creating the spine, limbs, and other parts of the skeletal structure.
- Use naming conventions for bones to keep your rig organized, such as \"arm.L\" for the left arm and \"arm.R\" for the right arm.
- Adjusting Bone Placement:
- Ensure each bone is correctly placed within the mesh of your character. Bones should align with anatomical landmarks, such as joints, for realistic movement.
- Parenting Mesh to Armature:
- With the armature and character mesh selected, parent the mesh to the armature using automatic weights. This can be done by selecting both the mesh and the armature, then pressing Ctrl+P and choosing \"With Automatic Weights\".
- This process automatically assigns vertex groups to bones, creating the initial skinning necessary for deformation.
- Weight Painting:
- After parenting, you\"ll likely need to fine-tune how the mesh deforms with the bones. This is done through weight painting, where you can adjust the influence each bone has on the mesh.
- Select your mesh and switch to Weight Paint mode. Here, you can paint on your mesh to increase or decrease the influence of selected bones.
- Areas painted red have maximum influence, while blue areas have no influence.
- Adding Control Rigs:
- For complex characters, consider adding a control rig. These are custom bones and controls that make animating easier and more intuitive, especially for facial expressions and intricate movements.
- Control rigs can be manually created or generated through addons like Rigify, which provides a comprehensive set of tools for rigging characters.
Character rigging is a detailed and nuanced process that sets the stage for animation. By carefully constructing and adjusting your character\"s rig, you can ensure that your animations are both dynamic and true to life.
Creating Realistic Textures and Materials
Creating realistic textures and materials is essential for adding depth and realism to your animations. In Blender, you have a powerful set of tools at your disposal to craft detailed and lifelike surfaces. This section will guide you through the steps to enhance your models with convincing textures and materials.
- Understanding Textures and Materials:
- Materials define the color and surface properties of your objects, while textures are images or patterns that add detail to these materials. Combining both effectively can significantly improve the realism of your scenes.
- Using the Shader Editor:
- The Shader Editor in Blender is your main workspace for creating and editing materials. Open it by changing your layout to \"Shading\" or by opening a new window and selecting \"Shader Editor\" from the editor type menu.
- Create a new material by selecting your object, going to the Material Properties panel, and clicking \"New\". This material will appear as a node setup in the Shader Editor.
- Experiment with different shaders, such as the Principled BSDF, which is a versatile shader capable of creating a wide range of materials with a single node.
- Applying Textures:
- To add textures, you\"ll need to add texture nodes in the Shader Editor. These can be images, procedural patterns, or even hand-painted textures.
- Add an Image Texture node to incorporate real-world images into your materials. Connect this node to the \"Base Color\" input of the Principled BSDF shader for a simple application.
- For more control, use mapping and texture coordinate nodes to adjust the placement and scale of your textures on the object.
- Utilizing UV Maps:
- UV maps are essential for accurately applying textures to complex models. They allow you to unwrap your model\"s surface onto a 2D plane for precise texture placement.
- In Edit Mode, select all faces of your model and unwrap them by pressing U and selecting a method like \"Unwrap\" or \"Smart UV Project\".
- Adjust your UV layout in the UV Editor to match the texture\"s features with your model\"s geometry.
- Adding Detail with Bump and Normal Maps:
- Bump and normal maps add surface detail without increasing geometry, crucial for creating realistic materials like fabrics, metals, and more.
- Connect a Bump or Normal Map node between your texture and the shader to simulate depth and detail on your materials.
- Finalizing Your Material:
- Adjust the settings of your material and textures to achieve the desired look. Play with settings like roughness, metallic, and specular to mimic real-world material properties.
- Use the rendered view in the viewport to preview your materials in real-time, adjusting lighting as necessary to see how your materials behave under different conditions.
By following these steps and experimenting with Blender\"s comprehensive texturing and material tools, you can create stunningly realistic objects and characters that bring your animations to life.
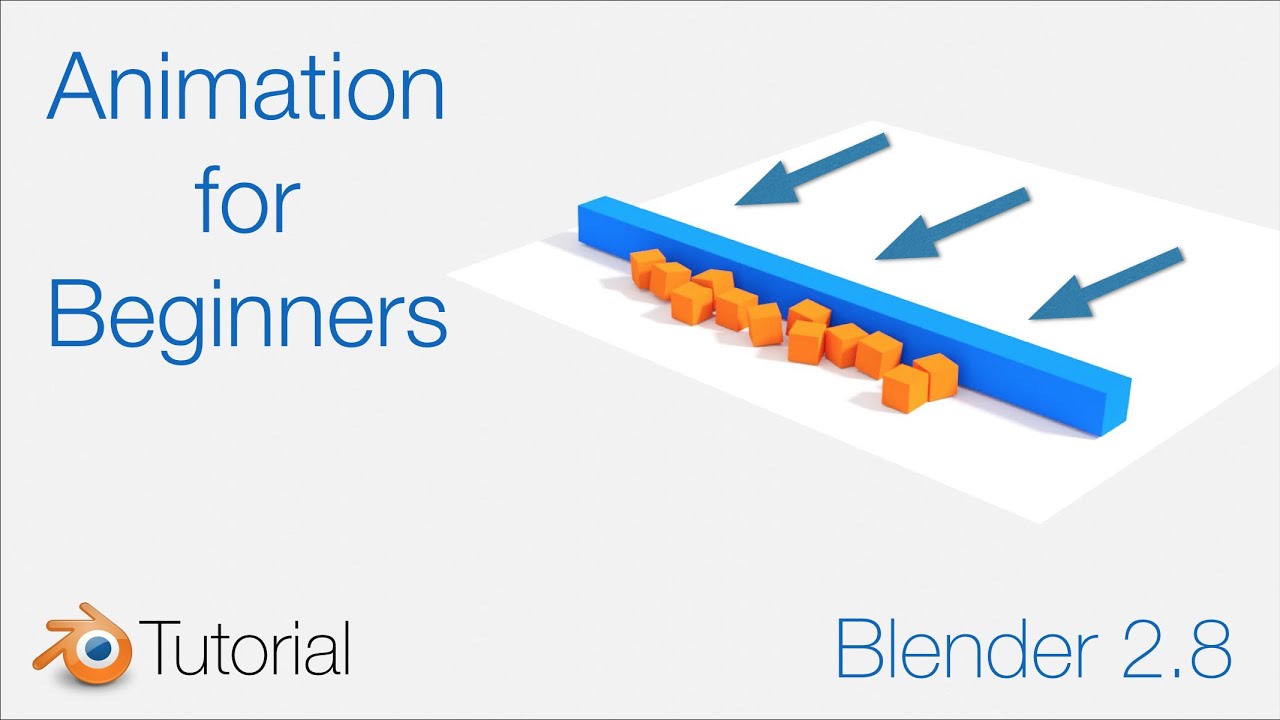
Animation for Beginners - Blender Tutorial
\"Unlock the power of Blender, the ultimate 3D creation suite, and embark on a journey of digital artistry like never before. Explore the possibilities of realistic renders, jaw-dropping visual effects, and seamless animations. Discover the tips and tricks to mastering Blender in our video tutorial and unleash your creativity today!\"
Lighting and Rendering Your Animation
Lighting and rendering are final yet critical steps in the animation process, transforming your project from a raw model to a polished piece. Proper lighting sets the mood and atmosphere of your scene, while rendering turns your animations into high-quality images or videos. This guide will walk you through the essential steps for lighting and rendering your animation in Blender.
- Setting Up Lighting:
- Lighting is key to defining the look and feel of your animation. Blender offers several types of lights, including Point, Sun, Spot, and Area lights, each with its unique characteristics.
- Use Area lights for soft, diffuse lighting that simulates natural light sources.
- Spotlights are perfect for focusing attention on specific areas or creating dramatic effects.
- Experiment with the position, intensity, and color of lights to achieve the desired atmosphere.
- Working with Shadows:
- Shadows add depth and realism to your scene. Adjust the shadow settings of your lights to control their softness, distance, and darkness.
- Softer shadows can be achieved by increasing the size of the light source or using softer shadow settings.
- Using World Environment Lighting:
- The World settings in Blender allow you to add environmental lighting to your scene, using either a solid color or an HDRI image for more realistic lighting.
- HDRI images can provide a rich and varied light environment, adding realism with minimal setup.
- Setting Up Cameras:
- Your camera setup is crucial for capturing your animation from the right angles. Place and animate cameras within your scene to focus on the action and guide the viewer\"s eye.
- Adjust camera settings such as focal length and depth of field to enhance the cinematic quality of your animation.
- Rendering Settings:
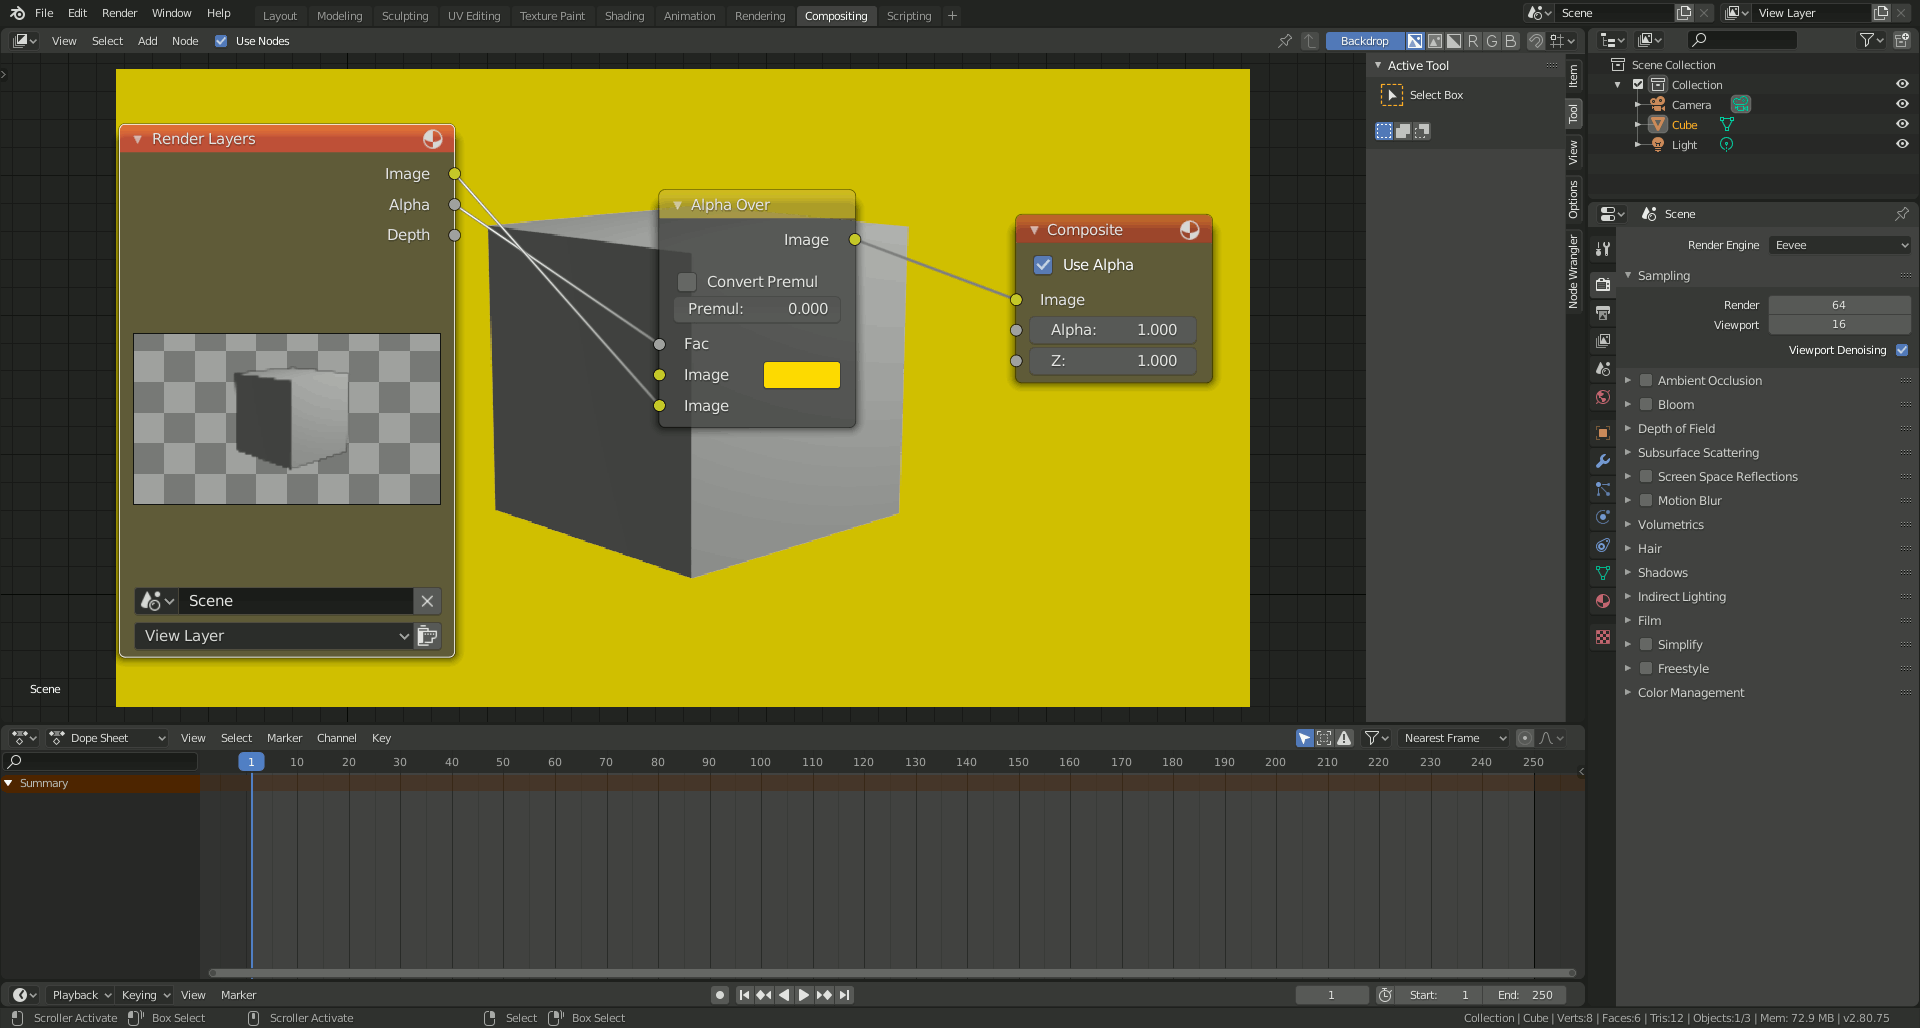
- Blender offers two render engines, Eevee and Cycles, each with its strengths. Eevee is a real-time engine great for quick previews, while Cycles produces more photorealistic results but takes longer.
- Choose the render engine based on your project needs and hardware capabilities.
- Adjust render settings like resolution, samples, and output format in the Render Properties panel.
- Rendering Your Animation:
- Once you\"re satisfied with your lighting and camera setups, it\"s time to render your animation. Go to the Render menu and select \"Render Animation\" or press Ctrl+F12.
- Consider rendering to a sequence of images for greater control and flexibility. This allows you to re-render specific frames if needed without redoing the entire animation.
By carefully planning your lighting and rendering settings, you can greatly enhance the visual impact of your animation, bringing your creative vision to life with stunning detail and realism.
Animating Characters: Walk Cycles and Actions
Animating characters in Blender involves creating walk cycles and actions that convey personality and purpose. A well-animated character can bring your scene to life, making your story more engaging and believable. Here\"s how to animate characters with walk cycles and actions in Blender.
- Understanding Walk Cycles:
- A walk cycle is a series of frames or keyframes that depict a character walking. The cycle is looped to create the illusion of continuous walking.
- Start by studying real-life walk cycles or reference videos to understand the movement dynamics.
- Typically, a walk cycle consists of 8 key poses: contact, down, passing, up, and their counterparts for the other leg.
- Setting Up Keyframes for a Walk Cycle:
- Create the key poses by positioning the character\"s rig accordingly and inserting keyframes for each major action point.
- Ensure smooth transitions between poses by adjusting the timing and spacing of the keyframes in the Timeline or Dope Sheet.
- Refining the Cycle:
- Use the Graph Editor to fine-tune the movement curves between keyframes, adding realism and fluidity to the walk cycle.
- Adjust the curves for each rig part to refine the character\"s movements, ensuring that the motion looks natural.
- Creating Actions:
- Beyond walking, characters can perform a variety of actions such as jumping, waving, or running. These actions are animated similarly to walk cycles but are designed for specific scenarios.
- Plan the action by breaking it down into key poses and then animate by setting keyframes for each pose.
- Actions can be saved and reused using Blender\"s Action Editor, making it easy to apply the same action to different characters or scenes.
- Looping and Blending Actions:
- For continuous actions, like walking or running, loop the animation for as long as needed. For non-repetitive actions, blend them smoothly into the character\"s other animations.
- Use the NLA (Non-Linear Animation) Editor to blend and sequence different actions for your character, creating a seamless animation flow.
Animating characters with walk cycles and actions requires patience and practice. By breaking down movements into key poses and refining the animation with Blender\"s powerful tools, you can create dynamic and realistic character animations that bring your stories to life.
Animating Objects and Scenes for Games
Animating for games involves creating dynamic objects and environments that interact with the player in real-time. Blender offers a robust set of tools for game animators to bring their visions to life. This guide will take you through the process of animating objects and scenes specifically for game development.
- Planning Your Animation:
- Consider the game\"s mechanics and how the animations will enhance the player\"s experience. Identify which objects need animation and what kind of movements are required.
- Animating Game Objects:
- Game objects can range from simple items like doors and chests to complex machinery. Use keyframes to animate these objects based on their intended interaction in the game.
- For a door, you might animate it opening and closing with a simple rotation keyframe.
- For more complex objects, consider using shape keys or armatures for animations that require deformation.
- Creating Looping Animations:
- Many game animations, like fire, water, and machinery, require looping. Ensure that the start and end frames of your animation match perfectly to create a seamless loop.
- Animating Characters for Games:
- Character animation in games is crucial for storytelling and gameplay. Create run, jump, idle, and attack animations using the principles of character rigging and animation.
- Use Blender\"s NLA Editor to blend and sequence these actions smoothly.
- Exporting Animations for Game Engines:
- Once your animations are complete, you\"ll need to export them to a format compatible with your game engine, such as Unity or Unreal Engine.
- Use the FBX or glTF format for exporting, as these are widely supported and maintain the integrity of your animations.
- Ensure to check the compatibility of the exported animations with your game engine, making adjustments as necessary.
Animating for games is an exciting way to contribute to the interactive experience of players. By leveraging Blender\"s animation tools, you can create engaging and dynamic objects and characters that breathe life into your game worlds.

_HOOK_
READ MORE:
Exporting and Sharing Your Animations
After putting in the hard work of creating your animation in Blender, the next step is to share your creation with the world. Exporting and sharing your animations can be done in various formats, depending on where and how you want your work to be viewed. This guide will help you understand the process of exporting your animations from Blender and the best practices for sharing them.
- Choosing the Right Format:
- Depending on your needs, Blender supports several formats for exporting animations, including AVI, MPEG, and MOV for videos, and FBX, OBJ, or glTF for 3D models and animations.
- Exporting Video Animations:
- For video animations, go to the Render Properties panel, select your desired output format, and configure the encoding settings to suit your needs.
- Consider the resolution, frame rate, and compression settings to balance quality and file size.
- Use the Render Animation button or press Ctrl+F12 to export your animation.
- Exporting for Game Engines:
- If you\"re exporting animations for use in game engines, FBX and glTF formats are widely used and supported for their ability to include animations, meshes, and textures.
- Select your object or scene, go to File > Export, and choose your format. Make sure to check the export options to include animations and other necessary data.
- Optimizing for Web:
- For sharing animations online, consider file size and compatibility. Formats like glTF are ideal for web use due to their efficient compression and support for PBR (Physically Based Rendering) materials.
- Sharing Your Work:
- Once exported, you can share your animations through video hosting platforms like YouTube or Vimeo, or 3D model platforms like Sketchfab for interactive 3D content.
- Consider adding a watermark or credits to your animation to protect your work and credit any collaborators.
- Engage with your audience through comments and feedback to improve and gain visibility.
Exporting and sharing your animations is the final step in the animation process, allowing you to showcase your hard work and creativity. By choosing the right export options and sharing platforms, you can ensure your animations reach your intended audience in the best possible quality.
Embark on a creative journey with Blender and unlock the endless possibilities of animation. From character rigging to rendering, our comprehensive guide equips you with the skills to bring your visions to life and captivate audiences worldwide.