Topic blender how to make animations: Discover the art of animation with Blender, and unlock your creative potential. This guide offers a comprehensive journey from basic concepts to advanced animation techniques, ensuring you can bring your visions to life.
Table of Content
- How can I make animations using Blender?
- Getting Started with Blender for Animation
- Understanding Blender\"s Interface and Basic Concepts
- Modeling Your Characters and Objects
- UV Unwrapping and Texturing for Realism
- Rigging: Bringing Characters to Life
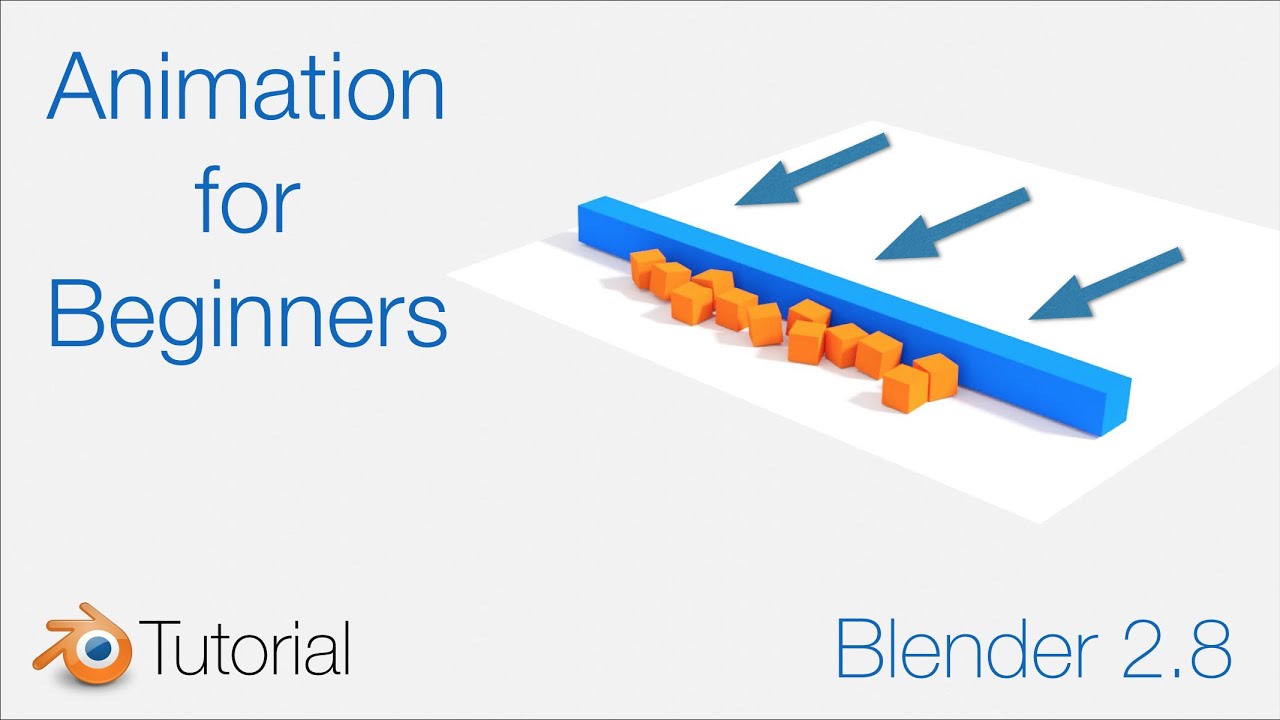
- YOUTUBE: Blender Tutorial: Animation for Beginners
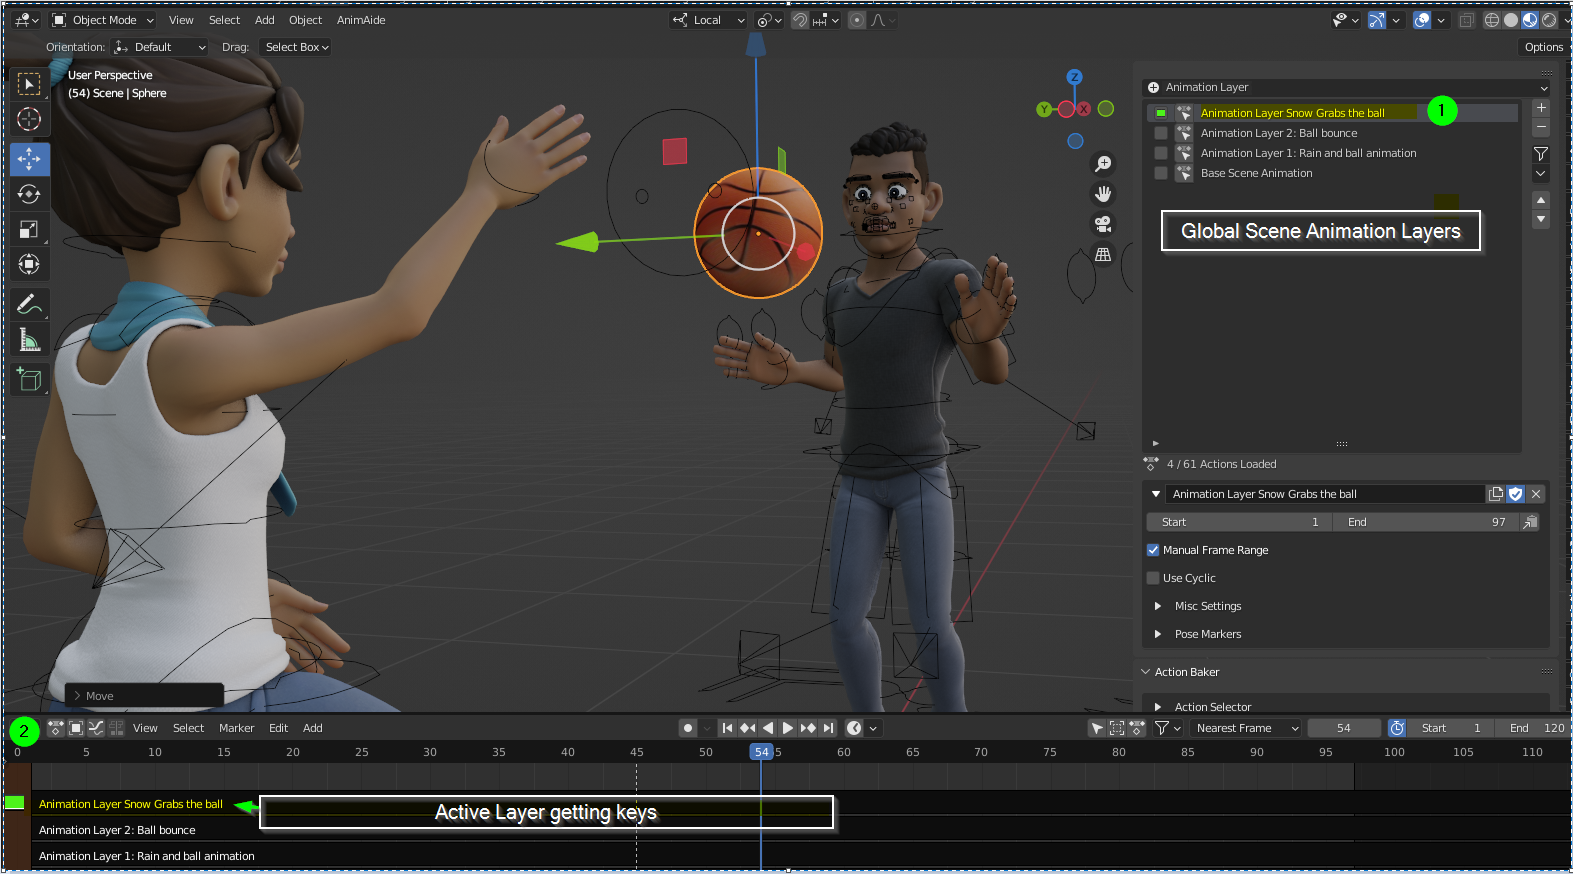
- Animating Your Characters and Objects
- Advanced Techniques: Physics and Simulations
- Lighting and Rendering Your Animations
- Exporting and Sharing Your Animated Projects
- Resources and Continuing Your Learning Journey in Blender
How can I make animations using Blender?
To make animations using Blender, you can follow these steps:
- Create or import the 3D objects or characters you want to animate.
- Select the object you want to animate by clicking on it in the viewport.
- Go to the \"Object\" menu and select \"Animation\" to open the animation properties.
- Click on the \"Add\" button to add a new animation.
- Set the start and end frames for your animation.
- Adjust the object\'s position, rotation, scale, or any other properties at different frames to create the desired animation.
- You can also use keyframes to set specific poses or actions at different points in time.
- Use the timeline or playback controls to preview and refine your animation.
- Render your animation by going to the \"Output\" properties and selecting the desired output format and settings.
- Click on the \"Render Animation\" button to generate the final animated video.
These steps provide a general overview of the animation process in Blender. There are many more advanced techniques and features available in Blender for creating complex and realistic animations.
READ MORE:
Getting Started with Blender for Animation
Welcome to the exciting world of animation with Blender! Whether you\"re a complete beginner or looking to refine your skills, this section will guide you through the initial steps to start animating with Blender. Follow these steps to set up your workspace and begin your animation journey.
- Download and Install Blender: Visit the official Blender website to download the latest version. Blender is free and open-source, making it accessible to everyone.
- Familiarize Yourself with the Interface: Open Blender and take some time to get comfortable with the layout. Look for the timeline at the bottom, the 3D viewport in the center, and various panels and editors around the edges.
- Learn Basic Navigation: Practice navigating in the 3D viewport. Use the middle mouse button to orbit, scroll to zoom, and shift + middle mouse button to pan the view.
- Create Your First Project: Start a new project and try adding a simple object, like a cube or sphere, to the scene. This will be your first step into modeling.
- Experiment with Keyframes: Learn how to insert keyframes for your object. Move your object, insert a keyframe, then move to a different frame, adjust the object\"s position, and insert another keyframe.
- Play Your First Animation: Use the timeline to scrub through the frames or press the play button to see your object move. Congratulations, you\"ve just created your first animation!
- Explore Blender\"s Features: Start exploring other features in Blender, such as the graph editor for tweaking animations, the dope sheet, and learning about Blender\"s physics engine for more complex animations.
Remember, practice is key to mastering Blender. Experiment with different features, watch tutorials, and don\"t be afraid to make mistakes. Happy animating!

Understanding Blender\"s Interface and Basic Concepts
Blender\"s interface might seem daunting at first, but it\"s designed for efficiency and flexibility. This section will help you understand the key components and basic concepts necessary for animation in Blender. Let\"s break down the interface and introduce some fundamental concepts to get you started.
- 3D Viewport: The heart of Blender, where you interact with your models, lights, and camera. You can rotate, pan, and zoom within this space to view your scene from any angle.
- Timeline: Located at the bottom of the default layout, the timeline allows you to control the playback of your animation, set keyframes, and navigate through frames.
- Outliner: A hierarchical list of all objects in your scene, making it easy to select and organize your models, cameras, lights, etc.
- Properties Panel: This panel provides access to all the properties of the selected object, including materials, modifiers, physics settings, and more.
- Shader Editor: For more advanced users, the Shader Editor allows you to create and edit materials using a node-based interface.
Before diving into animation, it\"s essential to grasp these basics:
- Object Mode and Edit Mode: Object mode is for selecting, moving, and transforming your entire objects, while Edit mode lets you manipulate the individual vertices, edges, and faces of a model.
- Keyframes: Keyframes are the foundation of animation in Blender. They mark the start and end points of any change in animation, capturing the position, rotation, and scale of objects.
- Principles of Animation: Understanding the 12 principles of animation can greatly improve the quality of your work, making it more lifelike and dynamic.
Take your time to explore and experiment with Blender\"s interface and these concepts. Patience and practice are key to becoming proficient in Blender animation.
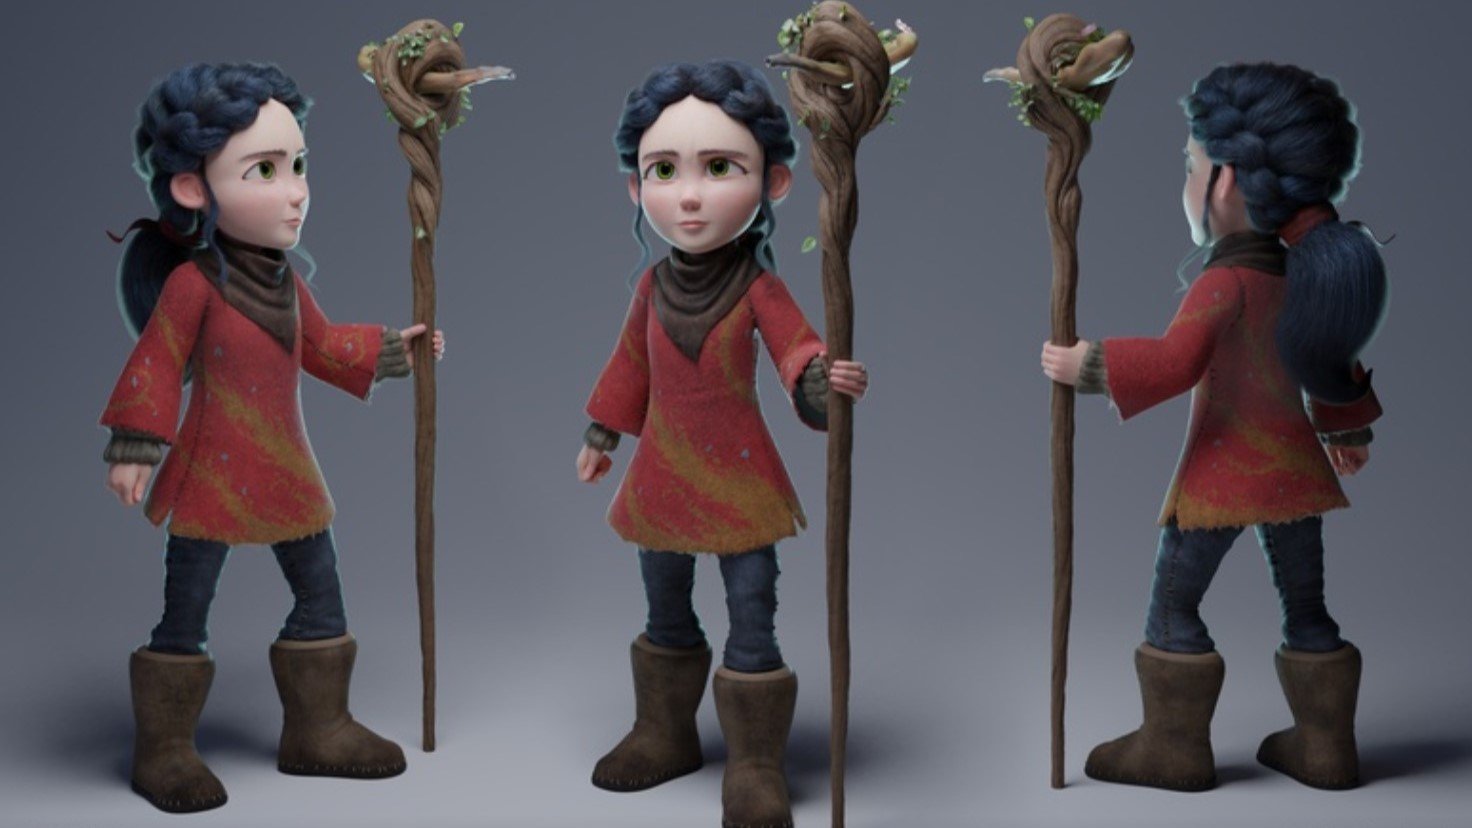
Modeling Your Characters and Objects
Modeling is a fundamental step in creating animations in Blender. This process involves shaping your characters and objects to bring your creative visions to life. Whether you\"re crafting a simple object or an intricate character, follow these steps to master modeling in Blender.
- Start with a Plan: Before opening Blender, sketch your ideas or collect references. This initial planning stage is crucial for understanding the shapes and proportions of your models.
- Choose Your Modeling Method: Blender offers various modeling methods, including sculpting for organic models and box modeling for geometric shapes. Choose the method that best suits your project\"s needs.
- Create a Base Mesh: Begin by adding a simple shape (e.g., cube, sphere) to your scene. This will serve as the foundation of your model, which you\"ll modify to match your design.
- Edit Your Mesh: Use Blender\"s Edit Mode to adjust the vertices, edges, and faces of your base mesh. Extrude, scale, and rotate elements to refine your model\"s form.
- Use Modifiers: Blender\"s modifiers can automate and enhance the modeling process. For example, the Subdivision Surface modifier smooths your mesh, making it appear more organic.
- Sculpting for Details: For characters and other organic models, switch to Sculpt Mode to add fine details. Use various brushes to mold your mesh like clay.
- Retopology: If your model is highly detailed, consider retopology to create a cleaner, more efficient mesh that deforms well during animation.
Modeling in Blender can be as simple or complex as your project demands. Practice is essential, so experiment with different tools and techniques to develop your skills. Remember, every great animation starts with a well-modeled character or object.
UV Unwrapping and Texturing for Realism
UV unwrapping and texturing are crucial steps in the 3D modeling process, adding realism and detail to your Blender animations. This section will walk you through the basics of UV unwrapping your models and applying textures to create lifelike animations.
- Understanding UV Unwrapping: UV unwrapping is the process of projecting a 3D model\"s surface onto a 2D plane for texturing. Imagine unfolding a cardboard box to lay it flat. That\"s what UV unwrapping does to your model.
- Marking Seams: Before unwrapping, you need to mark seams on your model. Seams are edges where the mesh will be cut to lay flat. Strategic placement of seams can make texturing easier and more efficient.
- Unwrapping Your Model: With seams marked, select your model and unwrap it by accessing the UV editing workspace. Blender will unfold the mesh based on the seams you\"ve marked.
- Adjusting UV Layouts: After unwrapping, adjust the UV layout to minimize stretching and make efficient use of the texture space. This step is crucial for achieving high-quality textures.
- Applying Textures: With your UV map prepared, you can start applying textures. Textures can be images or procedurally generated patterns that add color, detail, and realism to your model.
- Using Texture Maps: For more realism, use various texture maps like diffuse, normal, and specular maps. These maps simulate real-world properties of surfaces, such as roughness, reflectivity, and bumps.
- Finalizing Your Texture: Apply the textures to your model in the shading workspace. Adjust the material properties to achieve the desired look, playing with settings like roughness, metallic, and emission.
UV unwrapping and texturing are art forms within themselves, requiring patience and practice to master. Experiment with different techniques and tools within Blender to enhance the realism of your animations.
_HOOK_
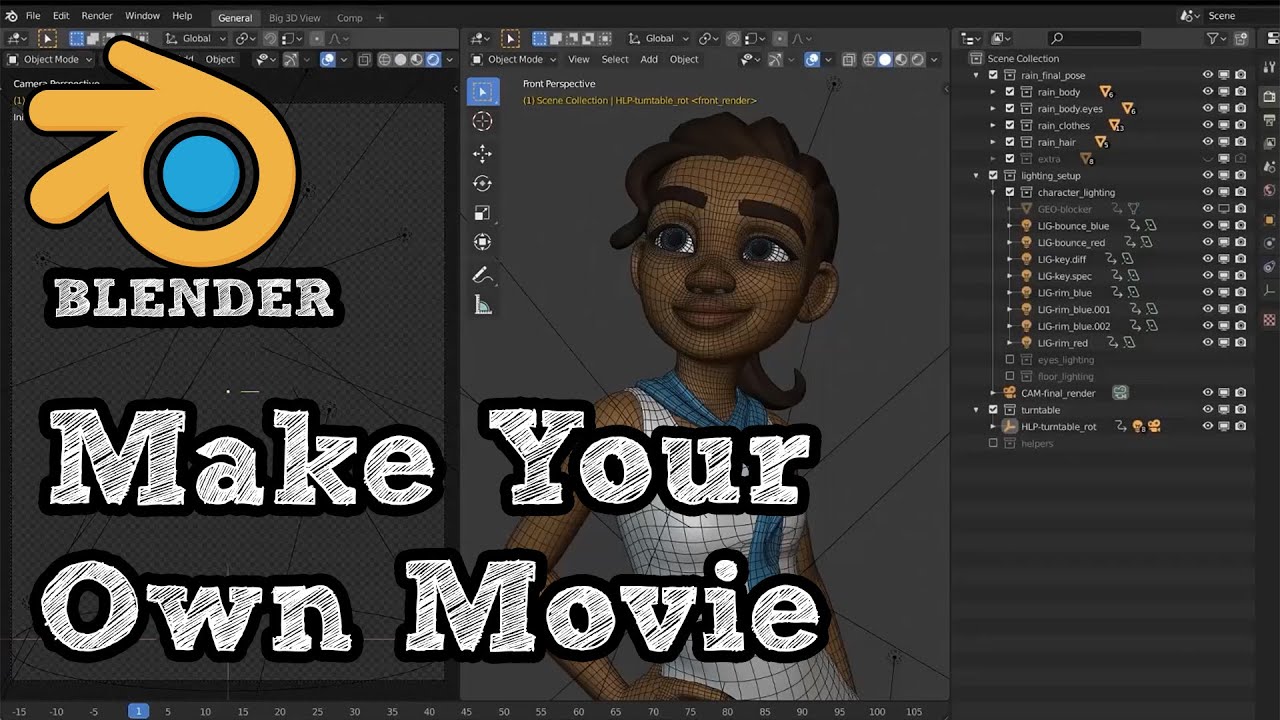
Rigging: Bringing Characters to Life
Rigging is a critical phase in animation that involves creating a skeleton for your character so it can move and perform actions. In Blender, rigging is both an art and a technical process that requires attention to detail. This section will guide you through the basics of rigging your characters in Blender, making them ready for animation.
- Understanding the Armature: Armatures are Blender\"s version of a skeleton. They consist of bones that are used to deform and animate your mesh. Start by adding an armature object to your scene and positioning it inside your character model.
- Adding Bones: In Edit Mode, add bones to match the major joints of your character. Use extrusion to create a chain of bones from the main parent bone. Ensure each bone is correctly placed to mimic real-life movements.
- Naming Bones: Properly naming bones is crucial for organization and later animation. Follow a consistent naming convention, such as \"Arm.L\" for the left arm, to make your rig easy to understand and edit.
- Parenting Mesh to Armature: With the armature in place, you need to bind your character\"s mesh to the armature. This process, called skinning, involves selecting your mesh, then the armature, and using automatic weights to create the initial skinning.
- Weight Painting: After automatic weighting, some areas may not deform as expected. Use Weight Painting mode to fine-tune how each bone influences different parts of the mesh. Red areas indicate strong influence, while blue areas show little to no influence.
- Adding Constraints and Controls: For more complex rigs, add constraints and custom control shapes to make animating easier and more intuitive. Constraints can automate movements, like making a foot stay planted on the ground during a walk cycle.
- Testing Your Rig: Before moving on to animation, pose your character in various positions to test the rig\"s functionality. Make adjustments as necessary to ensure smooth and realistic movement.
Rigging is a pivotal step in character animation that can be as simple or as complex as your project demands. With practice and patience, you\"ll be able to rig characters that move believably and enhance your animations in Blender.
Blender Tutorial: Animation for Beginners
Animation - Dive into a captivating world of colors, motion, and imagination with this mesmerizing animation video. Get ready to be transported into a magical realm where characters come to life in the most delightful way!
Blender Tutorial: Become a PRO at Animation in 25 Minutes
PRO - Unlock the secrets to becoming a pro in whatever field you desire with this incredible video. Packed with expert tips, strategies, and advice, this video will take your skills to the next level, helping you achieve excellence like a true professional.
Animating Your Characters and Objects
Animation is where your characters and objects come to life in Blender. This magical phase turns static models into dynamic storytellers. Whether you\"re creating a simple object movement or a complex character animation, the principles remain the same. Follow these steps to start animating in Blender.
- Understanding Keyframes: Keyframes are the backbone of animation in Blender. They record the position, rotation, and scale of an object at a specific point in time. To animate, you\"ll set keyframes at different points on the timeline for the properties you want to change.
- Setting Your First Keyframe: Move your timeline to the frame where you want the animation to start, select your object or bone, make a change (like moving it), and then press I to insert a keyframe. Choose the property you\"ve changed (such as location).
- Creating Movement: Move to another frame, change the position, rotation, or scale of your object, and insert another keyframe. Blender will interpolate the motion between these keyframes, creating animation.
- Playback and Review: Use the timeline controls to play back your animation. Adjust the keyframes as needed to refine the motion. Remember, animation is an iterative process.
- Adding Realism with Easing and Interpolation: Adjust the interpolation type between keyframes in the Graph Editor to change how motion is calculated, adding ease in and ease out for more natural movement.
- Using the Dope Sheet and Graph Editor: The Dope Sheet gives you an overview of all keyframes in your scene, making it easier to manage complex animations. The Graph Editor allows you to fine-tune the velocity and timing of animations for each property.
- Animating with Modifiers and Constraints: For more advanced animations, consider using modifiers and constraints. These can automate repetitive motions, like walk cycles, or create complex interactions between objects.
Animation in Blender is both an art and a science. Practice by creating simple animations and gradually introduce more complexity as you become comfortable with the tools and processes. Remember, the key to great animation is observation, creativity, and patience.
Advanced Techniques: Physics and Simulations
Blender\"s physics and simulations offer powerful tools to add realism and complexity to your animations. From dynamic cloth movements to realistic water flow, mastering these advanced techniques can elevate your projects. This section will introduce you to the basics of implementing physics and simulations in Blender.
- Understanding Physics in Blender: Blender includes several physics engines, each designed for specific types of simulations, including rigid body dynamics, soft body dynamics, fluid simulation, smoke, and fire.
- Starting with Rigid Body Simulations: Rigid bodies are perfect for simulating non-deforming objects like falling rocks or colliding cars. Enable the Rigid Body physics in the physics tab for your object and adjust properties like mass and friction.
- Exploring Soft Body Dynamics: For objects that need to deform, like a bouncing ball or a cloth draping over an object, use the Soft Body simulator. This requires tweaking settings such as stiffness, damping, and gravity influence to get realistic results.
- Creating Realistic Fluids: Fluid simulation in Blender allows you to create liquid movements. Set up a domain to define the simulation\"s boundaries, and use fluid objects to interact within this domain. Adjusting viscosity and flow rates can produce a wide range of effects.
- Simulating Cloth and Fabrics: Cloth simulation adds realism to textiles and garments. Define your fabric\"s properties, such as stiffness, bending, and air resistance, to see it interact realistically with forces and objects.
- Working with Particles: Particles systems in Blender can simulate complex scenes like rain, snow, or even hair on characters. Control the emission rate, lifetime, and physics influences for varied effects.
- Integrating Smoke and Fire: Use the Smoke and Fire simulator to add dramatic effects to your scenes. This involves setting up a flow source and a domain, with careful adjustment of smoke density, temperature, and vorticity for realism.
Advanced physics and simulations in Blender can be challenging but rewarding. Start with simple projects to understand the basics and gradually move to more complex simulations. Experimentation and practice are key to mastering these powerful features.
Lighting and Rendering Your Animations
Lighting and rendering are crucial final steps in the animation process, transforming your work into the final product ready for viewing. Proper lighting can set the mood, enhance realism, and highlight the best features of your animation. Rendering turns your meticulously crafted scenes into stunning visuals. Follow these steps to effectively light and render your Blender animations.
- Understanding Blender\"s Lighting Systems: Blender offers several types of lights, including Point, Sun, Spot, and Area lights. Experiment with these to understand how they affect your scene.
- Setting Up Your Lights: Place your lights strategically to highlight key areas of your scene. Consider using three-point lighting for characters to add depth and dimension.
- Adjusting Light Properties: Fine-tune the properties of each light source, such as color, intensity, and falloff, to achieve the desired effect. Remember, lighting can dramatically change the mood of your animation.
- Exploring Environmental Lighting: For outdoor scenes or to add overall illumination, use Environmental Textures in the World settings. This can simulate daylight or other ambient light sources.
- Choosing a Render Engine: Blender features several render engines, including Eevee and Cycles. Eevee is a real-time engine great for quick previews, while Cycles offers photorealistic rendering.
- Setting Render Properties: Adjust render settings such as resolution, samples (for Cycles), and output format. Higher samples improve quality but increase rendering time.
- Using Compositing for Enhancements: After rendering, use Blender\"s Compositor to adjust colors, add effects, or combine different elements of your scene for the final look.
Lighting and rendering are both an art and a science. They require practice and experimentation to master. By taking the time to understand and apply these principles, you can bring out the full potential of your animations, creating captivating and professional-quality visuals.
Exporting and Sharing Your Animated Projects
After you\"ve poured your creativity and skills into creating an animation in Blender, the next step is to share your work with the world. Exporting and sharing your animated projects can be done in several formats, depending on where you intend to share your work. This guide will walk you through the process of exporting your animations from Blender and sharing them on various platforms.
Exporting Your Animation from Blender
- Choose the Right Format: Blender supports multiple export formats, including AVI, MPEG, and Quicktime for video, as well as PNG and JPEG for still images. Consider the platform where you\"ll be sharing your animation to determine the best format.
- Set Output Properties: Go to the Output Properties panel on the right side of the screen. Here, you can set the resolution, frame rate, and file path for your animation.
- Configure Encoding Settings: For video exports, click on the Encoding tab to choose the video codec, audio codec, and quality settings. Popular codecs include H.264 for a good balance between quality and file size.
- Render Animation: Once you\"ve set your output and encoding settings, click on the Render menu at the top of the screen and select \"Render Animation\" or press Ctrl+F12. Blender will then render your animation to the specified file location.
Sharing Your Animation
With your animation exported, you\"re ready to share it with an audience. Here are a few popular platforms for sharing your work:
- Video Sharing Platforms: YouTube and Vimeo are popular choices for sharing animations. These platforms allow for high-quality uploads and provide tools for audience engagement.
- Social Media: Share your animation on social media platforms like Instagram, Twitter, or Facebook to reach your friends, family, and potential followers. Short animations or teasers can be particularly effective on these platforms.
- Professional Networks: For professional exposure, consider sharing your animation on LinkedIn or industry-specific forums and websites. This can be a great way to get feedback from peers and catch the eye of potential employers or clients.
- Personal Website or Portfolio: Hosting your animation on your own website or a digital portfolio platform like Behance or ArtStation allows for greater control over presentation and can centralize your work for easy access by interested parties.
Remember to include a brief description and any relevant hashtags or keywords when sharing your animation to help it reach a wider audience. Engaging with comments and feedback can also help build a community around your work.
Exporting and sharing your animated projects is the final step in the creative process, offering the opportunity to showcase your skills and hard work. By following these guidelines, you can ensure that your animations are seen and appreciated by audiences around the globe.
_HOOK_
READ MORE:
Resources and Continuing Your Learning Journey in Blender
Advancing your skills in Blender and staying updated with the latest techniques and features is a continuous process. The vast world of Blender offers numerous resources, from tutorials and online courses to communities and forums where you can learn and share. Here are some essential resources to help you continue your learning journey in Blender.
Online Tutorials and Courses
- Blender’s Official Website: Offers comprehensive guides, tutorials, and the official Blender manual that covers everything from basic to advanced topics.
- YouTube: Hosts countless tutorials for users of all levels. Channels such as Blender Guru, CG Geek, and Ducky 3D specialize in Blender tutorials and offer detailed guides on specific topics.
- Udemy and Coursera: These platforms provide structured courses ranging from beginner to advanced levels. They cover various aspects of Blender, including modeling, animation, and rendering.
Books and E-Books
There are many books available that delve into the intricacies of Blender. These books can serve as a reference guide or a structured learning path for improving your skills. Look for titles that are updated frequently to keep pace with Blender\"s updates.
Forums and Communities
- Blender Artists Community: An online forum where you can ask questions, share your work, and receive feedback from Blender users worldwide.
- Reddit: Subreddits such as r/blender provide a place to share projects, get advice, and participate in challenges that can help improve your skills.
- Discord Servers: Join Blender-related Discord servers to engage in real-time discussions, share tips, and collaborate with others.
Practice and Projects
The best way to learn is by doing. Engage in personal projects or participate in community challenges and contests. These experiences allow you to apply what you\"ve learned, experiment with new ideas, and refine your skills.
Stay Updated with Blender’s Development
Blender is constantly evolving, with new features and improvements being added regularly. Follow Blender’s official blog and social media channels to stay informed about the latest updates and how they can impact your workflow and creativity.
By leveraging these resources and actively engaging with the Blender community, you can continually enhance your skills and knowledge in Blender. Whether you\"re a beginner looking to get started or an experienced user aiming to master new techniques, the journey of learning Blender is an ongoing adventure that rewards creativity and perseverance.
Embark on your Blender animation journey with confidence, armed with a wealth of resources and a community eager to see your creations. Unleash your creativity and bring your visions to life in this powerful, versatile platform.


